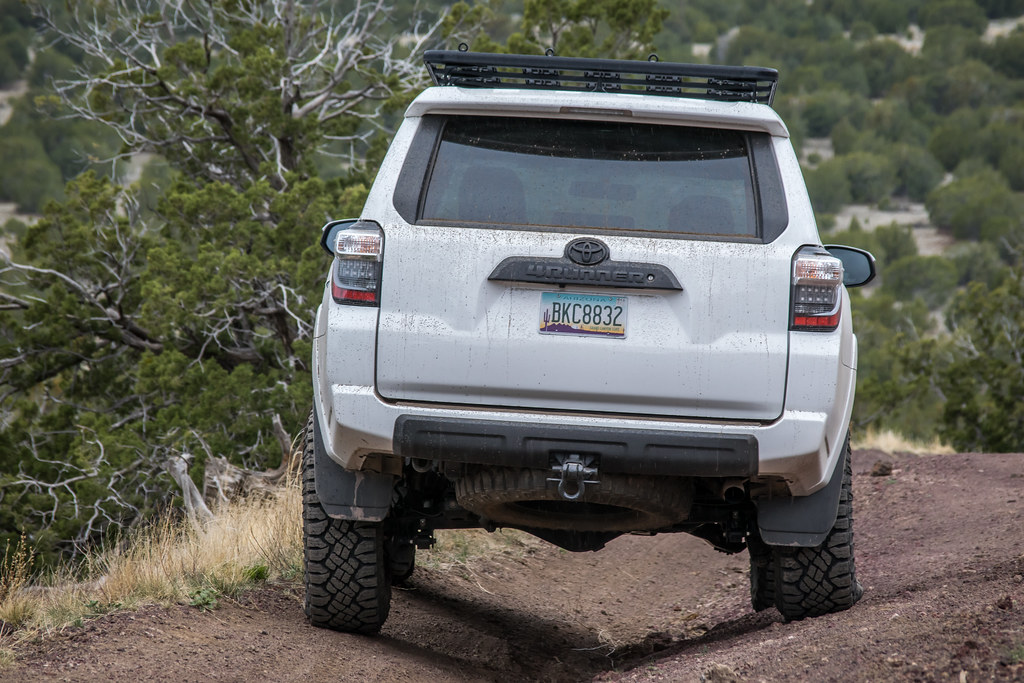
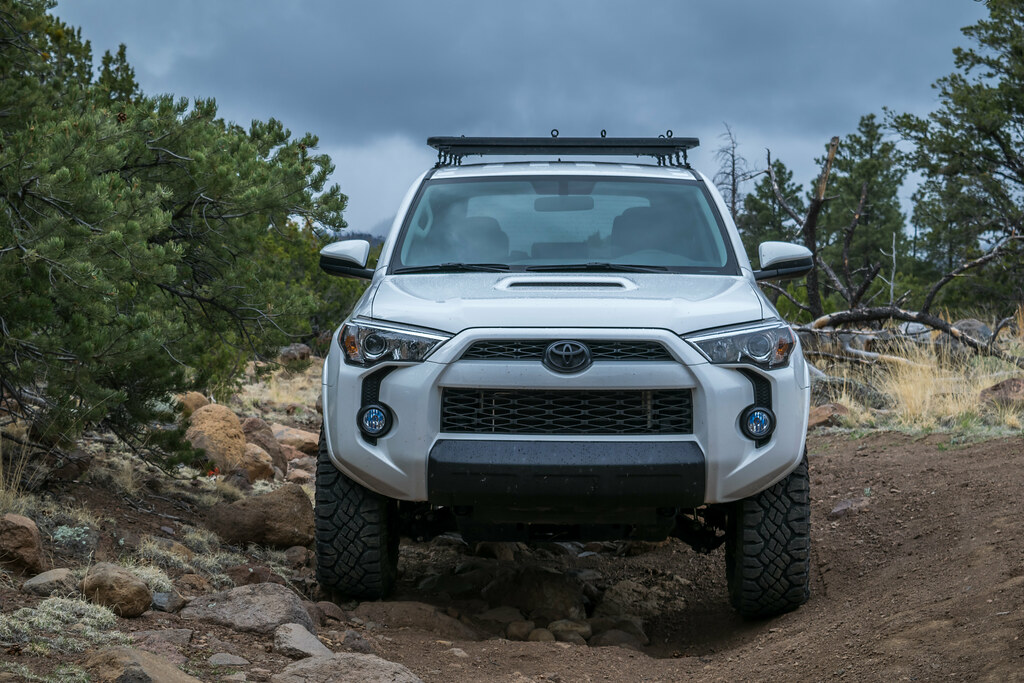
StormRunner Build & Adventure Thread

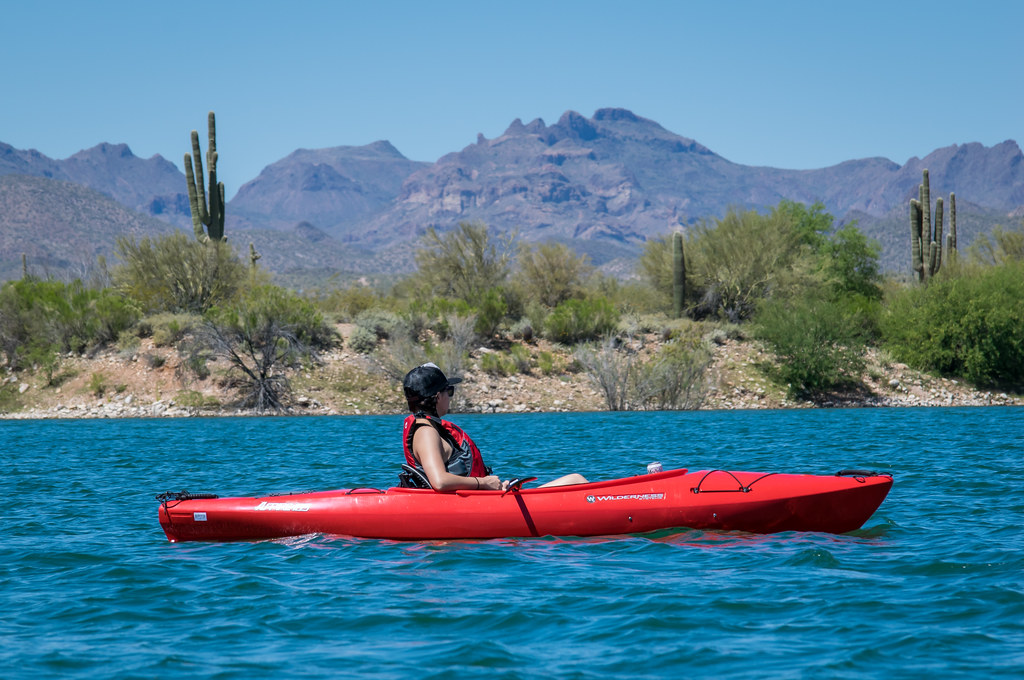
We had planned to head to Lake Powell this weekend but unfortunately my wife got sick so we did some local stuff instead. Friday we mountain biked Sedona and Saturday we kayaked Lake Pleasant

Those are some great shots! Are you happy with the way the kayaks behave on the roof rack the way you have it? I have 2 to carry, but am just starting to research my options.
 
Last edited:
Those are some great shots! Are you happy with the way the kayaks behave on the roof rack the way you have it? I have 2 to carry, but am just starting to research my options.

Thanks! They are very secure using the J-Cradle's. There is definitely some wind noise and in strong cross-wind gusts you can feel it push the truck but that is to be expected.

I would prefer to have them laying flat but most times I go I am carrying three kayaks so I have to have them in the cradle's to fit all three. If it fits your needs though I think laying flat is the way to go.
 
Thanks! They are very secure using the J-Cradle's. There is definitely some wind noise and in strong cross-wind gusts you can feel it push the truck but that is to be expected.

I would prefer to have them laying flat but most times I go I am carrying three kayaks so I have to have them in the cradle's to fit all three. If it fits your needs though I think laying flat is the way to go.

Excellent, thanks! Great build. Looks like you are getting the most out of it!
 
Last weekend I did some garage cleaning and organizing since the 4R was still in the body shop but got her back on Monday good as new

25870506104_5a644b0336_b.jpg


And this weekend I am on call which means I can't be going out to remote places to adventure. So instead I went to the shop and started working on some rock sliders since I can't afford to buy a set right now.

26475407795_2b4cf8f38e_b.jpg


26409263651_94051476de_b.jpg


26409253261_99116dff22_b.jpg


25870491504_408c5fce0c_b.jpg


25870493504_c274066f9b_b.jpg


I started with the drivers side since I knew the KDSS would be a pain to work around and it WAS! Man it sucked trying to get the feet designed so I could maneuver the slider into place once it was all welded up. But I finally got it and I can put it on and take it off easy now. Just have to finish grind the welds and paint it. I will start working on the passenger side once I have another free day but I imagine that will be a breeze after dealing with the drivers side
 
Looks great. I respect the work that goes into the home fab jobs. Been thinking about building sliders myself.
What size material are you using?
 
Looks great. I respect the work that goes into the home fab jobs. Been thinking about building sliders myself.
What size material are you using?

Thanks! The plates that bolt to the frame are 3/16" plate steel and the square tube is 1.5"X1.5" square tube in 1/8" wall.

Rig looks great. and amazing photos. How the spidertrax spacers treating you?

Thanks. The spacers are on of my favorite mods. Great quality and easy install but completely changes the look of the truck. Having a wide stance just looks aggressive
 
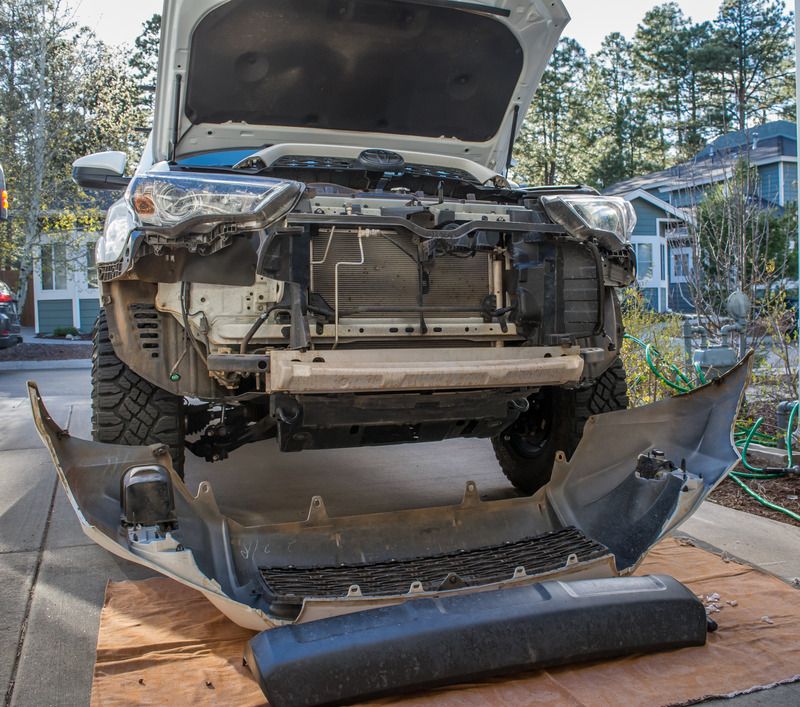
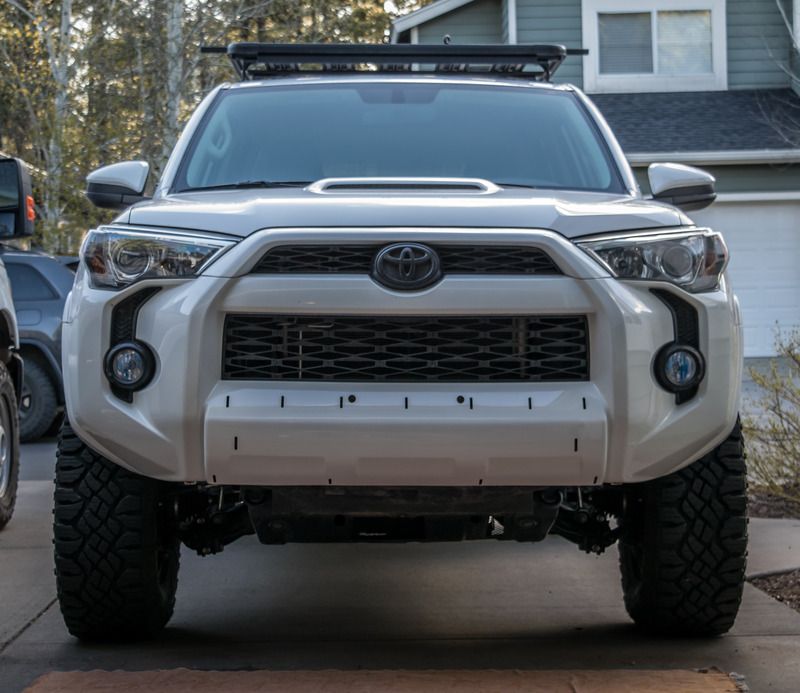
So I decided to have my bumper valences actually painted at a body shop rather than having them plasti-dipped since it's a lot of work to keep plasti-dip looking good in an off-road rig.

The rear valence was replaced and painted black during my body shop repair a couple weeks ago (thread here). I really liked the way it turned out so I decided to pull the front valence off and have it painted as well.

I have never done a "write-up" before but I have used hundreds of them in the years I have been working on cars. Since I couldn't find a "removing the front bumper" write-up that had working, active pictures I decided to make one. So here it is and let me know if I should add/remove/change anything since this is my first.

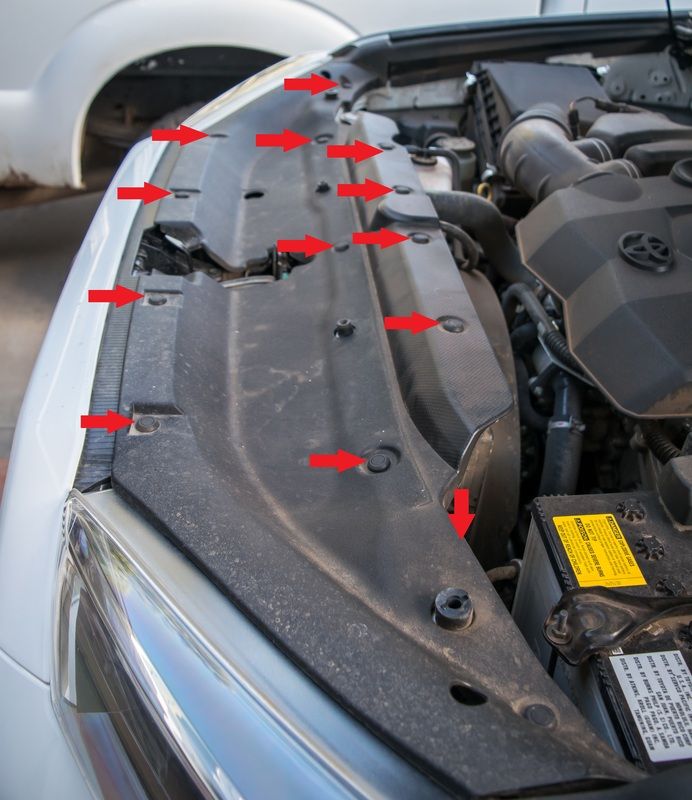
So first thing is to open the hood and remove the radiator top cover. There are 13 pop retainers that hold this piece on. Just push down on the center and then they are loose and ready to be removed. I pop all 13 and then pull up on the cover to remove the retainers.

Front%20Bumper%2011%20of%201_zpscwqvd7ax.jpg~original


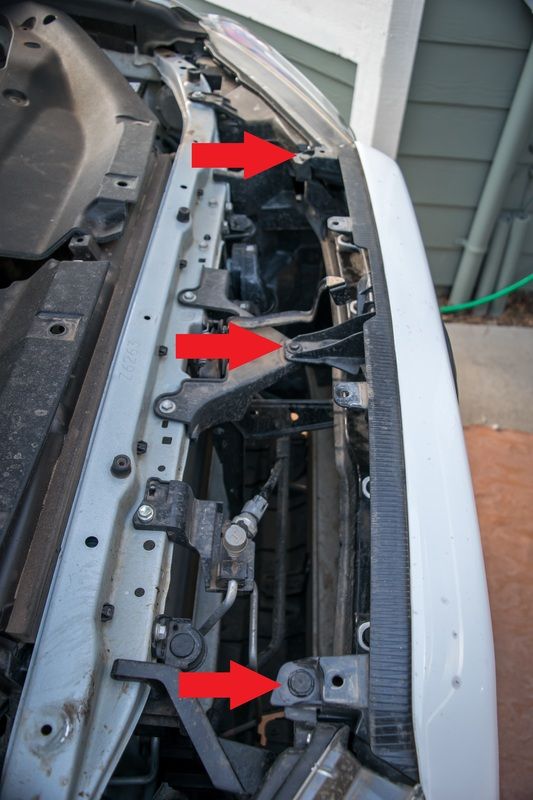
Now you need to remove two retainers and a 10mm bolt seen here. For these clips you need to raise the center portion rather than pushing it down. I use a small blade screwdriver to pop it up and then they can be pulled out.

Front%20Bumper%2010%20of%201_zpsn8b1xydg.jpg~original


Now with those three things removed you can remove the top grill from the lower IF you want to or have a need to. It is not necessary to separate the two pieces unless you have a specific need to do so. If you do want to separate them though there are eight slide-in clips that hold the two grill pieces together. These were pretty hard to separate on mine so I wouldn't do so unless you needed to.

Front%20Bumper%209%20of%201_zpsrkqfemae.jpg~original


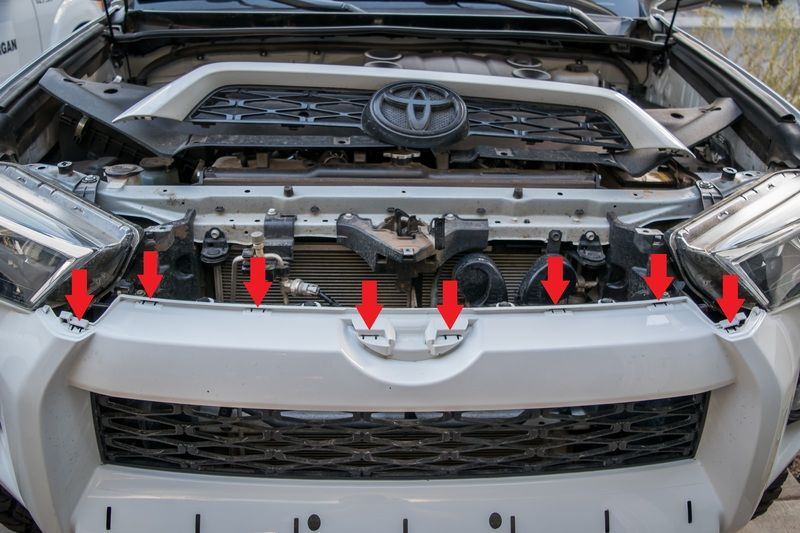
There are then four more retainers holding the upper portion of the lower bumper to the frame. They are the type you have to raise the center portion to remove

26737031476_096f25e021_b.jpg


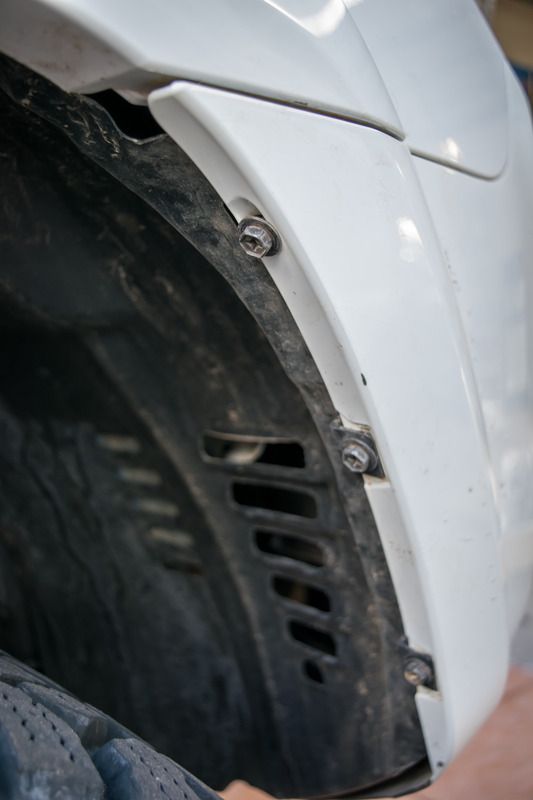
Next you use a 10mm wrench or socket to remove the three screws in each wheel well as seen here

Front%20Bumper%207%20of%201_zpsti2thgm8.jpg~original


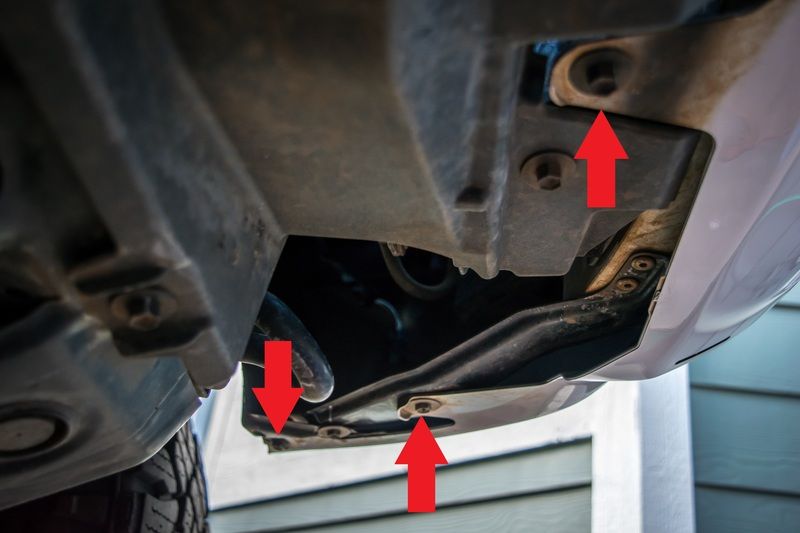
Now you need to crawl under the front bumper and you will see there are six bolts/screws holding the bumper on. This picture is looking towards the drivers side and you can see three of the bolts/screws. They are the exact same on the passenger side. Again they are all 10mm

Front%20Bumper%208%20of%201_zpsjatmxsve.jpg~original


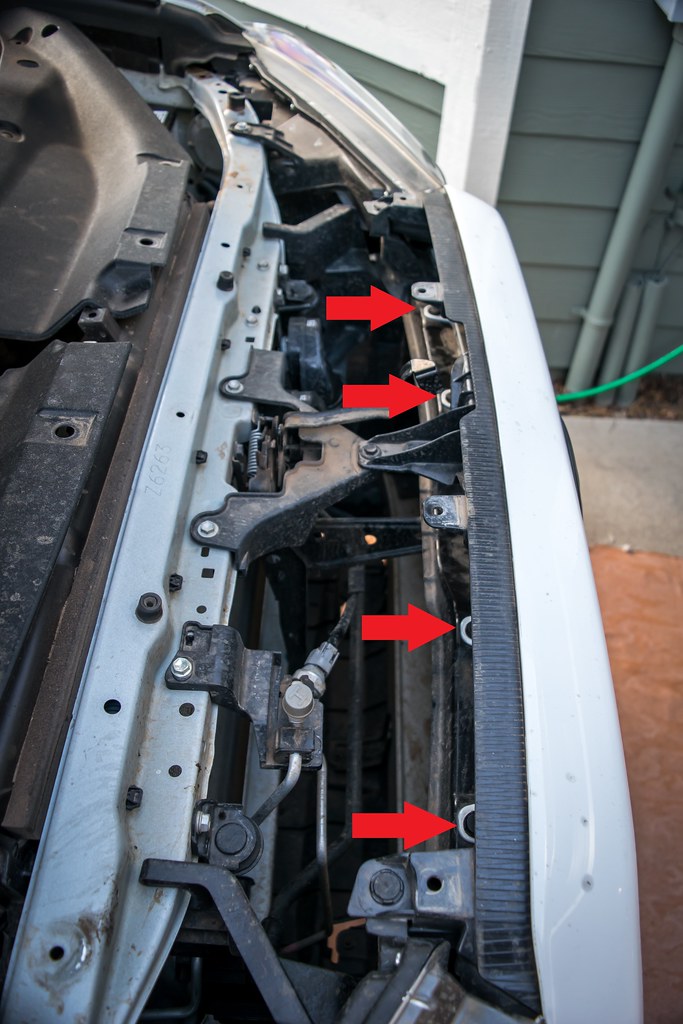
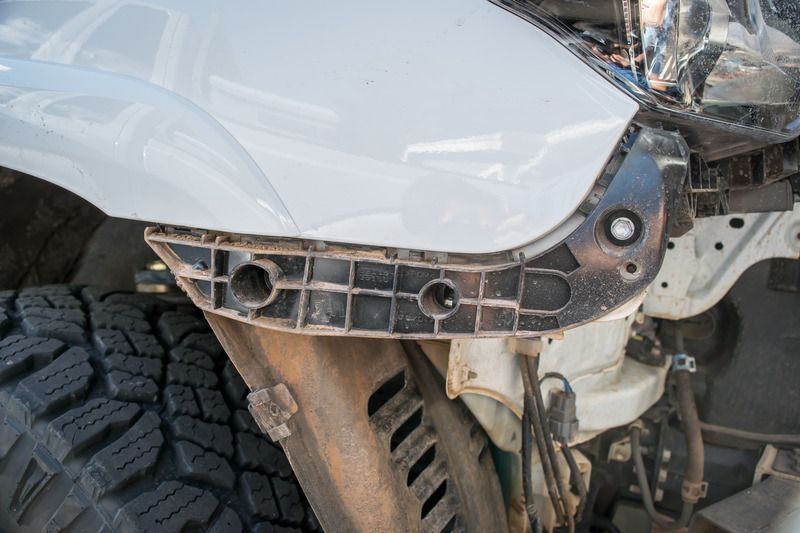
The bumper is now loose and can be pulled off but keep in mind that on each side where it meets the fender, you need to pull out rather than pulling the entire bumper forward. So start on each side and pull the bumper out towards the sides to get it free before pulling the entire bumper off the truck. Here you can see the ledge that the bumper sits on, on each side of the truck

Front%20Bumper%205%20of%201_zpselcfbbfw.jpg~original


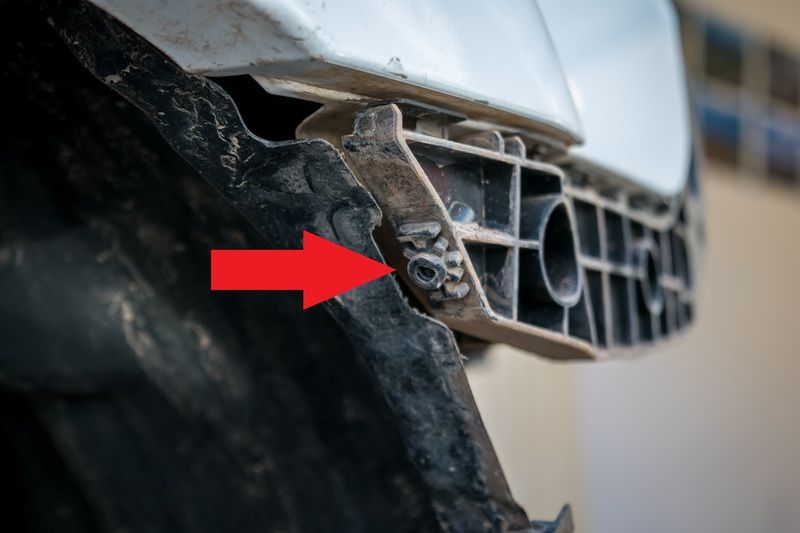
When pulling the bumper to the sides, another thing to keep in mind is the top wheel well screw, screws into a protrusion that the bumper sits around. So you need to lift the bumper over this protrusion to be able to pull the bumper out to the sides. You can see the protrusion here

Front%20Bumper%206%20of%201_zpslfig4hxx.jpg~original


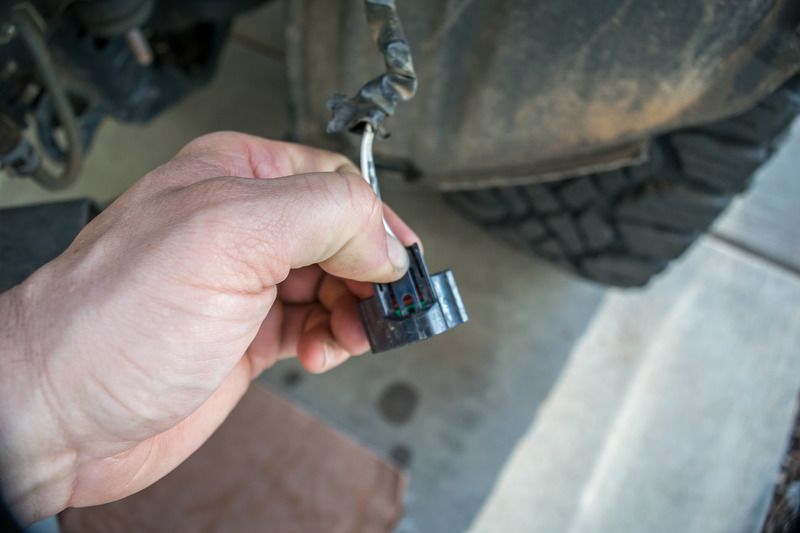
With the sides of the bumper pulled out, you can now pull the entire bumper forward and it will come off the vehicle. However, the bumper will only hang as the fog light wiring is still attached. They are simple snap connectors that you need to remove to get the bumper fully removed

Front%20Bumper%201%20of%201_zpsaplq8hly.jpg~original


Now you have the bumper completely off the vehicle

Front%20Bumper%204%20of%201_zpsxfiezhxb.jpg~original


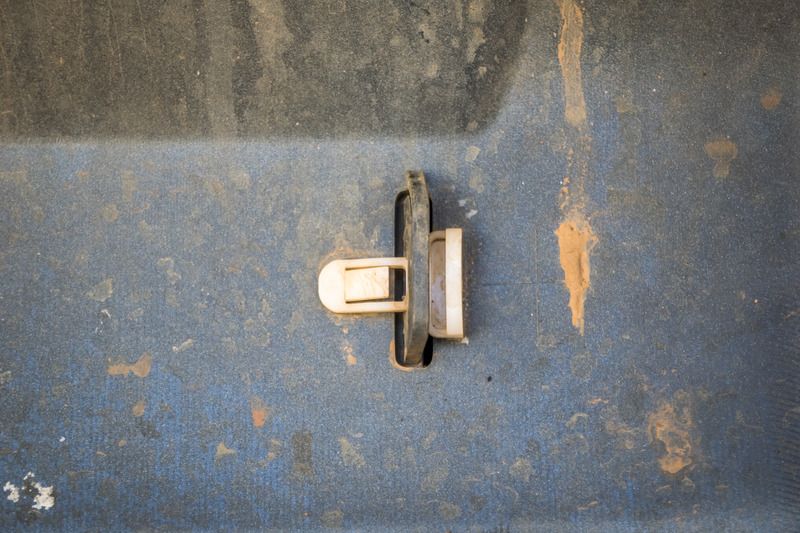
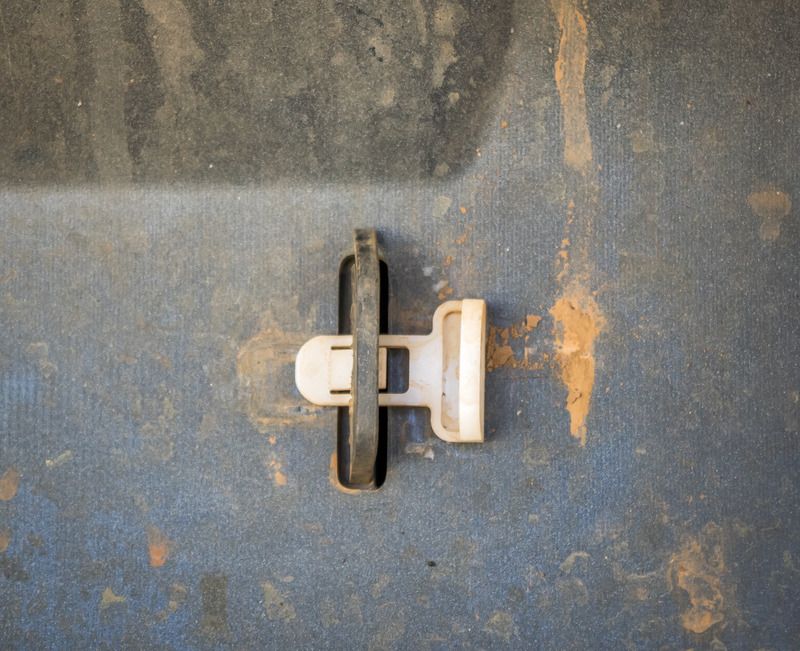
If you also want to remove the front valence from the bumper, there are 13 retainer clips holding it onto the bumper. You just need to depress the clip and slide each one out the to side as you can see

Front%20Bumper%202%20of%201_zps2mz1eb8o.jpg~original


Front%20Bumper%203%20of%201_zpsdcfsww3r.jpg~original


And this is what my truck will look like for the week while the valence is being painted

Front%20Bumper%2012%20of%201_zpsjj47ji8u.jpg~original


Hopefully this helps others
 
Last edited:
I have never done a "write-up" before but I have used hundreds of them in the years I have been working on cars. Since I couldn't find a "removing the front bumper" write-up that had working, active pictures I decided to make one. So here it is and let me know if I should add/remove/change anything since this is my first.

Thanks, it looks very thorough. I'll be doing this in a couple of weeks when my TEP arrives so I can paint the valances, as well.

Thanks,
Steve


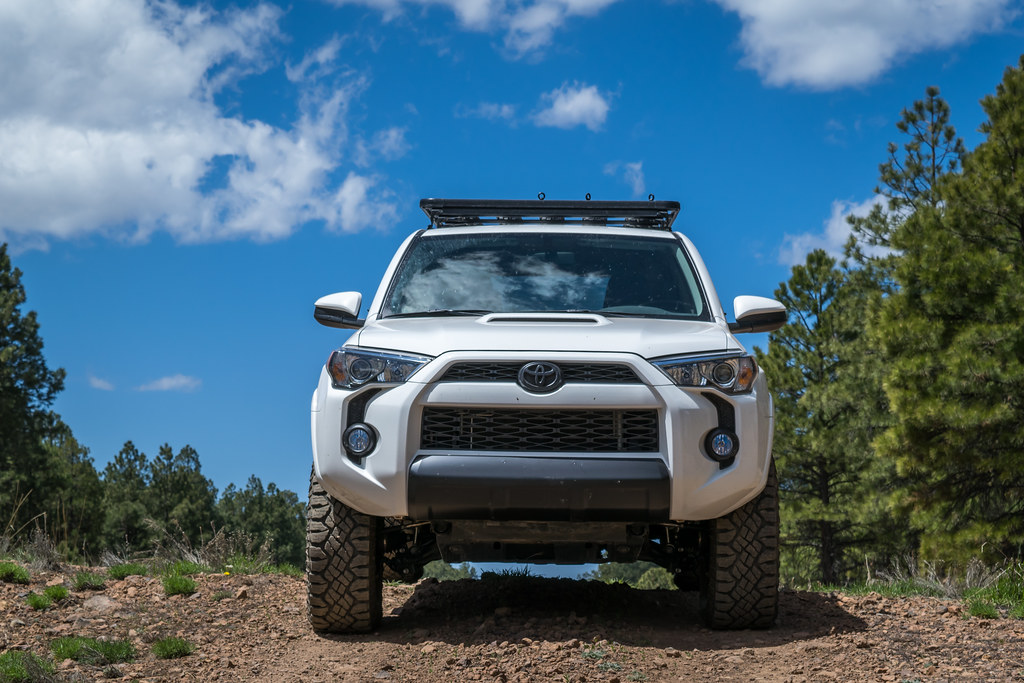
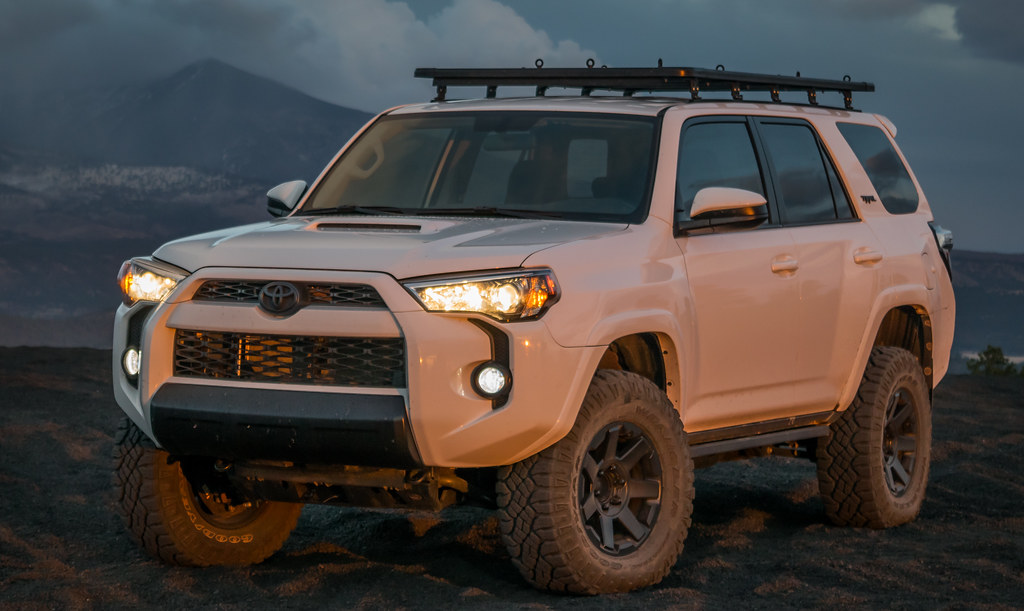
After the lift install I got some Duratrac's in 285/70R17. Lot's of rubbing so I adjusted my LR UCA's and pulled the front fenders forward.

[MENTION=129748]jdtaylor42[/MENTION] love your build. What did u mean by pulled your front fenders forward????? Noob here sorry
 
jdtaylor42 love your build. What did u mean by pulled your front fenders forward????? Noob here sorry
Thanks! There are a couple of bolts that hold the fender liner to the bumper. You can remove those bolts, push the fender liner towards the front of the vehicle, drill new holes, and attach the liner back to the bumper. This gives you an extra inch or so of room for the tires. There is a thread here that discusses it but there are lots of threads and pics about it on the forum. Just do a google search for "5th gen 4Runner fender liner mod" and you will find some discussions to help you do it.

:guitar2:

Awesome picture here. What a contrast, kayak and lake against cactus and mountains. Well done!

Thanks! I was really surprised at how scenic it was at Lake Pleasant. Really cool place to check out
 
Haha that's awesome. I drove Schnebly Hill Rd out of Sedona yesterday and it has gotten MUCH worse after this years snow melt but I still saw some very small cars trying to navigate the rocks

How long did it take? We are headed to do schnebly hill rd in the morning to sedona, then hit broken arrow and maybe a few others?
 
How long did it take? We are headed to do schnebly hill rd in the morning to sedona, then hit broken arrow and maybe a few others?

It doesn't take too long to just drive but if you stop for pictures and short hikes it can take a bit. I would say maybe an hour and a half max. You will be able to do Schnebly, Broken Arrow, and a couple more in a day.
 
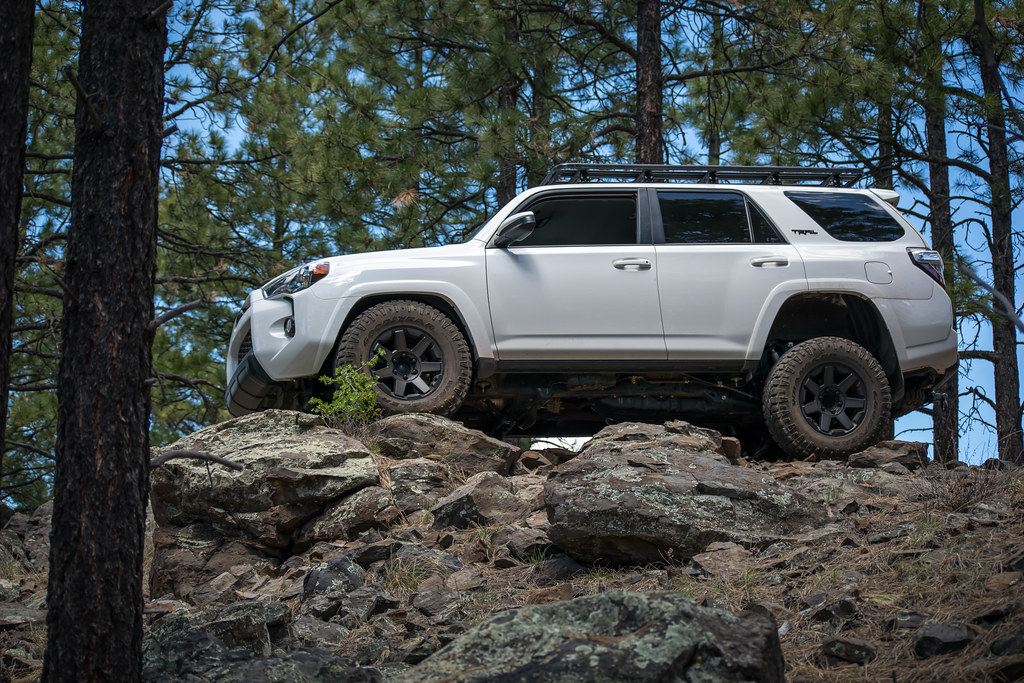
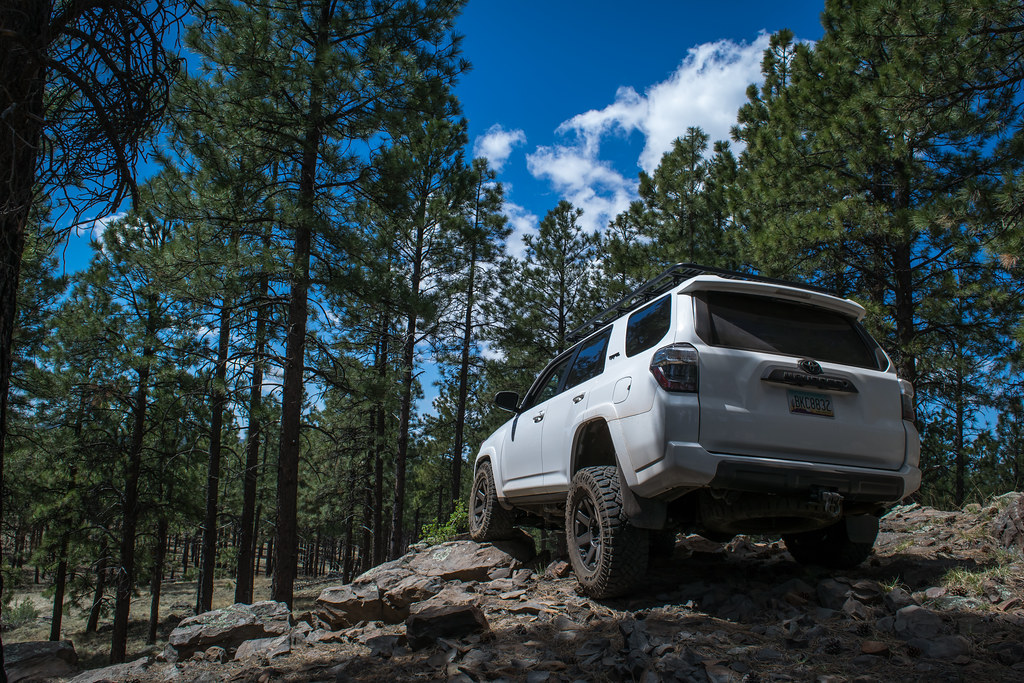
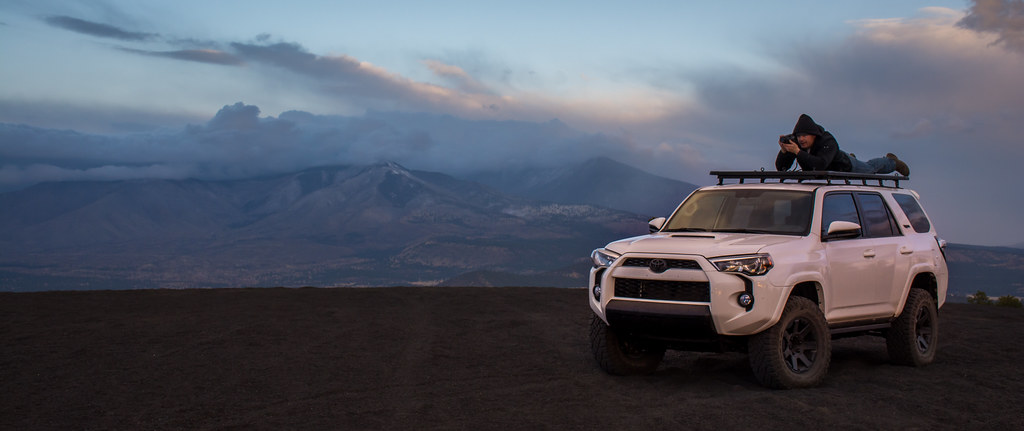
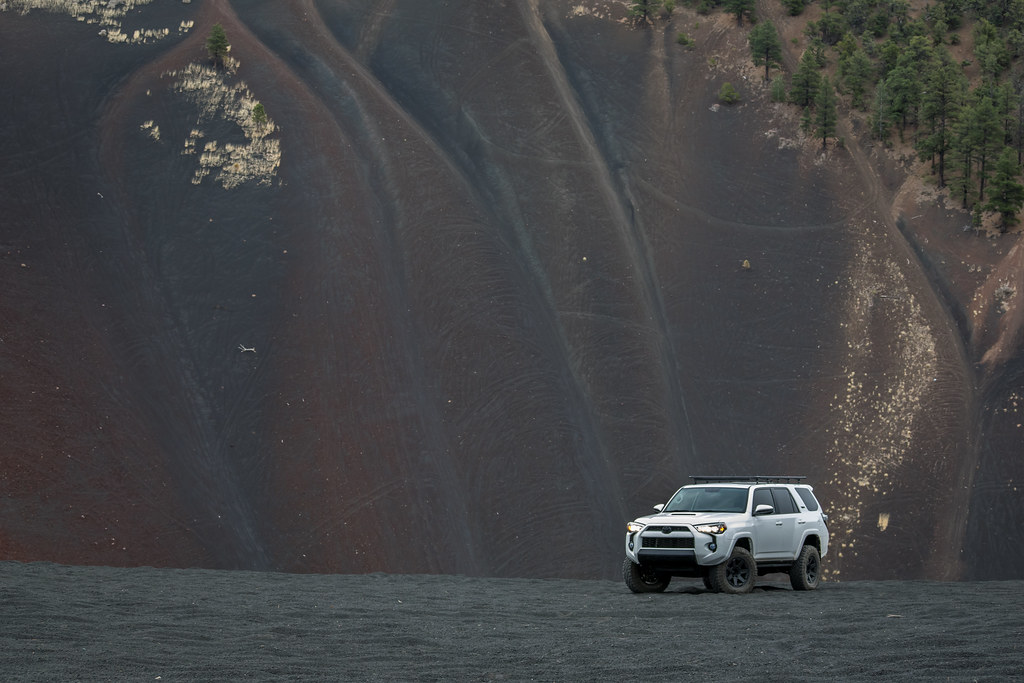
This weekend I did some local wheeling again. Saturday I got up before sunrise so I could be on one of the mountain tops in the Cinders OHV area when the sun came up.

Before Sunrise

26155943004_2e3e7b92a7_b.jpg


Making Use of the Roof Rack

26736319676_8a5c6ed8d9_b.jpg


26488750770_2fafbe2236_b.jpg


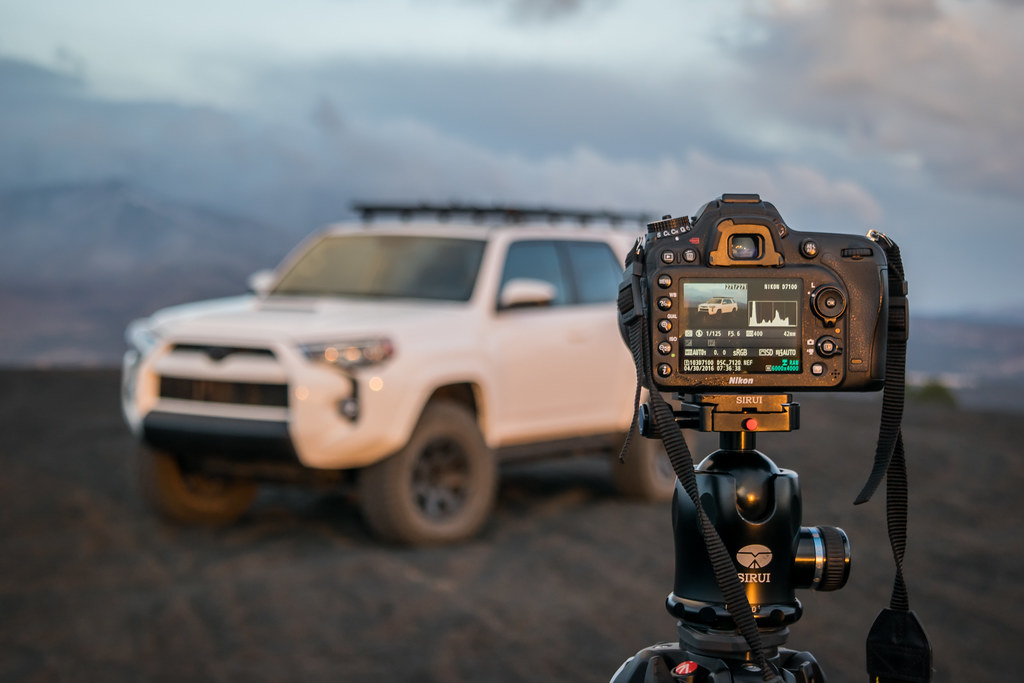
Taking Photo's. I took both of my camera's so I could try and capture both the sunrise and the truck

26157989043_ba4bb699d2_b.jpg


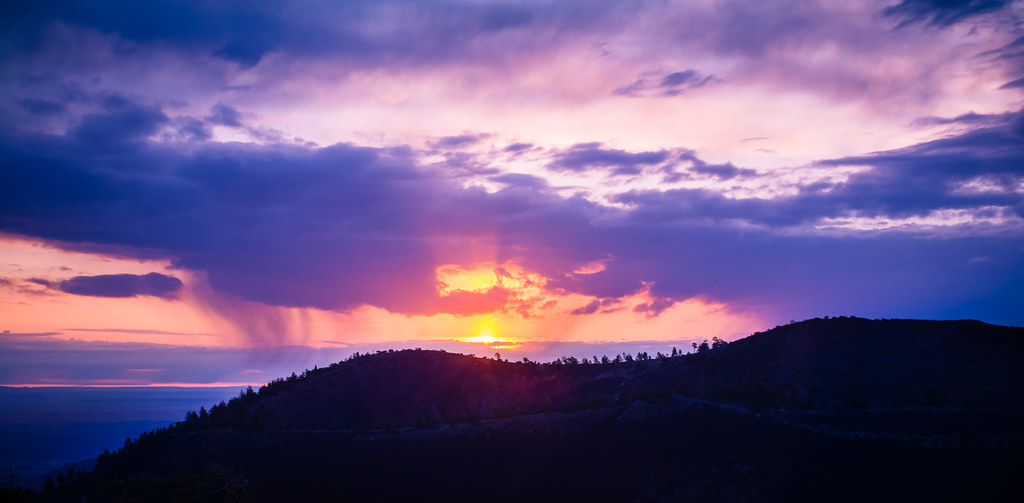
Just barely breaking the horizon. So amazing the colors a sunrise goes through. Just barely coming up you still have the purple of night mixing with the orange of the sun.

26668186382_3fd05dd3bf_b.jpg


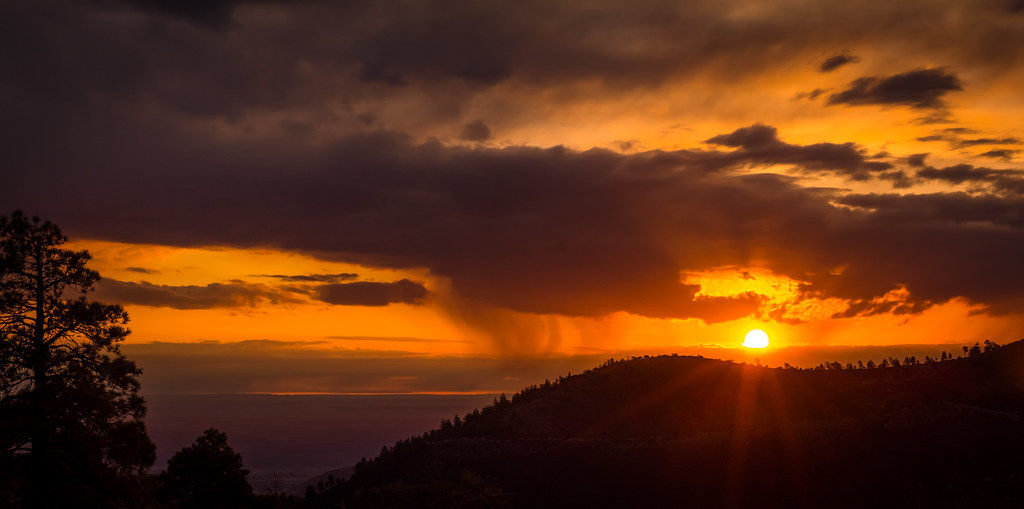
Now it's almost fully up so it has cast drastic shadows and has dramatic orange

26668084382_2ccdabb504_b.jpg


Really amazes me that things grow in the cinders. It is basically just loose tiny rock and yet things grow

26158002423_312365e7dc_b.jpg


26761538325_c13ba8342c_b.jpg


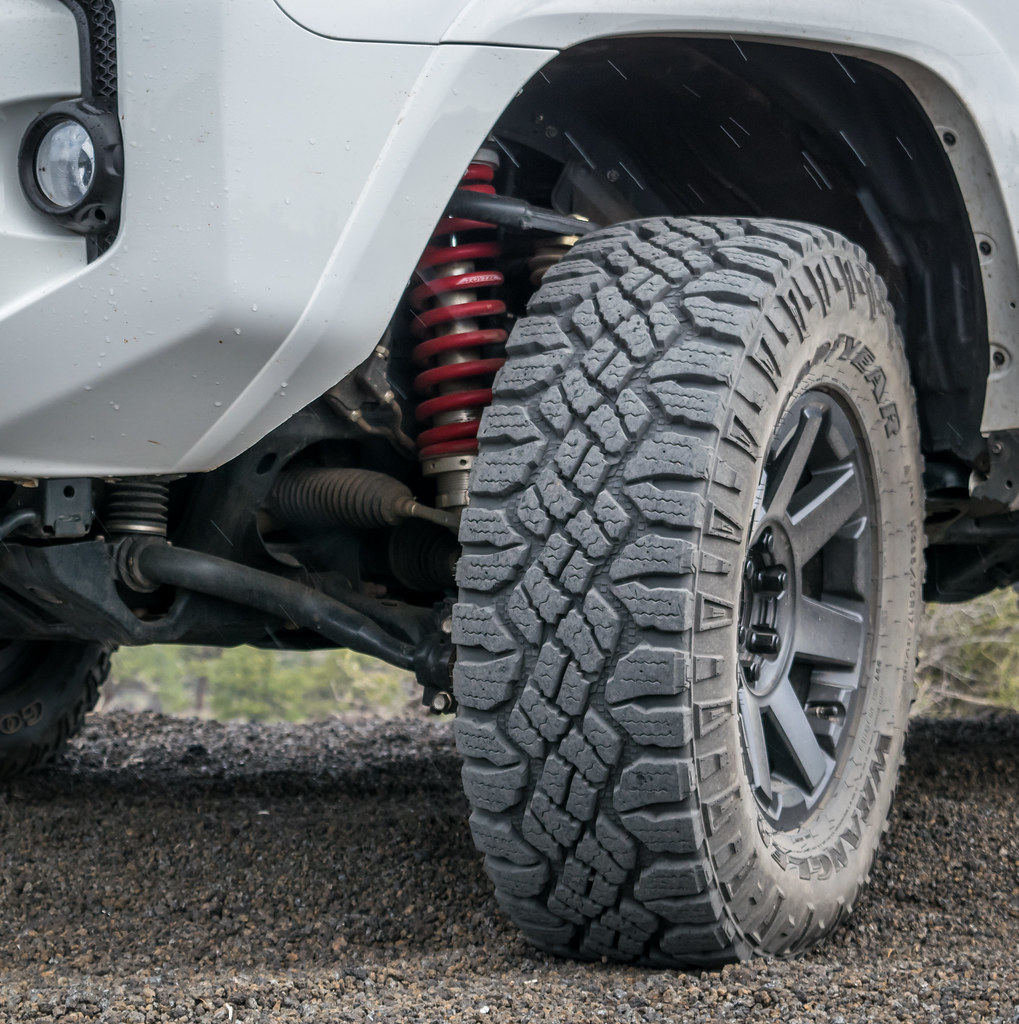
Dropped air pressure. I dropped to 15psi here

26736272156_2cf8a2bc2f_b.jpg


26488819010_e58cbaa6ef_b.jpg


Just to try and show the size of this area. Really cool

26736287836_3b6ec04110_b.jpg


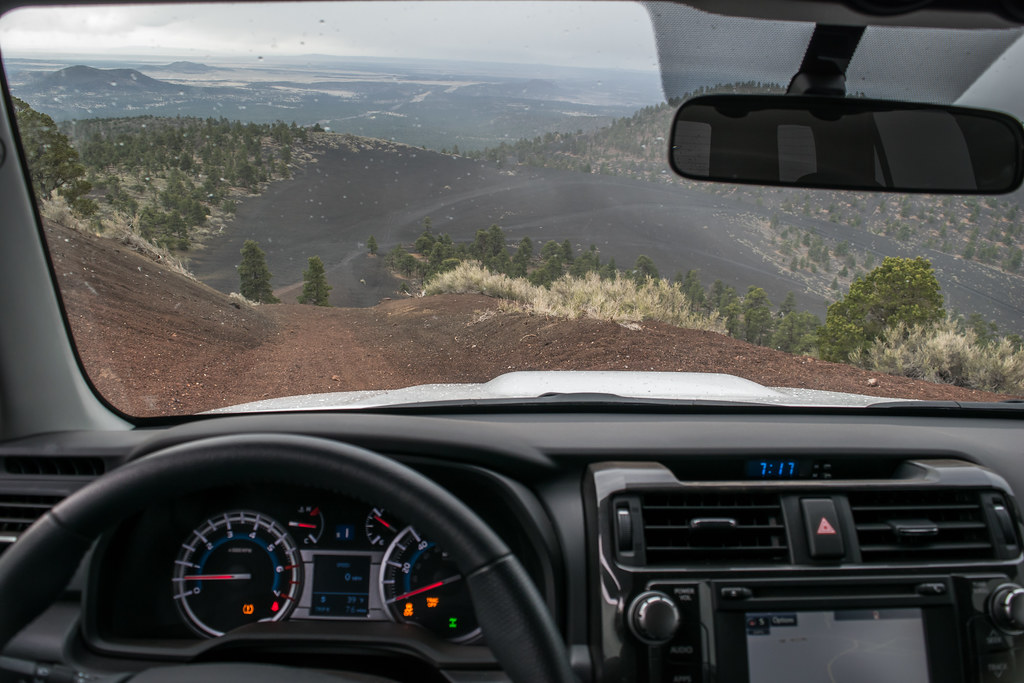
About to head back down $100 hill. It is kind of a local rite of passage in off-roading to make it up this hill. Very steep in loose cinders and it's a long climb

26158049383_325c965c0f_b.jpg


That Toytec lift. Love it

26668176742_1e6f08efc2_b.jpg


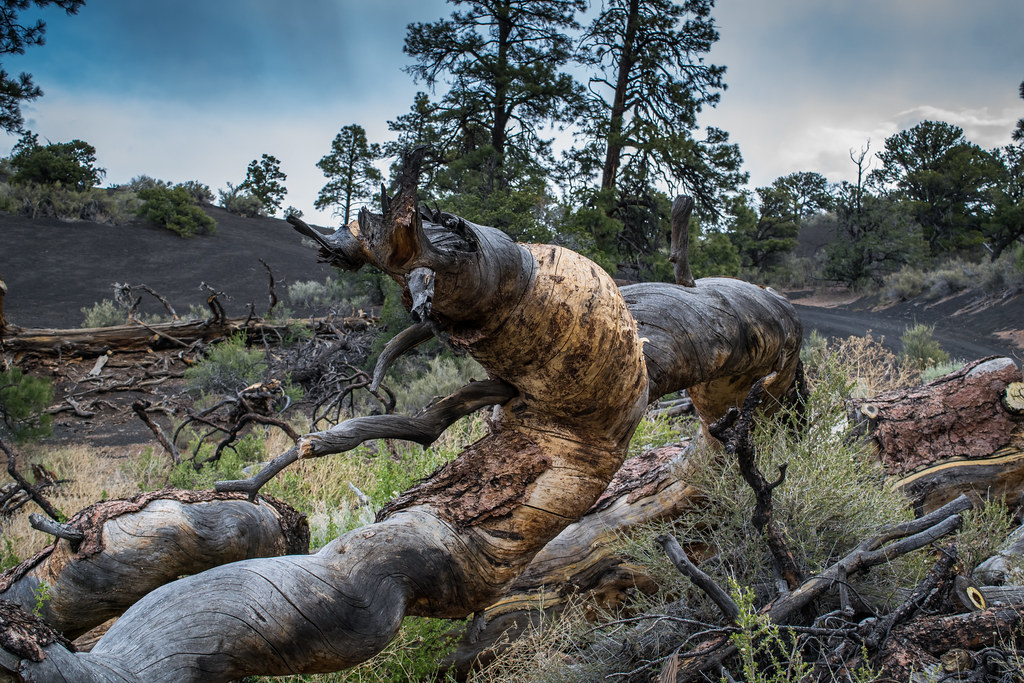
Dead and Twisted

26736307776_e29f2f40af_b.jpg


26488858710_ef80458ce1_b.jpg


Right before I took this picture I saw a sweet Unimog. I was so excited! I wanted to take pictures so badly but it was still very early in the morning and the owners were not yet up and about their campsite and I didn't want to be a creeper taking pictures while they were sleeping. I did talk to their camping neighbor though and he had spoken to the owner the day before. Apparently he was a German guy who retired and shipped his Mog over to tour America. Awesome

26488865500_f8c9fdccb7_b.jpg


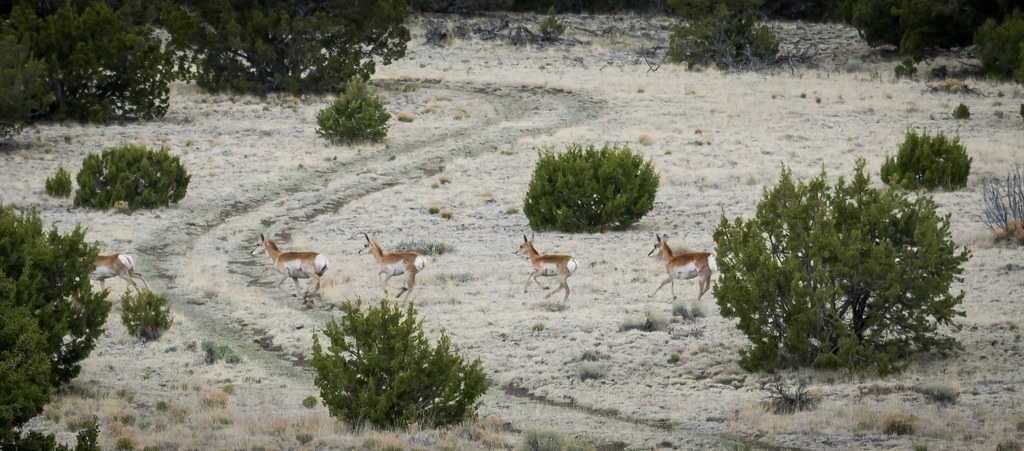
Some antelope I happened to see. They were very skittish and it was tough to grab a photo. Drove to a peak and jumped on the roof to get this picture. They wouldn't stay still for any time

26736317086_bd5e5987ca_b.jpg


We got lots of rain and snow this weekend. I kept trying to beat the storm clouds but they caught up to me at various times during the morning

26668180362_c4d33654e3_b.jpg
 
Last edited:
So I decided to have my bumper valences actually painted at a body shop rather than having them plasti-dipped since it's a lot of work to keep plasti-dip looking good in an off-road rig.

I agree on the painting vs. plasti-dip. What color did you choose for the valences? (Obviously Black but Flat, semi-gloss or gloss?)
 

Members online

Forum statistics

Threads
278,310
Messages
3,554,077
Members
248,016
Latest member
Advally Service

Trending content

Back
Top