Although this isn't an overly complicated job, it is a giant pain in the rear and took me a year to build up motivation to do. On top of all that, it's not really a mod but a required (and expensive) maintenance item that many are faced with regularly. So, I documented it to the best of my ability!
Step 1:
Start PB-blasting any/all exhaust nuts and bolts in preperation for removal; I'd start in on this at least 24 hours in advance, but even a week out is realistic. These things see a lot of heat, cold, and road stuff. This is also a good time to start building motivation
Step 2.1:
Collect all the necessary parts for your CC swap. I was able to find a used, re-certified CC, but many use aftermarket setups (e.g., magnaflow) just as well. This website has some really helpful part diagrams for our rigs, here's a
link to the one I used. For my swap, I was removing the entire CC assembly and would only need the hardware and gaskets at the header and muffler (not the middle joint):
Header-CC gasket: 17410B
Header-CC Nuts (3): 17401A
CC-Muffler gasket: 17451
CC-Muffler Bolt (2): 90105-10388
CC-Muffler Nut (2; I did not use the retainer thing): 90179-10133
Step 2.2:
Collect your tools -->
14mm socket (deep and regular)
12mm, 19mm, & 10mm sockets
Breaker bar
Short and long ratchet extension
14mm wrench
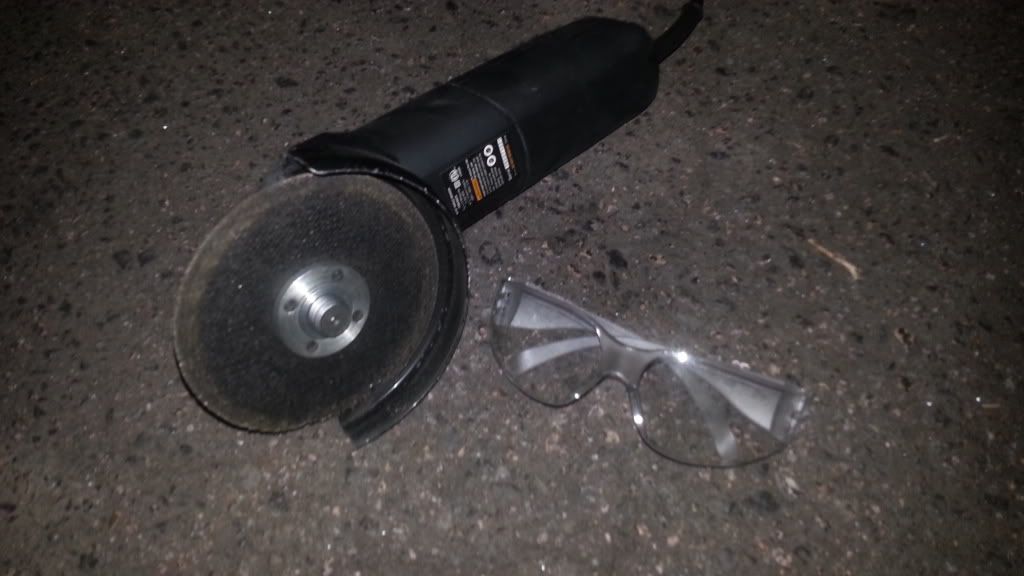
Grinder w/cutting wheel
Big Flathead (for stretching the exhaust hangers)
BFH
Step 3: Grab a drink, beer, wine, whatever... assuming you're of age and/or your guardians approve.
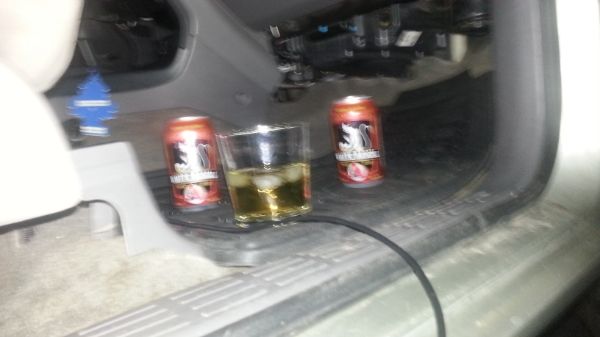
I personally started with 3 of them (Pendelton's + Avery White Rascal*2) because I really was not looking forward to the job - I knew it was going to be a PIA! Whiskey is a known lubricant too.
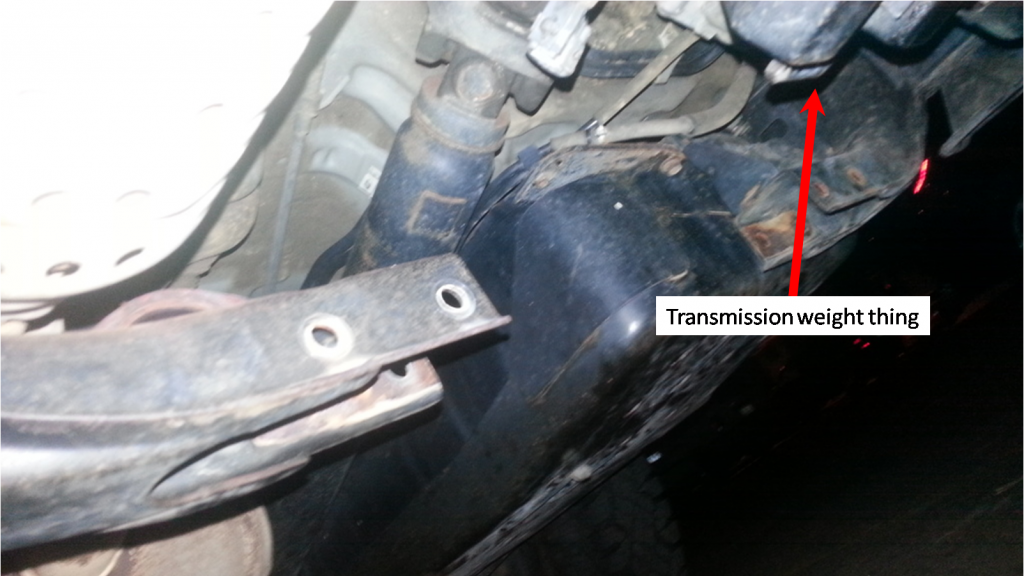
Step 4:
Remove the crossmember and that hanging weight thing (transmission harmonic balancer?). These will need to be out of the way to actually get the CC assembly out of the truck (and the new one back in).
 Step 5:
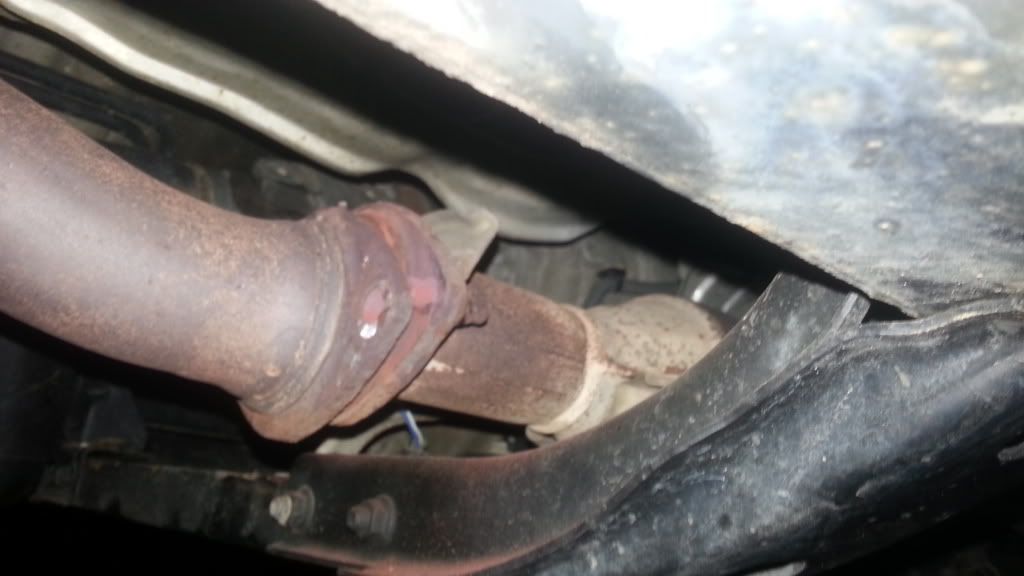
 Start removing the CC at the front end because it's likely you'll have to cut off the rear bolts. The way it was attached to the header was a bit confusing at first inspection, but hopefully this picture helps with that. The bolts are threaded into the header flange and there is simply a nut on the CC side of things.
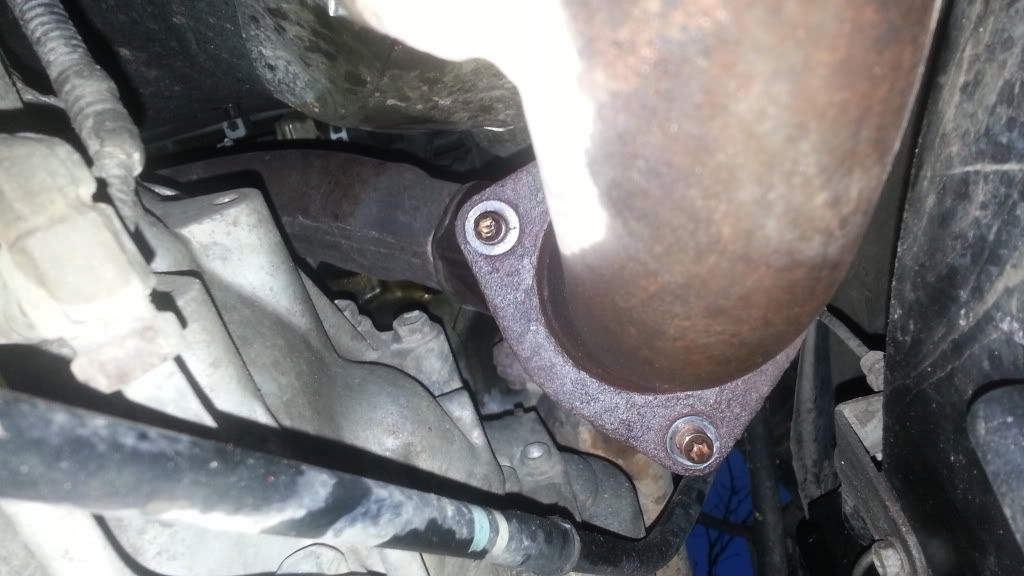
I got at it from underneath, using a deep socket, two extensions, and a breaker bar (watch the knuckles!).
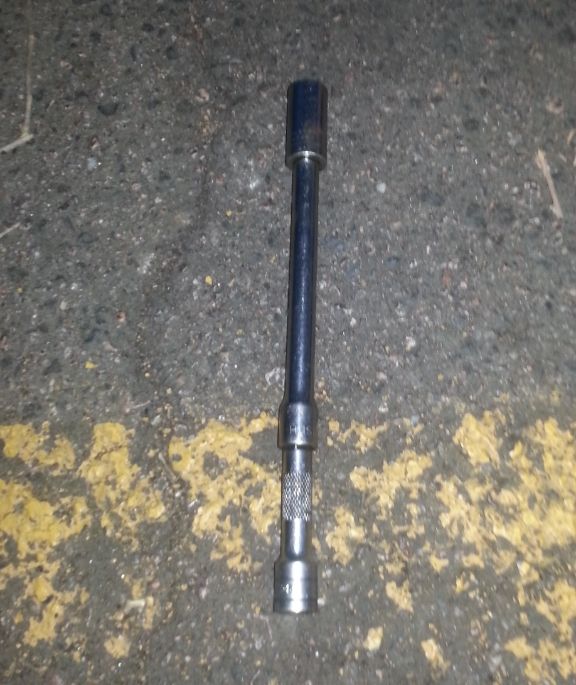 Step 6.1:
You can certainly try to remove the bolts/nuts from the rear flange, but there wasn't really any hex left on mine, so I suspect most people will have a similar situation. Bust out this stuff and get to town on the bolt heads!
 Step 6.2:
Make sure your beer isn't warm.
Step 7:
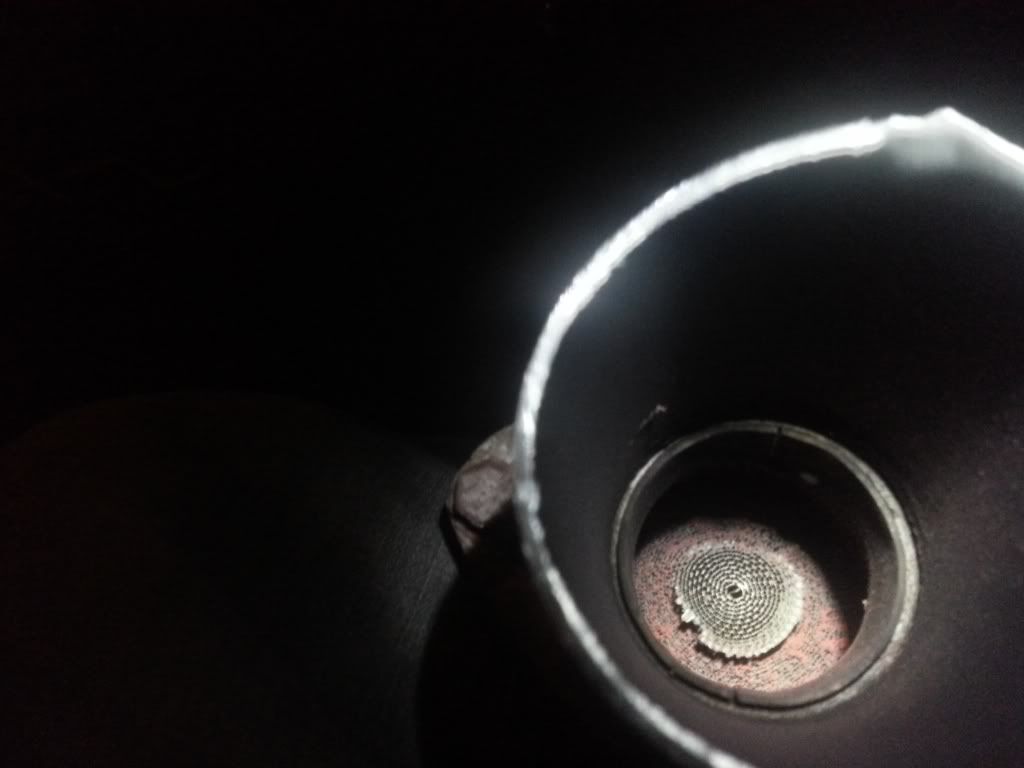
Get to cutting, then separate the CC from the Muffler.
 Step 8:
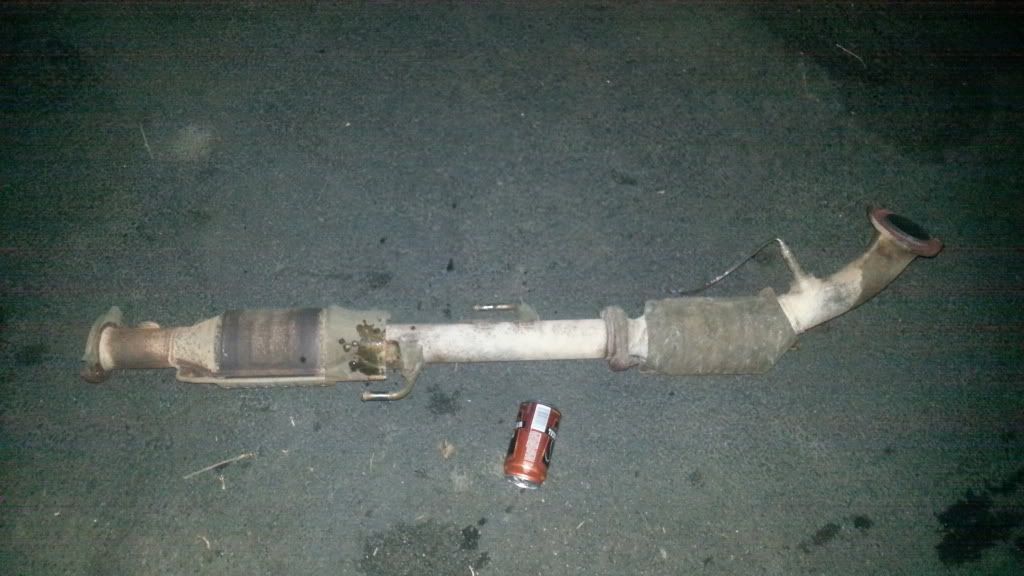
Disconnect the CC assembly from the rubber hanger things and gracefully slide it out from under the truck. Celebrate your progress and the defeat of that POS broken CC!
 Step 9 (optional):
Remove the AF and O2 sensor to install on the new CC. Mine had been replaced prior, so I knew they were still good. If yours are old, it's best to just install new ones and not worry about taking them out of the junk CC (plus it's another huge PIA if they are old).
Step 10:
Install new CC under truck, connect to the rubber hangers, and position gaskets in their respective places.
Step 11:
Using new nuts, connect the CC to the header; using new bolts and nuts, connect the CC to the muffler. Not sure what the torque is (36 ft-lbs?), but make sure you don't have any leaks.
Step 12:
Connect the AF and O2 sensor to the plugs on the truck, re-install the transmission weight thing, and re-install the crossmember.
Step 13:
Start up the truck and make sure there aren't any exhaust leaks. I used a receipt (because it's a really light paper) and held it near all the joints to see if I was getting any exhaust leaks.
Step 14:
Enjoy the CEL-free life and perhaps a few MPGs returned to you!


 Linear Mode


