slave labor, I mean, child labor, I mean.
Aren't families great?
completed!
Process,
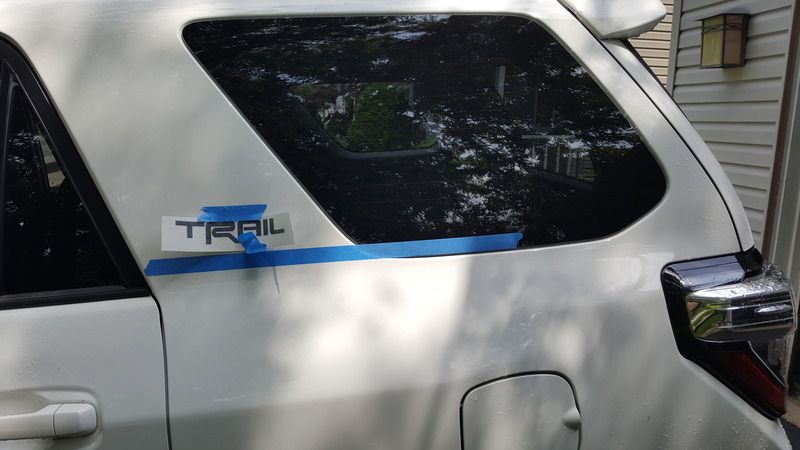
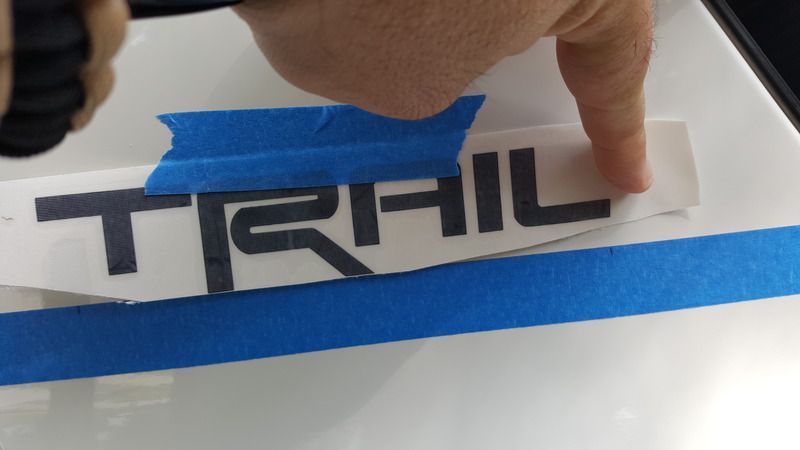
Cleaned the area to be coated, then cleaned it with windex/alcohol based cleaner.
Sprayed the area to be coated, but made sure that I only was spraying enough that I had a 50% transparency. So if you imagine when you sprayed a white object one coat, it would be so thin you would still see the white. The trick to plasti-dip is to do multiple thin layers!! Patience is key to this process.
I allowed it to dry 15 minutes between each step.
I changed my angle of application every time I did a new layer. Left to right, Right to left, rotated can then top to bottom, bottom left to right, then top to bottom with can sideways and then again left to right.
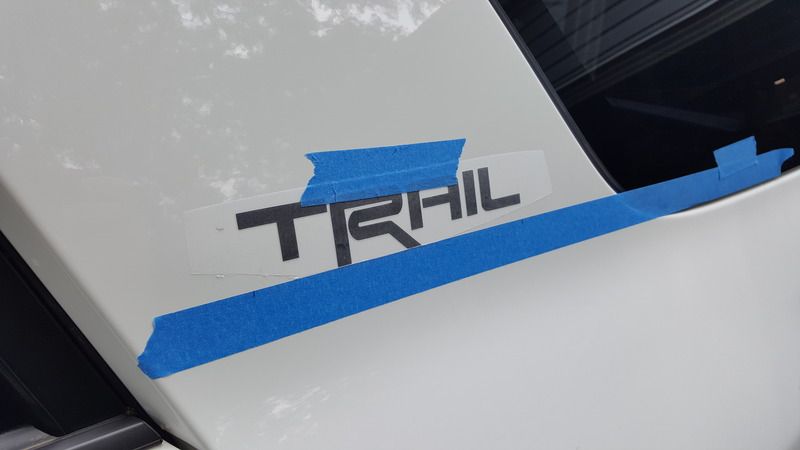
Moving forward I am going to aim at doing 6-8 coats. On the front I did 5, on the rear I did 6.
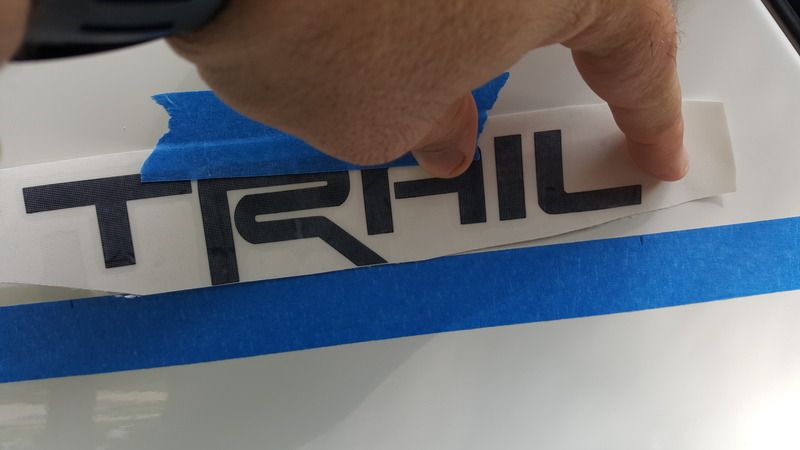
If you did a good job of giving a "buffer" around the object you want coated and its nice and coated as the rest of it, it will peel off easily.
Then for all the overspray and speckling just take a microfiber cloth and buff the paint and it will come off. if its really stubborn bust out the goo gone.
Last edited by FiReBReTHa; 06-02-2016 at 11:30 PM.
Plastic-Dip? If so, how many coats, and of what type. I need to do mine. Thanks!
__________________ Steve - Northern Ohio, USA 2021 Toyota LC200 - 2017 Hiker Squareback Trailer - 1958 MGA Roadster
Wandering around on occasion, always lost
Thanks! Plastic-Dip is something I've never tried. I might give it a go!
Quote:
Originally Posted by FiReBReTHa
I went ahead and edited the post to include a couple vids and info, hope it helps!
Quote:
Originally Posted by kevinmai712
Usually I do 6-8 coats when I plastidip to get a smoother texture
__________________ Steve - Northern Ohio, USA 2021 Toyota LC200 - 2017 Hiker Squareback Trailer - 1958 MGA Roadster
Wandering around on occasion, always lost
Thanks! Plastic-Dip is something I've never tried. I might give it a go!
On YouTube there's a channel call " Dip Your Car " you can watch all his video to get some idea on working with plastidip. I used plastidip on my subaru and love it!
Sent from my iPhone using Tapatalk
__________________
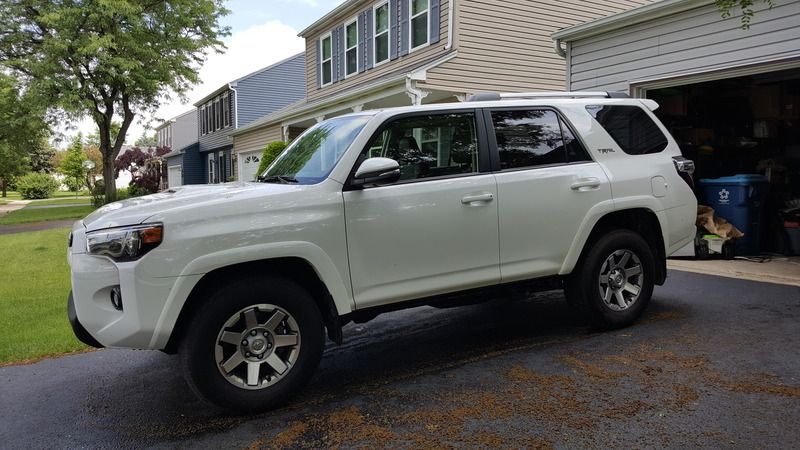
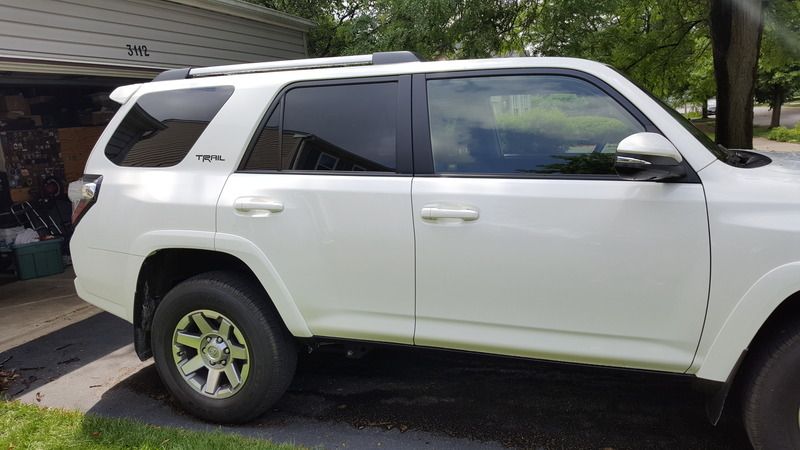
2015 Trail Super White, 3" Toytec with 5100 Blisten, Nitto Ridge Grappler 285/70R17, SCS SR8, Rigid Industries DOT/SAE Fog Lights, LED interior, XenonDepot Phillips 4300k HID, Gobi Ladder, Prinsu Design roof rack, RCI Sliders.
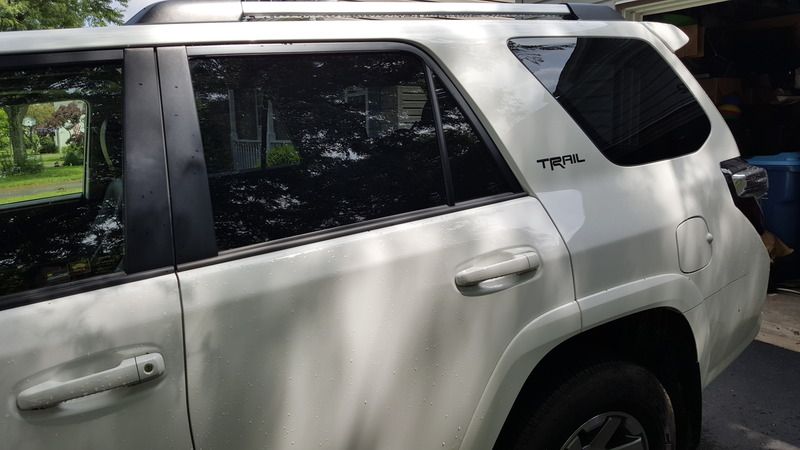
Wifey didnt like the idea of it, but I wanted to see how it would look, and she liked it!
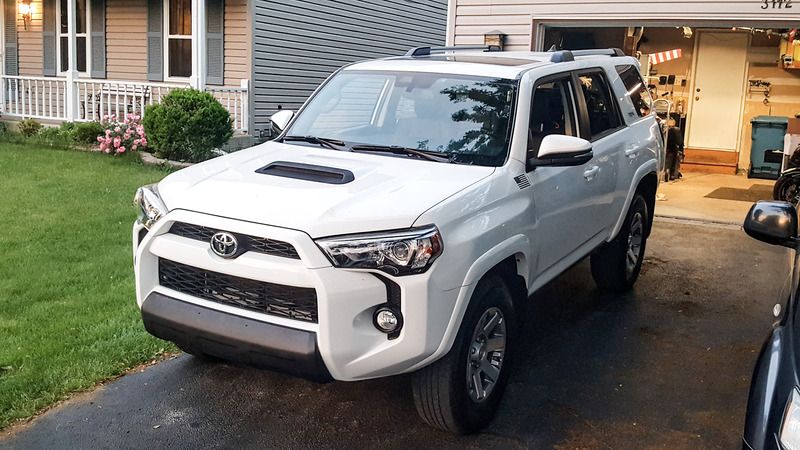
to under take it I removed the hood scoop via the 5x 10mm from underneath the hood. Then there is one Center "Clip" that you need to use needle nose to squeeze together to get it to release, then if you look on either side of that center "in" the hood there are two more blue ones that also need to be released.
Spray away, I think I did 8x coats on this because I let it dry, the propped it up at a different angle. sprayed it. let it dry. Then rotated it and attacked it from a different angle to make sure I got it covered. Make sure you clean the nozzle between coats! even in between spraying to make sure no "globs" or "blobs" come flying off.
Last edited by FiReBReTHa; 06-06-2016 at 12:13 AM.
Fog light trim piece removal!
So, this was fun.
Key notes, remove from the bottom if you can jam your arm up into position. I have decently sized arms so most folks should be fine with this.
Right arm for drivers side, left arm for passenger gives the best angles.
You have a total of five side push releases (shown in red)
And then the Green arrow points to a side push handle that needs to be popped out before the assembly can be released.
Here is the white piece, but of course I am showing it from the front of the car so you can imagine how its positioned from the rear.
Sadly the point at which it pops into, broke off so its not properly depicted in this picture.
I just like to remind folks to "flex" the tabs back in a touch so they are sure to click back in when you put it all back together.
So even tho the directions said you can do it wet, I HATED doing these wet because the lamin-x is "Flat" and the fog's glass has multiple angles in which you have to contort the piece to.
I liked putting it on in the middle first and then pushed it right to flatten it out and then worked my way back left smoothing it out with my finger as I went along.
As you're going left you will find those additional "angles" that will require you to "pull" on the tab a bit more while you are flattening out the Lamin-x.
Once you're happy with it I would then cut the tabs off.
Turn on your fogs and let the car idle for awhile and let them heat up to help with the adhesive.
At this point you are then also able to stand back and say
damn, that's a sexy *****....
Hardwiring my Valentine 1 one radard detector and giving it power from the rear view mirror.
So this is the model of mirror I have,
Which has two connections to it, White (ground) and Blue (Power 12v). Of course always test yours first before plugging in random stuff.
I had some expanding sheathing around so I trimmed a length of phone cord to the same size.
I then removed the sheathing since I will need to put an inline fuse on the 12v power line.
on the phone cord I was using, the green was my hot line so I put the fuse on that line.
I then added a piece of electrical tape and then moved the heatshrink down to wrap it.
I slid the sheathing down from the plug side,
I did a test and made sure the detector was working with that connection and then plugged it into the mirror and I took a zip tie to connect the new wire to the mirror's bracket.
Very nice, detailed write-ups. I need to dip my bumpers as well. I had them wrapped in vinyl back in 2014 but it hasn't held up well. I'm surprised you are using those suction cups for the Valentine. I recommend upgrading to this: Radar Mounting Brackets


 Linear Mode


