Home Menu

Site Navigation


View Single Post
Old 01-24-2015, 08:49 PM
Dingo79 Dingo79 is offline
Junior Member
 
Join Date: Jan 2015
Location: Chicago
Posts: 13
Dingo79 is on a distinguished road
Dingo79 Dingo79 is offline
Junior Member
 
Join Date: Jan 2015
Location: Chicago
Posts: 13
Dingo79 is on a distinguished road
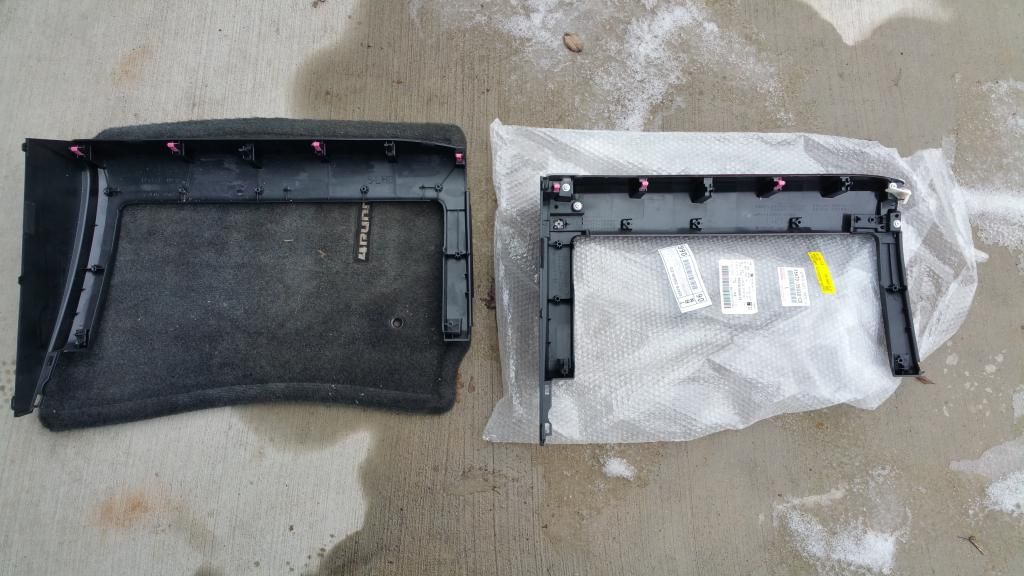
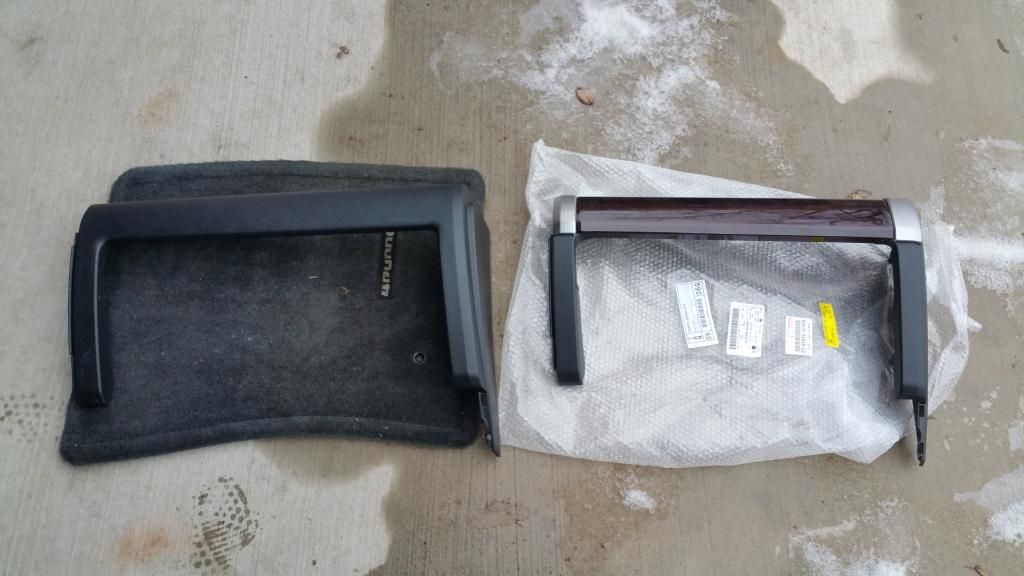
Then just pop off the trim piece we are replacing. Here is a pic of the old and new trim pieces side by side:


STEP 9:
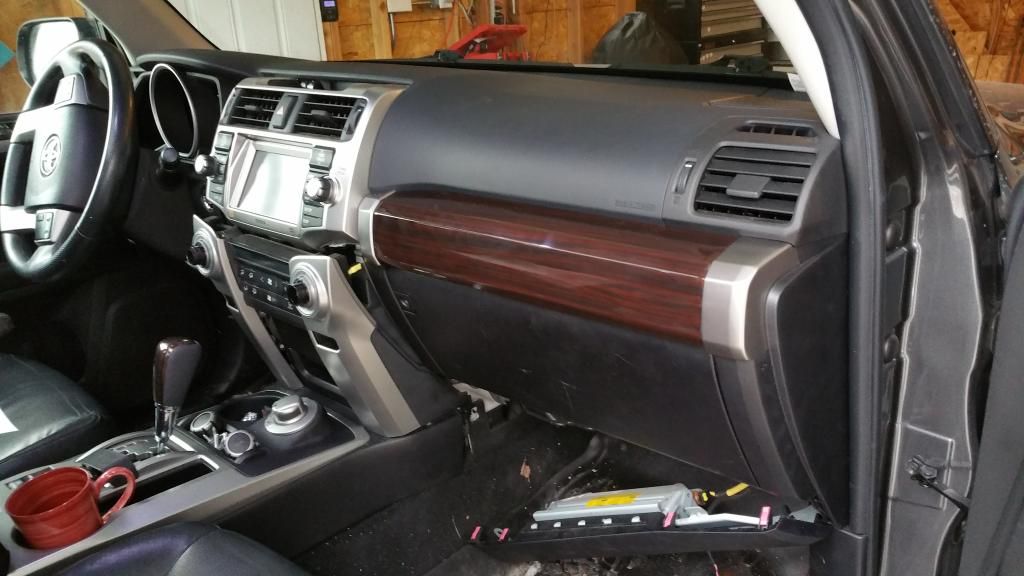
Clip the new trim piece to the glove box assembly and re-fasten the nine screws you removed in the previous step. Here is the glove box and trim all put together and back in place:


STEP 10:
Re-install all of the pieces you removed, in reverse order. One thing to note as you are reinstalling the air bag - there is a small hook that latches into a slot near the two mounting bolts you removed in step 5. Make sure you re-hook this before reinstalling the bolts. I missed this the first time. You will not be able to screw it down if you miss this. Here is the best pic I have of this:

Dingo79 is offline   Reply With QuoteReply With Quote
 
Powered by vBadvanced CMPS v3.2.2

All times are GMT -4. The time now is 03:31 PM.

Powered by vBulletin® Version 3.8.11
Copyright ©2000 - 2024, vBulletin Solutions Inc.
Search Engine Optimisation provided by DragonByte SEO (Pro) - vBulletin Mods & Addons Copyright © 2024 DragonByte Technologies Ltd.
User Alert System provided by Advanced User Tagging (Lite) - vBulletin Mods & Addons Copyright © 2024 DragonByte Technologies Ltd.
***This site is an unofficial Toyota site, and is not officially endorsed, supported, authorized by or affiliated with Toyota. All company, product, or service names references in this web site are used for identification purposes only and may be trademarks of their respective owners. The Toyota name, marks, designs and logos, as well as Toyota model names, are registered trademarks of Toyota Motor Corporation***Ad Management plugin by RedTyger
 
Copyright © 2020