|May 2, 2015|
The next step in Stage 1 is to improve the Stock electrical system. I was always disappointed with the quality of my wiring work on my previous 4Runner, this time that will not be the case. I will be upgrading the stock system to handle higher loads (Big 3, Alternator) and installing an auxiliary fuse block to avoid fuse taps. I will also be building a clean platform to mount the new wiring components to.
The electrical upgrade will consist of 4, completely independent, phases. Meaning you can do any of them at any time.
-Alternator Upgrade
-"Big 3" wiring Mod
-Blue Sea Fuse box
-800W Power inverter
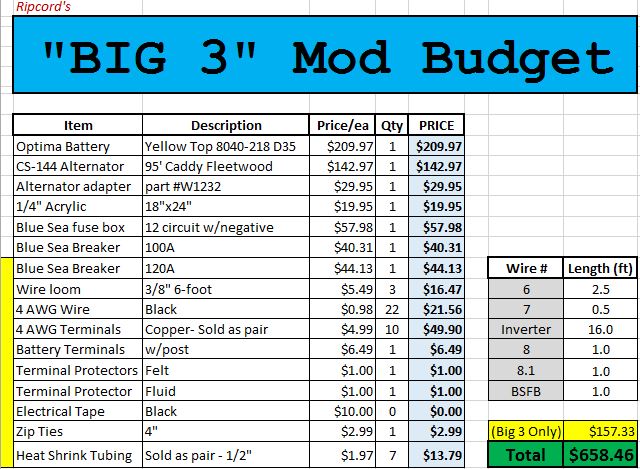
Here is my parts list for the entire electical project
 ================================================== ================================================
This post will cover the alternator upgrade only.
Resource:
================================================== ================================================
This post will cover the alternator upgrade only.
Resource:
I followed
@
Doc2012
's
CS144 alternator upgrade. Although he chose to make a custom harness, since then an adapter has come to market. Super simple!
What/Why:
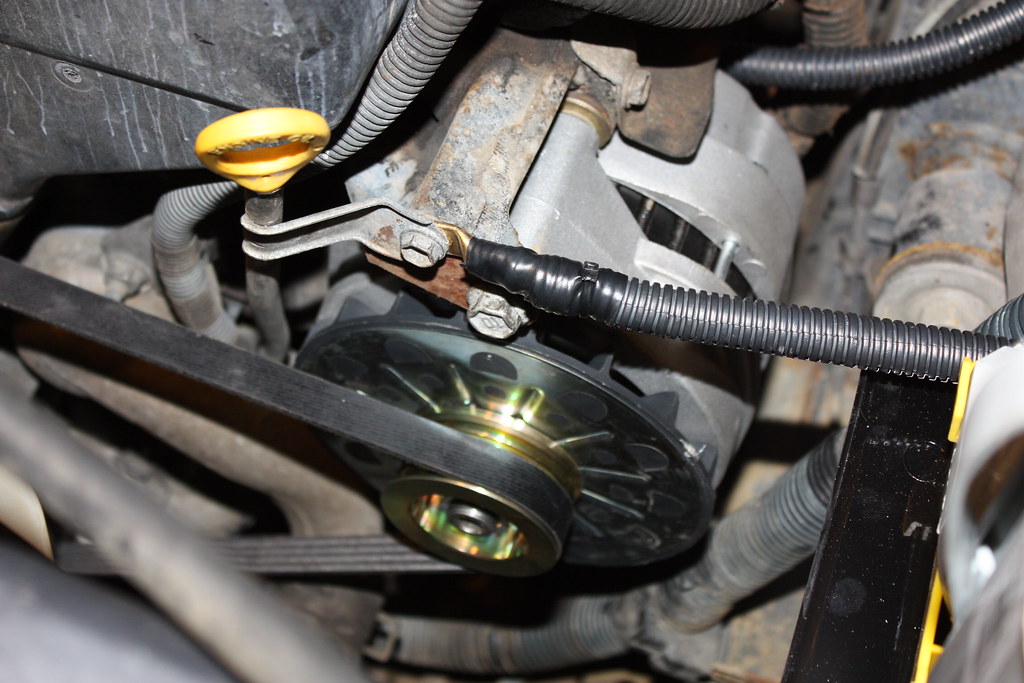
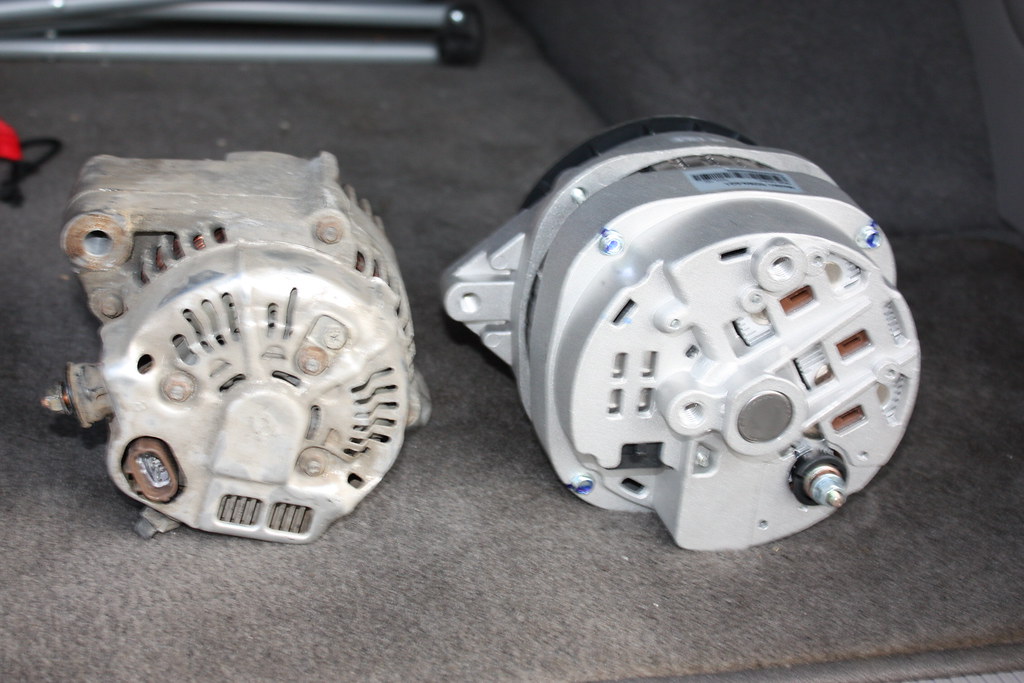
The stock alternator is capable of 85W, this will quickly be maxed out when running many accessories. The CS144 Alternator is capable of 140W, which will be more than sufficient. The CS144 code denotes the case style, which was mostly used in 90's chevy V8s. The CS144
will bolt to the stock location with the stock alternator belt.
Parts/Cost:
$142.97: CS-144 Alternator- Summit Racing (be sure to get the ribbed pulley type NOT the V-belt type)
$29.95: Alternator plug adapter
(W1232)
$21.03: Power Steering Belt (90080-91126-83)
$19.51: A/C Belt (99364-20870-78)
$21.57: Alternator Belt (90080-91090-83)
Tools:
-12mm socket
-14mm socket
Time:
2 hours. Depending on how quick you can figure out the power steering tensioner.
Procedure:
Basically, we will remove the accessory belts, then the alternator, then replace everything in the reverse order. Remove the skids, you will need to be under the truck.
-The first belt is the Power steering belt, this is the hardest tensioner to reach. You will need to break the top power steering pump bolt loose, then loosen the clamp nut on the tensioner. Both can be reached from above the vehicle. The final step is to loosen the tensioner bolt, you can barely even see it, but know that it is under the Power steering pump.
-The second belt is the A/C belt. The tensioner pulley can be accessed from under the vehicle. Loosen the bolt through the center of the pulley, then the tensioner itself.
-The final belt is the Alternator belt. The tensioner is under the alternator. First break loose the top alternator bolt, then loosen the clamp nut then the tensioner bolt.
-To get the belts out, you will need to put a few fan blades through the belt, then turn the fan so the belt is out. Once the belts are off, the rest is trivial.
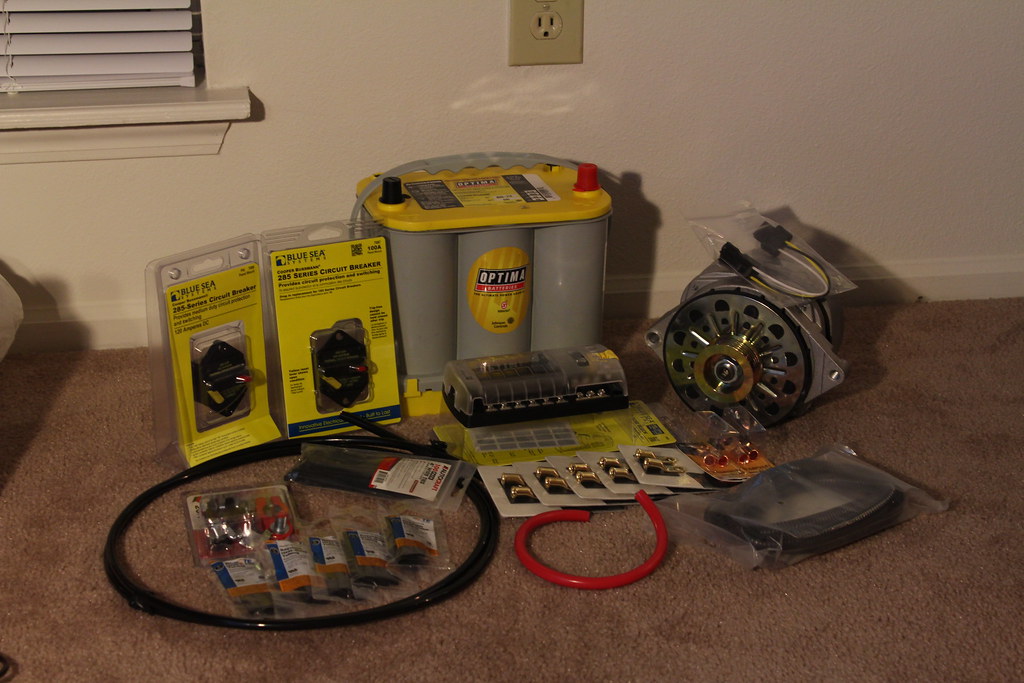
Here is most of my materials.
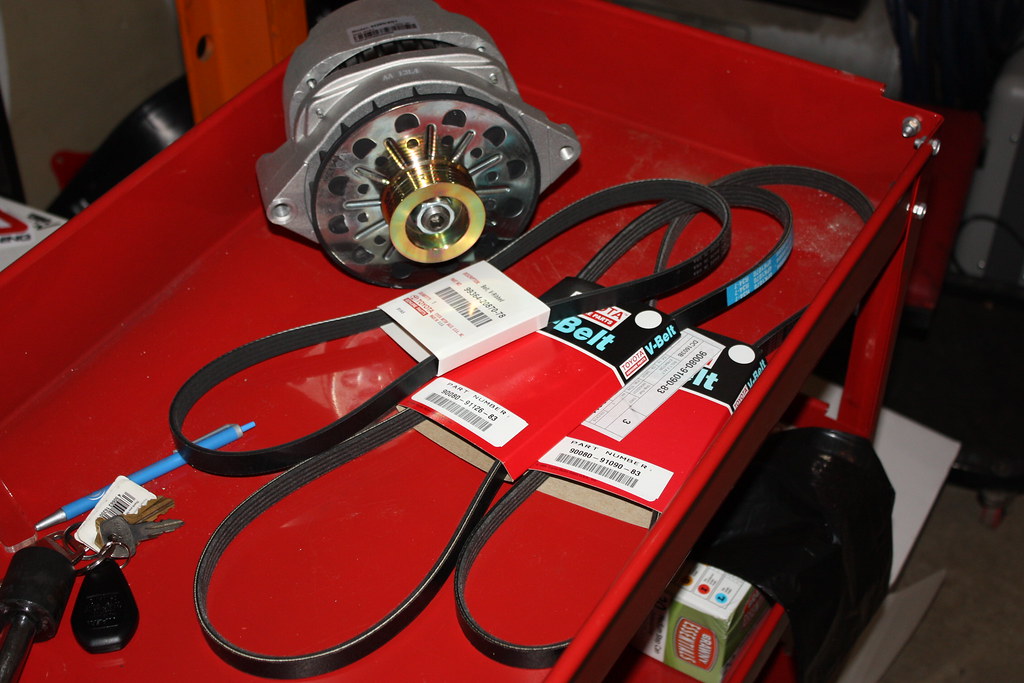

Alternators side-by-side:
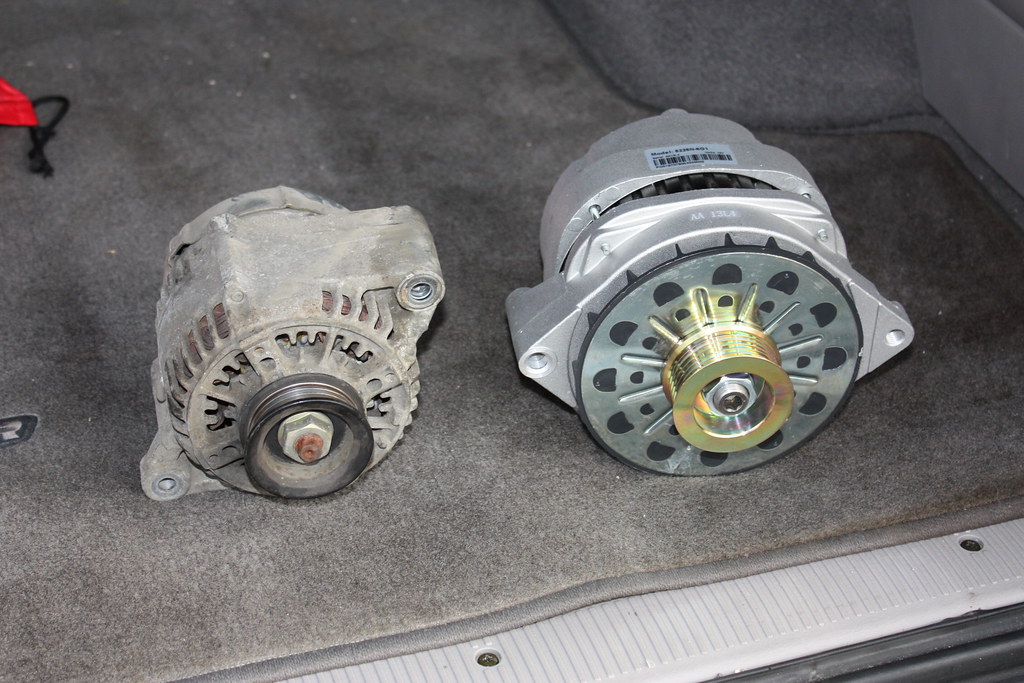
New one in with new belts: You will notice that the CS144 has a 5-Rib pulley while the OEM belt is 3-Rib. The belt will be on the pulley like this when looking down on it:
Rear:
---------------------------- open
---------------------------- open
-x-x-x-x-x-x-x-x-x-x-x-x belt
-x-x-x-x-x-x-x-x-x-x-x-x belt
-x-x-x-x-x-x-x-x-x-x-x-x belt
Front: