Thought I'd give back what I can, and document my experience installing rock sliders on a 4Runner equipped with KDSS.
My wrenching experience is limited to oil changes. So the thought of destroying KDSS lines crossed my mind several times. However, if you take your time you can get through this as I did. After driving around with only the passenger slider slider on the truck for a few weeks, I decided I needed to figure this out!
Only documenting the drivers side, as the KDSS lines run down this side of the frame.
Tip for the passenger side - bolt the slider to just one of the holes on the top right corner first when attaching the slider. Next, bolt or thread just one of the holes on the top left corner. Doing this will allow the slider to pivot up more easily so you can align all of the holes on the slider to the frame.
Tools Needed:- jack (multiple are helpful)
- jack stands or blocks or whatever
- impact wrench (optional but helpful for removing bolts)
- 12mm socket (1/2 and 3/8 inch came in handy)
- 13mm socket (1/2 and 3/8 inch came in handy)
- socket extensions
- 13mm wrench with swivel or flex ratcheting
- torque wrench
- anti-seize
- wood shims
- hack saw
Parts Needed:- a 4Runner
- rock sliders (C4 are used in this example)
1. Let's get started -
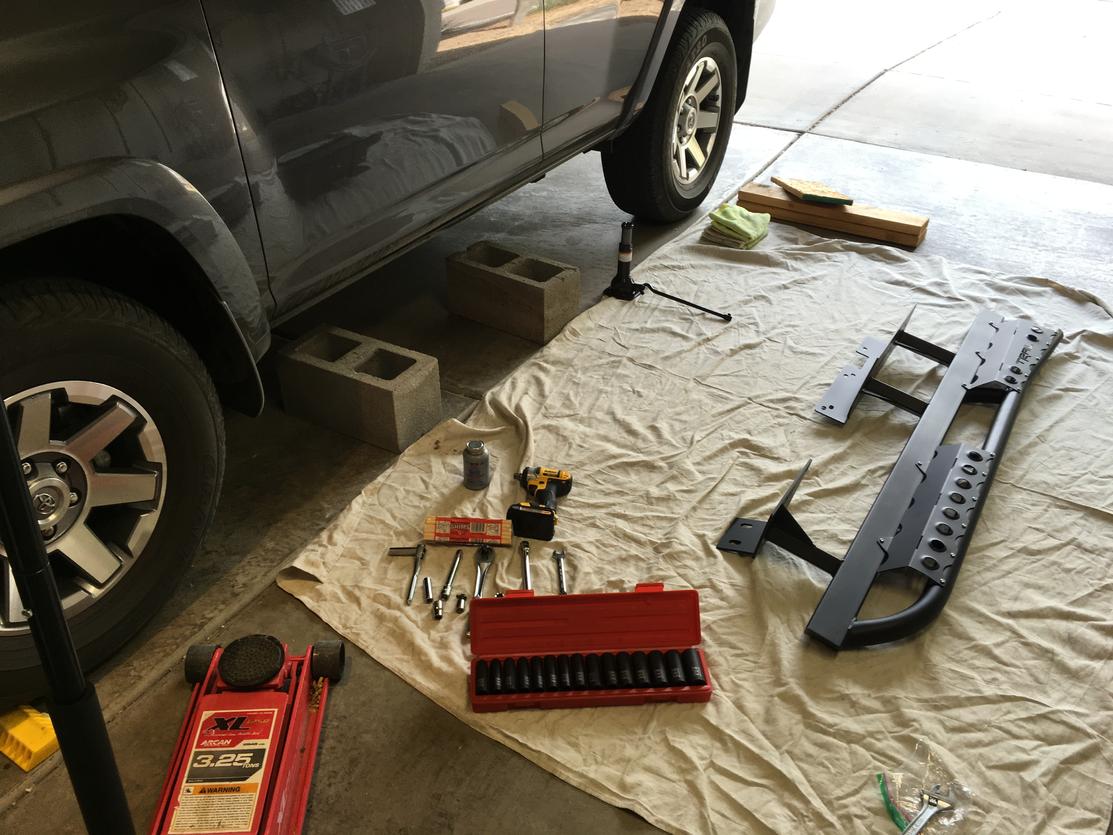 2.
2. Closeup of items needed -
 3.
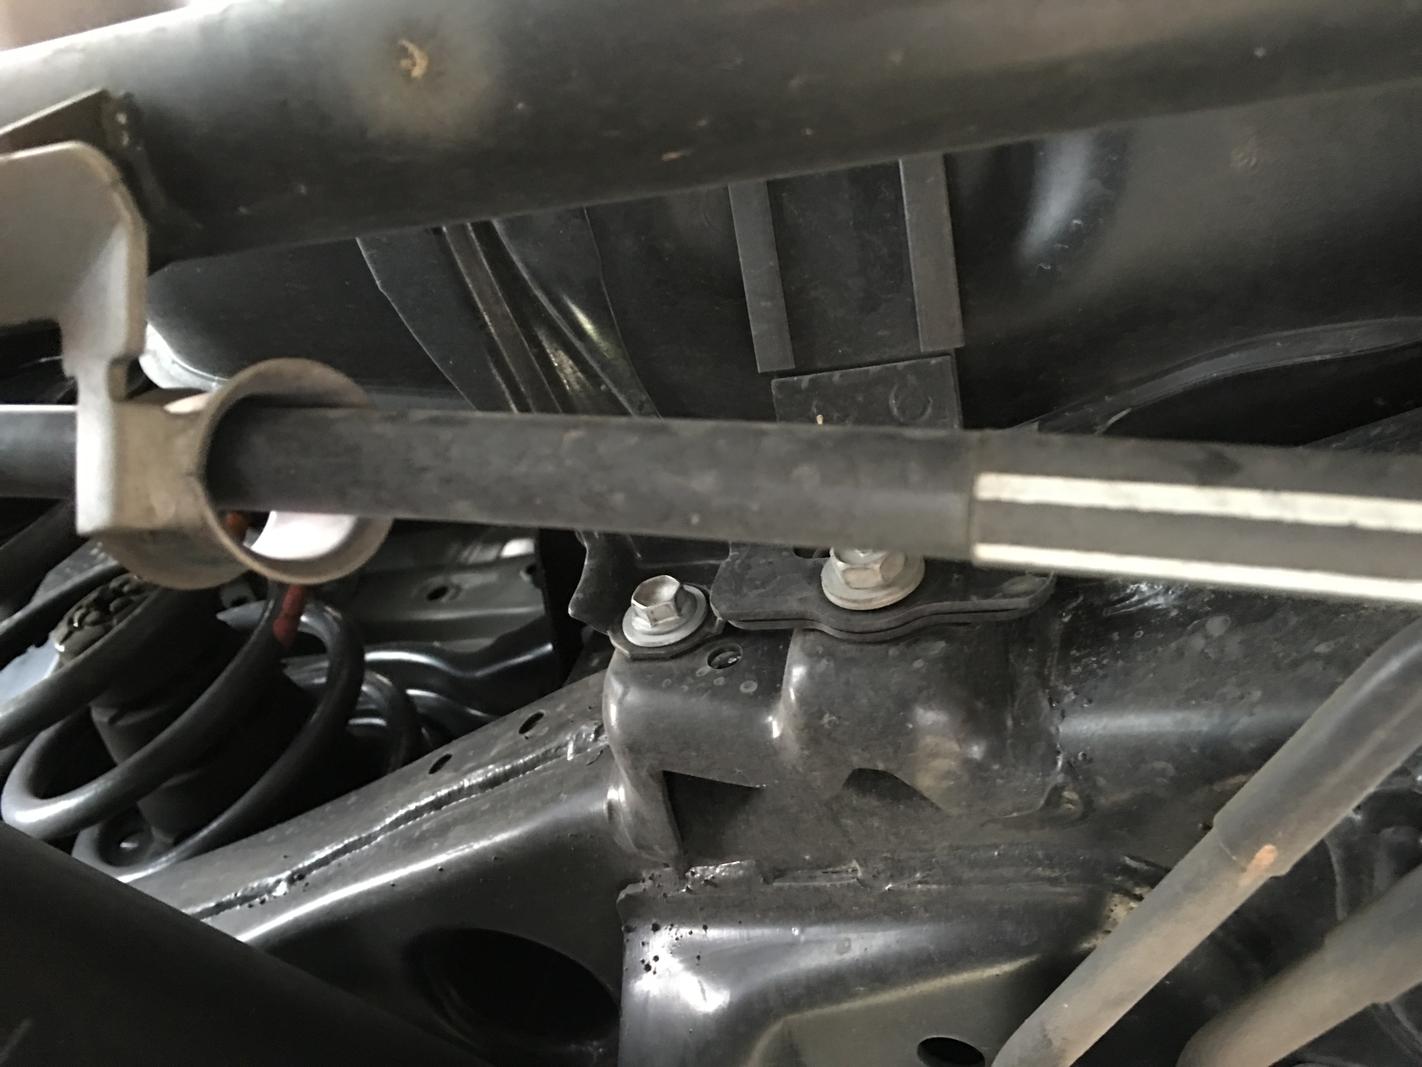
3. Using a 12mm socket, remove the drivers side parking brake fastener - (push the brake line up and out of the way)
Also, remove the bolts for each of the two KDSS brackets.
 4.
4. Remove the three 12mm bolts holding the gas tank skid only in this picture. Do not remove the 3rd bolt in from the left. This is for the fuel tank strap. Leave it alone.
We don't need to remove the gas tank skid completely. It just has to drop down far enough so that we can get the slider in between the frame and the gas tank skid.
Not pictured, but you will also need to remove two more 12mm gas tank skid bolts towards the rear of the 4Runner. After removing these the gas tank skid will hang down low enough to get the slider in. I used the socket extensions to remove these two additional bolts.
 5.
5. Another picture of the fuel tank strap bolt. Leave this one alone.
 6.
6. Remove the two 12mm bolts holding the small KDSS skid plate.
 7.
7. Another angle of the small KDSS skid plate.
 8.
8. KDSS lines now exposed with the skid removed.


