Link to Rack:
https://www.frontrunneroutfitters.co...-rack-kit.html
FrontRunner Rack installed! It is very well engineered and rock solid. It does however, take some patience and time to install!
First I assembled the rack itself. I was not too delicate with it and so I did get some scratches on the powder coat, but as a general rule I am not trying to baby this thing, as I plan to do some serious overloading.
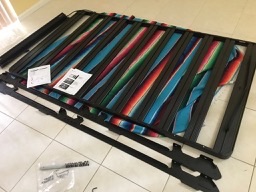
You can see for the foot rails there are many fasteners!
You will need a rivnut tool! FrontRunner sells one, but don't buy that, as it does not fit into the channel of the 4Runner roof! If you wanted it to work, you would need to file it down. I was not able to find one of these at Home Depot or Lowes, so plan ahead.
I got this one from Amazon. It was decent and did the job and I liked that it came with a bunch of Rivnuts. Here is a picture of the tool:

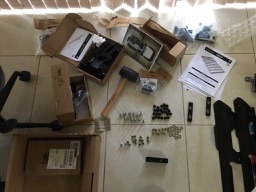
You will want to practice with this tool. I am not sure what the fix is if you should botch the install of a rivnut, but it likely involves drilling it out and then possibly having to fish the rivnut out of the headliner. FrontRunner does not give any extra fasteners so having extra would be advised. In fact, it's a good idea to do an inventory quickly of all the parts. I was very impressed by their packing and quality control, but in my case I did not get a fastener pack with my foot rails, but a quick call to FrontRunner and I had one in the mailbox in a few days.
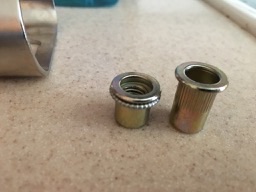
Here is a pic of a rivnut and one I practiced on, you can see how they are compressed:
The directions talk about measuring the holes for the front of the foot rail. Instead I just used the foot rail itself as a stencil, I installed it and then traced out the holes so I knew exactly where to drill:
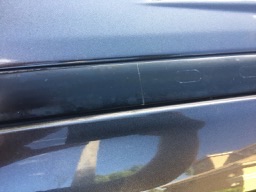
I also marked the edges of the spacer. Don't be stupid like me and try to cut the rubber while its not he vehicle, I put a small scratch trying to do that

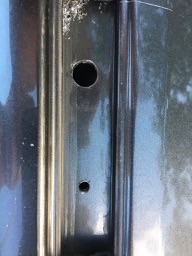
You drill a 5mm (or so) pilot and then the 11.5mm hole. You will want to use a nice sharp drill bit, preferably one that is designed to prevent walking. Here is a comparison of the two holes pilot and final:
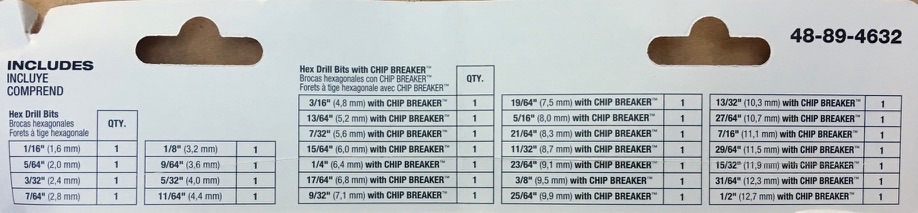
You will also find out that it can be difficult to find a 11.5mm drill bit. In fact, it's difficult to find metric drill bits at Home Depot or Lowes. What I did is bought a nice large set, which included 29 bits of almost every size! When you do this you will have a size 29/64" which is basically 11.5mm. Here is a chart that came with my bit set which nicely shows metric to inches mappings:
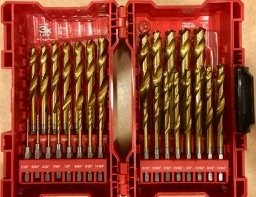
This is the set I picked up, it is by Milwaukee:
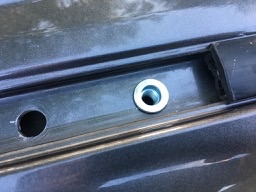
Here is the rivnut installed:
Here is the foot rails installed:

It is a good idea to do a good washing, maybe even a polish, but definitely apply some sealant. Sealant is much better than wax for a car that is going to be outside a lot. It can be purchased as a polymer based, which forms a chemical bond. A good sealant can do its job for months or even longer. Those expensive applications that dealers sometimes charge way too much for are sealants (Xymol, Zylon, etc). I use
Wolfgang Deep Gloss Paint Sealant. It's about $40 a bottle, but its amazing.
Here are some shots of the finished rack:
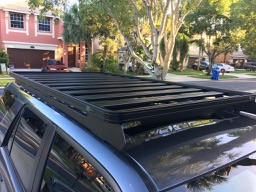
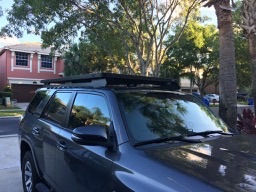
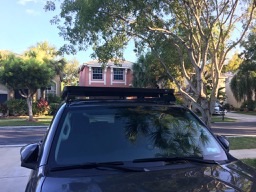
I installed the wind deflector initially. I was VERY impressed at how little wind noise there was with this rack. I ended up removing the wind deflector to install my light bar. After I did this I do have more noise and even a whistle now and then, but I am working on addressing that.


