View Single Post
Old 10-16-2017, 11:42 PM
gamefreakgc's Avatar
gamefreakgc gamefreakgc is offline
Elite Member
 
Join Date: Oct 2014
Location: Citrus Heights, California
Age: 36
Posts: 7,336
Real Name: Jerod
gamefreakgc has a brilliant future gamefreakgc has a brilliant future gamefreakgc has a brilliant future gamefreakgc has a brilliant future gamefreakgc has a brilliant future gamefreakgc has a brilliant future gamefreakgc has a brilliant future gamefreakgc has a brilliant future gamefreakgc has a brilliant future gamefreakgc has a brilliant future gamefreakgc has a brilliant future
gamefreakgc gamefreakgc is offline
Elite Member
gamefreakgc's Avatar
 
Join Date: Oct 2014
Location: Citrus Heights, California
Age: 36
Posts: 7,336
Real Name: Jerod
gamefreakgc has a brilliant future gamefreakgc has a brilliant future gamefreakgc has a brilliant future gamefreakgc has a brilliant future gamefreakgc has a brilliant future gamefreakgc has a brilliant future gamefreakgc has a brilliant future gamefreakgc has a brilliant future gamefreakgc has a brilliant future gamefreakgc has a brilliant future gamefreakgc has a brilliant future


I wanted to add a stereo and some more lighting (lets admit it, our headlights suck) but my battery was not up to the task. I got an Optima red-top AGM battery from a member here and love it. It has much more capacity than my old one and allows me to run the stereo or lights with the engine off and will start up strong every time.

On top of that, I also did the "Big Three" wiring using the instructions by BigFishAllDay: http://www.toyota-4runner.org/3rd-ge...unner-how.html to make sure I'm flowing as much voltage as possibly to my engine and other components.


https://www.amazon.com/gp/product/B0...?ie=UTF8&psc=1

Once the power was set up, I added a simple LED light bar under the steel bumper by cutting into the plastic valance with a hack saw. Pretty simple once you make the measurements. For us 96-98 people, just drill a couple of holes under the metal tabs (which line up perfect for me), thread a bolt through and you're golden! Love the light output it gives! The wiring was simple and I attached the relay to the side of the fender in an un-used bolt hole. The new battery terminals make hooking up accessories a complete breeze!


The switch I ordered did not fit correctly so I had to get creative to get it to fit. Worked out in the end though, after using a knock out plate and cutting a hole in the plate with a dremmel.


https://www.amazon.com/gp/product/B0...?ie=UTF8&psc=1

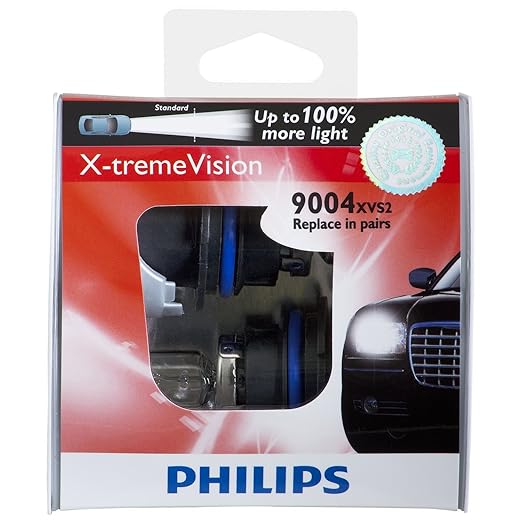
Last but not least, I added some higher wattage head lights. This actually helped a bit, I noticed a difference in brightness. Highly recommend these or something similar, as more LED headlights are coming onto the market.
__________________
'98 4Runner SR5 - 4x4 JDM 5VZ-FE Supercharged - 249K miles.
326WHP 347TQ

AEM F/IC 6, 11 PSI, 3" Intake and 3" Exhaust
Jerod's Supercharged T[u]RD Build

Last edited by gamefreakgc; 10-18-2017 at 12:33 AM.
gamefreakgc is offline   Reply With QuoteReply With Quote
 
Powered by vBadvanced CMPS v3.2.2

All times are GMT -4. The time now is 01:42 AM.

Powered by vBulletin® Version 3.8.11
Copyright ©2000 - 2024, vBulletin Solutions Inc.
Search Engine Optimisation provided by DragonByte SEO (Pro) - vBulletin Mods & Addons Copyright © 2024 DragonByte Technologies Ltd.
User Alert System provided by Advanced User Tagging (Lite) - vBulletin Mods & Addons Copyright © 2024 DragonByte Technologies Ltd.
***This site is an unofficial Toyota site, and is not officially endorsed, supported, authorized by or affiliated with Toyota. All company, product, or service names references in this web site are used for identification purposes only and may be trademarks of their respective owners. The Toyota name, marks, designs and logos, as well as Toyota model names, are registered trademarks of Toyota Motor Corporation***Ad Management plugin by RedTyger
 
Copyright © 2020