Well, this "build thread" is starting to look like a place just for me to update what I'm doing, hopefully it'll pick up now that some mods are getting done, I've got a variety of other stuff sitting on shelves and waiting to go in as well.
Got some work done over the weekend despite the 30-35 degree temps and some drizzle.
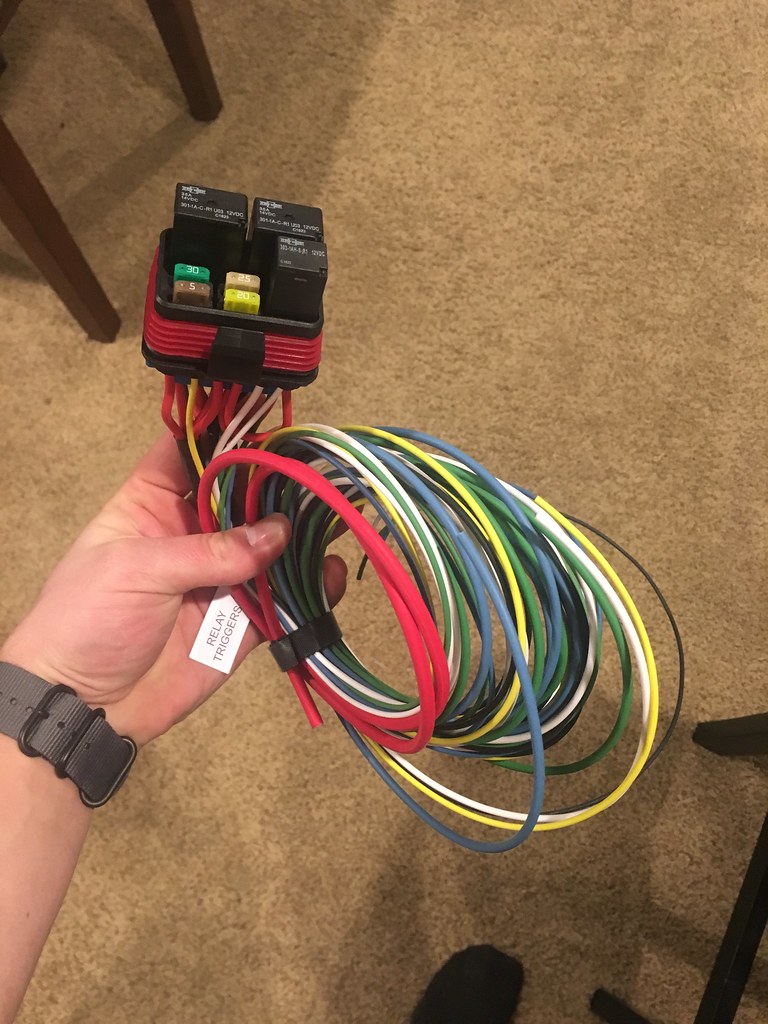
Unboxed the fuse/relay block. First impressions is that this kit is awesome, has everythign neatly packaged together, pre-wired, super easy to understand. The company has many other options and I'll link their website when I get home to find the little business card they included with a coupon code.
Started by picking where I was going to mount the box.
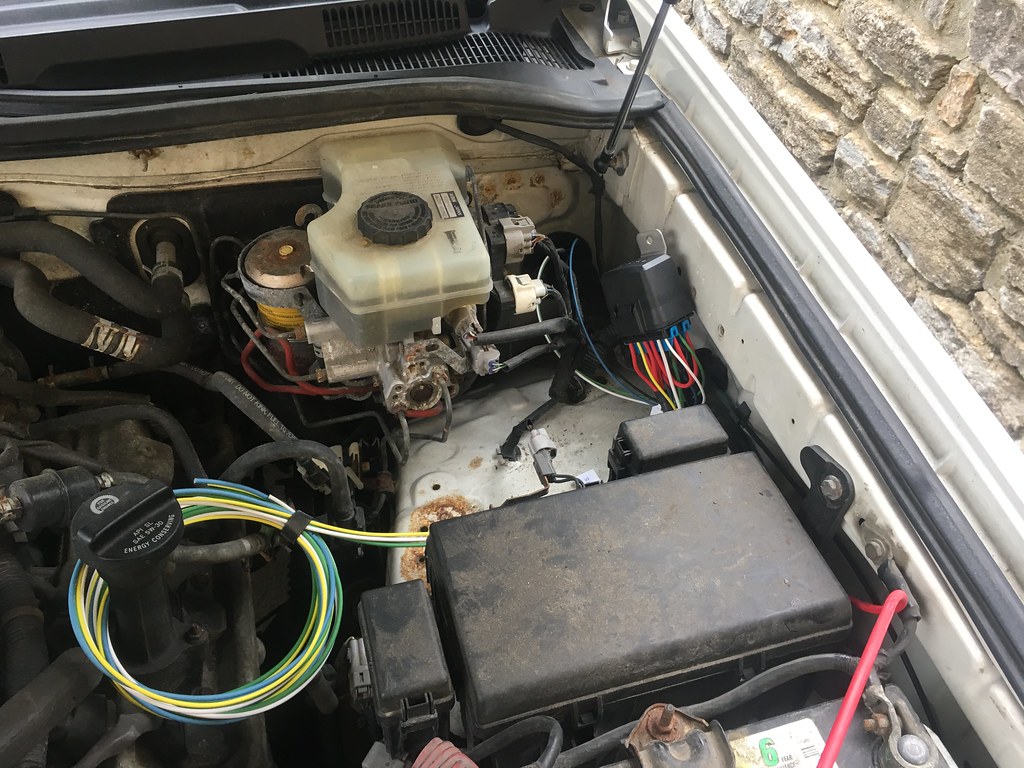
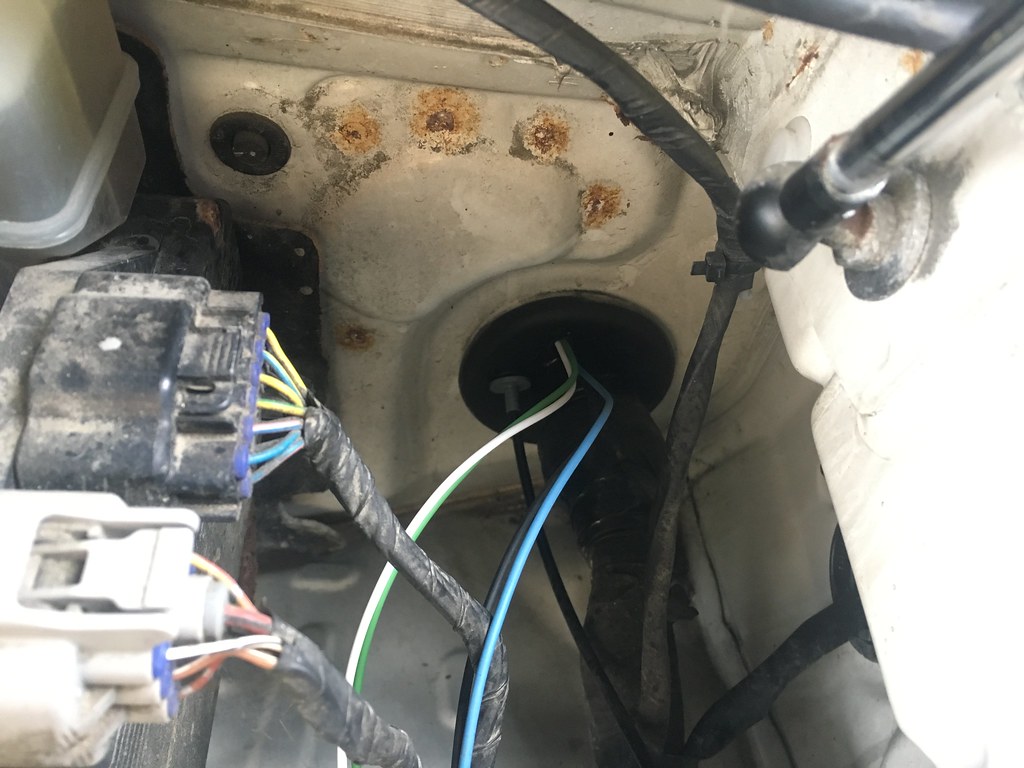
Ran the 3 leads for the relays and the ground into the cabin (probably will pull the ground back through the firewall and ground in the engine bay). I also need to order some wire loom to clean everything up a bit and provide a more OEM look to the install.
Some of the basic tools I used for the install.
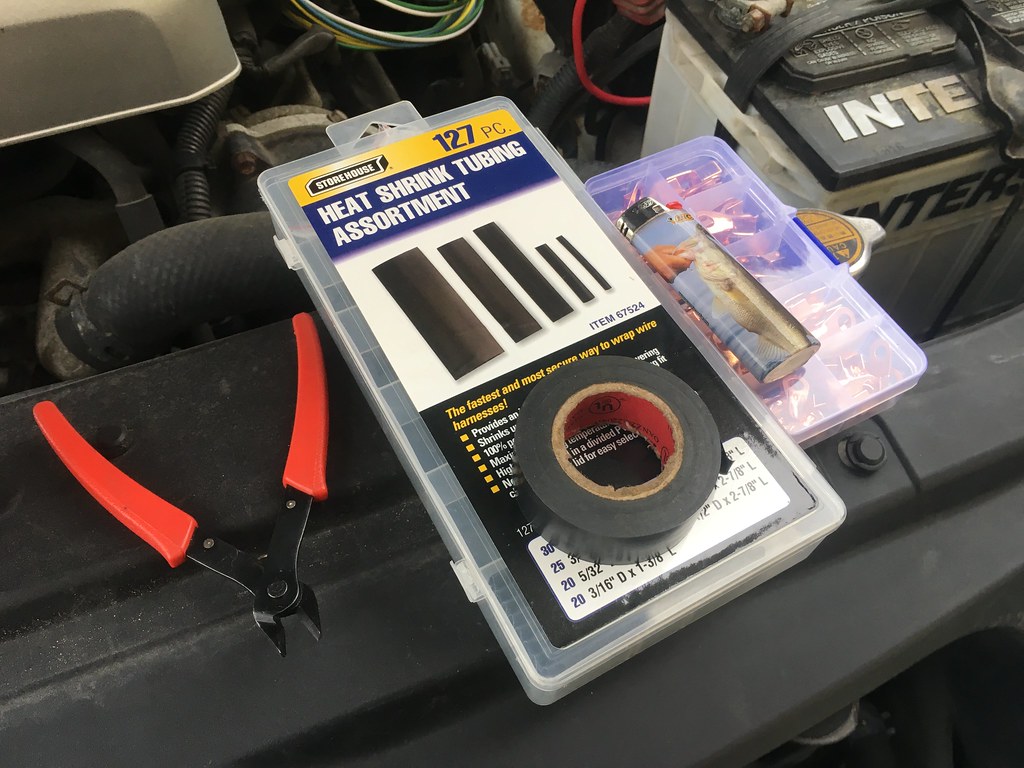
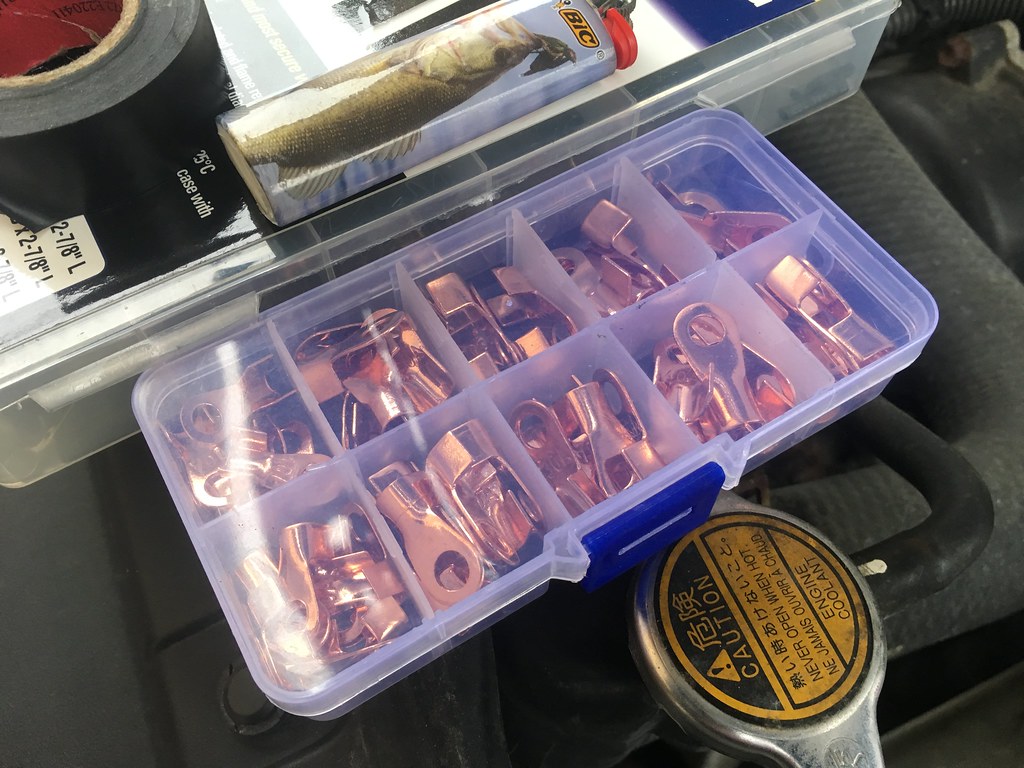
Bought this little box on Amazon a while back and it has been exceptionally helpful, especially in the process of starting to shave the bay in my Volvo. I also have a pair of cable crimpers that were a great investment for stuff like this!
Positive cable crimped (ended up having to drill out the hole a little bit to accommodate the battery post.
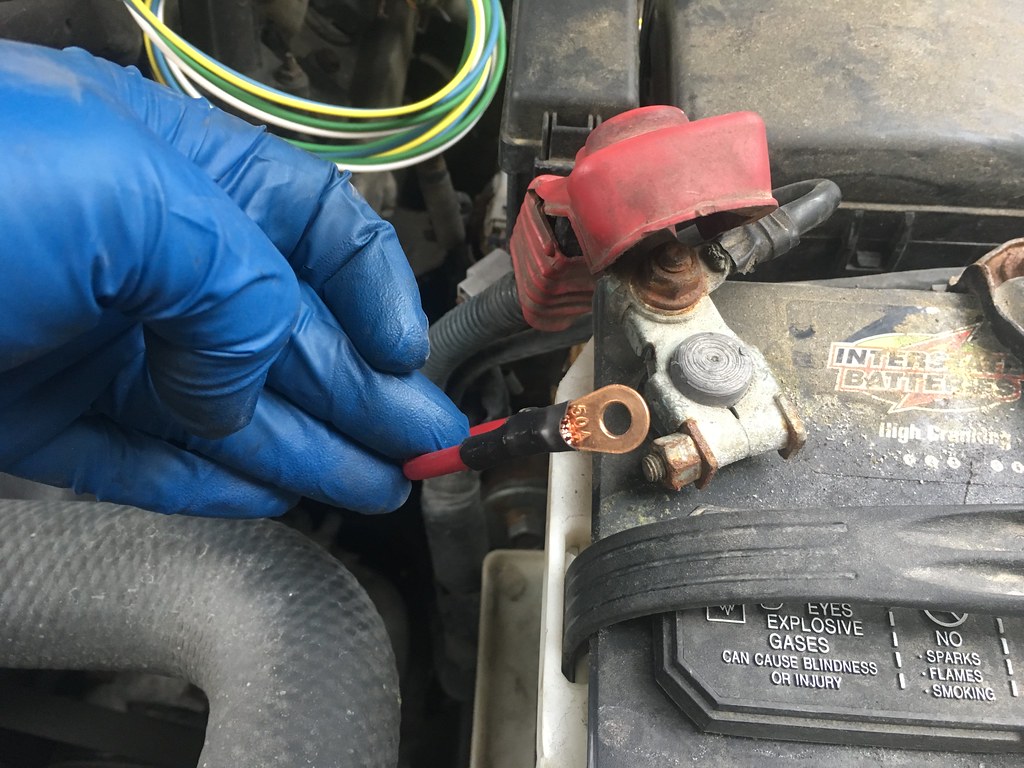
Showing how I ran the positive cable. I did take about 6" off of the length it came with, but that was more-so just because I didn't want a big extra loop of wire.
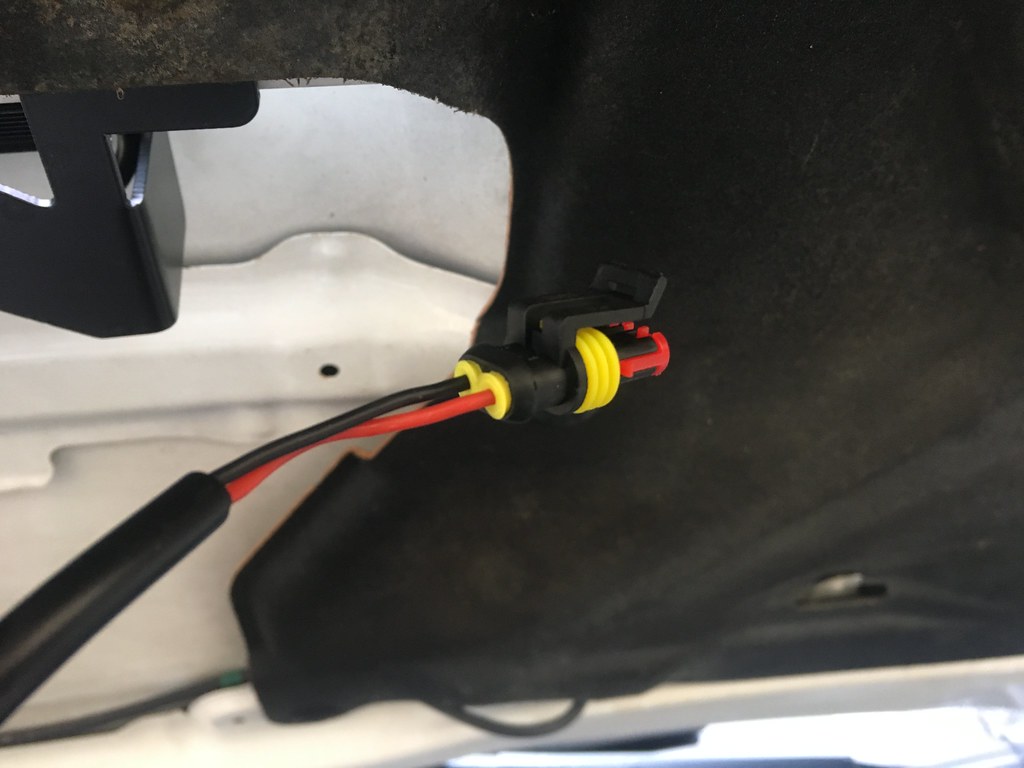
Bought a pack of weather-proof connectors to use for the light bar since it came with bare wires.
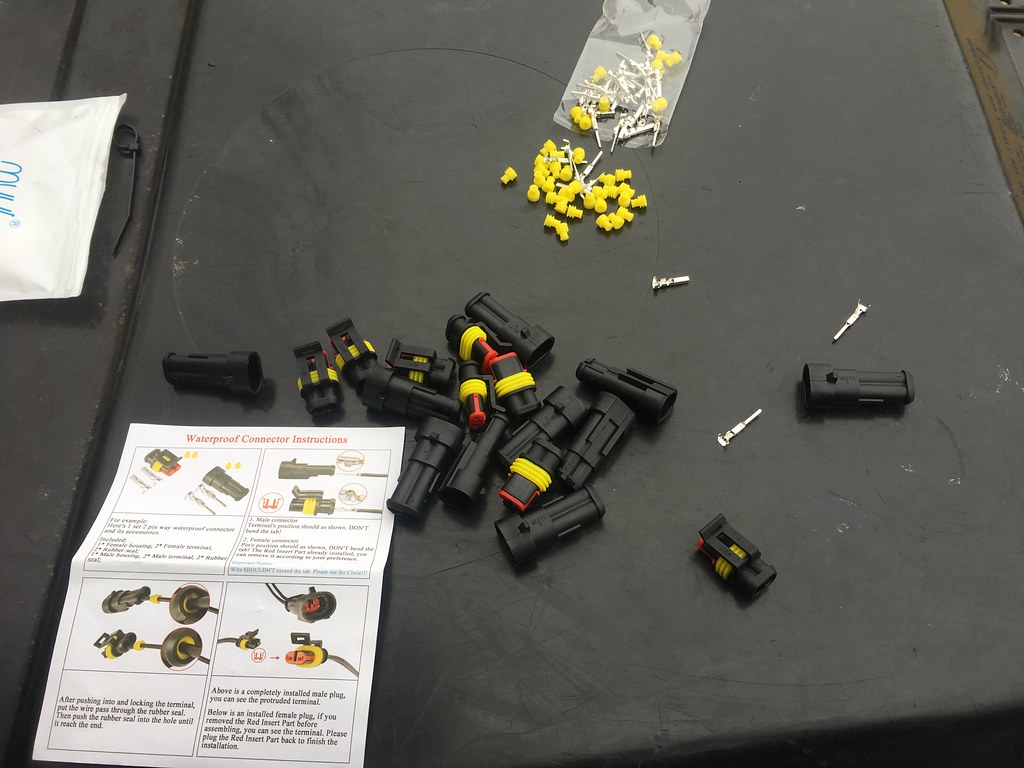
Assembling these connectors was a little difficult for the first time but will likely be easier next time!
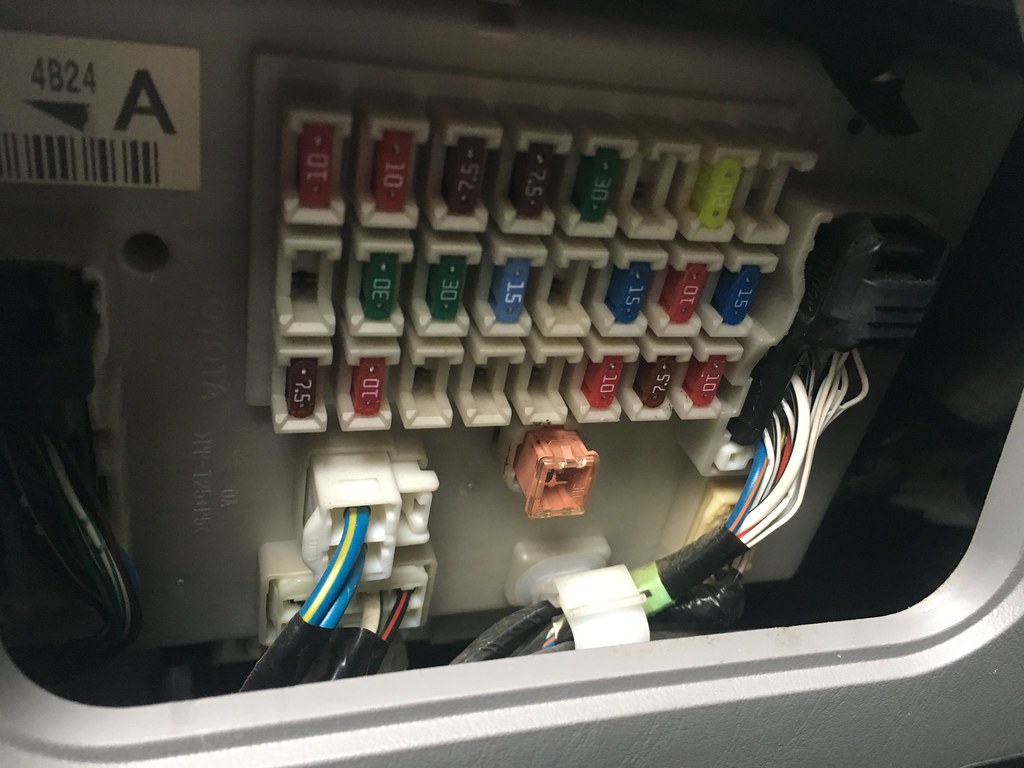
Tapped a blank fuse in the panel for my 12v for the switches, I used the fuse spot on the top row between the 30 and 20 to the right side. I'll likely pin out the back of this fuse panel down the road, but for now I just used a fuse panel tap (add a fuse, not pictured)
I bought rocker switches on Amazon and later found out about the Toyota fitment push button switches, so I'll be ordering some of those and then re-locating these two switches. I wired it to have a switch for my hood scoop light bar, and then pre-wired for the 32" bar I'll be putting in my lower bumper when the CaliRaisedLED brackets show up this week.
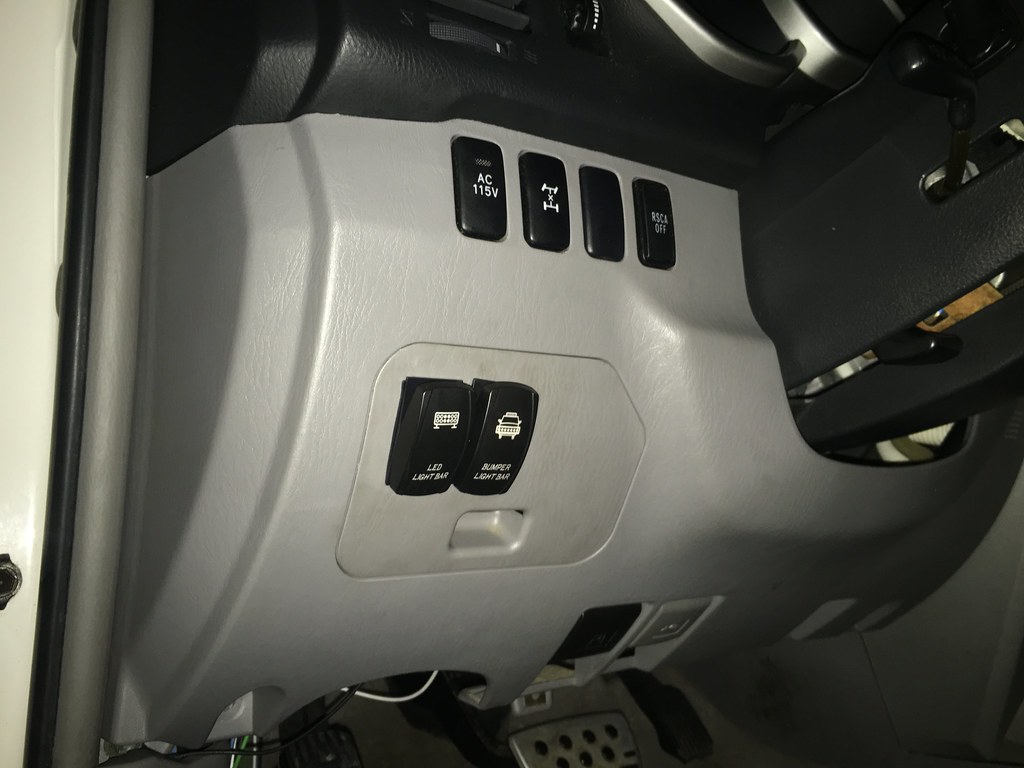
This switch location seemed easiest temporarily, I looked it up and a replacement cover for this is only like $15 from Toyota. I dremeled out two holes and popped the switches in.
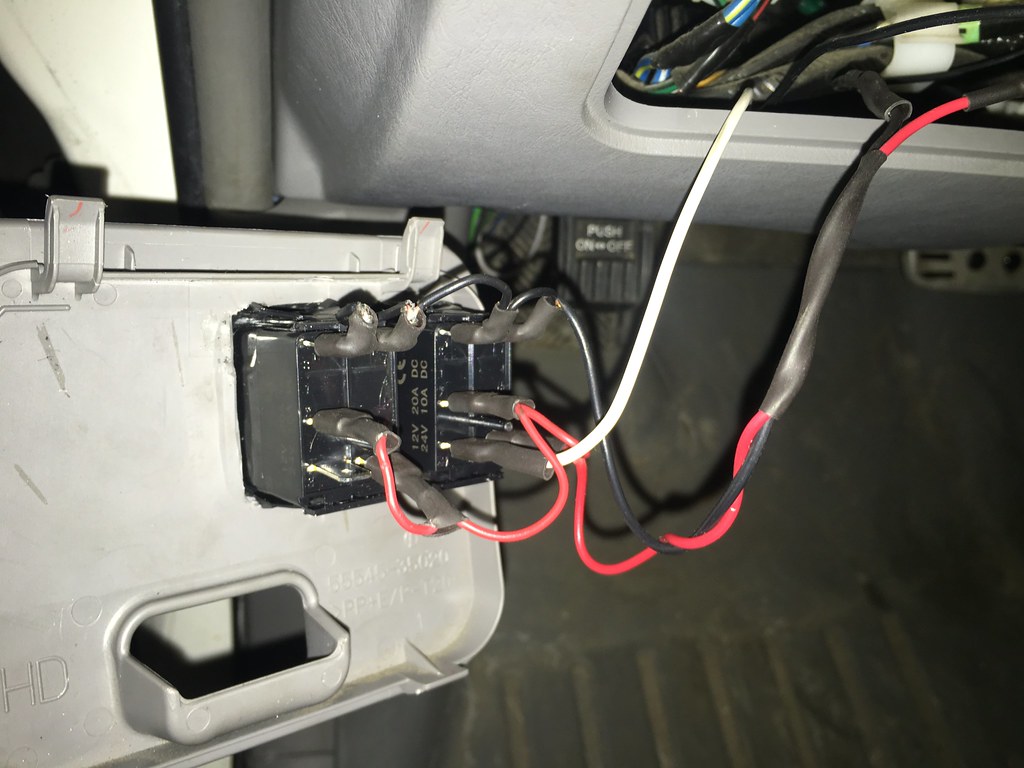
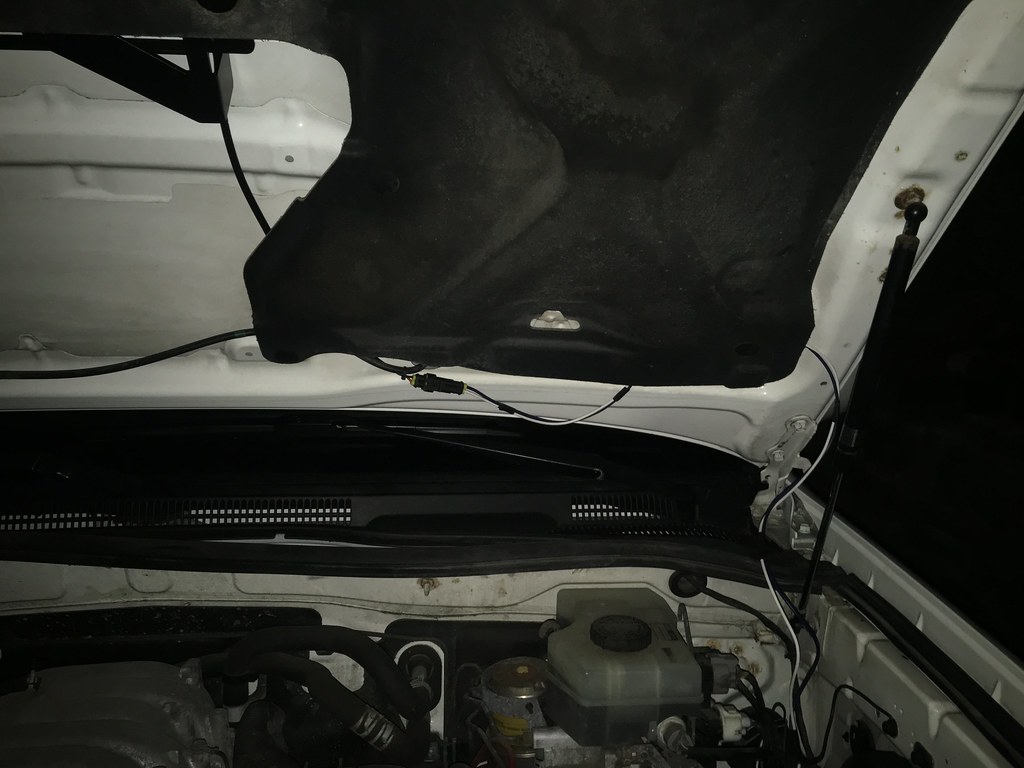
Show of the pigtail harness I made to connect both switches together with the power/ground/trigger wire setup.
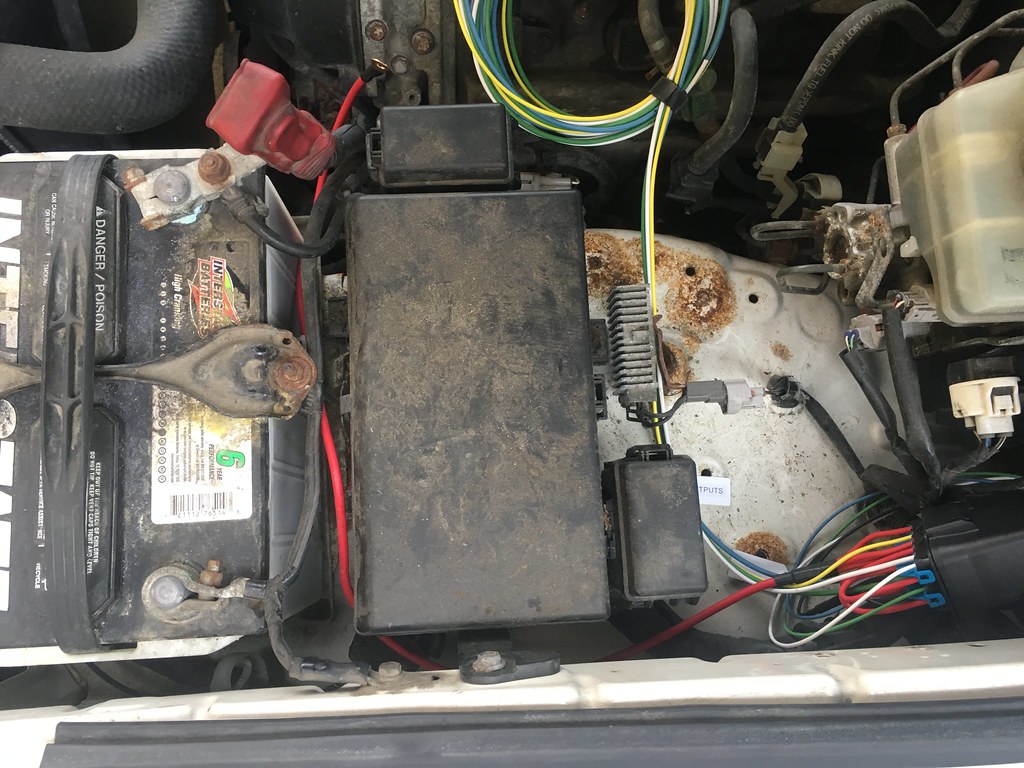
Completed shots in the engine bay (at night, phone died while finishing the install and it started to rain)
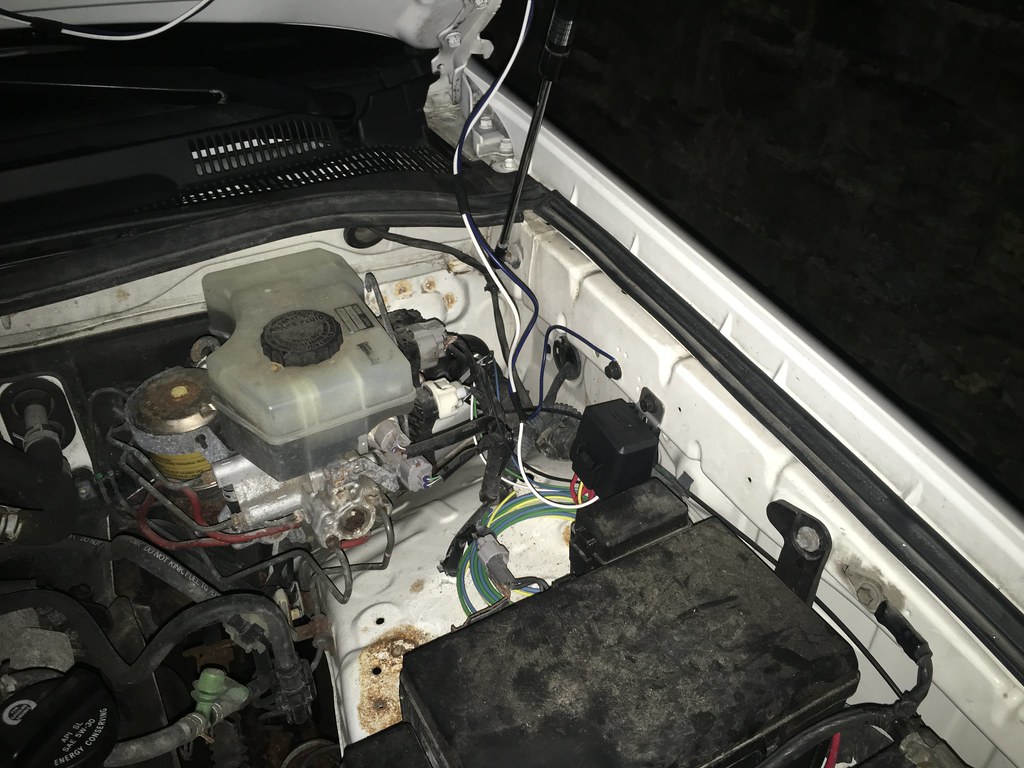
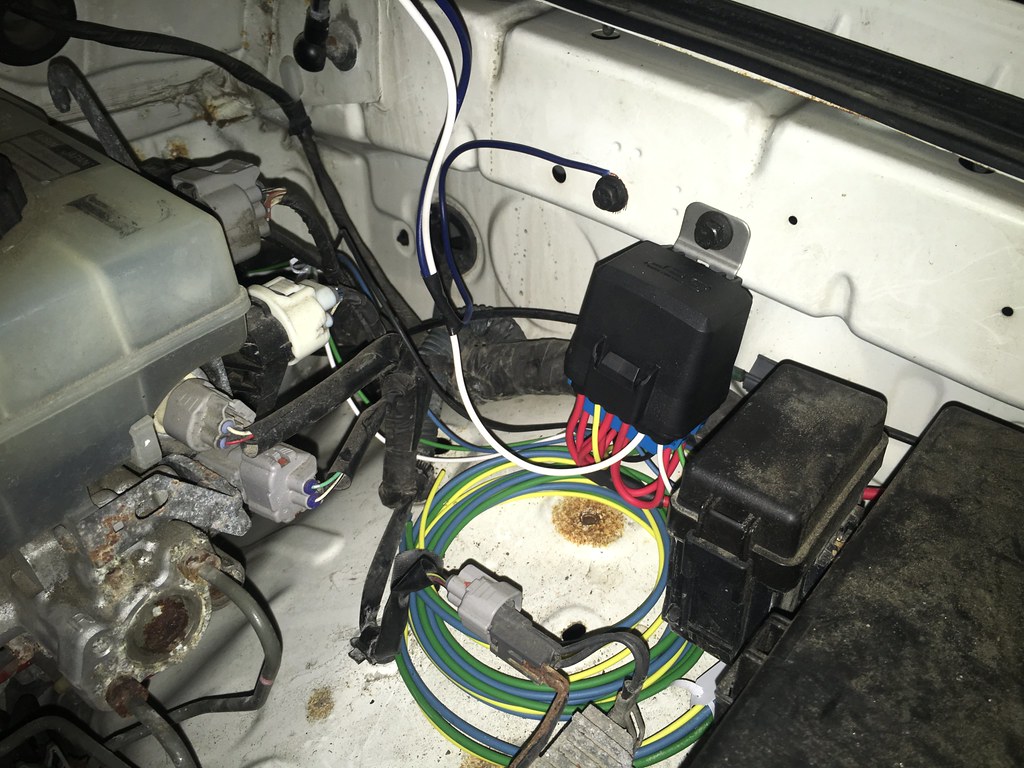
Plan is to put these wires in some loom and then route them up through the cowl panel to make the install look cleaner.
ANDDDDD On to the part that everyone has been waiting for. Light output shots of the 10" Amazon $17 light bar.
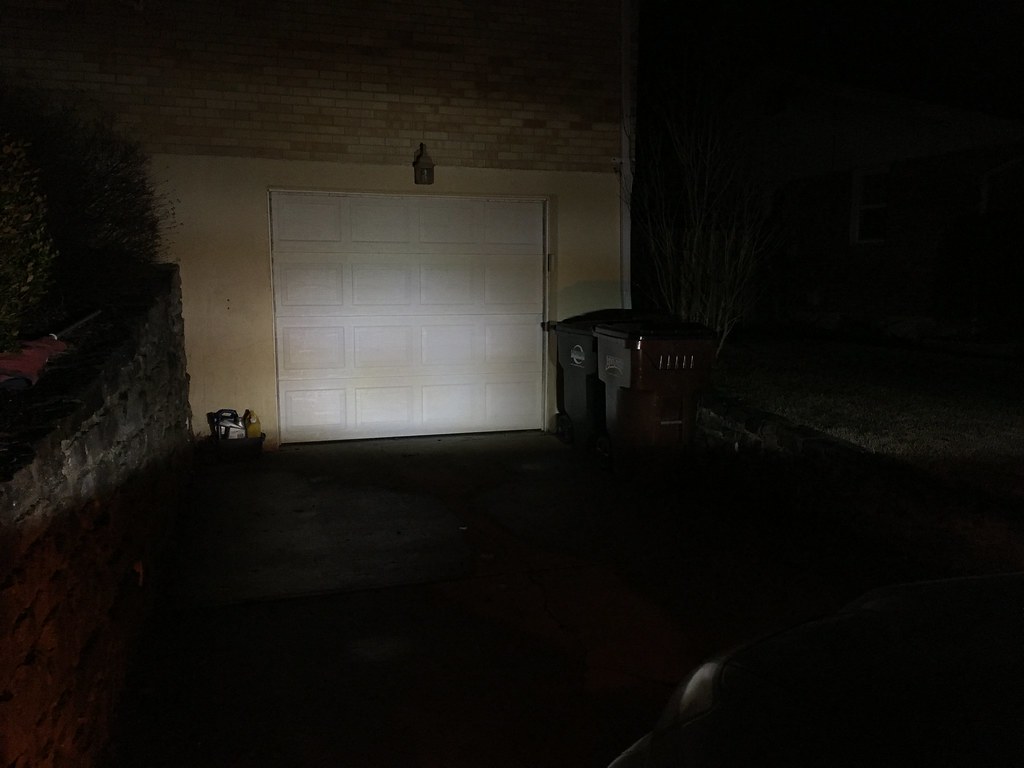
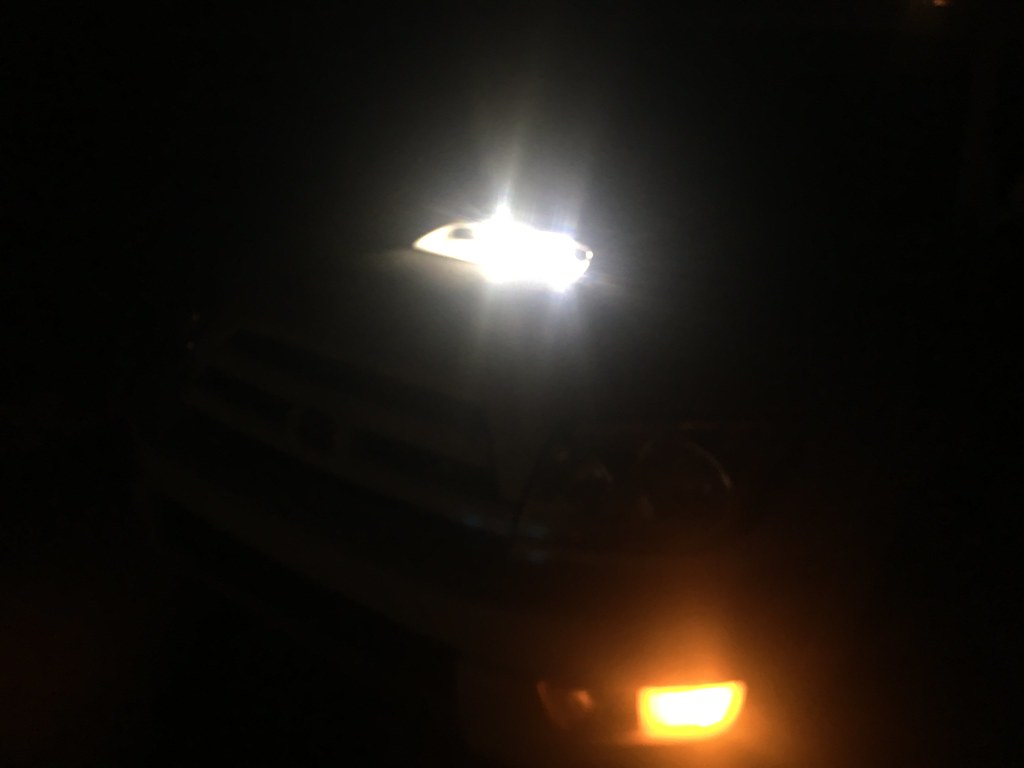
Honestly, it sucks... haha. The light bar sits a bit too high so I think there's a lot of light lost on the edge of the hood. That being said, I tilted it around and it never really got better.
I'm now on the hunt for a better (but not $200) 10" Light bar for this mount. I may keep this light bar and try to mount it elsewhere just for fun down the road, but honestly it's light output is dismal, the headlights (with 9005 mod) BLOW it out of the water.
Should be able to get the 32" bar mounted up this week in the front bumper and that is likely to throw a bit more light and help out. The good news on this 10" is that I've done all the hard work so all I have to do is pop the bracket off, change the light, wire on the right connector to the new light and re-install.
Anyone have any suggestions for 10" bars that aren't crazy expensive? There's a few Rigid ones on eBay open box that are about $120 but I'll wait to pull the trigger until the 32" bar is installed to see how much the 10" is really important vs. just having it to have it.
IF YOU MADE IT THIS FAR, THANKS FOR READING!!
__________________
2004 4Runner V8 Limited - TRD Exhaust, LED Interior Swap, Pioneer HU, Tacoma TRD Front Suspension, FJ Rear Springs, 10" + 32" Light Bars, Prius Shift Knob, 275/65R18 Falken Wildpeak, 18x9 Level 8 MK6 Et0, GOBI Ladder, 06-09 Headlight Swap, TOTALED NOV 2019, RESURRECTED APR 2020
Build Thread
1998 Volvo S70 T5 - Custom Airlift Suspension, BBS Nebula Wheels, Brada Seats, Engine Bolt Ons -
StanceWorks Build Thread
2010 Subaru Forester 2.5X - Wifes Car


