A lot has transpired in the last few weeks so I wanted to update the thread as to my progress. A few weekends ago, I picked up my new 22RE engine from the shipping depot. I got the engine from Yota1 Performance and it's just a stock 22RE long block with oil pan (no head work, cam, etc). It was packaged well and came without any noticeable damage. The one odd part, it didn't have the fuel pump block off plate installed (indicating it was for a 22R) but the product listed when I ordered it was for a 22RE specifically. No worries, just swapped over my old plate and hardware.

Out with the old:


Before tackling adding all the parts onto the new engine, I masked and painted off the rear of the engine bay that was still red from last spring, as I couldn't get to it with the engine in place:

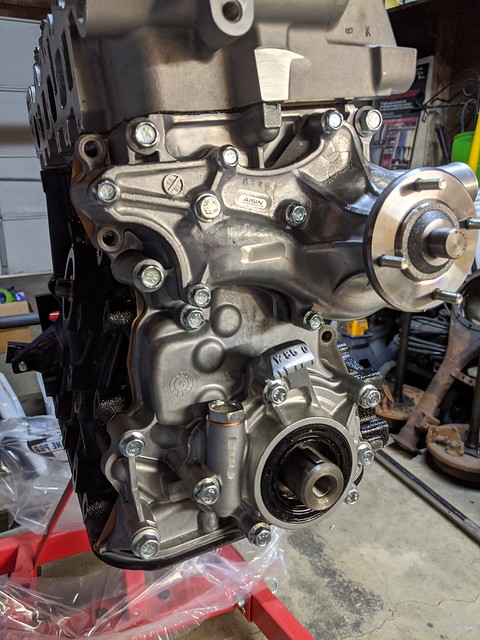
Once on the stand, I gave it a closer inspection. One of the reasons, besides turnaround time, I went with Yota1 was because they used OEM Toyota gaskets and seals, and also OEM parts (like the Aisin water pump and oil pump). There was no overuse of silicone/RTV, especially on the head gasket area (only where needed on the timing cover/head corners). The oil pan silicone seal was also really well done without slop.

What follows is a bunch of pictures of the adding of parts to the new engine. A lot of these parts were either new, painted, or powdercoated, with all new Toyota hardware as well. I painted all the steel radiator hoses a "New Ford Grey" which has been my accent color on other random parts in the engine bay. I tried to keep with the black, gray, silver theme to make it look as OEM as possible, with just a tad bit of flair coming through this color used throughout.
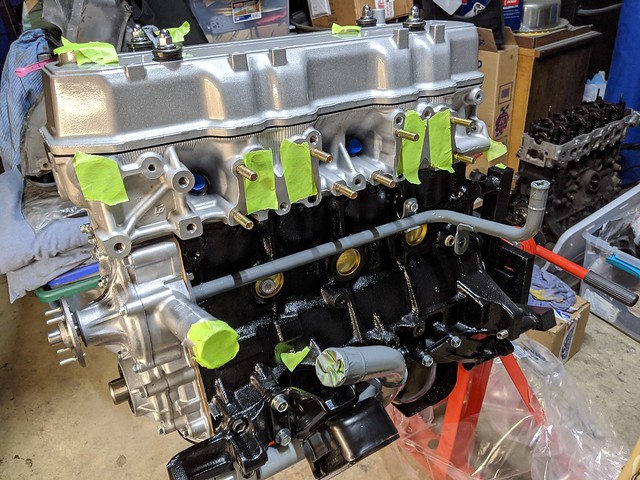
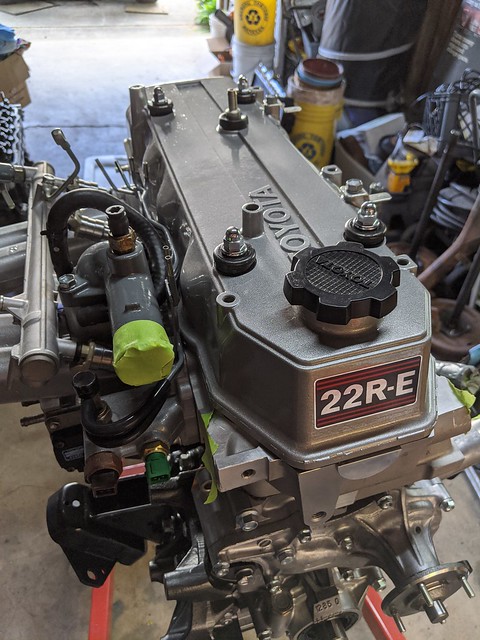
Restored, tanked, and silver gloss powdercoated valve cover with new acorn nuts/grommets and accessory hardware. This looks really great and I couldn't wait to get this on there. The color looks stock and I know it will hold up and never look like my previous old one.

Installed my A/C compressor bracket in advance of my next project, which is to add the A/C back (it came from the factory on this 4Runner but P.O. yanked it out). This was powdercoated last spring when I did my various pulleys and power steering brackets as well. I was a bit nervous about removing the 4 timing cover bolts to replace them with the longer bolts to accomodate the A/C bracket width, but so far, no leaks ...

Rear of the assembled painted steel heater hoses plus the EGR cooler plate:

Noticed this nice engraving on the passenger side of the head to mark their product, pretty cool actually:

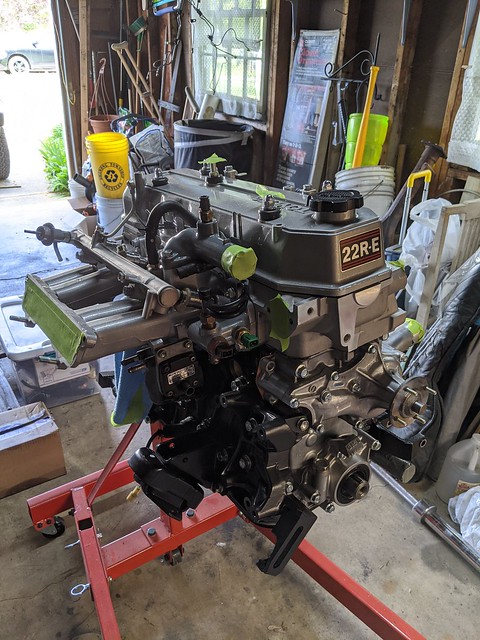
Powdercoated intake manifold, fuel rail and thermostat housing/sensors installed. Again, really happy I got the manifolds and valve cover tanked and powder coated (thanks 22REPerformance.com):


Ordered a new OEM cold start time switch, pricy and the old one checked out. But I'm trying to get as many new OEM parts as I can with the reset of a new engine. So both that and the coolant temp sensor are new:
This part was painful so I only have a after photo. In retrospect, I should have snapped a pre-photo to show all the oil, grease, and impenetrable gunk on the undercarriage from leaks, driveshaft grease etc. I think I spent the better part of a week after work at night scraping and wire wheeling to get the area clean. The hardest part was the fuel lines, since they can't be removed due to the kink and the rear body frame support, so I had to clean them while they were in the truck (unless I wanted to remove the body mounts and jack up the body, which I defintely didn't want to do nor had the tooling to do). I then used some Eastwood products to paint, starting with Rust Encapsulator (two coats) follow by their Rubberized Undercoating product (two coats).

I spent another few nights doing the same to the front axle, differential, backing plates and other front axle pieces, which had a significant amount of oil, old rattle can jobs, etc. I used the same Rust Encapsulator, then followed it up with 2 cotas of Extremem Chassis Black (satin). This photo is just after the Rust Encapsulator so it's the matte finish.

** Continued in next post - limited to 20 images per post **


