Quote:
|
How did you get it over your gas gap? (Probably a newbie question)
|
@
TheWhighet
FROM MY BUILD THREAD...
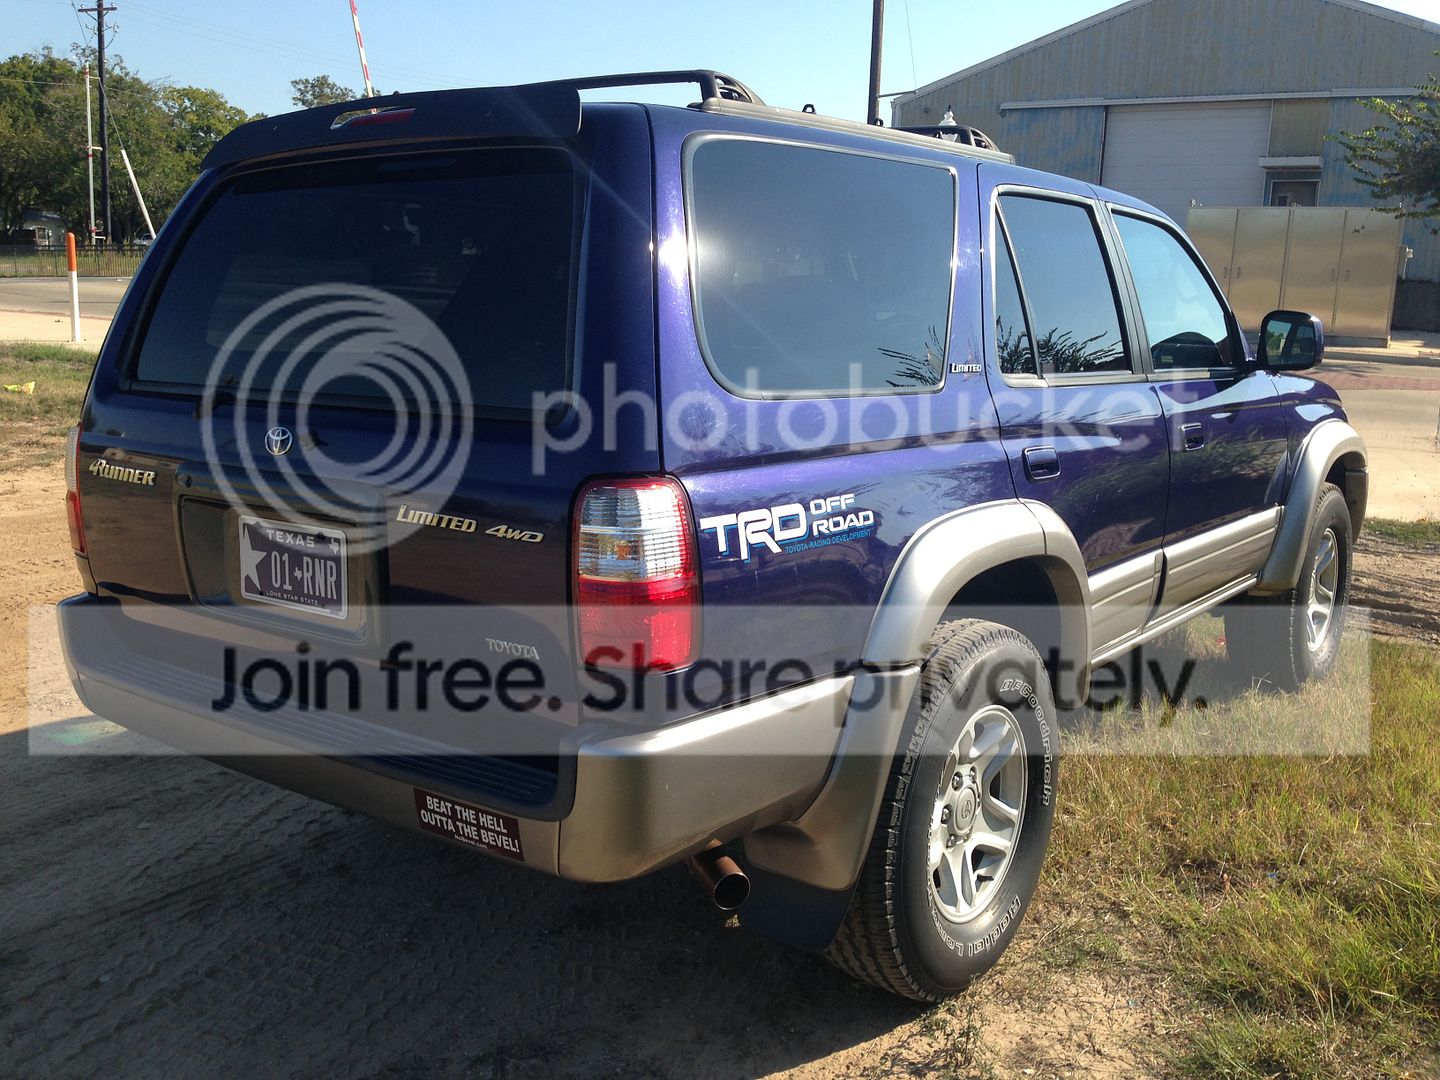
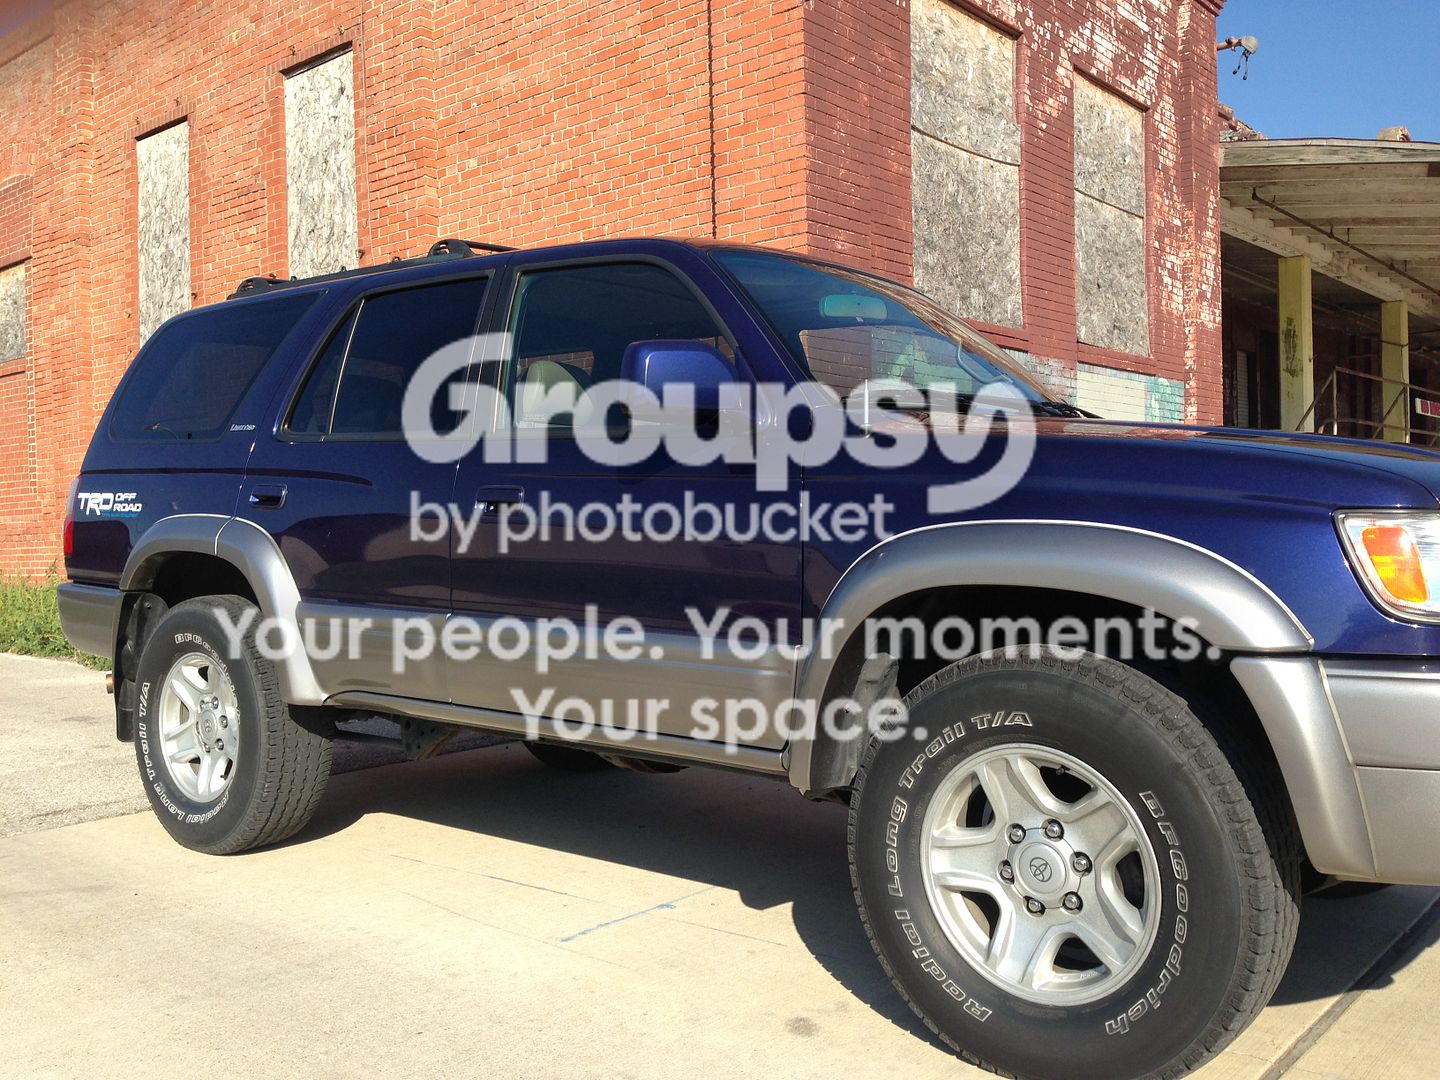
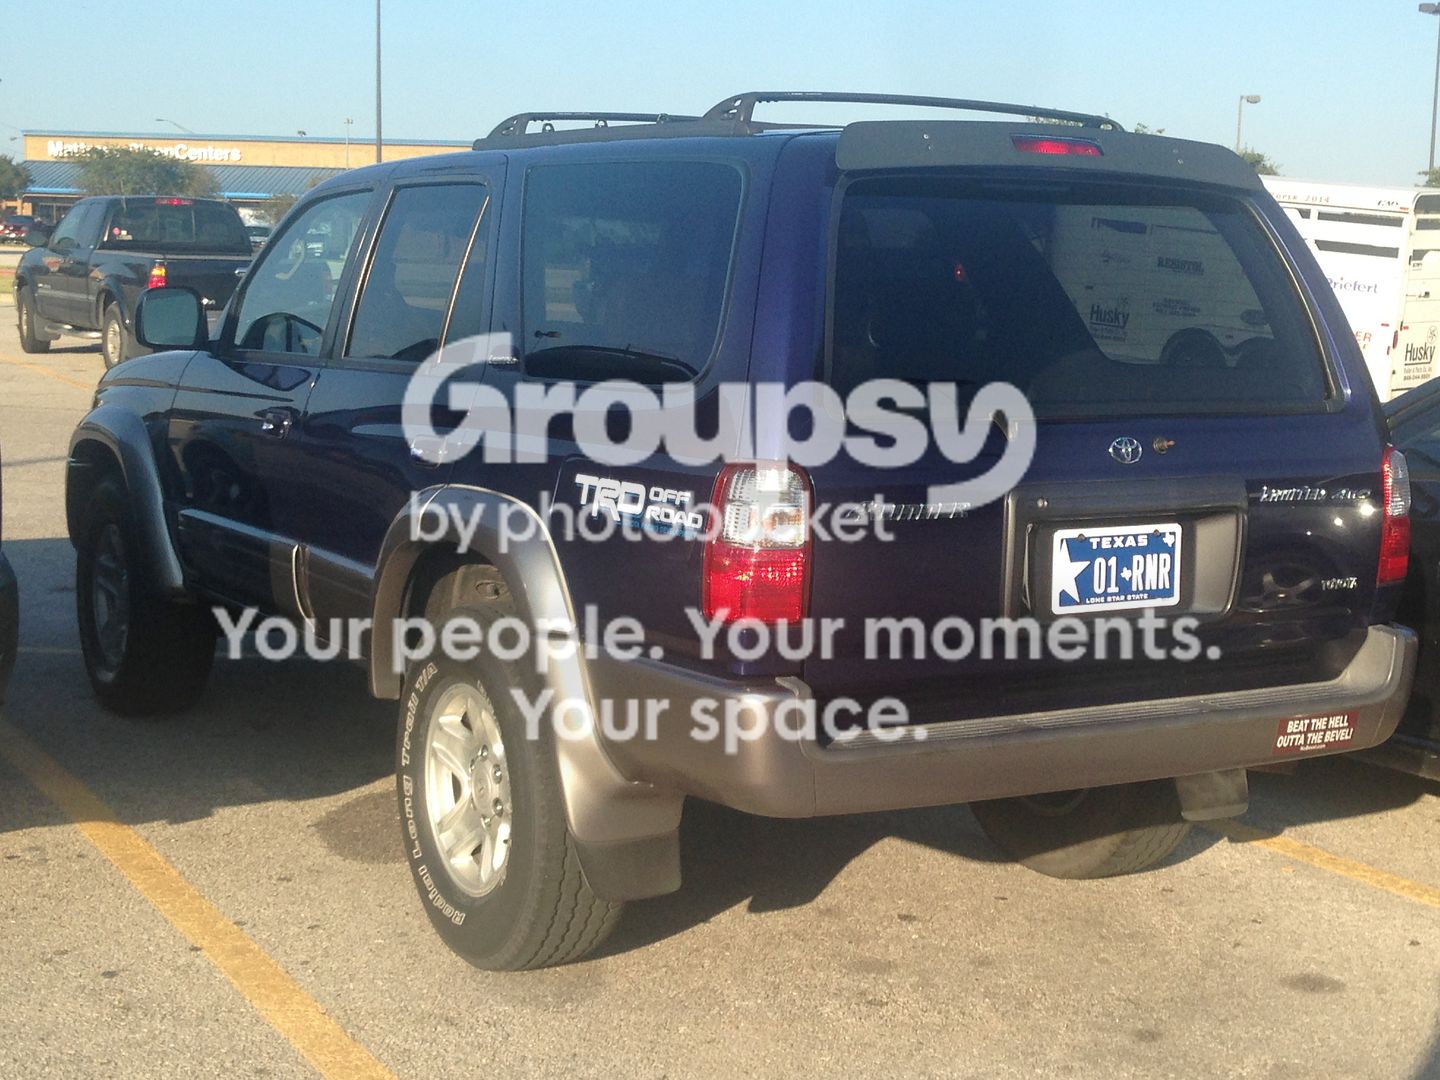
The SURF RUNNER Build: 2001 Stellar Blue Limited 4WD
I ordered the decal below off of eBay - $12.95 for a set of 2. I had a $15 credit I needed to use, so they were free to me. With this seller you can choose any 2 colors out of 26. I selected large white letters with blue shadows/ blue small letters. I'm sure most of you don't need the write-up below, but this is the first time that I have ever applied a decal to one of my vehicles. I did better than expected, so I thought I would include a play by play in case it helps a fellow forum member.
eBay seller: stickycreationz

In the end the decals looked better on my vehicle than I expected, but it was a bit of a nightmare from the beginning. The decals arrived in a tiny 5" x 5" x 5" box. I was expecting a large envelope, so I had no idea what was in the cube box until I opened it. For some reason the seller had my decals all coiled up inside this small box. If they had coiled up in a smooth curve it wouldn't have been a big deal, but there are 3 layers to these decals and creases were created every few inches as the result of crappy packaging. This made the job of putting these on my vehicle about 10 times harder than it should have been.
I ordered white TRD OFF-ROAD letters with medium blue (seller lists as blue) shadows/small letters. When I unwadded the decals from the small box I thought that these were the ones with a clear sticker in the background, which I didn't want. Upon closer inspection I realized that these were the kind that only applies the graphic to the vehicle (no clear decal in the background) which is what I wanted.
Had the seller not shipped these in such a small box I could have applied pressure and smoothed out the 3 layers to make sure everything would be as easy as possible. With the creases every few inches it was impossible to smooth these out and apply even pressure to the decal.
The best way to apply a decal with a bunch of creases like mine is to tape the decal in the middle once it is positioned correctly, then work out to each side from the middle. As far as I know this actually may be the best way to apply a decal in perfect condition. There was a youtube video link included with an instruction sheet, but the link was invalid.
The supplies I used included my TX driver's license, rubbing alcohol, clean hand towel, exacta knife, masking tape, and one sheet of 8.5" x 11" of paper.
I applied the decal right after I went thru a car wash. After you have cleaned the vehicle surfaces with rubbing alcohol start with the driver side decal. The gas lid makes this one easy to position. Don't worry about the gas lid - it looks great when it is done. Tape your sheet of paper to the vehicle lining it up with the bottom edge of the body panel. Only use the gas lid and the bottom edge of the body panel to line up the decal. Don't try to use the sheet metal crease or the window above that.
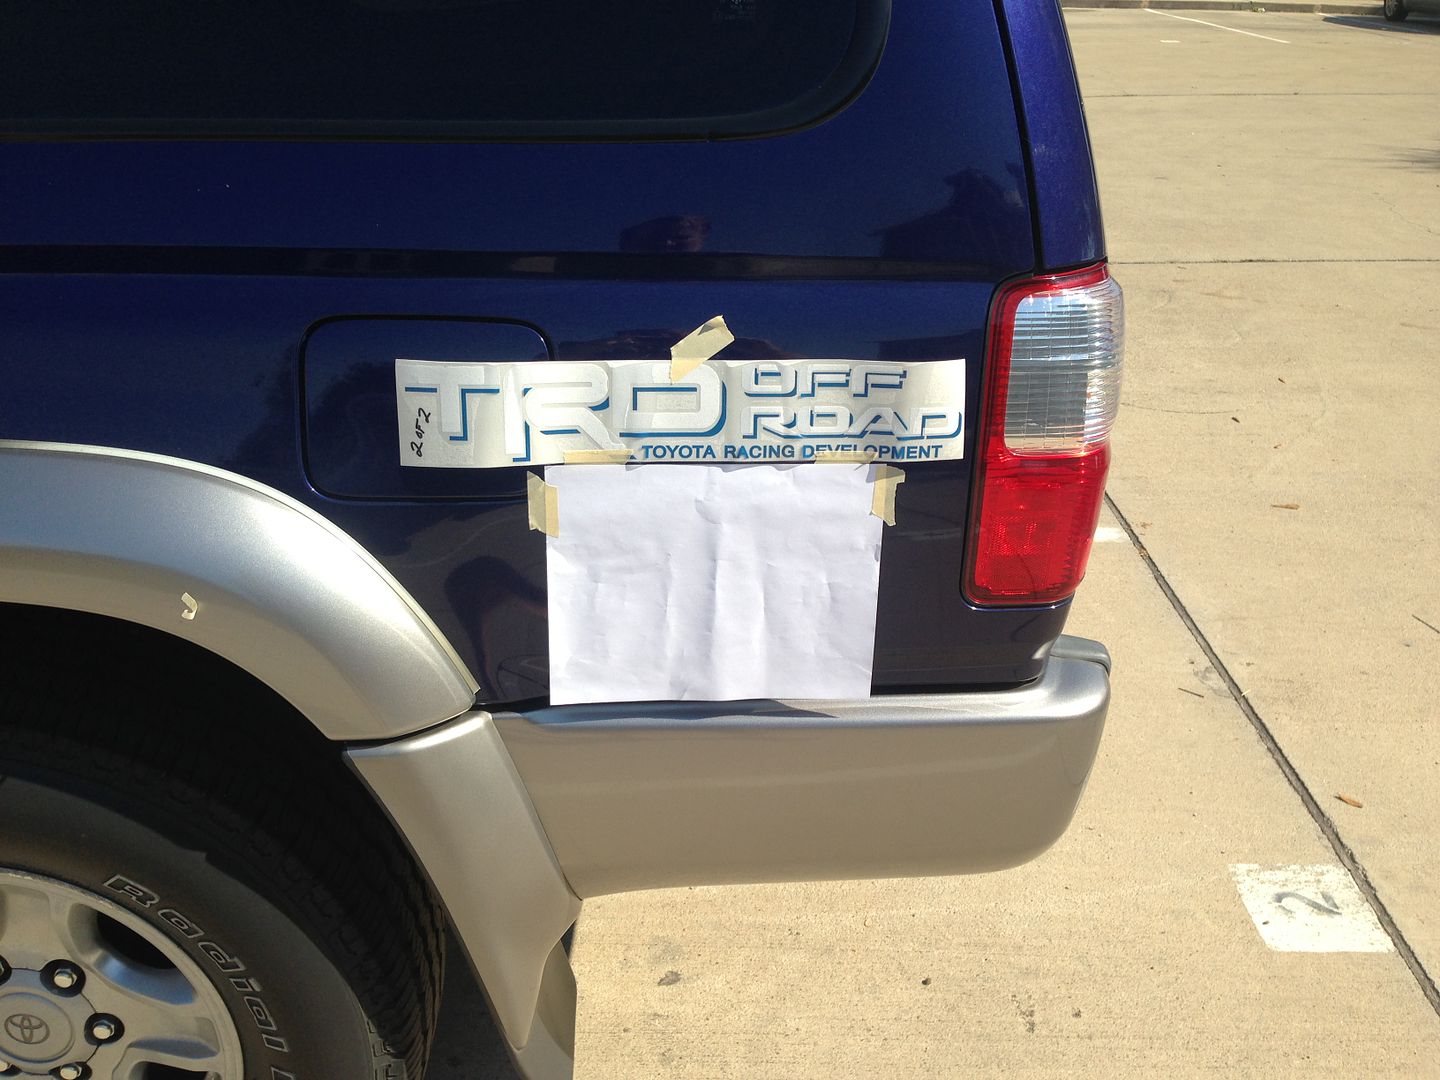
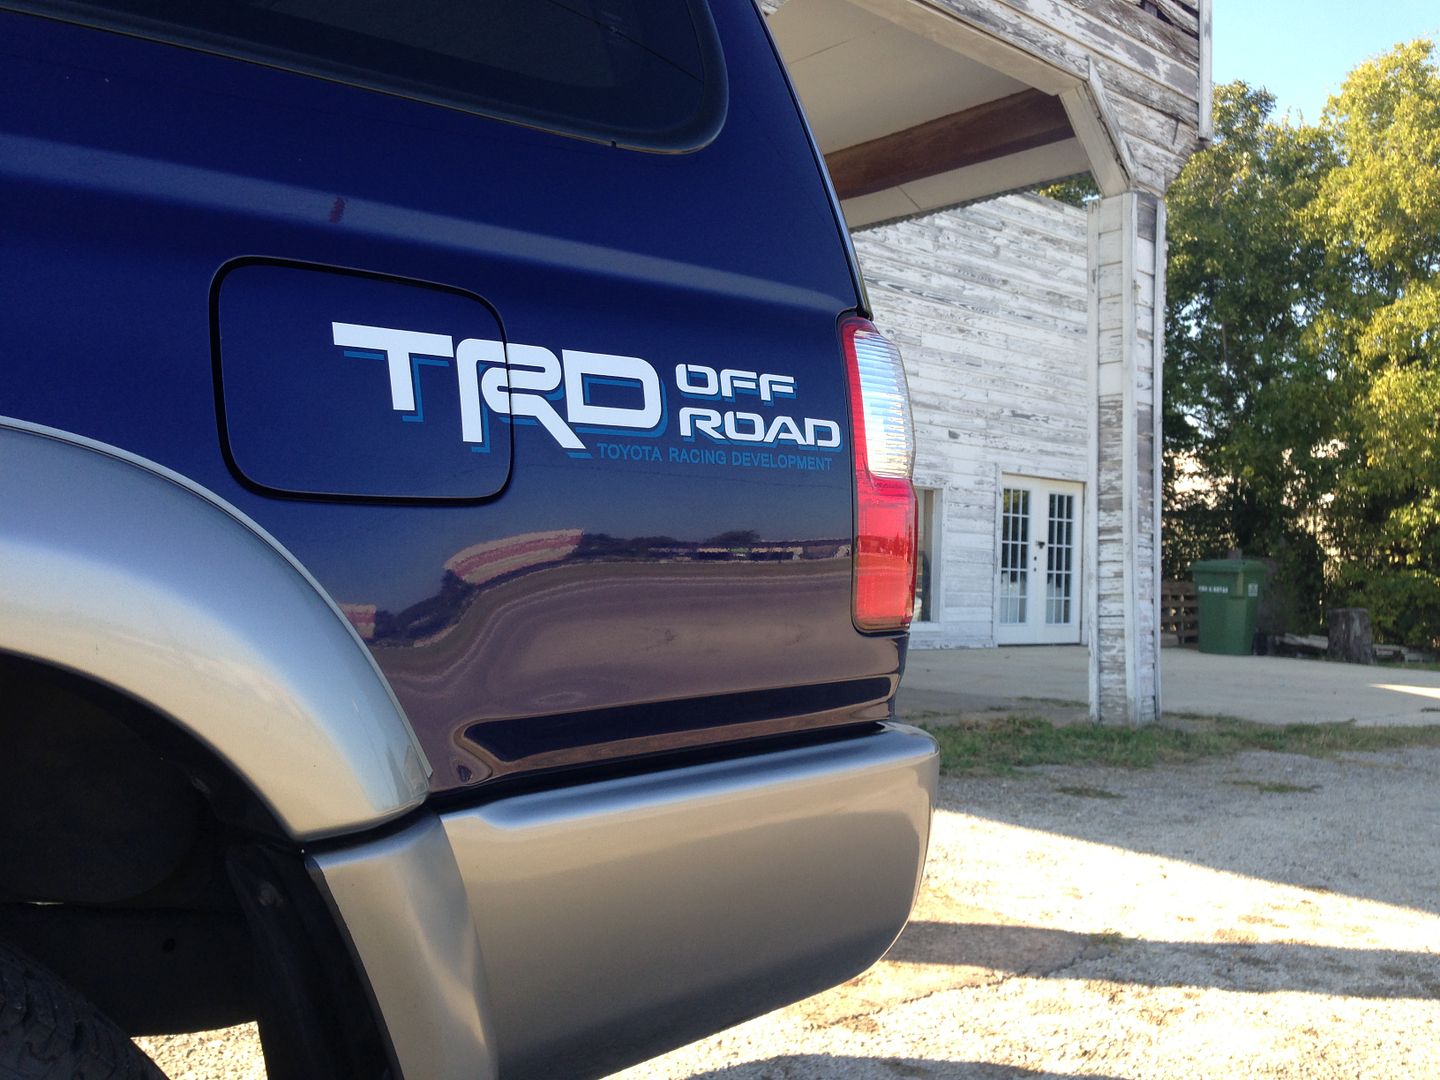
The bottom edge of my decal (not the letters, but the extra material that you are going to peel off later) ended up about 1/16" above the top edge of the paper. A decal from a different seller may have different dimensions, so don't rely soley on that. The most important thing is to make sure that the right side of the gas lid intersects the "R" vertically exactly in the middle of the "R". Also make sure that there is equal space above and below the edges of the "R" with respect to the top and bottom opening of the gas lid.
(Finished application to show placement)
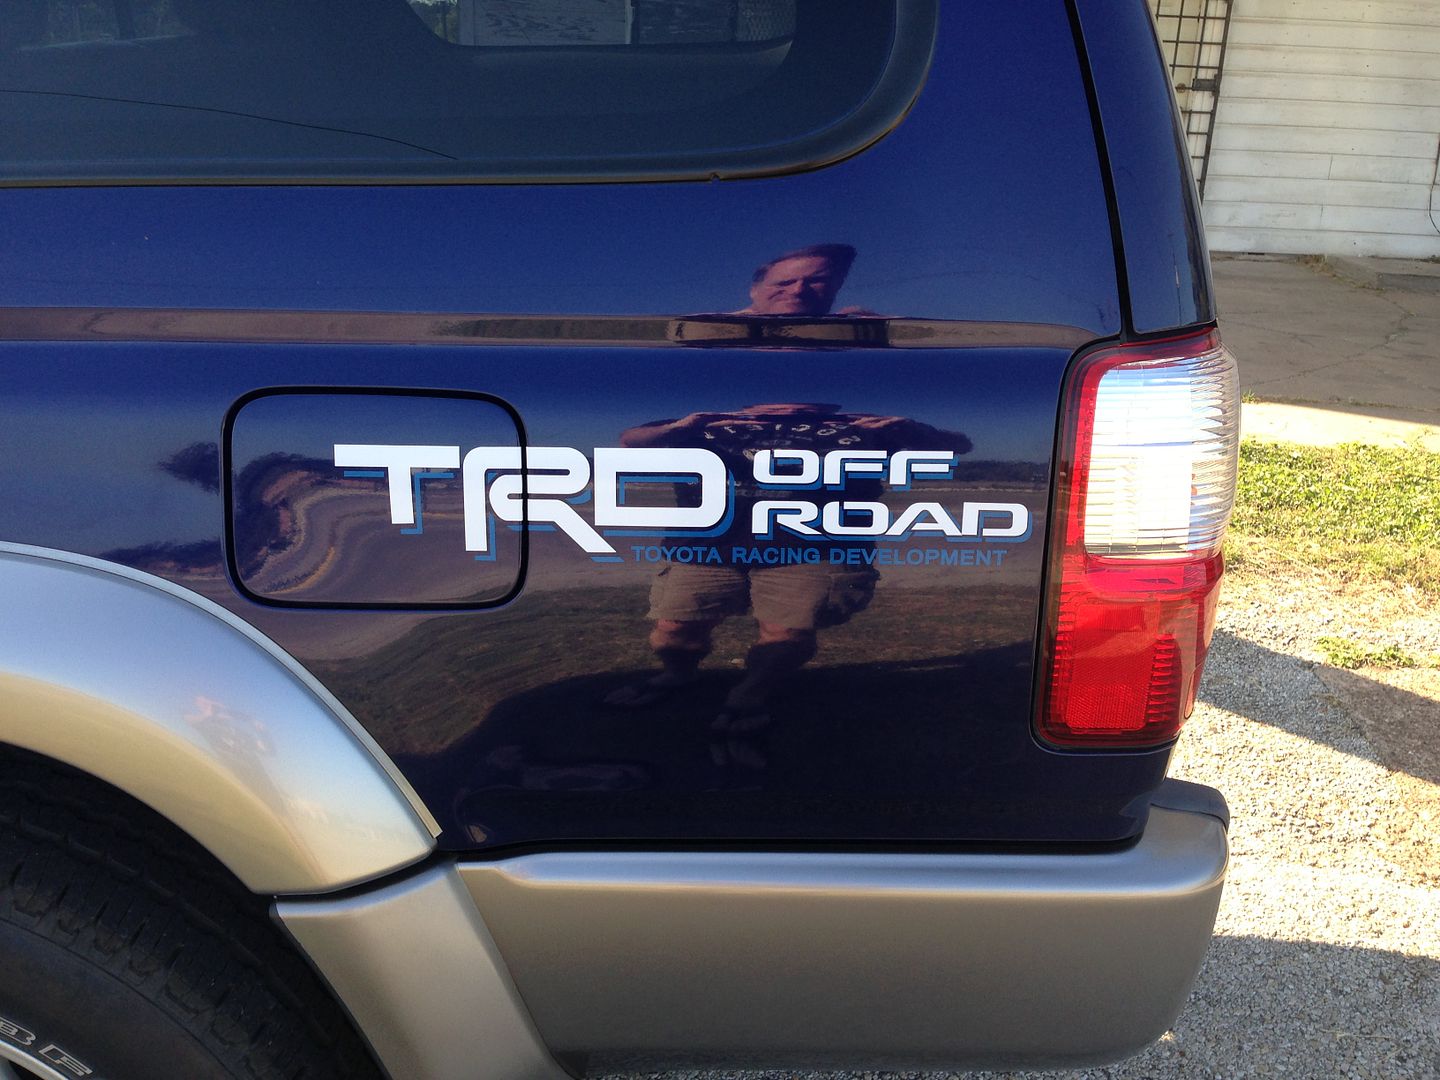
Once you have done this and the space along the sheet of paper is exactly parallel you can be confident that your decal is positioned perfectly. Smooth it out the best you can and tape it in the middle. As you can see above the right edge of the shadow of the "D" in ROAD will be about 3/8" from the edge of the body panel.
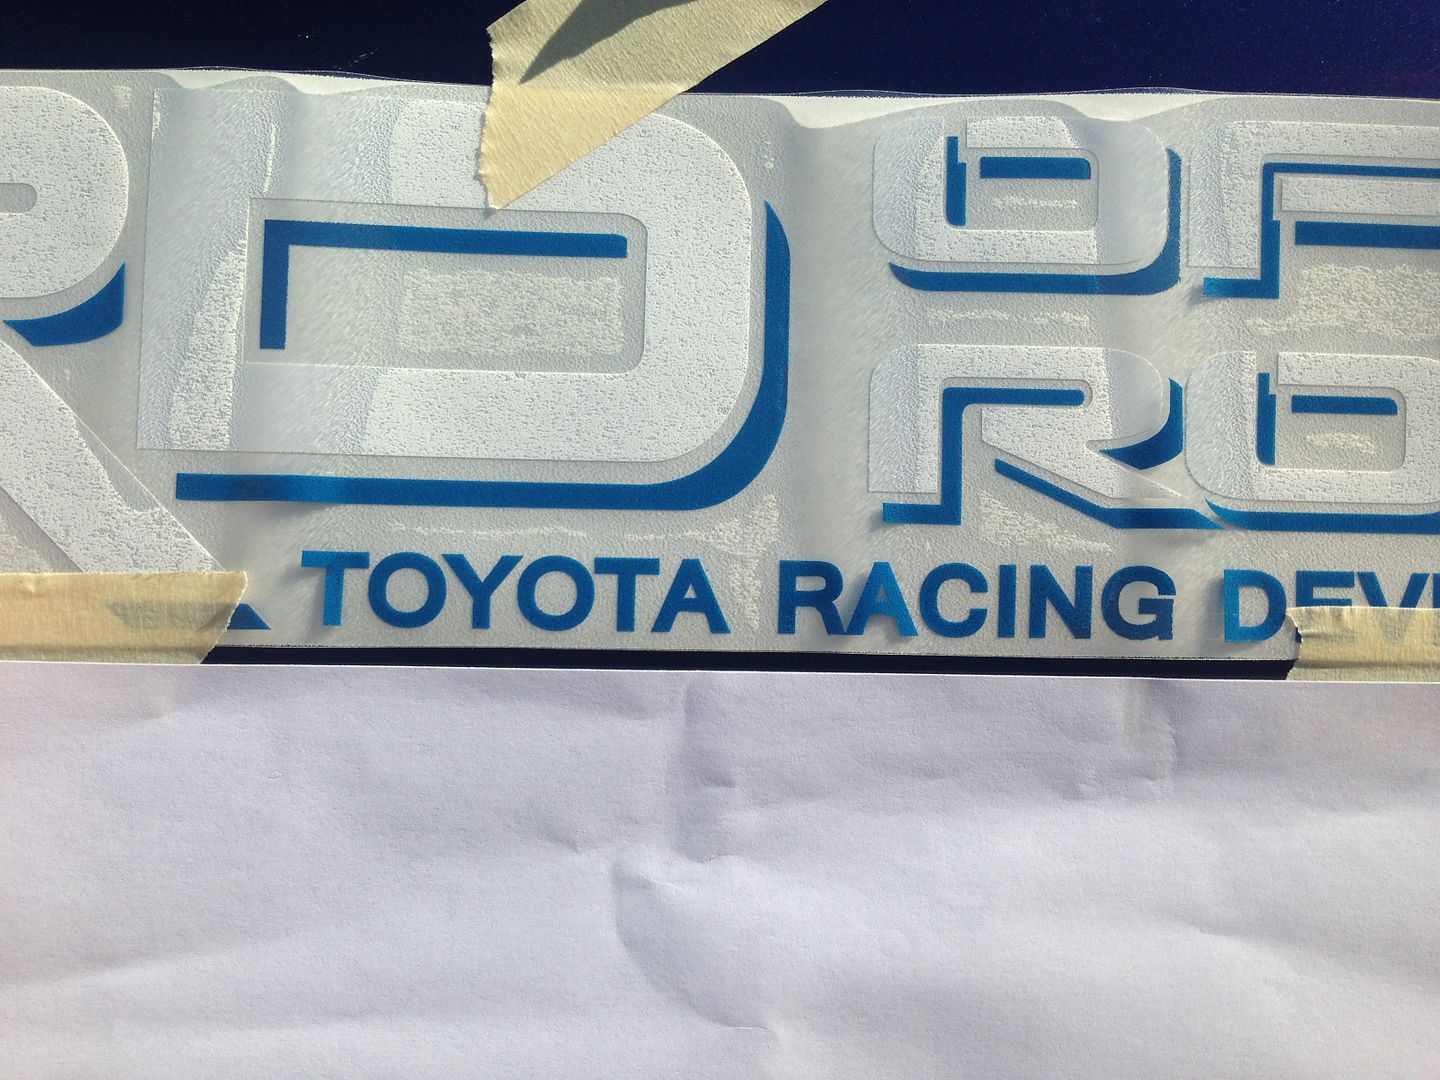
With this decal I had to start from one edge and try and remove the backing paper (might have been wax paper) without having the sticker adhere to it. The multiple creases and the fact the larger letters and the backing paper were white made this very difficult to do. Peel slowly and pull back the backing paper at an angle parallel to vehicle. You don't want the letters to adhere to the backing paper like mine did several times. You want the letters and shadows to adhere to the clear sticker part.
Once the backing paper is peeled from one side to the center cut it with your exacta knife then slowly apply the decal from the middle to the edge watching for creases, bubbles and other potential issues. Using a drivers license seems to help. The drivers license seemed to work better than a credit card. Once it is smoothed out apply pressure going from the middle to the outside edge. Once everything appears smooth try to peel away the clear part of the sticker going from the outside to the middle and then cut the clear layer away with your exacta knife. Once this is done move the tape to the remaining backing that is closest to the middle. Repeat the process from the other side. Cut down the middle of the gap in the "R" with your exacta knife. After you pop the gas lid smooth remaining decal along the edges of the lid. Now you are halfway done!

On the passenger side position the decal with the same spacing to the 8.5" x 11" paper as you did on the driver side. You obviously don't have a gas lid to deal with so just make sure that the left edge of the "T" is 3/8" from the left edge of the body panel. I didn't know the measurement at the time, so I marked the tail end spacing with a pen. With all of your measurements and positioning make sure to count the shadow as an edge of the decal.
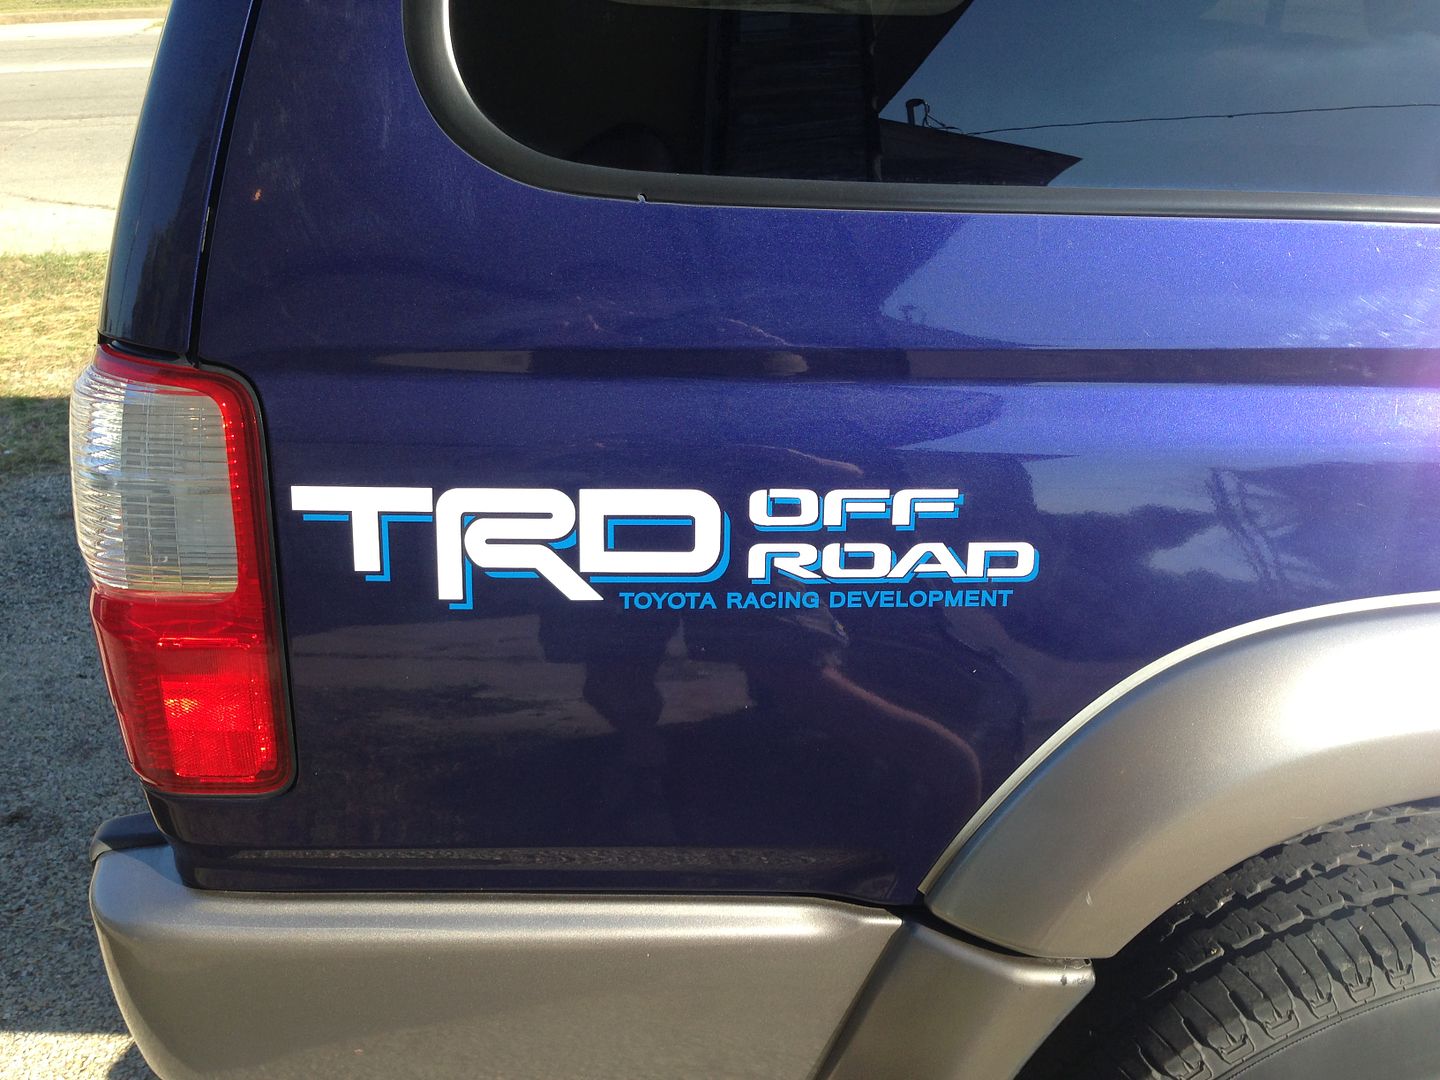
Overall I am satisfied with how the TRD decals turned out. Someone told me that they add horsepower and off-road capability, so that is a pretty good deal for $12.95.


 Linear Mode


