I've had this build thread on other forums. Figured I'd start moving this puppy over here.
************************************************** *********
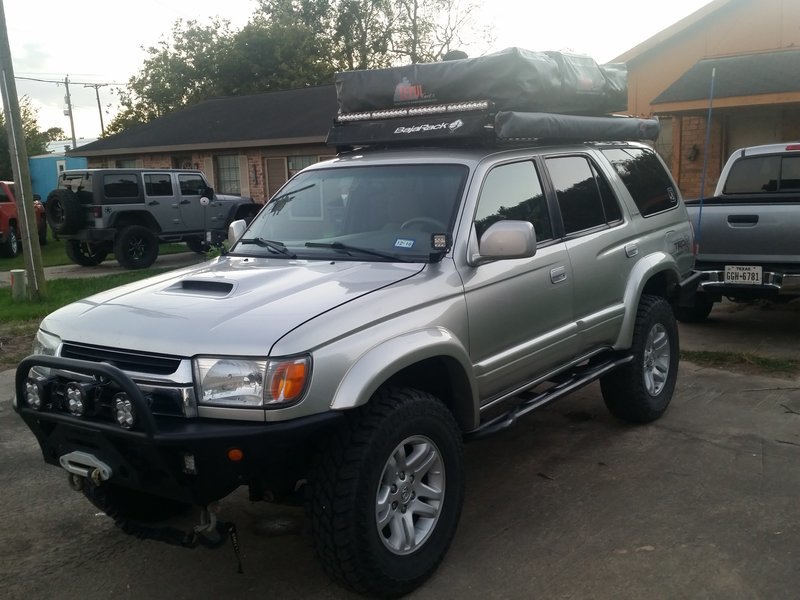
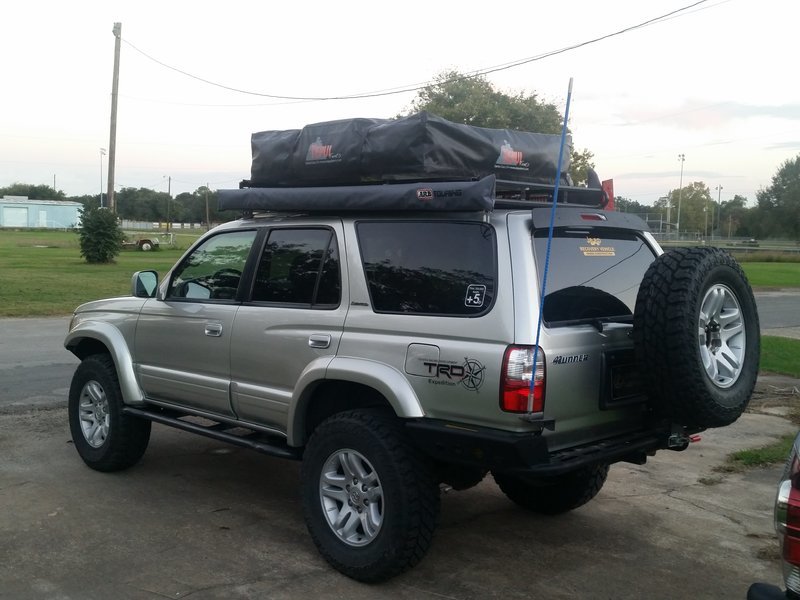
So I just bought another project truck.
2001 4runner limited.
I am looking to building my first serious offroading rig.
I know there are a few of 4runner forums, but you guys here have treated me well.
Any of us have 4runner builds, preferably 3rd generation?
Also, which of all the 4runner forums are most active?
If so, I am looking for ideas


Order of mods:
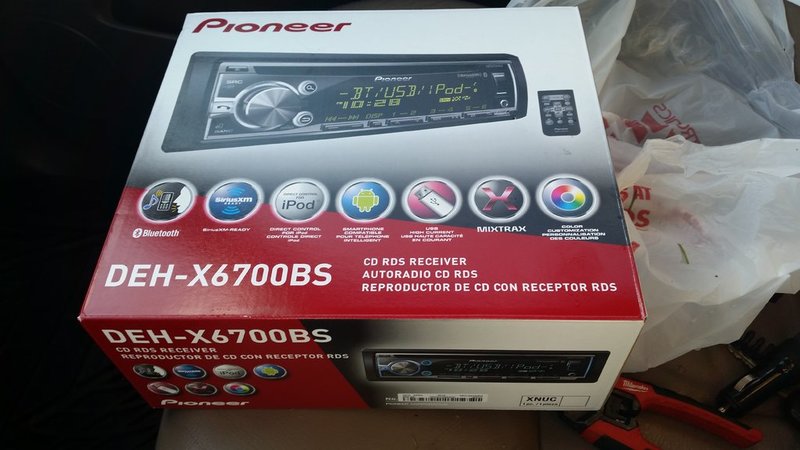
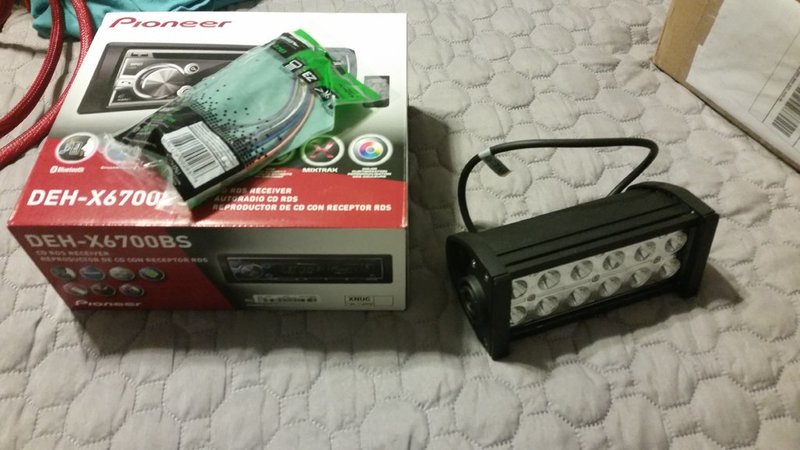
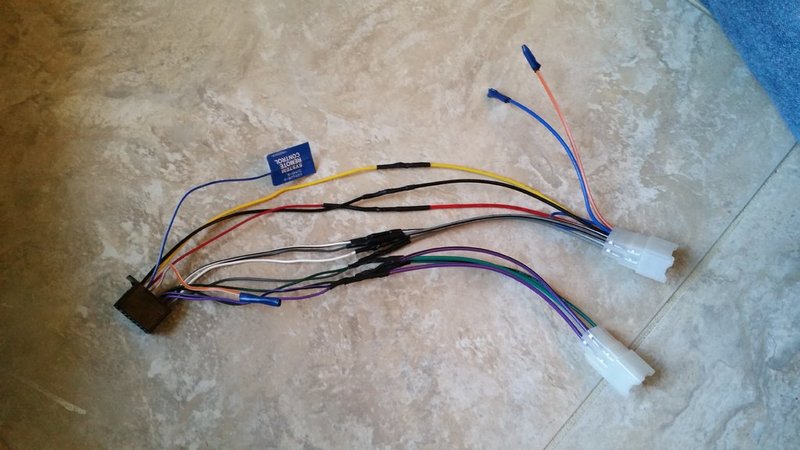
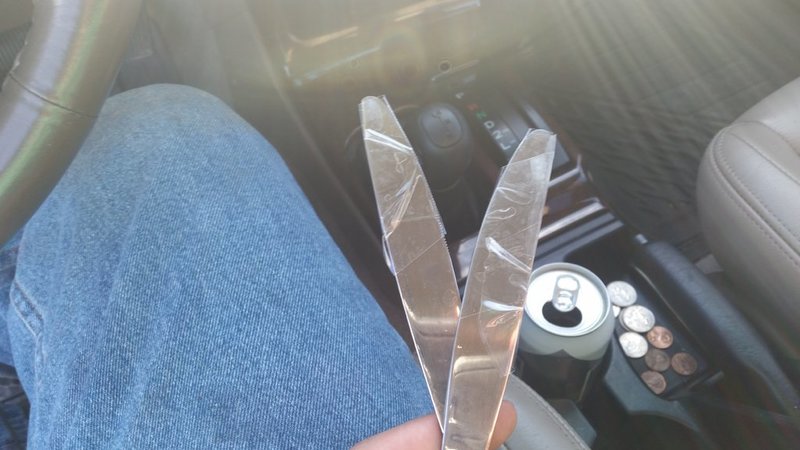
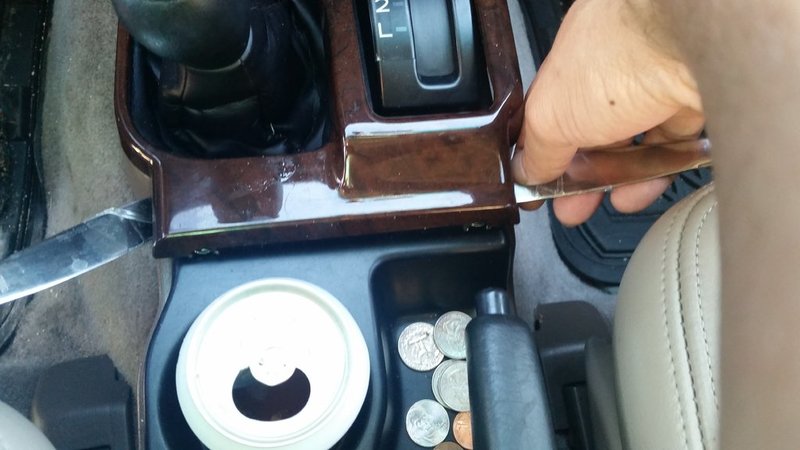
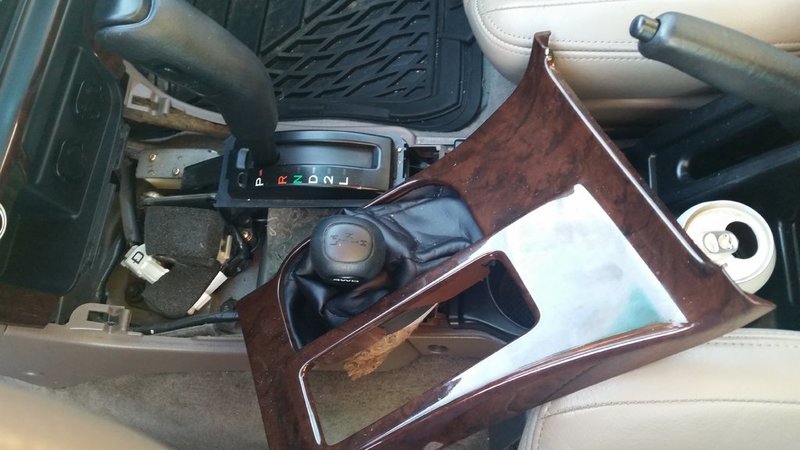
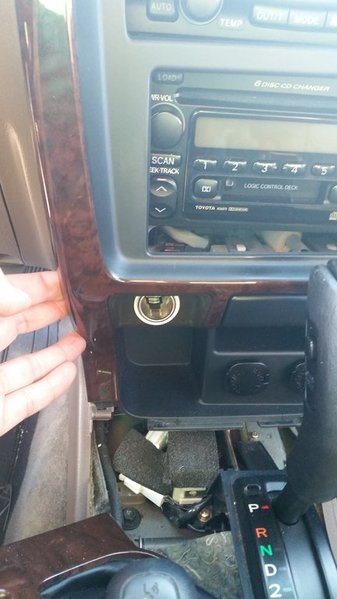
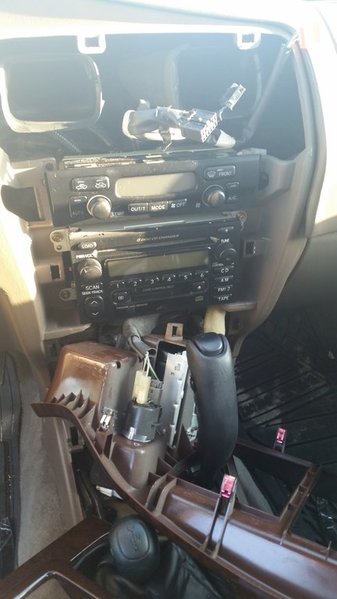
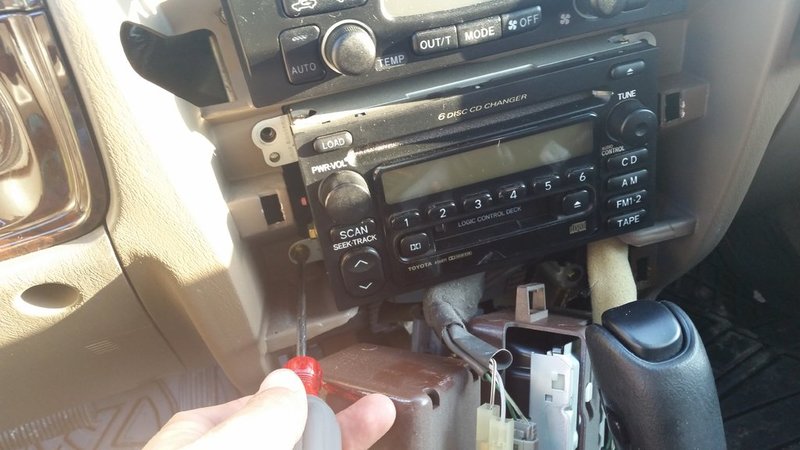
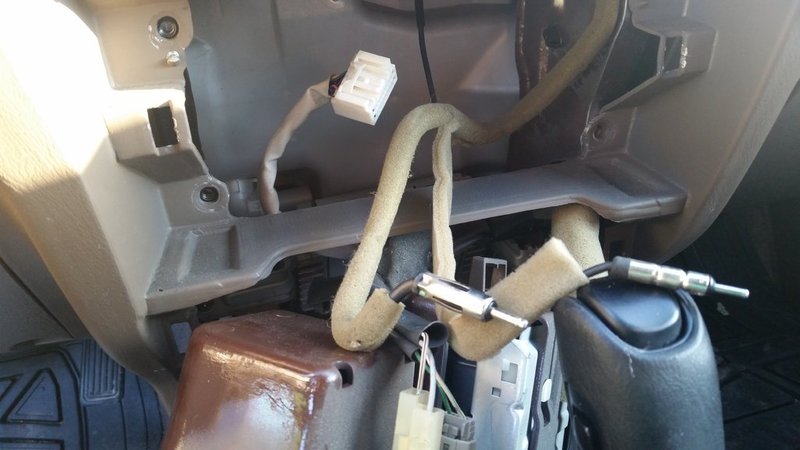
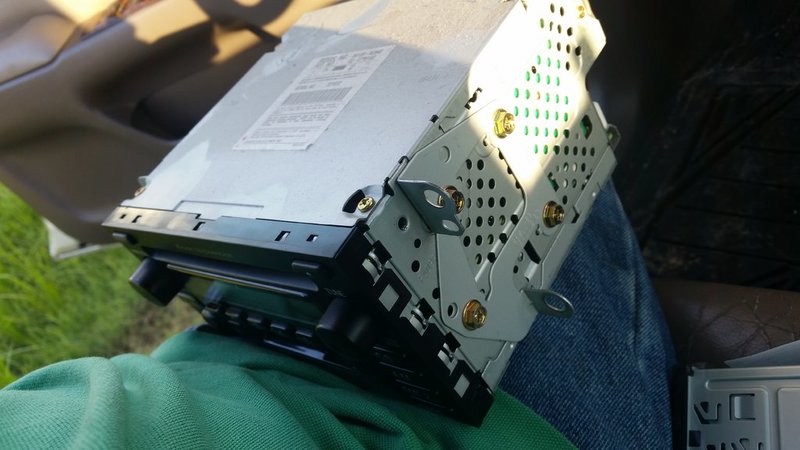
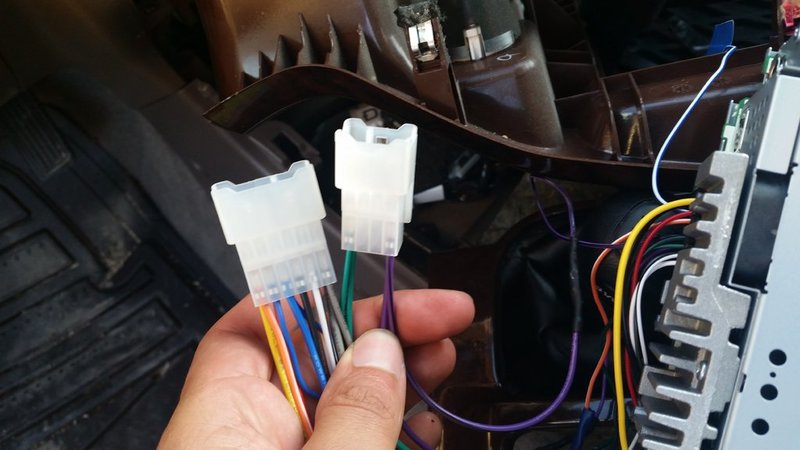
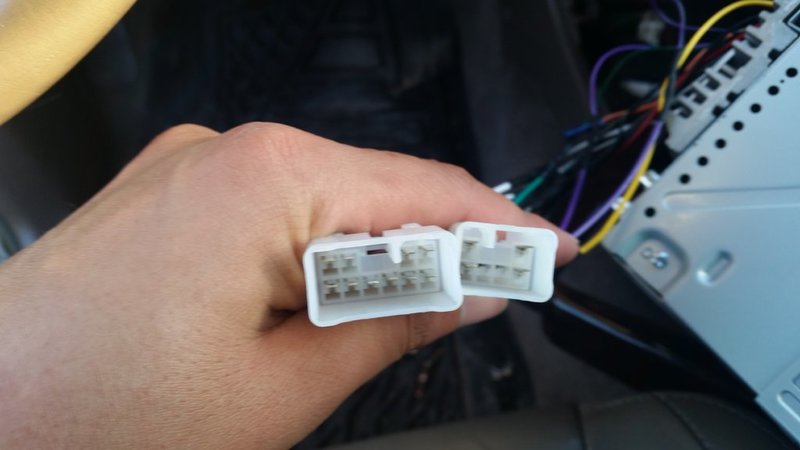
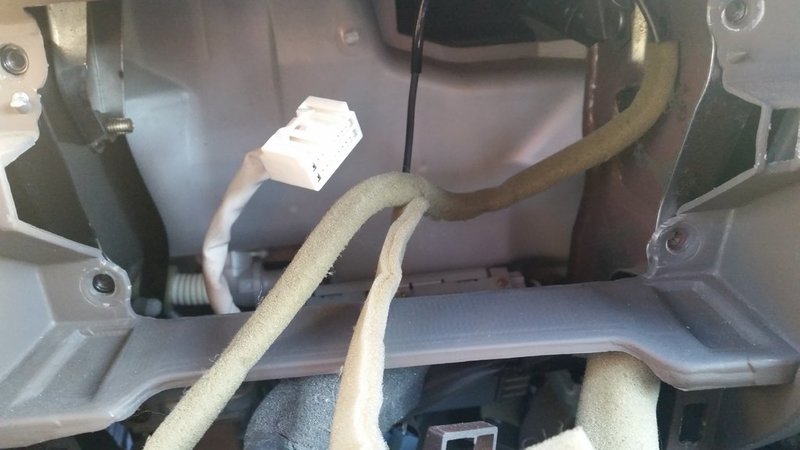
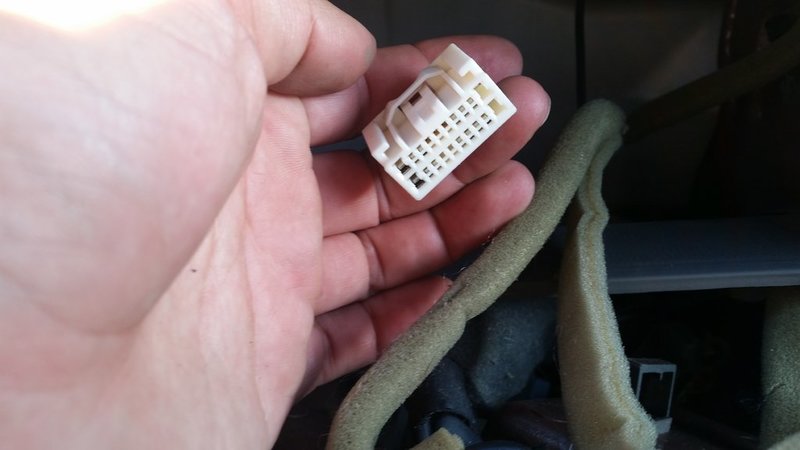
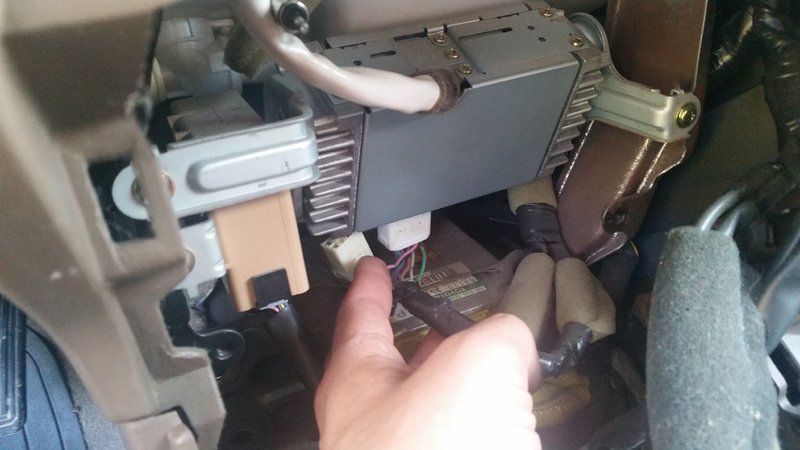
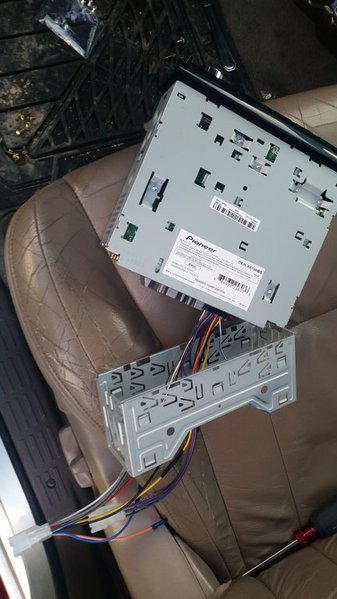
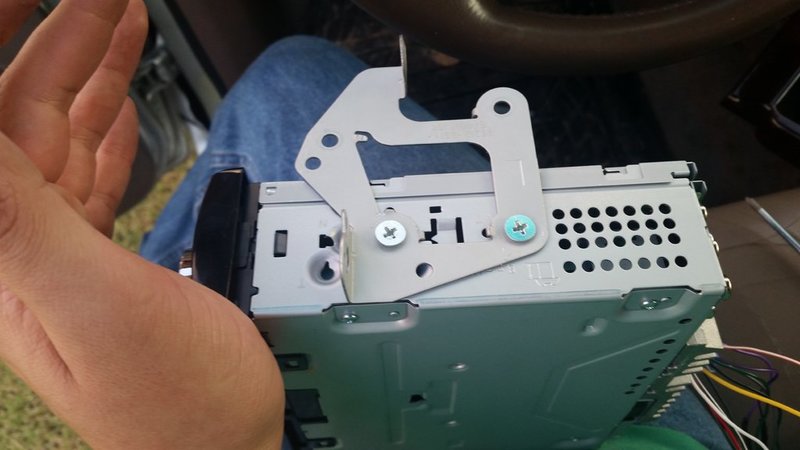
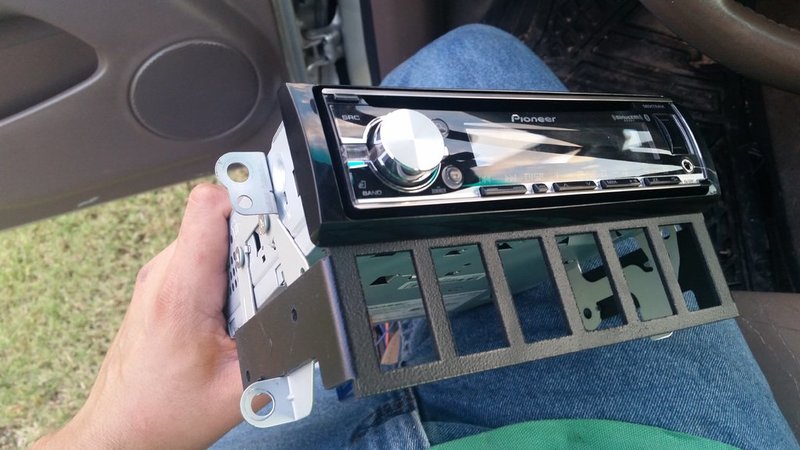
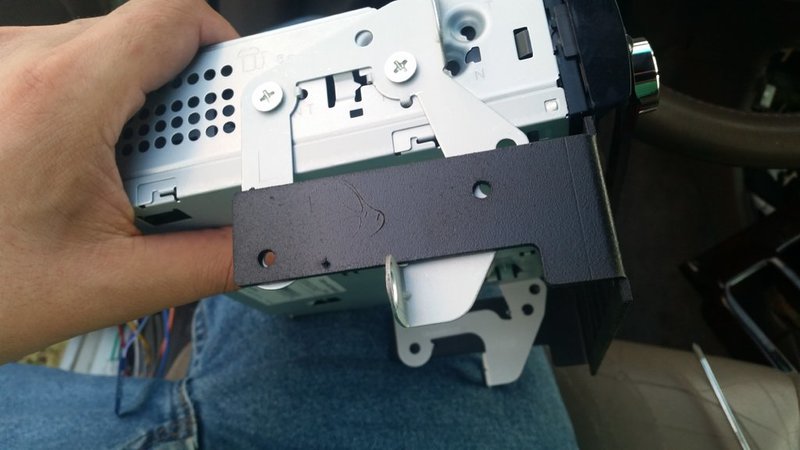
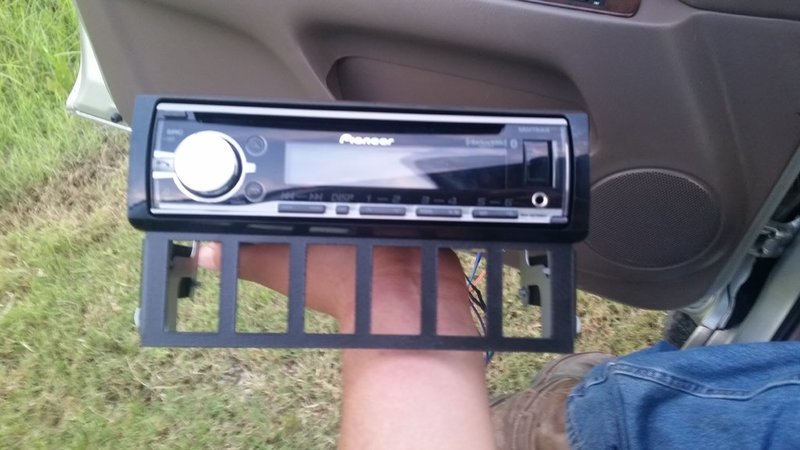
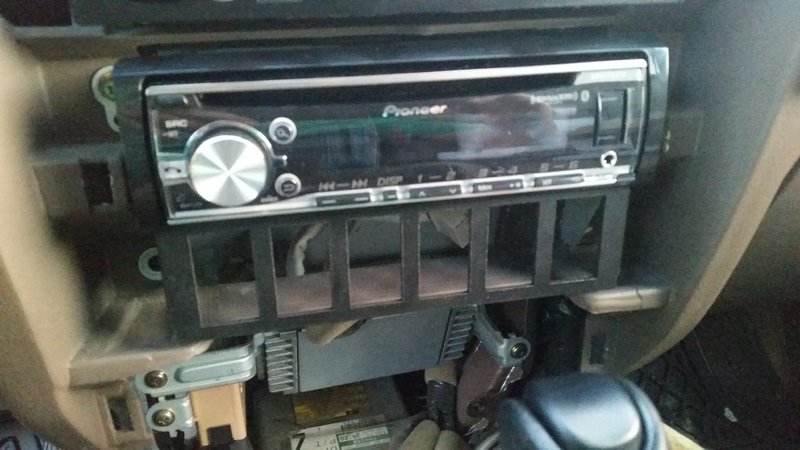
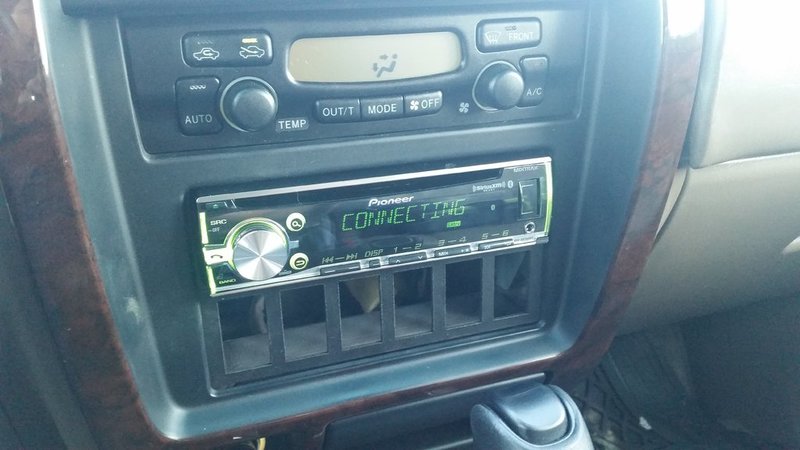
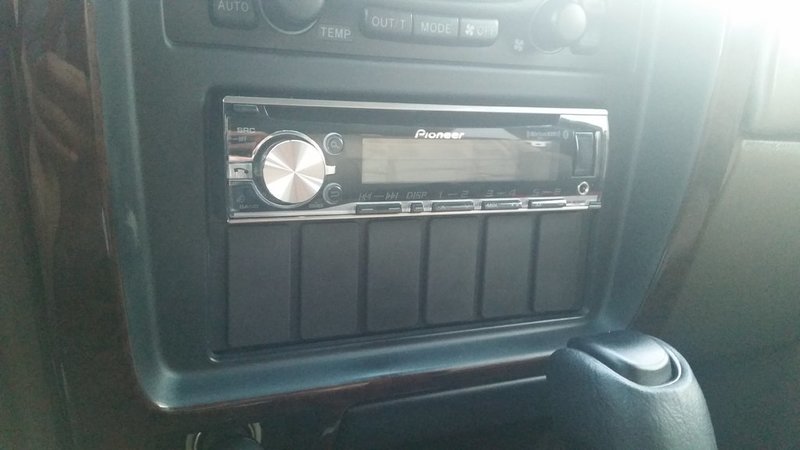
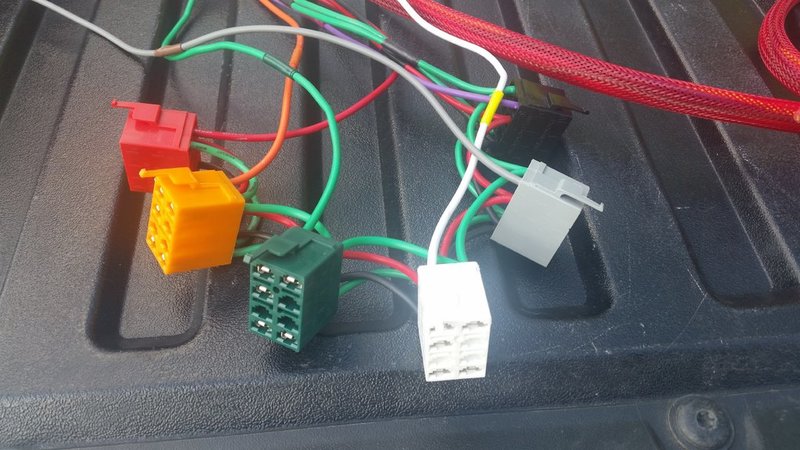
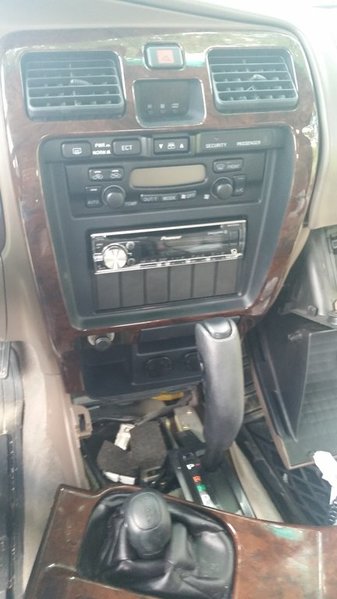
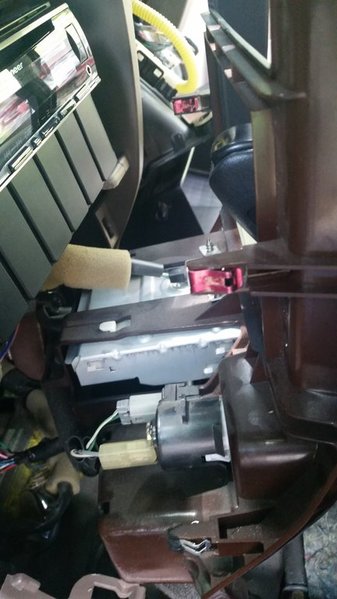
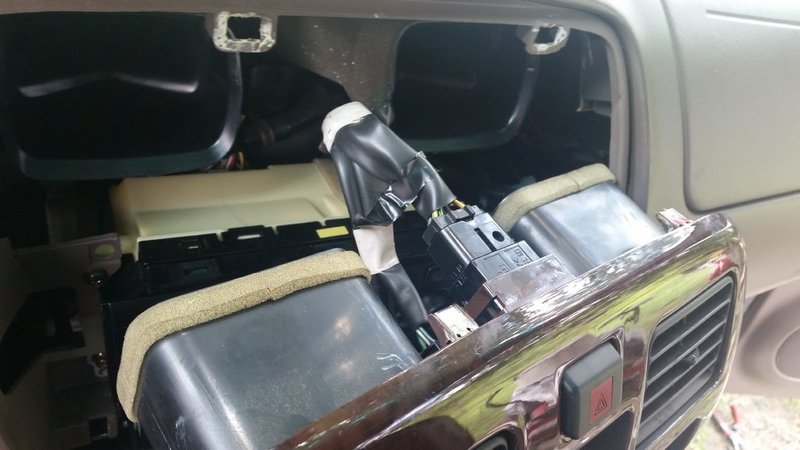
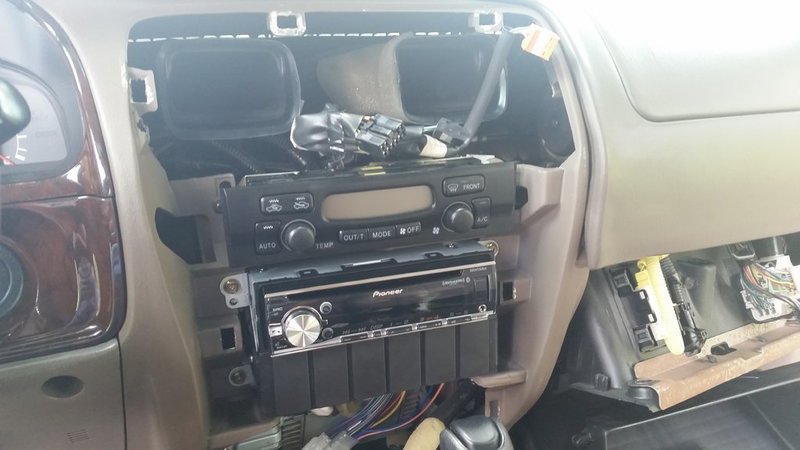
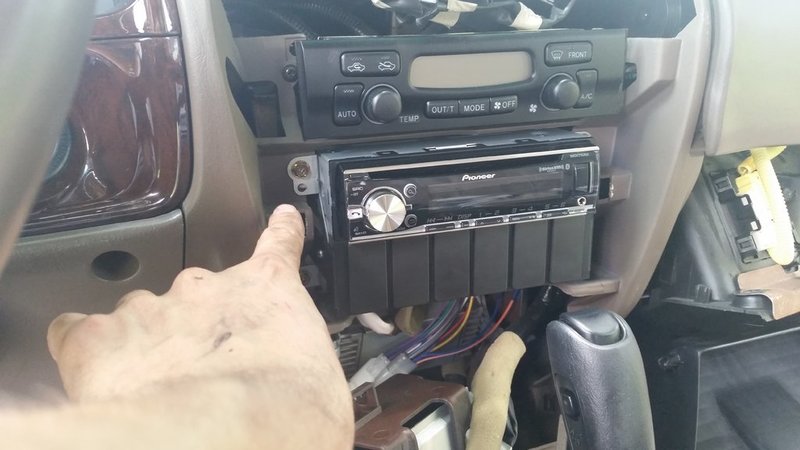
1. Replaced factory stereo with single din radio and @paranoid56switch panel:
Here
2. Removed annoying door chime:
Click this
3. Replaced spark plugs: June 6th, 2015
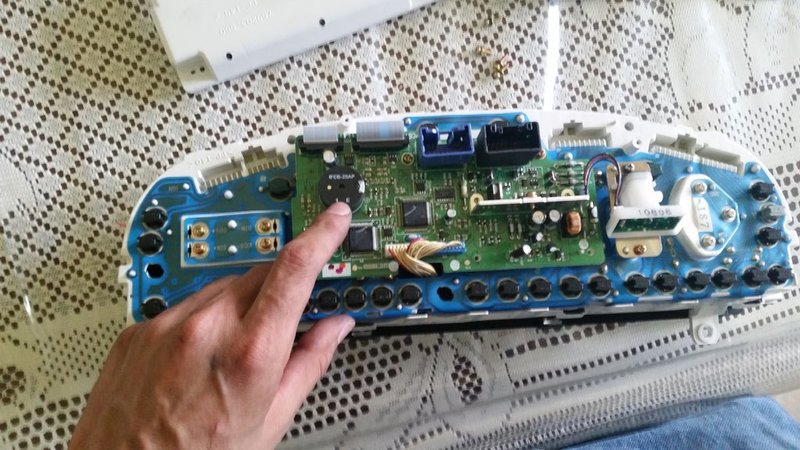
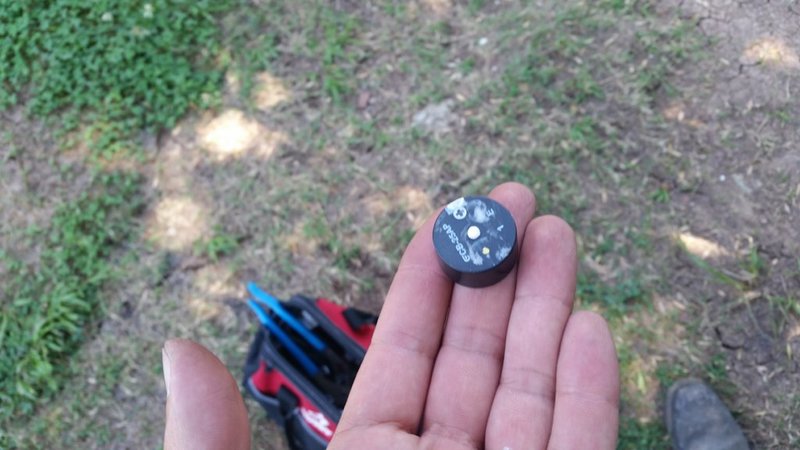
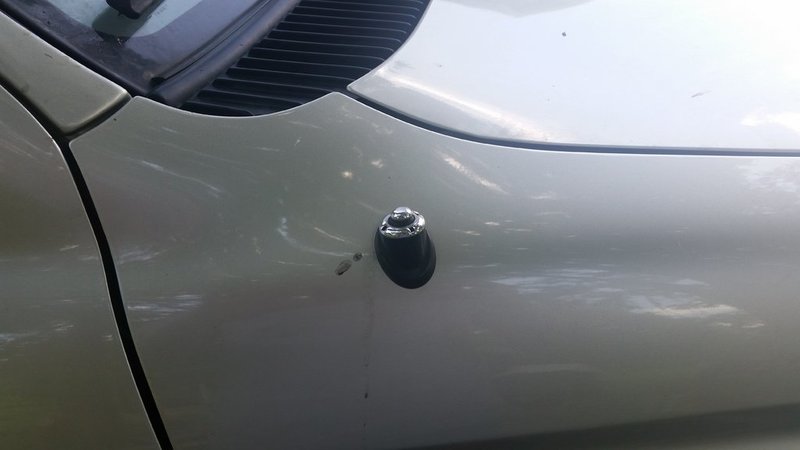
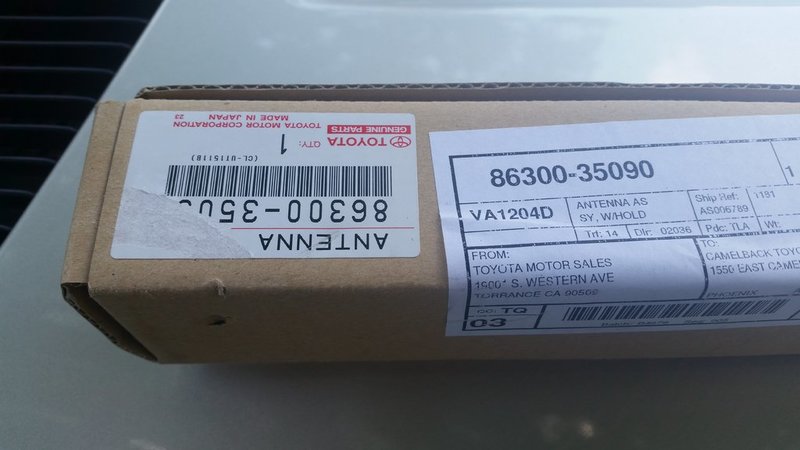
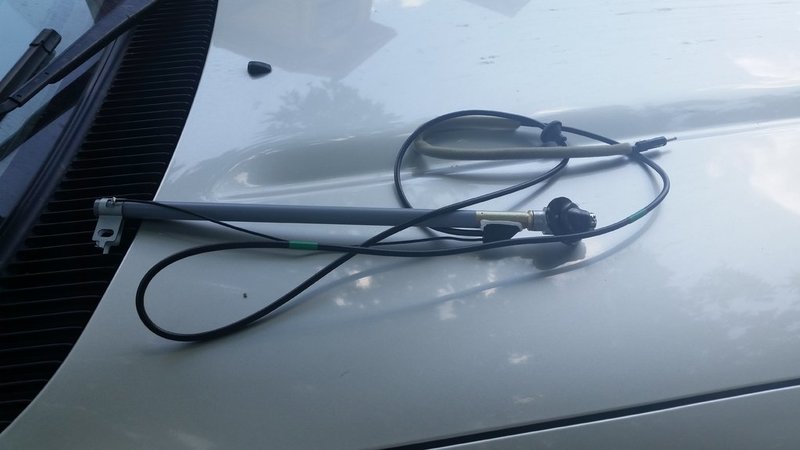
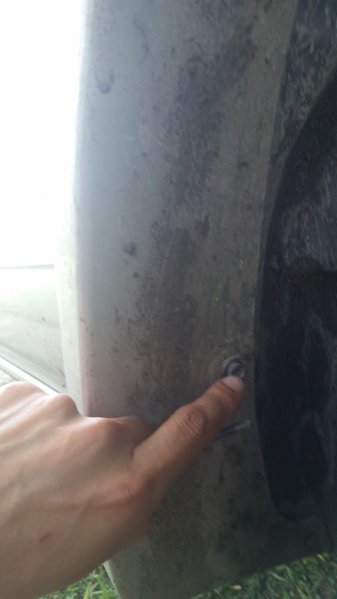
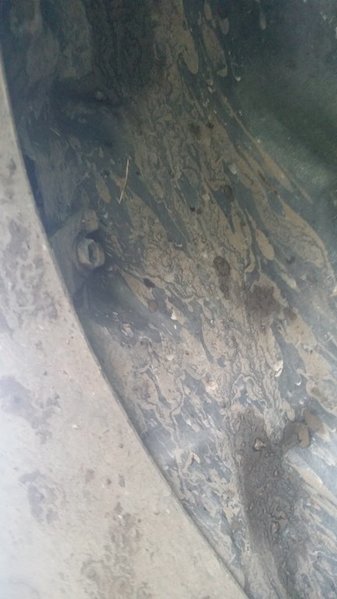
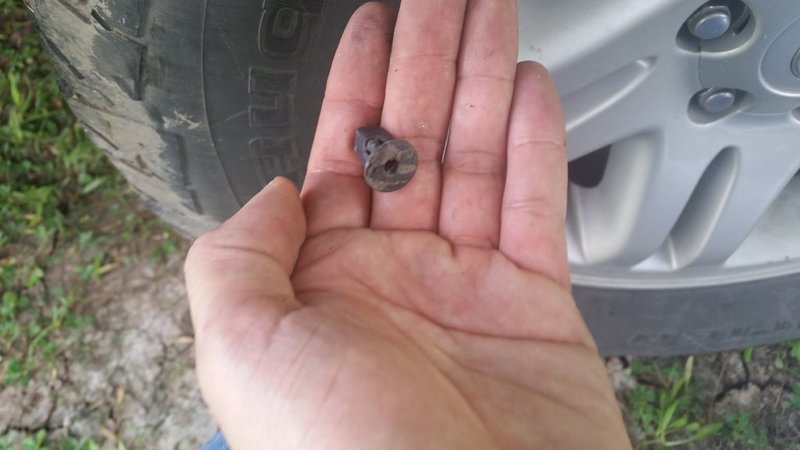
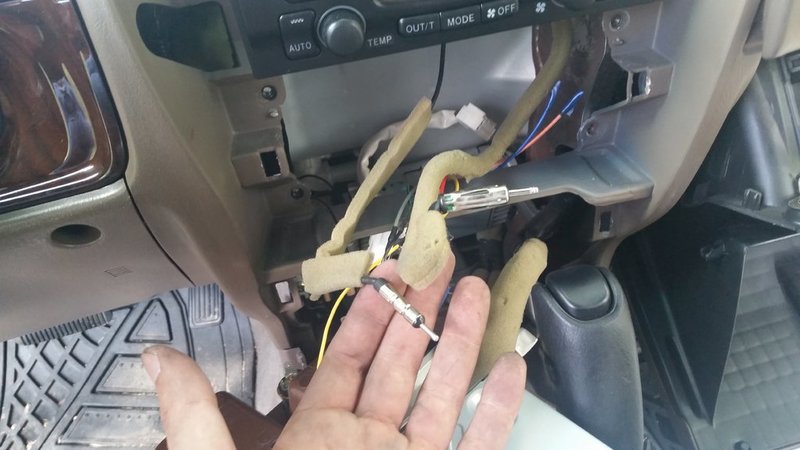
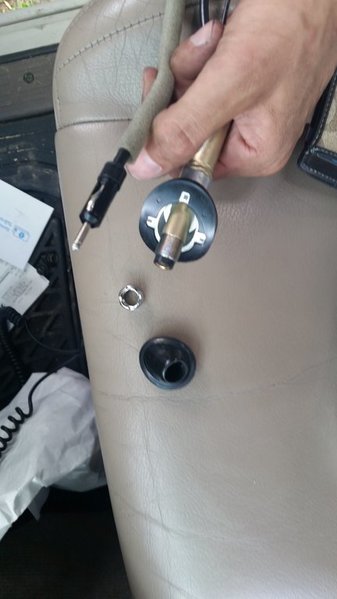
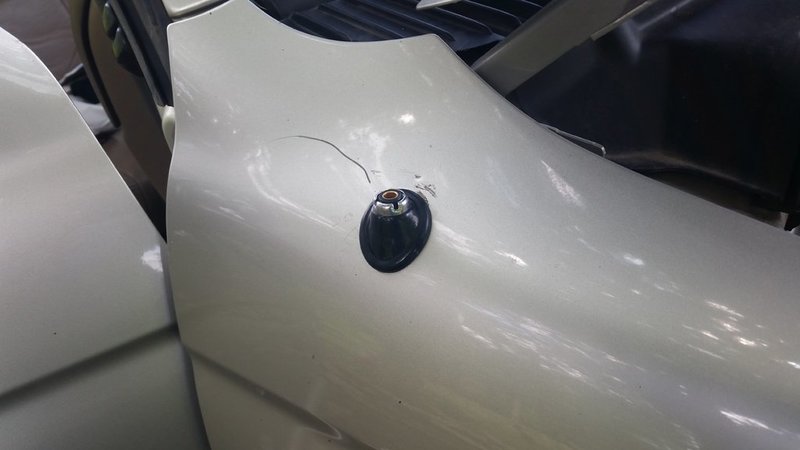
4. Replaced auto antenna with whip antenna:
Guess what to click
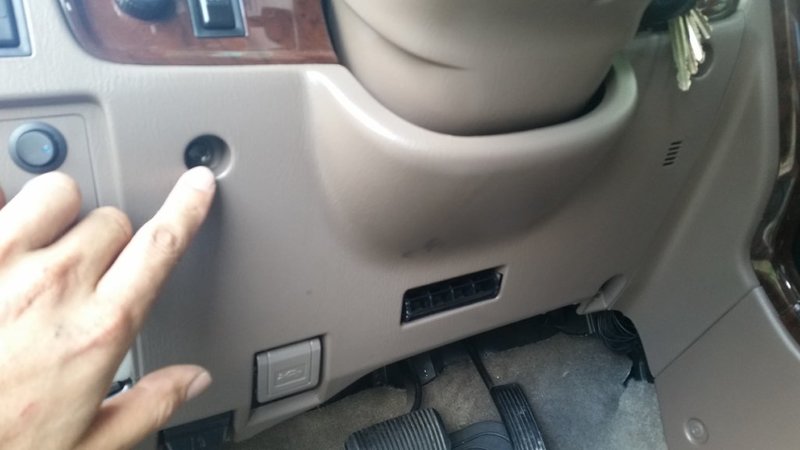
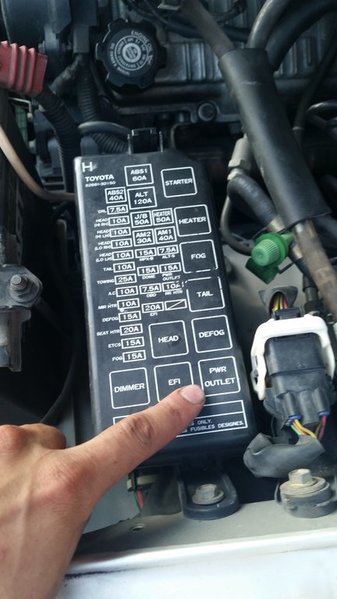
5. Always on power outlets:
Not found by clicking here
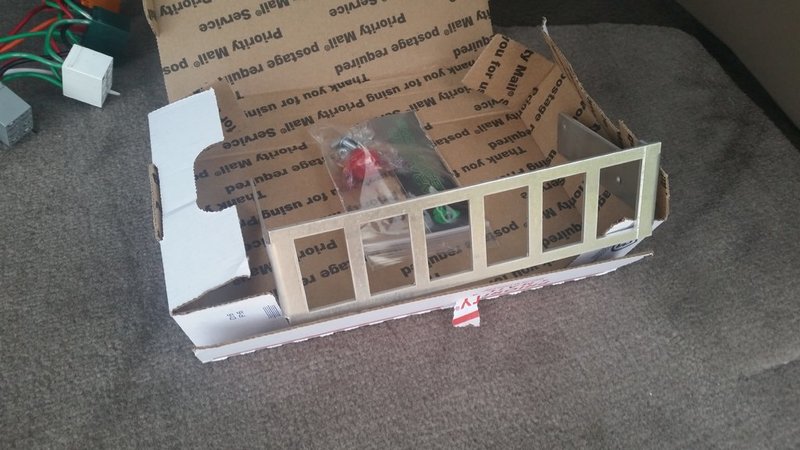
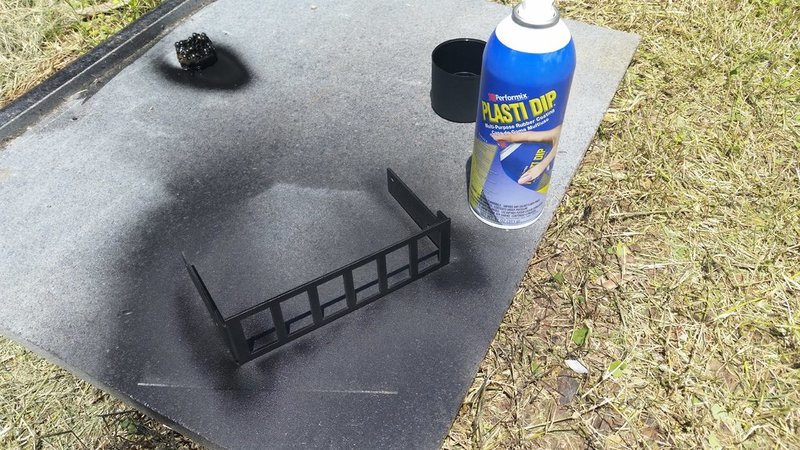
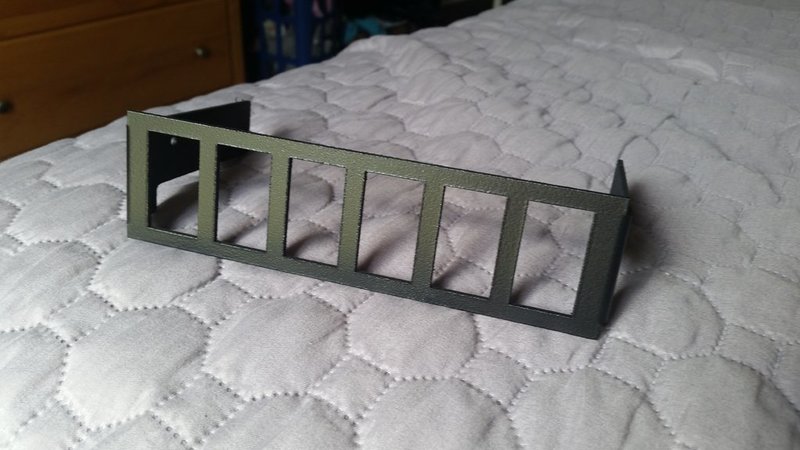
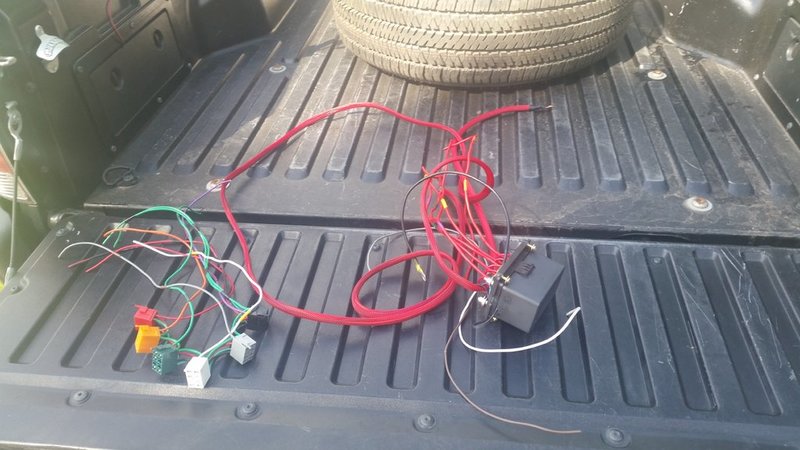
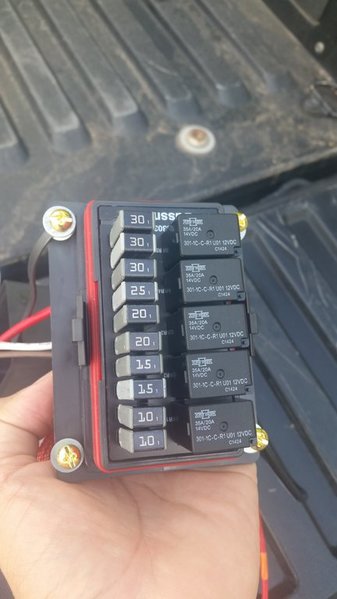
6. Installed
@
skygear
fuse box on @Yotamac panel:
Click me!
7. Replaced fuel filter, PCV valve, and air filter:
Write up
8. Combined both radio antennas into one for better reception:
Love my AM radio
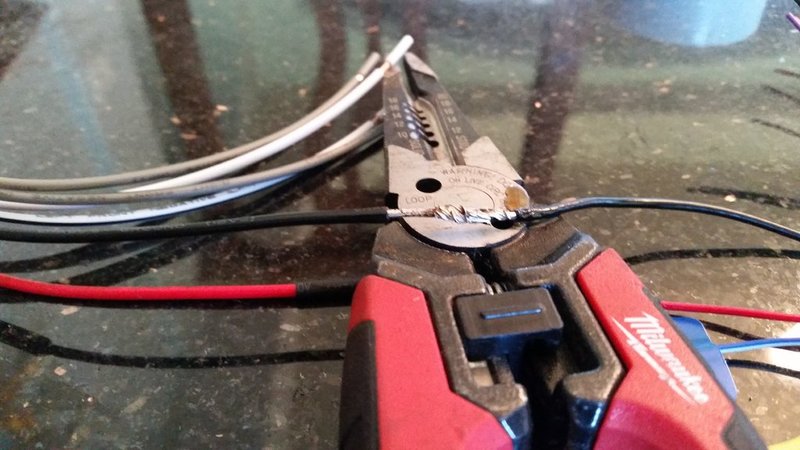
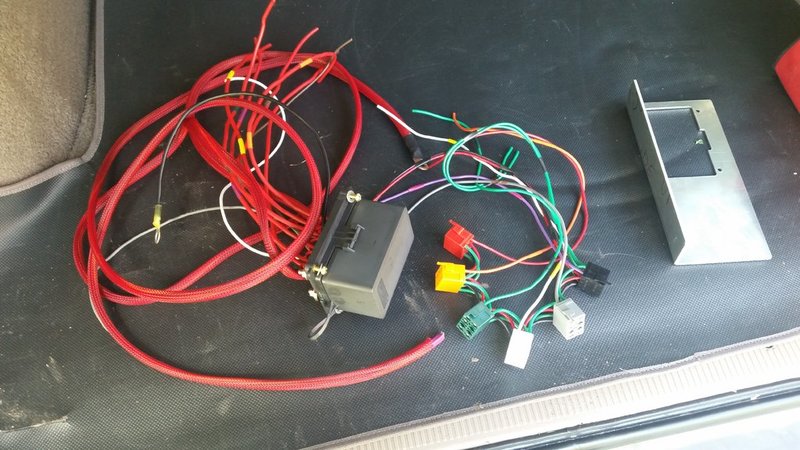
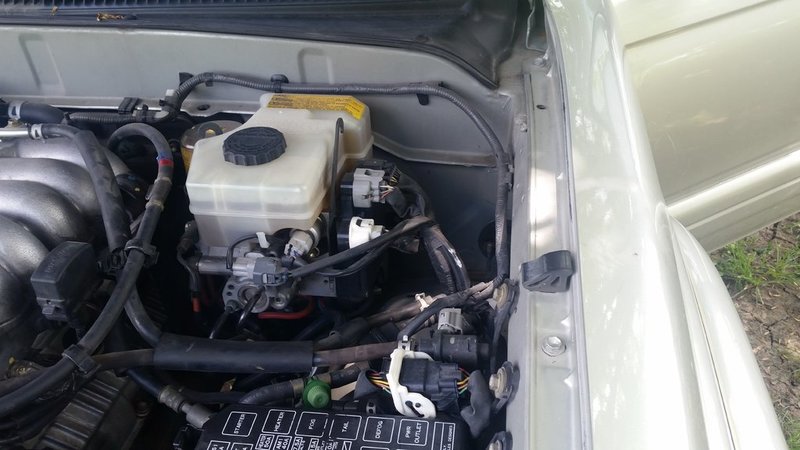
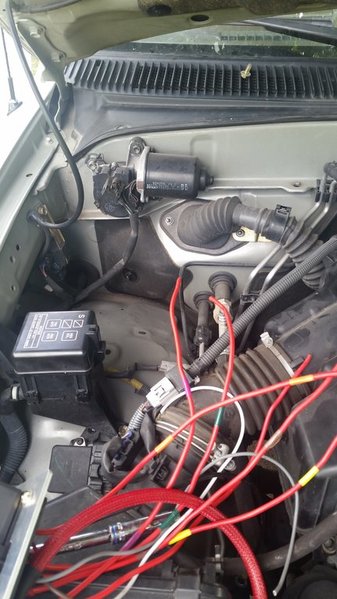
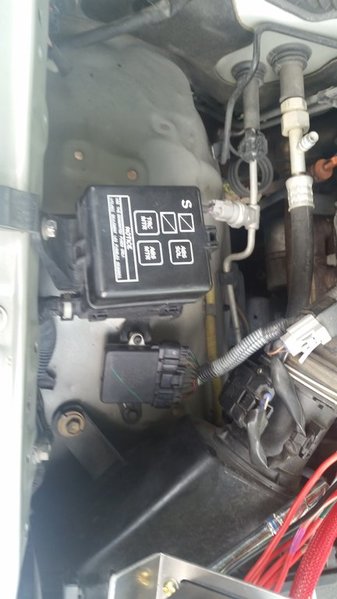
9. Installed deep cycle Excide battery and
@
Bamatoy
1997 stage 1 wiring upgrade:
Power!
10. Had sliders fitted and installed transmission cooler:
Cooler write up
11. Scooped hood:
got skewp?
12. @BeeRadd antidark hood lights:
bright!
13. Replaced the lower ball joints: September 5th, 2015
14. Installed hood struts, switches, and primered my savage front bumper, final coat of paint on my sliders:
Clicker
15. Installed a high output alternator to accompany my deep cycle battery: love the
red
16. Installed ditch lights:
every build needs these
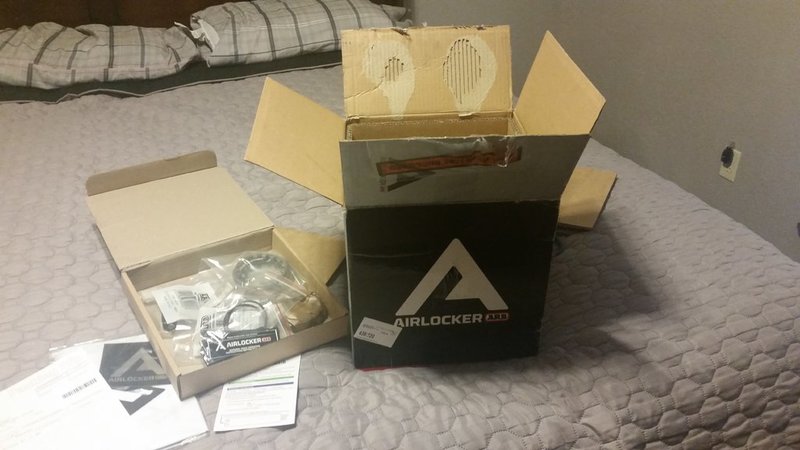
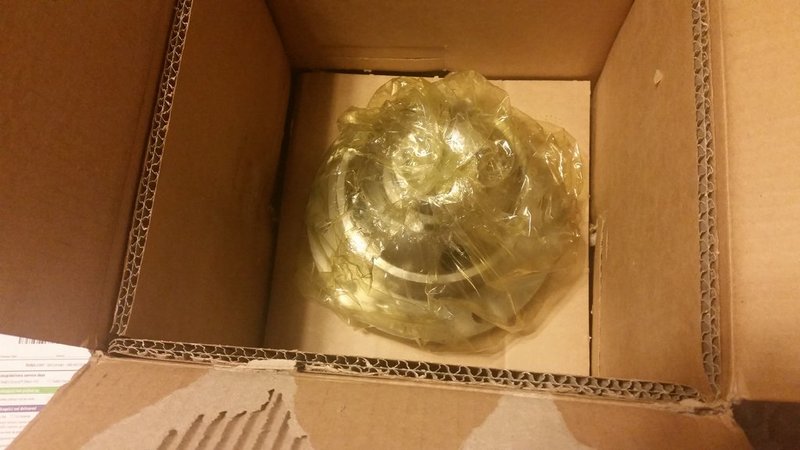
17. Installed ARB compressor for rear locker:
Slick install
18. Replaced radiator and condensor radiator:
fun..
19. Installed savage front bumper:
Bump this
20. Purchased Whynter fridge:
Whynter FTW
21. Installed Icon lift:
Finally
22. Installed scangauge II: Originally
here but now
here
23. Installed Baja Designs lights:
Love these lights
24. Relocated rear differential breather:
Slick write up
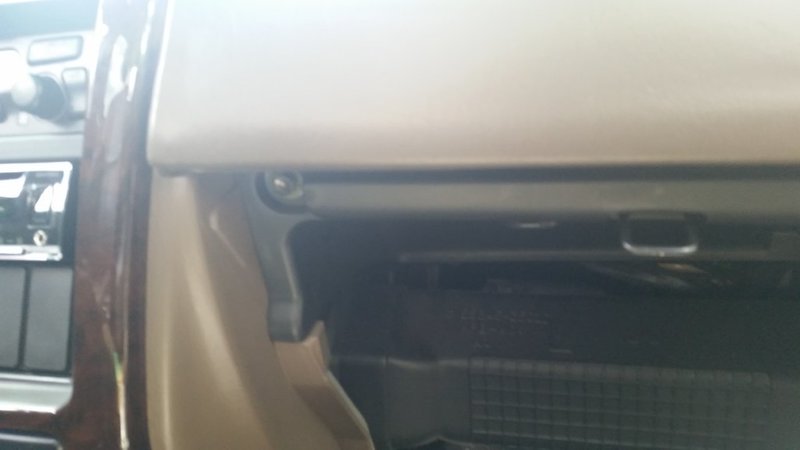
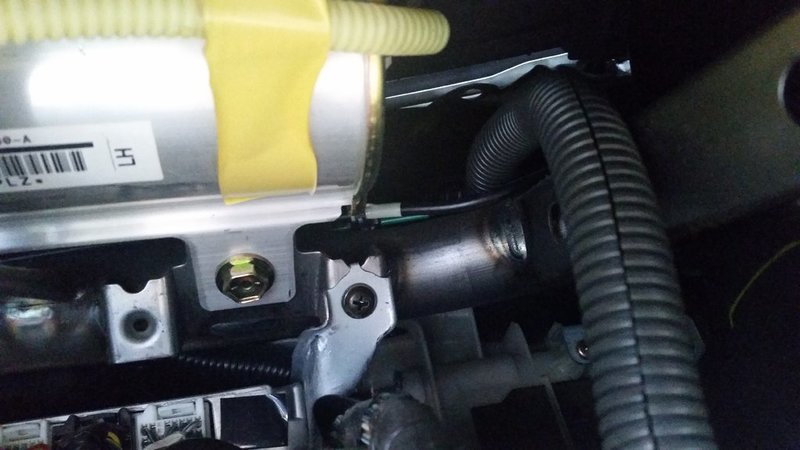
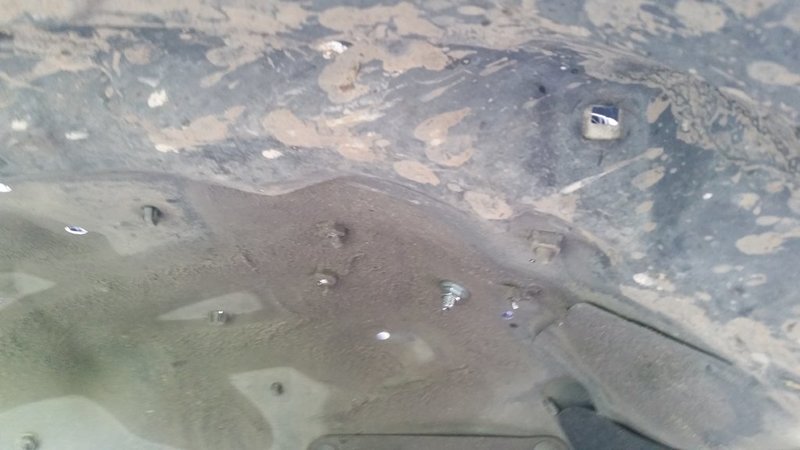
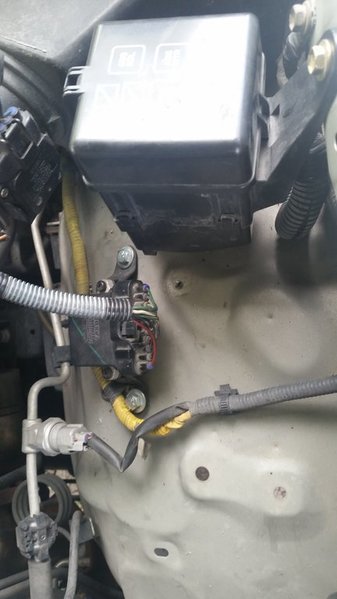
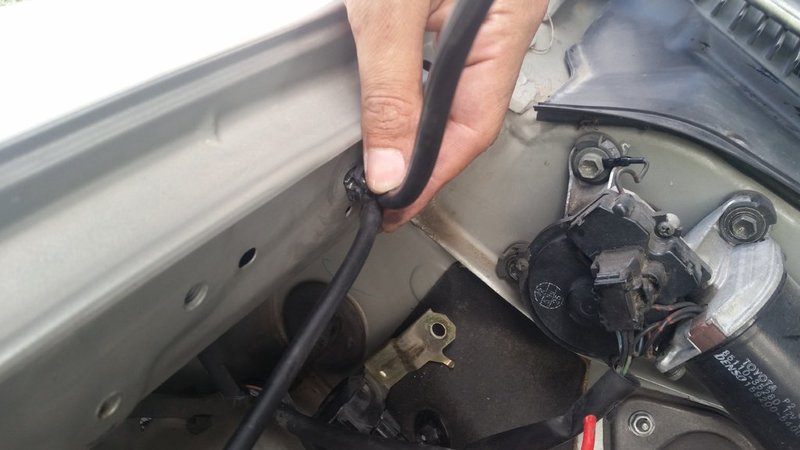
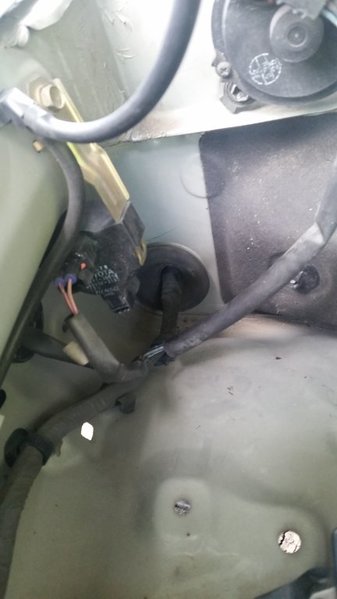
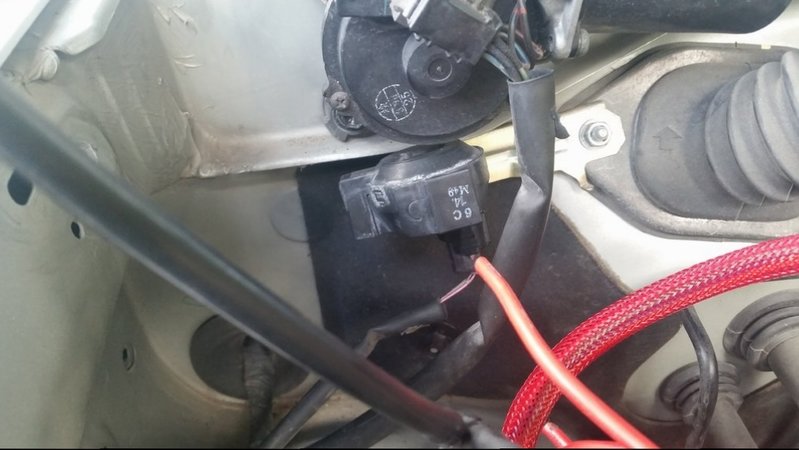
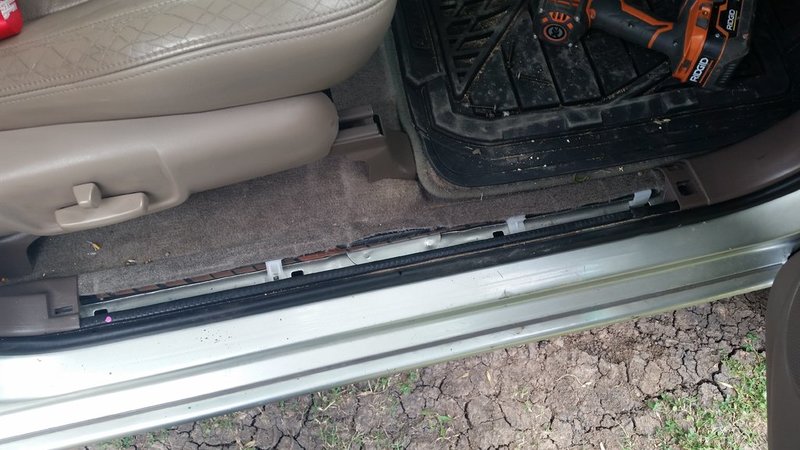
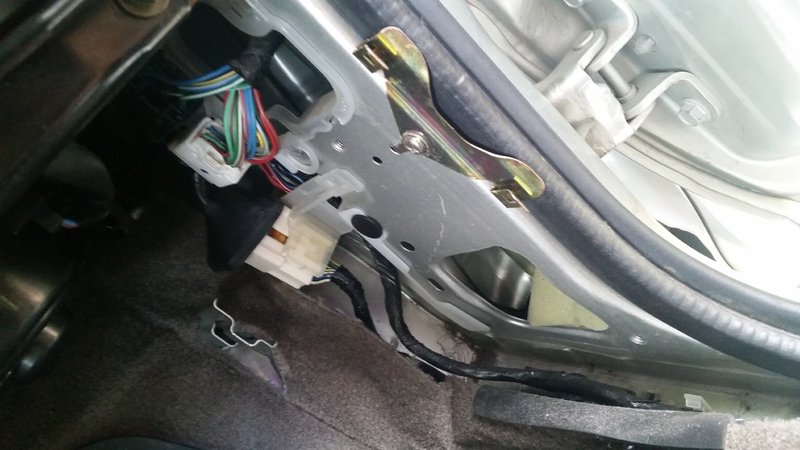
25. Water leaking into my cabin onto passenger floorboard:
ughh
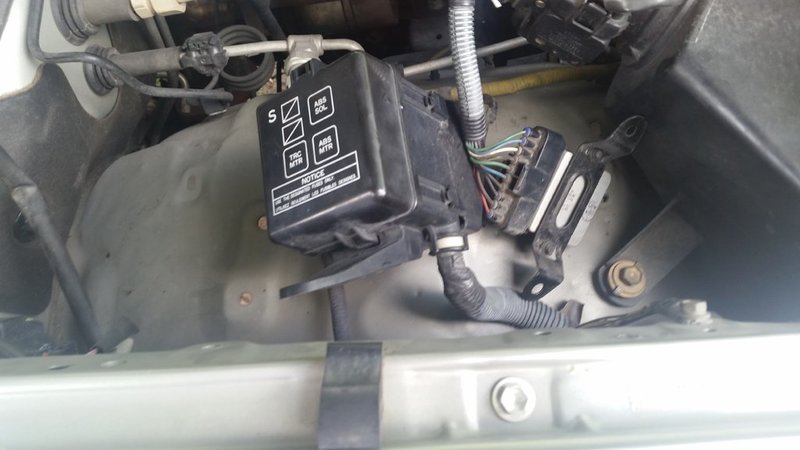
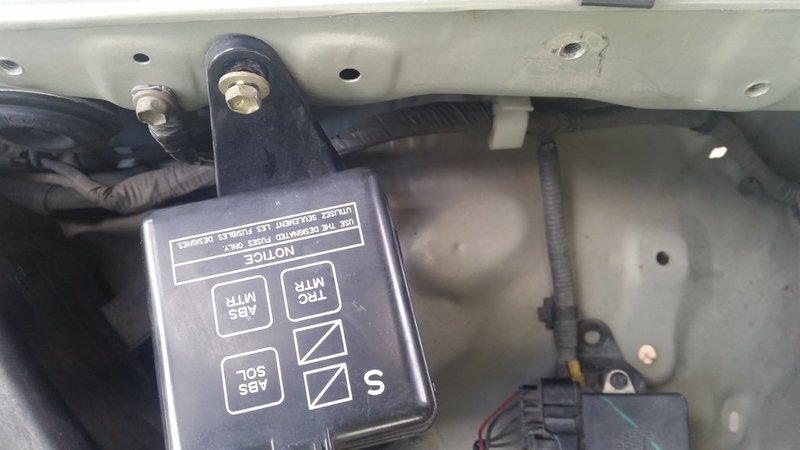
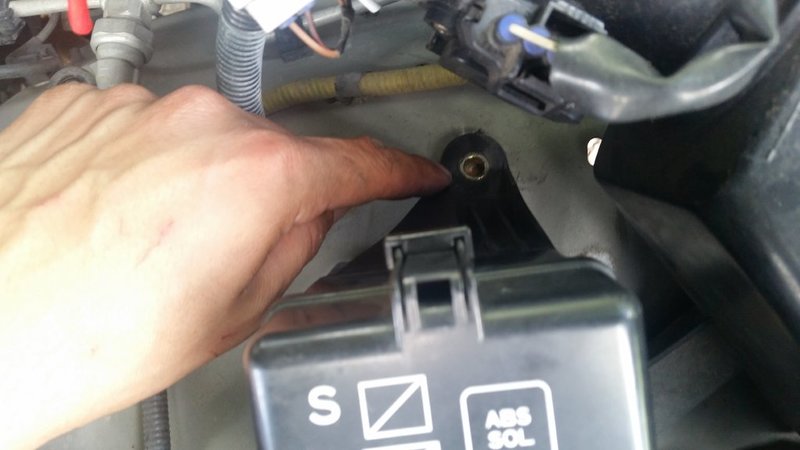
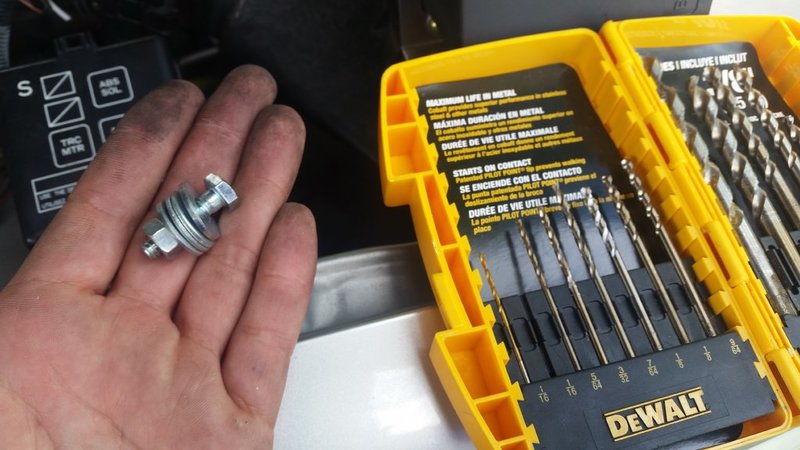
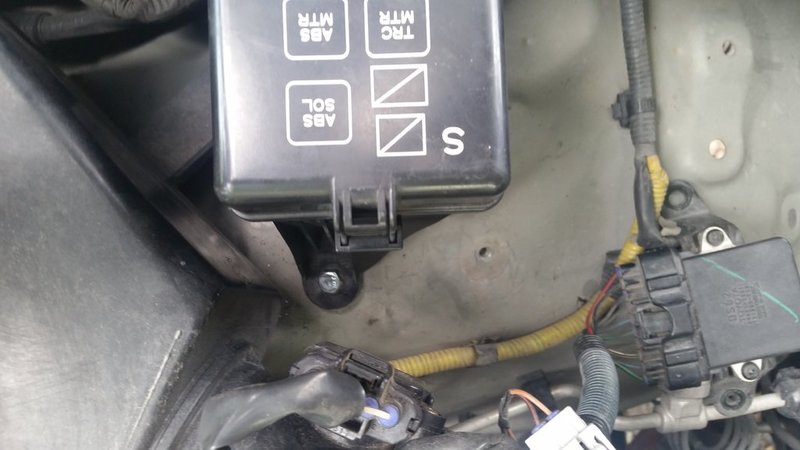
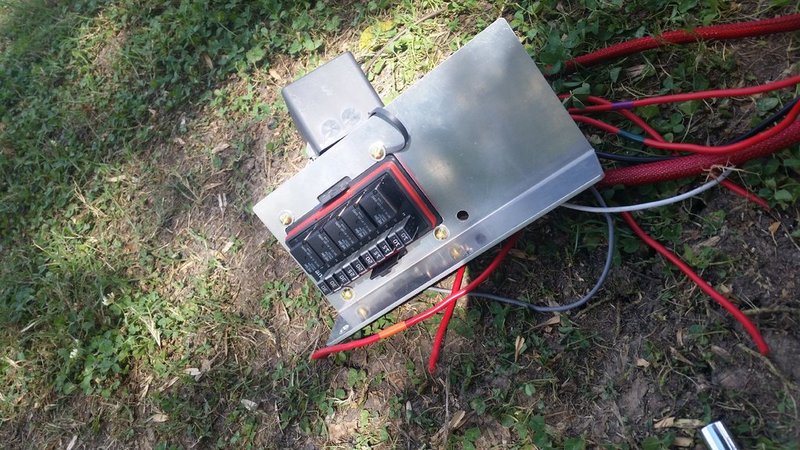
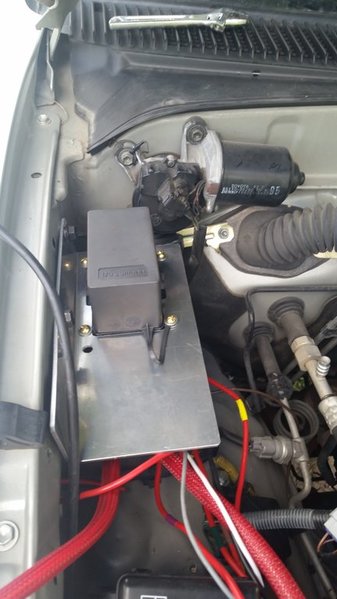
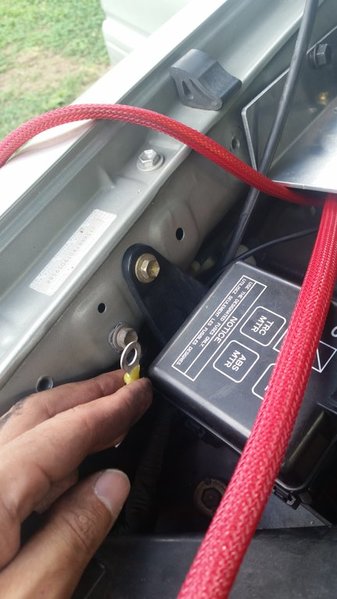
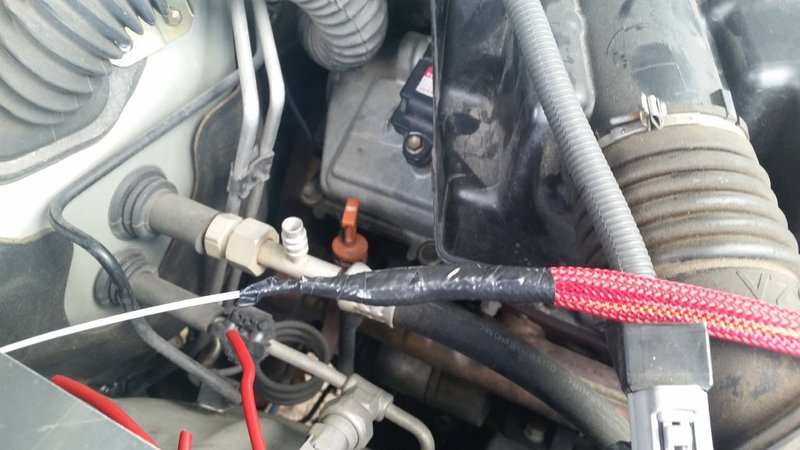
26. Disabled ABS, TRAC, VSC:
Best mod yet
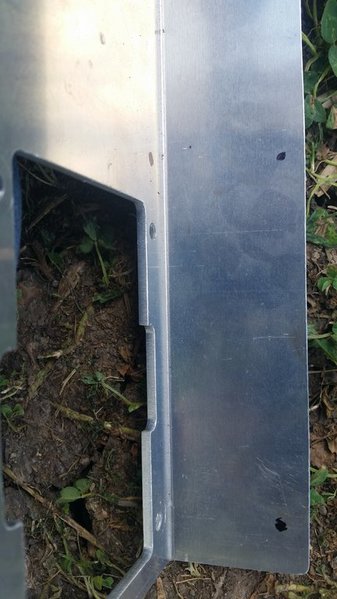
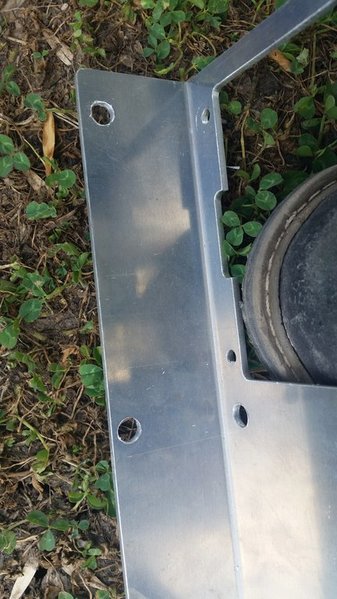
27. End Cap mod:
pics
28. Slider Install:
click for more pics
29. Bajarack install:
this thing is huge
30. Powdercoat bumper:
moar pics!
31. Install bumper and winch:
even more pics
32. Install CB radio and run coaxial cable:
another slick writeup
33. Fit testing the new RTT!:
click bait
34. Installing new overhead console by
@
3378jakesr5
: click to
love
35. Differential and transfercase oil changes:
write up
36. Installing winch box:
click this more pics
here
37. Another light!
clickity
38. Installed rear swingout
here
39. Cleaned throttle body:
click me
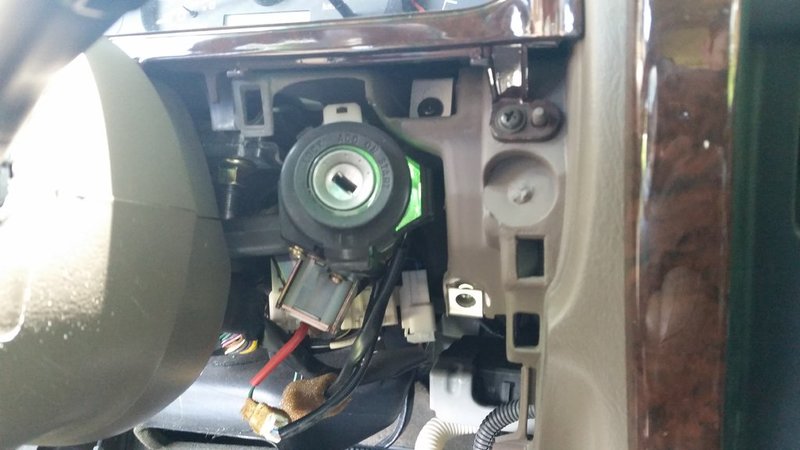
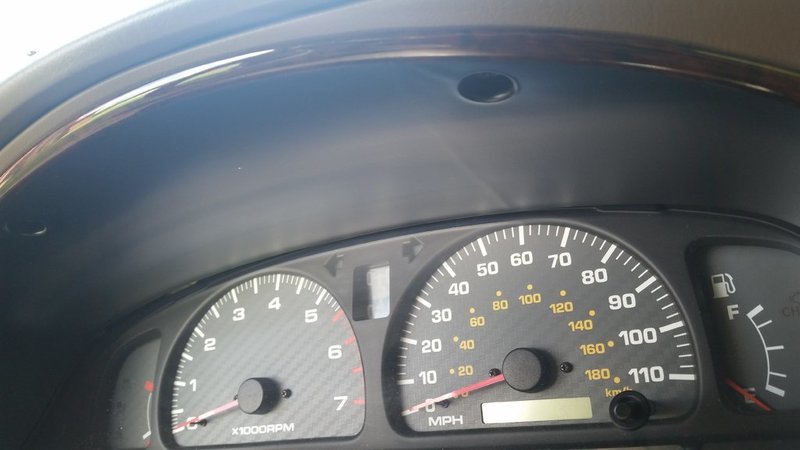
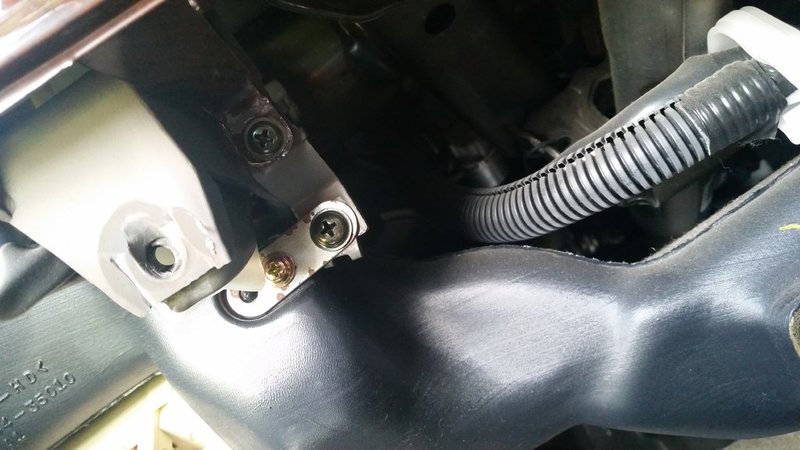
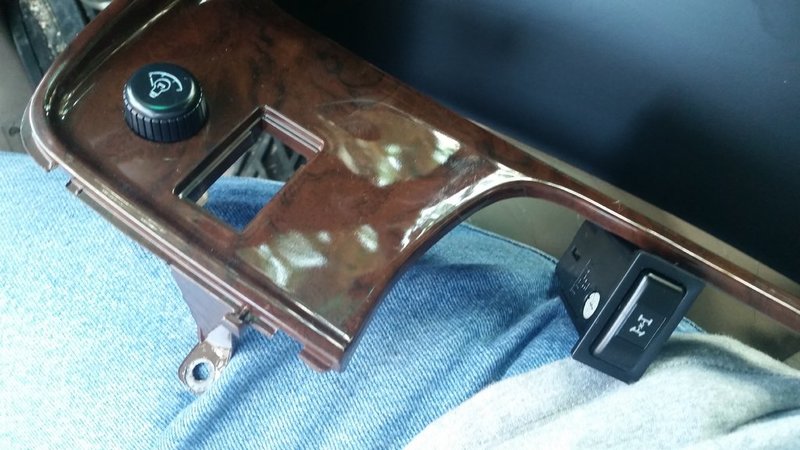
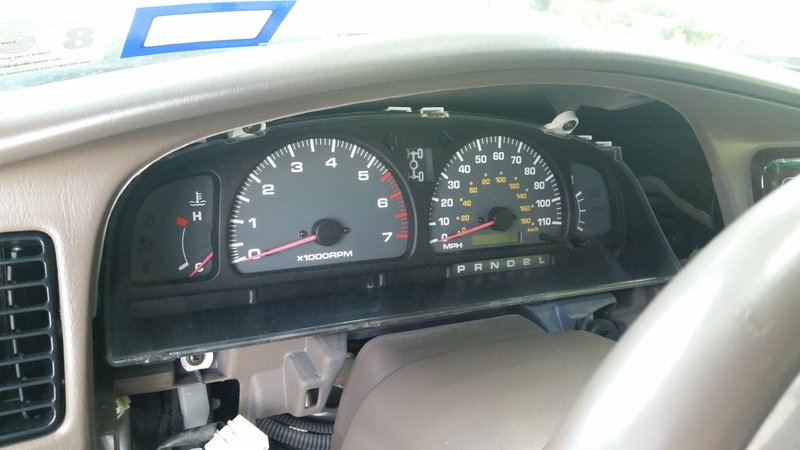
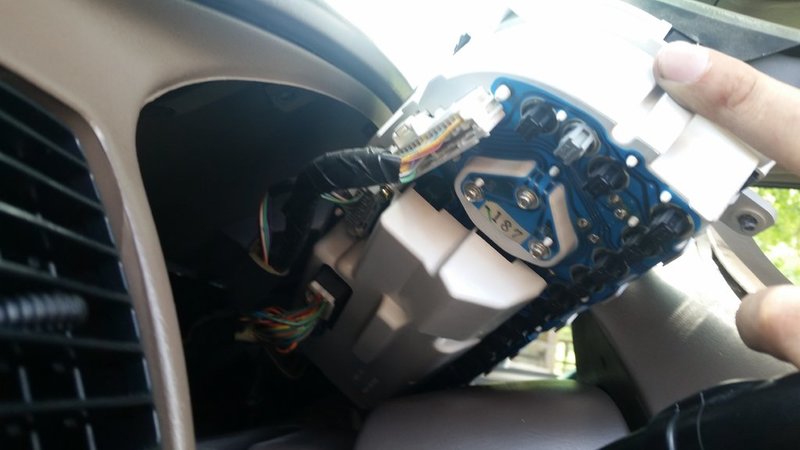
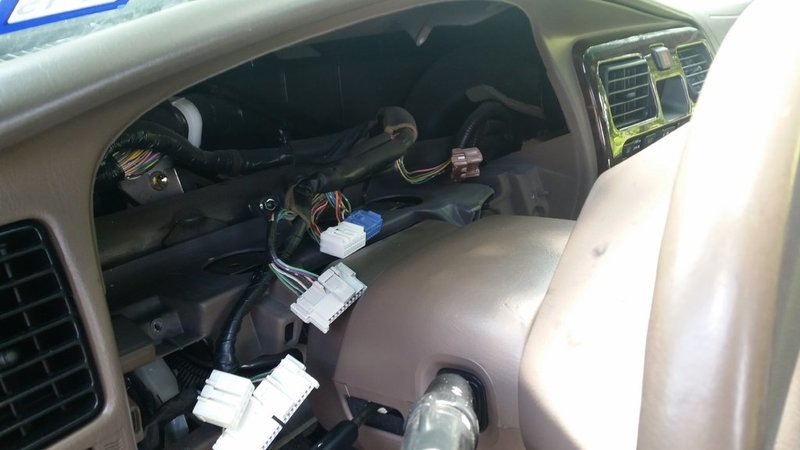
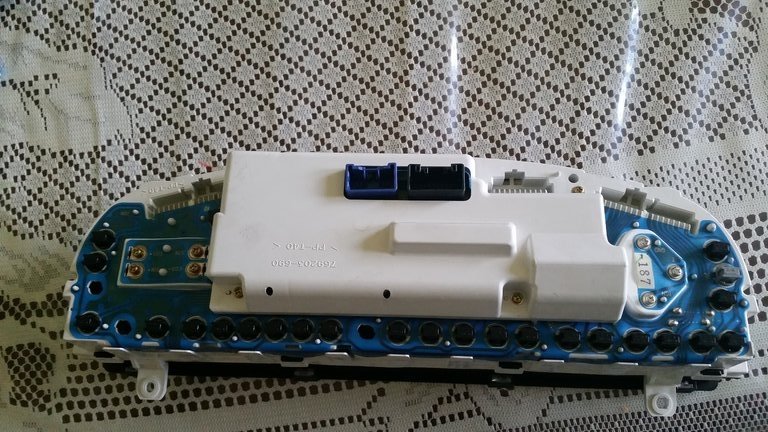
40. Replacing illumination bulbs
light it up!
41. Valve cover gasket job -
stahp the leak
42. OBA -
Air it up
43. New King Coils -
Blueee
44. Molle Panels -
Yes!
45. Additional Savage Swingout -
Water Cans


 Linear Mode


