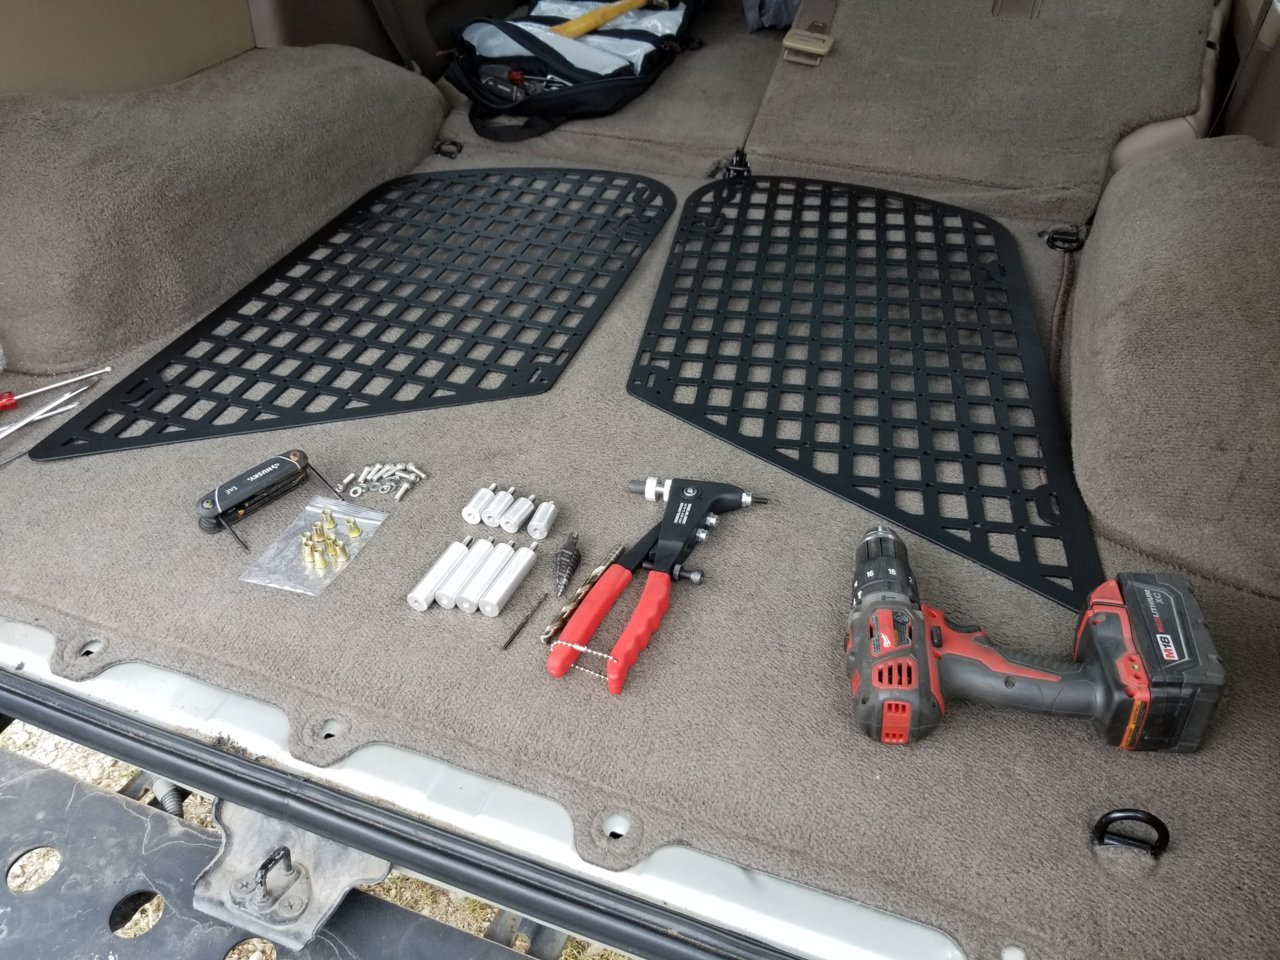
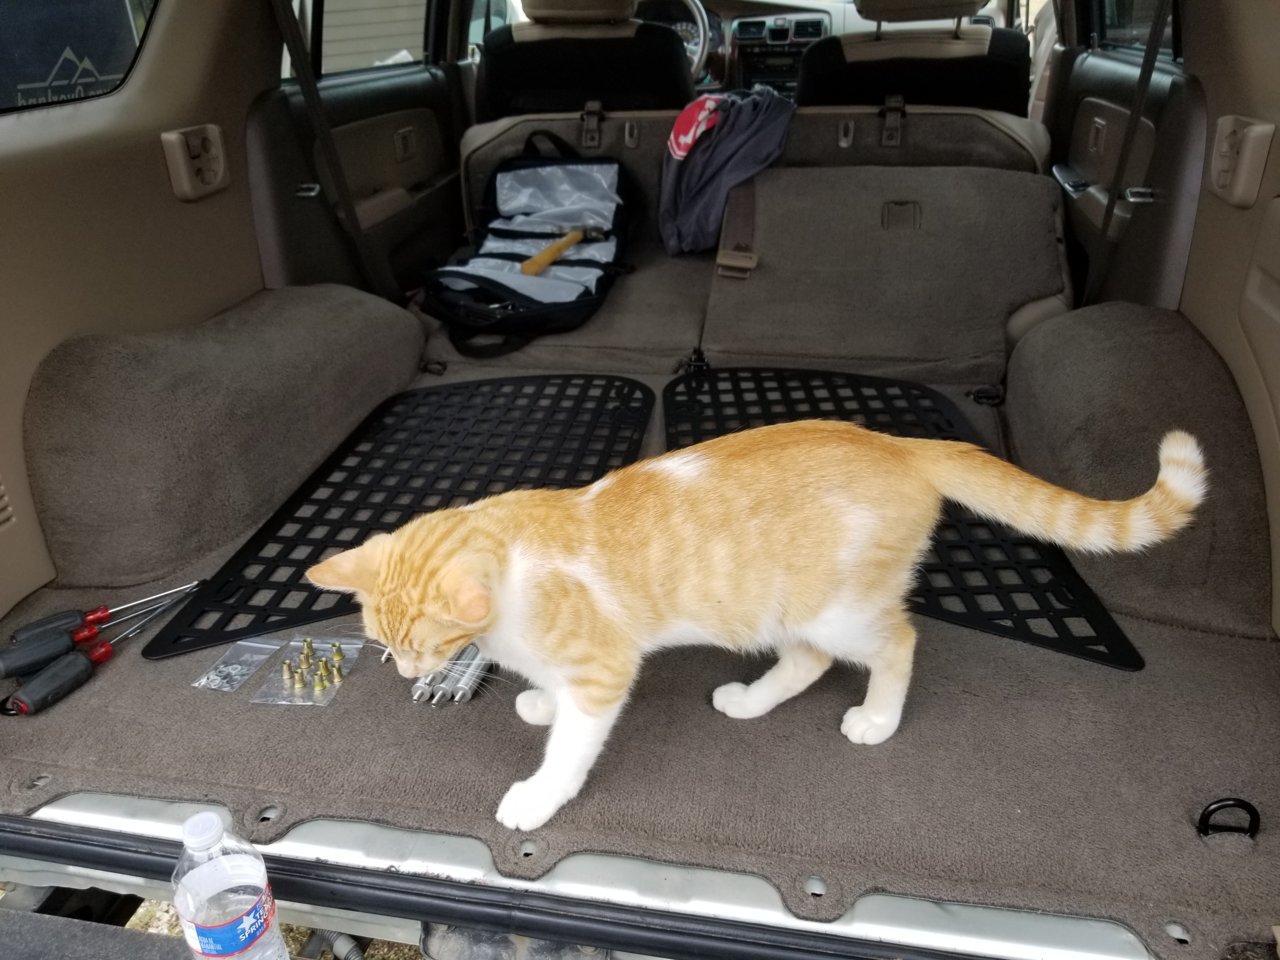
Drink Beer. Pet Cat.
Next:
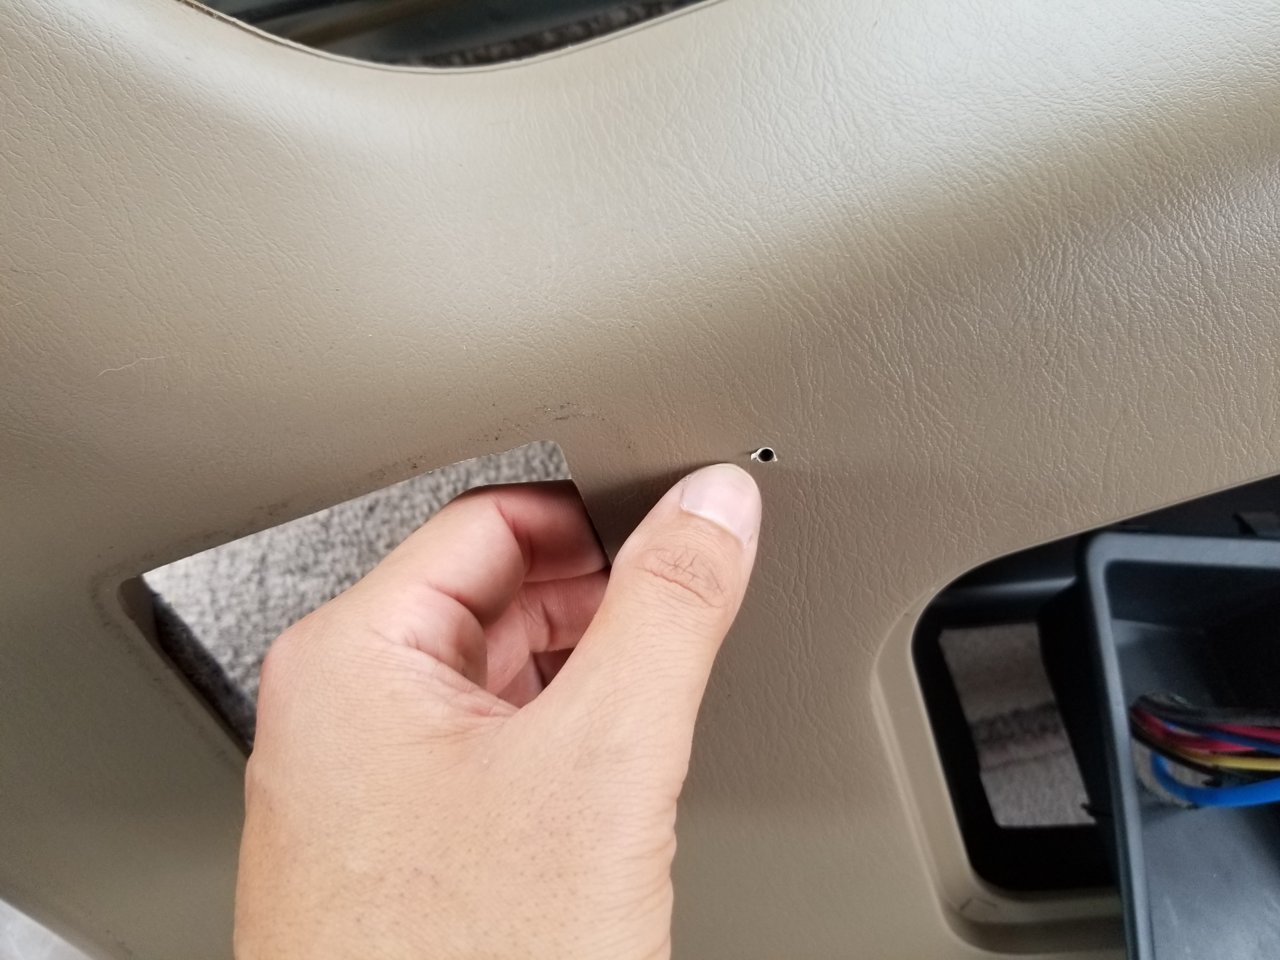
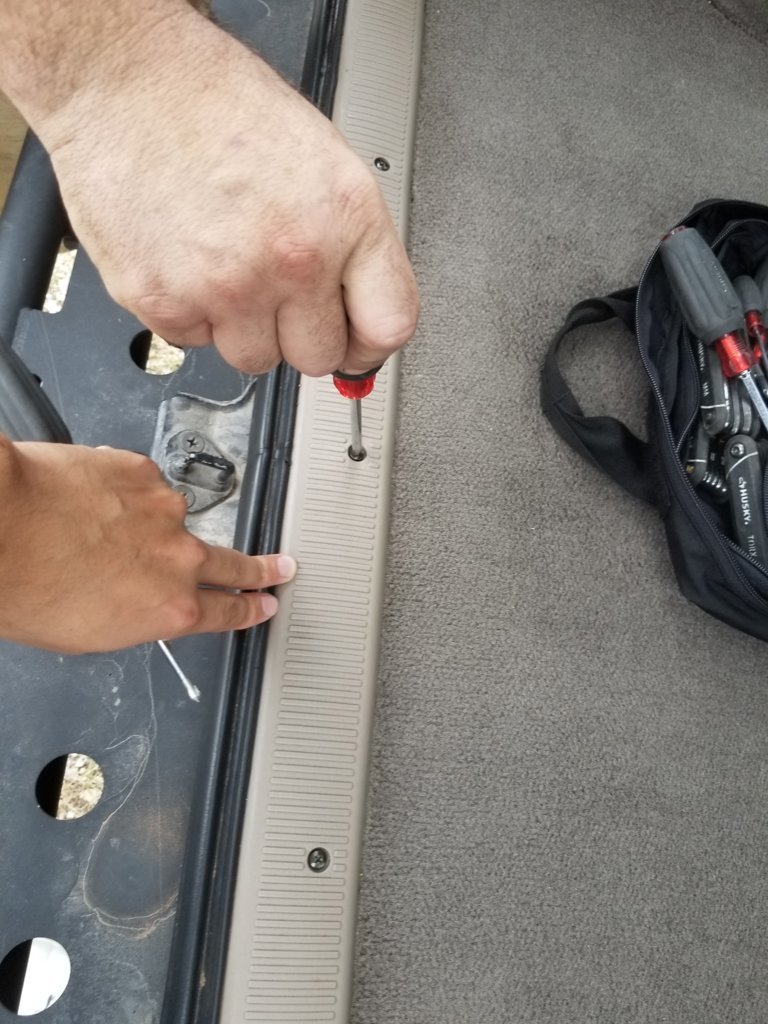
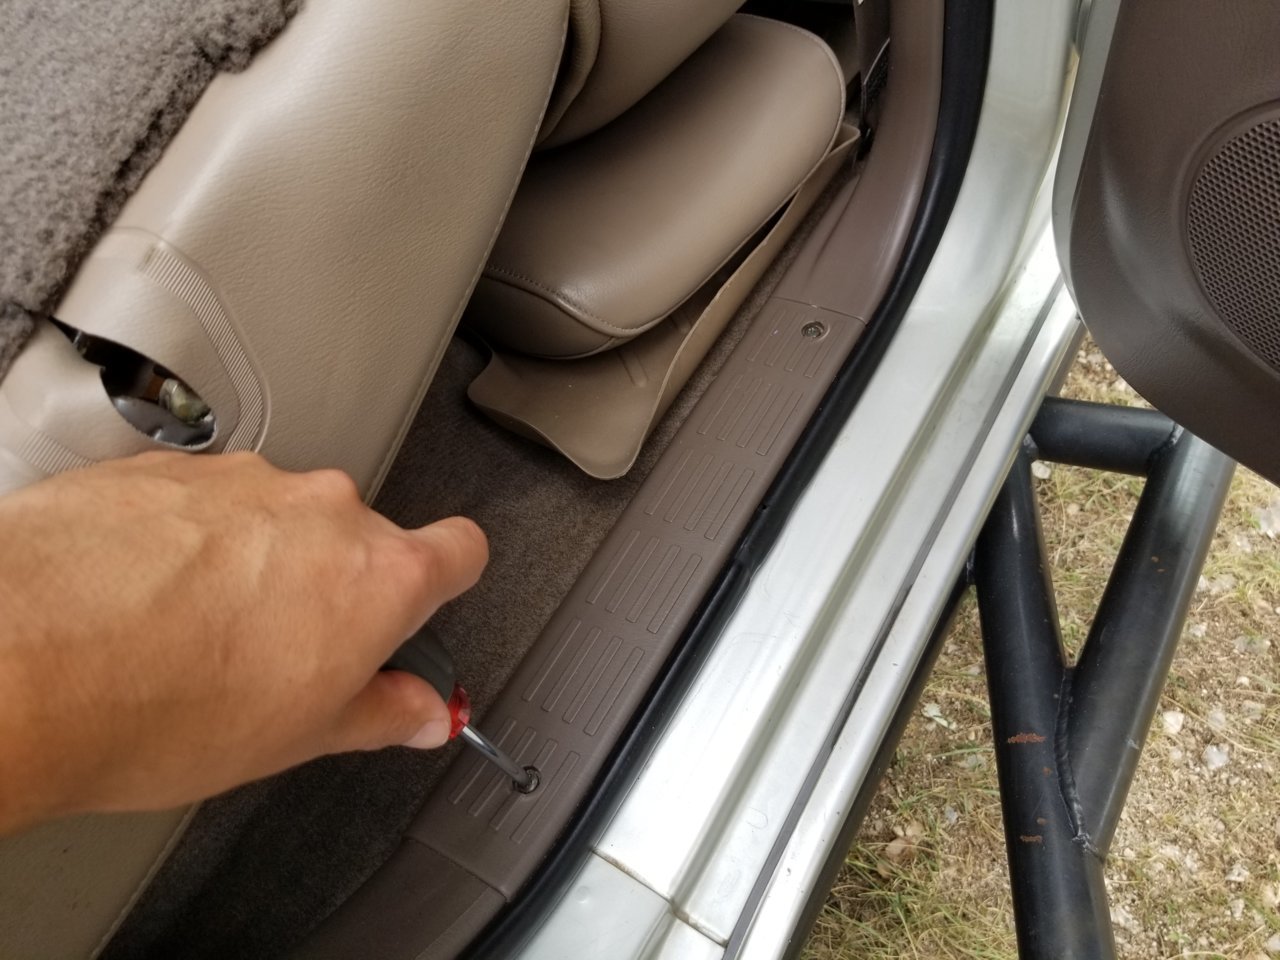
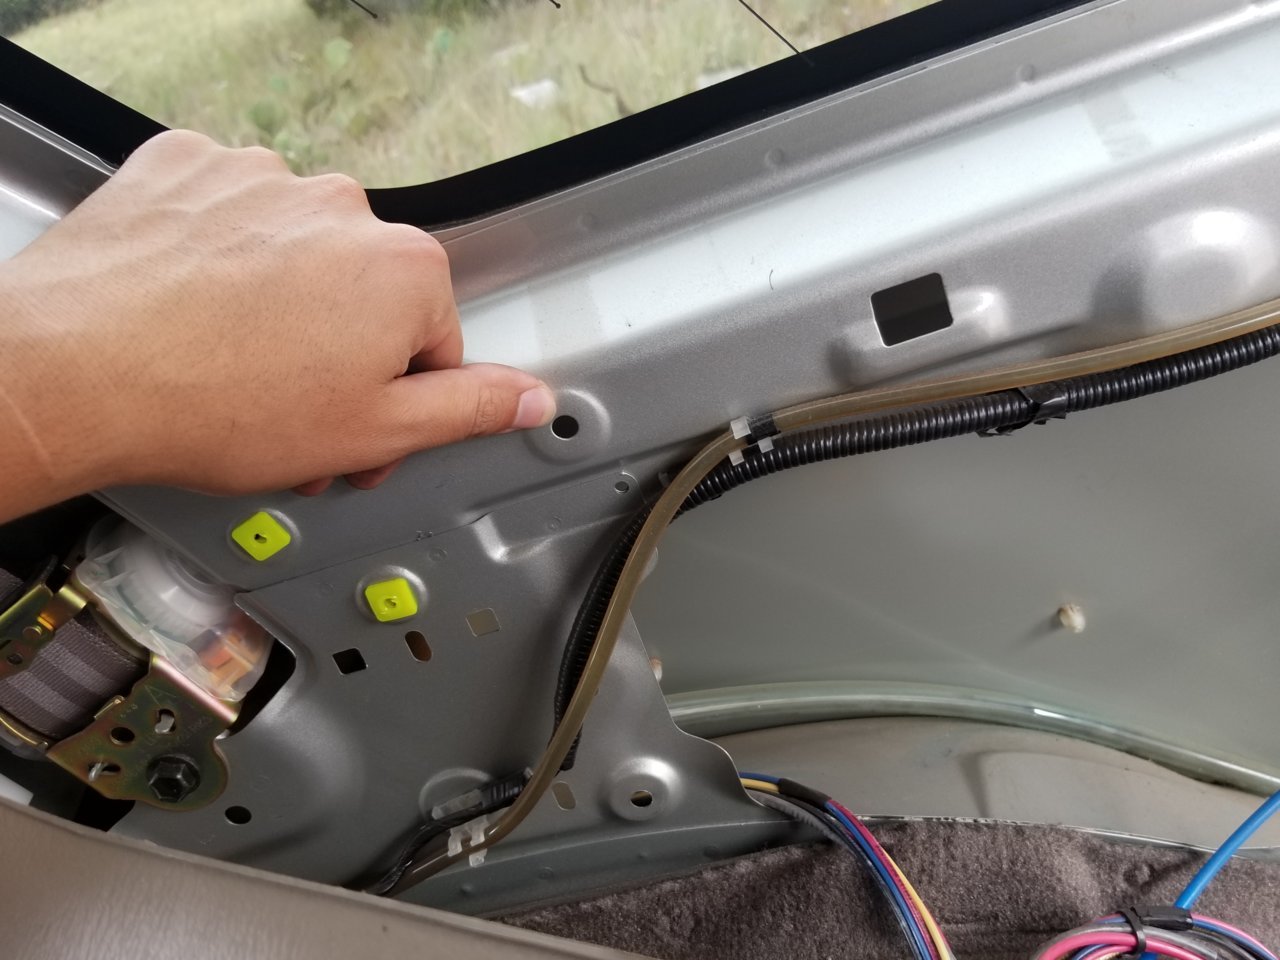
A pilot hole will be drilled from the BACK end of the trim panel.
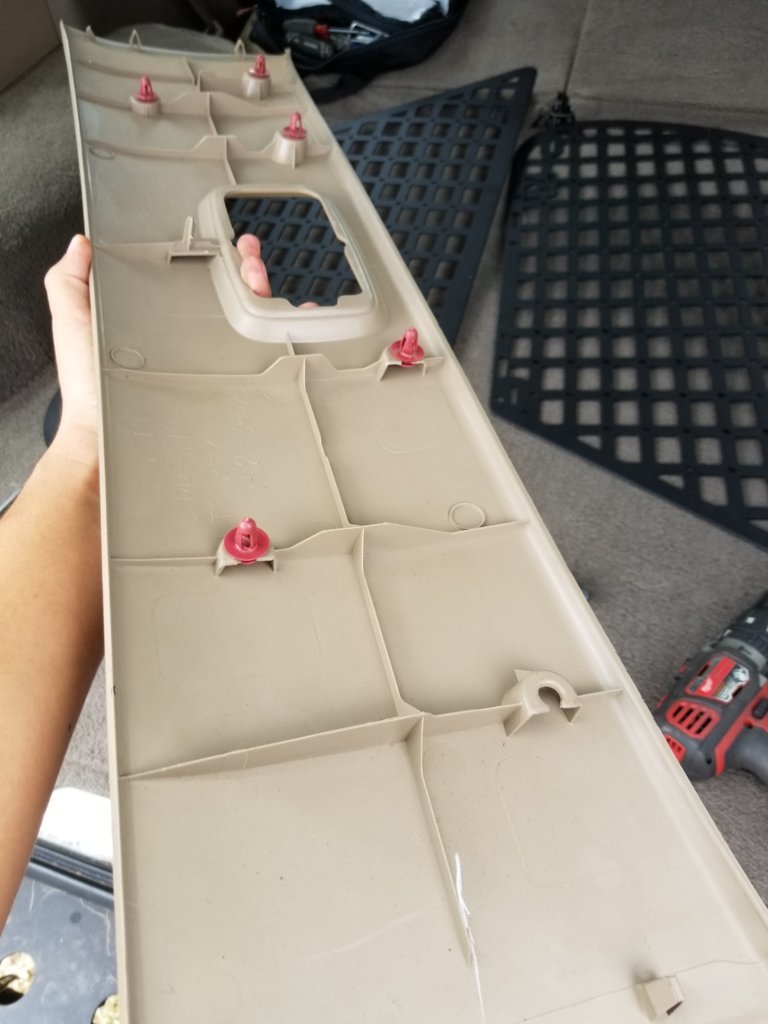
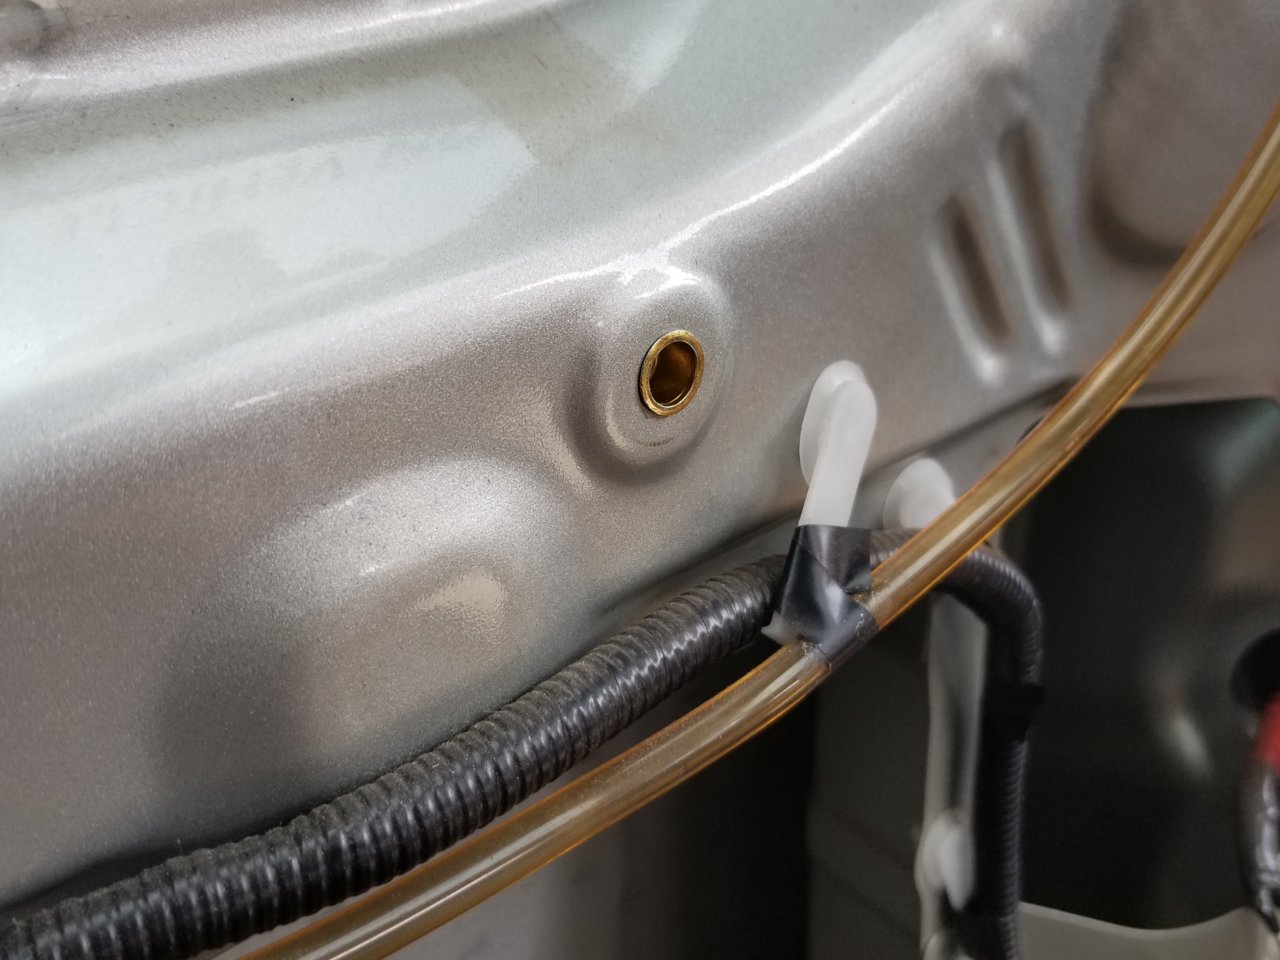
Remember where the rivnuts are?
The trim fasteners that were in this location are now obsolete. Remove them from their seats on the back of the panel. Use the center of the fastener seat to create your pilot hole.
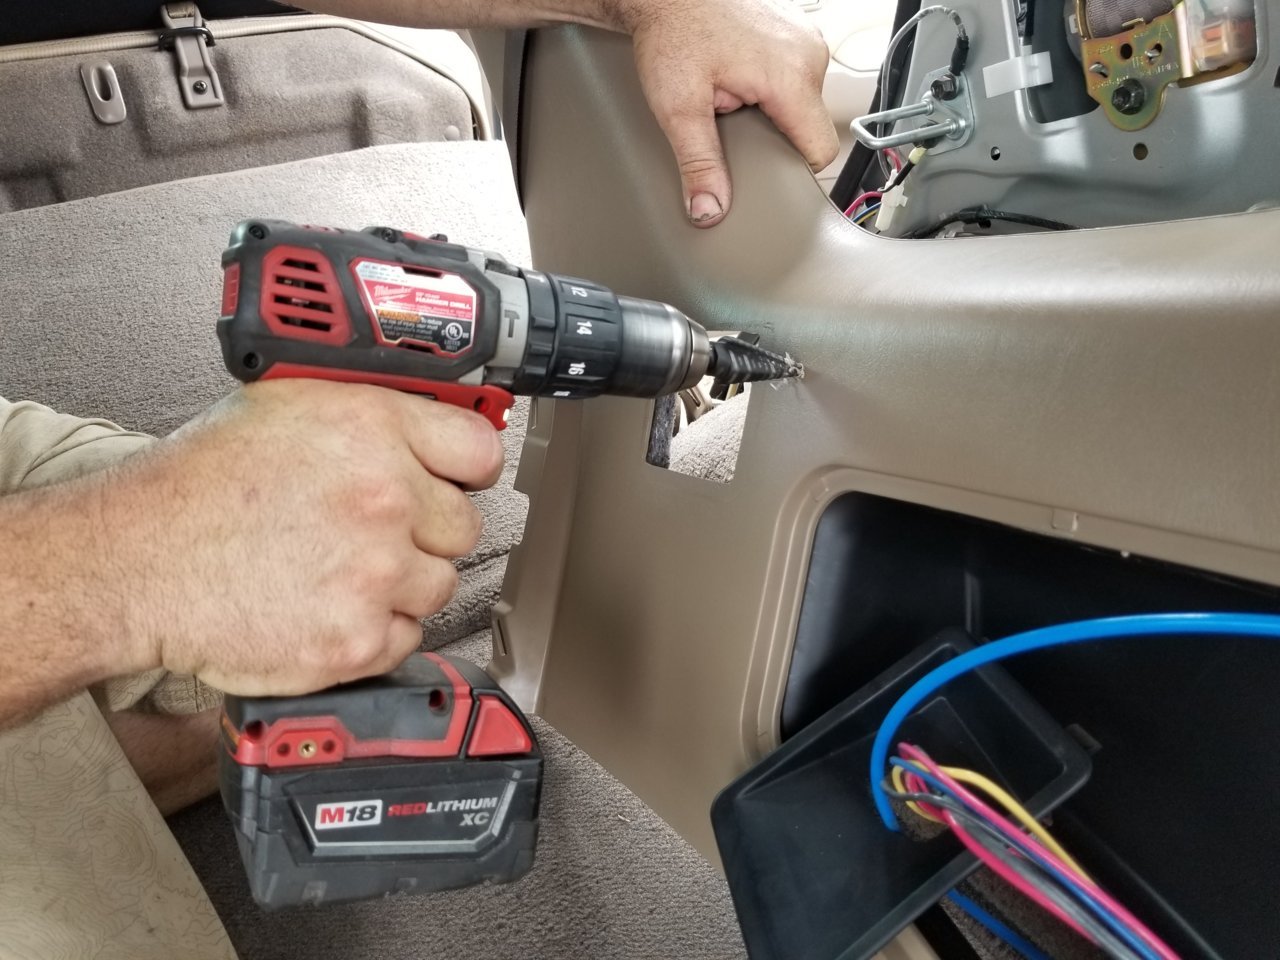
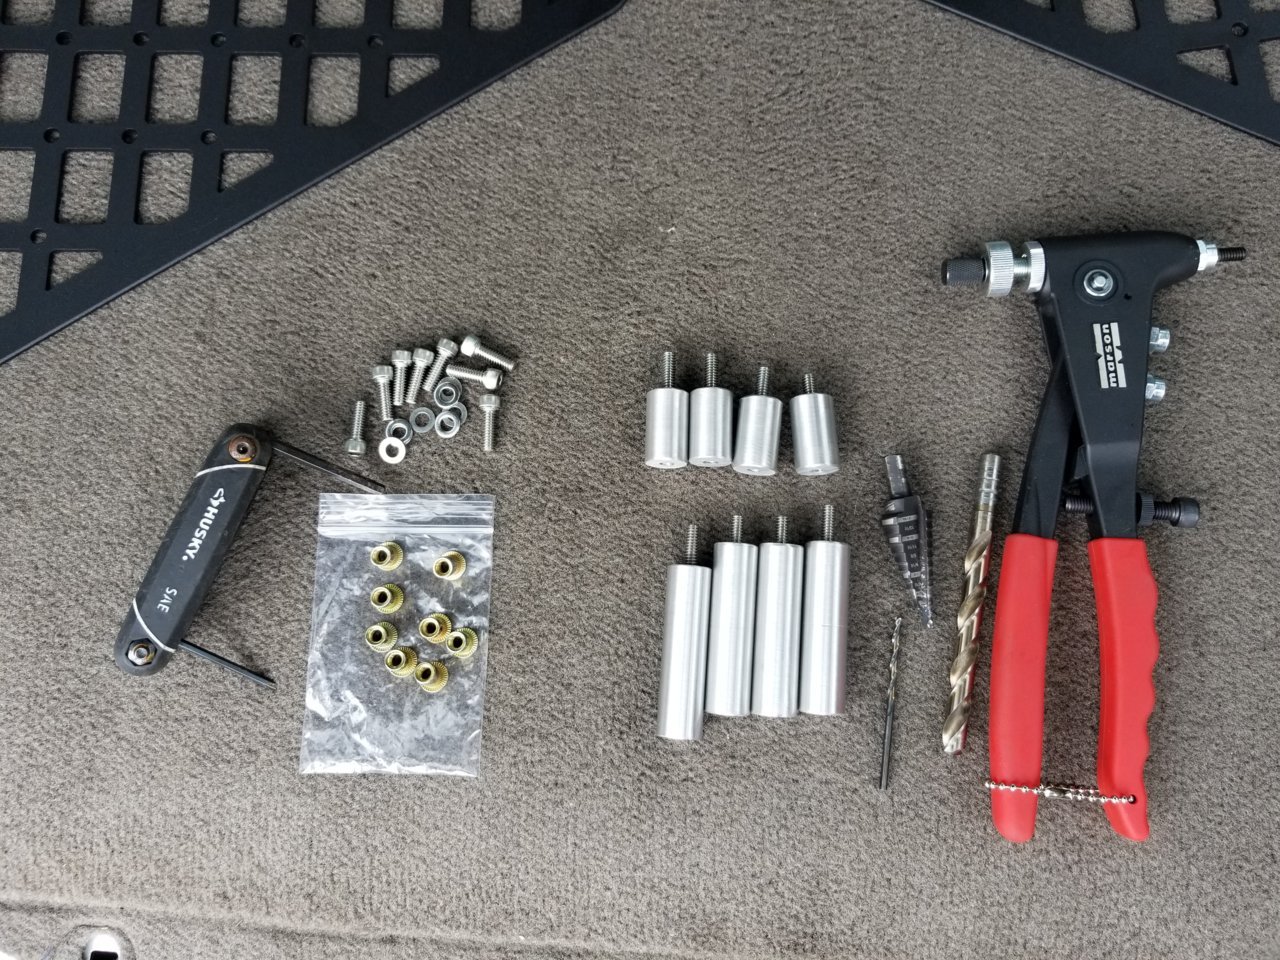
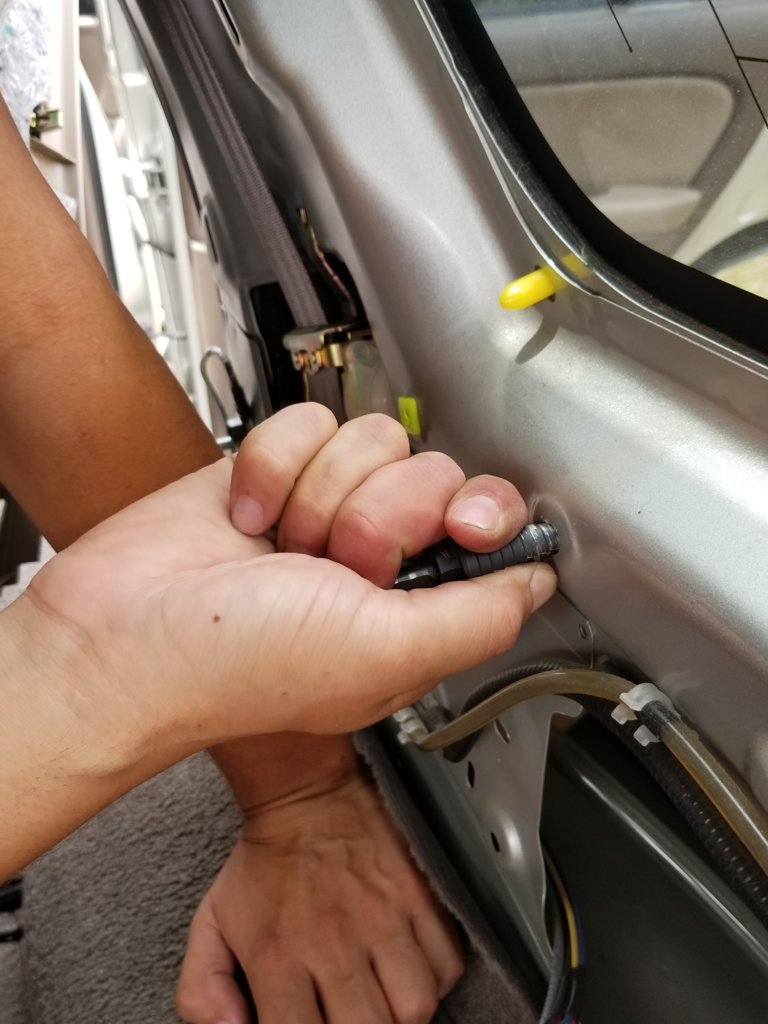
Grab the step bit and drill out to 3/4" hole, stopping periodically to check the fitment of the aluminum spacer. You want a nice snug fit. Don't over drill. Be patient.
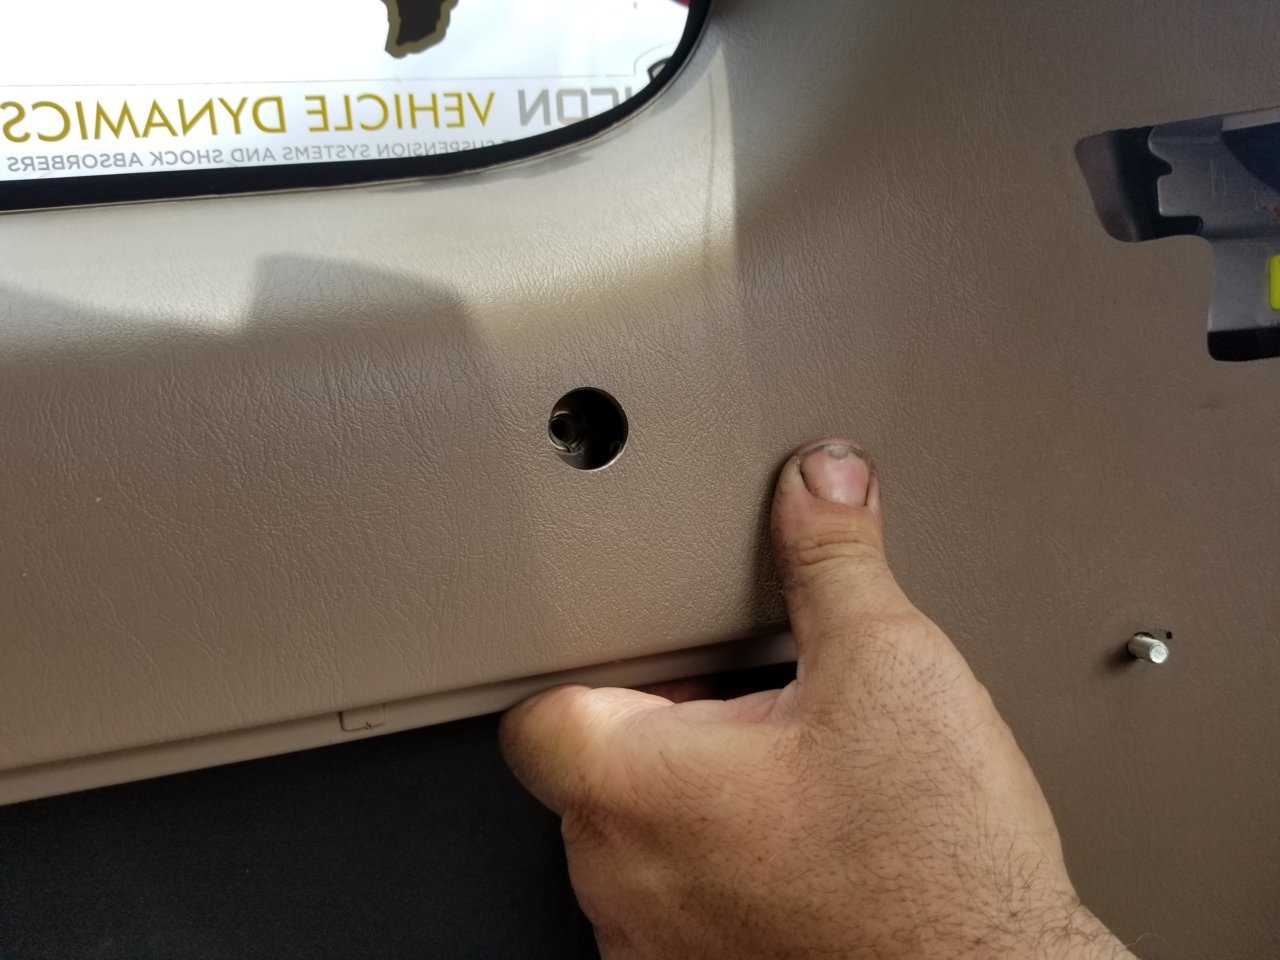
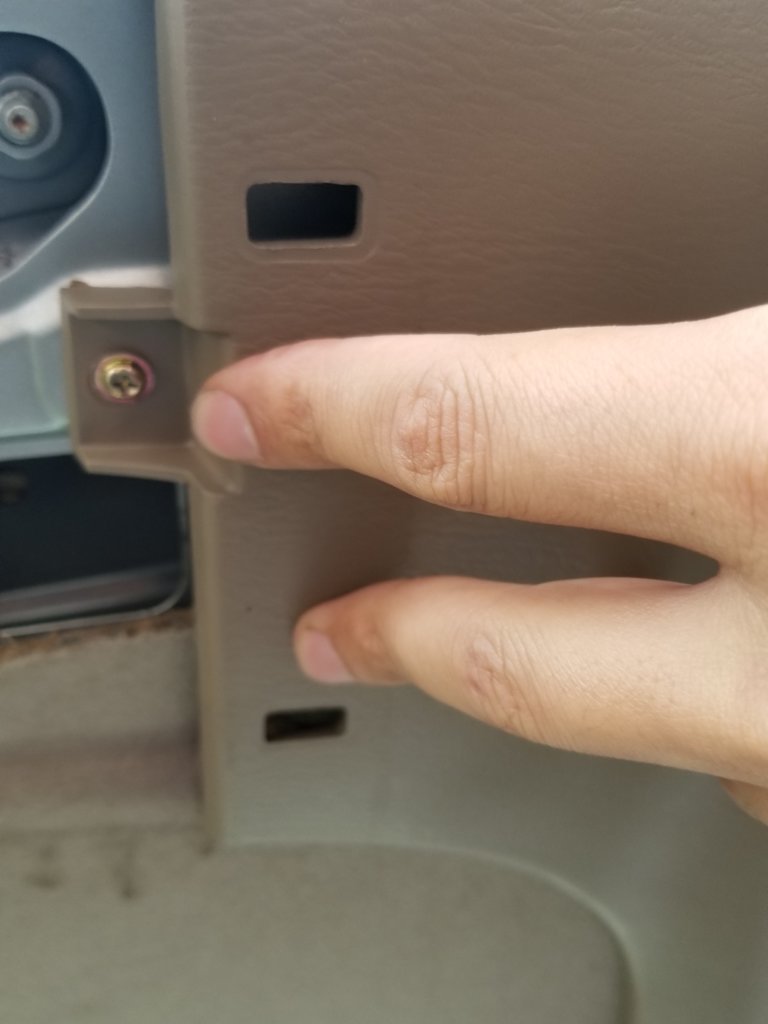
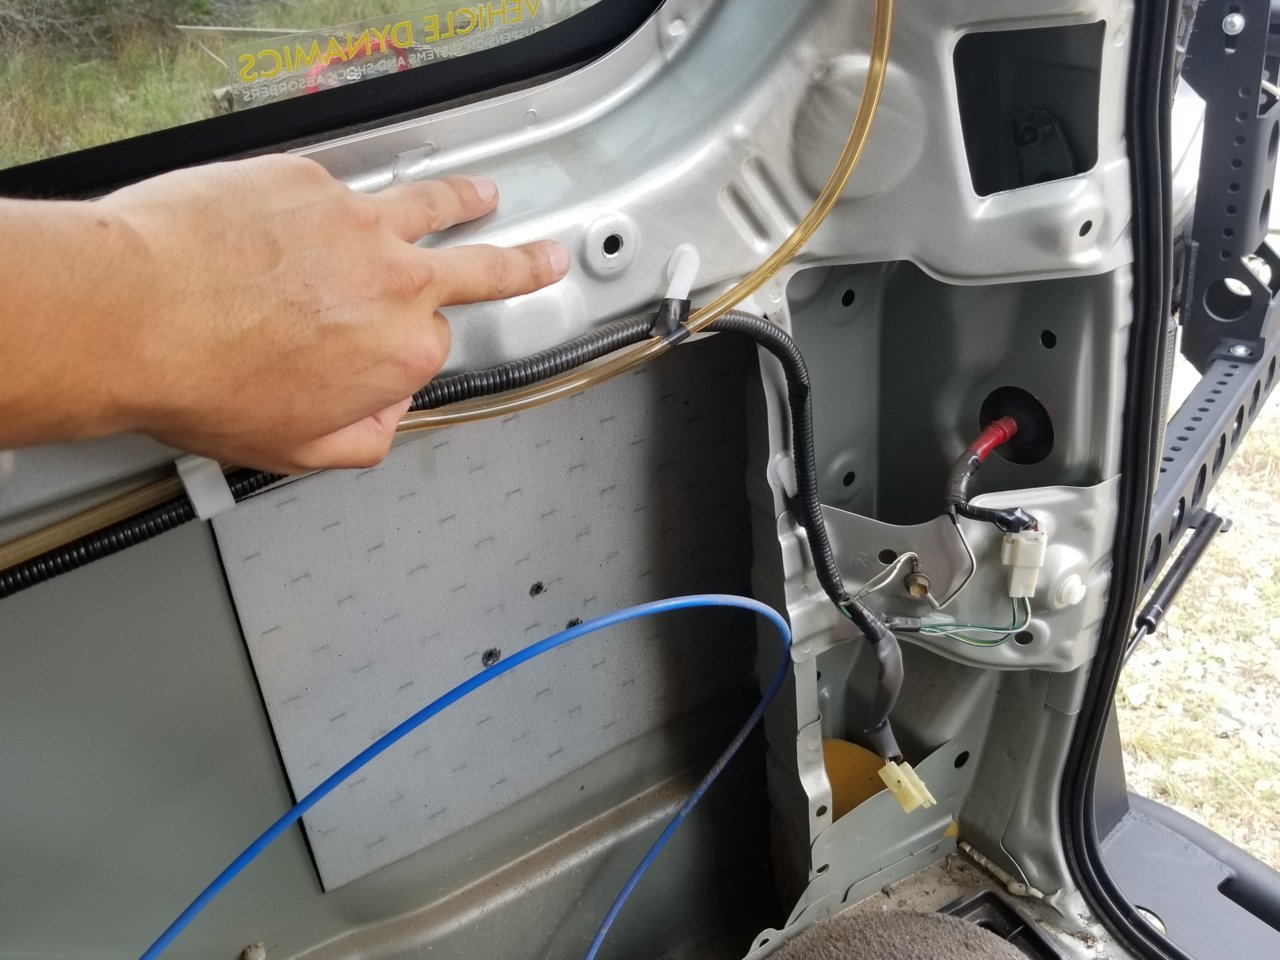
You can barely see the rim of the fastener seat thru the hole. Use it to make sure you are centered.
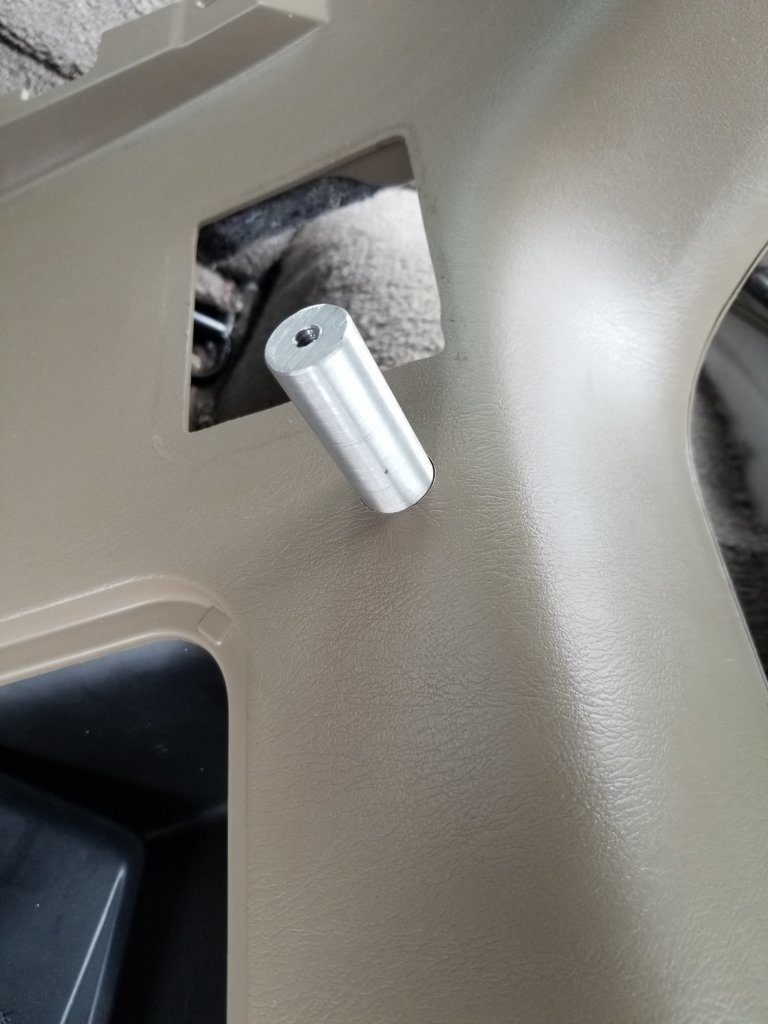
Test the spacer for a nice, snug fit.
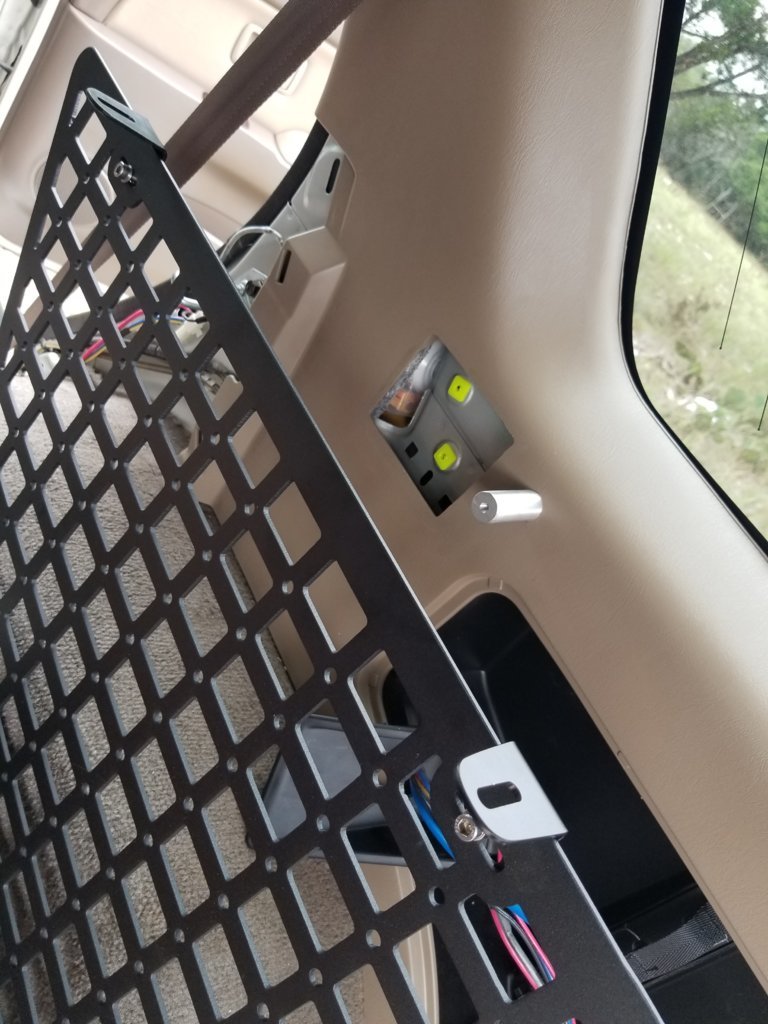
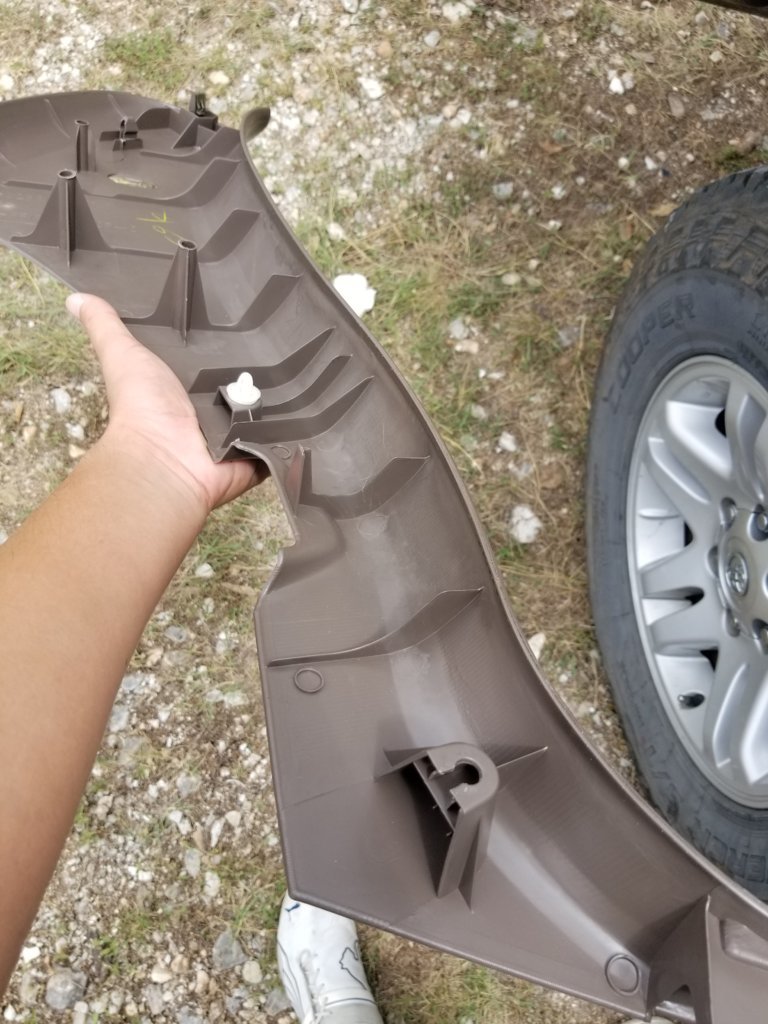
This is what the back end will look like:
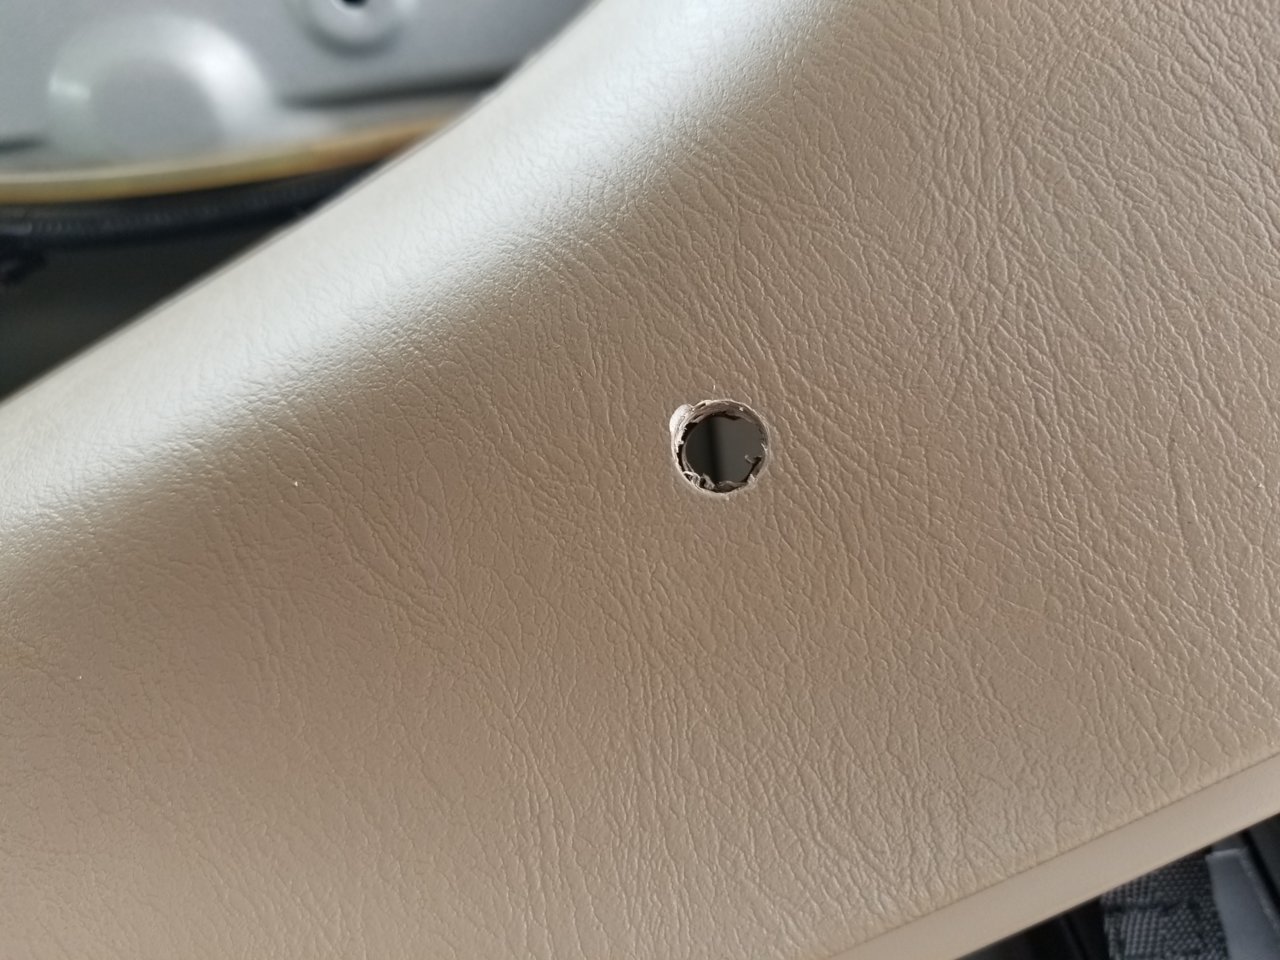
Once the hole in the trim is complete - it will be centered against the rivnuts:
Drill your second hole and install the panel, yes. INSTALL it. Make sure all the fasteners clip in place. Make sure it doesn't wobble. Make sure it is set to STAY. You will see why. This is important.
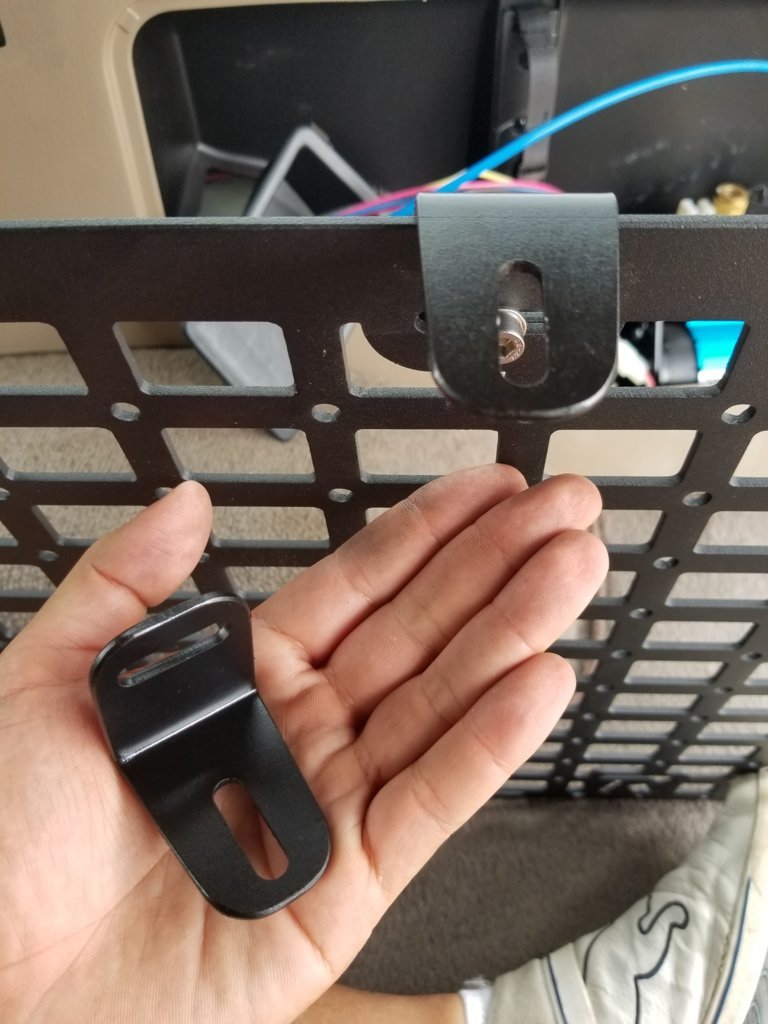
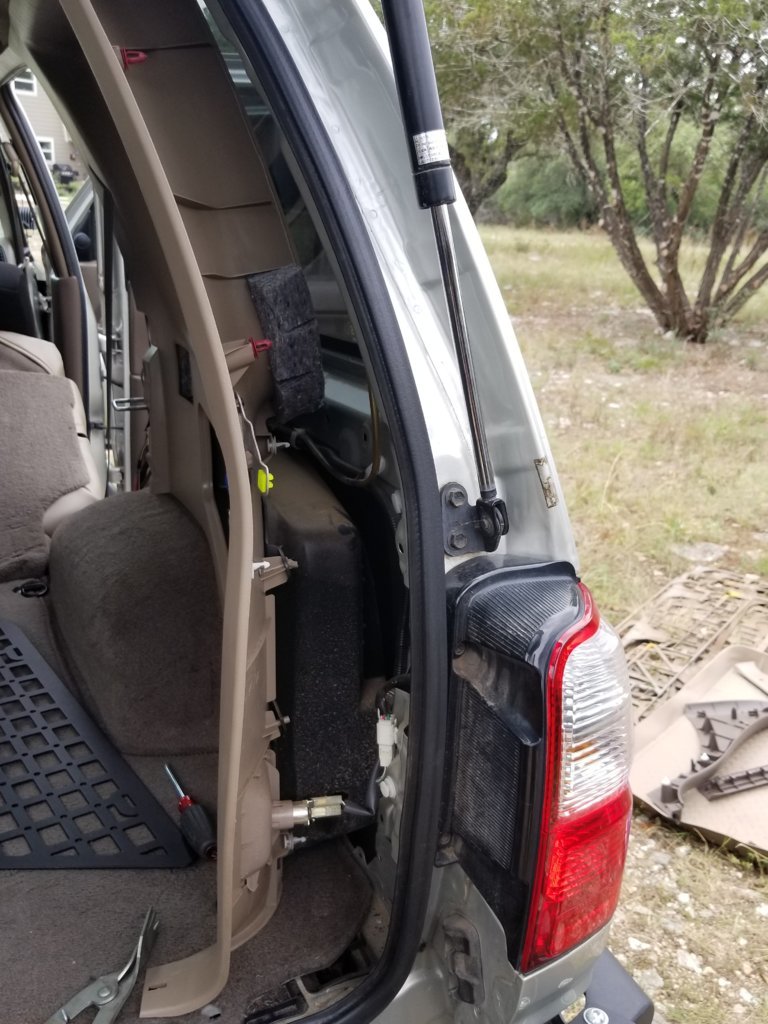
Install the top brackets on the modular panel:
Install modular panel (top brackets not shown here):
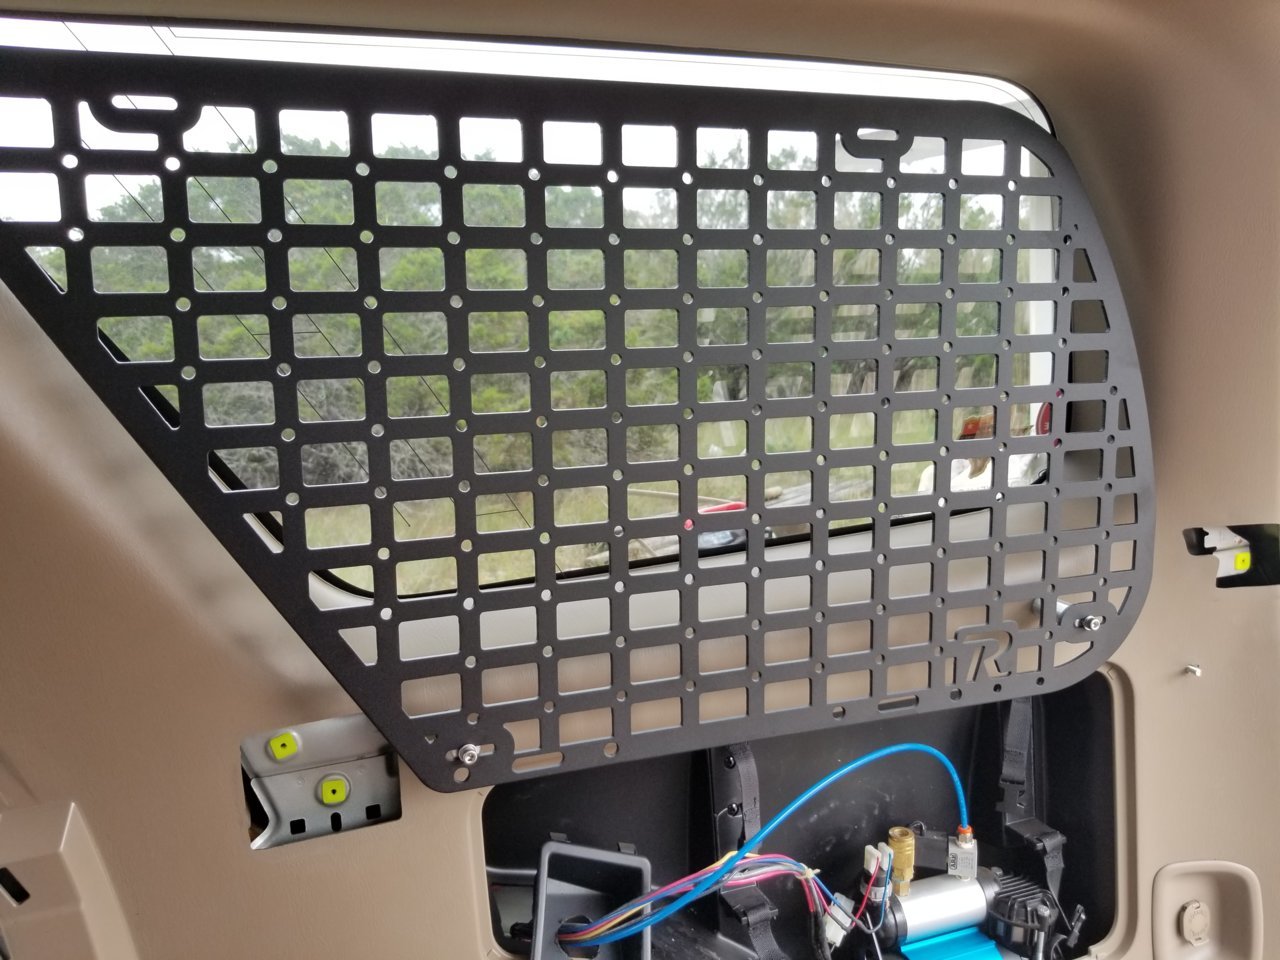
Side view for clarity:
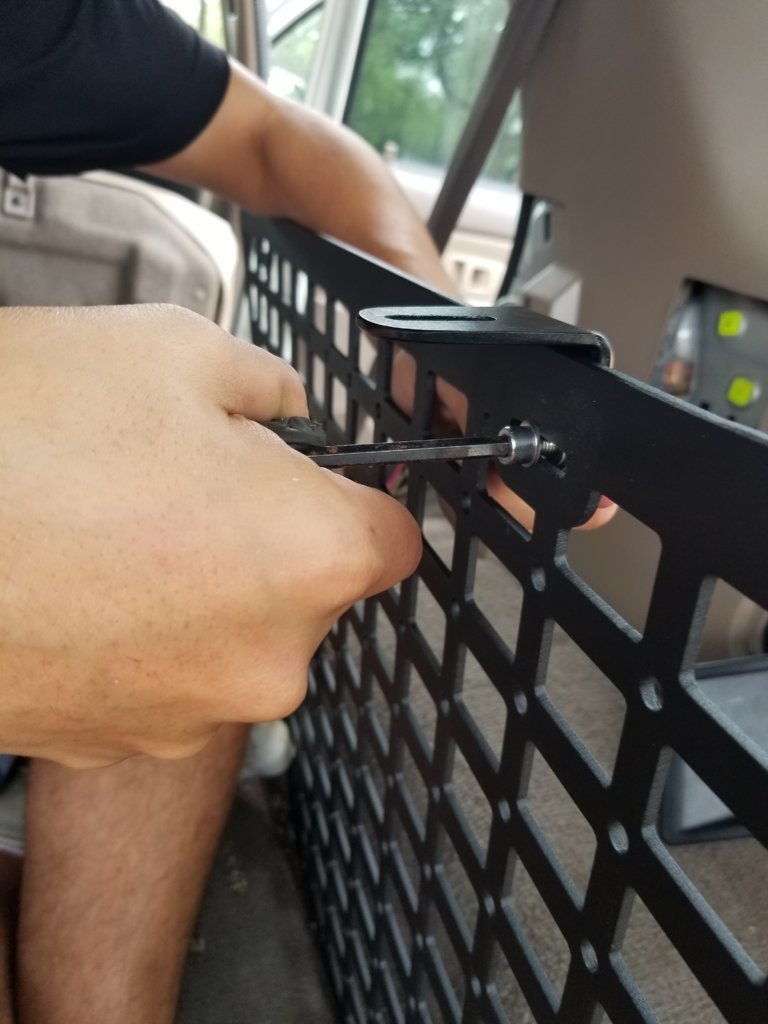
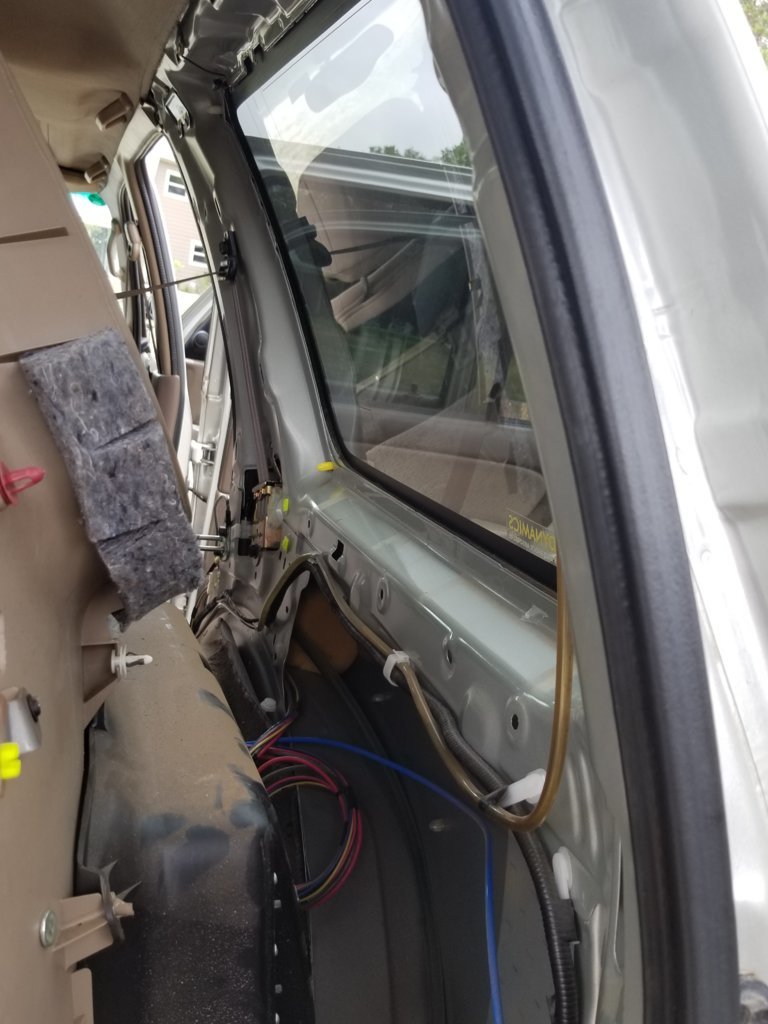
Next make sure your friend is holding the panel to where the brackets are away from the window - I have it about a 1/4" clearance.
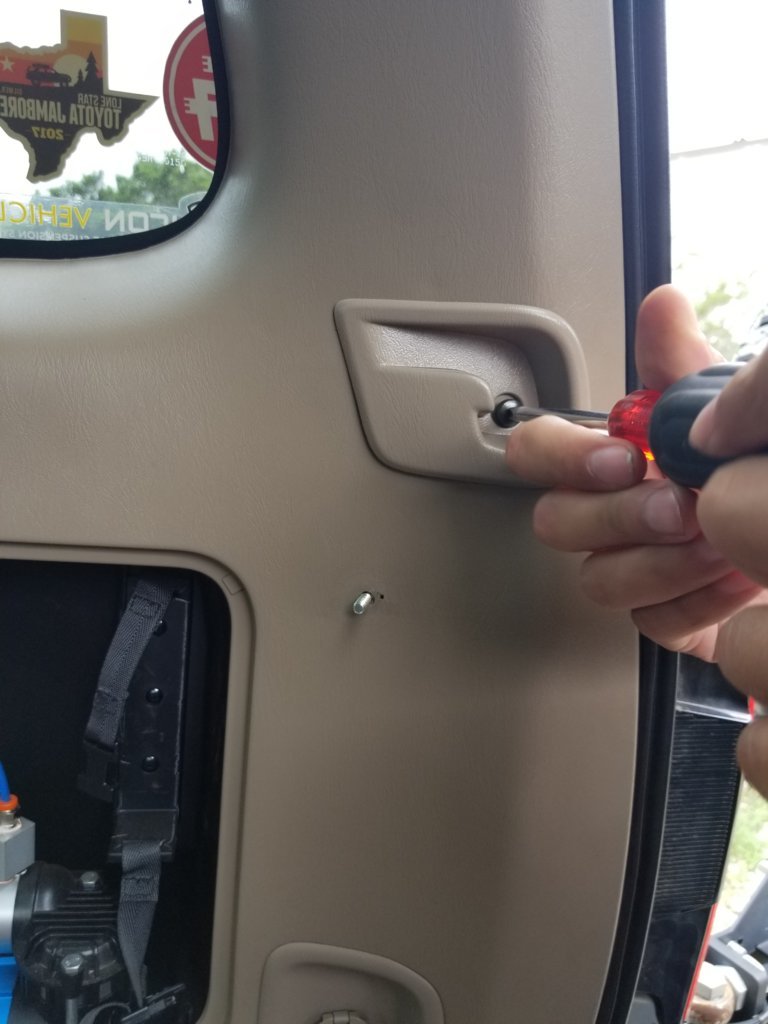
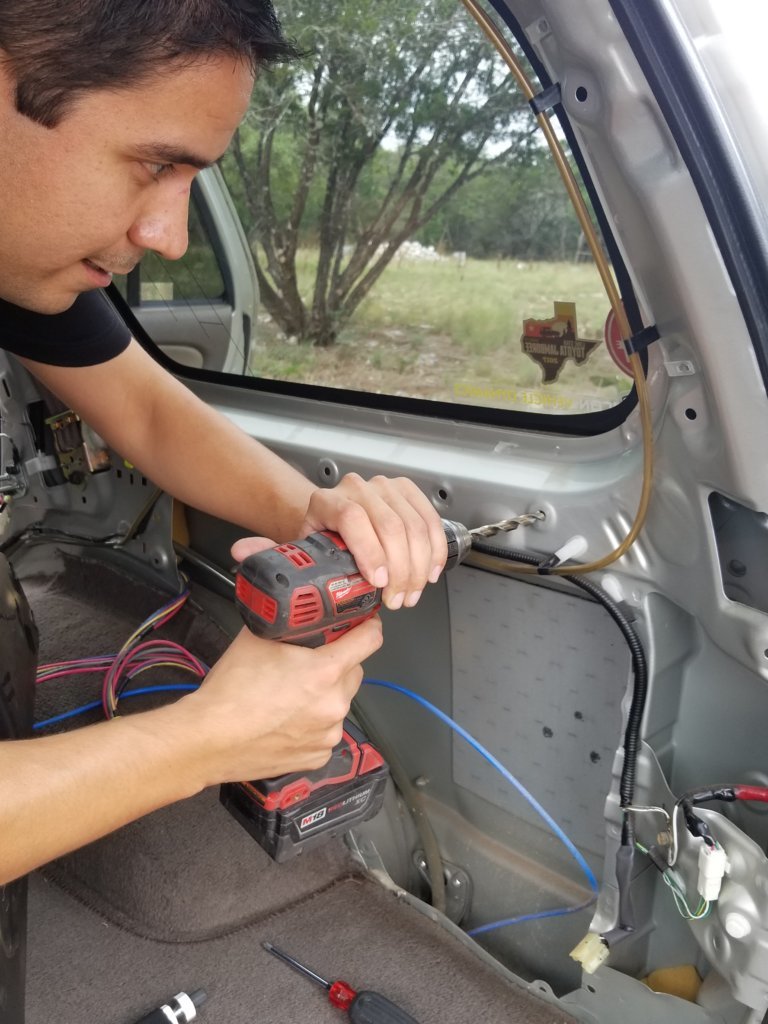
Use the slotted holes in the bracket to center the pilot bit, drill thru the trim and mark a location in the metal beyond the trim. This will locate where the rivnut goes.
Next, drill out the trim hole with the step bit in the same manner as mentioned before, drill your hole for the rivnut and set rivnut.
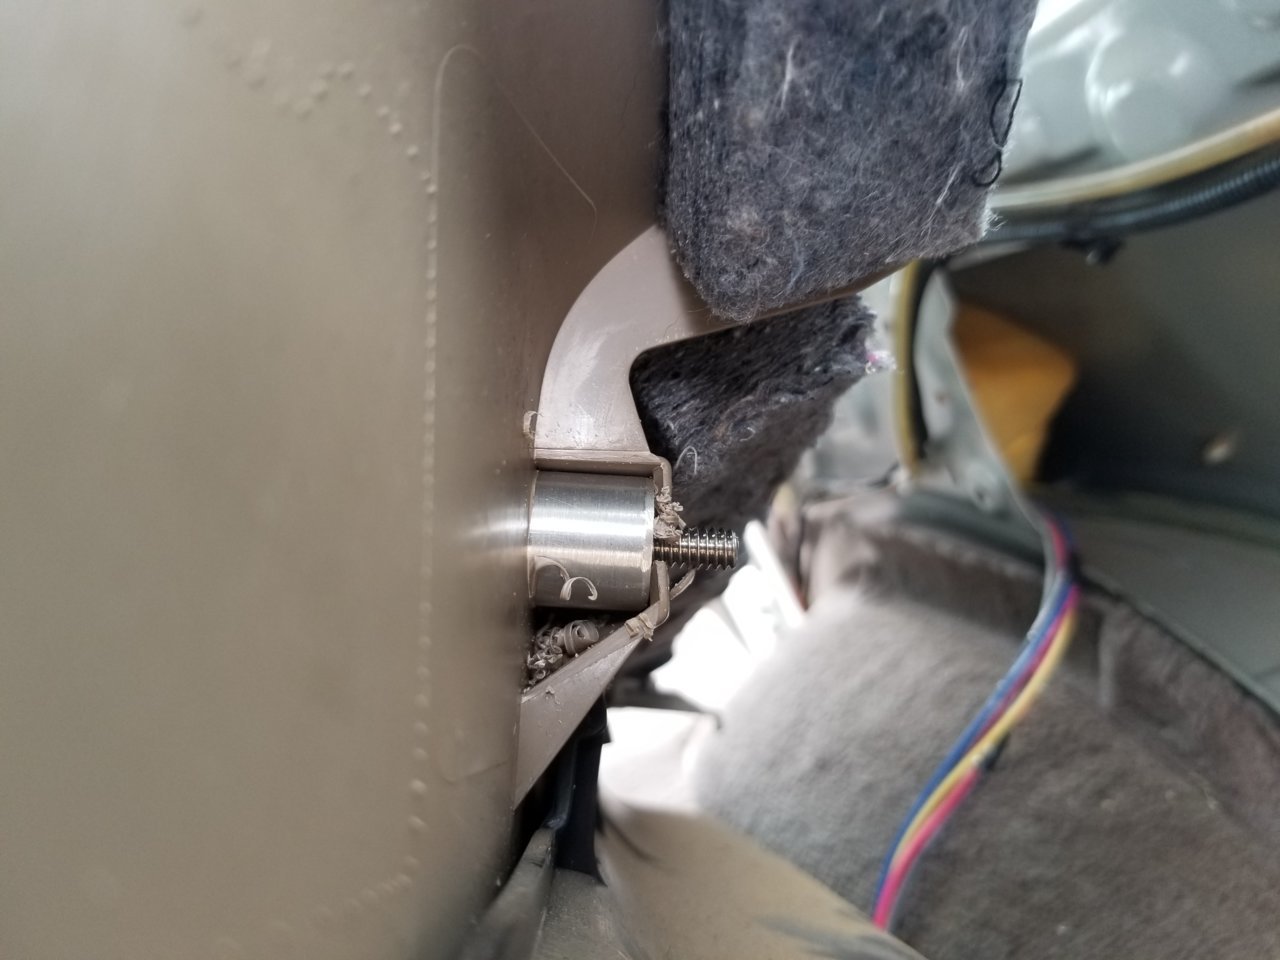
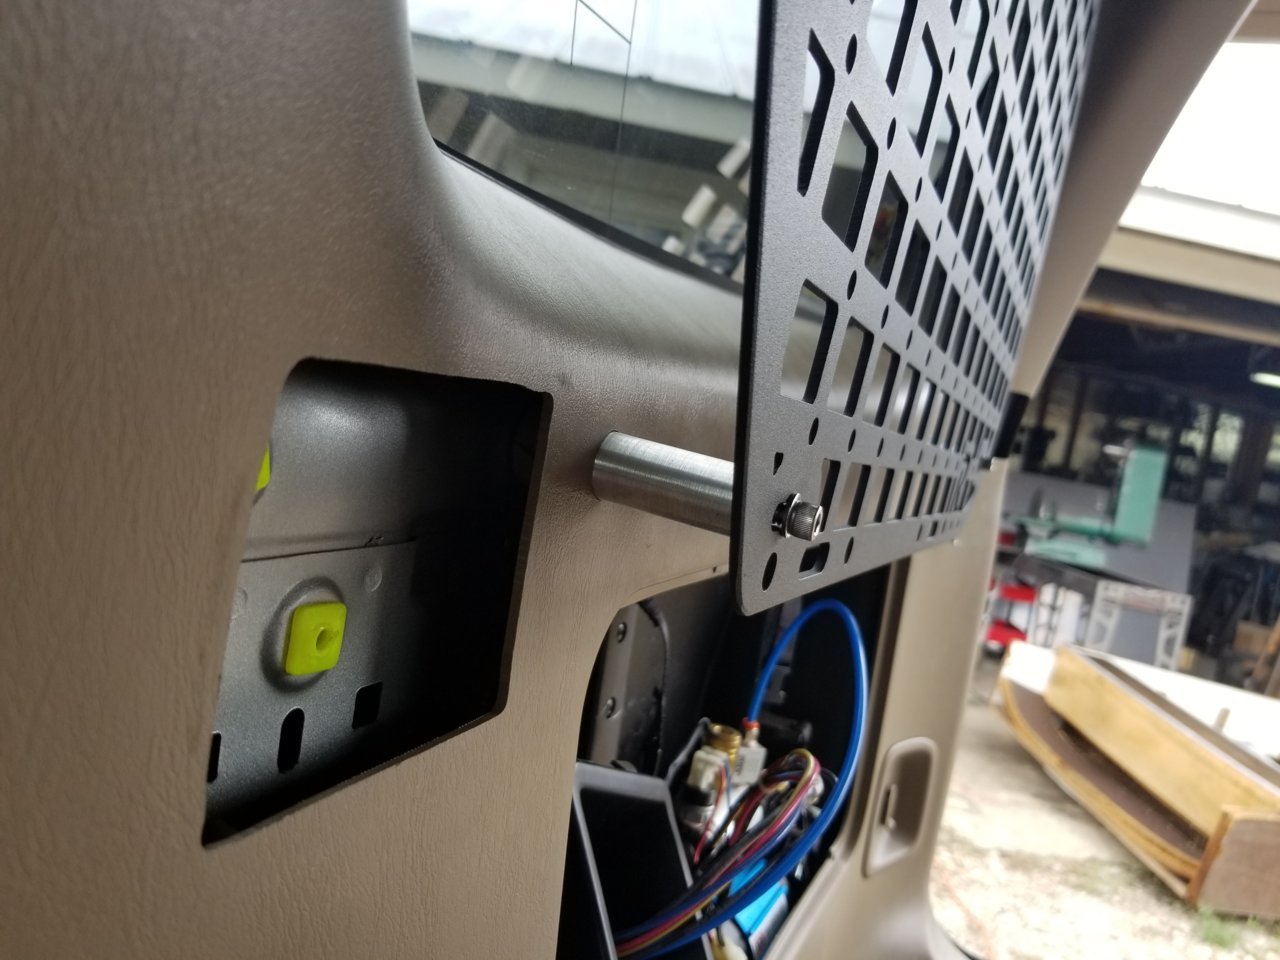
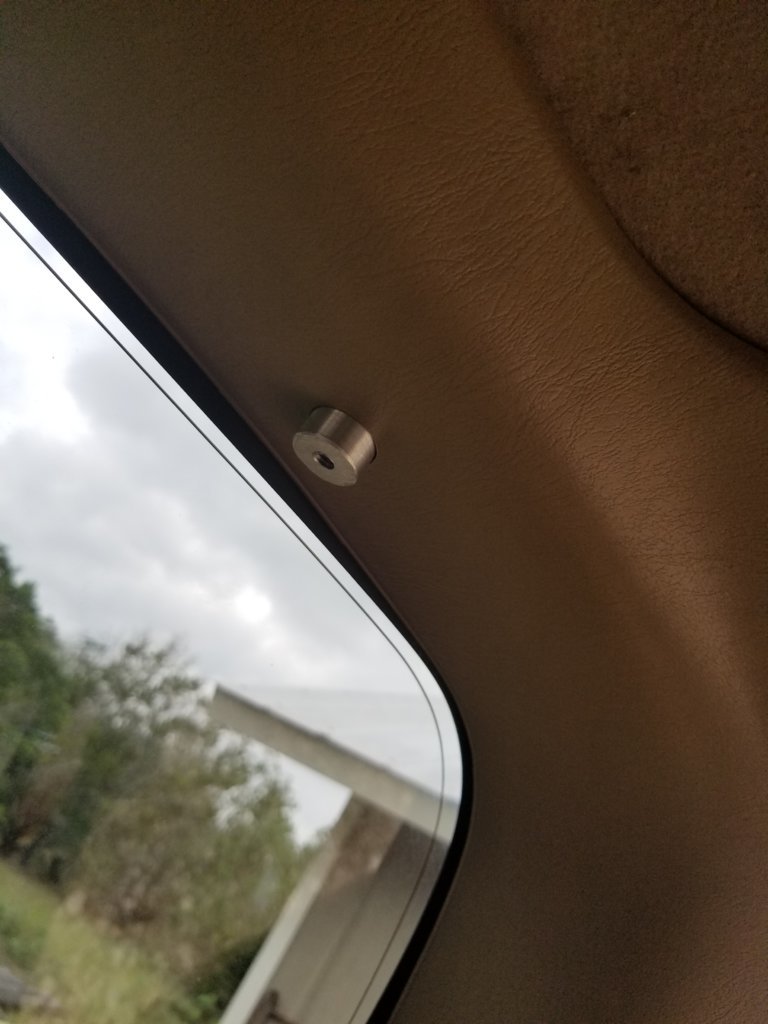
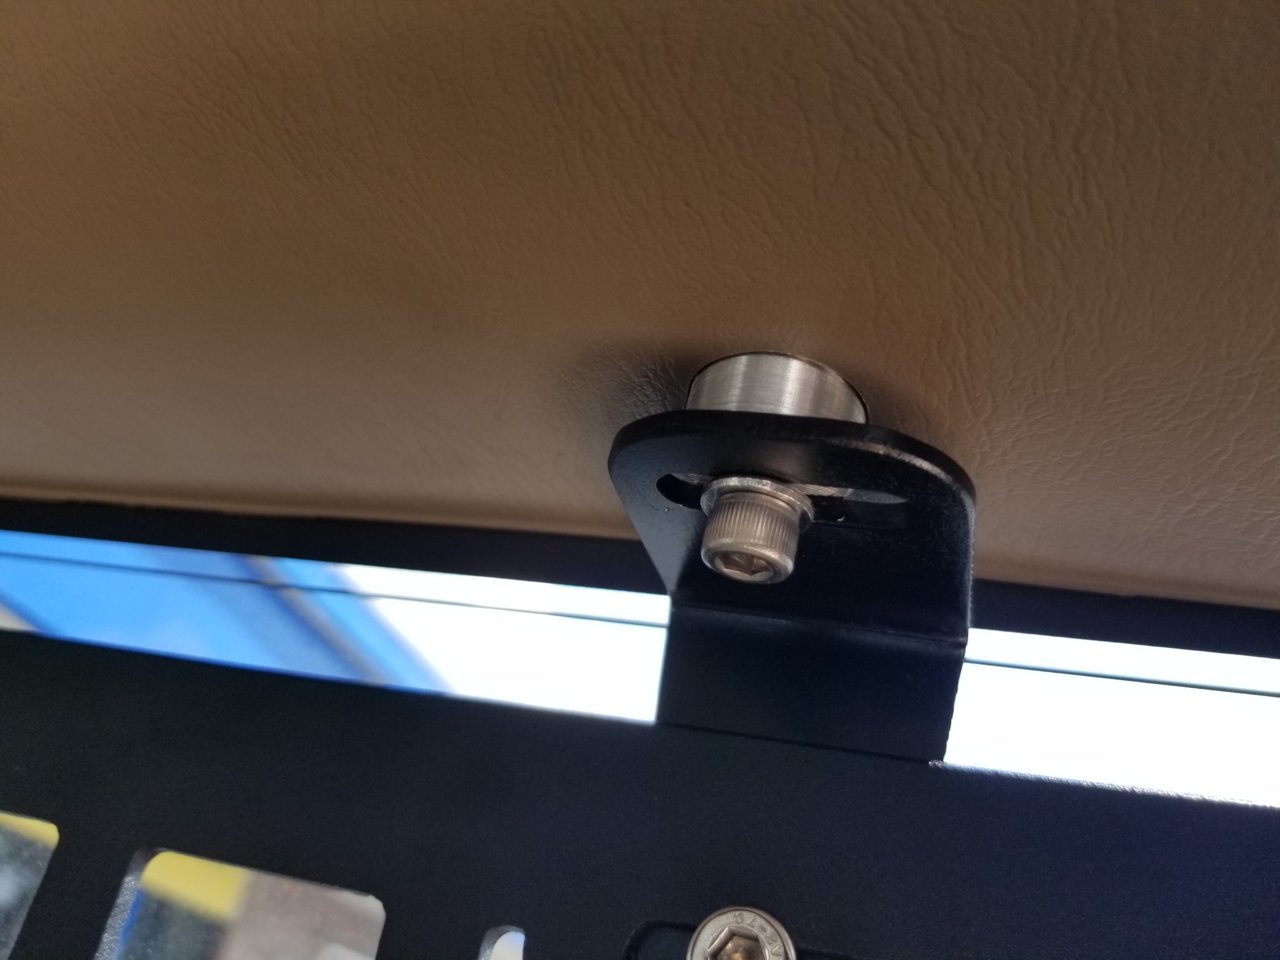
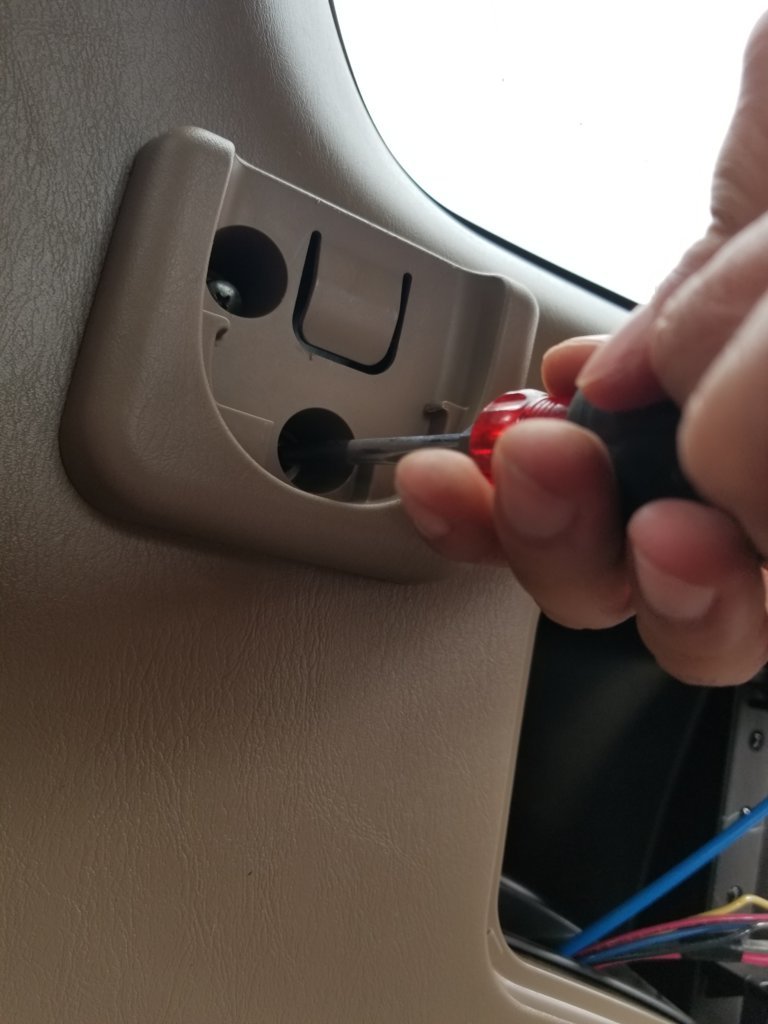
The finished spacer install should look like this:
Once the second location has been drilled and set, the panel can now be installed:
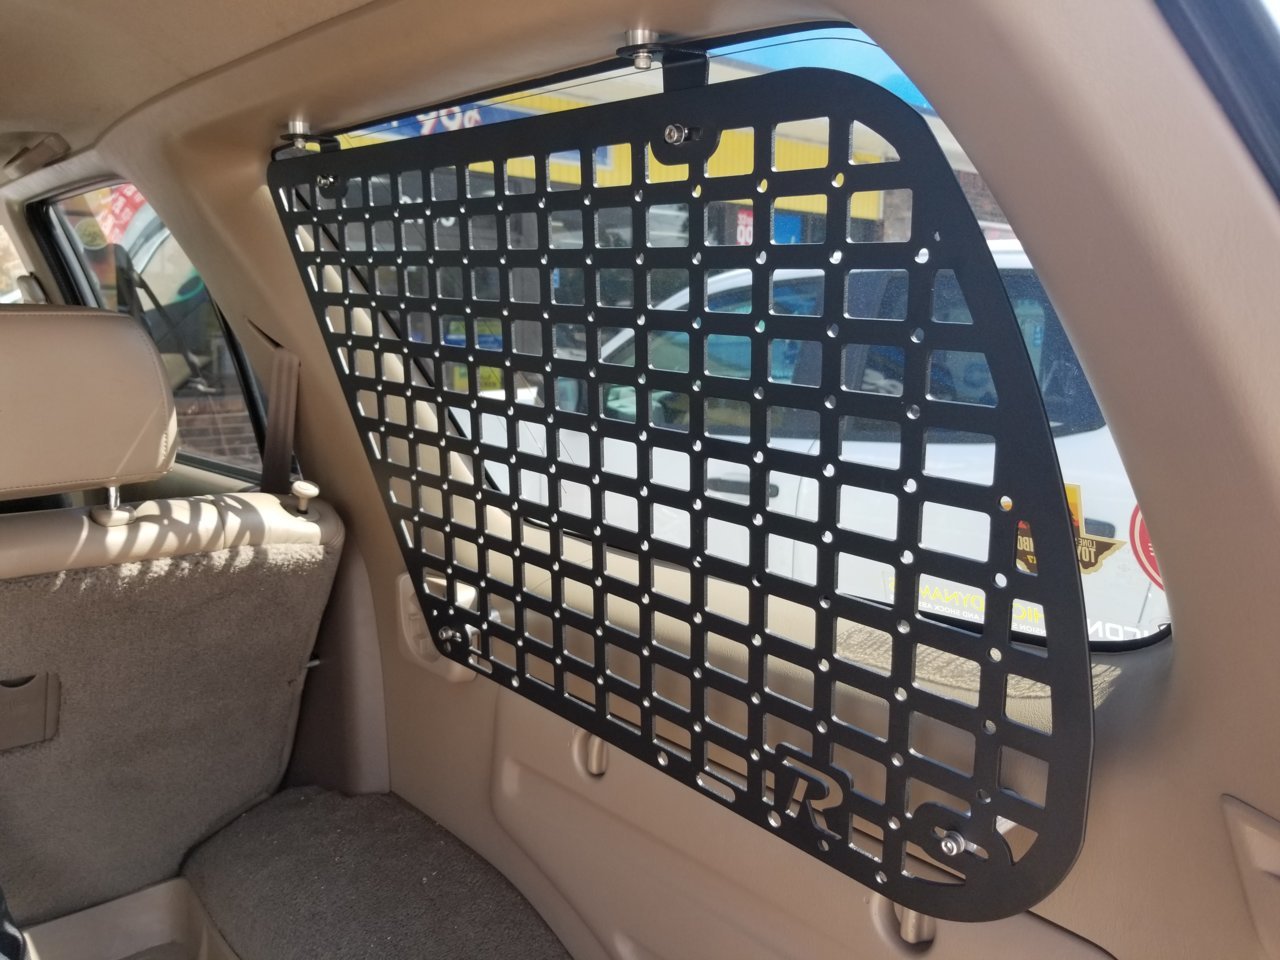
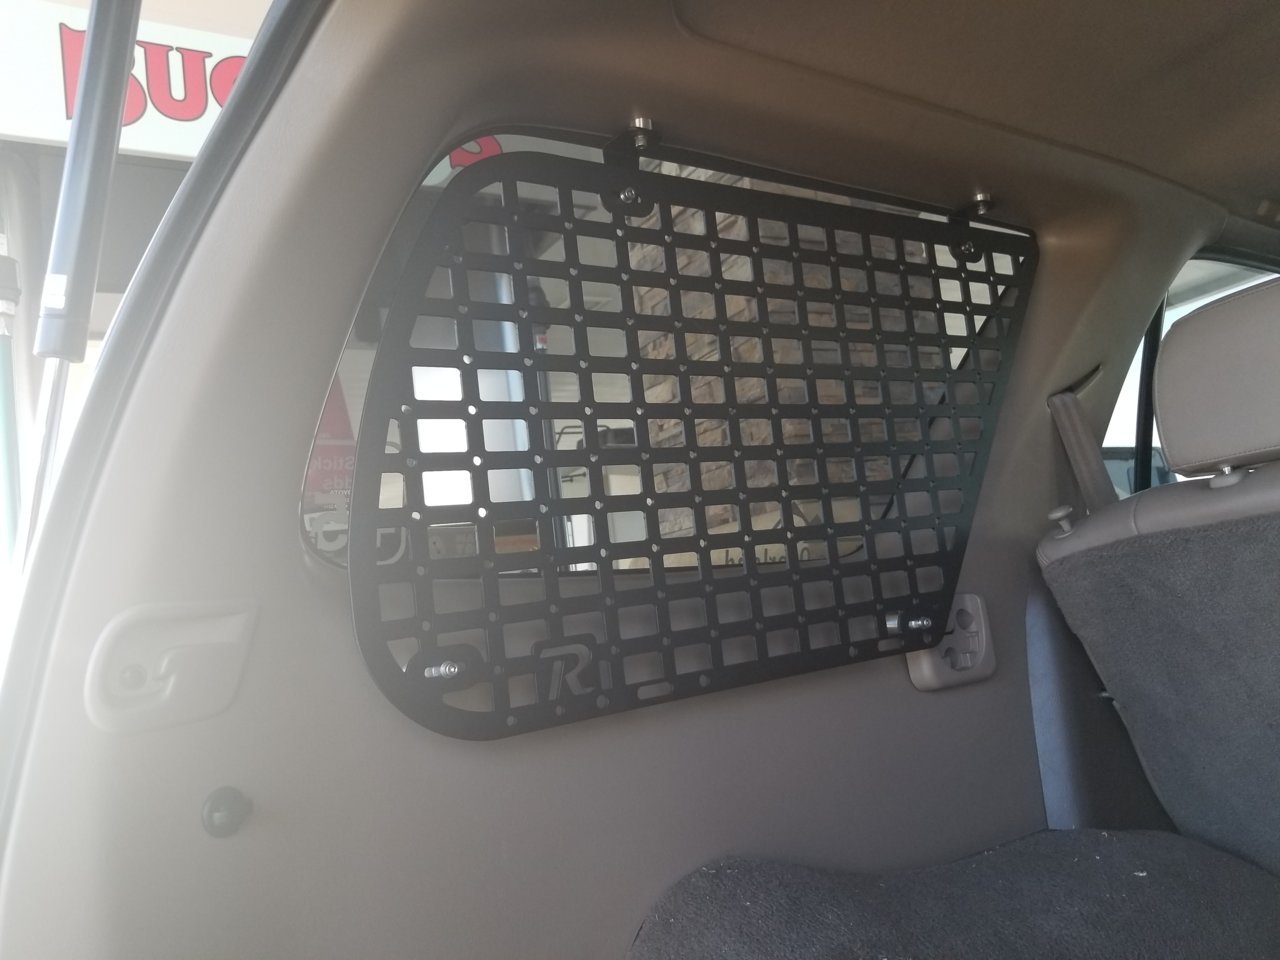
Same installation procedure for the passenger side:
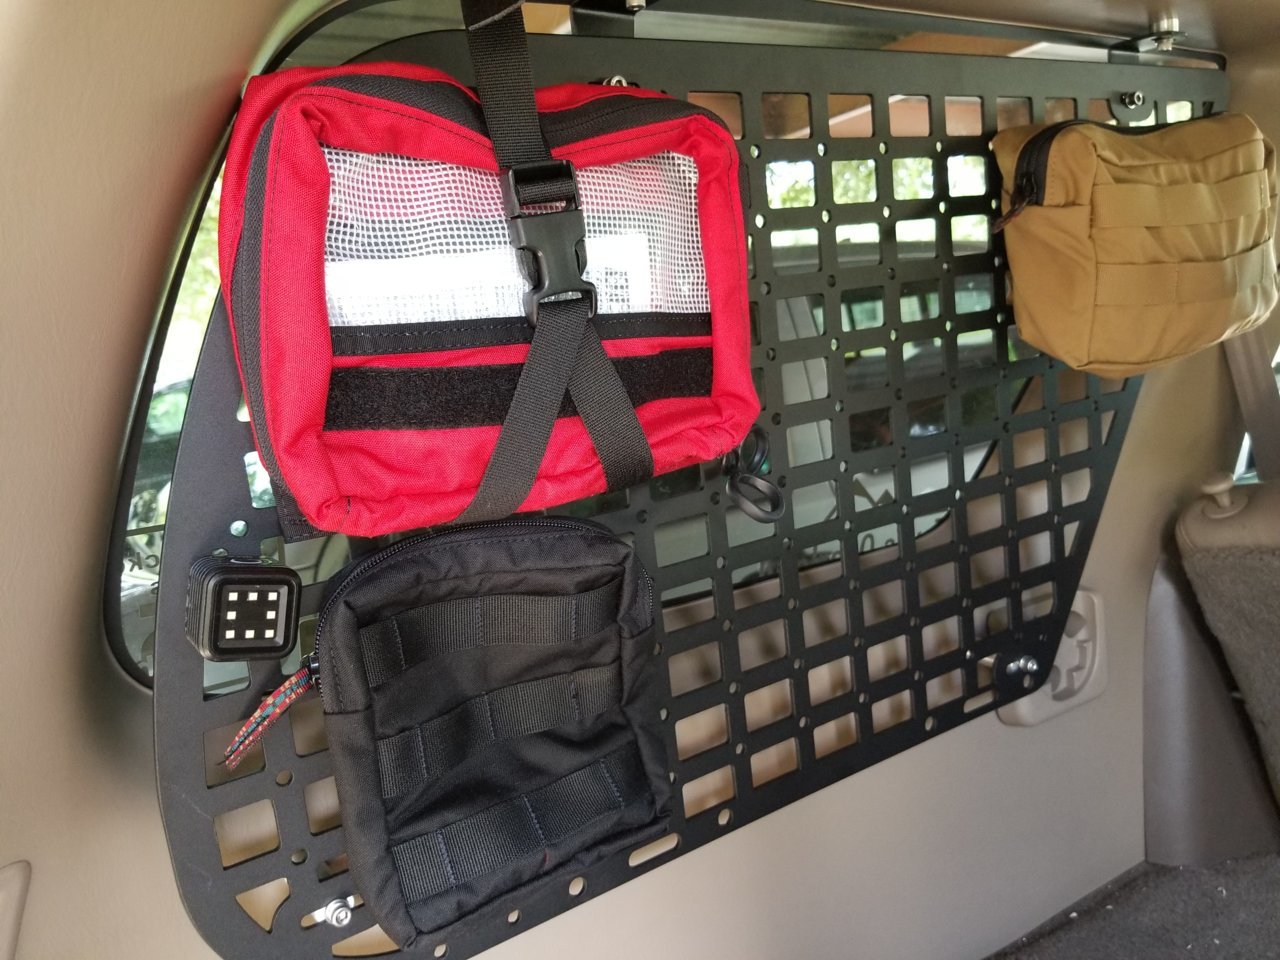
Install goods and enjoy!


 Linear Mode


