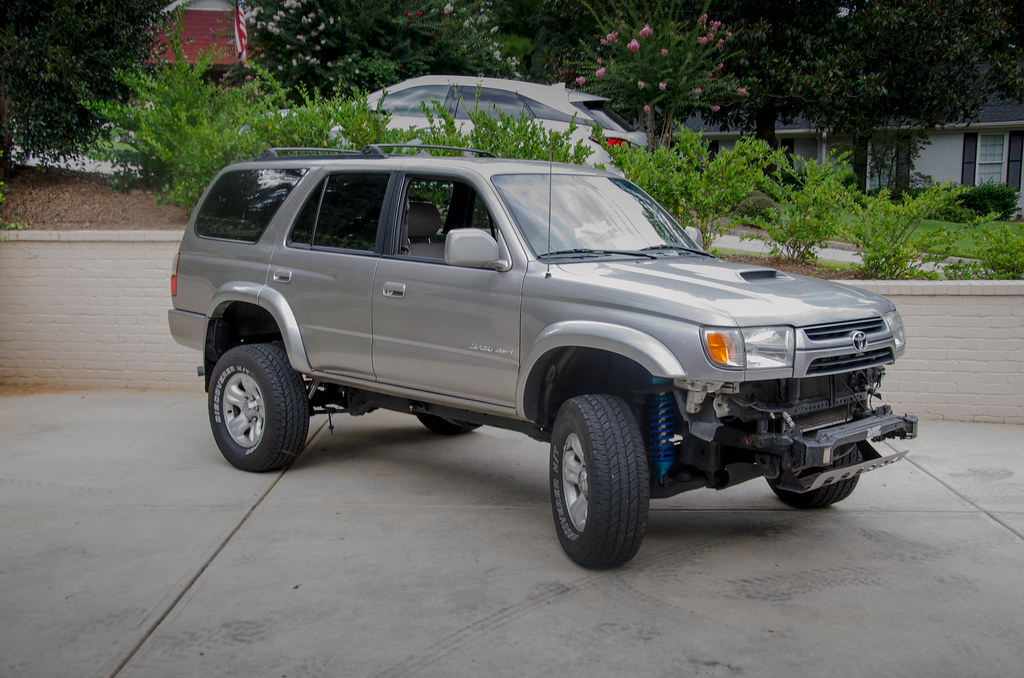
Like most things on these rigs, there are many better write ups on installing suspension out there. I'll just adding some pictures and comments of my install.
Body Lift:
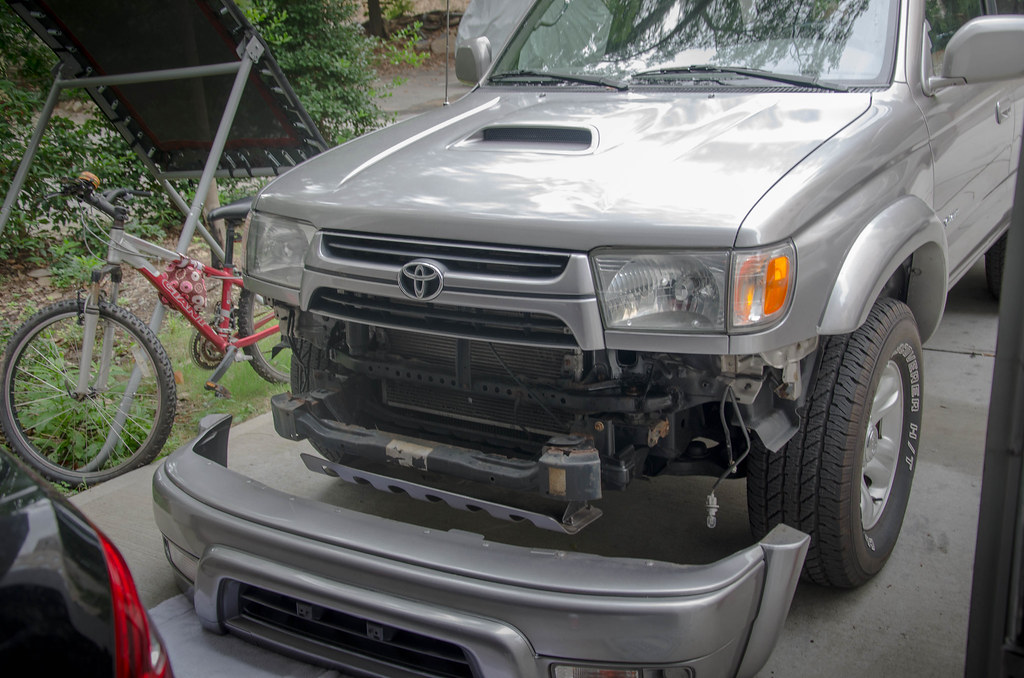
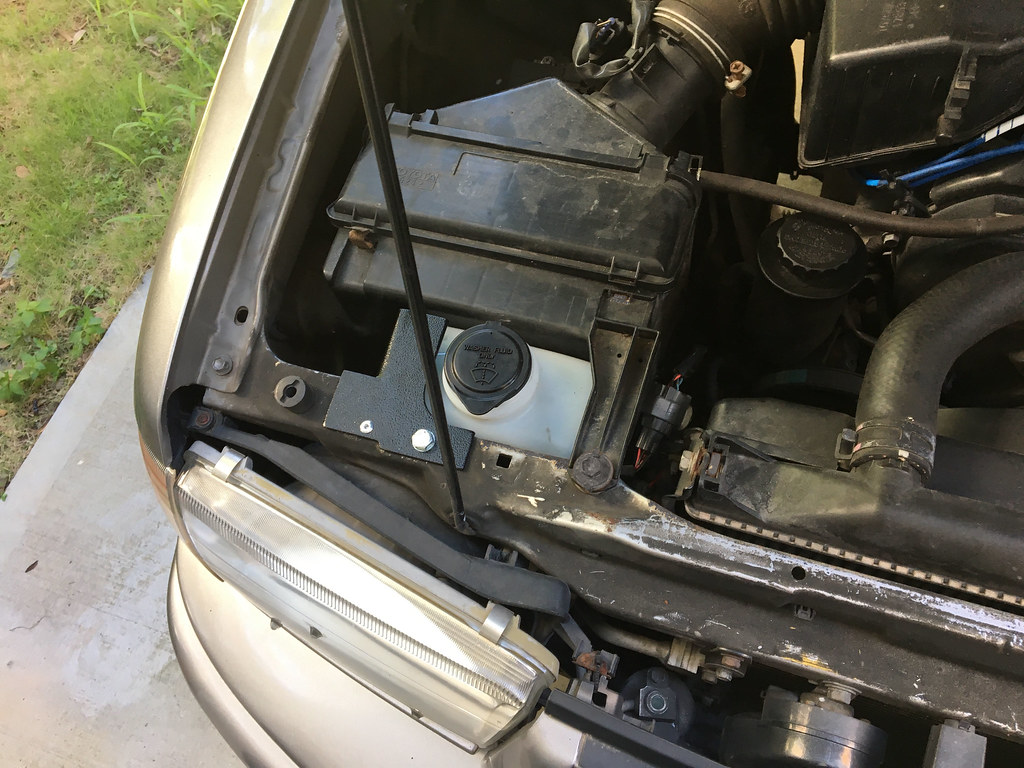
I started with the body lift because it's probably the easiest of everything. I forgot to take a lot of pictures on this one, but it's pretty easy to figure out. For prep work, I removed my lower radiator fan shroud (a few easy clips), my rag joint/steering shaft bolts, my front bumper, and I loosened my transmission linkage (which is under a plastic cover, and you only have to do this on automatic models). Might've not all been necessary but I didn't want to risk taking any shortcuts. After that, locate the 5 body mounts on one side and take em off. I was pretty disappointed in Toyota while doing this, because the bolts have a really shallow head, so the socket loves to slip off (which can get frustrating while soloing it). After that, LOOSEN BUT DON'T REMOVE the other side's body mount bolts, so there's no major tension on them when jacking. After that, jack on the pinch weld with a 2X4 to distribute the load evenly, throw the pucks in, and throw in the new bolts (then do the other side). You'll need to reuse the washers from the old bolts, so I put the bolts head down in a big socket and hammered on top.
 Rear:
Rear:
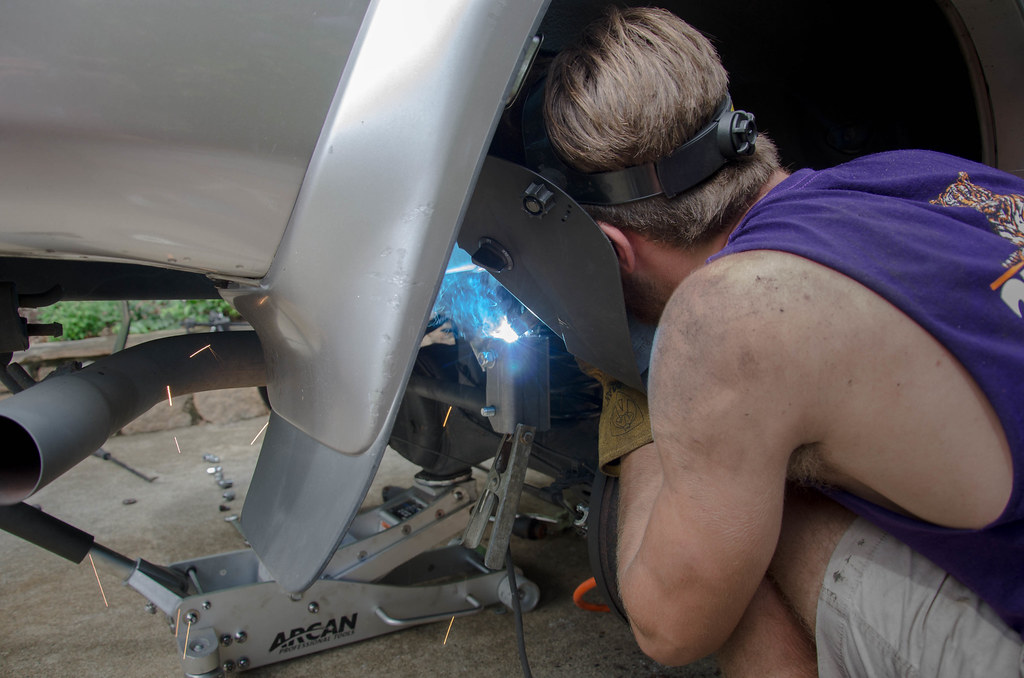
Next up, rear suspension. I did this and the front with my buddy
Will, who has nicer tools than me.
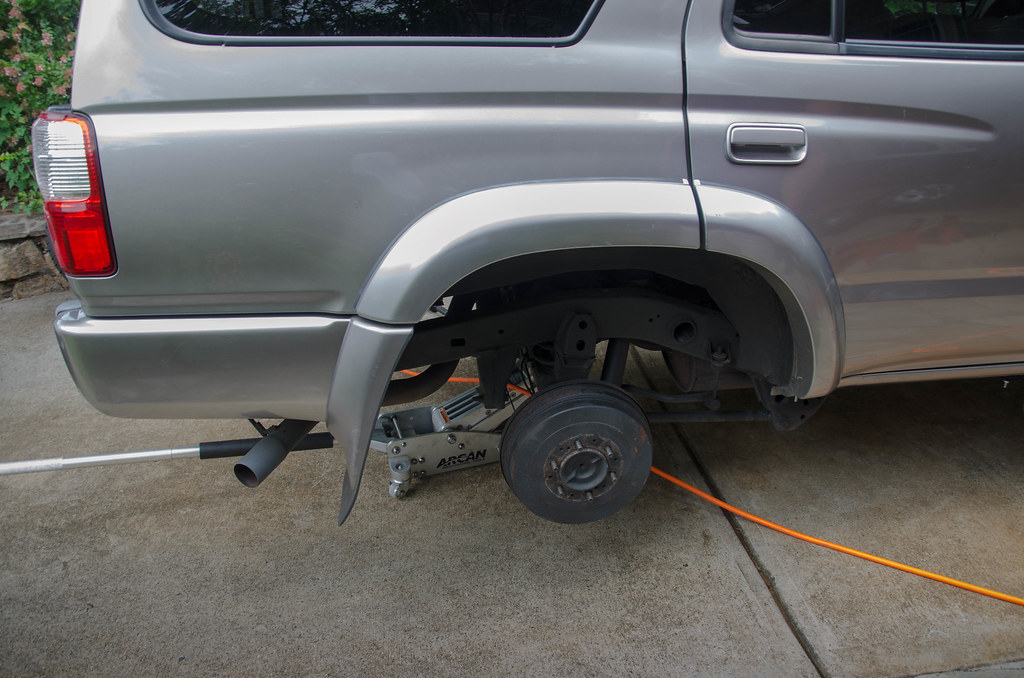
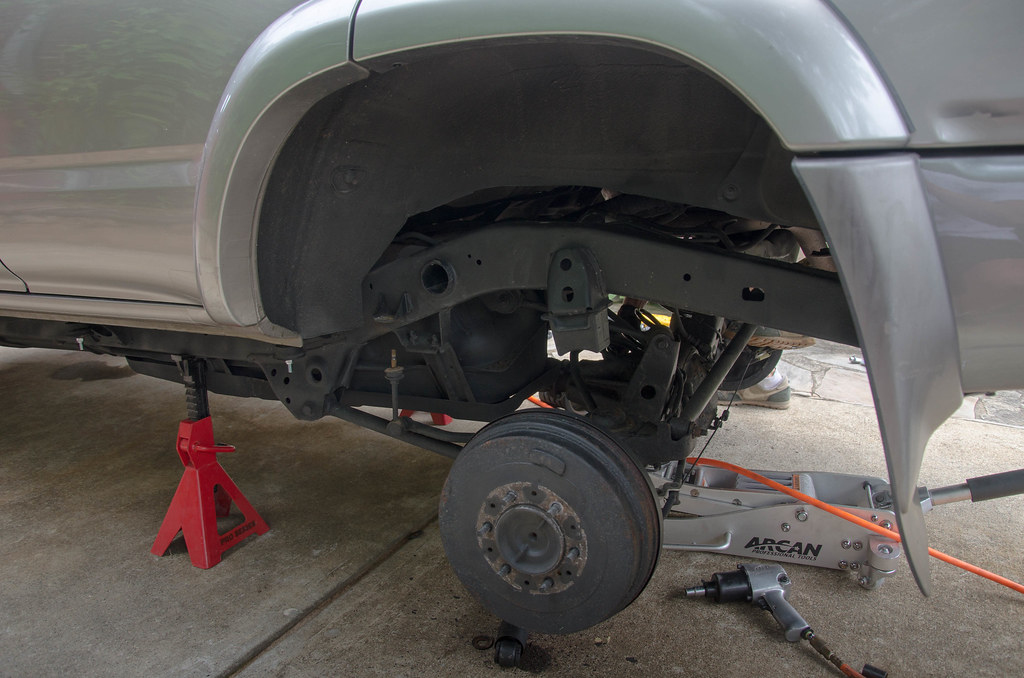
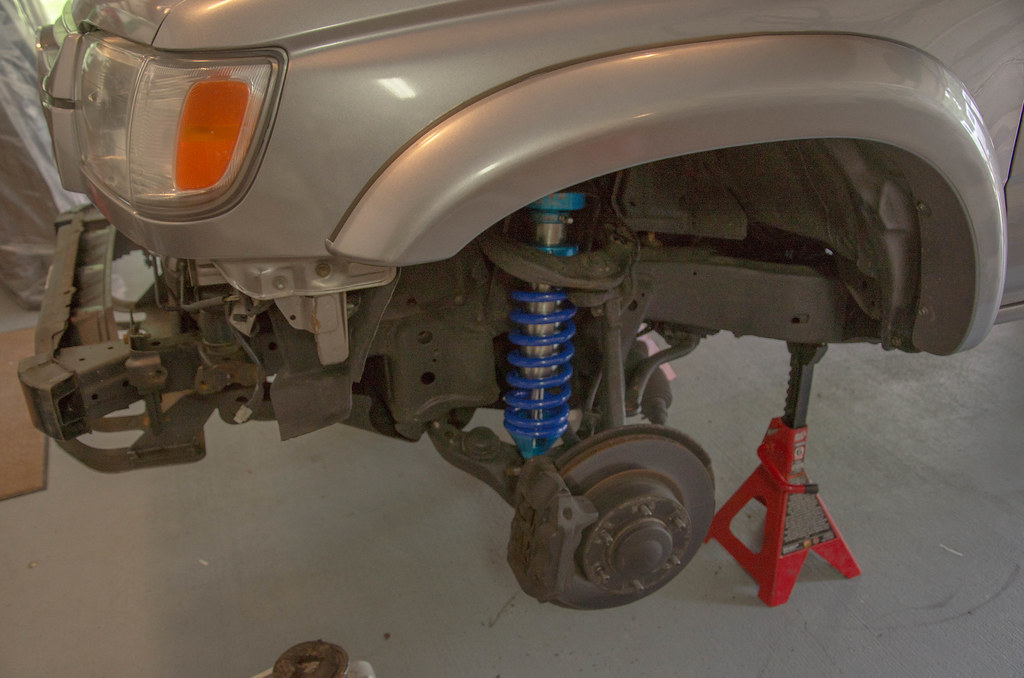
First, chock wheels, make sure your e-brake is off, jack on rear dif, throw some jack stands on the frame, then remove the wheels and the brake line bracket on the dif.

Next up is removing the shocks and springs. First, take those sway bar links off. If you plan on throwing away your old shocks, save yourself some time and cut the bottom part of the shock boot off (so the shaft is exposed), and throw some vice grips on the shaft, because the shock loves to spin while it's being removed. Alternatively you can wrap a strap wrench around the shock body, but I didn't have one on me. Remove the bottom/top bolts, and it'll come right out. For the coils, just jack until there's enough droop that they'll just come out, but keep an eye on all your lines to make sure nothing is being too stressed.
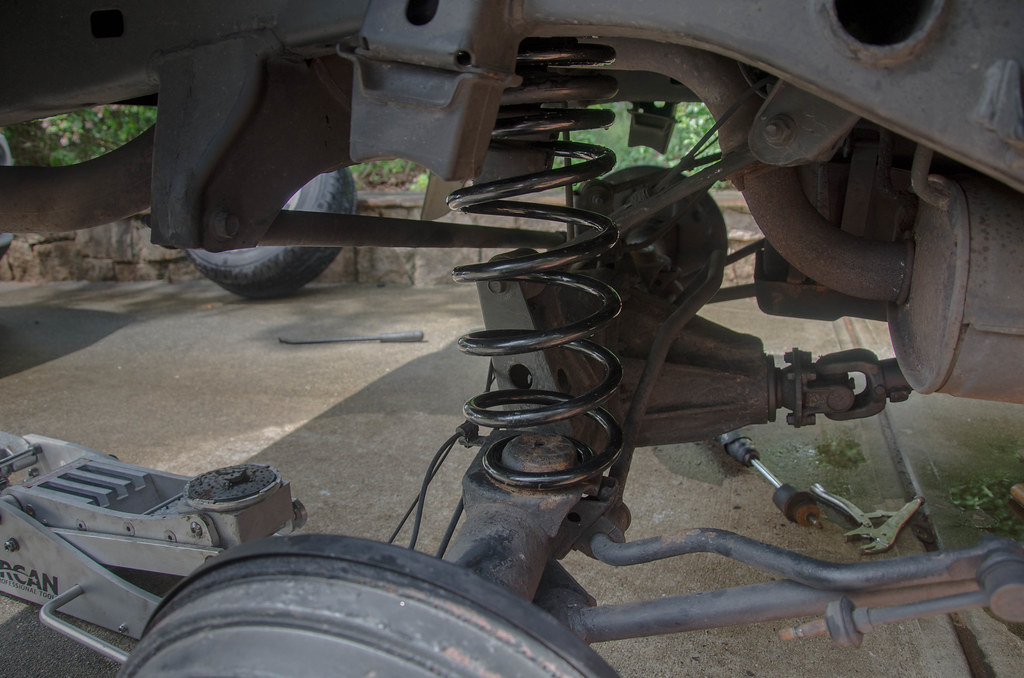
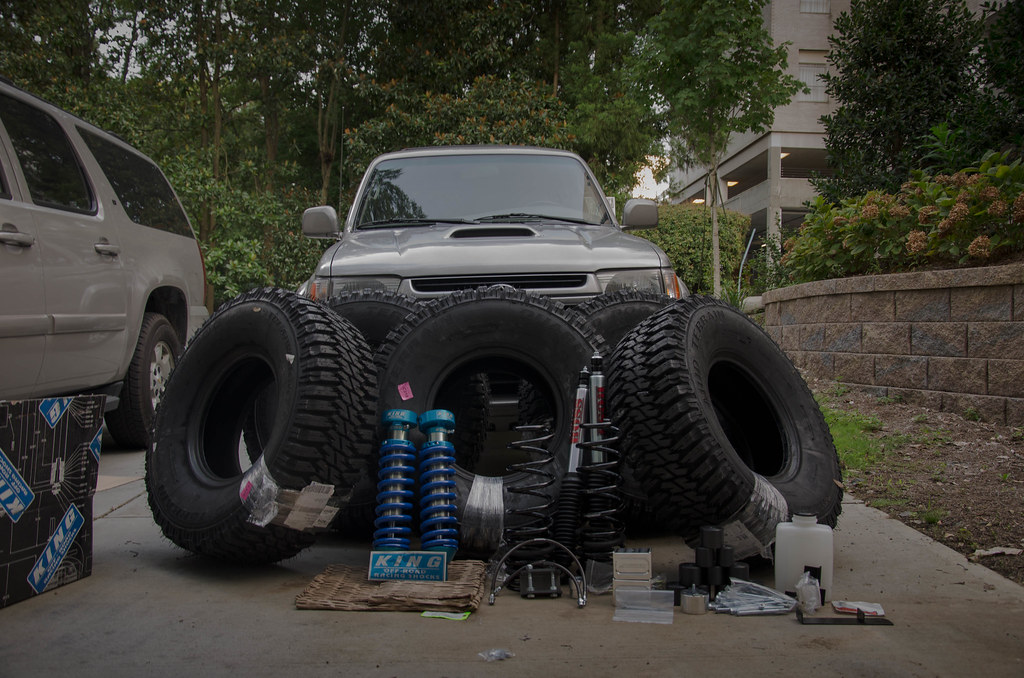
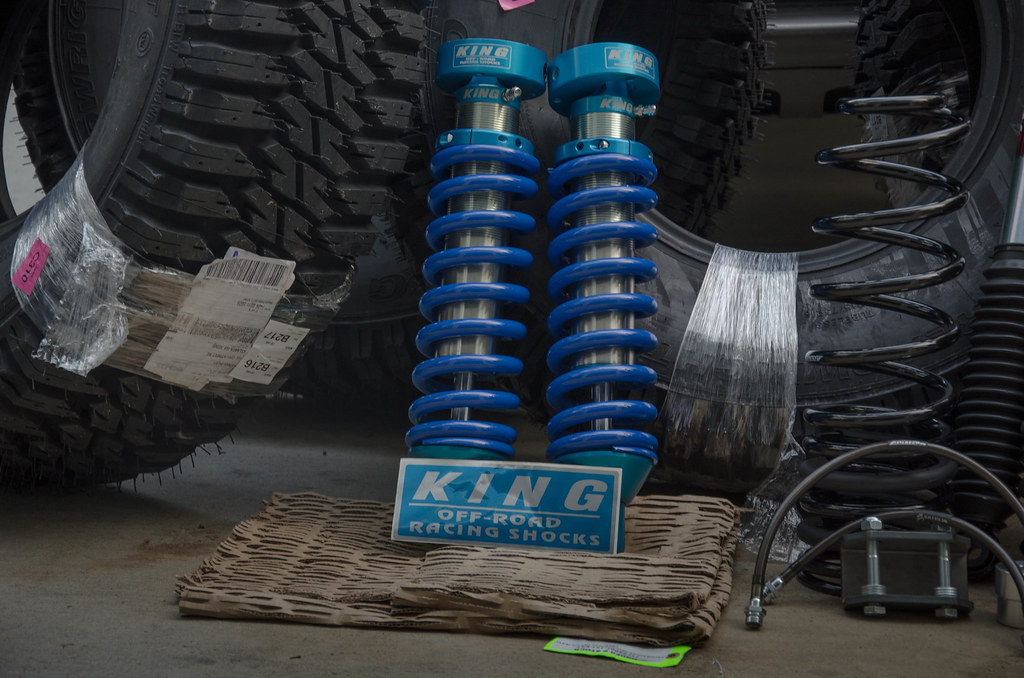
The mandatory old/new pic:

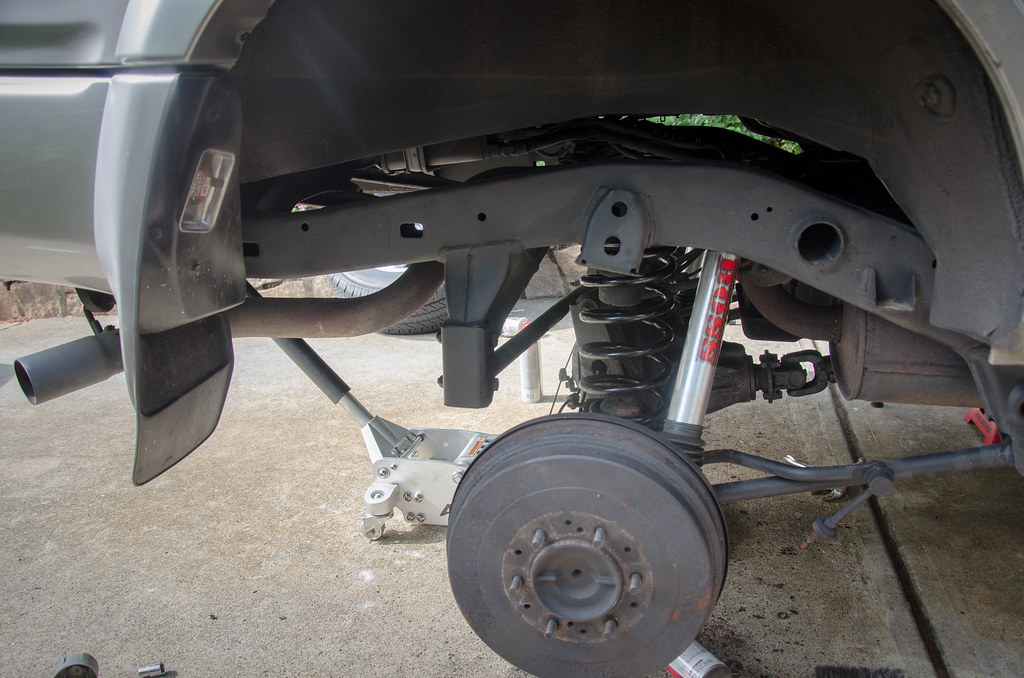
Shocks and spring out:
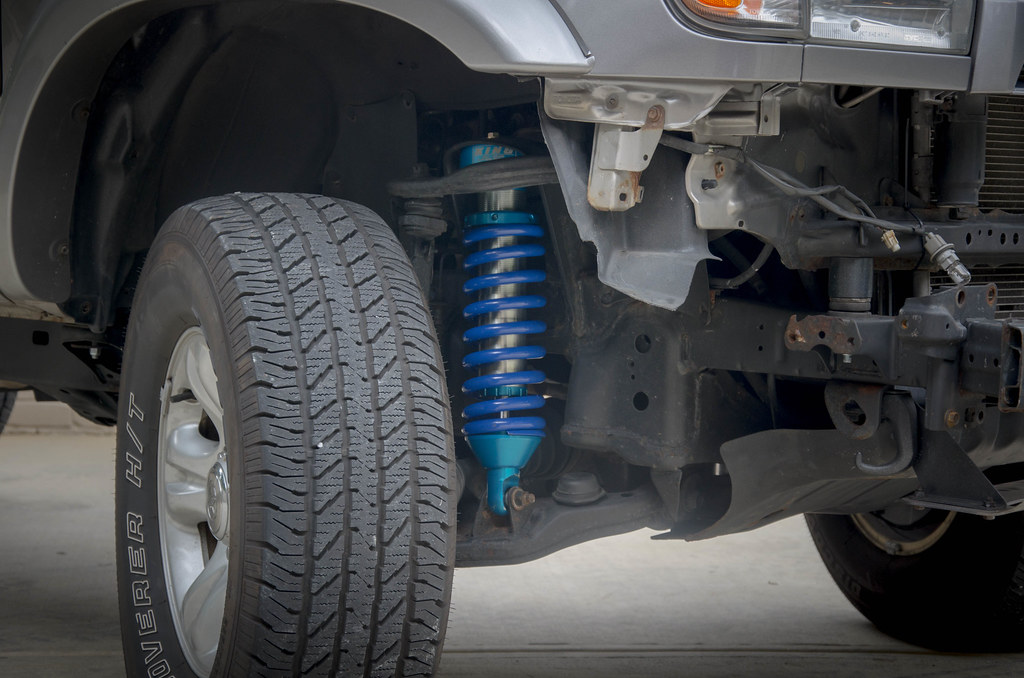
Here comes the fun part. To put the new springs in, try jacking on the opposite side of the axle and having a buddy push down on your side while you put the springs in. If they're simply too big (like the Superflex coils were in my case) or you're too weak (no shame), go up to Advance Auto Parts and rent some finger traps (spring compressors). DON'T USE AN IMPACT ON THESE. Make sure the cone (don't know the actual name) is in at the top, compress your spring just enough to fit it in, and when it's in, make sure it's seated properly before taking the compressors off. Shocks are easy, just bolt 'em in.
In with the help of death traps:
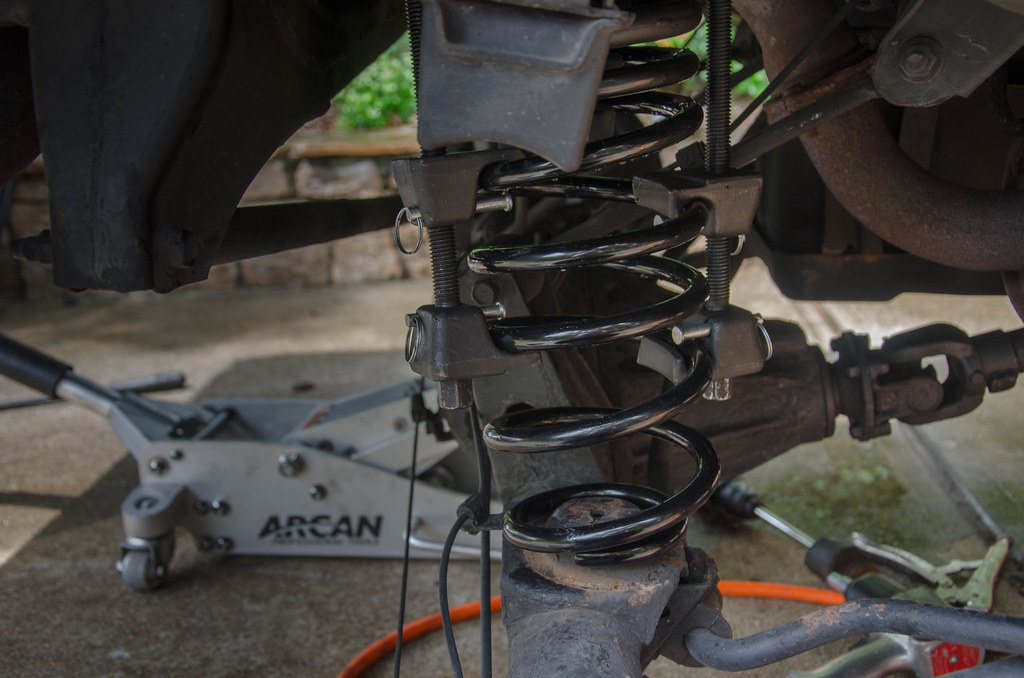
After the compressors are off:
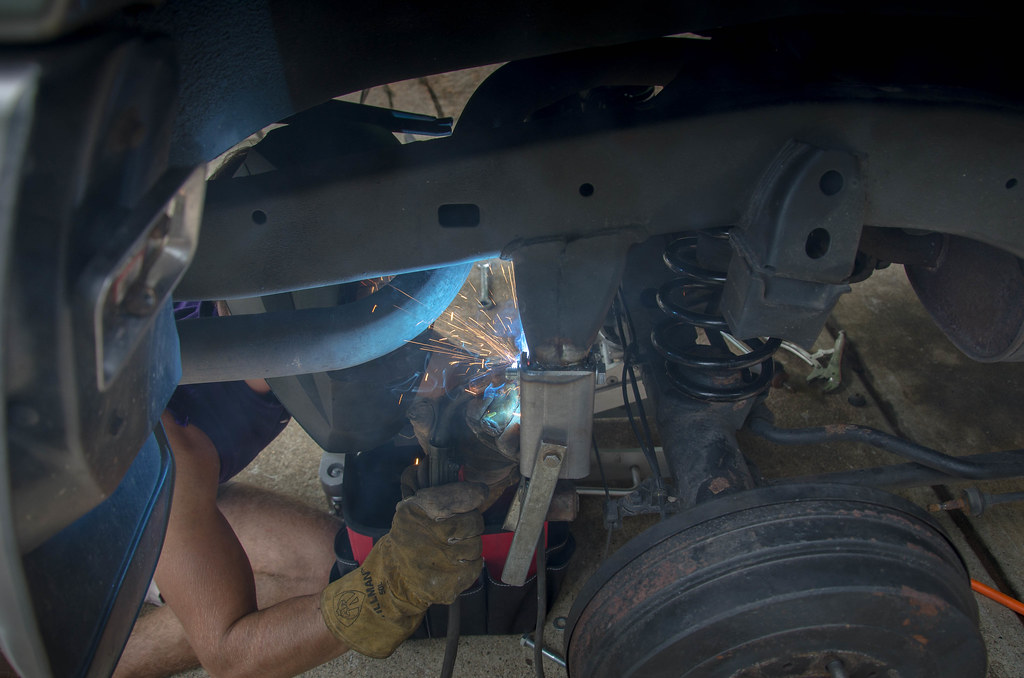
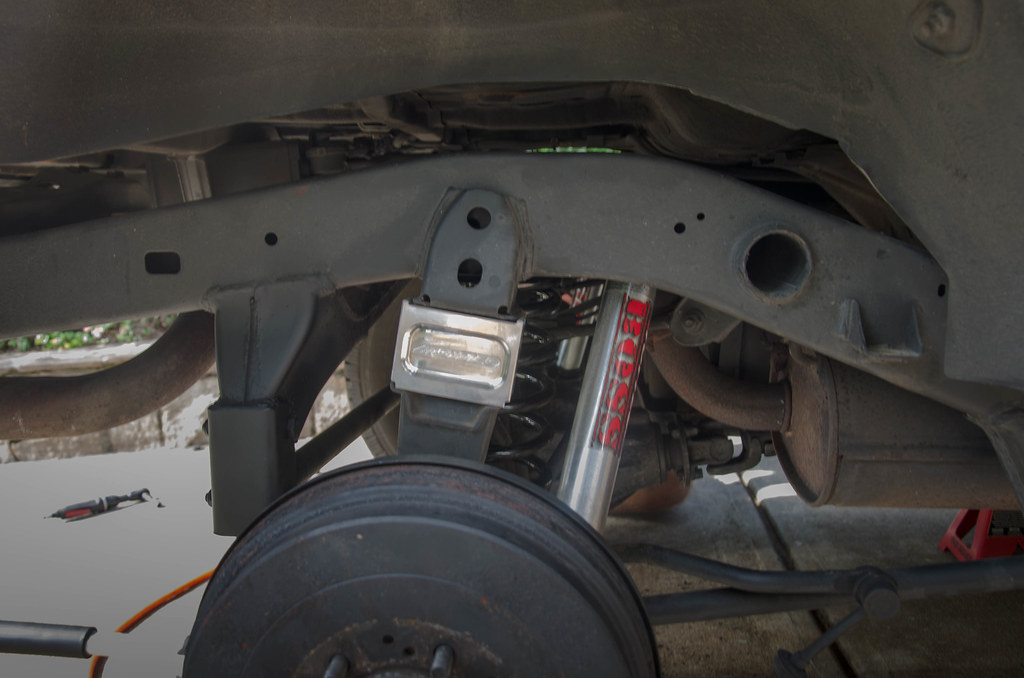
Next is the panhard bar drop bracket. Jack up your axle until the bolt at the top of the panhard bar is easy to remove, and remove it. We weren't sure at what angle to position the drop bracket, so we called Toytec and their words were "straight down." Slide the bolt through the top (but not the nut because the nylon locker will melt) and weld her on!
Dimes!
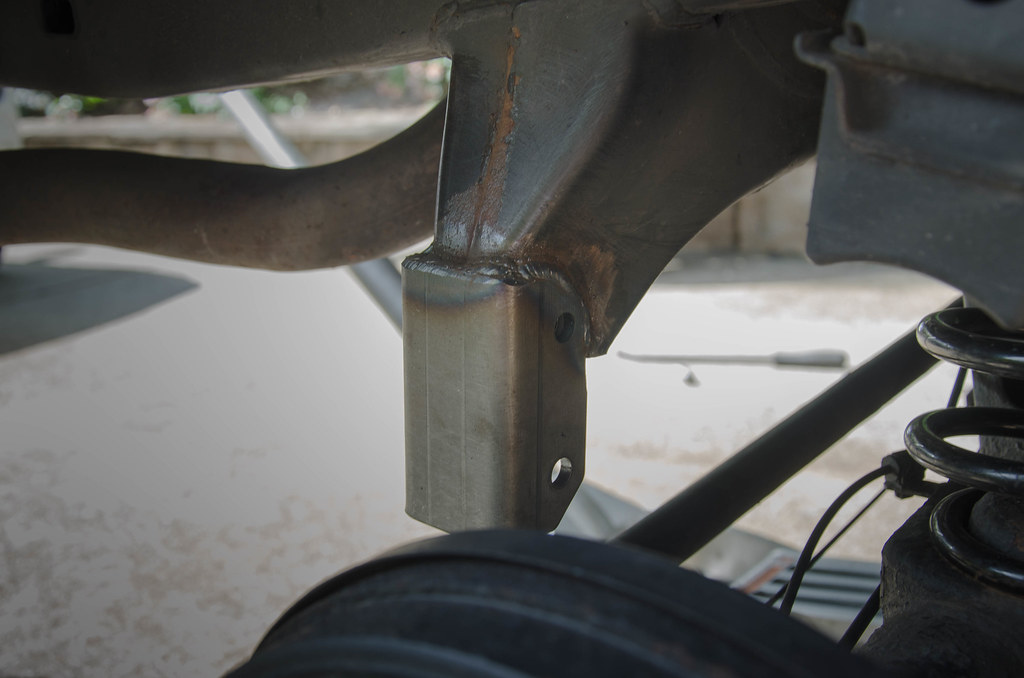
Painted:
Because I didn't want my tires ramming through my fender, I bought some bump stop spacers. I would've gone with the junkyard ones, but I've heard they're not reliable. Just take the bolt out, line them up, and use the new hardware to bolt them in WITH THE TOYTEC FACING OUTWARDS.
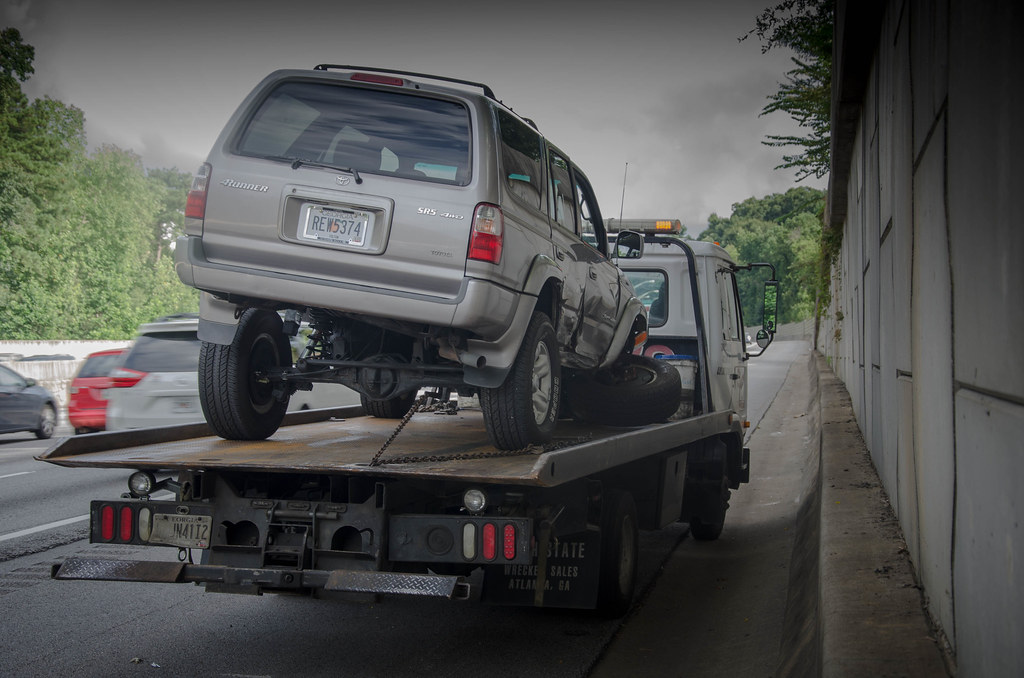
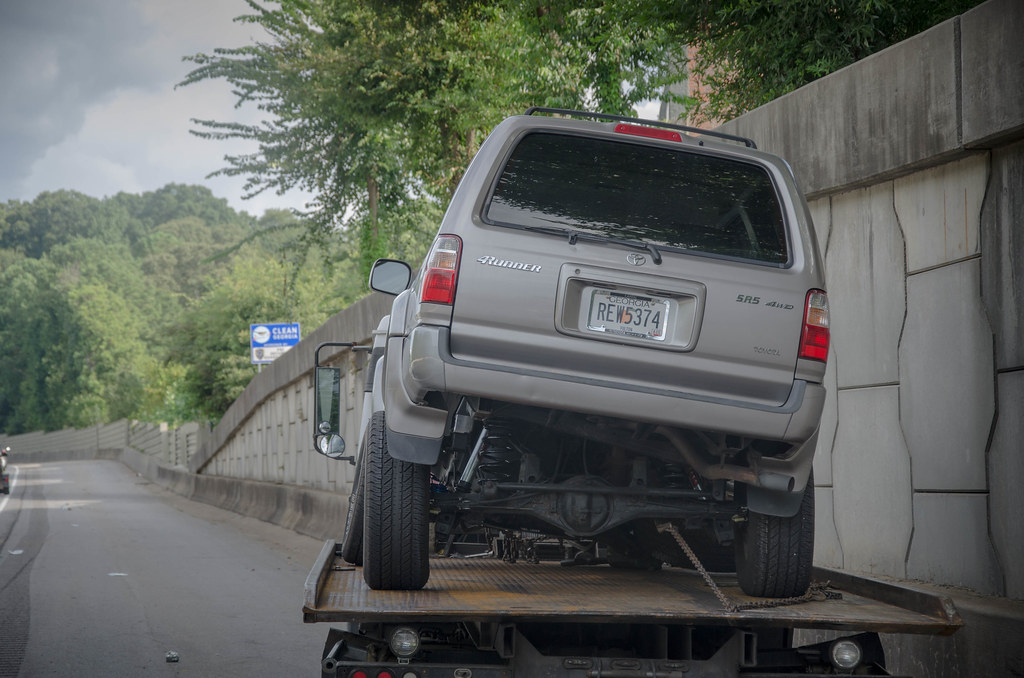
Everything done in the rear:
Sitting a little raked because we didn't have time to do front today.
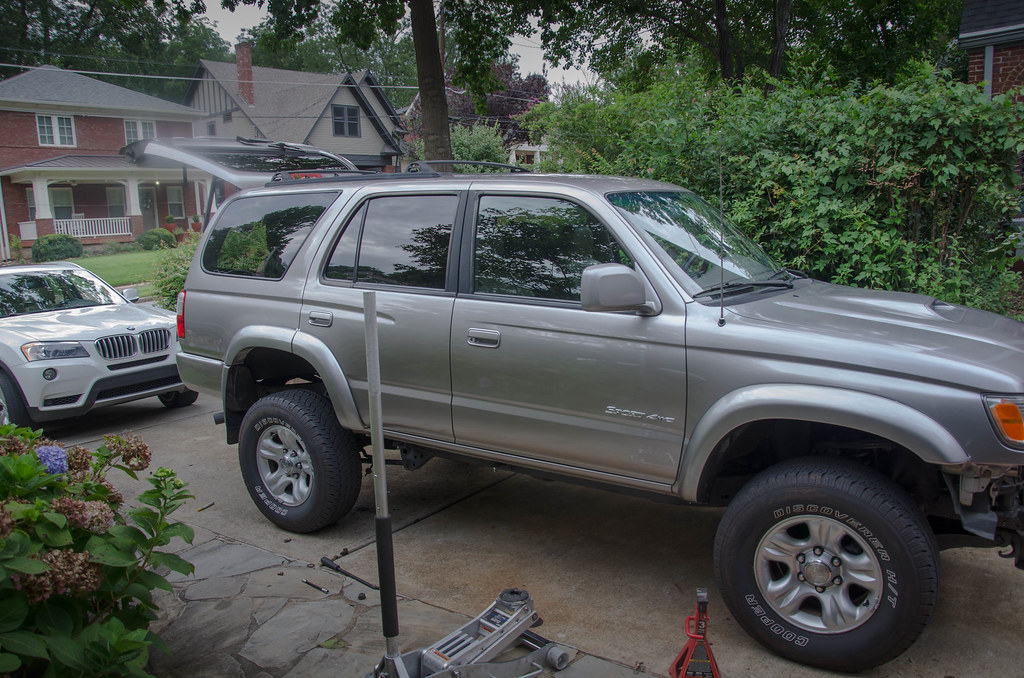
Rear's still compressed a little bit because of these puppies though:


 Linear Mode


