So I had been looking for a new 4runner for a month before I found this one. I was out of town for a friends wedding so planning got entertaining. I flew back from the wedding, and turned around the next morning to hop on a plane to Seattle, with a detour to the bank, all in all I had barely enough time to get from bank to airport in time to board the plane... I've wanted to go to Seattle for a while so having an excuse to get up there even for one night was fun.
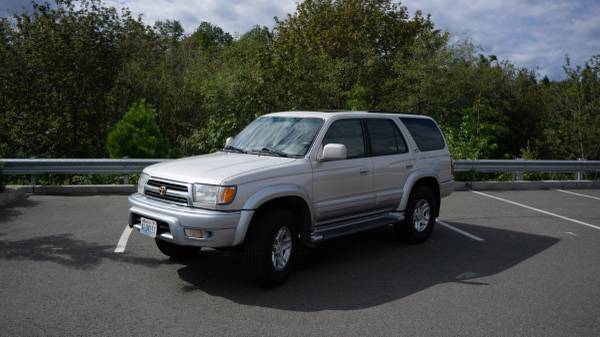
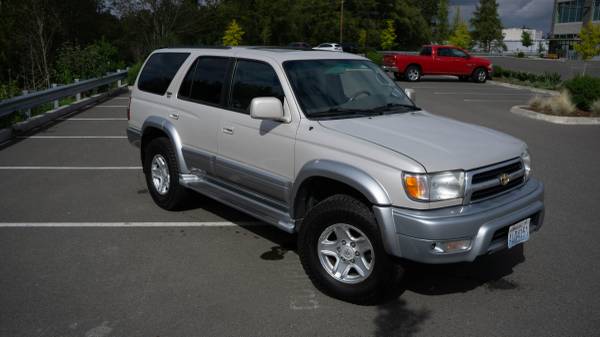
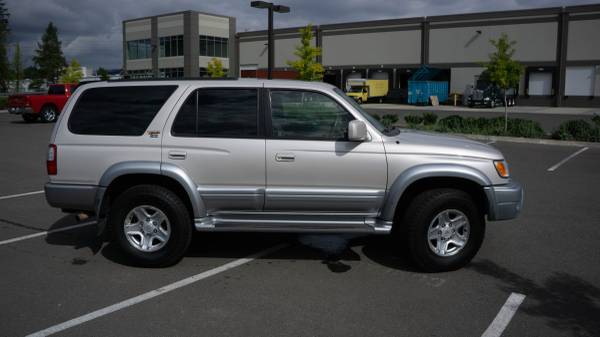
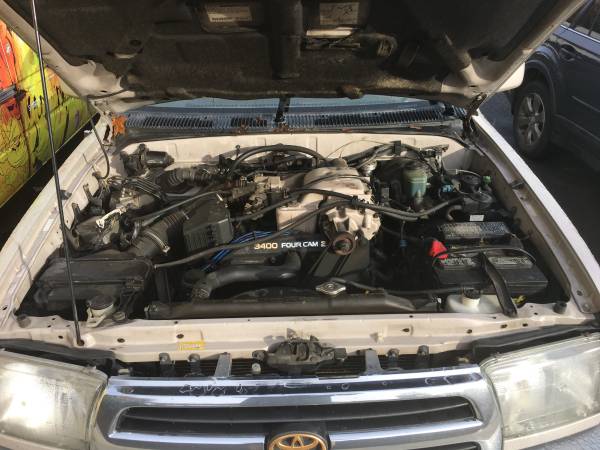
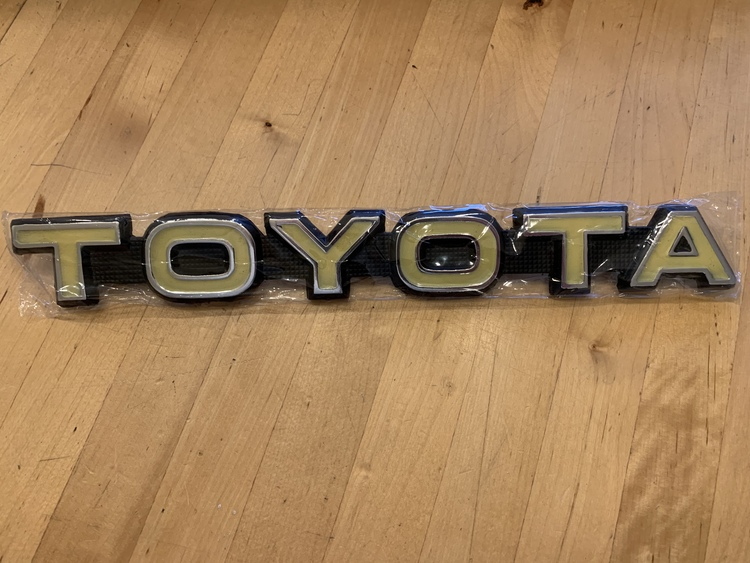
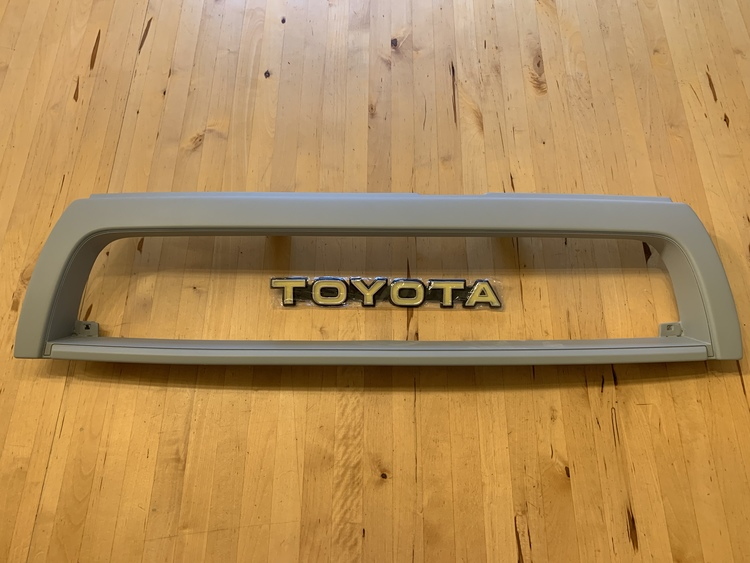
Pics from the craigslist ad:
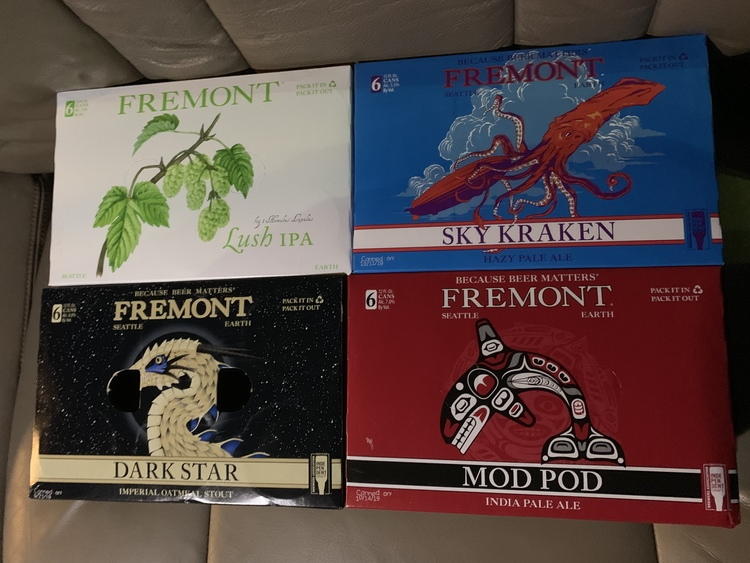
Free beer! Previous owner works for Fremont brewing and hooked me up

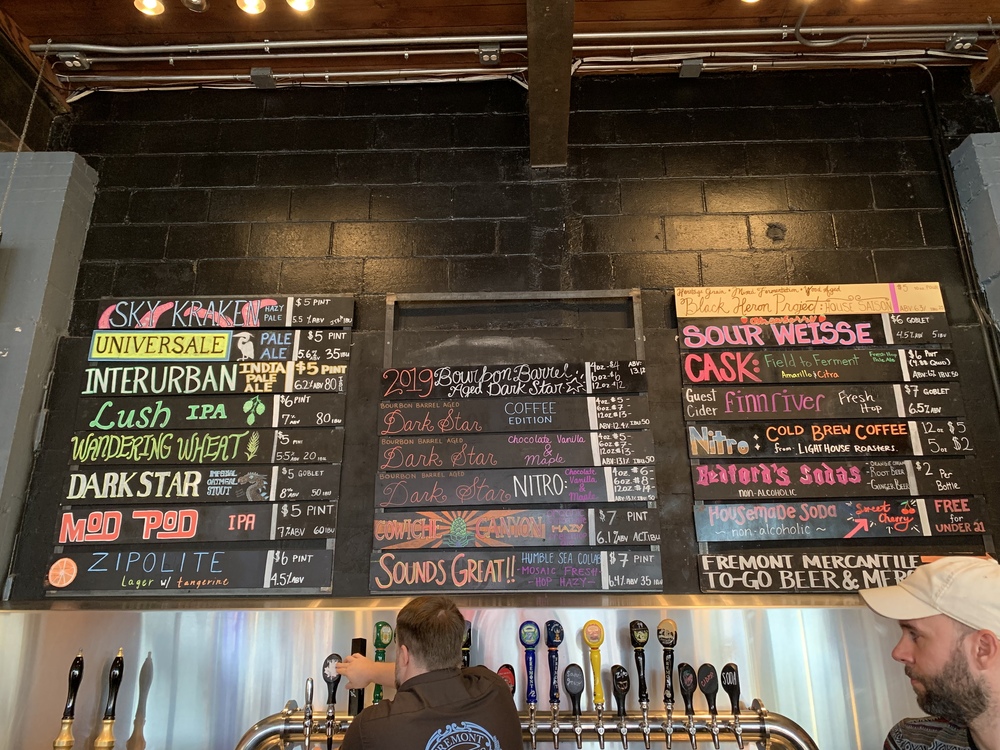
Got to see a little bit of Seattle and went ahead and hit Fremont brewing's taproom while I was there.

Had a flight of all of the Dark Star variants, turns out my trip timing was perfect! Haha!

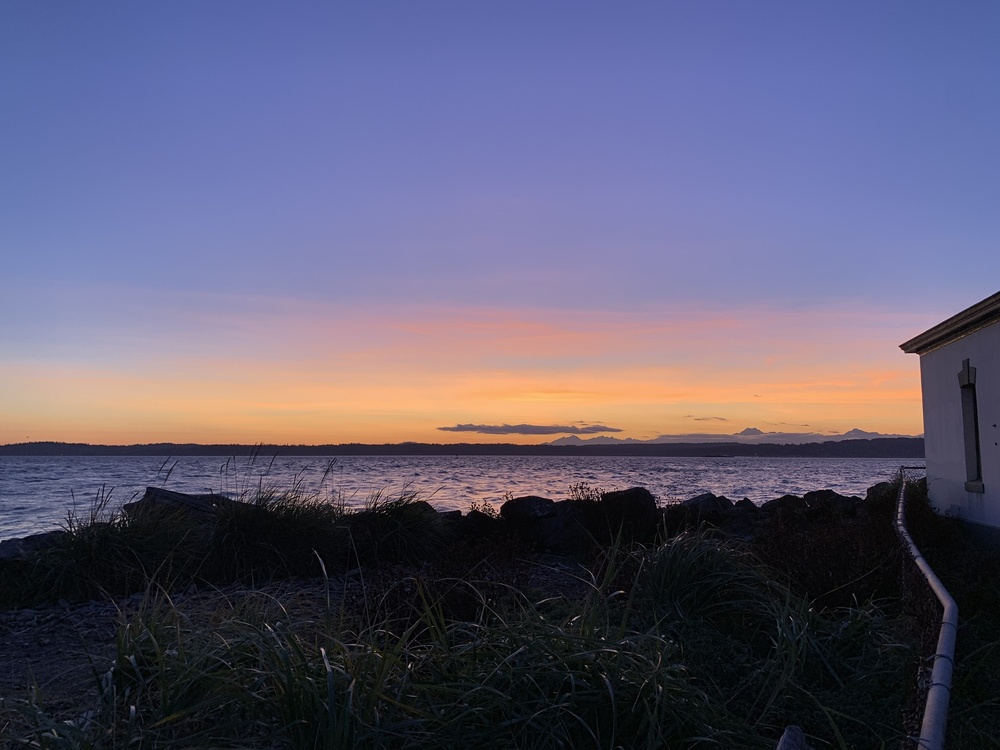
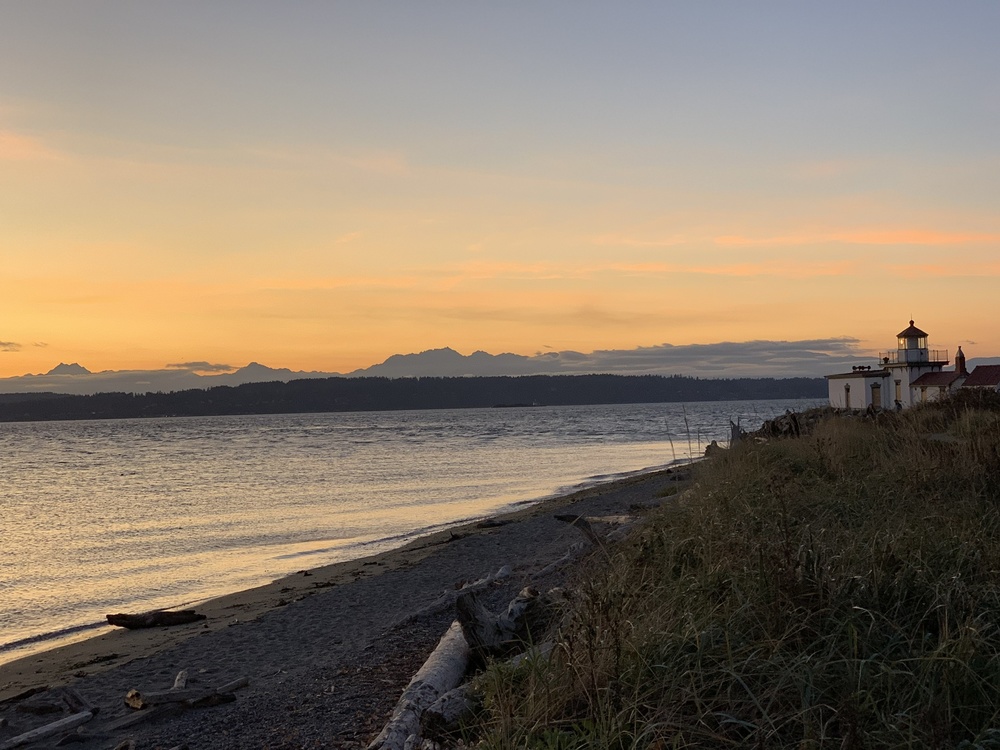
Managed to find a good spot to watch the sunset, West Point Lighthouse:
Spent the night in downtown Seattle, had dinner and some scotch at a
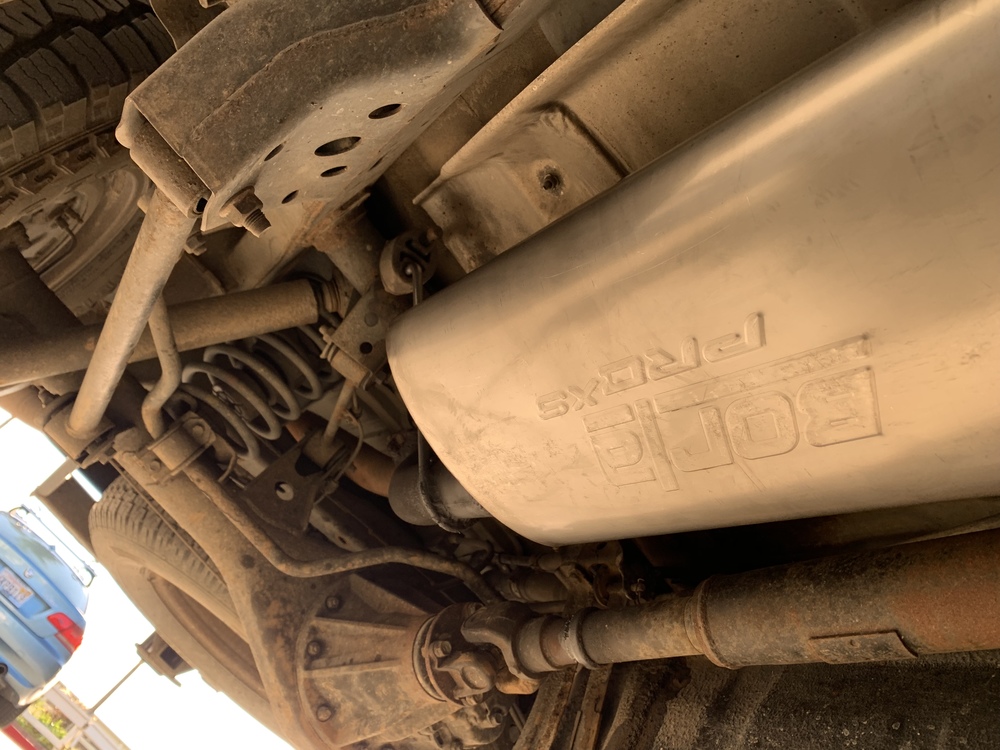
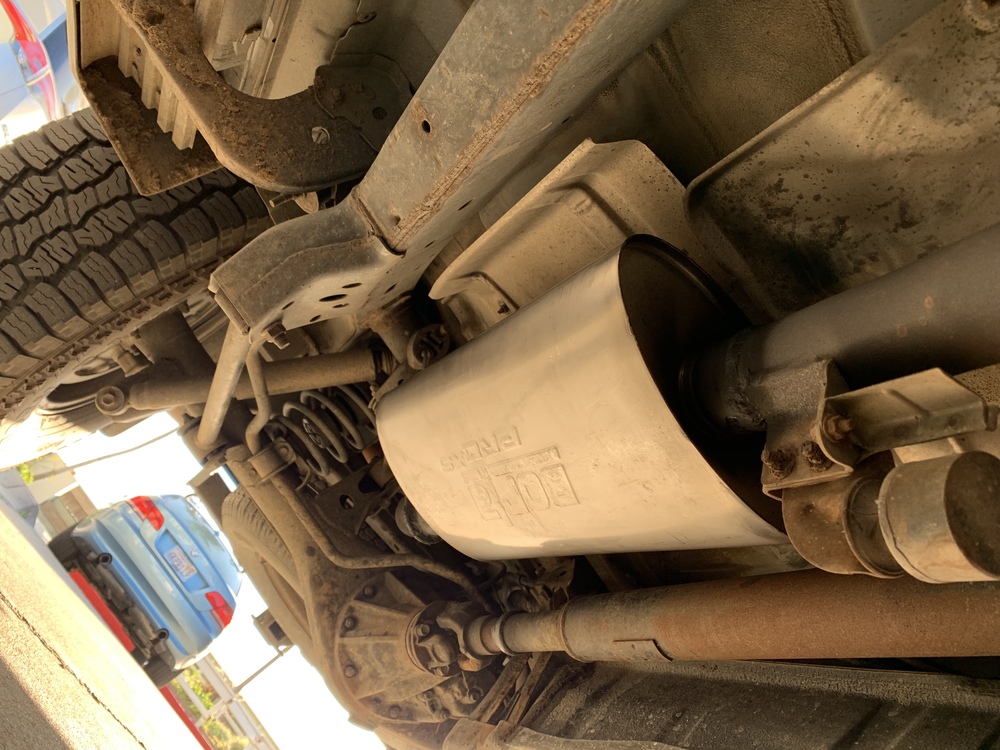
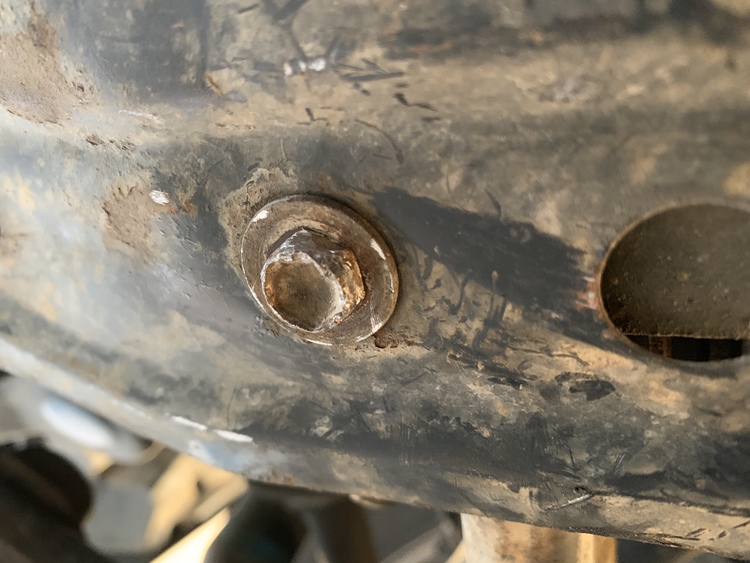
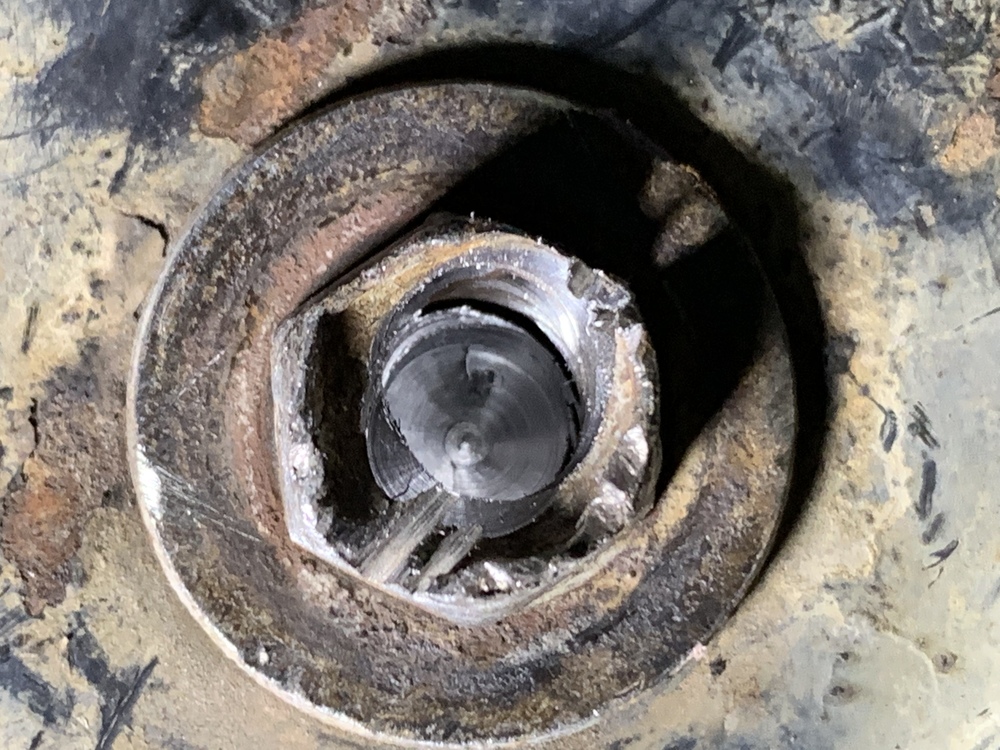
Radiator Whiskey. The next day I hopped on the road and headed south. Overall the 4runner drives pretty well, there is a wobble at 65-75 mph that is a little disconcerting, the whole vehicle starts to wobble/zig-zag back and forth, holding the steering wheel tightly and doing some sharp cranks on the wheel generally stops this happened, if not then slowing down usually does too. After some digging I think its the steer rack bushings, the rack moves significantly so I think its following ridges/wear in the road and causing the whole vehicle steer back and forth slightly.
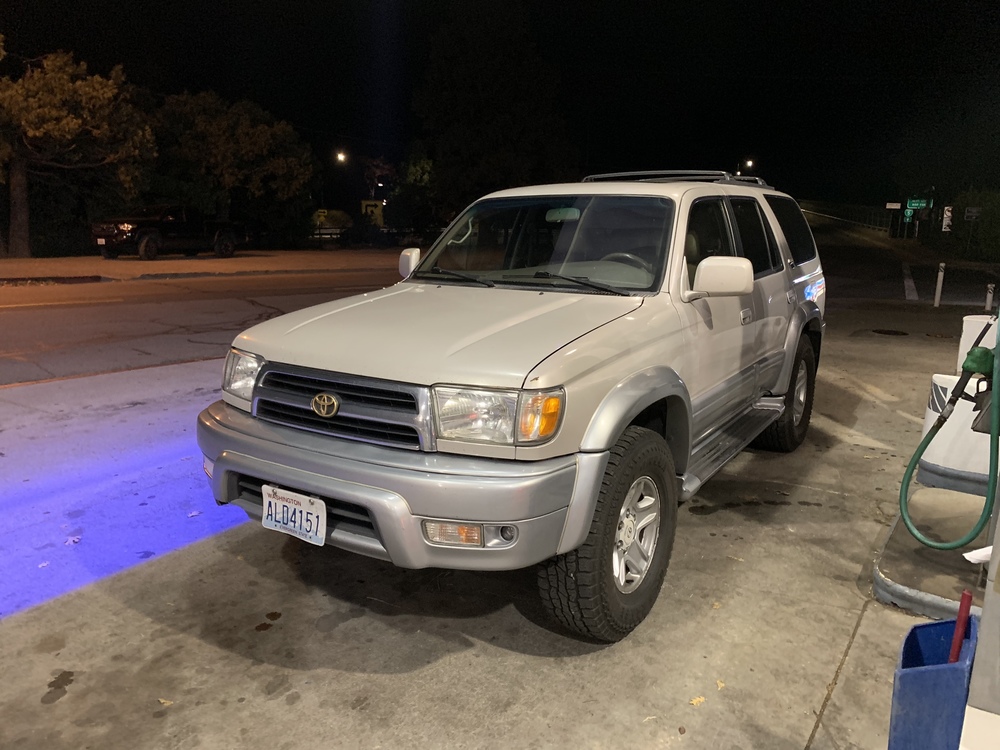
Unbelievably, I forgot to grab a picture of the 4runner until this second night:
My plan had been to spend the night in Redding, Ca but when I got there at 9pm I found out that everything was booked out because the Kincade fire had just started... So I ended up camping in the back at the next rest stop, good times!


 Decided to go for a supercharger and 99-00 to get the center and rear locking diffs. Found one about a month ago (10/28/19) and road-tripped it back to Long Beach from Seattle which was fun and comical, just wish I had had more time in Seattle!
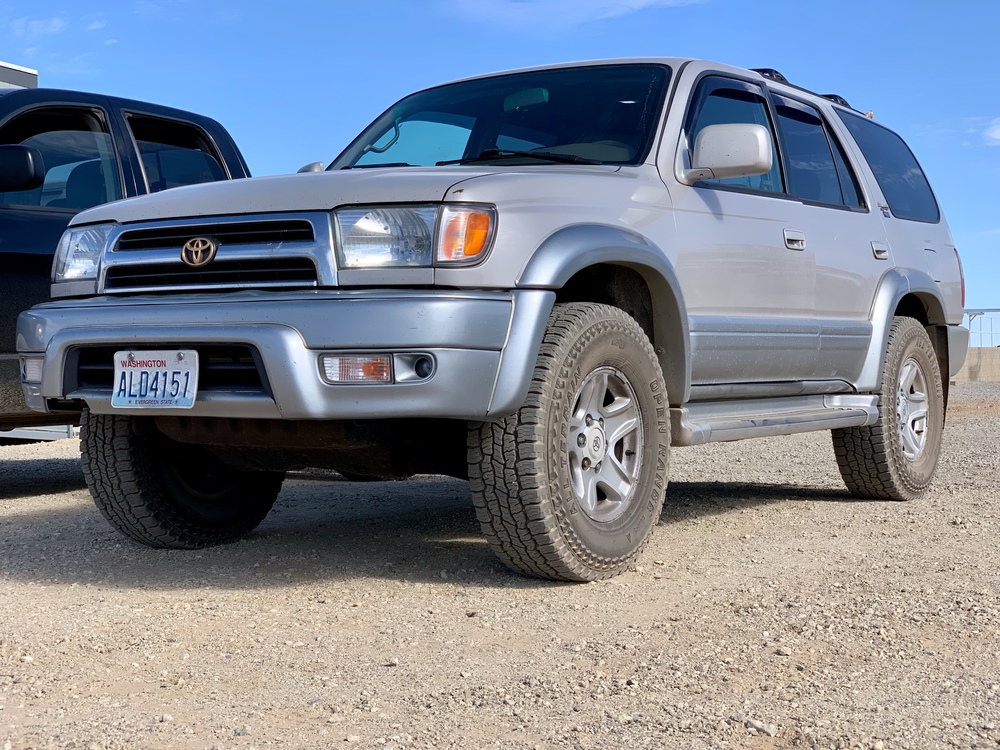


 Linear Mode


