Have you ever had a bulb in your AC unit go out. It can be pretty annoying. This write up describes the way to fix that issue by replacing the bulbs.
Parts needed:
Part number: 81850-35040 Description: lamp assembly These are the larger ones with the white base-these go in the display
Part number: 81850-35050 Description: lamp assembly These are the smaller ones with the black base-these are for the buttons
Pic of light bulbs used in fixing AC display

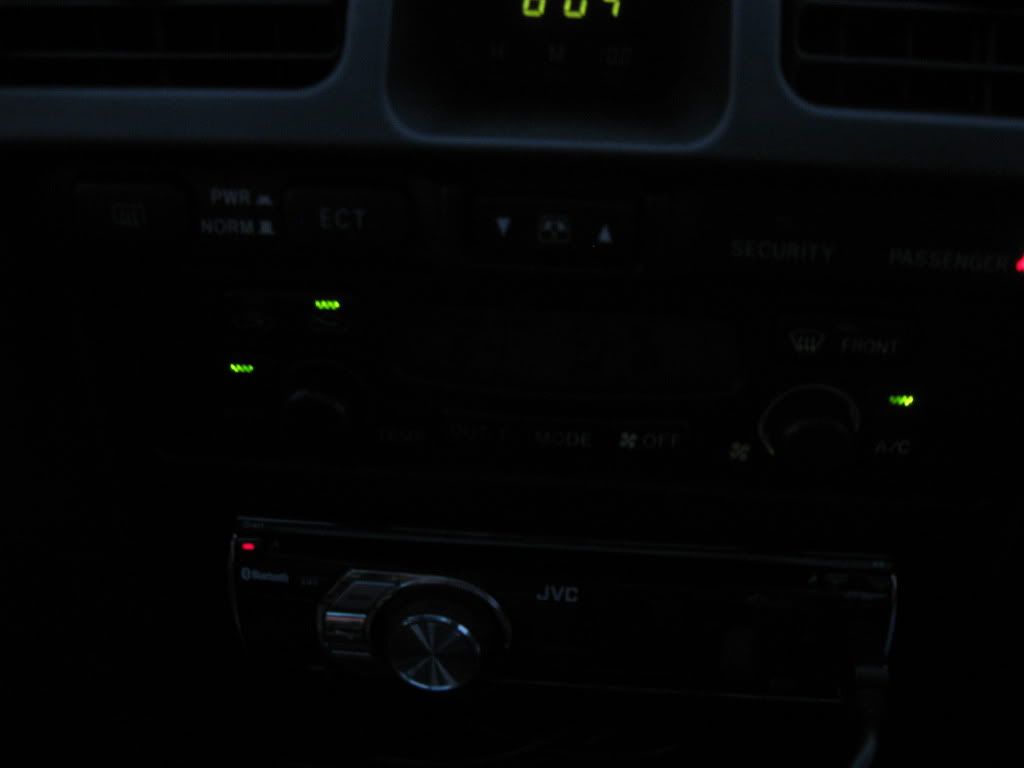
This is my before shot. Notice that the display is completely burned out and can not be seen at night. The lights for the buttons were fine but I went ahead and replaced them while I had it all dissassembled.
BEFORE: AC unit before-display lights not working
Step #1: Disessemble the dash.

Step #2: Unscrew the screws holding the AC unit to the vehicle and carefully pull the AC unit out,

Remove the AC unit by unplugging the cables.

Remove the two small screws on both sides of the AC unit.

Using a screwdriver, carefully separate the black front from the white housing by carefully prying on the tabs. They are plastic so be careful!

Remove the light bulbs by slightly twisting the bulb to the left with a screwdriver and then pulling them out.


Replace the light bulbs and reassemble.
AFTER: AC unit after-display lights working

Hope this Helps!


 Linear Mode


