Home Menu

Site Navigation


User Tag List

Reply
 
Thread Tools Rate Thread Display Modes
Old 01-07-2020, 01:21 PM #61
ewokfarmer ewokfarmer is offline
Junior Member
 
Join Date: Jan 2018
Posts: 11
ewokfarmer is on a distinguished road
ewokfarmer ewokfarmer is offline
Junior Member
 
Join Date: Jan 2018
Posts: 11
ewokfarmer is on a distinguished road
Quote:
Originally Posted by Fried Rice View Post
I just did this on my new-to-me '08 Urban Runner and contemplated a thread but I don't have enough posts to start a new thread yet.

With the Urban Runner you can't use one of the Maestro quick install harnesses, you have to use the basic wiring that comes with the RR. The good news is that will save you $50. All you need to purchase is the Maestro RR unit itself. Use the 08 Landcruiser firmware.

I have all the wiring documented at home but I am on travel for work so it will be next week before I can post it, but I documented everything.
Would love to get your write up on this. I was told by crutchfield that I would need the quick wiring harness, but it seems like that is not the case based on what you said. Any chance you still have this documented somewhere? And why the landcruiser firmware?
ewokfarmer is offline   Reply With QuoteReply With Quote
Old 01-07-2020, 02:22 PM #62
Fried Rice Fried Rice is offline
Junior Member
 
Join Date: Jun 2017
Location: Florida's Space Coast
Age: 49
Posts: 21
Real Name: Dillon
Fried Rice is on a distinguished road
Fried Rice Fried Rice is offline
Junior Member
 
Join Date: Jun 2017
Location: Florida's Space Coast
Age: 49
Posts: 21
Real Name: Dillon
Fried Rice is on a distinguished road
Hi, I got your PM and replied.

Here is a link to my thread on the iDatalink Forum telling you what firmware you need:

2008 Toyota 4Runner Urban Runner Edition Questions -

I also installed an OBD-II connector and a parking brake bypass on my setup, both of which are available on Amazon or eBay. If I remember right, I ended up having to connect that antenna pre-amp circuit to +12V also, but you can look that up on the forum here.
__________________
2008 Urban Runner 4WD
X-REAS Delete / Bilstien 5100 + Rear FJCs

Last edited by Fried Rice; 01-07-2020 at 02:49 PM.
Fried Rice is offline   Reply With QuoteReply With Quote
Old 01-07-2020, 02:37 PM #63
barongan barongan is offline
Member
 
Join Date: Jul 2018
Location: canada
Posts: 44
barongan is on a distinguished road
barongan barongan is offline
Member
 
Join Date: Jul 2018
Location: canada
Posts: 44
barongan is on a distinguished road
Quote:
Originally Posted by dsieber View Post
I installed one last fall in my '07. Like sr3tlaw said, I get a whole collection of info - a couple of pics, below.

You'll need a radio that supports iDatalink to get the info. If you walk through the steps on their website, you can choose the radio you're thinking about, and it'll tell you what capabilities you'll get.
iDatalink - Maestro - Maestro RR


Nice
barongan is offline   Reply With QuoteReply With Quote
Old 01-07-2020, 02:42 PM #64
Fried Rice Fried Rice is offline
Junior Member
 
Join Date: Jun 2017
Location: Florida's Space Coast
Age: 49
Posts: 21
Real Name: Dillon
Fried Rice is on a distinguished road
Fried Rice Fried Rice is offline
Junior Member
 
Join Date: Jun 2017
Location: Florida's Space Coast
Age: 49
Posts: 21
Real Name: Dillon
Fried Rice is on a distinguished road
Urban Runner Wire Table

Hopefully this works, attached is my wire connector documentation for the Urban Runner.
Attached Images
Anyone install Maestro RR in aftermarket head unit?-a6c0e6a1-213c-4a86-8728-021f11e6b3e6-jpg 
__________________
2008 Urban Runner 4WD
X-REAS Delete / Bilstien 5100 + Rear FJCs
Fried Rice is offline   Reply With QuoteReply With Quote
Old 12-22-2022, 01:41 PM #65
scootermcrad's Avatar
scootermcrad scootermcrad is offline
Member
 
Join Date: Apr 2010
Location: Concord, NC
Posts: 93
scootermcrad is on a distinguished road
scootermcrad scootermcrad is offline
Member
scootermcrad's Avatar
 
Join Date: Apr 2010
Location: Concord, NC
Posts: 93
scootermcrad is on a distinguished road
Okay, I'm bumping up this now somewhat ancient thread because I'm finally hoping to install my new head unit and my idatalink Maestro Rr over the holidays. Going to replace a handful of LED's and install some USB ports while I'm at it. Life kinda happened (KIDS!) and I've not been sitting on this stuff for a few years.

I have a 2007 SR5 with no steering wheel controls and basic audio setup. I'm going to be installing the Maestro (ADS-MRR) with the compatible Pioneer AVH-601EX (yes, it's pretty outdated, now). I bought the TO1 harness (HRN-RR-TO1), and the extra USB connections to do "while I'm in there". OH! And also a Micro Bypass. I would like to get that in there.

All of you have been running your setups for a few years since this thread has been started. Any pitfalls or tips you guys might have going into this install? I've been reading through a few of the troubles some of you have had with power and wiring, and maybe some setup issues with the firmware.

I've never had this head unit out, but the "University of Youtube" seems to have some great videos for the swap. I don't really have a good feel of where this little black box needs to live in the cavity, though. If anyone has some pics of where this little guy should ideally live, it would be appreciated. I don't have much time to do this install, so I'm trying to make it go as smooth as possible. It's my daily driver and I'm nervous about power drain or weird issues that would keep me off the road.

Thanks ahead of time! And if there is a better thread out there that would answer these questions, I would appreciate a link.

Last edited by scootermcrad; 12-22-2022 at 03:05 PM.
scootermcrad is offline   Reply With QuoteReply With Quote
Old 09-23-2023, 01:05 PM #66
Tater277 Tater277 is offline
Junior Member
 
Join Date: Dec 2018
Location: St.paul MN
Age: 33
Posts: 1
Real Name: Nathan
Tater277 is on a distinguished road
Tater277 Tater277 is offline
Junior Member
 
Join Date: Dec 2018
Location: St.paul MN
Age: 33
Posts: 1
Real Name: Nathan
Tater277 is on a distinguished road
Quote:
Originally Posted by loarmistead View Post
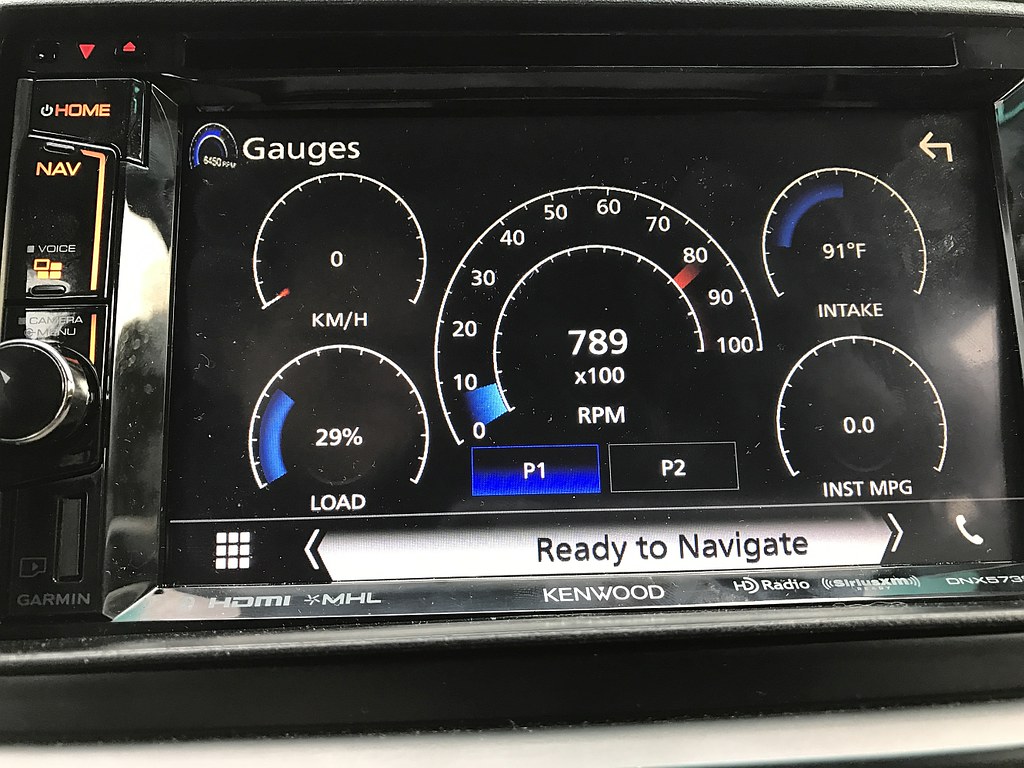
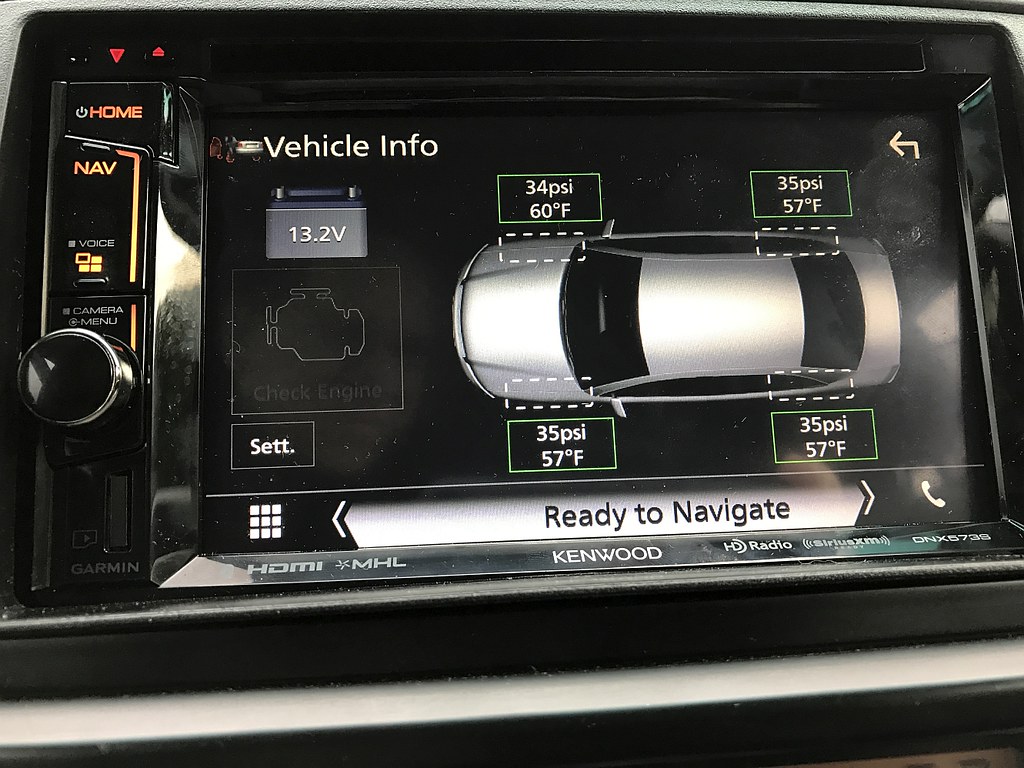
I installed new Kenwood head unit and Maestro RR today. Everything went smoothly except... The head unit doesn't automatically turn off when I turn the ignition off.

Looking over the wiring diagram, the only continuous power wire is the yellow battery wire, which has to be connected for the unit to power on. Best I can tell is the Maestro is keeping the head unit powered up after I turn the truck off. Anyone else encounter this issue?

Sent from my SM-G935V using Tapatalk


I’m having the same issue with my KENWOOD DDX9705s and the maestro RR. I can not get the radio to power down when the truck is switched off. It’s also sending power to my reverse wire (purple/white) keeping the trucks reverse lights on. The red accessory wire is off until I turn on the radio, then it stays on after I manually shut it down, I have to pull the fuse for the accessory wire to stop receiving power.
I’ve tried all the tricks posted in This thread, cut the (blue) 1 and 5 from the green connector, I’ve tried wiring the antenna amp wire from the radio (blue) to the TO1 (blue and white), the only one I haven’t tried is the micro by pass, I have the parking brake wire (light green) and the ground wire connected together and grounded to the truck, The (green) wire on the maestro side is not connected.
Is that causing my issue, is the bypass necessary to make it work?

I also checked the 12voltdatasolutions website on the same issue, switched pins G and H on the harness that goes to the stock truck plug, no change.

One other fella mentioned cutting the accessory wire on the 3pin connector of the meastro RR, I’m not sure that’s the solution.


I need help to figure this out, any insight or expertise with this issue would be much appreciated.
Tater277 is offline   Reply With QuoteReply With Quote
Reply


Posting Rules
You may not post new threads
You may not post replies
You may not post attachments
You may not edit your posts

BB code is On
Smilies are On
[IMG] code is On
HTML code is On

Forum Jump

Similar Threads
Thread Thread Starter Forum Replies Last Post
Painting aftermarket dash kit for head unit install in Trail, TRD OR, TRD Pro GearJunkie88 5th gen T4Rs 18 03-22-2020 11:53 PM
Installing aftermarket head unit- utilize JBL or use head unit amp nytosc 4th Gen T4Rs 3 07-10-2017 08:43 PM
aftermarket head unit TheCremePuff 4th Gen T4Rs 1 10-11-2016 02:42 PM
4th Gen-Aftermarket Head Unit Install Items ARK_SWAMP_RIDER Classifieds - buy & sell (no commercial ads please) 5 03-13-2011 07:53 AM

Powered by vBadvanced CMPS v3.2.2

All times are GMT -4. The time now is 11:28 PM.

Powered by vBulletin® Version 3.8.11
Copyright ©2000 - 2024, vBulletin Solutions Inc.
Search Engine Optimisation provided by DragonByte SEO (Pro) - vBulletin Mods & Addons Copyright © 2024 DragonByte Technologies Ltd.
Feedback Buttons provided by Advanced Post Thanks / Like (Lite) - vBulletin Mods & Addons Copyright © 2024 DragonByte Technologies Ltd.
User Alert System provided by Advanced User Tagging (Lite) - vBulletin Mods & Addons Copyright © 2024 DragonByte Technologies Ltd.
***This site is an unofficial Toyota site, and is not officially endorsed, supported, authorized by or affiliated with Toyota. All company, product, or service names references in this web site are used for identification purposes only and may be trademarks of their respective owners. The Toyota name, marks, designs and logos, as well as Toyota model names, are registered trademarks of Toyota Motor Corporation***Ad Management plugin by RedTyger
 
Copyright © 2020