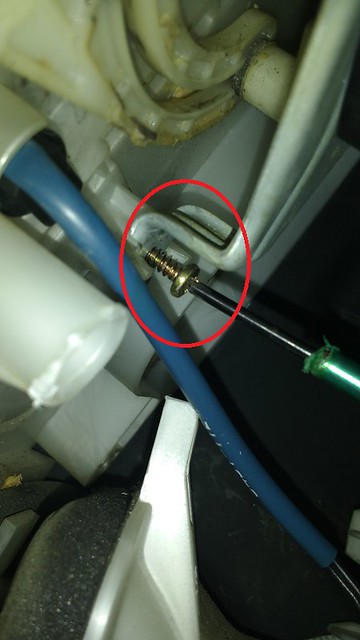
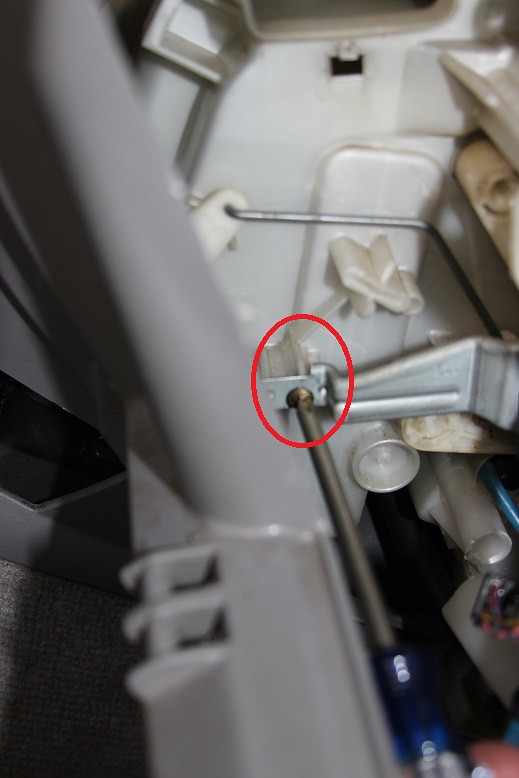
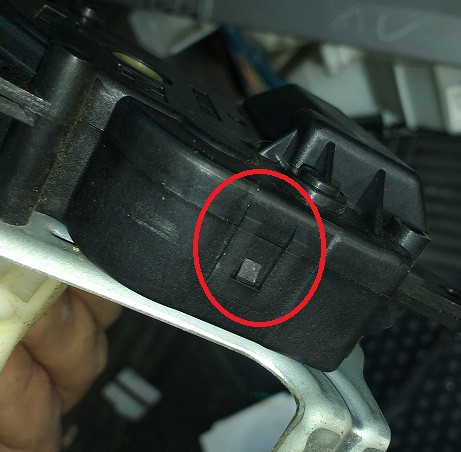
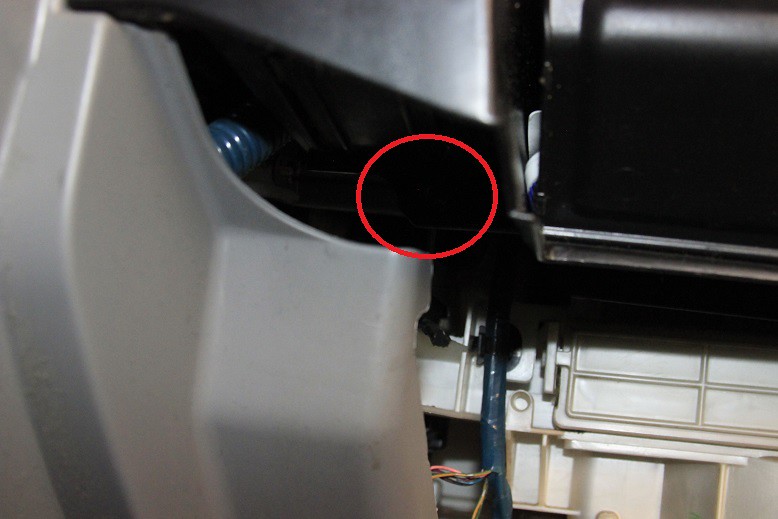
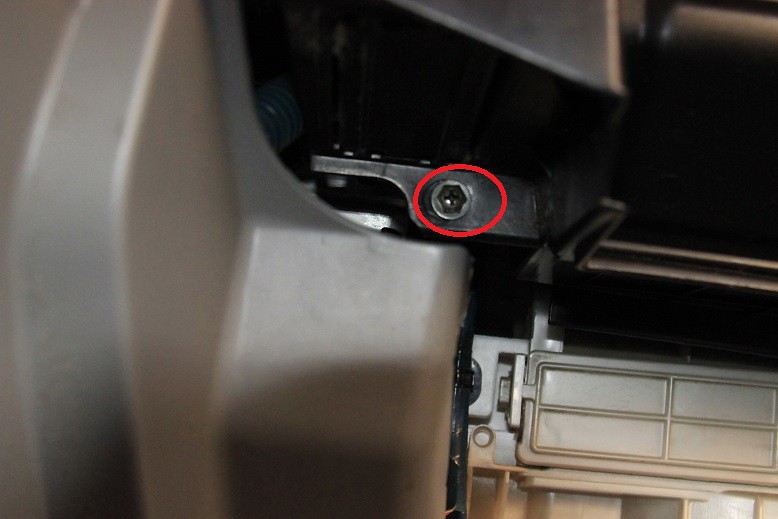
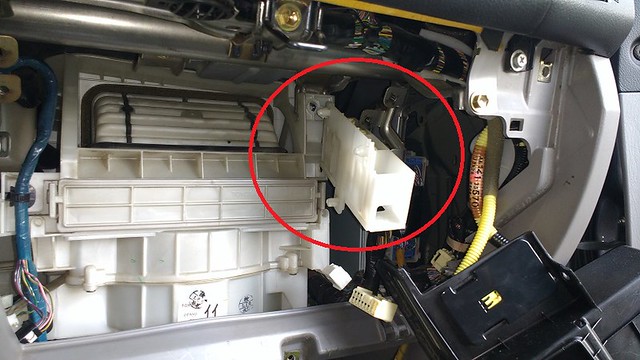
Step 11. Remove the three screws holding the mixer servo in. If you are removing the air damper servo, remove those three screws. Remove the mixer servo. If you decided to replace the servo instead of trying to repair it, reinstall your new servo following the later steps.

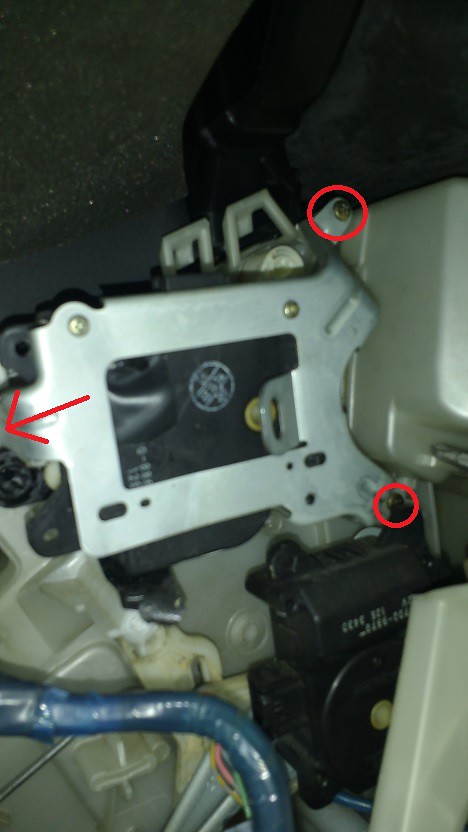
Top right screw
Bottom right screw
Bottom left screw
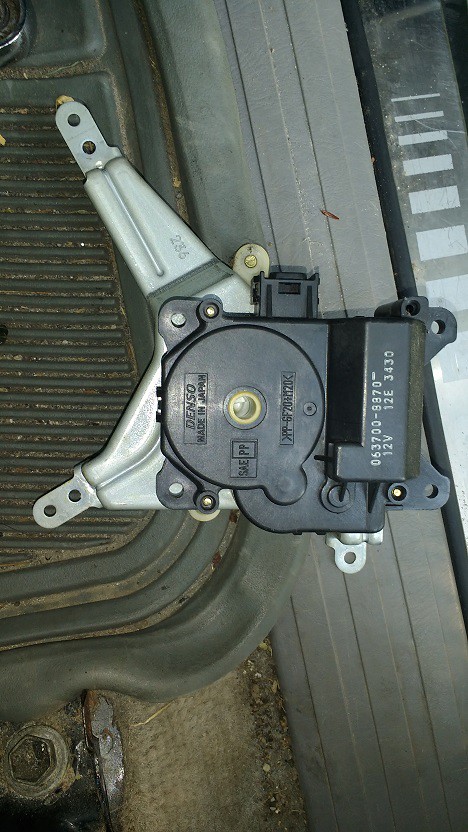
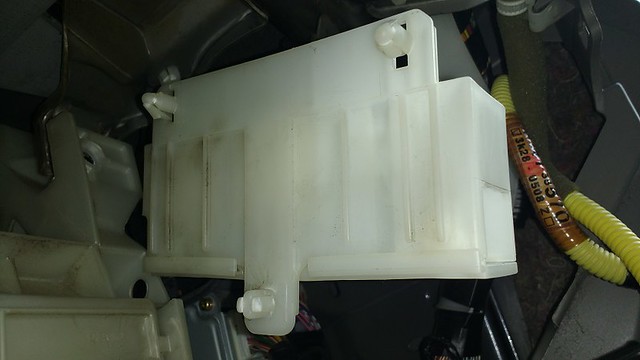
Removed mixer servo
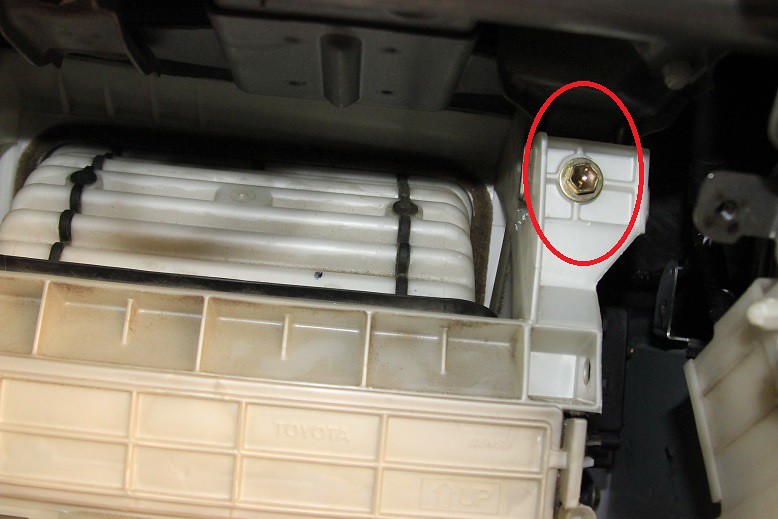
Air damper servo screw locations
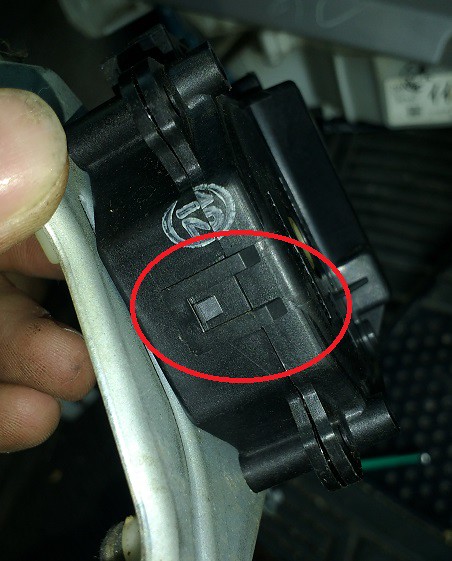
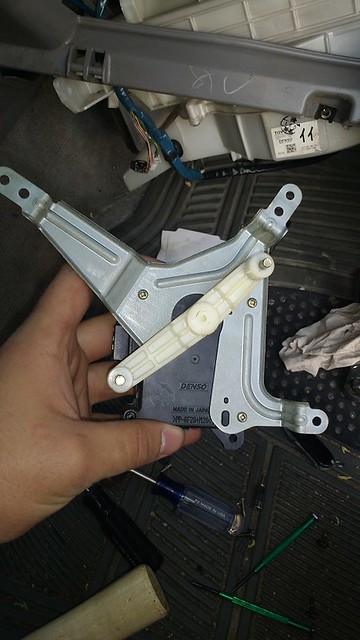
Step 12. Remove the three screws holding the bracket to the mixer servo. These screws also hold the servo together.
Step 13. With a thin knife or razor blade, gently open the 6 clips around the servo. BE CAREFUL. These clips are extremely fragile and you're almost guaranteed to break some. Open up the servo compartment.

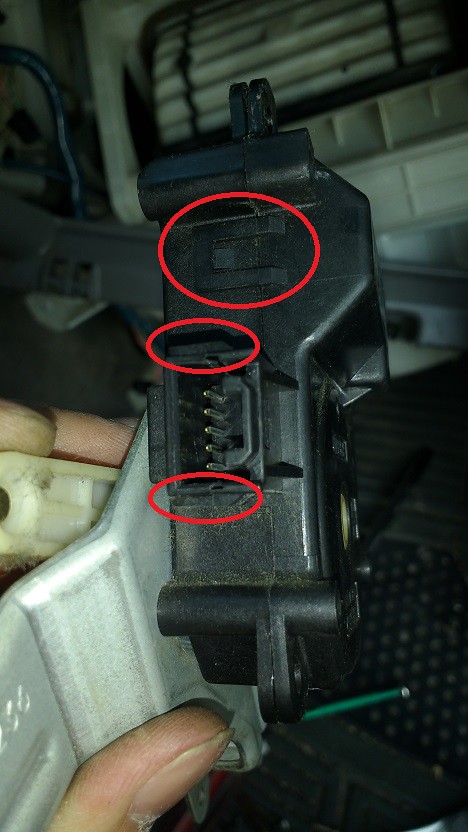
Servo clips
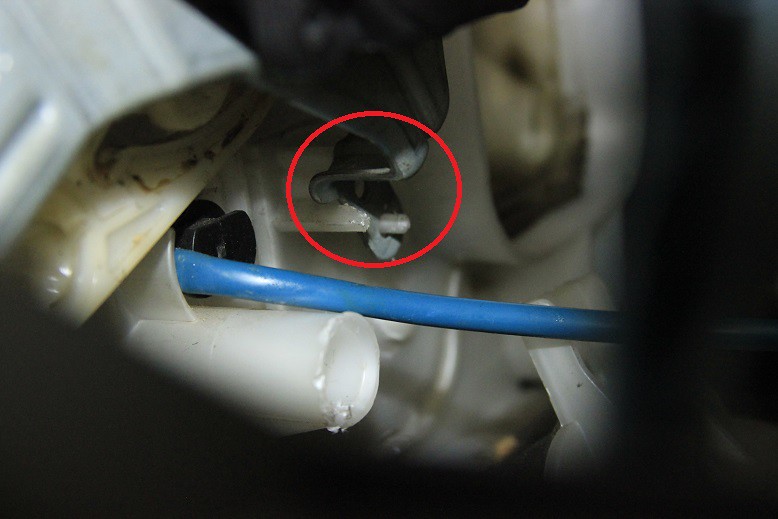
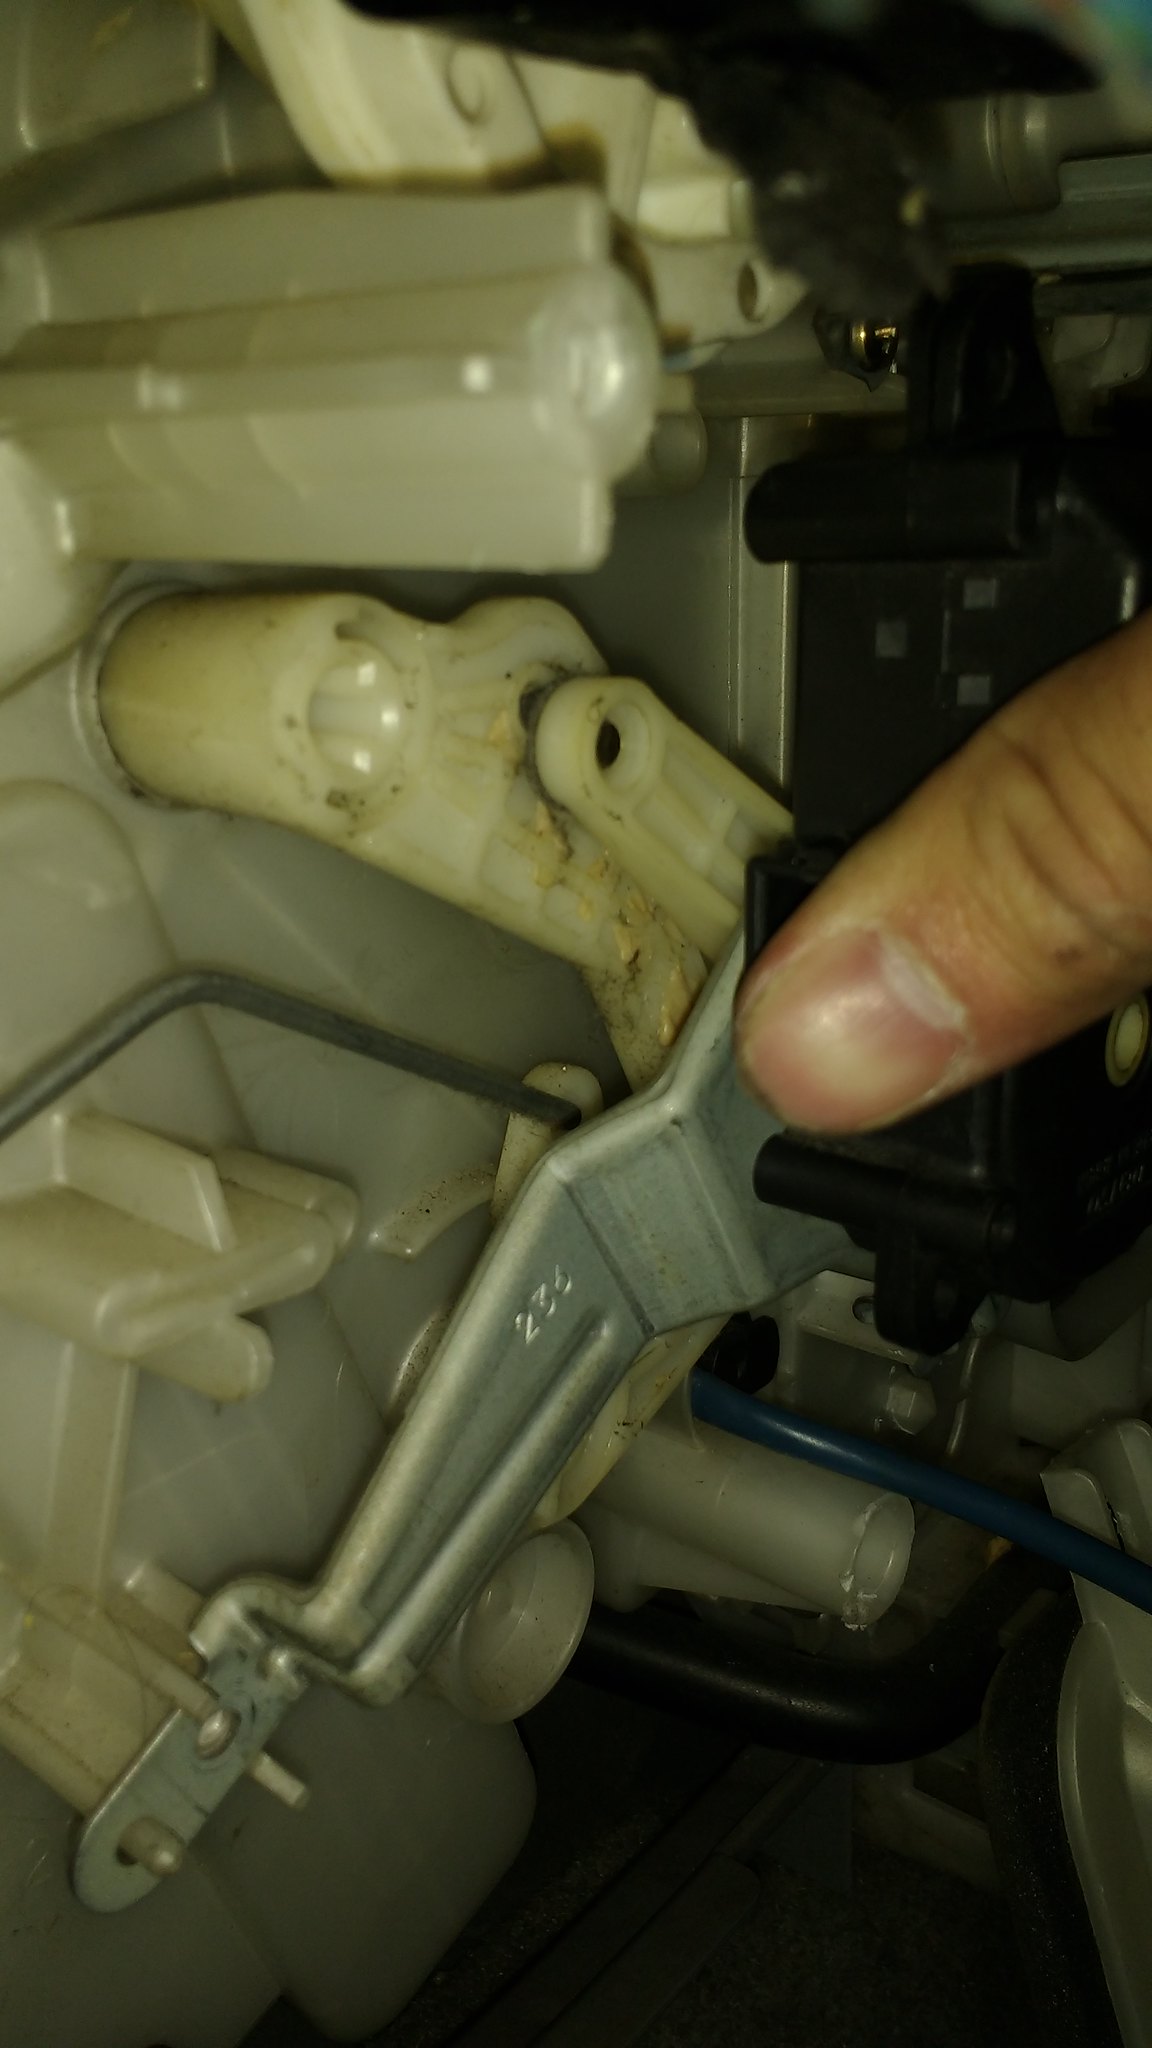
Step 14. Note the orientation of the motor. You will need to remove the motor in order to perform both repairs. At this point, you should be able to diagnose whether the shaft has disengaged or not. Sometimes, the metal coupling gets pushed back on the shaft (circled) and disengages from the worm gear. Follow this great video I found on youtube in order to repair this. If the youtube link ever stops working, let me know, I did save it.
https://www.youtube.com/watch?v=s9S5B1Dn3j4
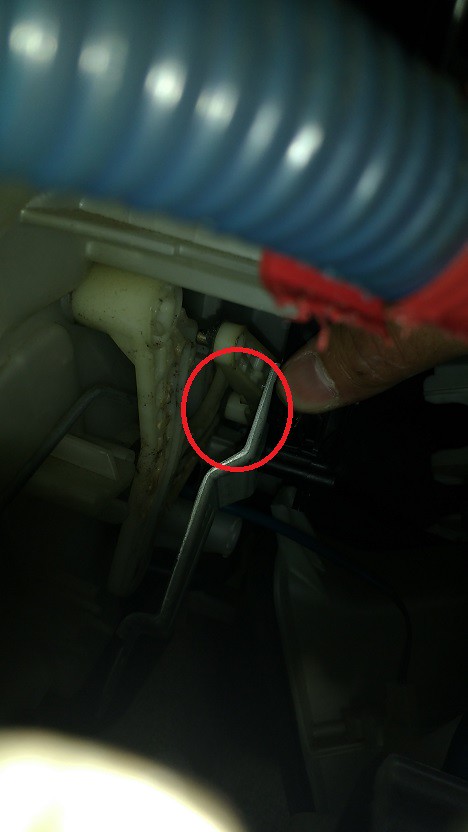
If the coupling looks fine, but the servo was hunting for a position when you tested it, it's possible the contacts are dirty. Gently pack a napkin or kleenex underneath the main gear, being careful to avoid bending the contacts. Once the napkin is underneath, spin the gear assembly to wipe the grease and dirt off the gear contacts. If you want, you could re-grease the gears -- I did not do this.

Open servo motor
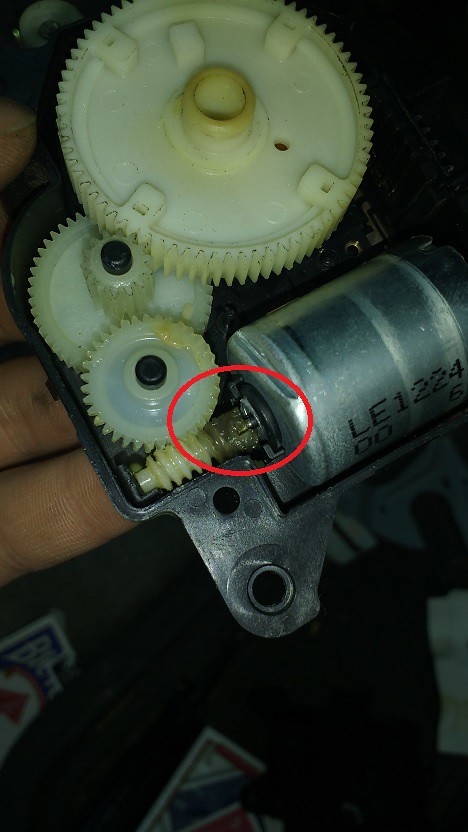
Coupling location

Contact location
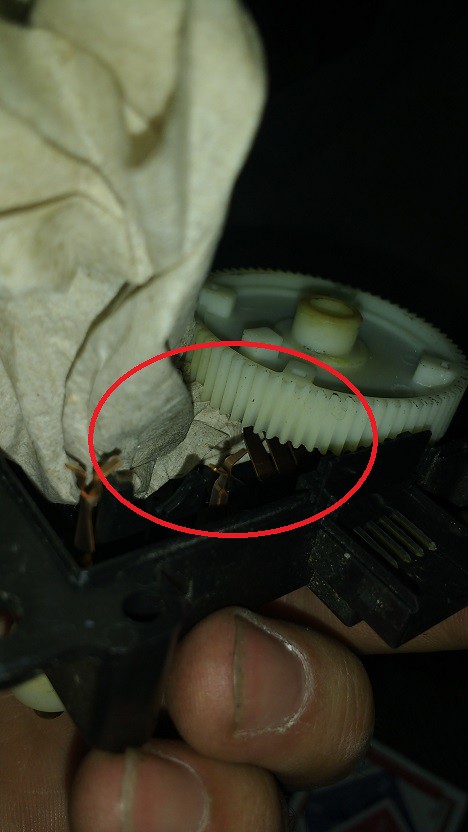
Cleaning contacts
Step 15. Orient the gear assembly so the shaft looks like this on the outside (IMPORTANT!), then replace the motor as it was before, and replace the cover.
Servo orientation
Step 16. Screw the bracket back on to the servo (show in image above.)
Step 17. Reassemble everything in backwards order. For the mixer servo, attach the top right screw loosely first, then make sure the lower pin slides into the lower damper slider, and the bracket slips into its standoff and pin. Then push the upper slider up until the upper pin engages that slide, and slip the last leg of the bracket onto its pin and standoff.

Top right screw first, letting servo hang freely
Engaged bottom right pin on standoff
Bottom servo pin engaged on damper slider

Alternative view
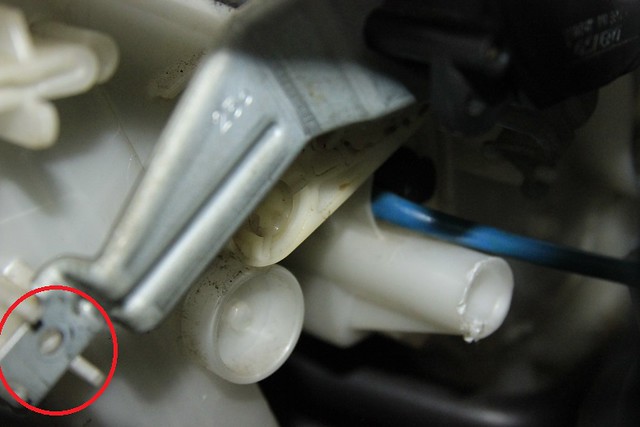
Engaged bottom left pin on standoff
Top servo pin engaged on upper damper slider
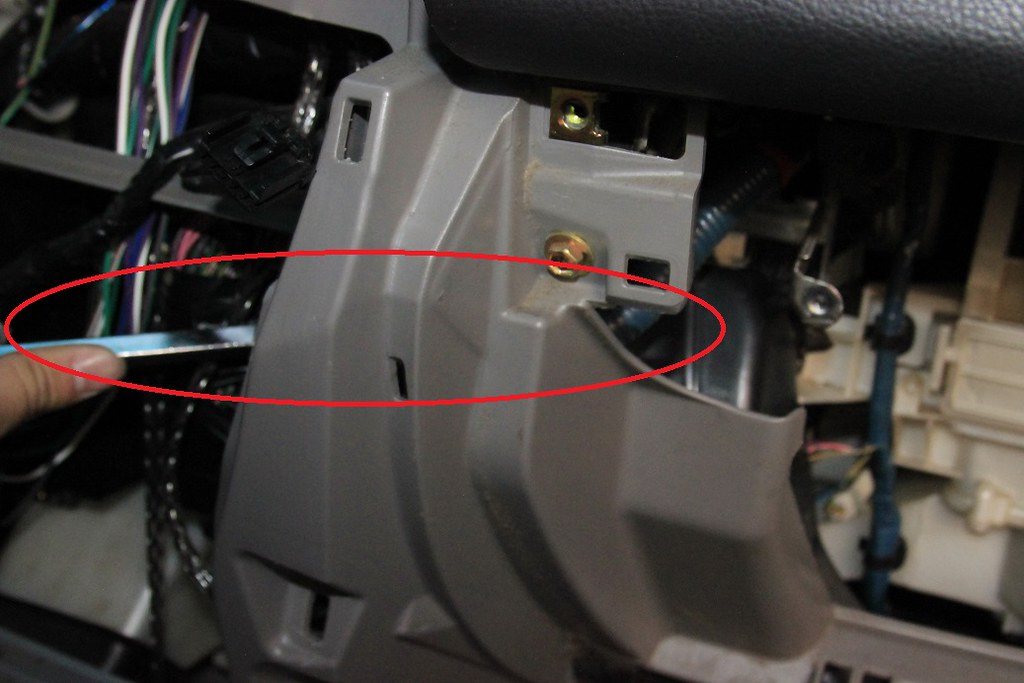
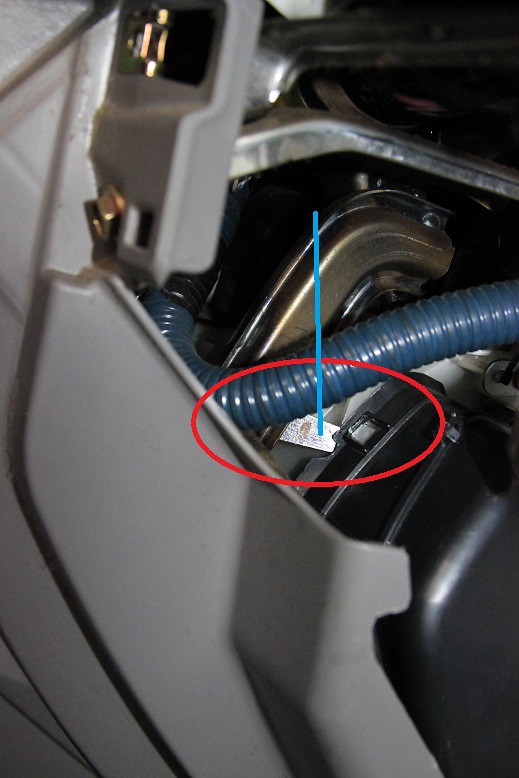
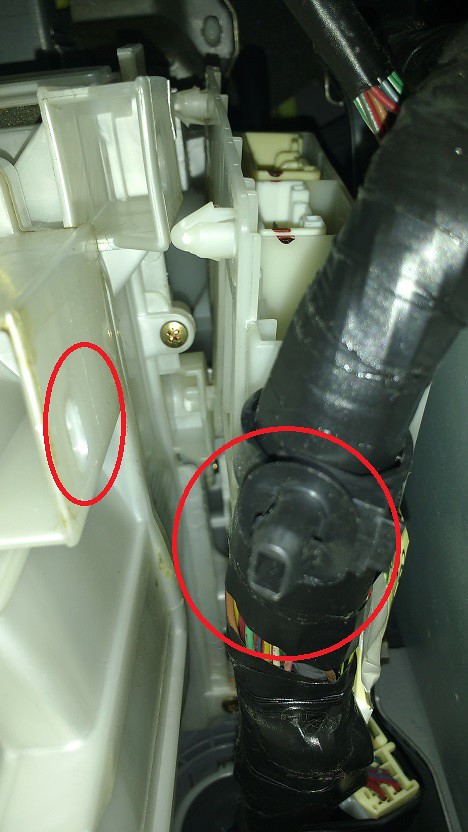
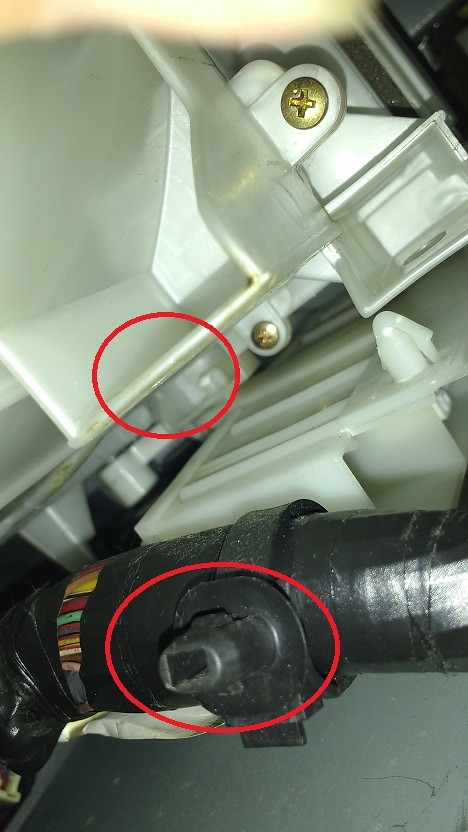
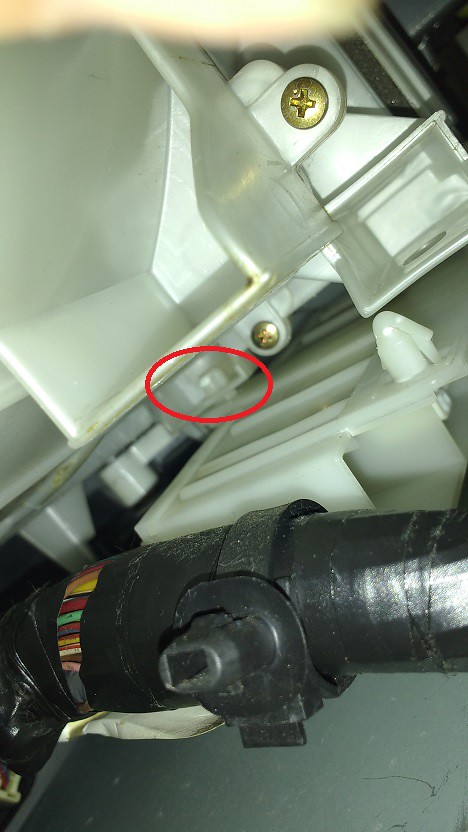
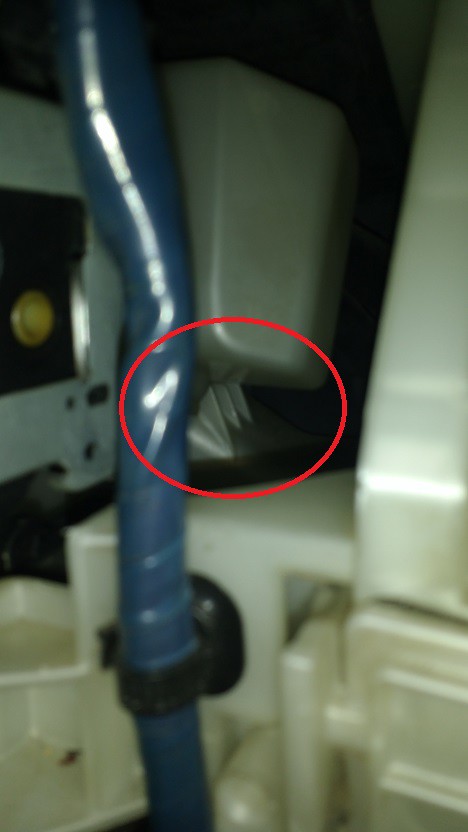
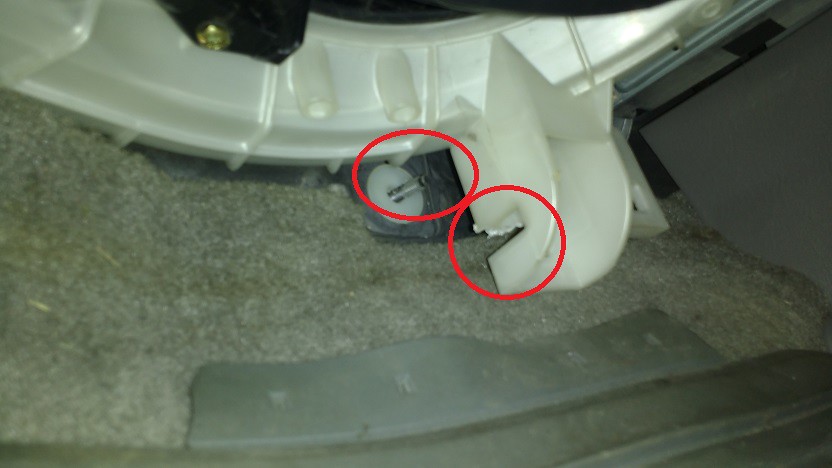
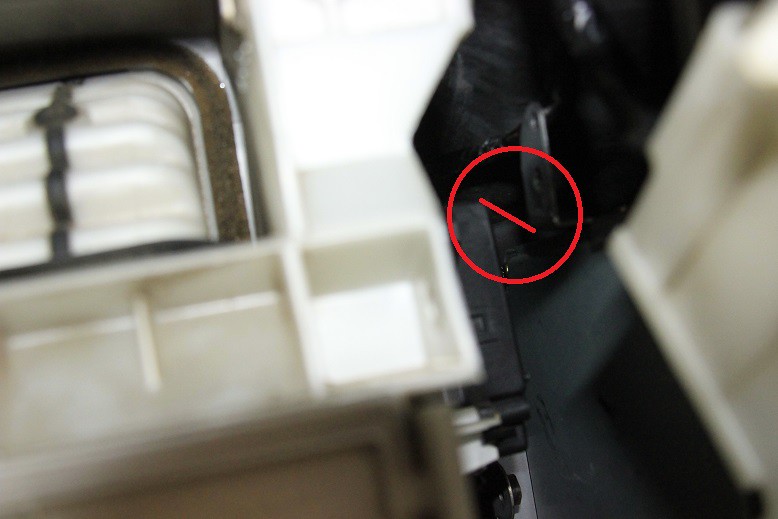
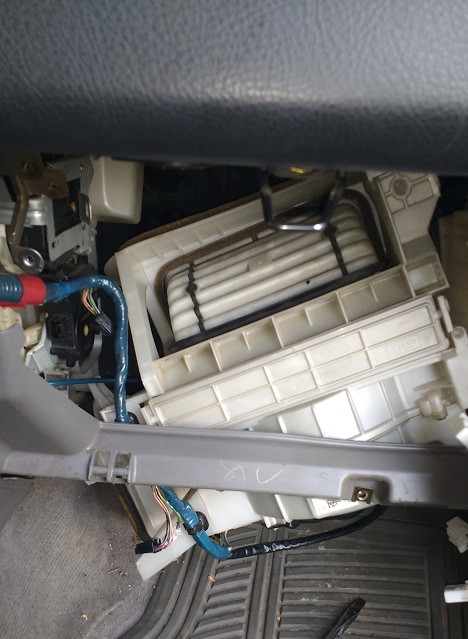
Notes: when replacing the blower assembly, start with the lower right bolt in the back. You will have to pry the plastic bracket back up and to the left over the bolt. The blower assembly's servo will hang up on the metal bracket towards the top right side (shown in step 10), so make sure to pry that loose as well.
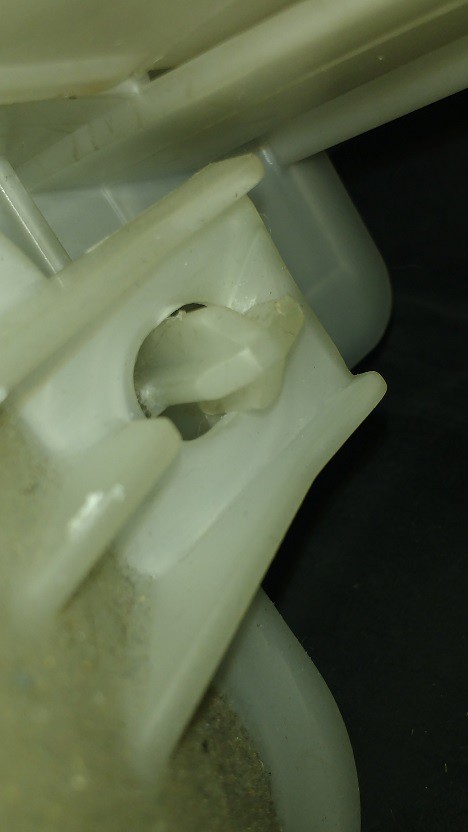
Then make sure the claw fitting re-engages before replacing all of the bolts and nuts.
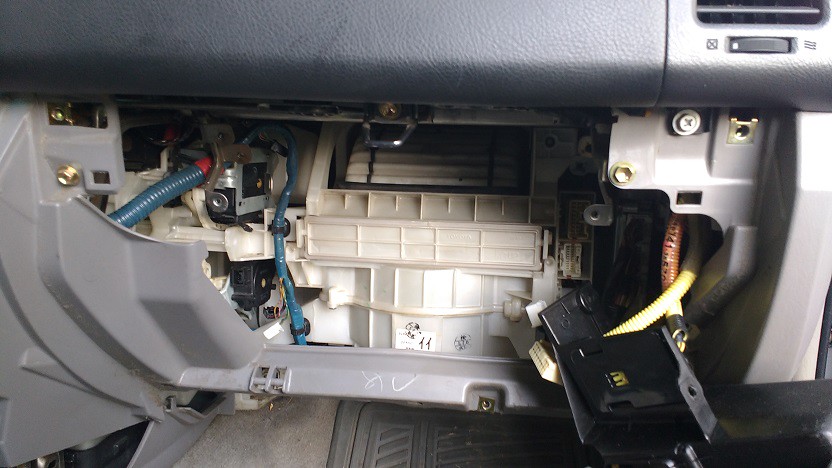
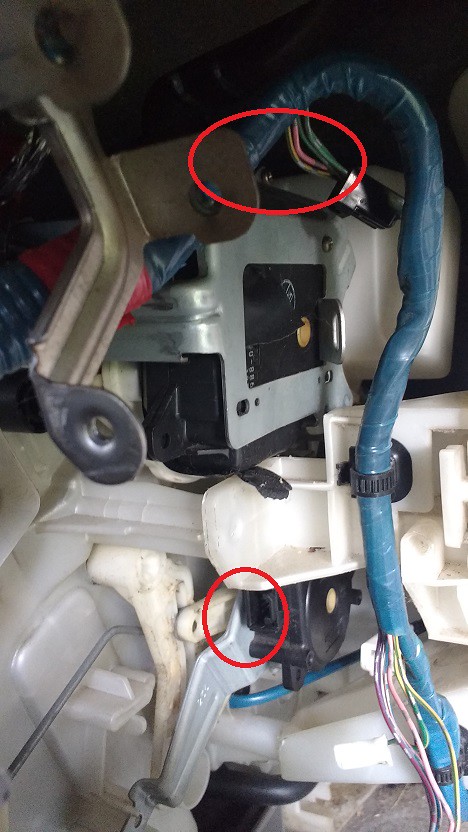
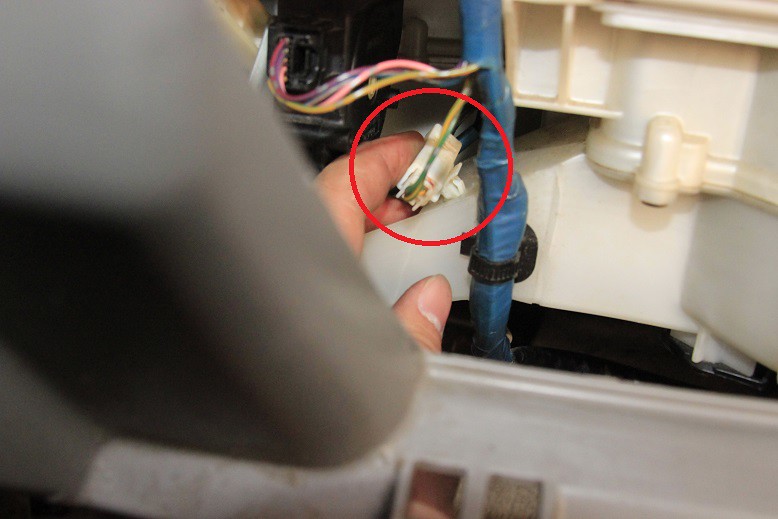
Reconnect the wires for the two servos and the two wire cable on the left side.
Reattach the two wire cable.
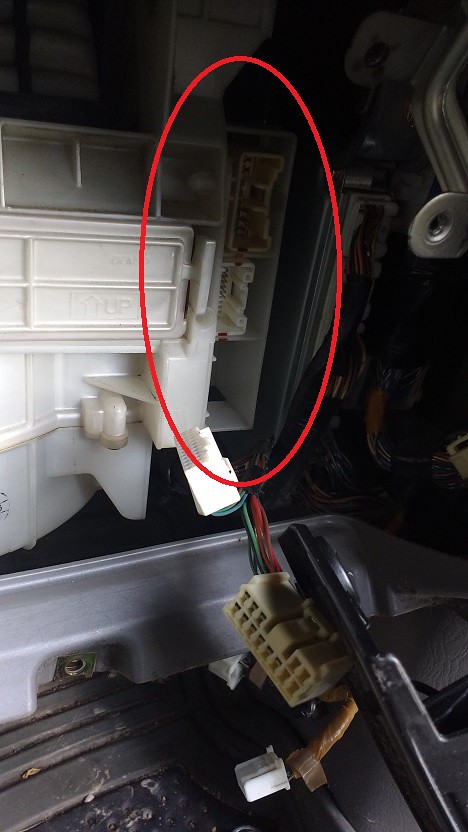
On the right side, reattach the connector box to the side of the blower assembly.
Reconnect the two connectors attached to that connector box.
Reattach the main wire harness on the left side to the blower assembly.
Reattach the passenger floor air duct.
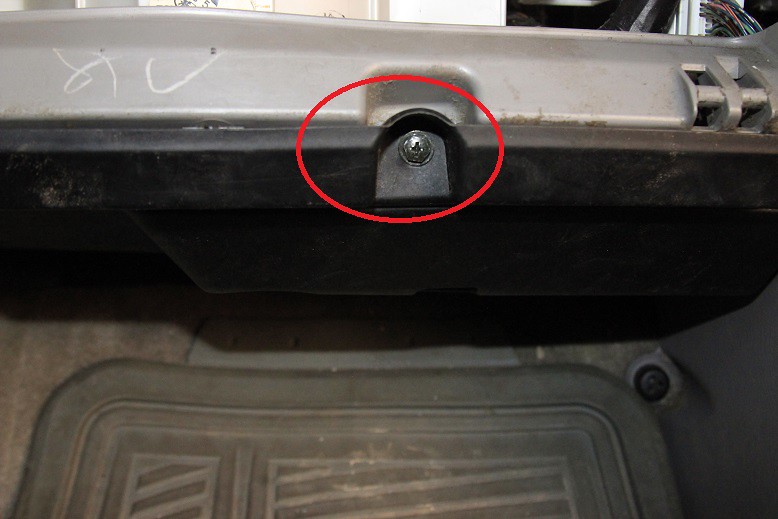
Reattach the TPMS computer and replace the lower kick panel.
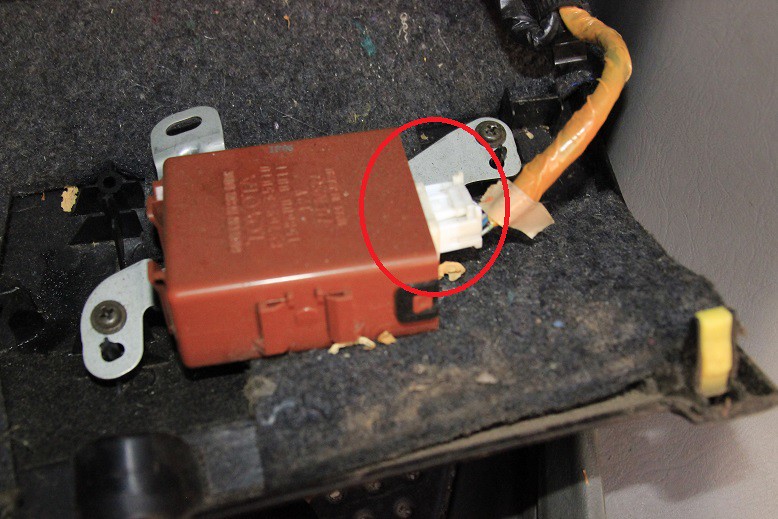
Reattach the secret compartment.
Replace all console trim.
Replace the glovebox.
At some point you will want to test to see that everything works. It's up to you to decide when to do this. In my opinion, the hard work has to be done before you can test anything.


 Linear Mode


