I've gotten some questions abut this, and I wanted to document the process, although I don't have pictures of most steps.
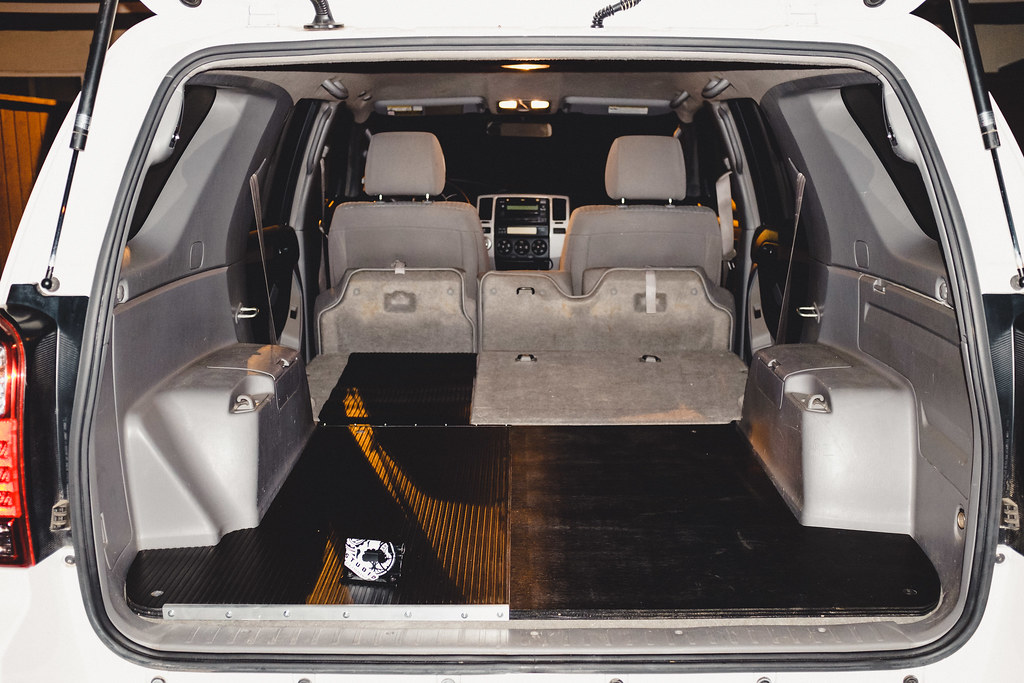
Started off with a base. Lots of cardboard templates. I used 3/4" ply.
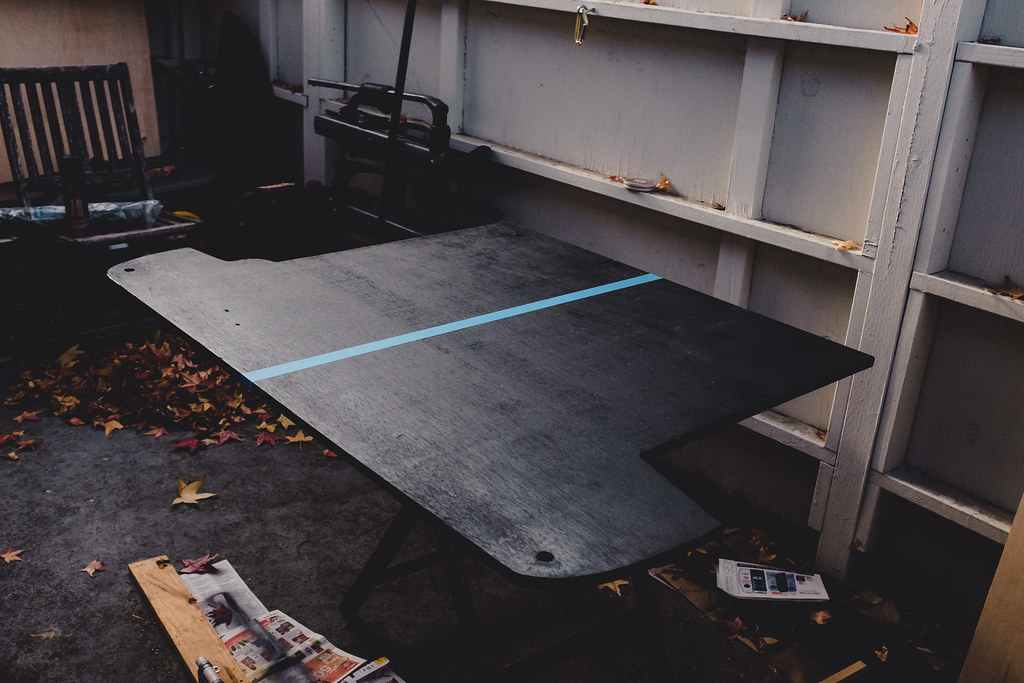
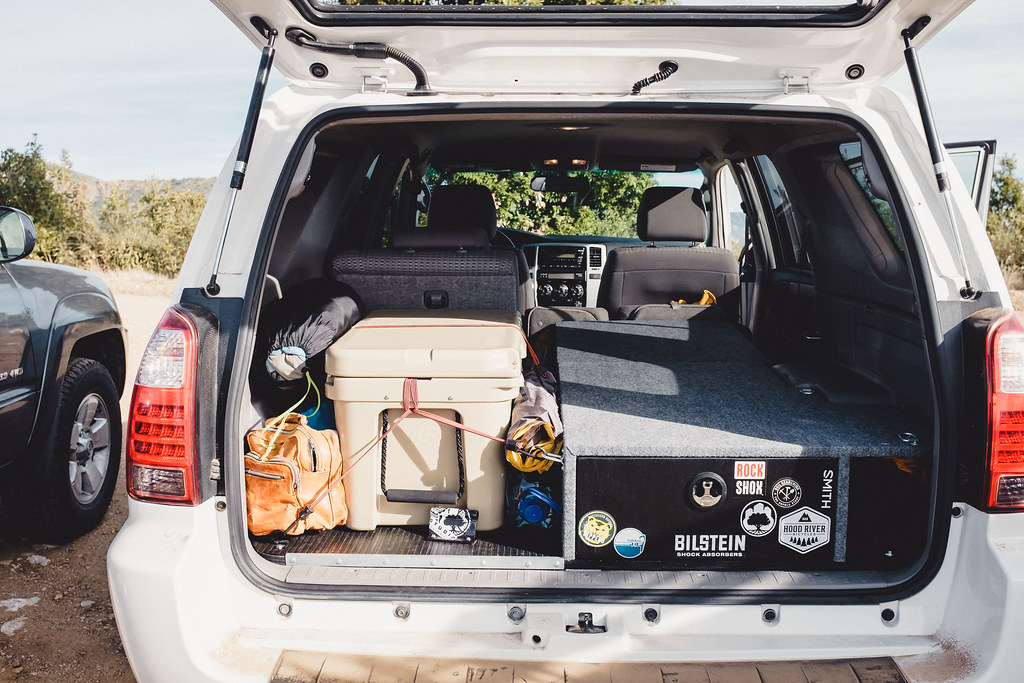
Half of the area is for bike storage or other things such as a cooler.
This is what I got from version one. It was a basic drawer that worked. Nothing special. The drawer housing is good, but the drawer itself was a bit flimsy.

After using the version one setup for a while, I saw some places for improvement, especially after I saw my buddies setup with a pullout stove. So, back the the drawing board. I liked the base plate, and the cubby size, so it was just a matter of remaking the drawer. I also wanted a way to hold the stove.
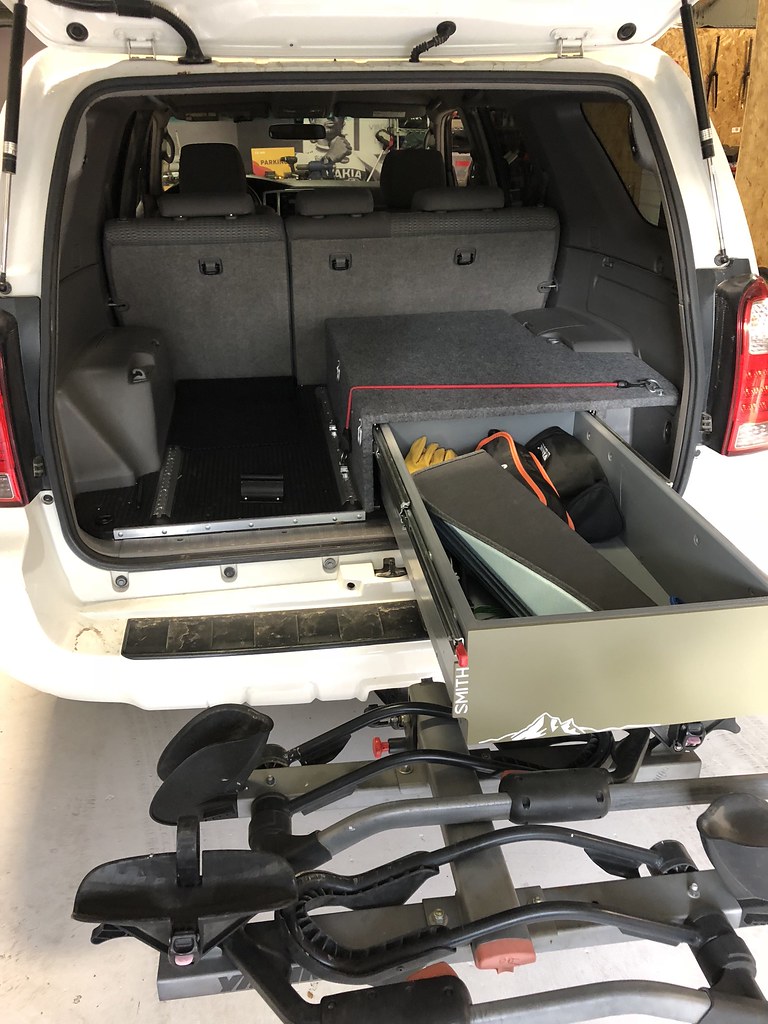
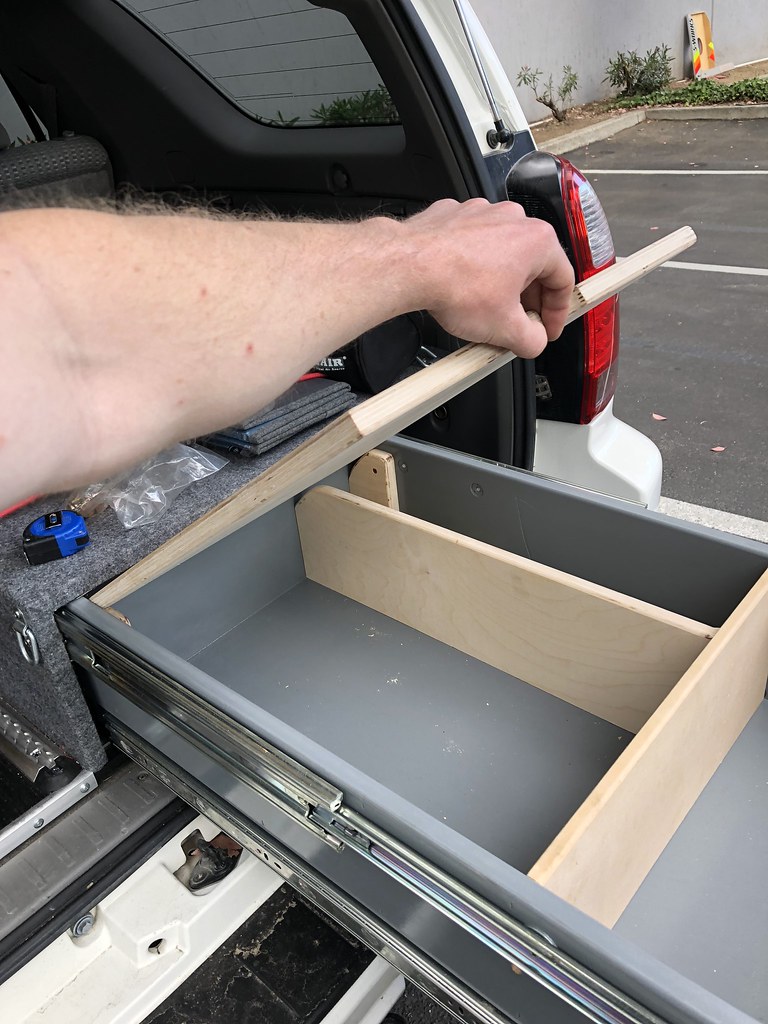
Here you can see the new drawer. Pretty basic. I used 3/4" ply for the bottom, front, and back. The sides are 1/2" ply, with an additional piece of 1/4" ply laminated to the top half. The reason for this is to create enough room on the sides towards the bottom for the stove platform.
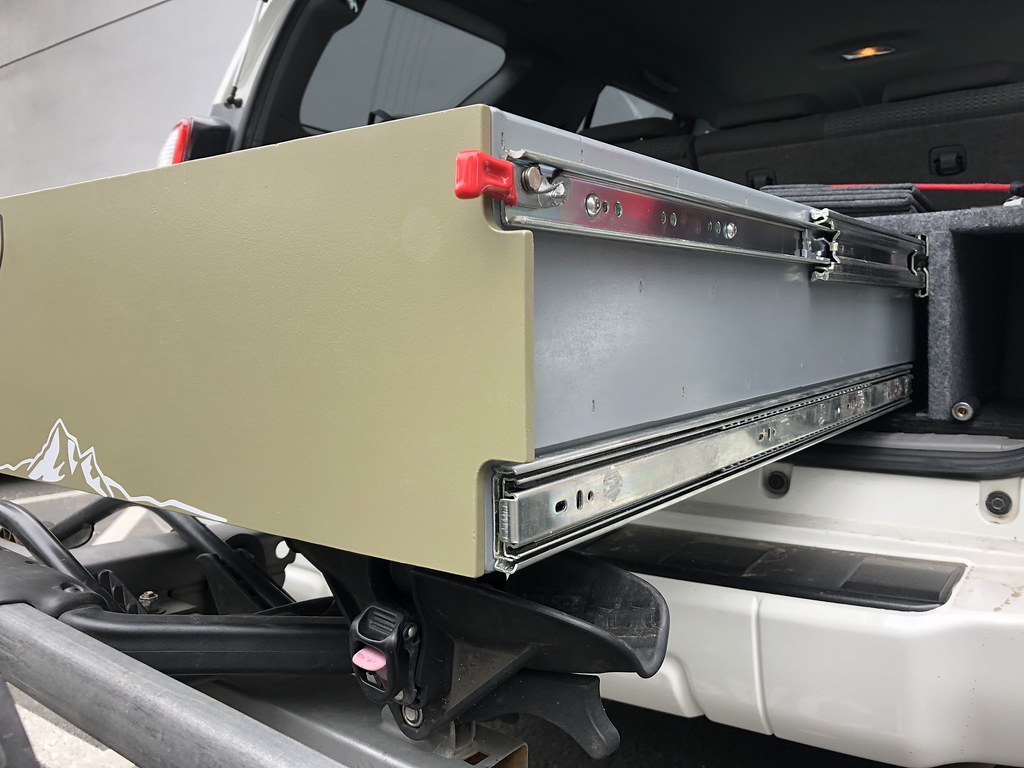
I got heavy duty slides that lock in both open and closed position. This is another thing I learned from version one when I parked on a hill. You can also see the stove platform sides, and why I needed the extra clearance.
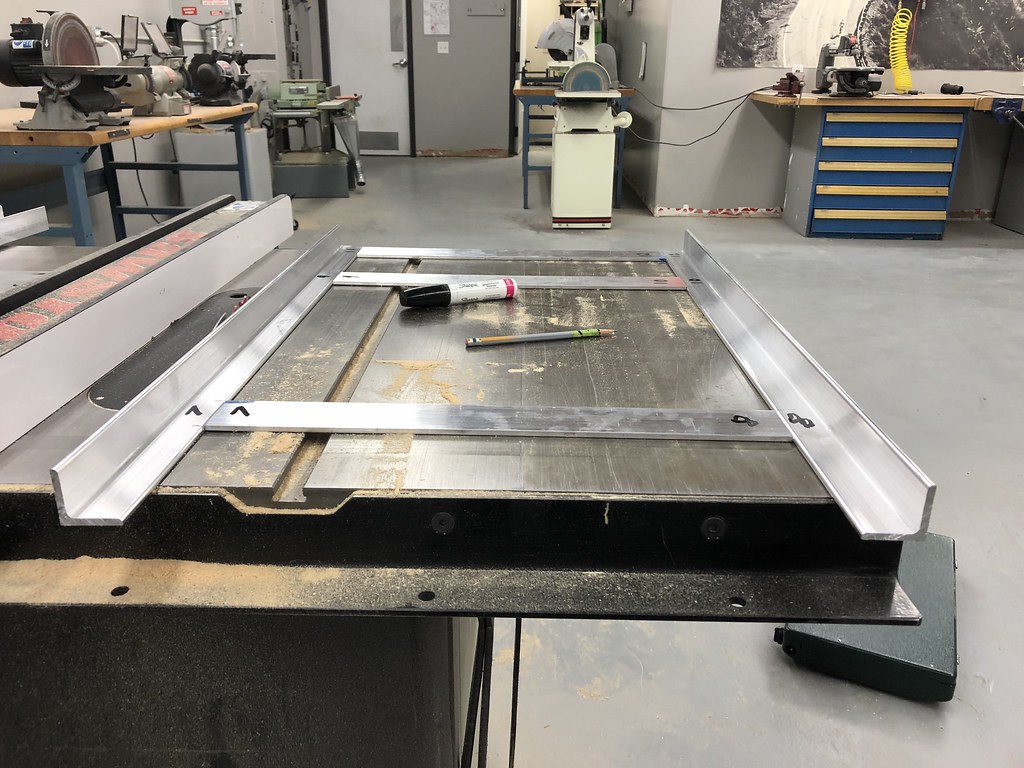
Stove platform
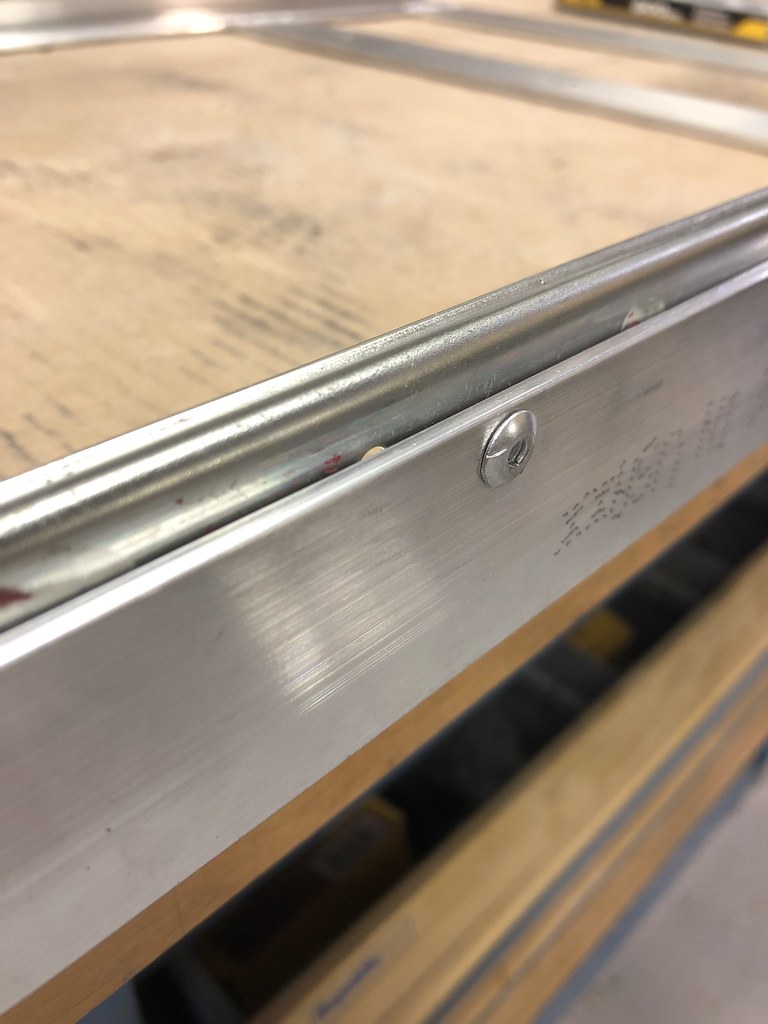
Rivets to attach the slides to the platform
All mounted up
Mocking up the storage inside the drawer
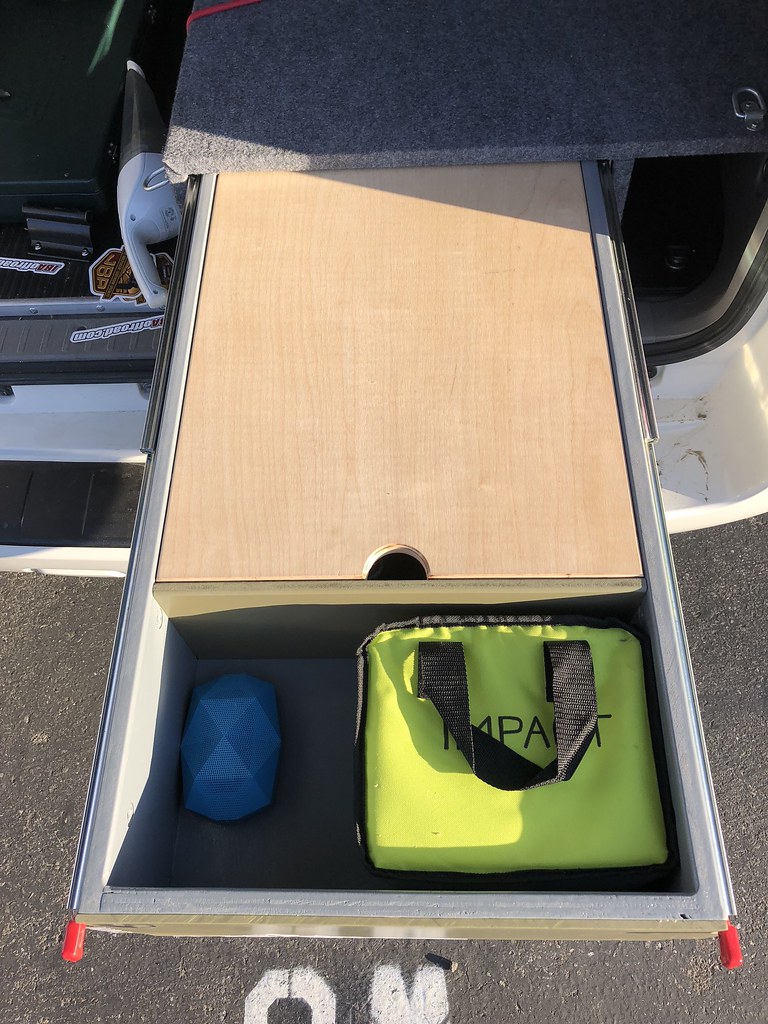
And a top lid that acts as a counter-space for dinner prep

And lastly a couple spring loaded pins that lock the platform open and closed
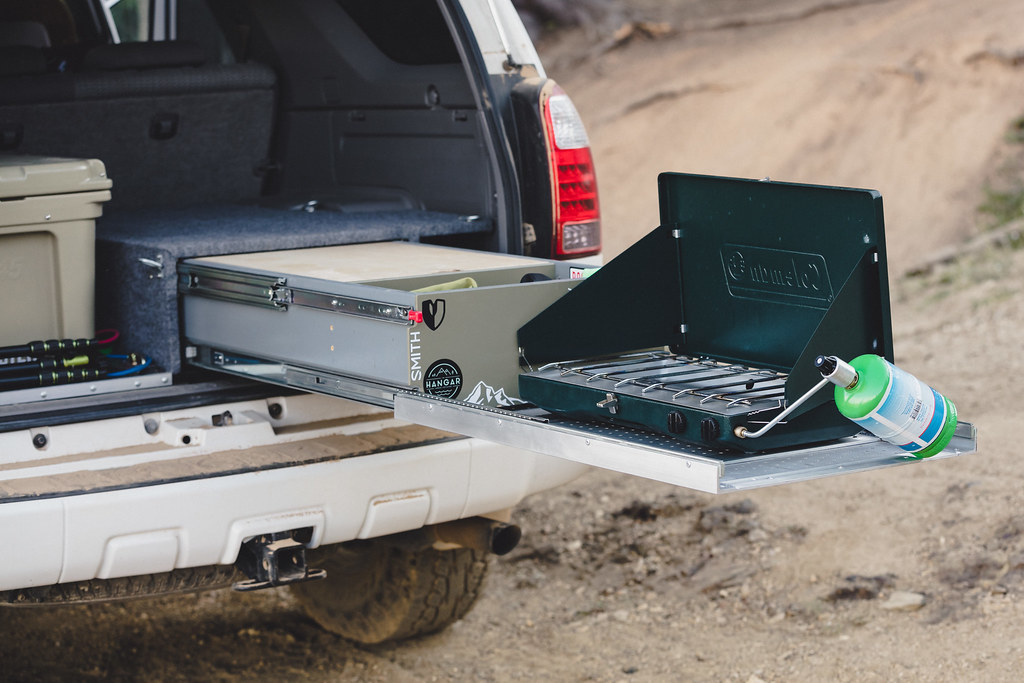
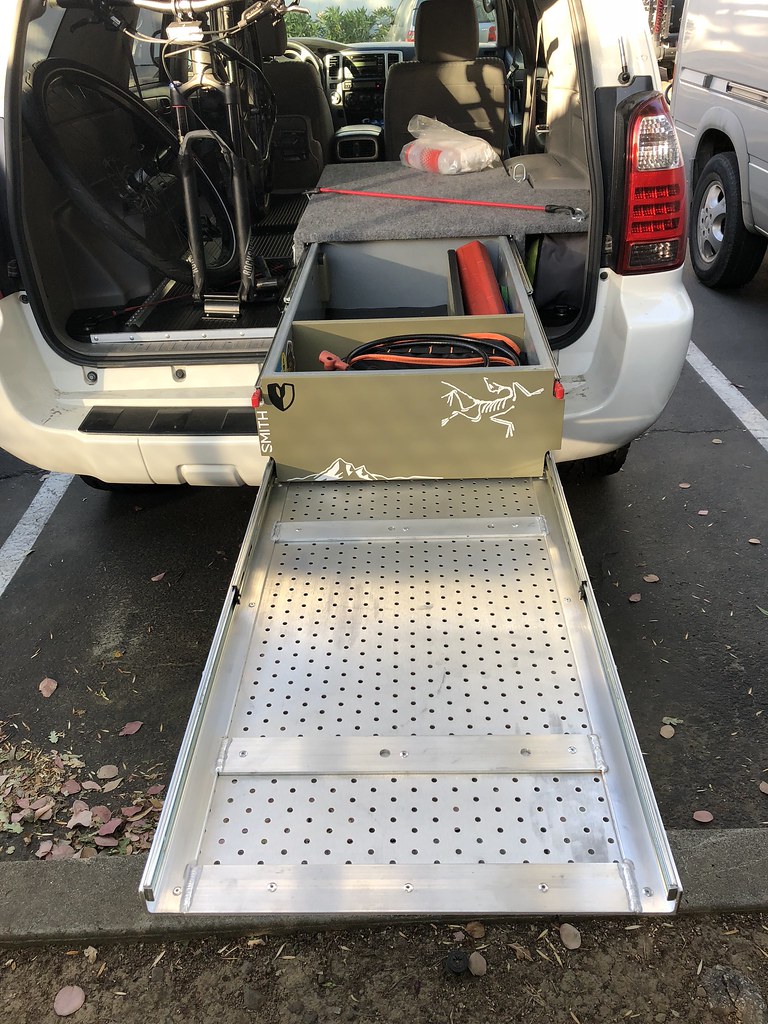
And the finished product!
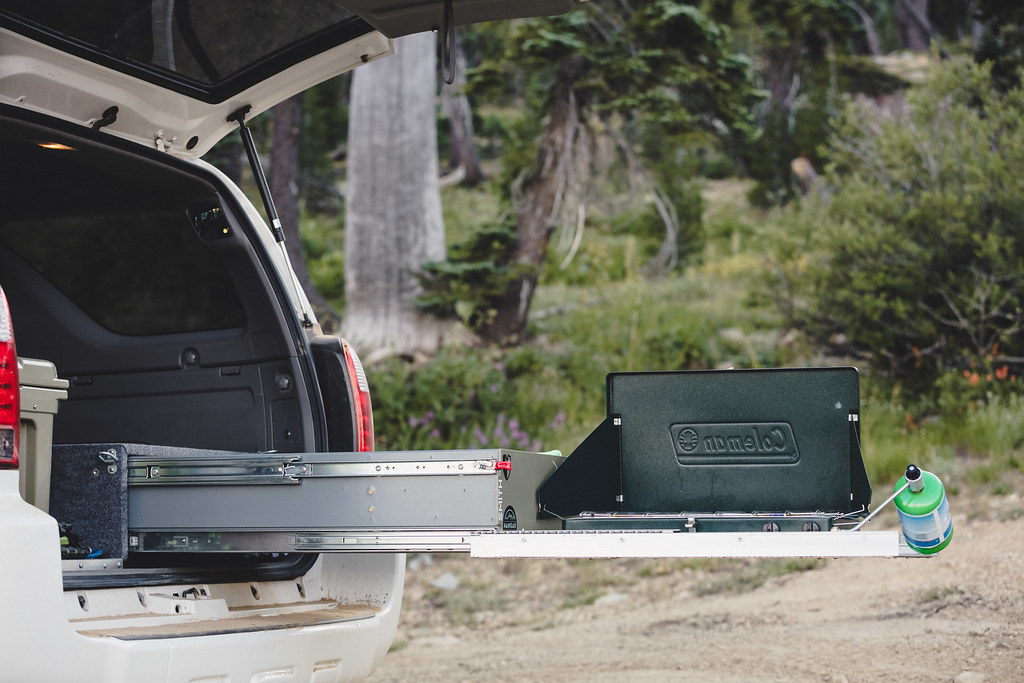
Very happy with the final product!


 you're definitely and artist!


 Linear Mode


