 08-30-2018, 01:37 PM
|
#16
|
|
Junior Member
|
|
Join Date: Aug 2018
Location: Reno, Nevada
Posts: 11
|
|
|
Junior Member
Join Date: Aug 2018
Location: Reno, Nevada
Posts: 11
|
Daystar Lift
How is the Daystar 2.5/1.5 working out for you long term?
|

|
 Reply With Quote Reply With Quote
|
|
08-30-2018, 06:55 PM
|
#17
|
 |
Member
|
|
Join Date: Feb 2018
Location: Portland, OR
Posts: 58
|
|
|
Member
Join Date: Feb 2018
Location: Portland, OR
Posts: 58
|
I just picked up an 08 Limited V8,and your build is providing me with too much inspiration haha. Definitely planning on getting a set of trail wheels, but trying to decide on lift options. I have RAS in the rear, so may just do front spacers to maintain XREAS for the time being. What are your feelings on the XREAS +spacer combo? Are you still running stock front springs? Also, Im up in Calgary right now for a wedding, if I had more time I would have loved to see your truck!
Sent from my iPad using Tapatalk
__________________
2008 Limited V8 - Natural White - Nav
Bilstein 5100/4600+RAS - Cooper AT3 4S 265/65-18
My build thread |
|
|
Reply With Quote
|
|
08-30-2018, 09:43 PM
|
#18
|
|
Member
|
|
Join Date: Aug 2018
Location: Queens NYC
Posts: 188
Real Name: Tim
|
|
|
Member
Join Date: Aug 2018
Location: Queens NYC
Posts: 188
Real Name: Tim
|
Quote:
Originally Posted by MantanaB6

I just picked up an 08 Limited V8,and your build is providing me with too much inspiration haha. Definitely planning on getting a set of trail wheels, but trying to decide on lift options. I have RAS in the rear, so may just do front spacers to maintain XREAS for the time being. What are your feelings on the XREAS +spacer combo? Are you still running stock front springs? Also, Im up in Calgary right now for a wedding, if I had more time I would have loved to see your truck!
Sent from my iPad using Tapatalk
|
I just got an 06' Sport Edition v8. What did you pay? I paid 19k for 55k miles.
|
|
|
Reply With Quote
|
|
08-30-2018, 11:02 PM
|
#19
|
 |
Member
|
|
Join Date: Jul 2016
Location: Calgary, AB
Posts: 198
|
|
|
Member
Join Date: Jul 2016
Location: Calgary, AB
Posts: 198
|
Quote:
Originally Posted by Johns06yota
This is a pretty sweet build! I was kind of in the same boat where I did mods but didn't start my build thread til about a year later. Doing the satoshi grill is definitely on my to do list. Btw the shadow mica headlights look great! the oem ones may have moisture due to a bad seal or those rubber boots on the back of the headlight are failing. (trust me I know because thats what happened with my aftermarket ones) maybe you could reseal them and make some money off of them?
|
Thank you Johns06yota!
The satoshi grill is probably one of my favourites. I love the simple look. I have toyed with the idea of adding some lettering on it but I think I like the clean look best. I might add a black V8 emblem in the corner one of these days.
Im back and forth over the painted headlights. Im glad I did not go completely black. But my truck is already almost completely blacked out that Im worried the headlights will be too much (if I havent overdone it yet.) Plus maybe its just in my head but I feel like I get more/better light output out of the stock ones. Maybe better projector quality (wouldnt be surprised.) actually yesterday I baked my Orem ones and rescaled them with some Morimoto headlight butyl. Added 3 silica packs to each housing and ran a piece of electrical tape around the entire seam. So hopefully that does it or youre right, the bulb gaskets may be the issue.
Quote:
Originally Posted by schuler317
All on a rebuild title. You're a braver man than me.
|
Haha, well I plan on driving this vehicle for a long time so resale value is not my highest concern.
Quote:
Originally Posted by mannydantyla
Really good stuff. My new 4Runner is a Shadow Mica like yours and I have a lot of the same mods planned for my rig, so it's really cool to your build thread! Helps me visualize what I want mine to look like.
|
Thanks mannydantyla! Glad I could help. This colour really grows on me. Its really unique and seems to change colours in all different light. Its a nice touch over just black I think. However Ive still always wanted a white one... vinyl wrap?
Quote:
Originally Posted by mannydantyla
Does the roof rack interfere with the sun roof at all?
|
If you mean in function no I think it just clears it. When I tilt the sunroof up it seems to stop just before contact. For visuals my setup has one crosspiece running in the center of the sunroof. It doesnt bother me at all and hardly affects the light coming through. If you like to stare through it at the sky all day then it might bug you. But you could always just remove that piece and then problem solved.
Quote:
Originally Posted by tv4184
Initially when I saw your thread I was expecting a white truck lol. Great build so far though. Thanks for the ideas on the console storage organization. I'll be adding that to my build whenever I get around to it. I have too big of a back log right now lol.
|
I see how that could be misleading. Trust me I looked for a white one but this was too good to pass up and the colour has grown on me quite a bit!
Thank you, my neighbors are probably think I own a lemon cause its always in the alley with its hood popped but its been entirely either mods or preventative maintenance. Its the simple things for sure. I hate clutter and that center console does not really give you a choice without those dividers.
Quote:
Originally Posted by bbardet
How is the Daystar 2.5/1.5 working out for you long term?
|
The Daystar spacer Lift seems to be doing its job just fine. What Ive realized however is the spacers really max out the XREAS stock suspension. This has resulted in a much harsher ride with some heavy thuds in the rear if I drive over any significant bump. Im assuming this is because there is no preload left so instead of the shock dropping into the bump the entire truck does it. I really pay attention to the little things and its beginning to drive me nuts. I really hope I can get into a new suspension setup soon. If I had to do it all over again I would probably do the spacer lift again. It fit the budget and gave me the lift and stance I was after. If you can afford more I would recommend getting the next step up. So in short, spacers holding up fine, stock suspension not.
Quote:
Originally Posted by MantanaB6
I just picked up an 08 Limited V8,and your build is providing me with too much inspiration haha. Definitely planning on getting a set of trail wheels, but trying to decide on lift options. I have RAS in the rear, so may just do front spacers to maintain XREAS for the time being. What are your feelings on the XREAS +spacer combo? Are you still running stock front springs? Also, Im up in Calgary right now for a wedding, if I had more time I would have loved to see your truck!
|
Haha glad to help (if thats what you mean.) this whole forum has been a huge inspiration to me and the list is still growing. Ive managed to pick my way through most of the little mods I want to do. Next up is hopefully the big ones. Time will tell. My last response addressed the Daystar + XREAS issue a bit. I am running stock springs up front. The front doesnt seem to be an issue at all but the rear seems to be suffering a bit. Maxed out OEM shocks are making for a bit of a rough ride.
Haha oh really? Weddings not in Castle Mountain on Saturday by any chance?
Quote:
Originally Posted by meltdowner
I just got an 06' Sport Edition v8. What did you pay? I paid 19k for 55k miles.
|
Welcome to the club! 2 years ago I paid $14,900 CAD for mine with 89,000km (55,000 miles). However mine is a rebuild so factor that in plus I got pretty lucky.
__________________
Whytey's 07 V8 Build Thread
2007 Toyota 4Runner Sport Edition V8, Elka 2.5 Suspension, Total Chaos UCA w/ Delta Uniball, Dobinsins C59-677V Rear Coils, Timbren Bumpstops, Prinsu Design Roof Rack, Baja Designs Squadron Sport Fogs, 285/70R17 BFG KO2, Blacked Out TE Rims, Spidertrax 1.25" Wheel Spacers, Satoshi Grill
|
|
|
Reply With Quote
|
|
08-30-2018, 11:13 PM
|
#20
|
|
Member
|
|
Join Date: Jul 2016
Location: Calgary, AB
Posts: 198
|
|
|
Member
Join Date: Jul 2016
Location: Calgary, AB
Posts: 198
|
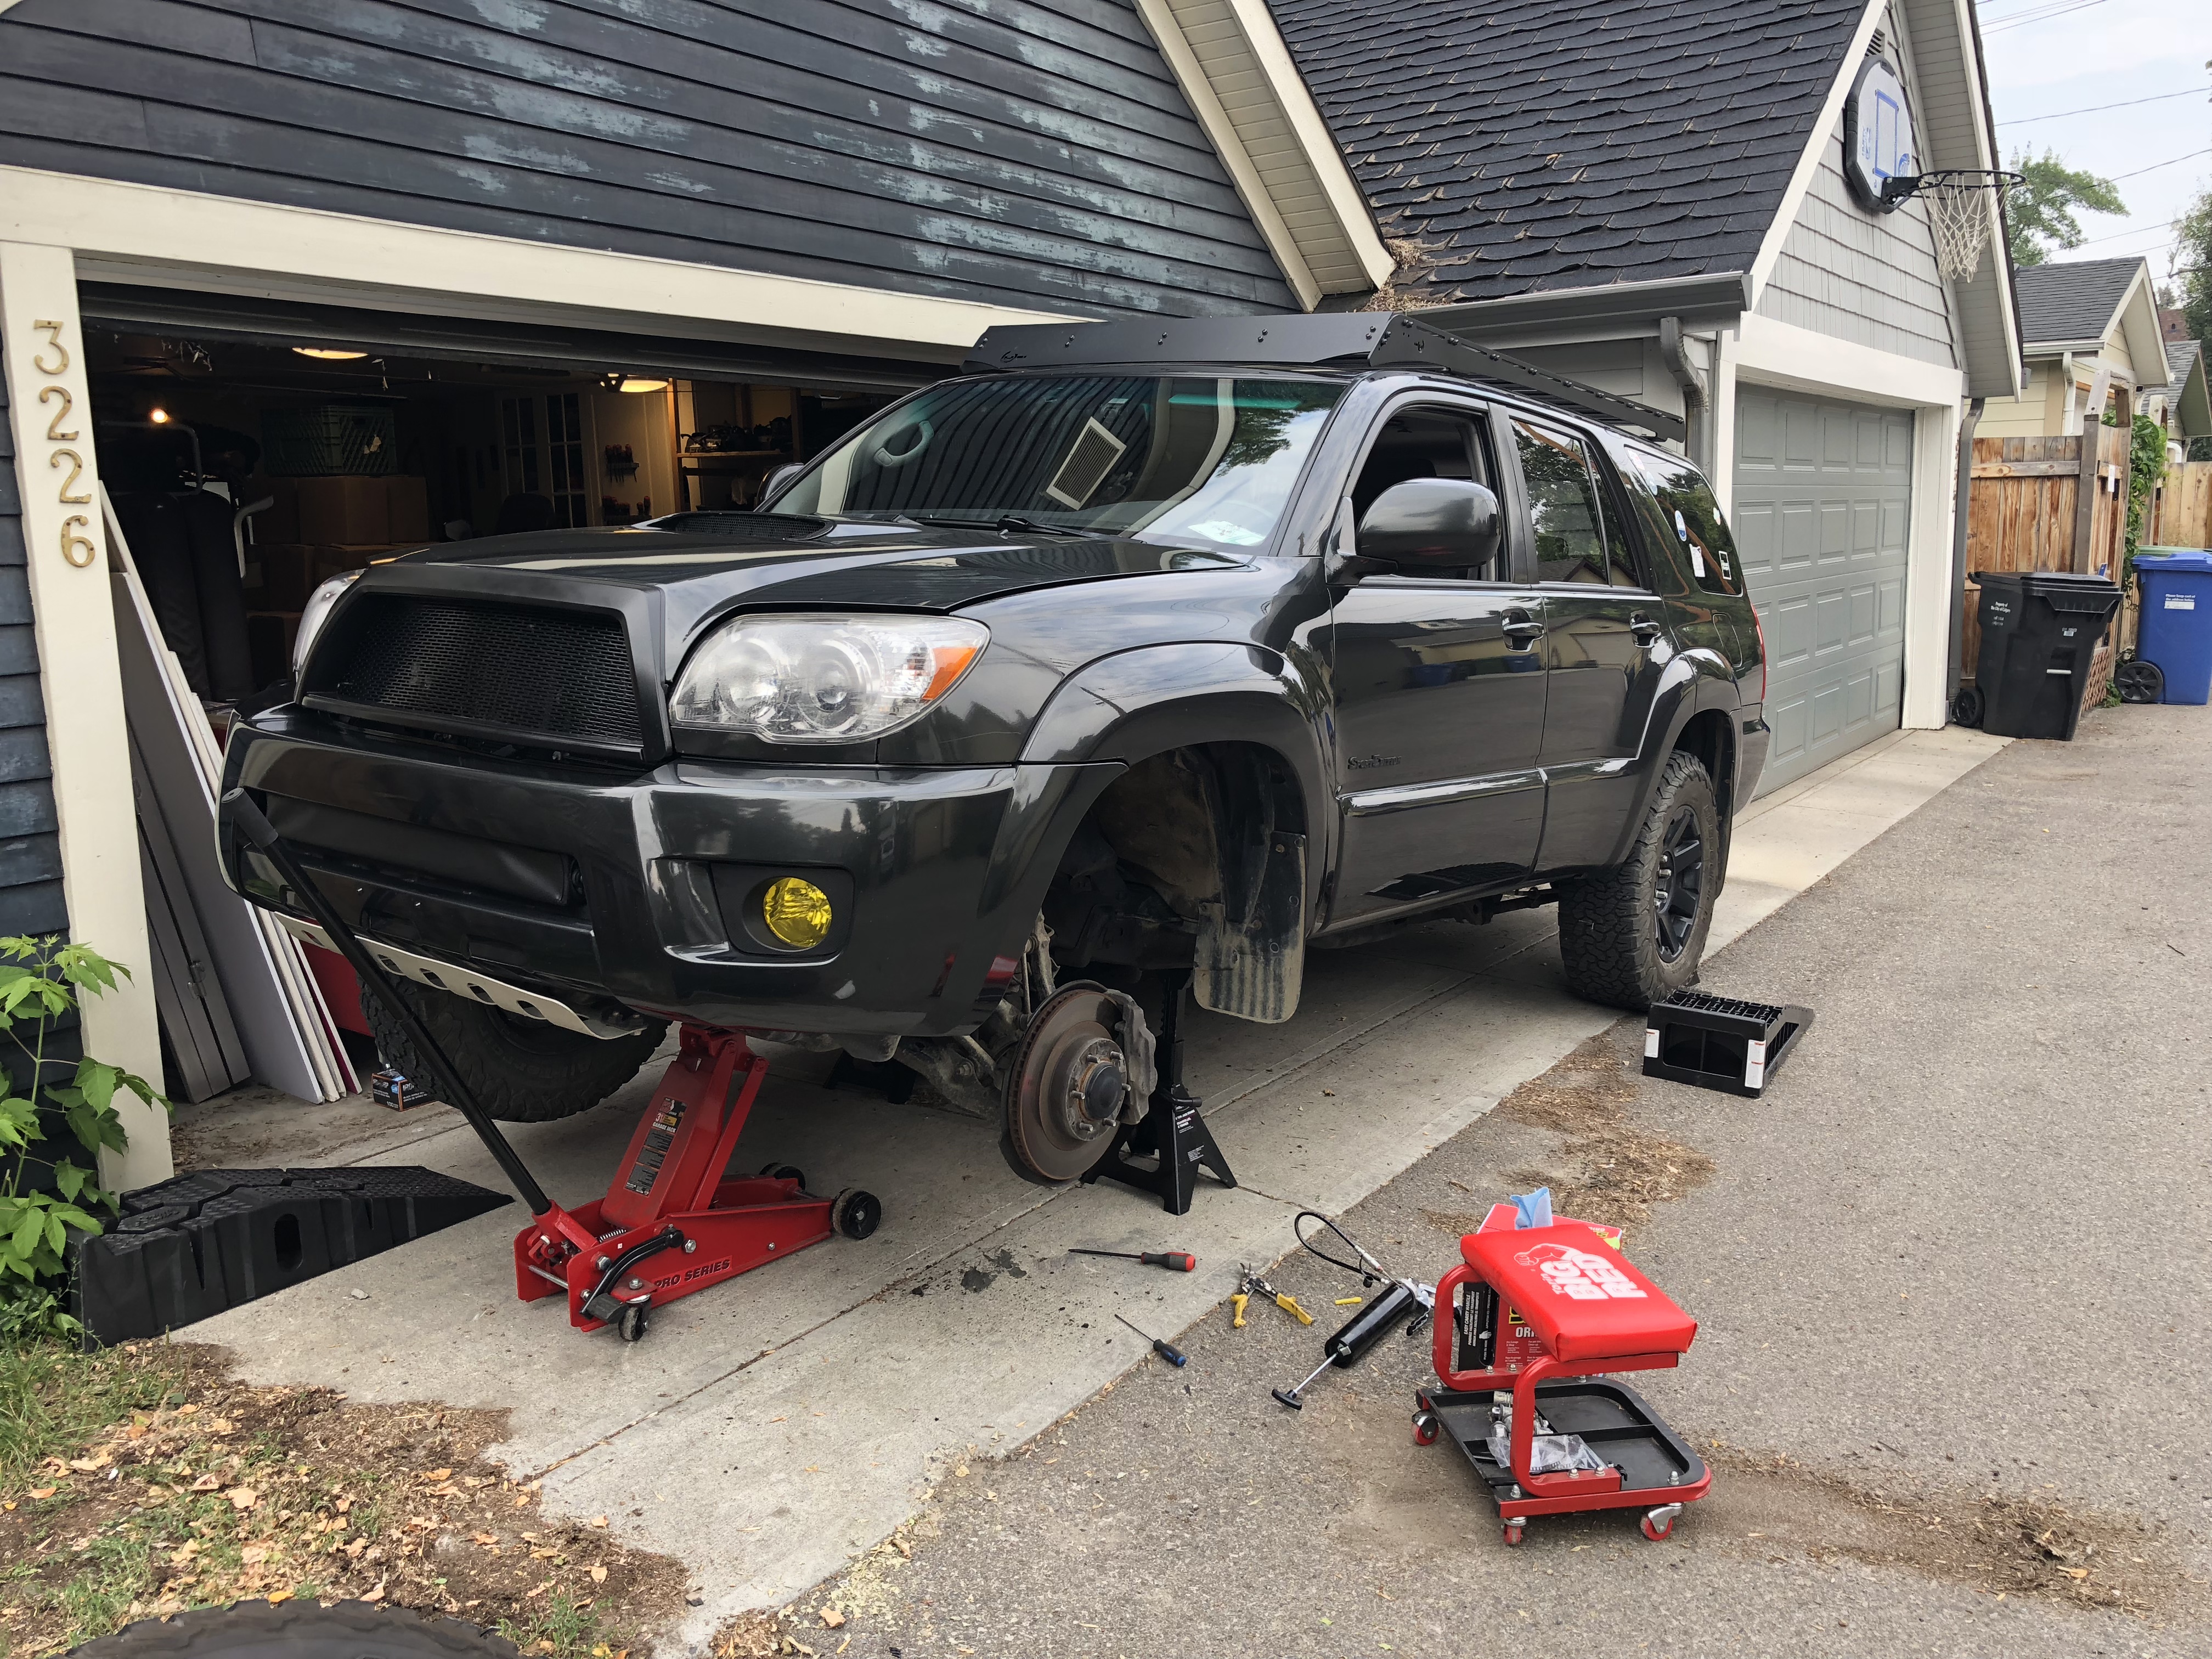
Another update
I've had about a week off after just finishing a project so I've been able to catch up on a few of the mods that have backed up.
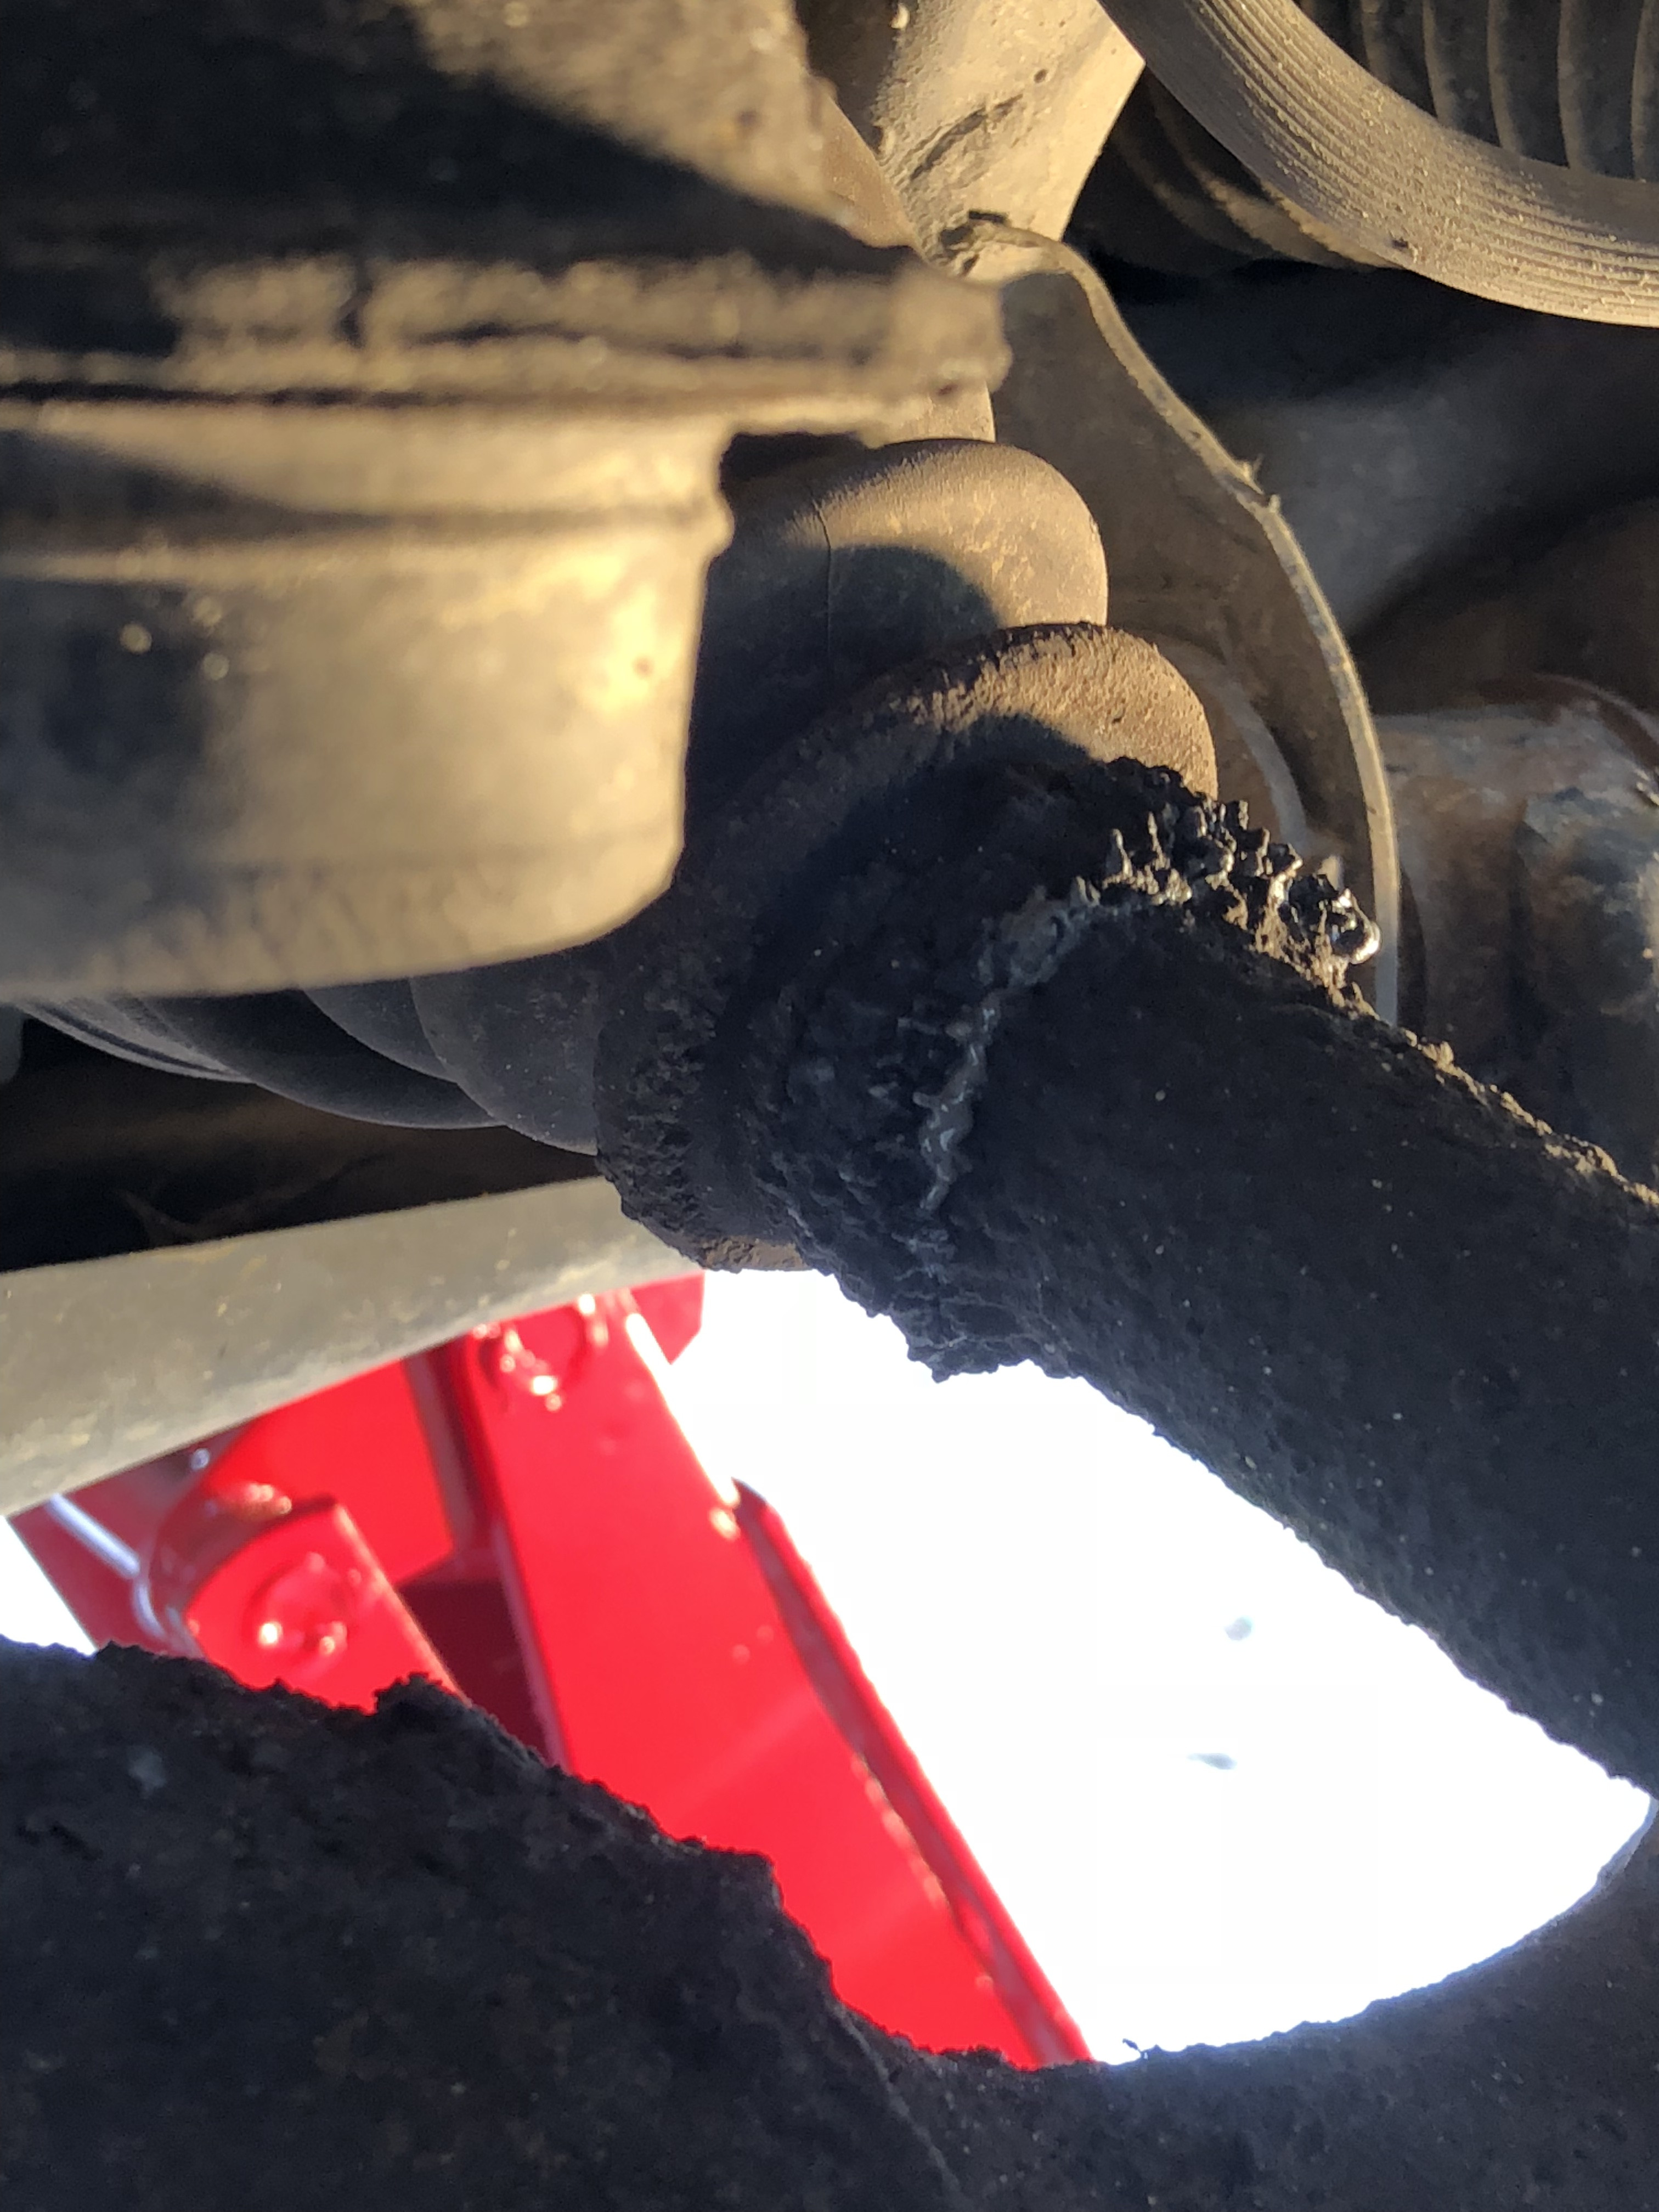
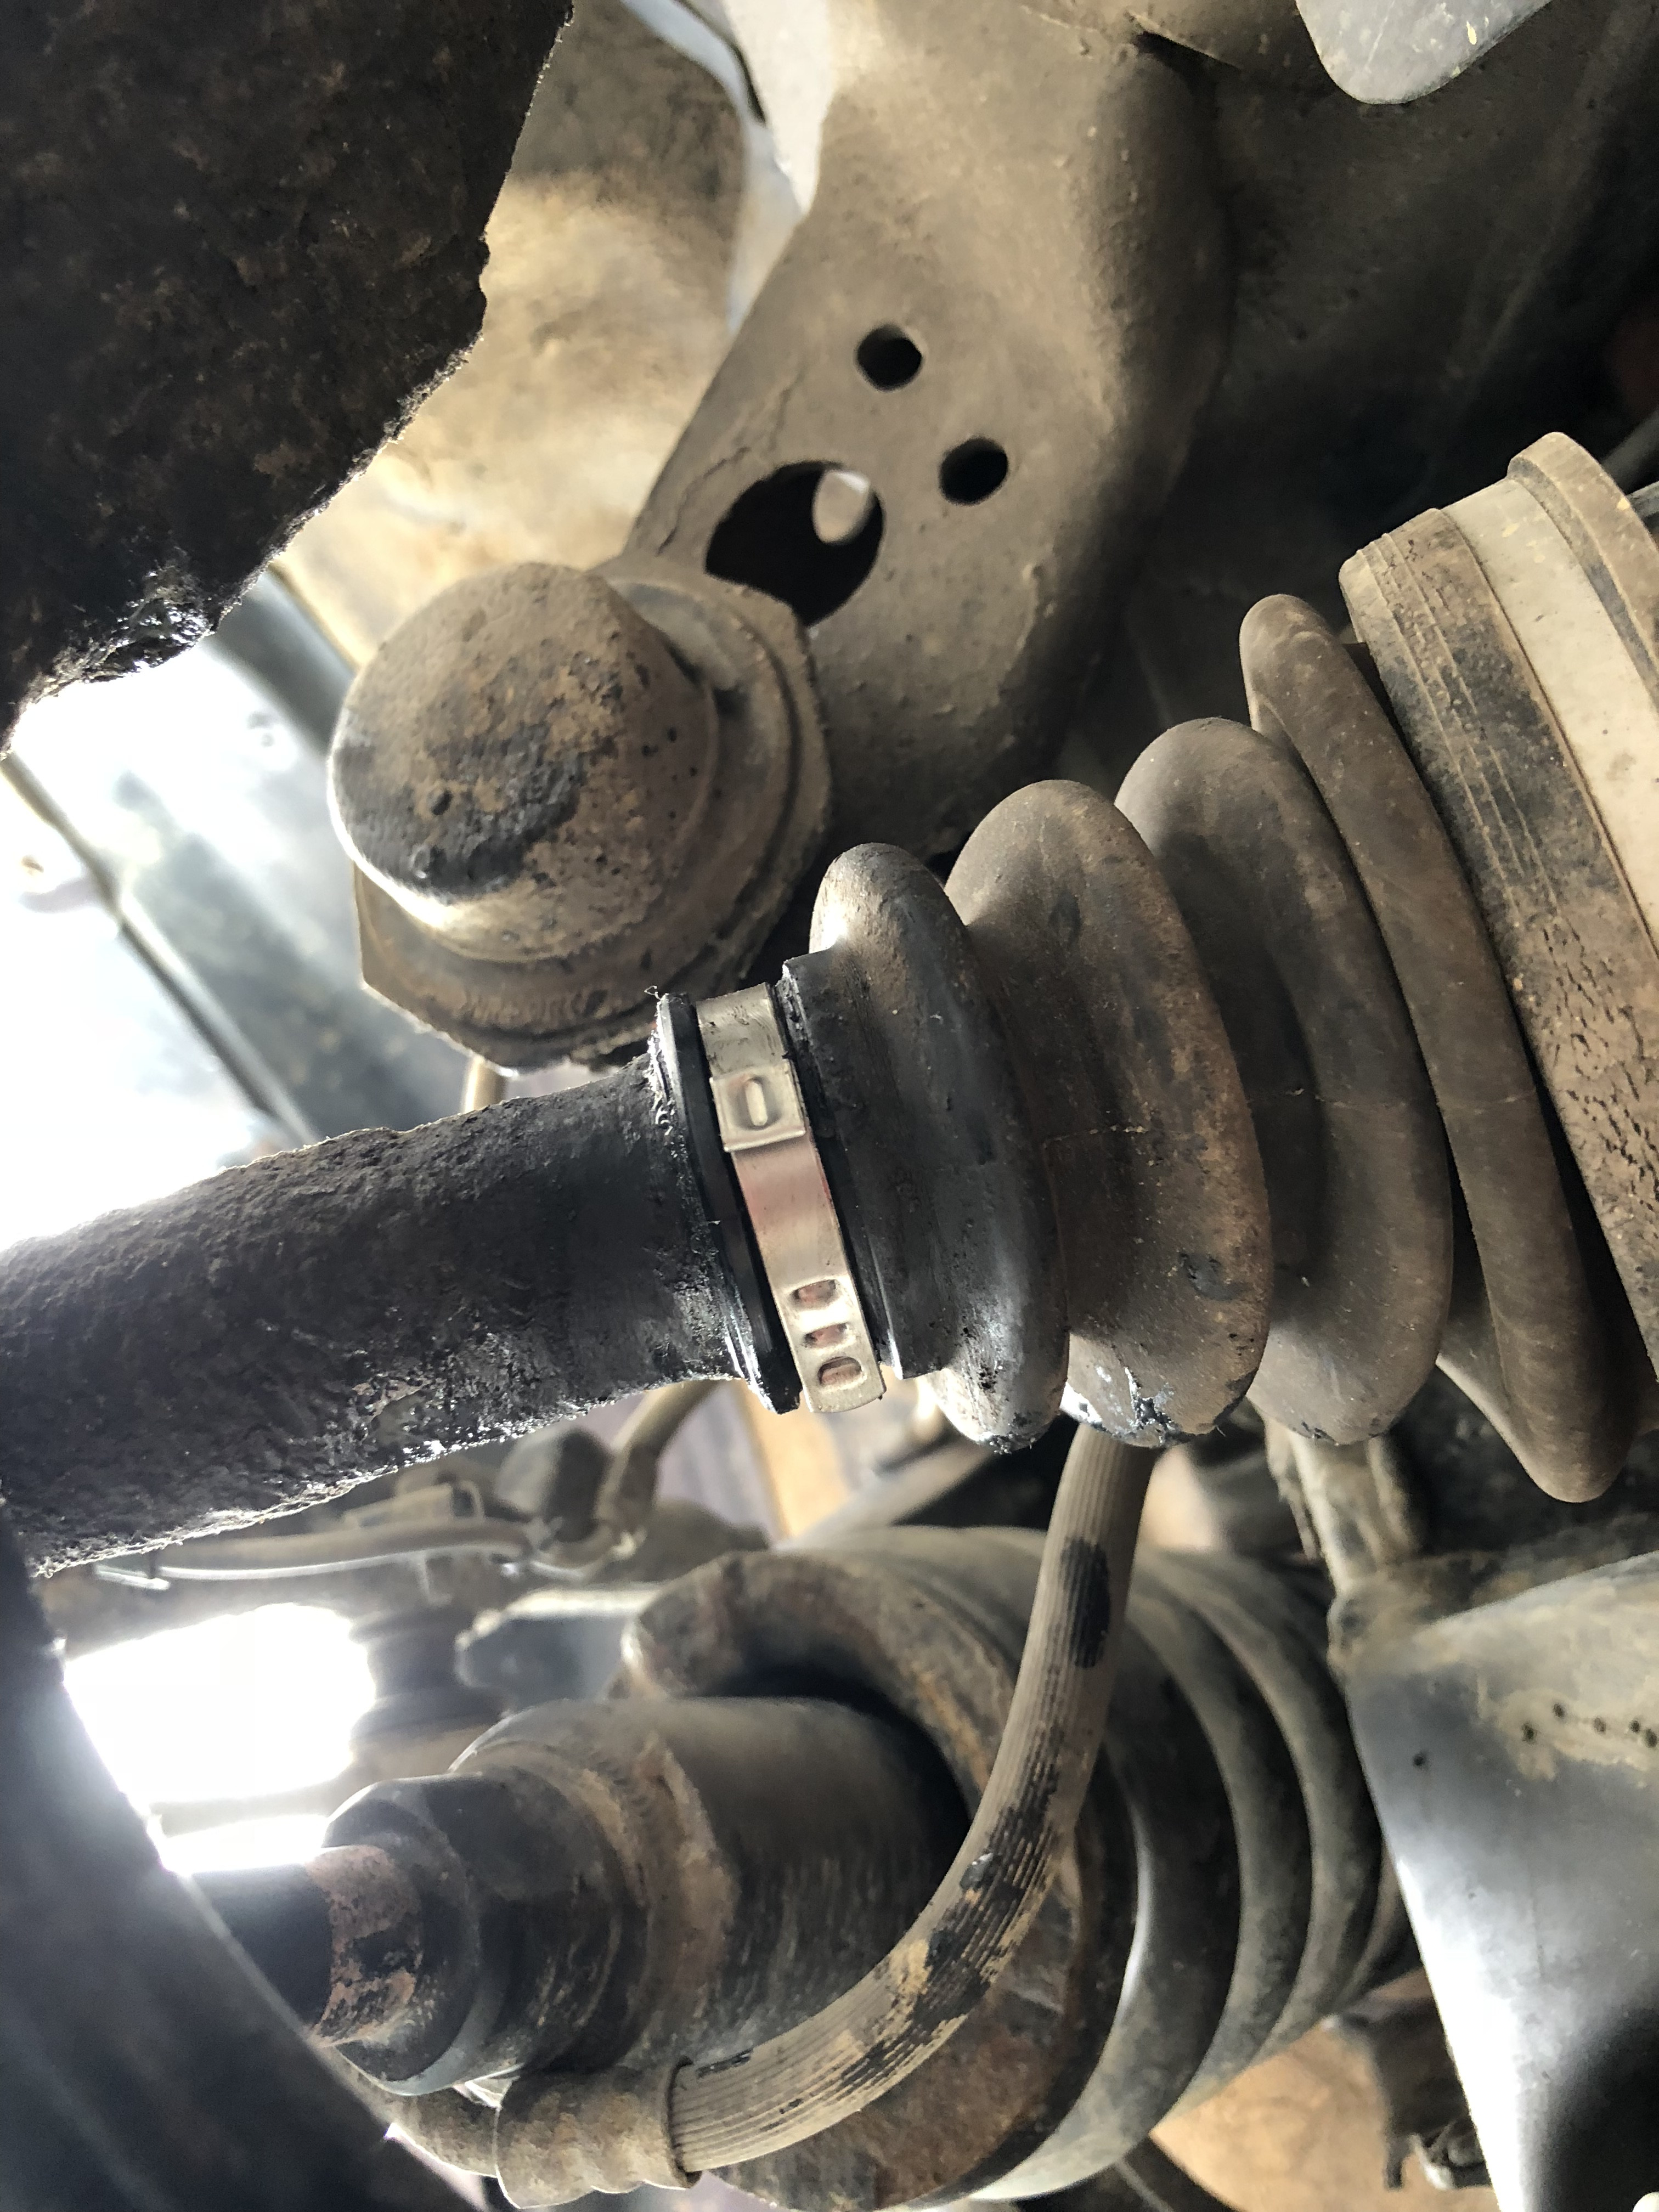
My inner CV Boots have been leaking for a little over a year. Both sides about the same. I was actually worried there were no clamps anymore but they were just buried beneath all that gunk. They either fully leaked out (Didn't turn out to have) or they got so gummed up that it couldn't leak anymore... Maybe I should have just left them...
Anyways I went ahead and replaced the inner boot clamps.
When I removed the original clamps some grease ran out (was somewhat watery) maybe got some moisture in there. But I don't have the means or time to fully replace the boots so I pumped some more grease in and reclamped. Hopefully these hold. I did notice while taking the clamps off that they were the non eared style. Wondering if maybe these ones are not as good. Im pretty sure the outer CV Boot clamps (at least the bigger end) were the ear style.

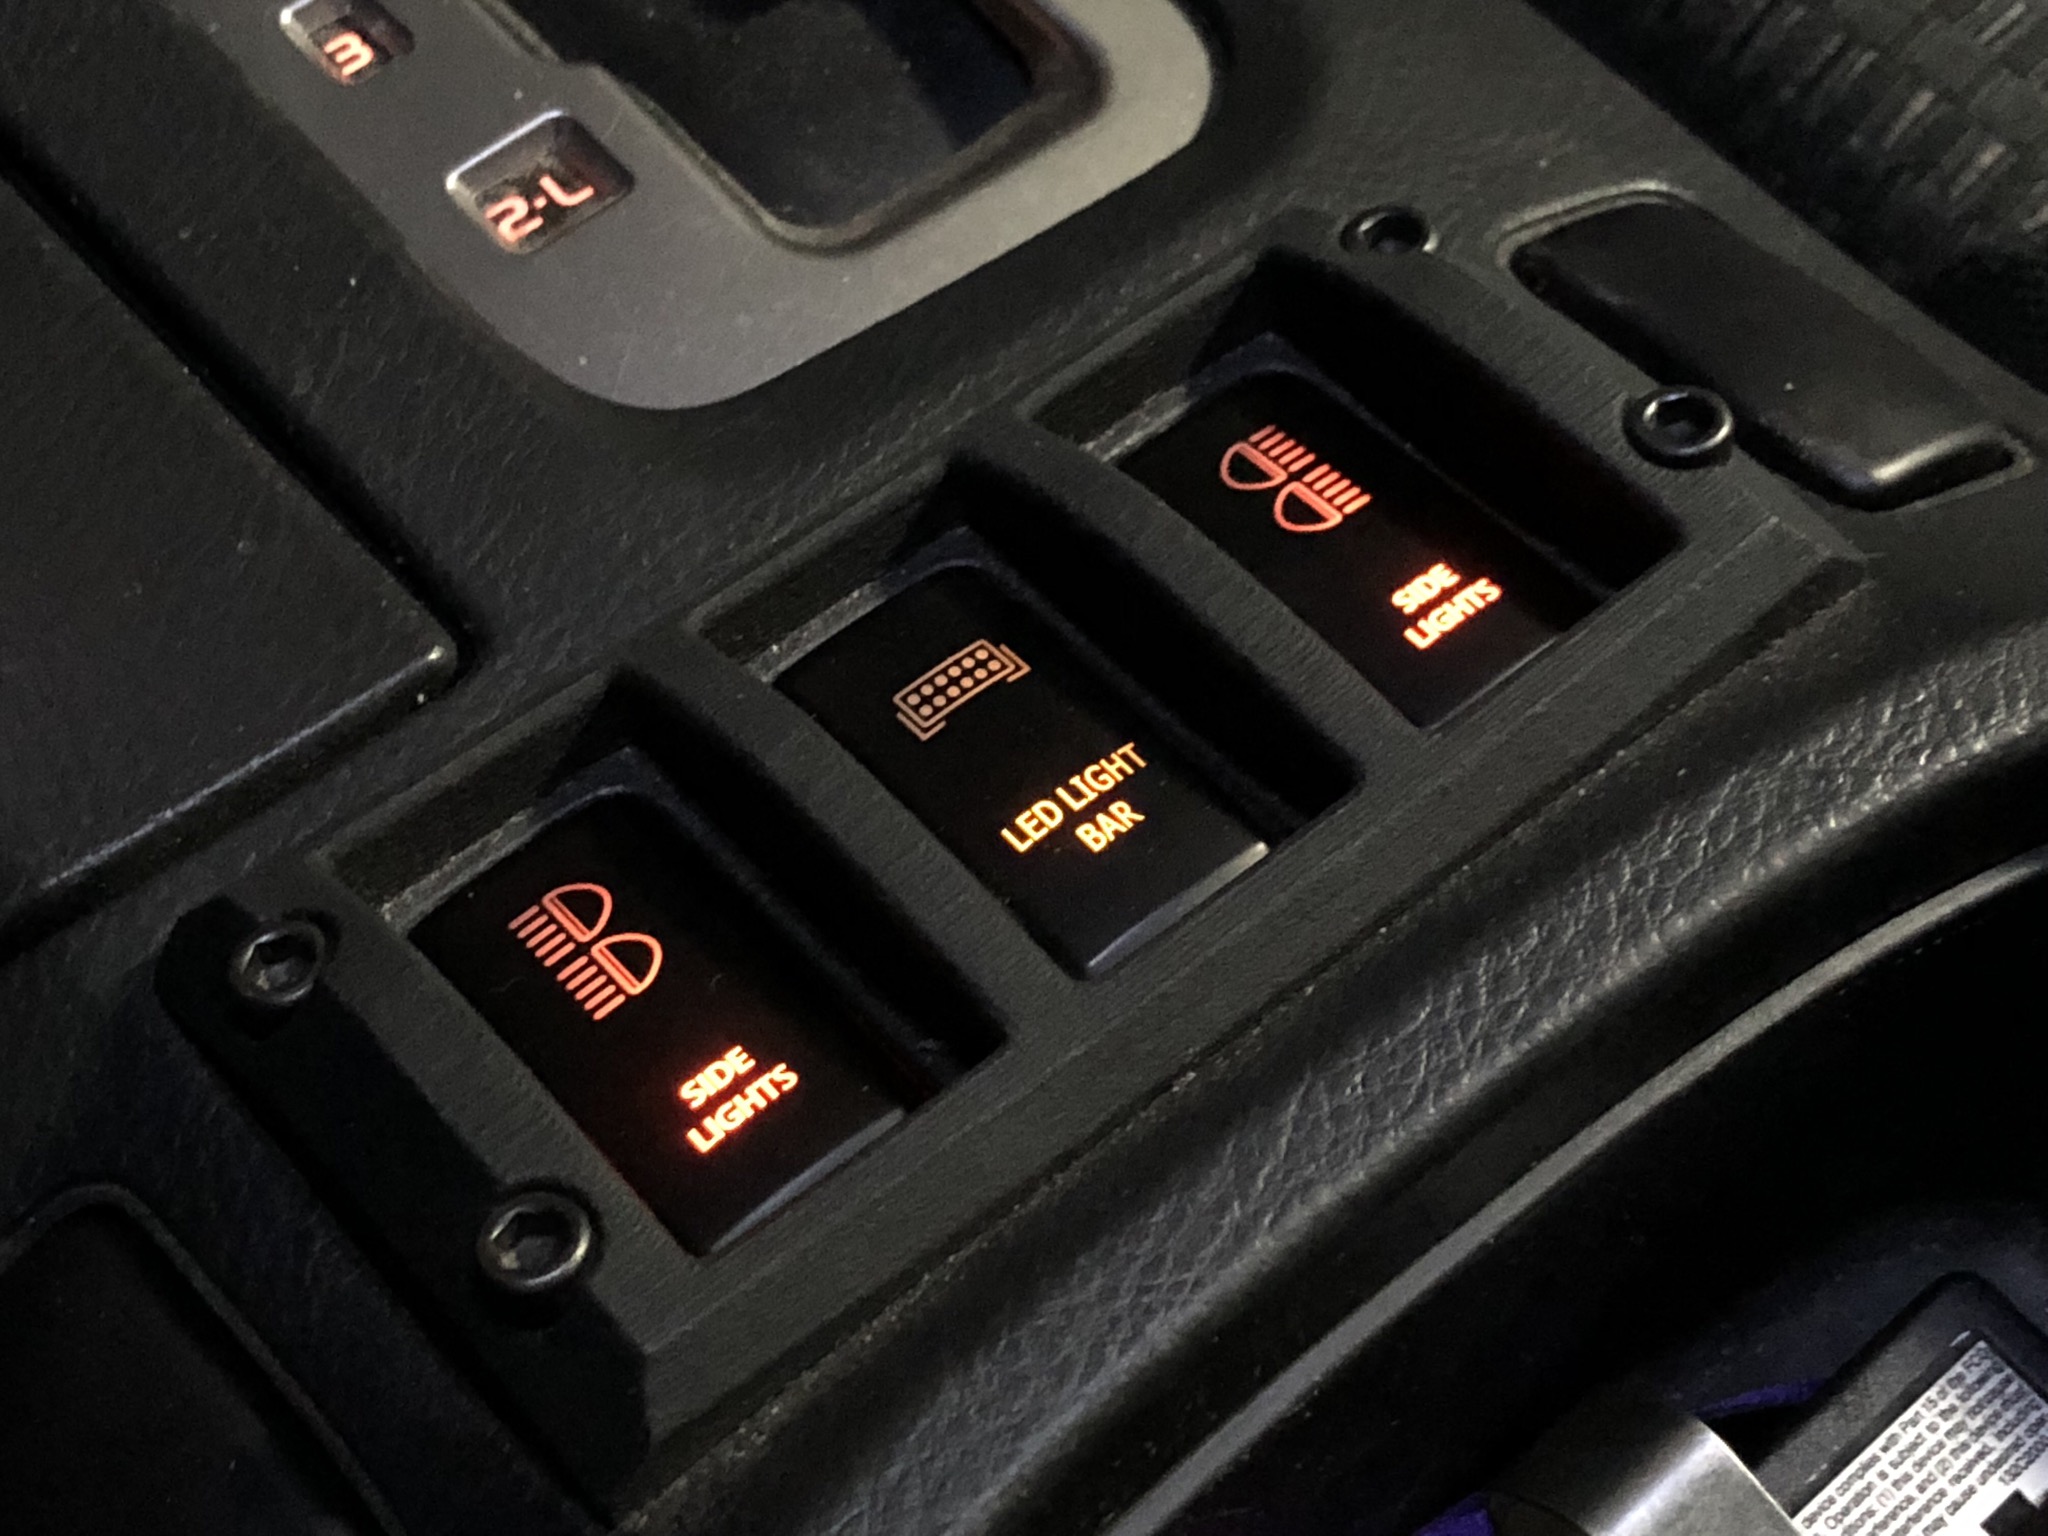
Having recently acquired my Prinsu Rack I began mounting some stuff on there. Started with two Rigid Industries 1"x2" scene lights. Just some small side mounted lights that will be nice for camping. I liked the look of these ones the best as they fit the rack design perfectly. They weren't the cheapest option but I'm happy with them. I plan on installing a 40" roof top LED bar so I ran a line up there so I don't have to do it again later. Now when I get my lightbar I just have to mount it and plug in and it's good.
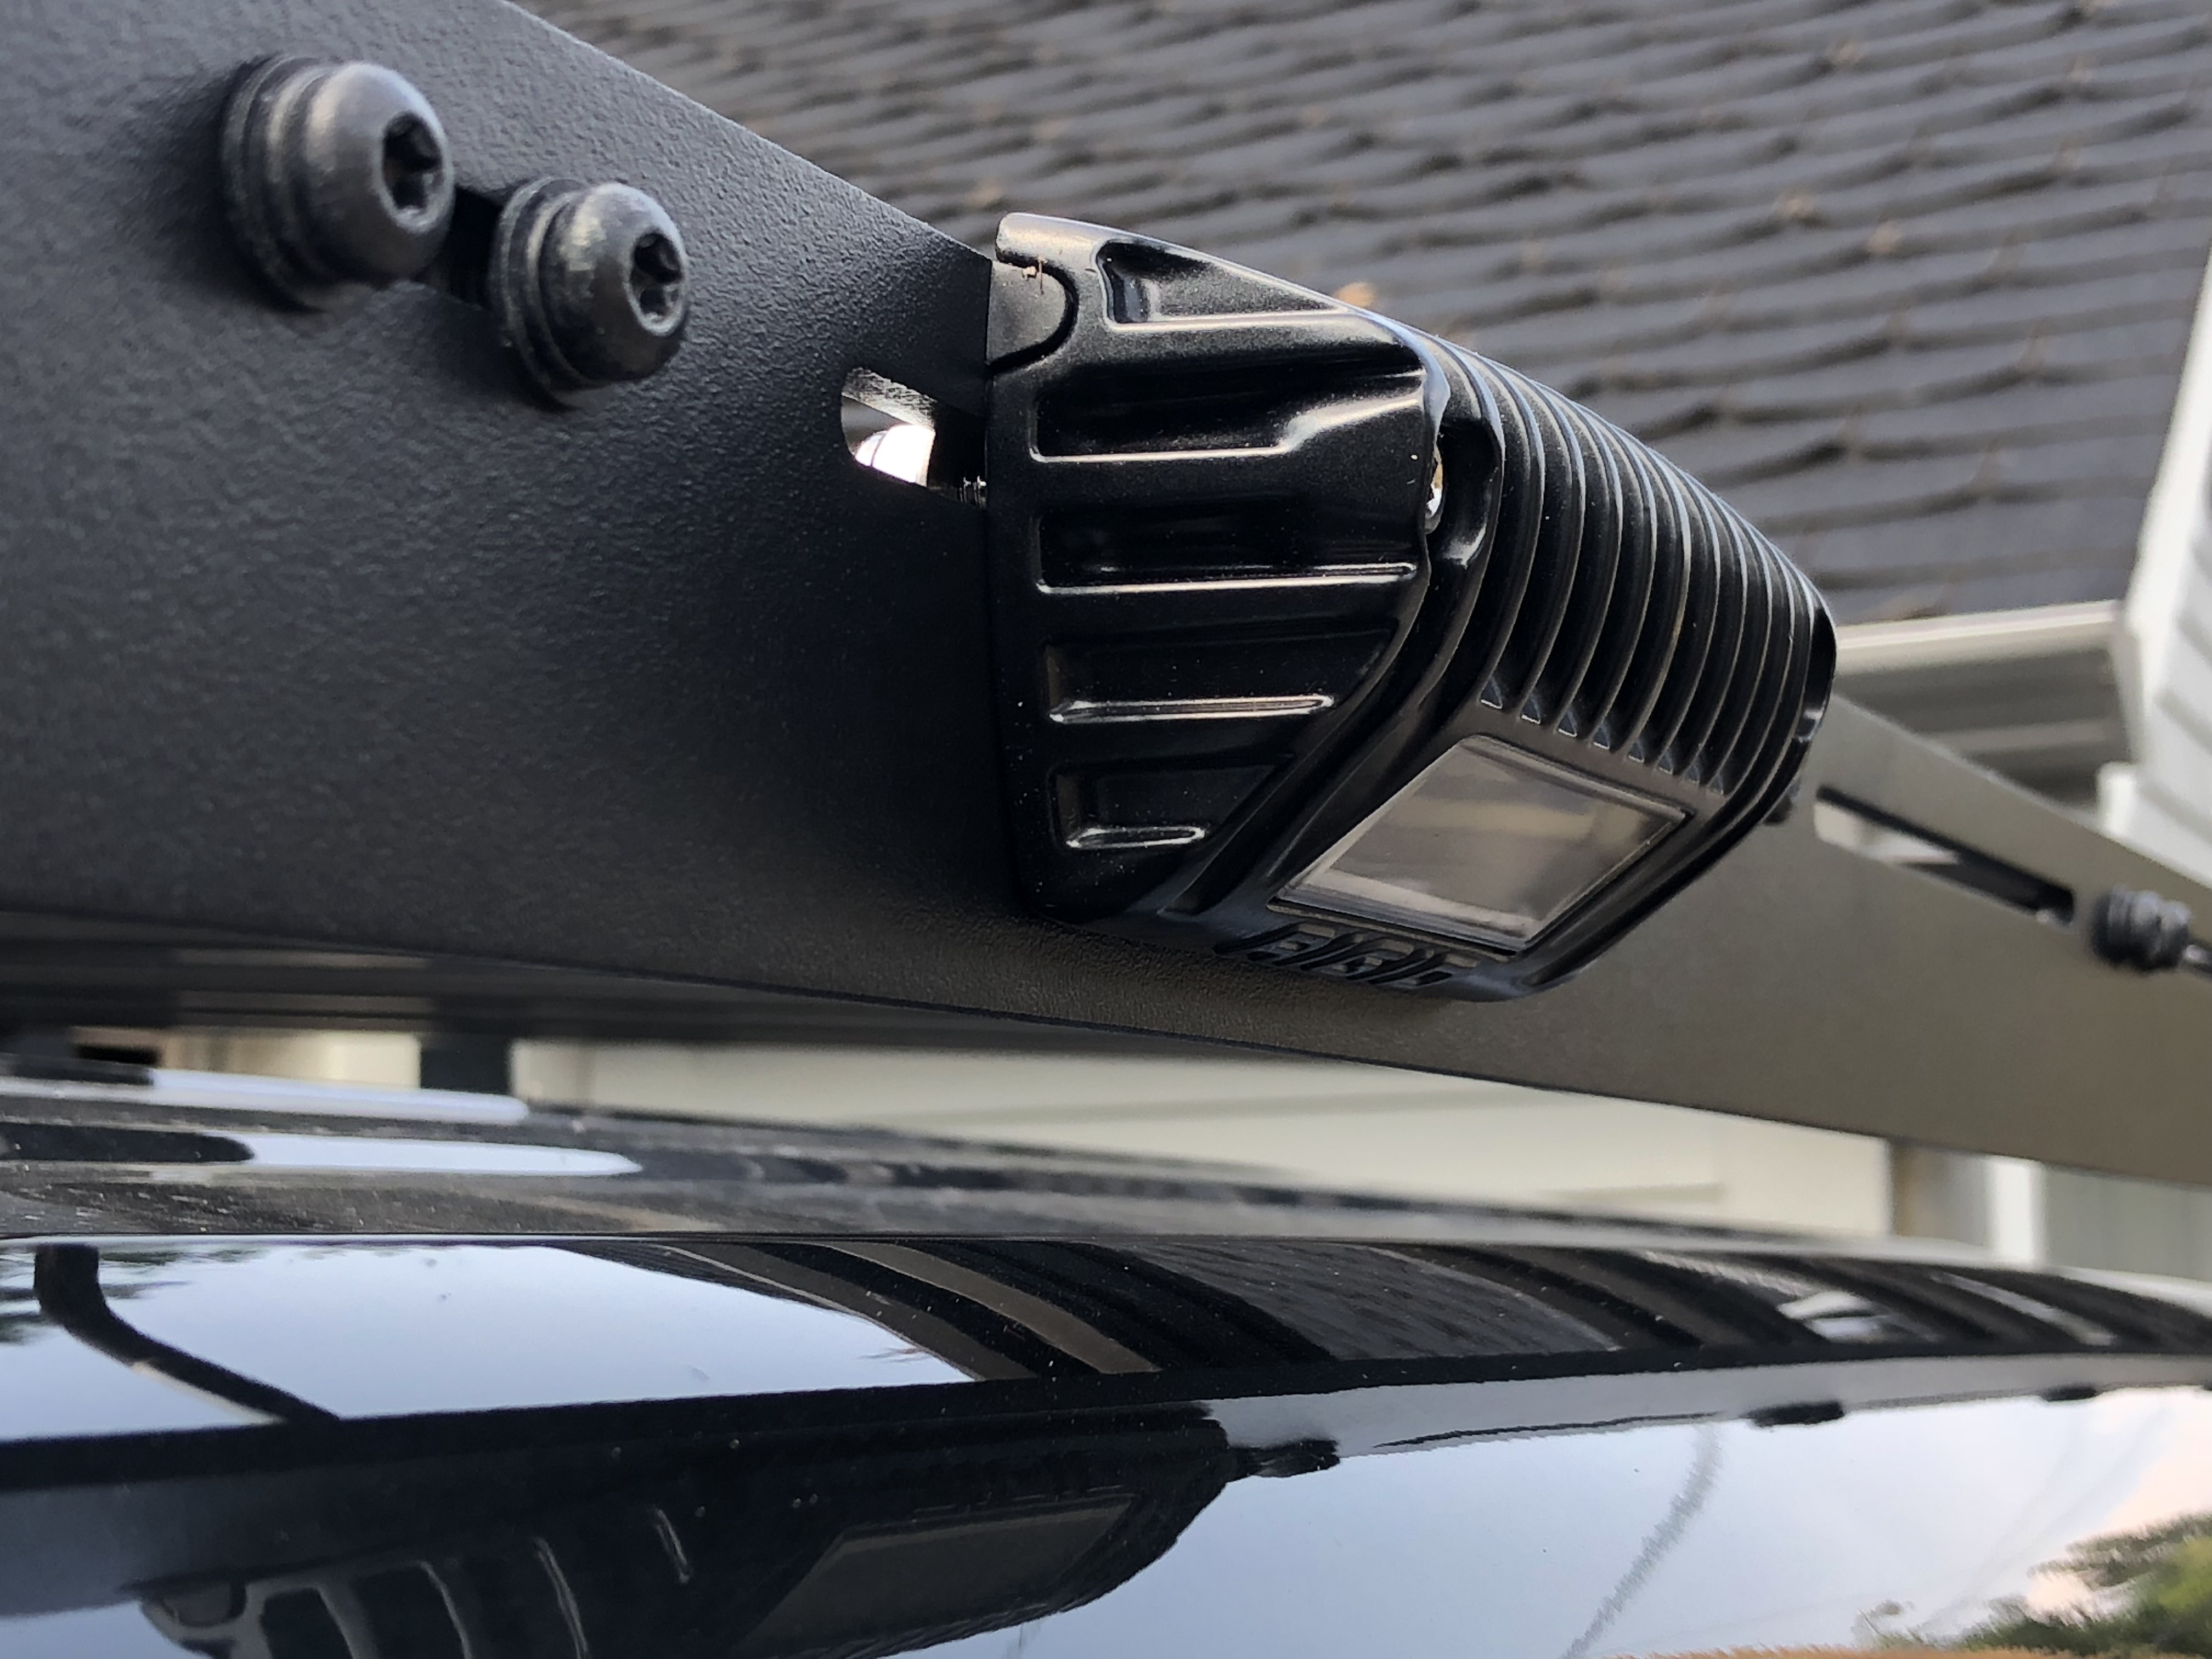
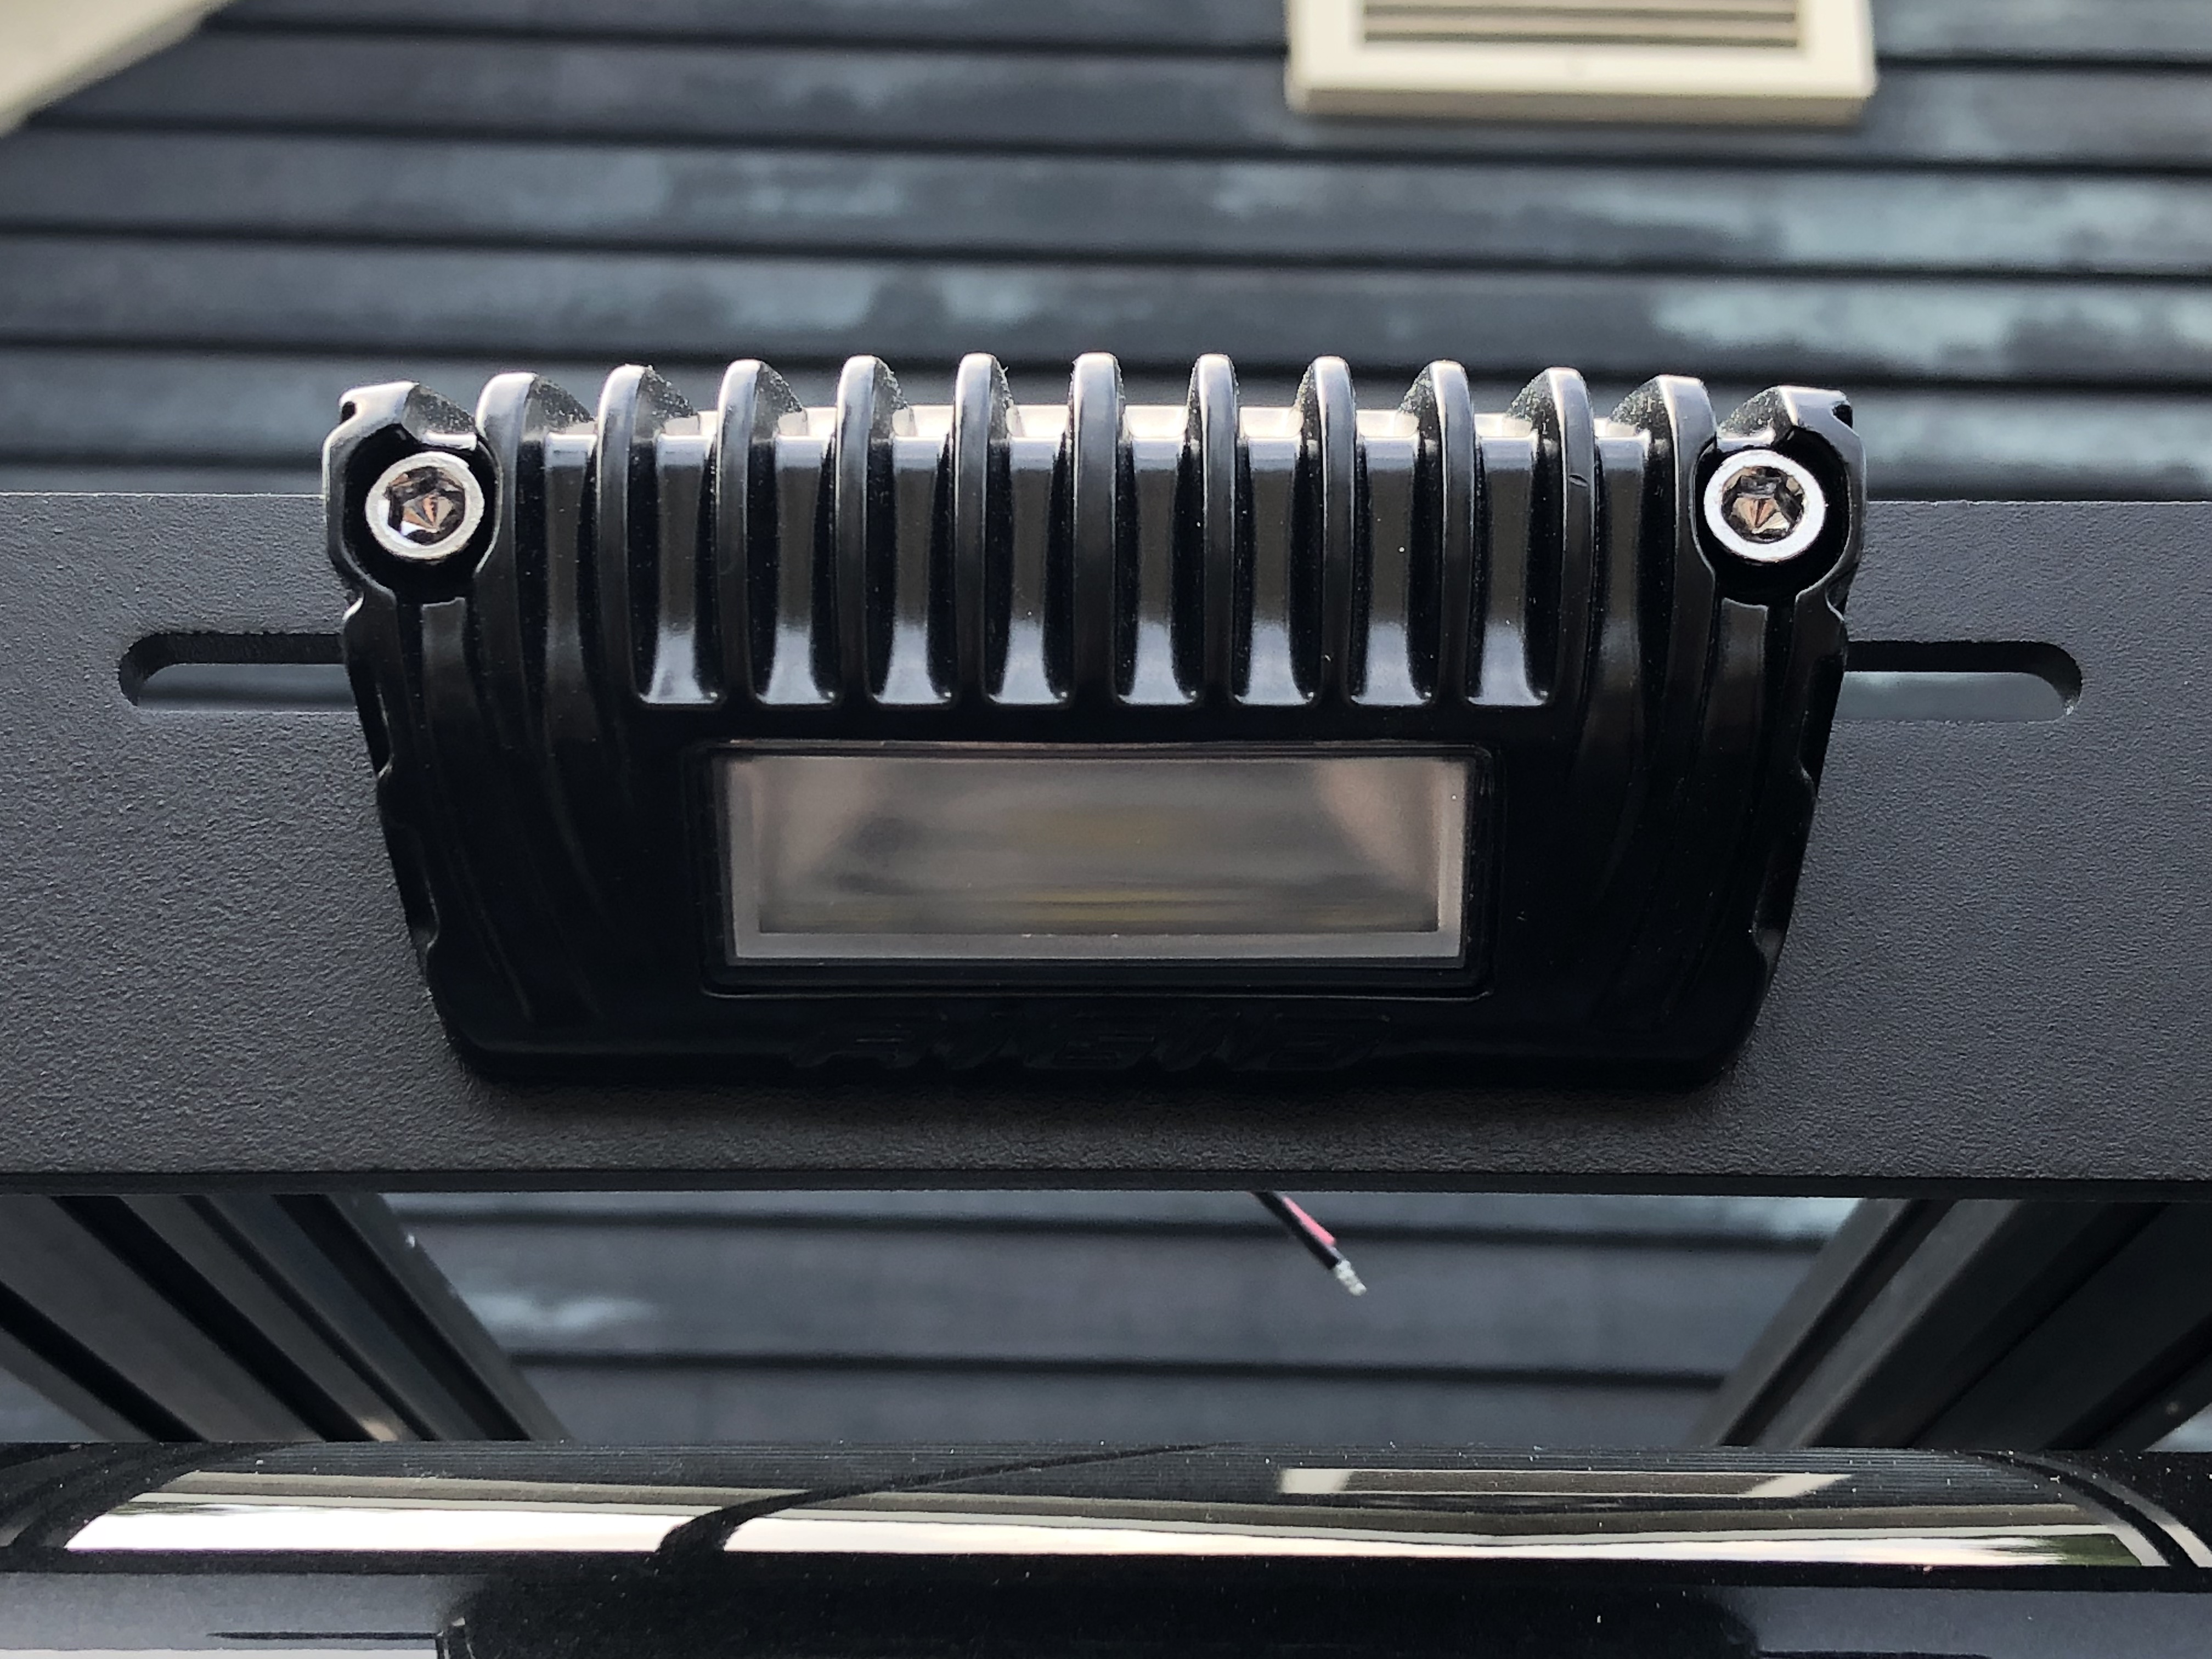
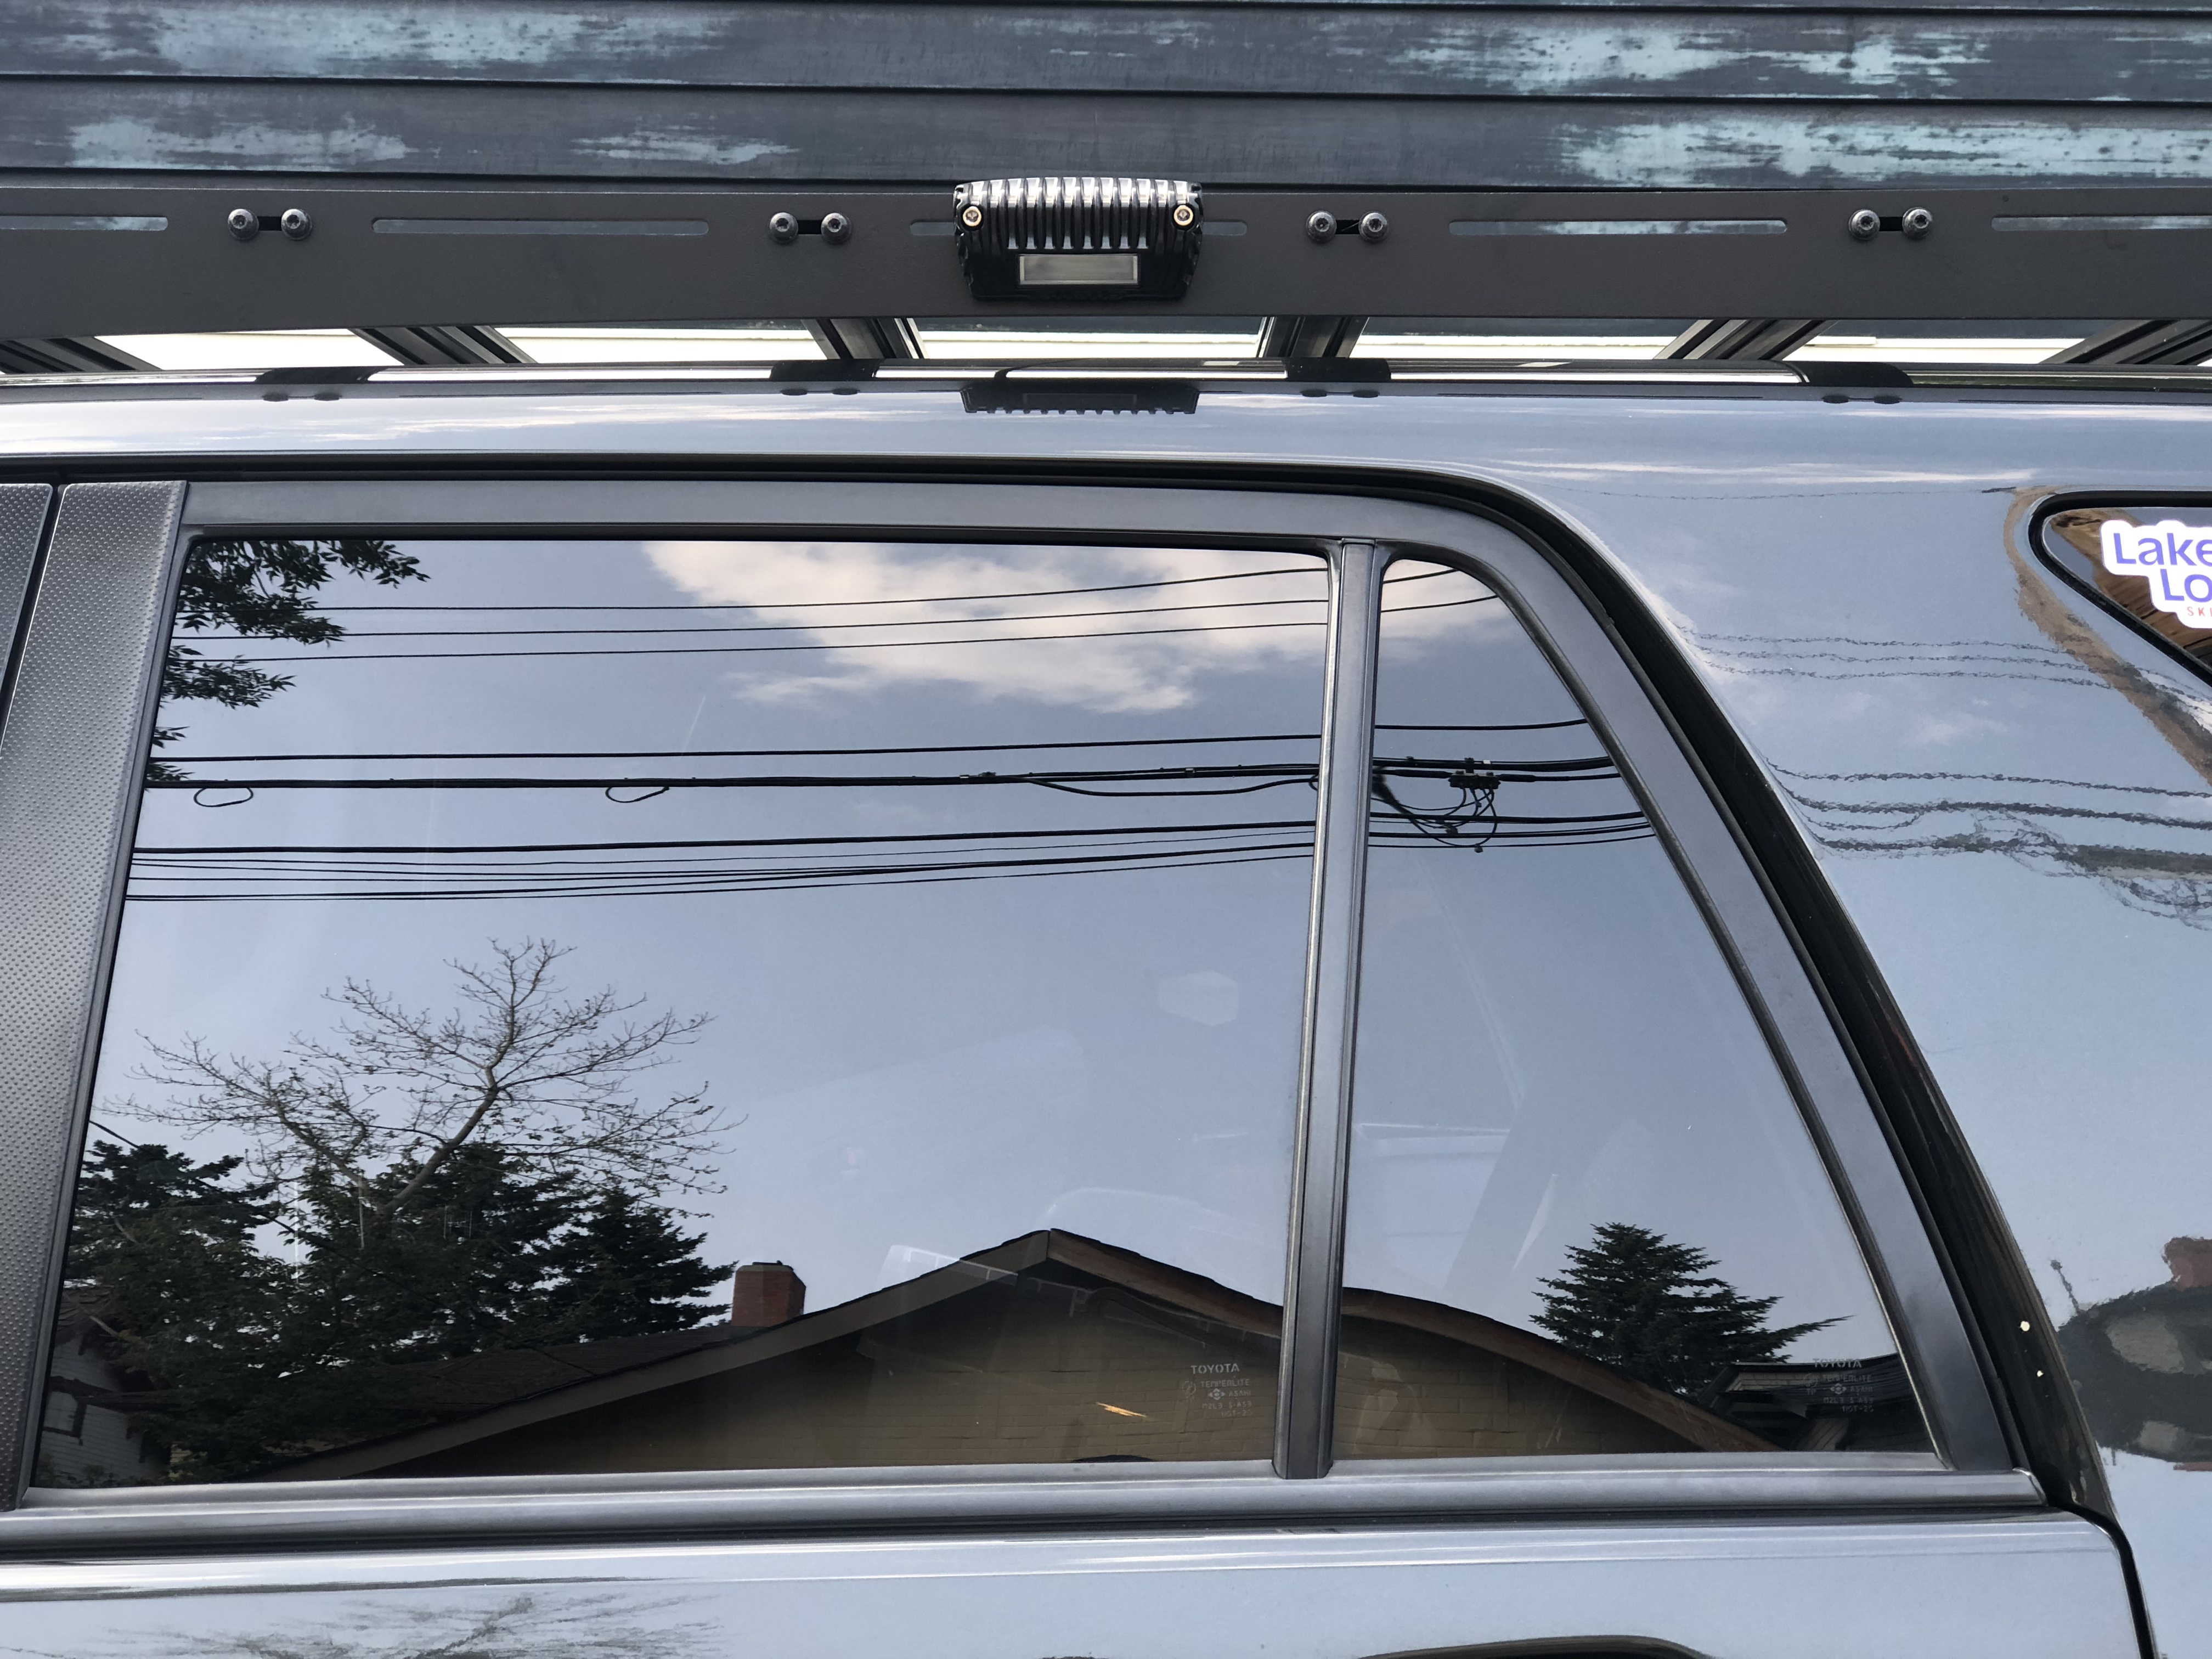
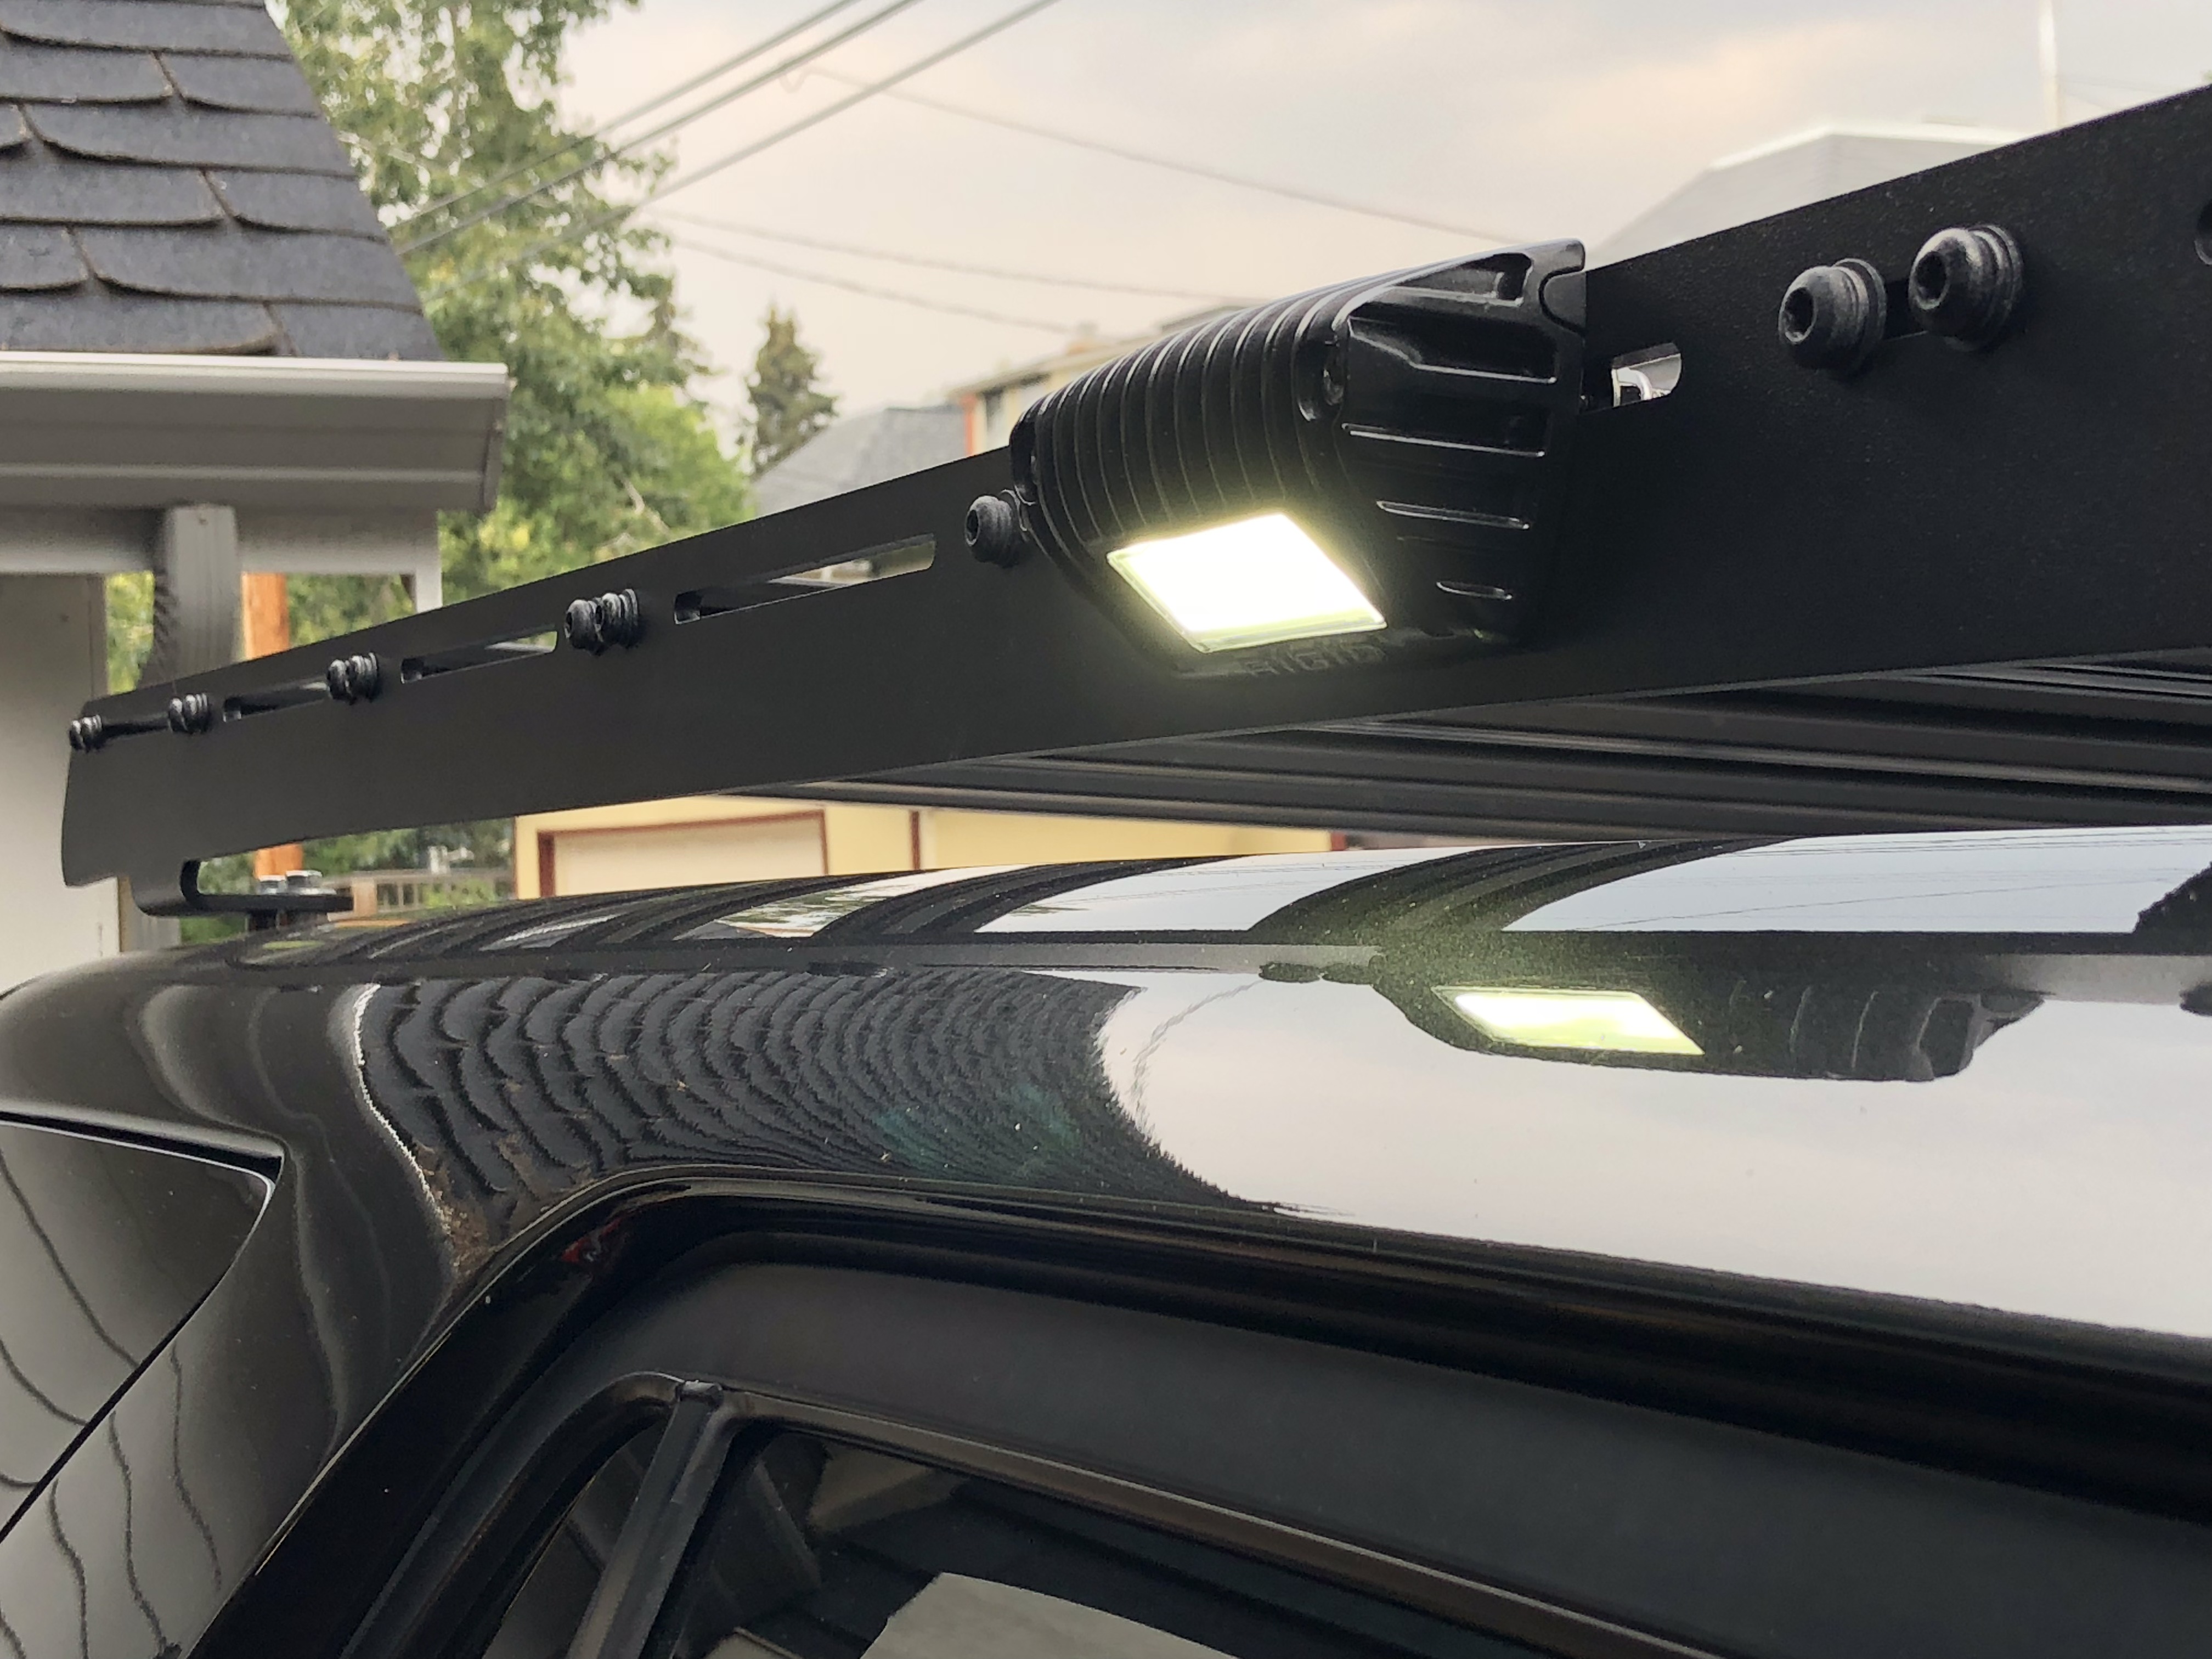

And I haven't had a chance to get out in the mountains yet so a garage shot of the lights will have to suffice for now. They are pretty punchy and I think perfect for what I need.

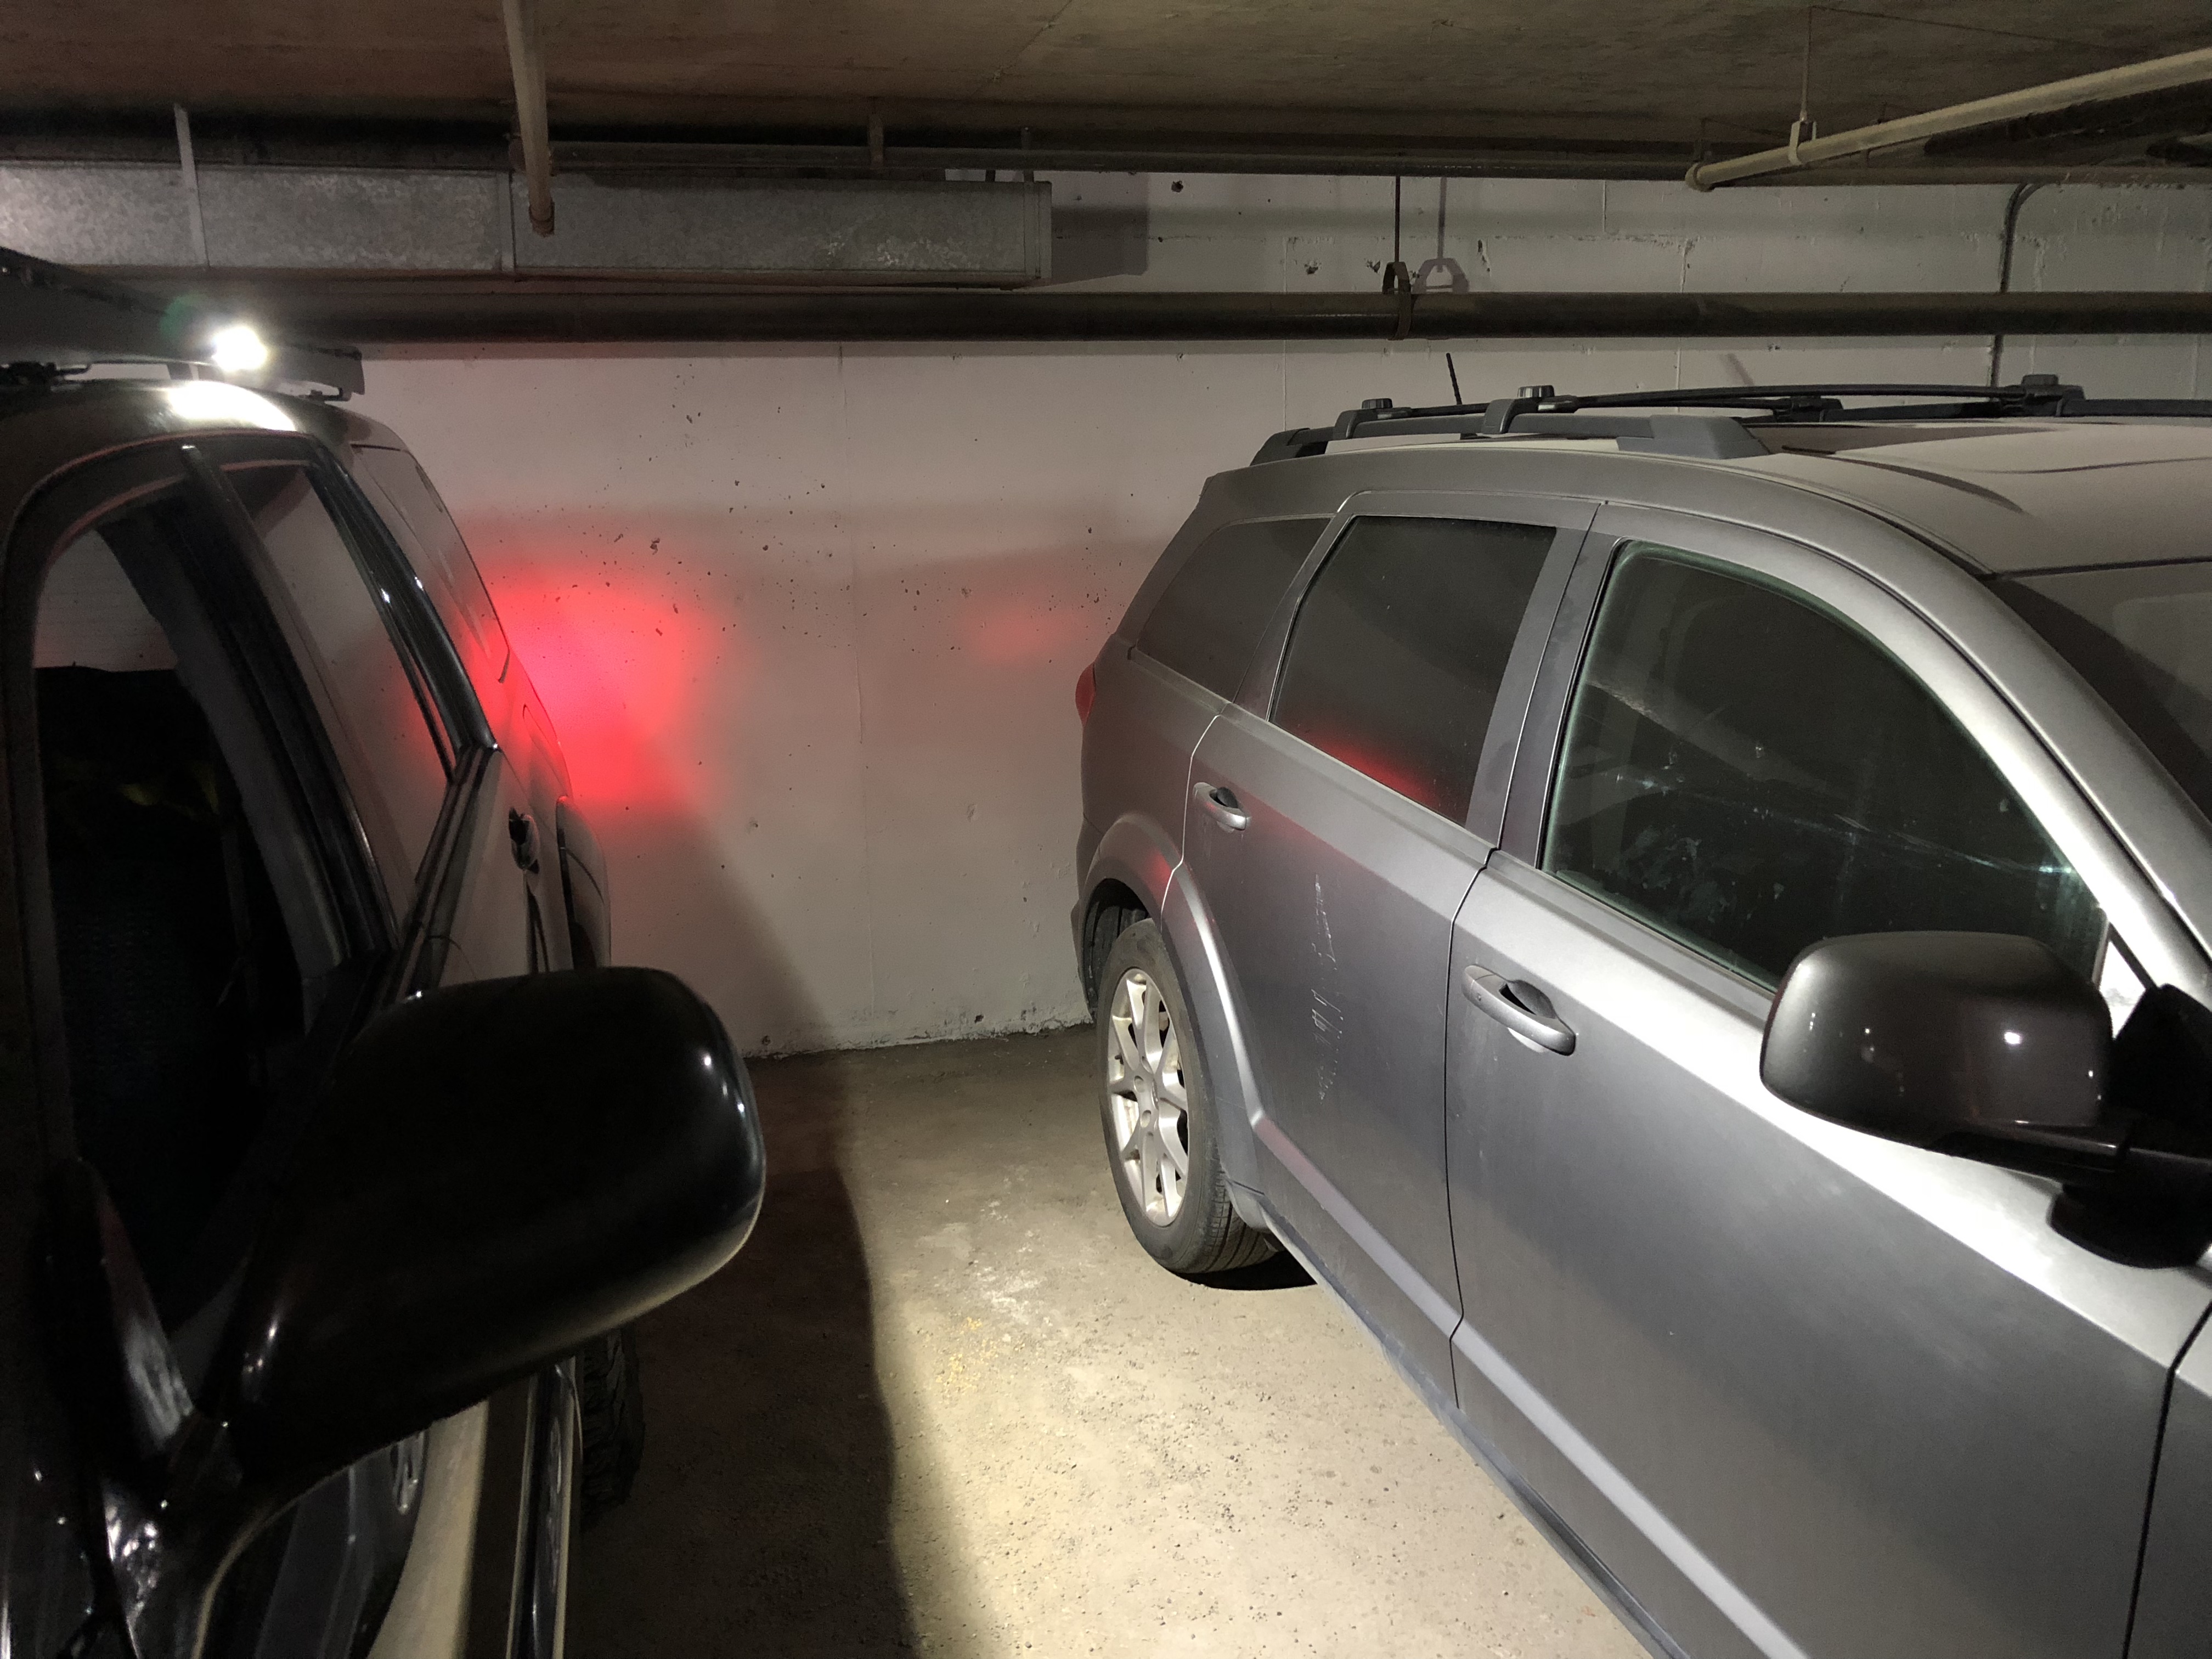
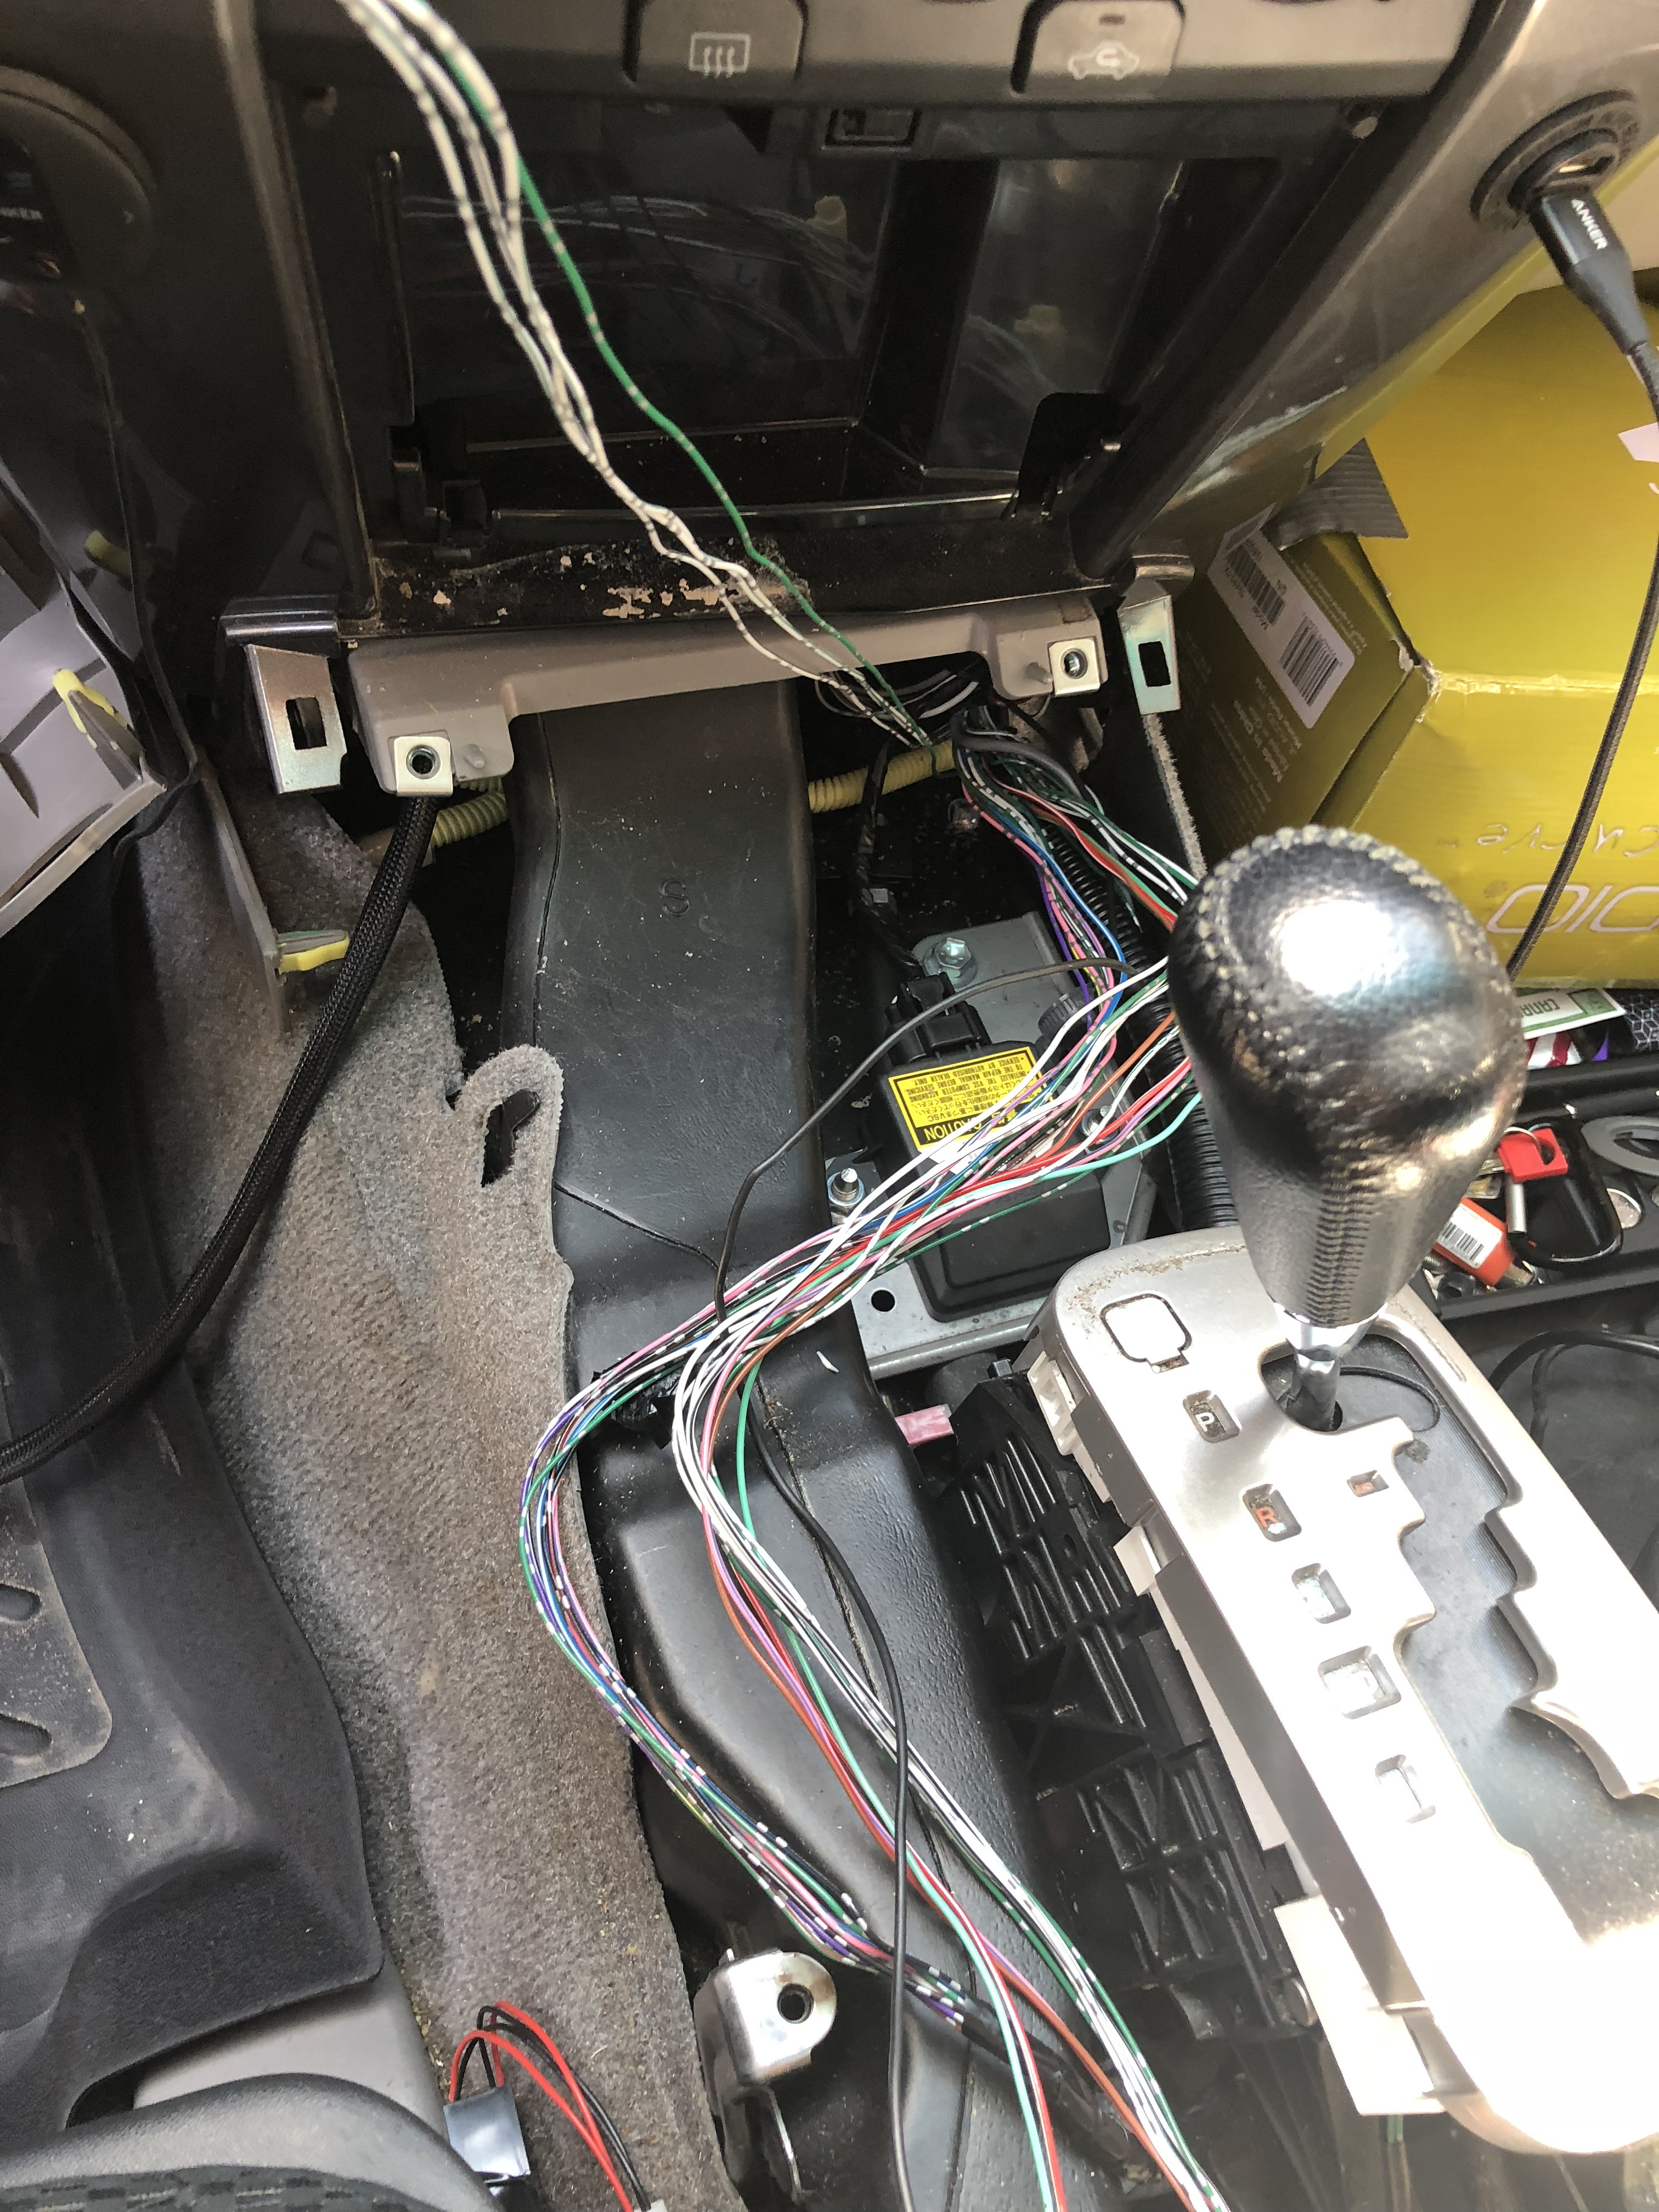
With all the lights I have planned (1 bumper lightbar, 1 roof LED bar, 2 side flood lights, and flush mount backup lights) that will take up all 5 switches on my center console (installed a limited console to use the heated switch spots). Only thing causing issue is the DAC switch.
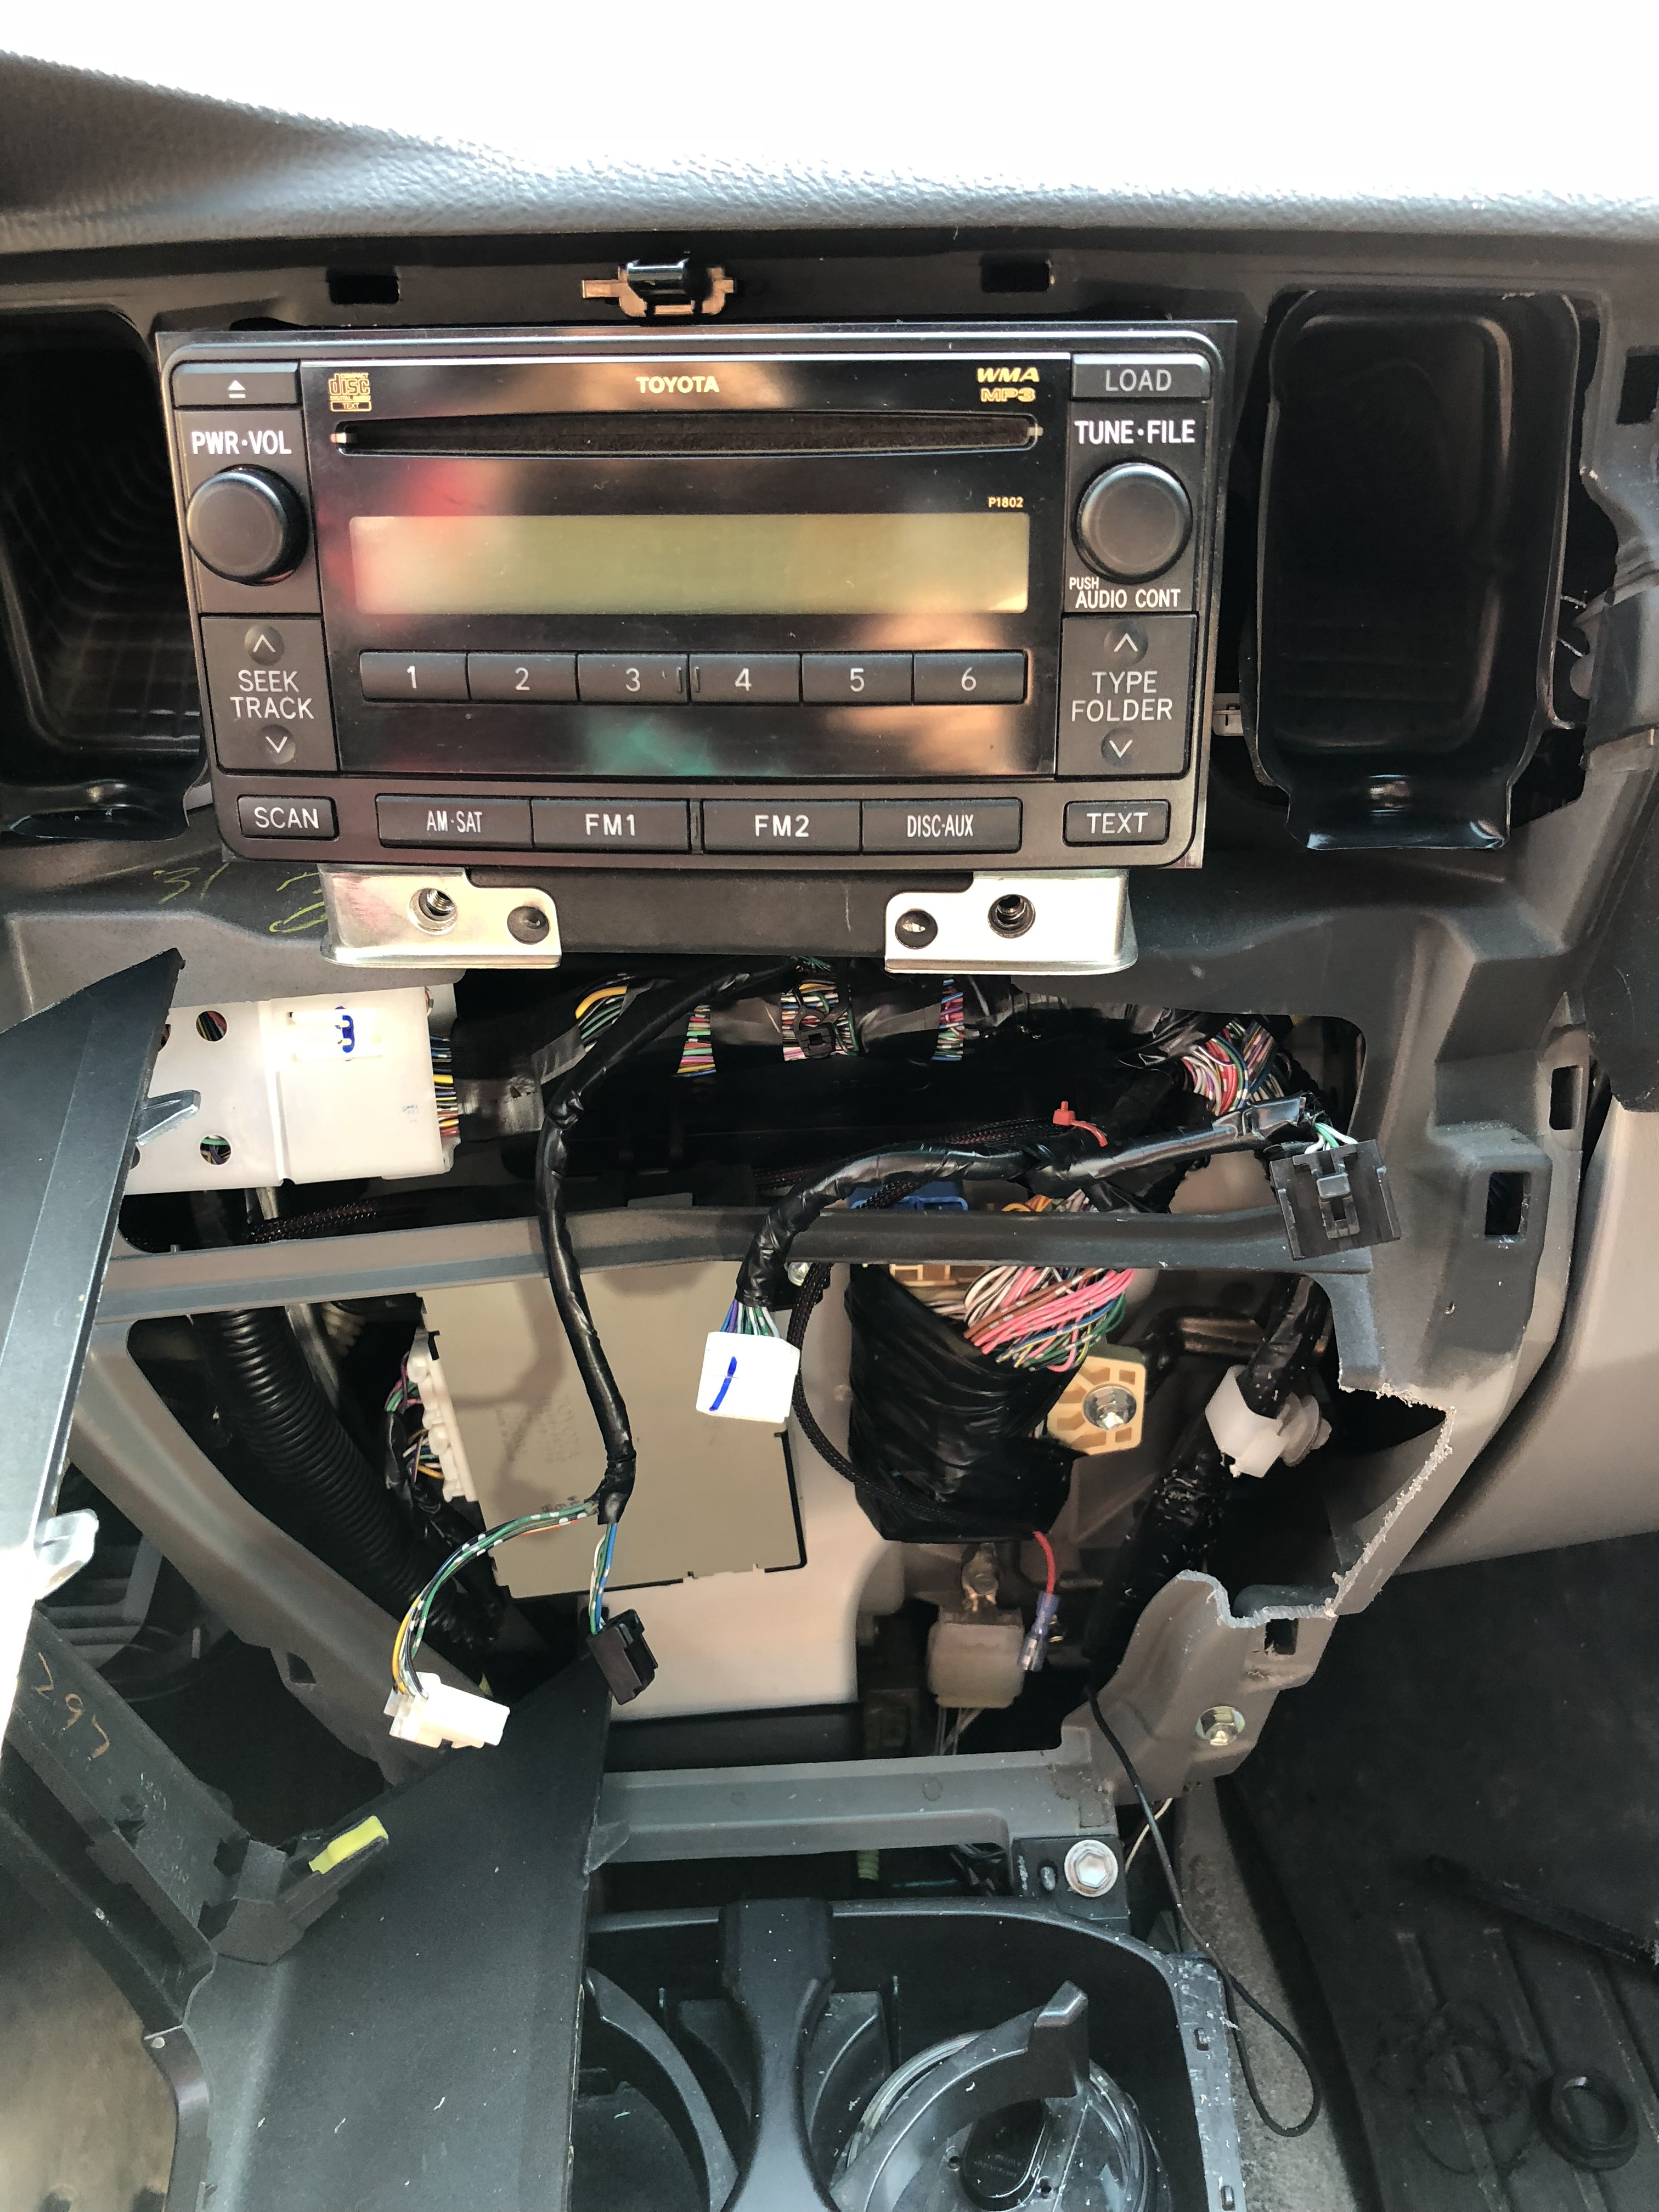
So doing some research I figured I could either A) Cut the harness, splice on 4(i think) extensions and reroute those up to a blank switch to the left of the steering wheel. Or B) cut back the wire bundle and seperate the DAC harness and reroute that. I decided to go with option B to eliminate extra wires and having a crappy extension run. . It wasn't actually that difficult of a job. Cutting and separating the wire loom all the way back to just past the cupholders gave me just enough leash to run to the rightmost switch spot.
Taped everything back up and looks stock.
Here's a rough photo mid project separating the harness. The wires going upper left are the DAC wires.
I received my two custom switches from CH4x4 for the Prinsu Rack mounted side lights. The switches were installed but I had an issue with the passenger side one. I wasn't getting any illumination on the switch. With an email typed up ready to send to customer service I realized one of the pins was bent. I was able to striaghten it out and worked great.
About a month ago both my headlights fogged up at the same time. They had both been completely fine for the last two years. I finally got around to baking them today. I used some fresh Morimoto headlight butyl and added a bead of that all the way around. I purchased my vehicle as a rebuilt title and didn't realize until today that the headlight on the damaged side (passenger side) was slightly different then the OEM drivers side. Looks the exact same but it's definitely not Toyota. Taking it apart it was pretty clear as well. The reflector piece was hardly held in. But I'll deal with that later if it becomes an issue. I also installed two new clear lenses for the projector housings. Not sure where I read that it was an worthwhile upgrade. Switching them out they looked pretty similar but they were cheap so in they went.
I also threw 3 silica packs in each headlight in the hopes that any small amount of moisture will be handled with those.
Essentially I baked the headlights for 7 minutes at 265 degrees. They came apart very easily. I then put the base back in for a couple minutes to soften the factory sealant. Then used a flathead screwdriver and tried to smooth out the old sealant around the entire housing. Then added the fresh butyl and stuck together. In the oven for another 7 minutes. Then applied 4 pony clamps to it and some pressure.
After about 30 minutes I ran some electrical tape around the entire edge. Hopefully that does it. If not then I assume the moisture is getting in through the bulb gasket. Sorry no photos but I'm sure you can imagine a headlight in an oven. Pretty uneventful.
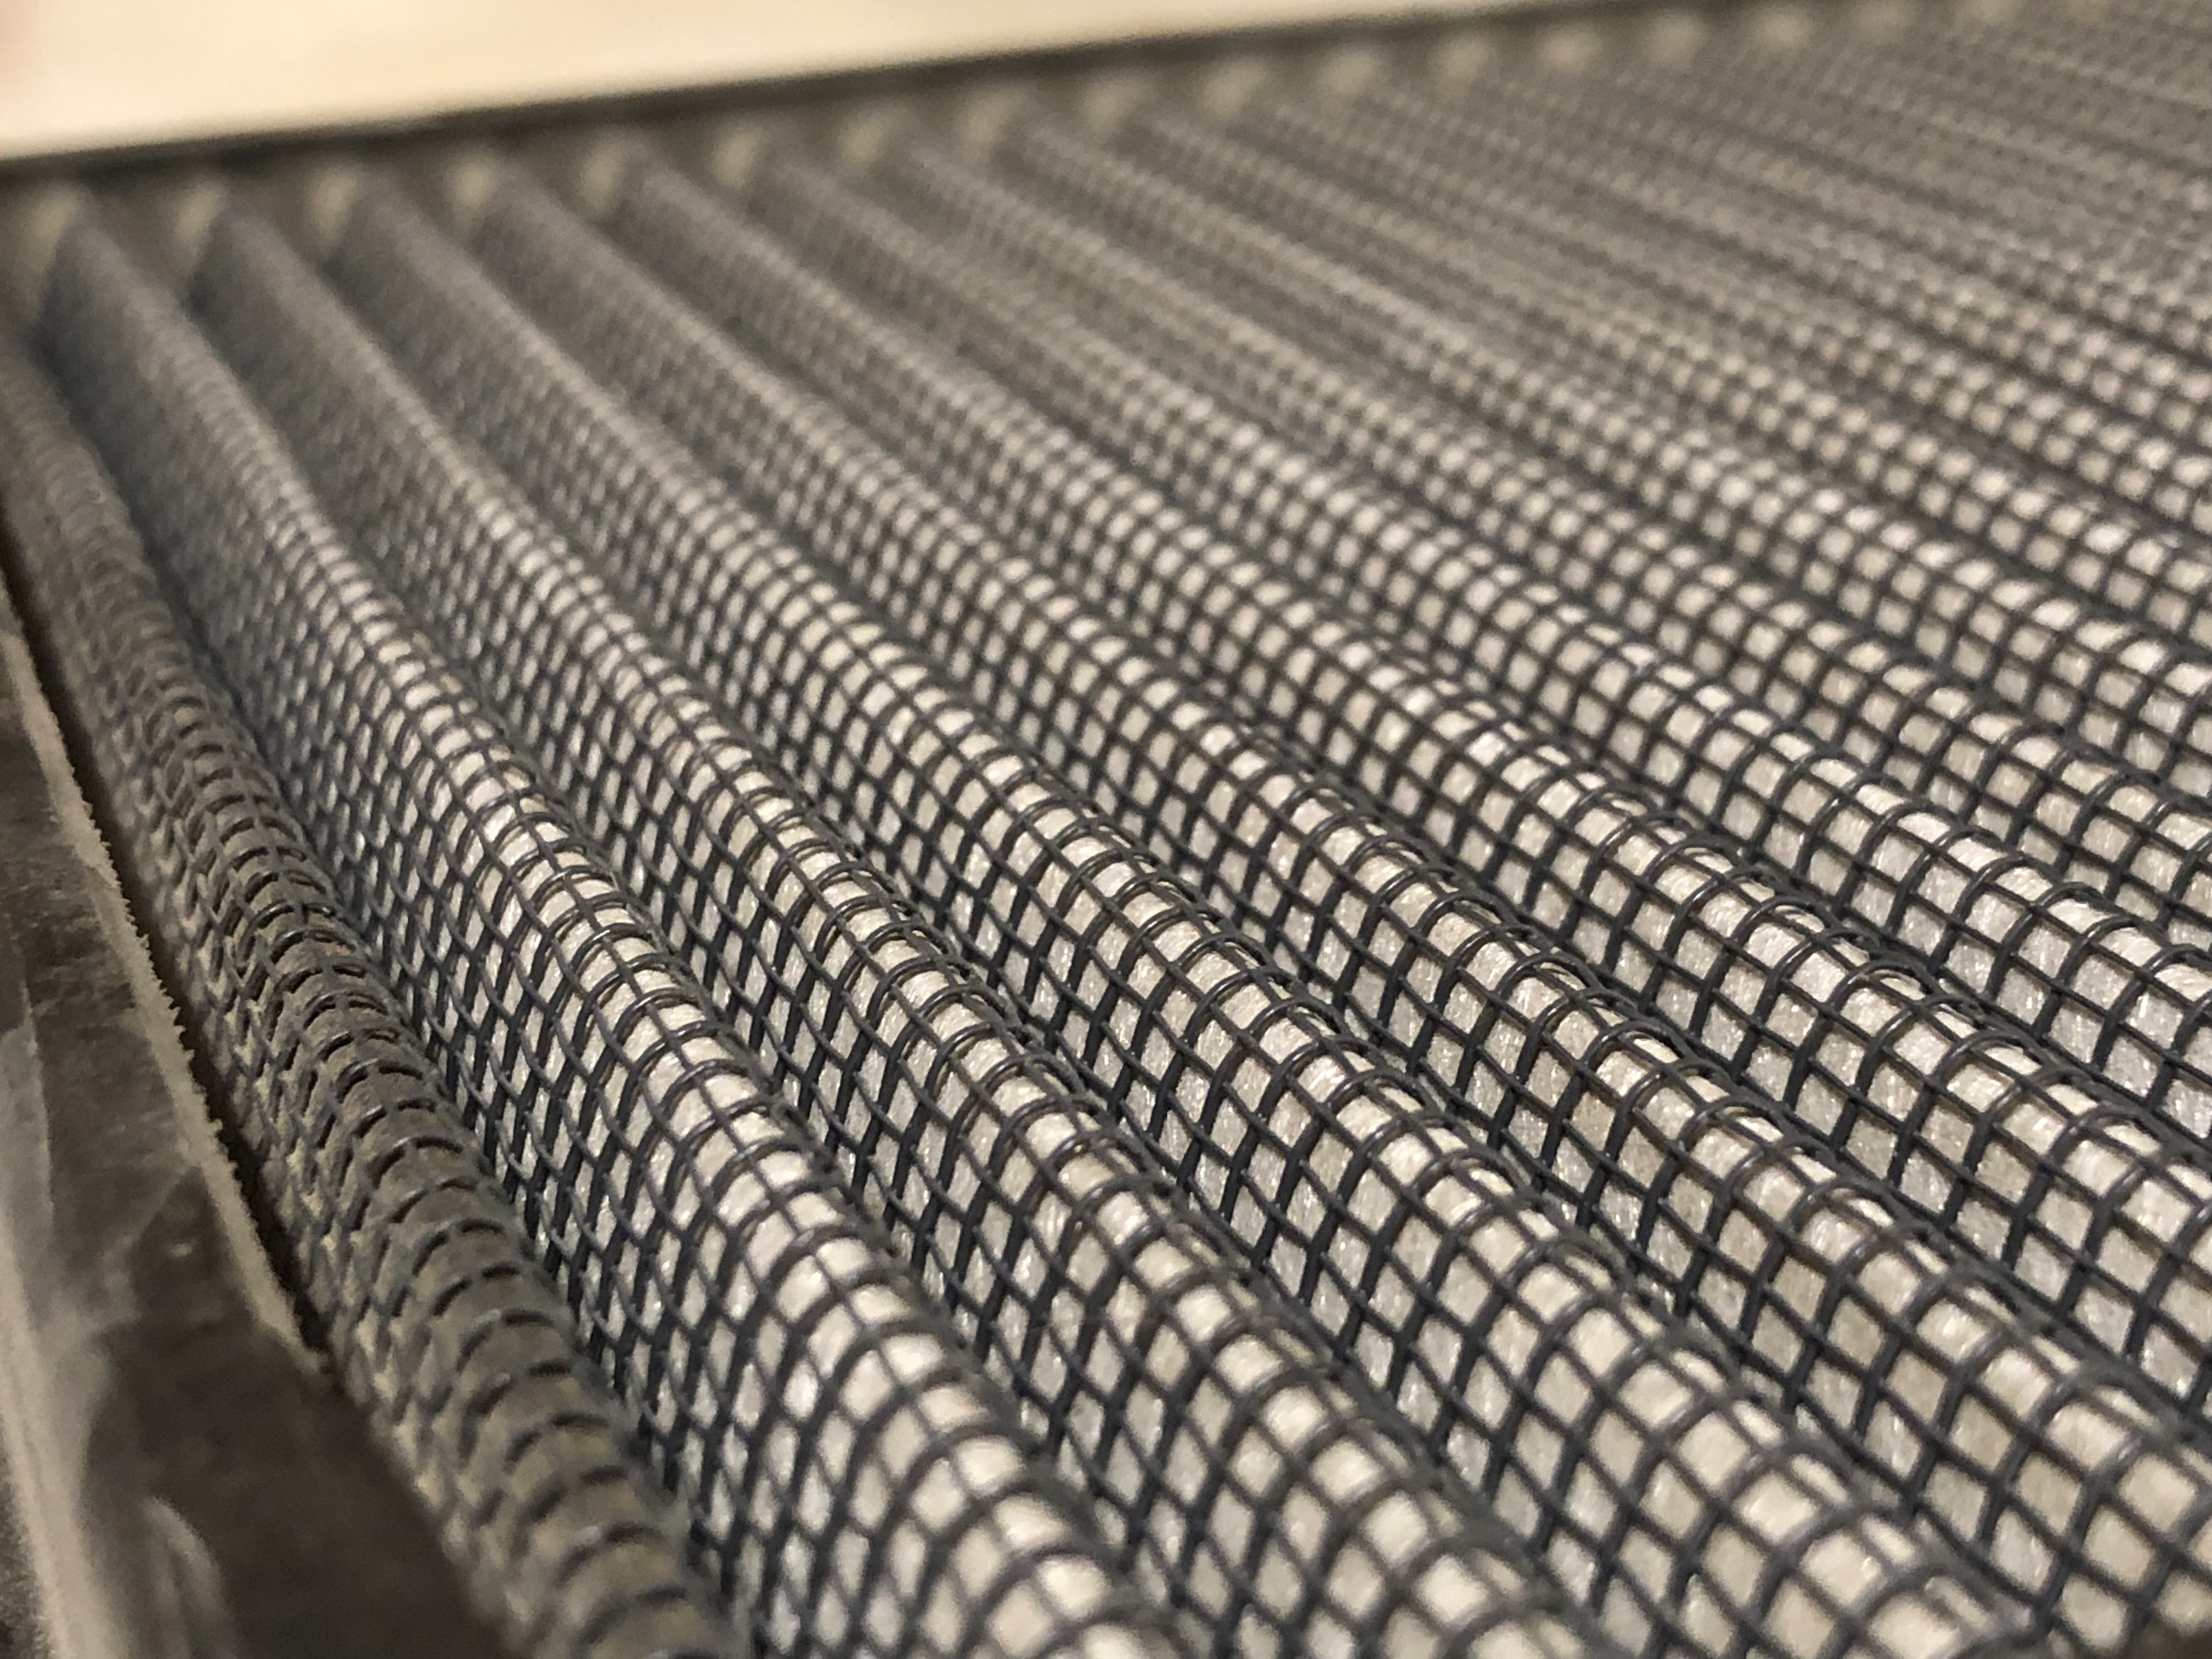
I finally remembered to pull my AFE Pry Dry filter out and give it a rinse.

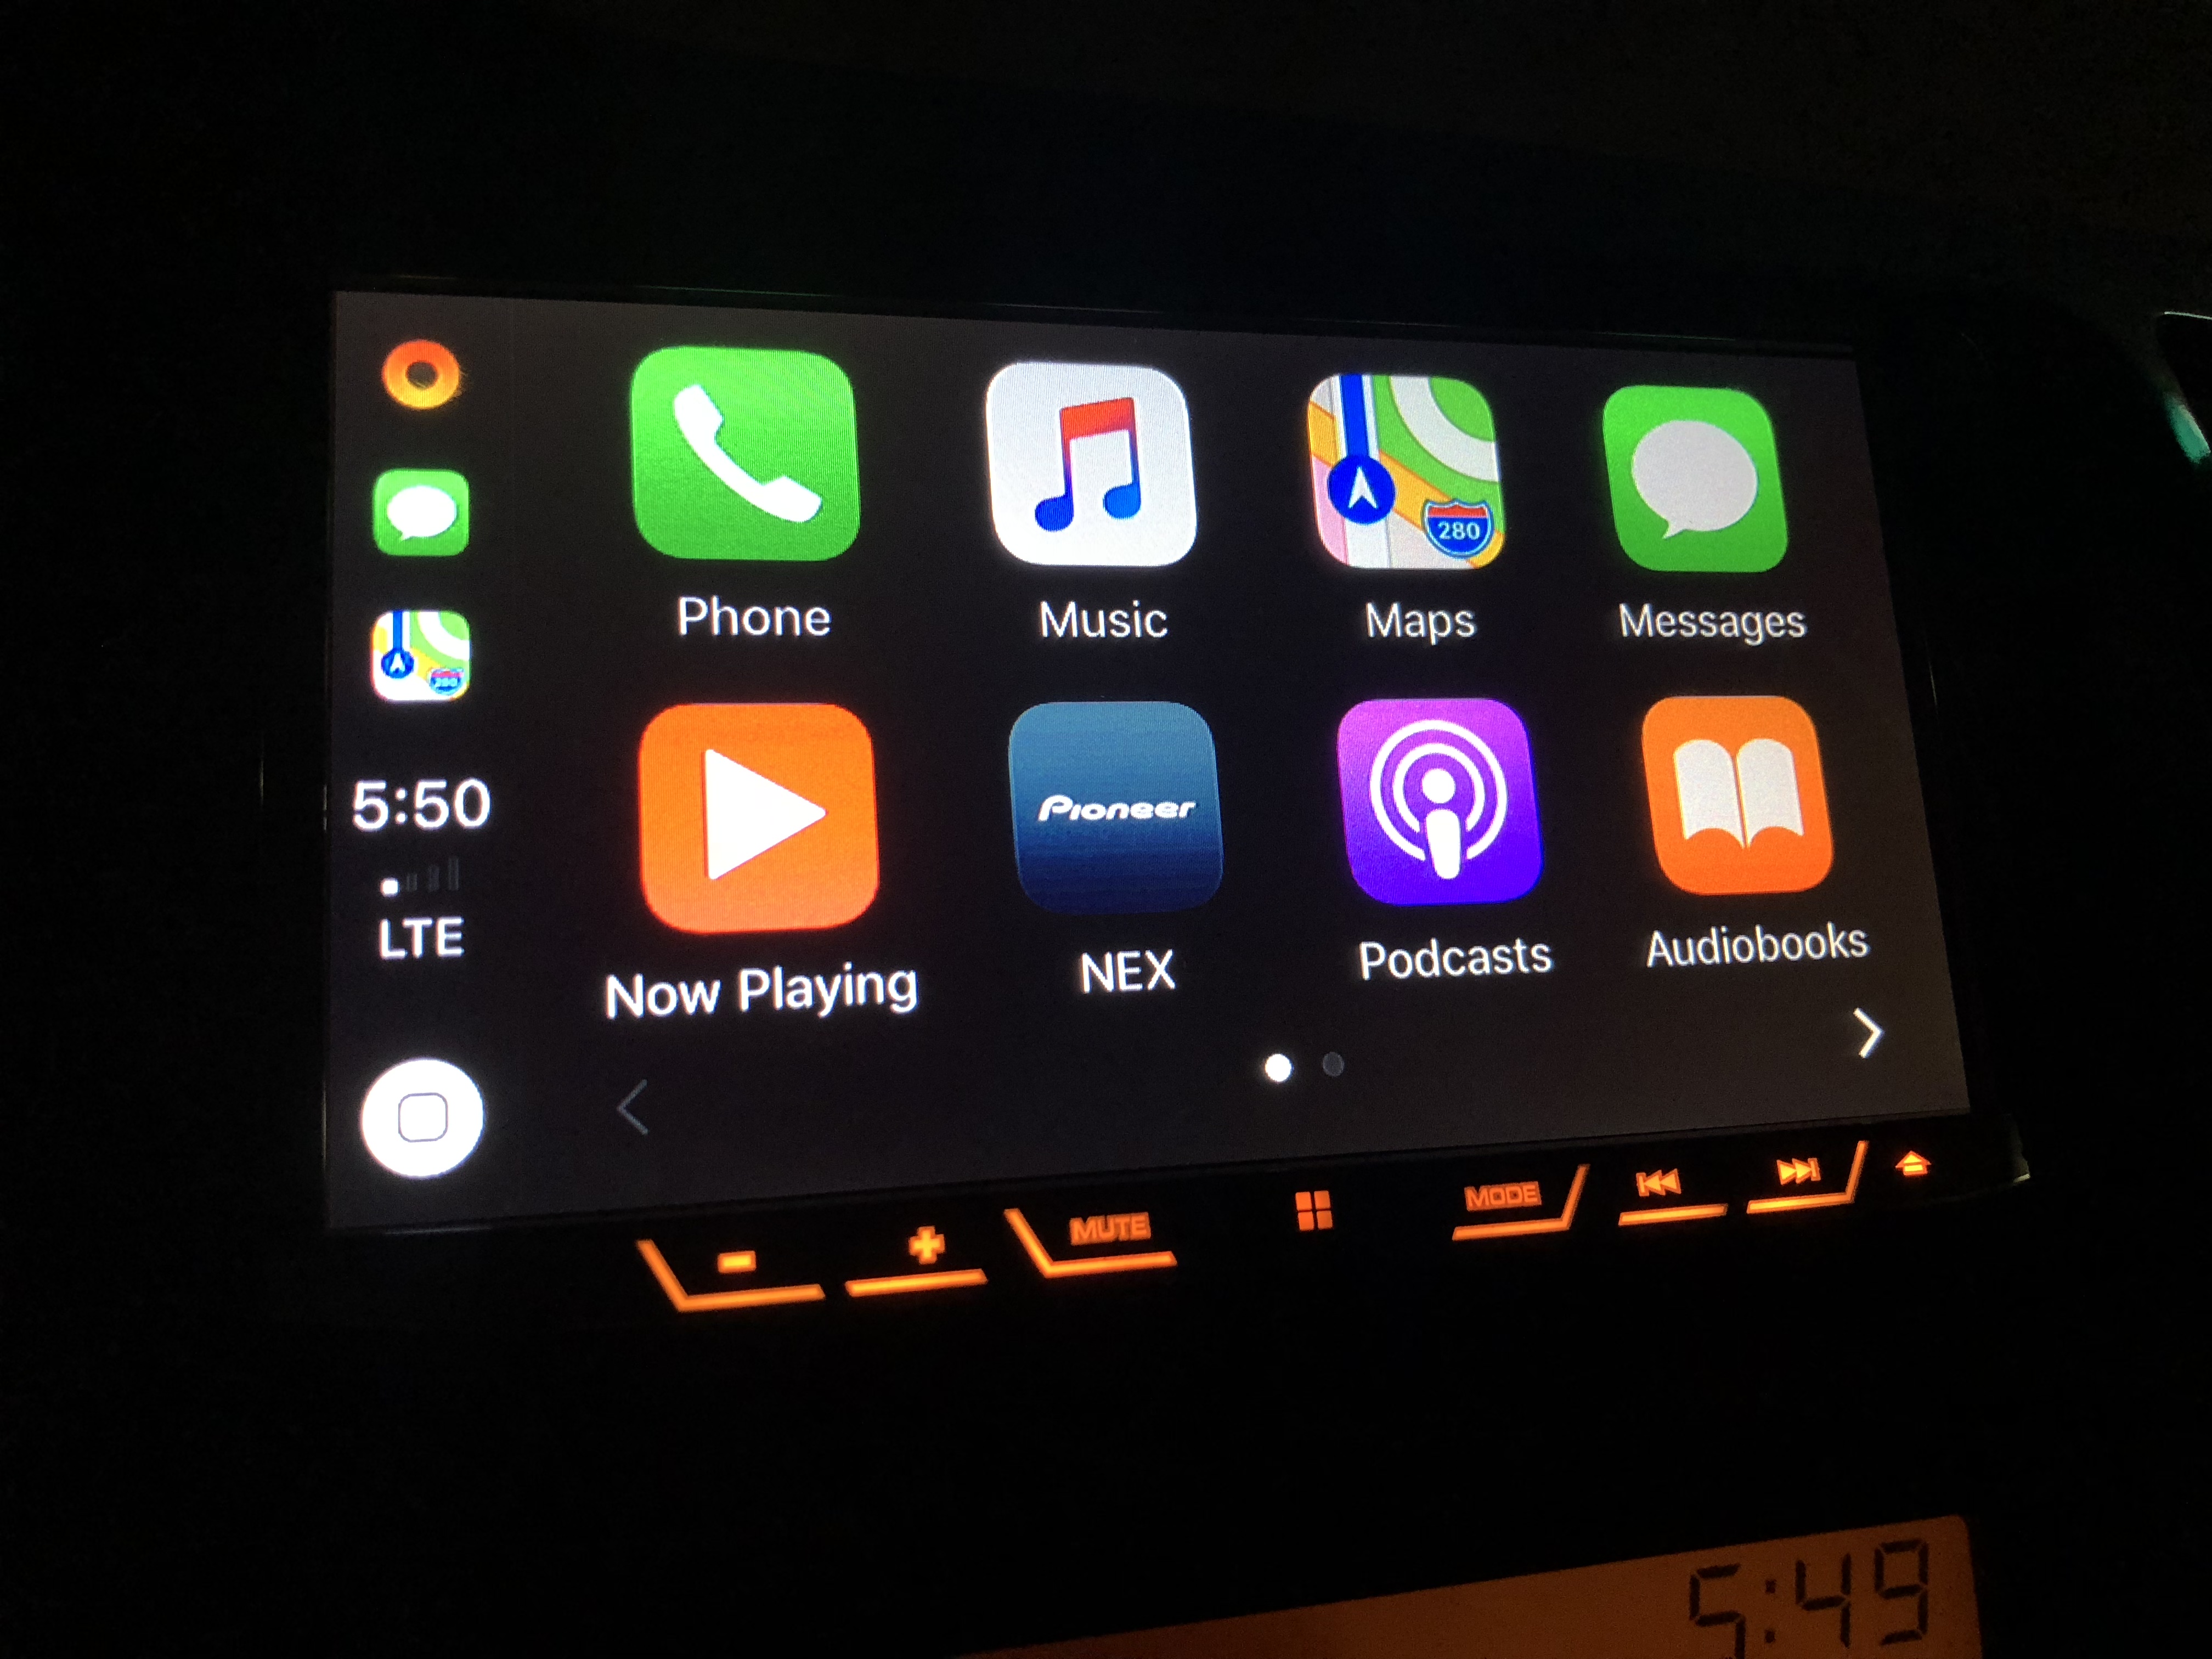
I picked up a used Pioner 4200NEX stereo head unit off Kijiji for a really good price. Just waiting for my installation pieces to arrive from Crutchfield. I was looking to purchase a headunit with Apple Carplay in it and it wasn't really a priority but for a deal I figured why not.
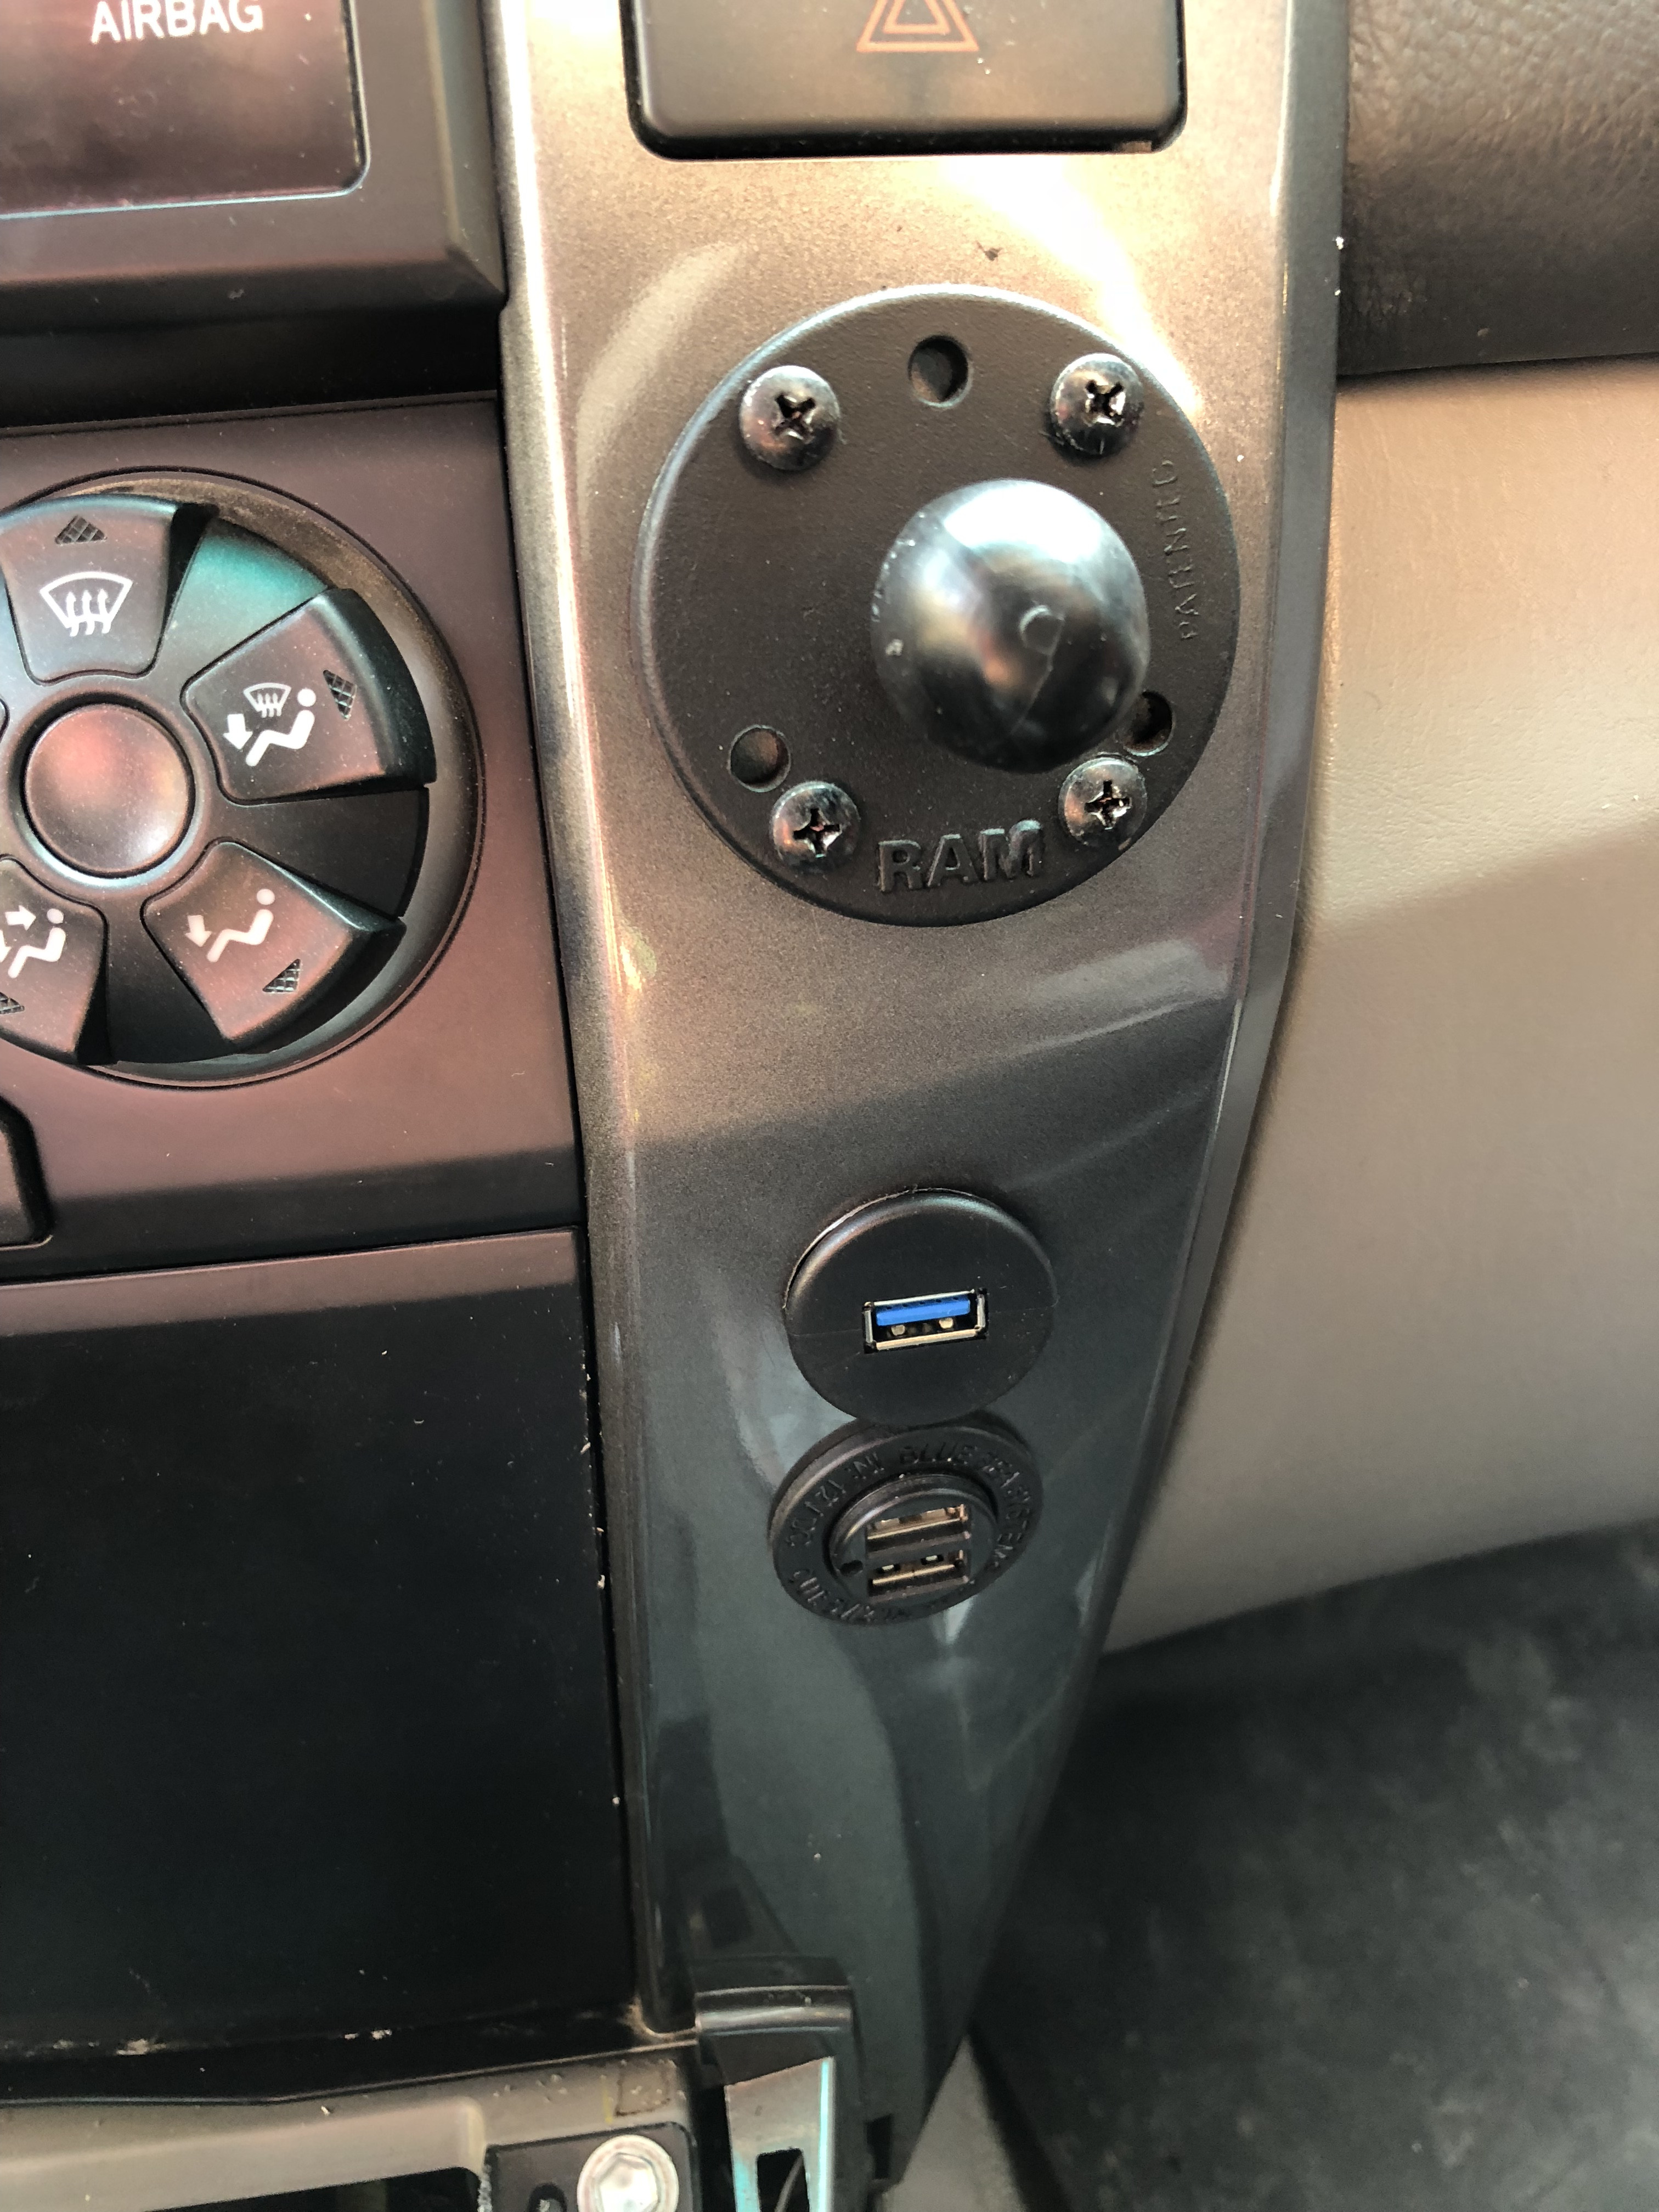
In anticipation of installing it I purchased a USB extender with a circular mount. I wanted to keep the wiring as tidy as possible and this would let me connect to the stereo via USB in a nice OEM looking package. I decided to keep my current dual USB BlueSea mount and add the stereo USB to the same location. I put the extension in the BlueSea slot and added a new hole for the blue sea just below its original spot.
This allows a passenger to charge their phone as well as an additional item (headlamp, key fob, speaker... Etc).
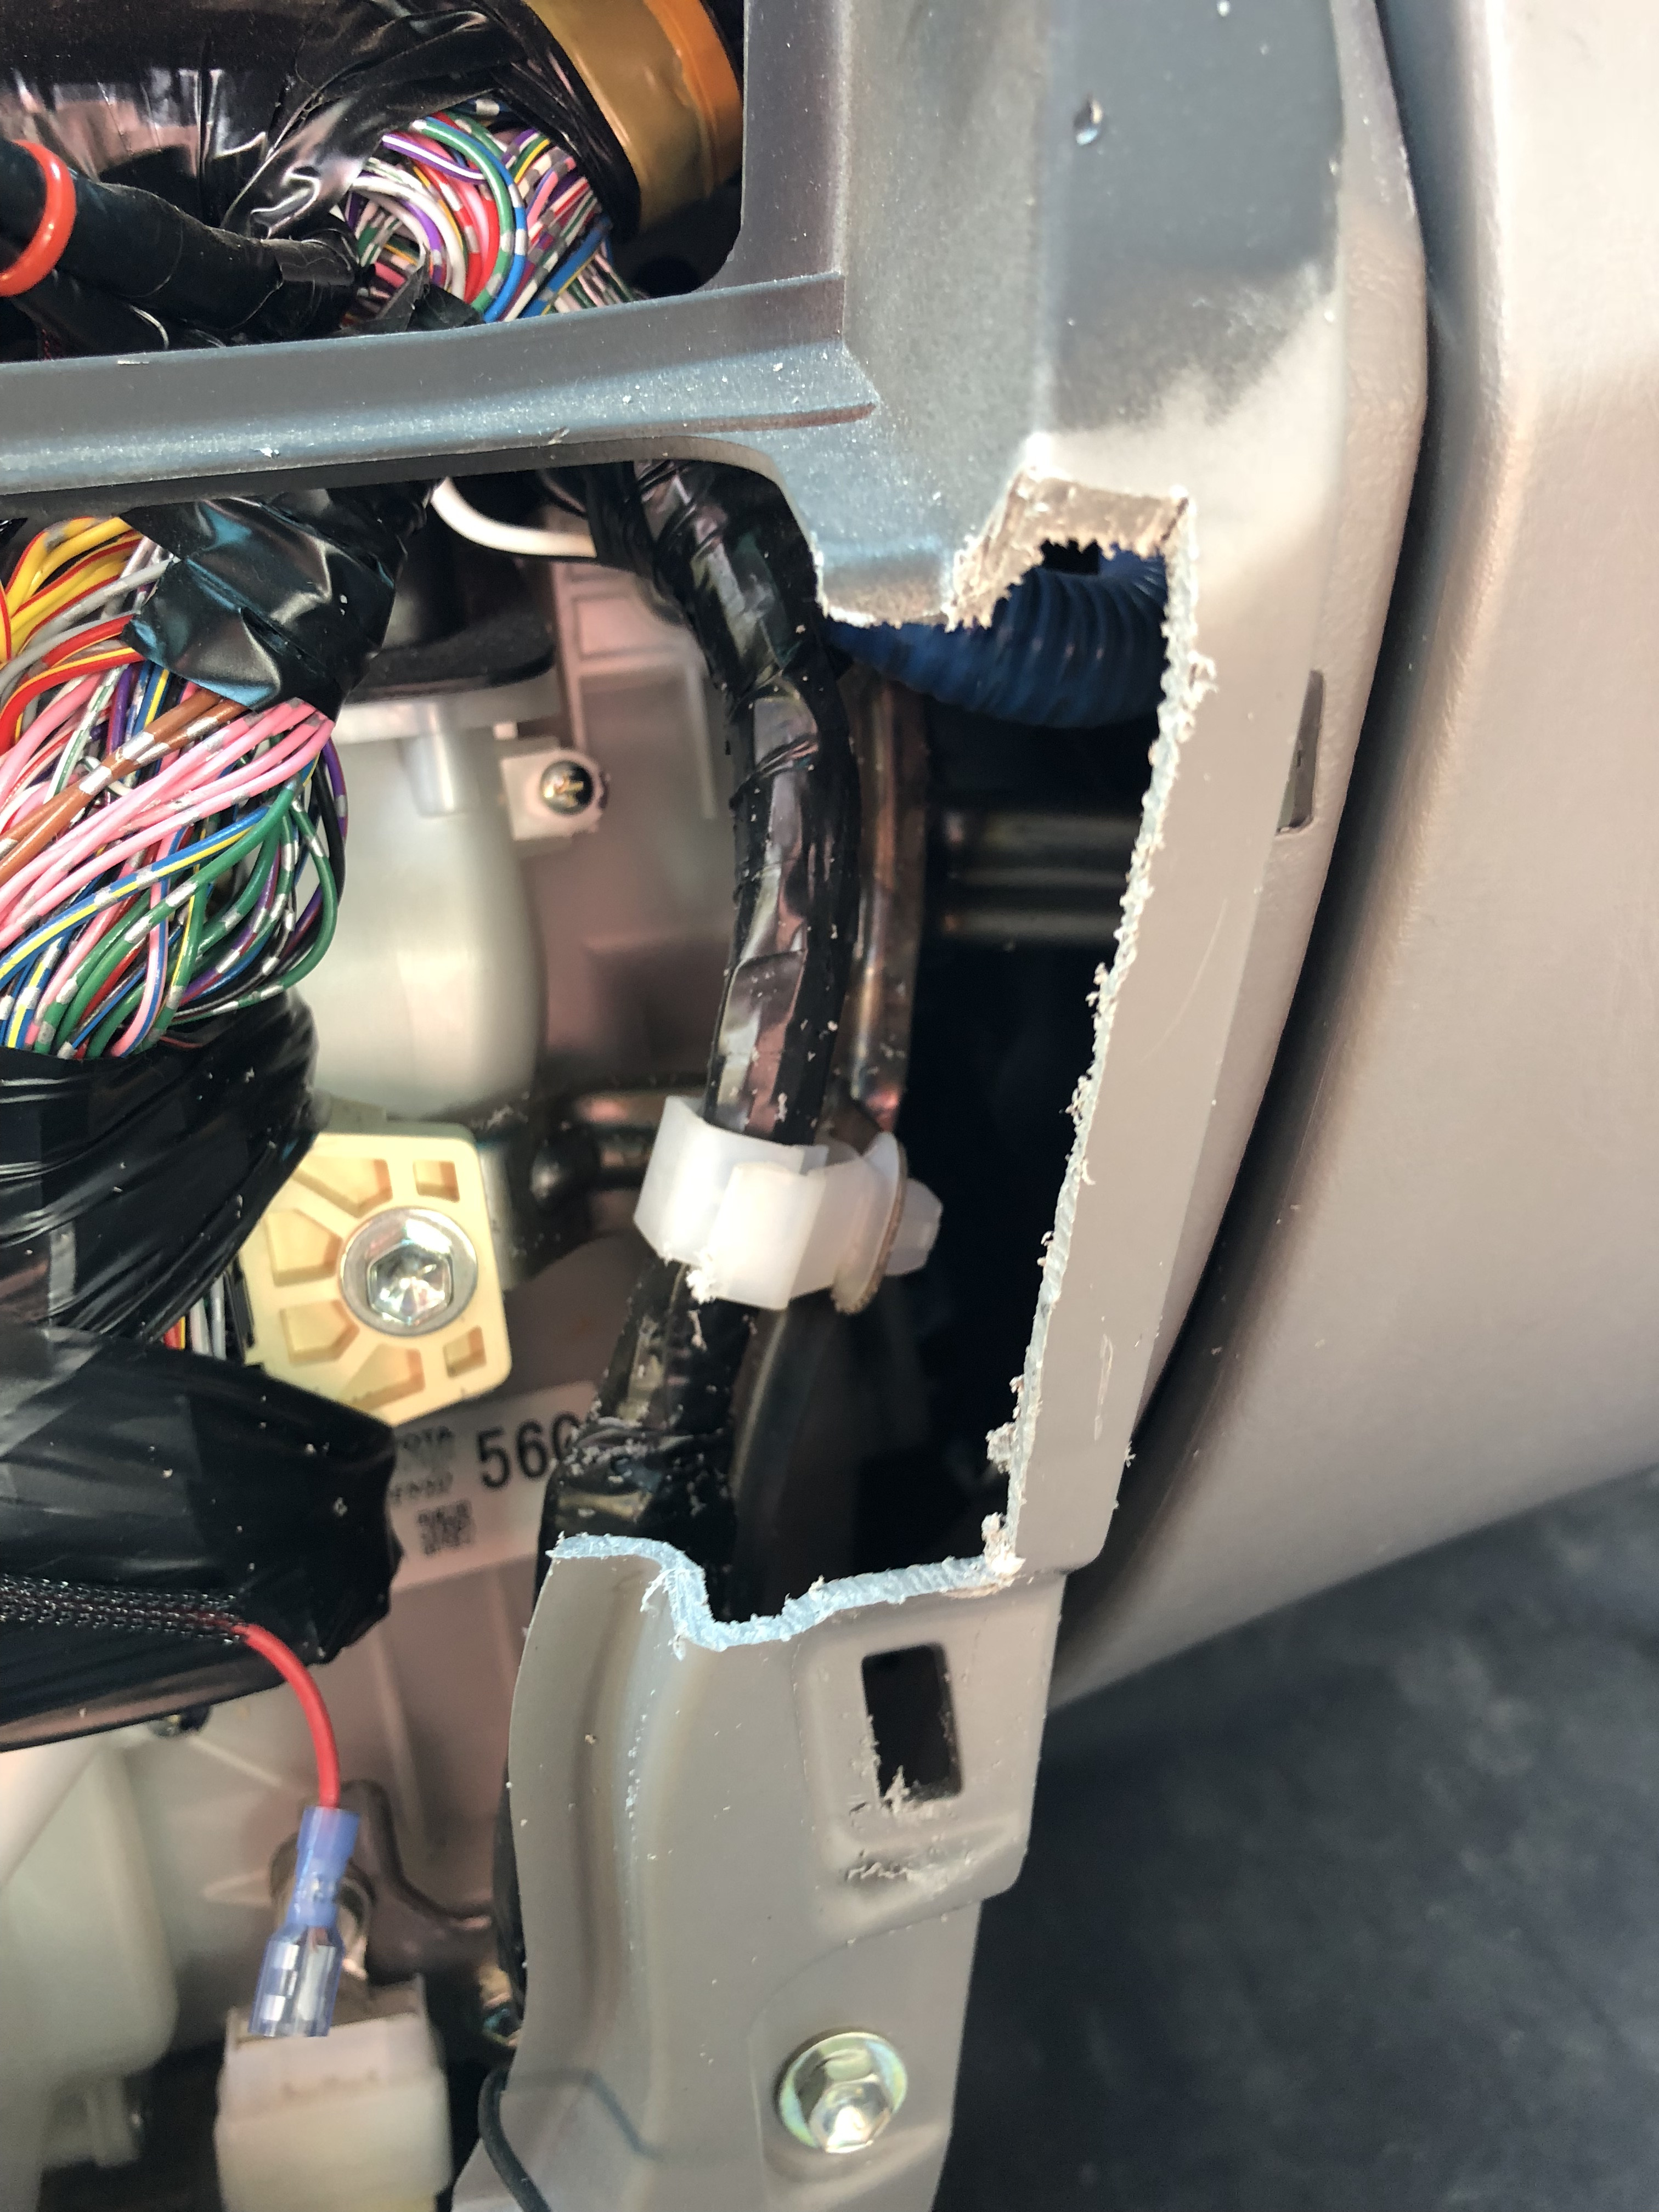
The only permanent modification I had to make to the vehicle was cutting away some extra plastic behind the dash faceplate. This plastic was in the way of my original USB and I had to cut off a little extra below for the new one.
Easy stuff, doesn't seem to affect rigidity or anything and you'll never see it unless you take the dash apart so easy decision.
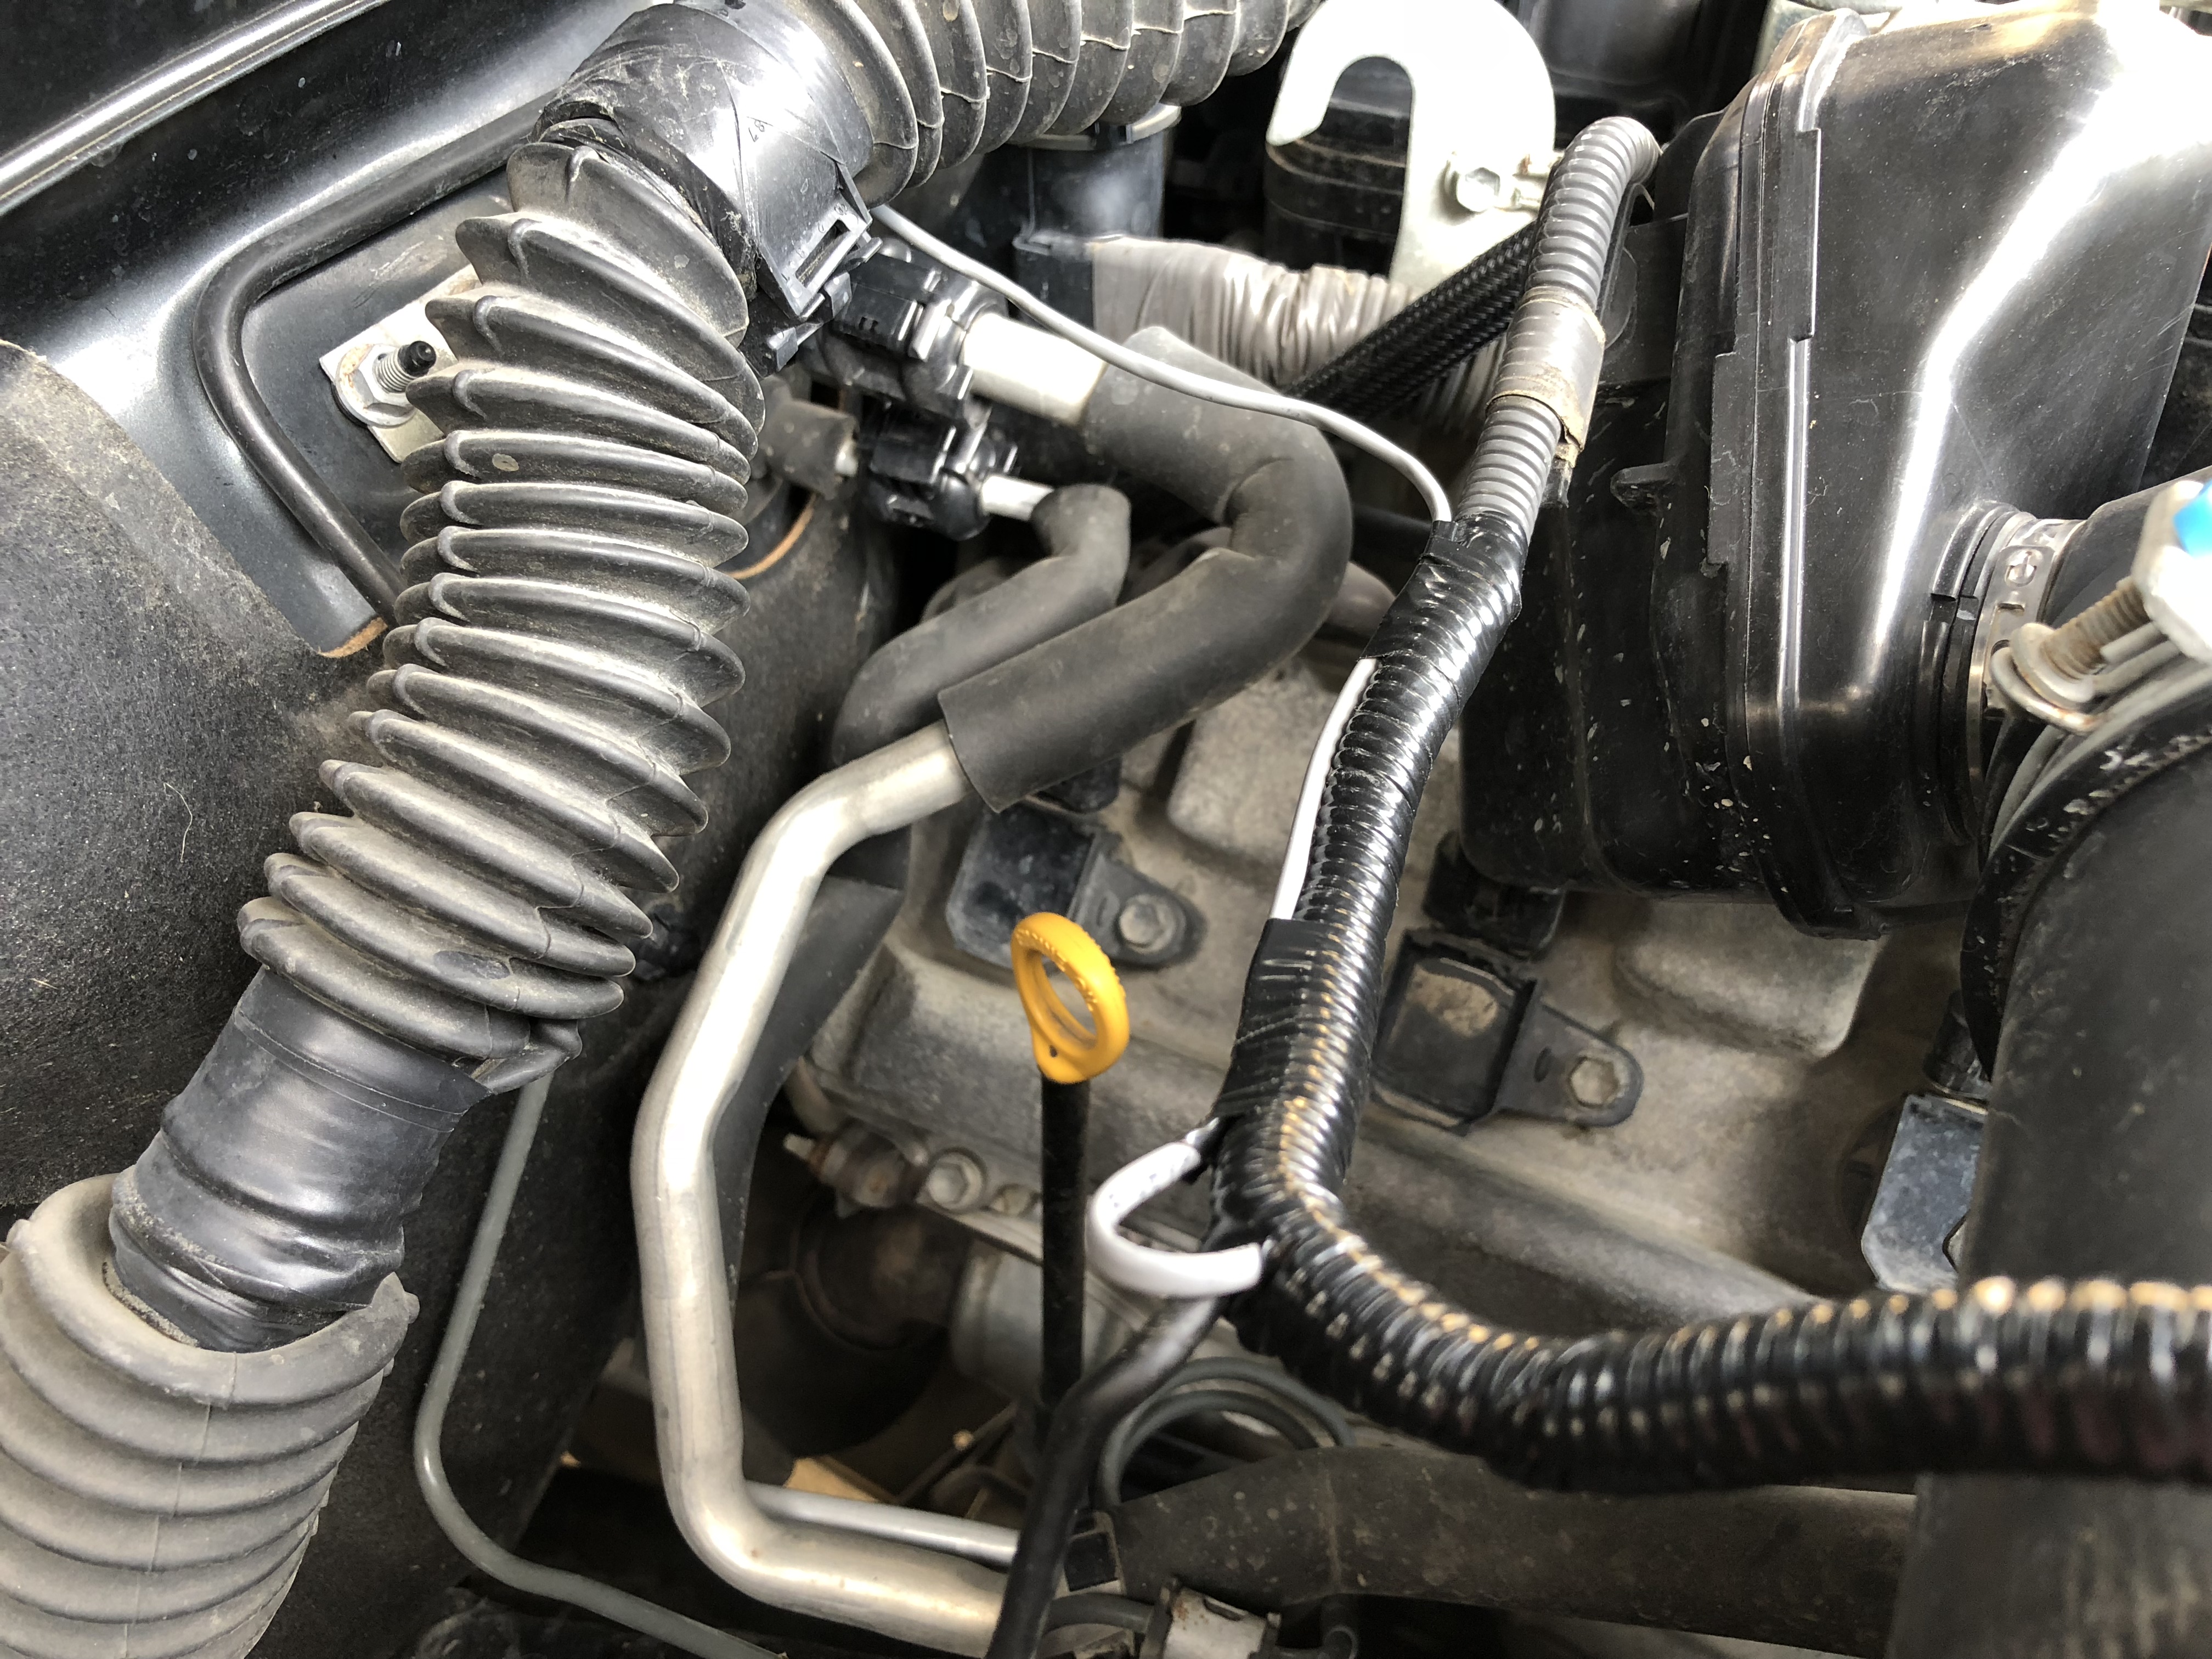
My girlfriend's 4runner had started to make the vacuum sound on startup (AIP failure). So I had ordered a pair of AIP Bypass kits from slyfox a few months ago. Figured may as well be ahead of the game with mine. Haven't had a chance to install the girlfriends but I was the guinea pig and installed mine. Super easy. Probably took me 20-30 minutes as I was going slow trying to make everything clean. Super simple kit and install is no challenge at all. Thanks again
@ slyfox75
__________________
Whytey's 07 V8 Build Thread
2007 Toyota 4Runner Sport Edition V8, Elka 2.5 Suspension, Total Chaos UCA w/ Delta Uniball, Dobinsins C59-677V Rear Coils, Timbren Bumpstops, Prinsu Design Roof Rack, Baja Designs Squadron Sport Fogs, 285/70R17 BFG KO2, Blacked Out TE Rims, Spidertrax 1.25" Wheel Spacers, Satoshi Grill
Last edited by Whytey; 08-30-2018 at 11:24 PM.
Reason: Editing
|
|
|
Reply With Quote
|
|
09-05-2018, 03:40 PM
|
#21
|
|
Member
|
|
Join Date: Aug 2018
Location: Lawrence KS
Posts: 49
|
|
|
Member
Join Date: Aug 2018
Location: Lawrence KS
Posts: 49
|
This is the first time I've heard of the AIP issue on the v8s. I'm doing a little research now and it does not look good. Is this a common problem?
|
|
|
Reply With Quote
|
|
09-15-2018, 04:39 PM
|
#22
|
|
Member
|
|
Join Date: Jul 2016
Location: Calgary, AB
Posts: 198
|
|
|
Member
Join Date: Jul 2016
Location: Calgary, AB
Posts: 198
|
__________________
Whytey's 07 V8 Build Thread
2007 Toyota 4Runner Sport Edition V8, Elka 2.5 Suspension, Total Chaos UCA w/ Delta Uniball, Dobinsins C59-677V Rear Coils, Timbren Bumpstops, Prinsu Design Roof Rack, Baja Designs Squadron Sport Fogs, 285/70R17 BFG KO2, Blacked Out TE Rims, Spidertrax 1.25" Wheel Spacers, Satoshi Grill
|
|
|
Reply With Quote
|
|
01-08-2019, 02:38 PM
|
#23
|
|
Member
|
|
Join Date: Jul 2018
Location: Woodinville, WA
Posts: 57
|
|
|
Member
Join Date: Jul 2018
Location: Woodinville, WA
Posts: 57
|
Wow!
All I can say is wow! I'm super impressed with all the mods. I too have the same color 4R so it's cool to see the mods on your rig as it shows what mine would look like. I wish I was as handyman as you and could do these jobs myself, but I'm not. I bought a new driver's side door catch on eBay and installed it myself and felt like I was Superman because I did it and nothing broke! Anyway, thanks for this build thread and the inspiration it provides. 
__________________
4Runner Noob
2007 SR5 V6
|
|
|
Reply With Quote
|
|
02-19-2019, 07:36 PM
|
#24
|
|
Member
|
|
Join Date: Jul 2016
Location: Calgary, AB
Posts: 198
|
|
|
Member
Join Date: Jul 2016
Location: Calgary, AB
Posts: 198
|
Missing anything for this lift?
Some big changes coming.
Thought I'd ask the question here just in case I missed anything.
I am finally getting around to piecing together my proper lift kit to replace my Daystar 2.5/1.5. I've been researching this stuff for a couple years for my rig and think I've got it pretty dialed in. Looking for 2"-2.5" up front and 2-3" rear.
Here is what I've got planned:
Front:
Fox 2.5 Coilover non res
Total Chaos UCA
Extended SS Brake Lines (installed)
DuroBumps front Bump Stops OR Wheelers Superbumps (to be purchased)
SwayBar Relocation Bracket (to be purchased)
Rear:
Fox 2.0 w/ Res. & Adjuster
Dobinsons C59-675V Coils (to be purchased)
Extended SS Brake Lines (installed)
DuroBumps rear Bump Stops or Wheelers Superbumps(to be purchased)
Pro Forged Extended Rear End Links
Wondering if I've missed anything?
Thanks again!
__________________
Whytey's 07 V8 Build Thread
2007 Toyota 4Runner Sport Edition V8, Elka 2.5 Suspension, Total Chaos UCA w/ Delta Uniball, Dobinsins C59-677V Rear Coils, Timbren Bumpstops, Prinsu Design Roof Rack, Baja Designs Squadron Sport Fogs, 285/70R17 BFG KO2, Blacked Out TE Rims, Spidertrax 1.25" Wheel Spacers, Satoshi Grill
|
|
|
Reply With Quote
|
|
03-02-2019, 12:18 PM
|
#25
|
 |
Member
|
|
Join Date: Jul 2014
Location: Bellevue, WA
Posts: 931
|
|
|
Member
Join Date: Jul 2014
Location: Bellevue, WA
Posts: 931
|
Amazing build. Incredible progression. Function and form. Keep it up!
__________________
2002 Thundercloud | TRD Supercharger | TRD Headers | URD 2.2 Pulley | Toytec | Addicted Offroad | 4xinnovations | Icon | SCS | BRIDE
BUILD THREAD

|
|
|
Reply With Quote
|
|
03-24-2019, 12:13 AM
|
#26
|
|
Member
|
|
Join Date: Jul 2016
Location: Calgary, AB
Posts: 198
|
|
|
Member
Join Date: Jul 2016
Location: Calgary, AB
Posts: 198
|
Quote:
Originally Posted by JShipps
All I can say is wow! I'm super impressed with all the mods. I too have the same color 4R so it's cool to see the mods on your rig as it shows what mine would look like. I wish I was as handyman as you and could do these jobs myself, but I'm not. I bought a new driver's side door catch on eBay and installed it myself and felt like I was Superman because I did it and nothing broke! Anyway, thanks for this build thread and the inspiration it provides. |
Glad i could be of help. Haha ya it is a unique color. I am still trying to decide what color wheels to go with... Bronze? Just keep it Black? we'll see I guess.
Haha you sound about as handy as me JShipps. This is the first vehicle I ever changed oil on... And this forum has pretty much walked me through almost everything. Its been a pretty neat learning experience and the knowledge here is pretty incredible.
Quote:
Originally Posted by Formidable
Amazing build. Incredible progression. Function and form. Keep it up!
|
Thank you!
It is starting to take shape.
__________________
Whytey's 07 V8 Build Thread
2007 Toyota 4Runner Sport Edition V8, Elka 2.5 Suspension, Total Chaos UCA w/ Delta Uniball, Dobinsins C59-677V Rear Coils, Timbren Bumpstops, Prinsu Design Roof Rack, Baja Designs Squadron Sport Fogs, 285/70R17 BFG KO2, Blacked Out TE Rims, Spidertrax 1.25" Wheel Spacers, Satoshi Grill
|
|
|
Reply With Quote
|
|
03-24-2019, 12:31 AM
|
#27
|
|
Member
|
|
Join Date: Jul 2016
Location: Calgary, AB
Posts: 198
|
|
|
Member
Join Date: Jul 2016
Location: Calgary, AB
Posts: 198
|
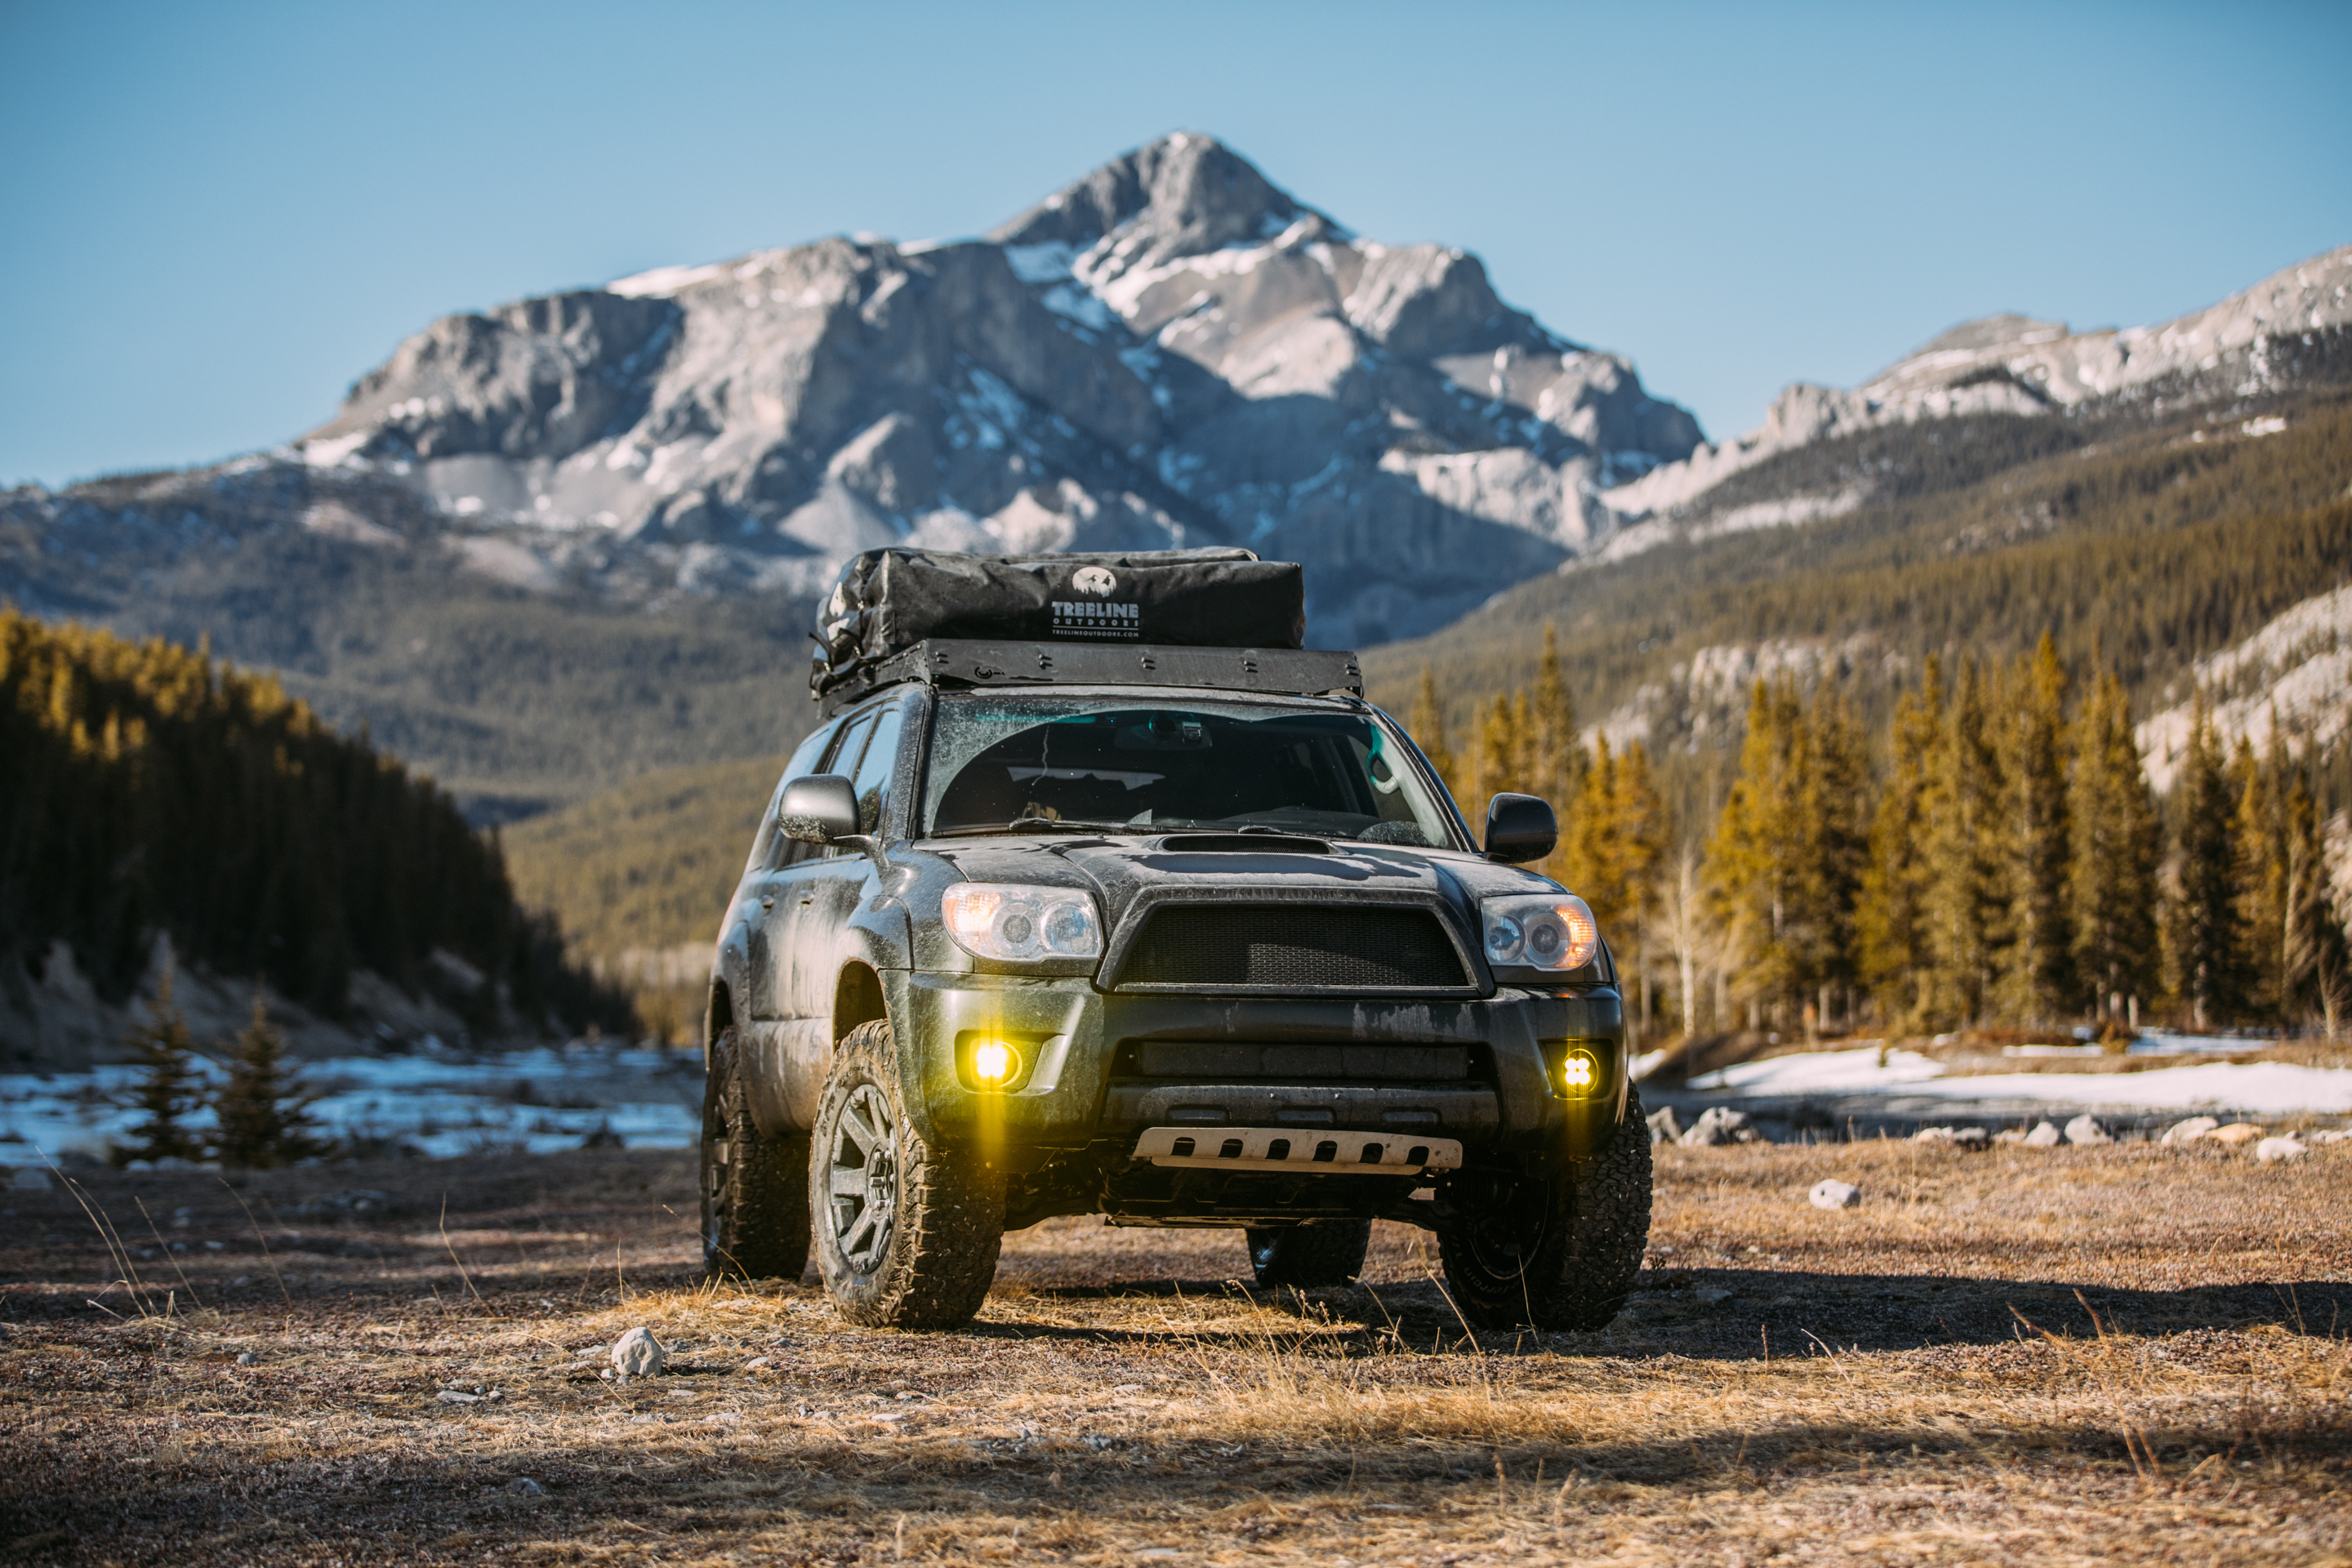
Baja Designs Fog Lights & Wheeling Trip
My suspension pieces are all starting to come together. Just waiting on the last few major items to get shipped then the transformation will begin!
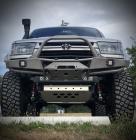
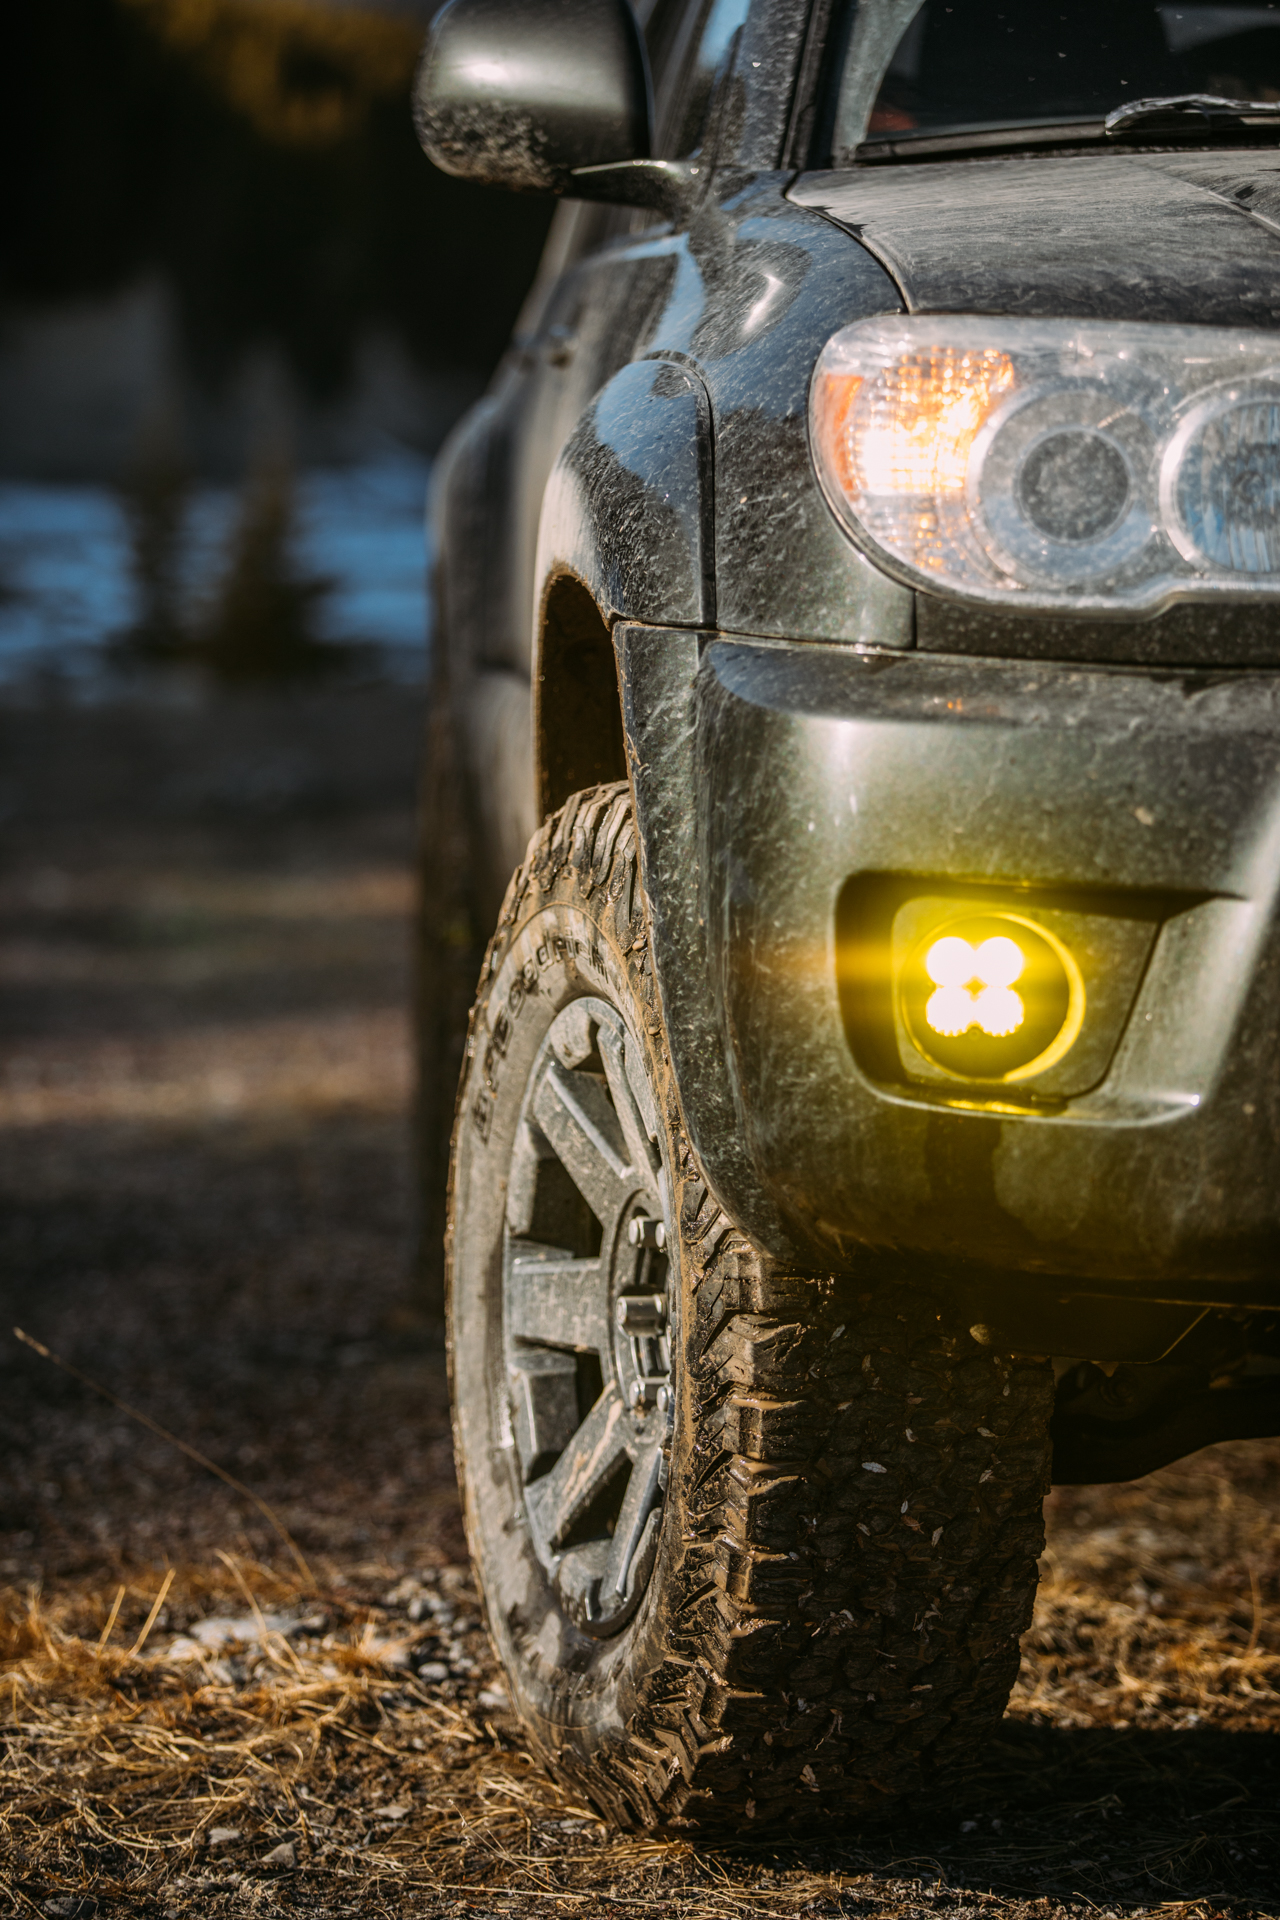
I was invited out for a short trip last night to a newly designated public land zone. So i threw some Spidertrax 1.25" Black wheel spacers on the day before and quickly threw in some Baja Designs Squadron Sport lights to replace my fog lights.
Following some advice from a local shop in town I cleaned up the hubs prior to installation and put a bit of antiseize between the spacer and the hub.
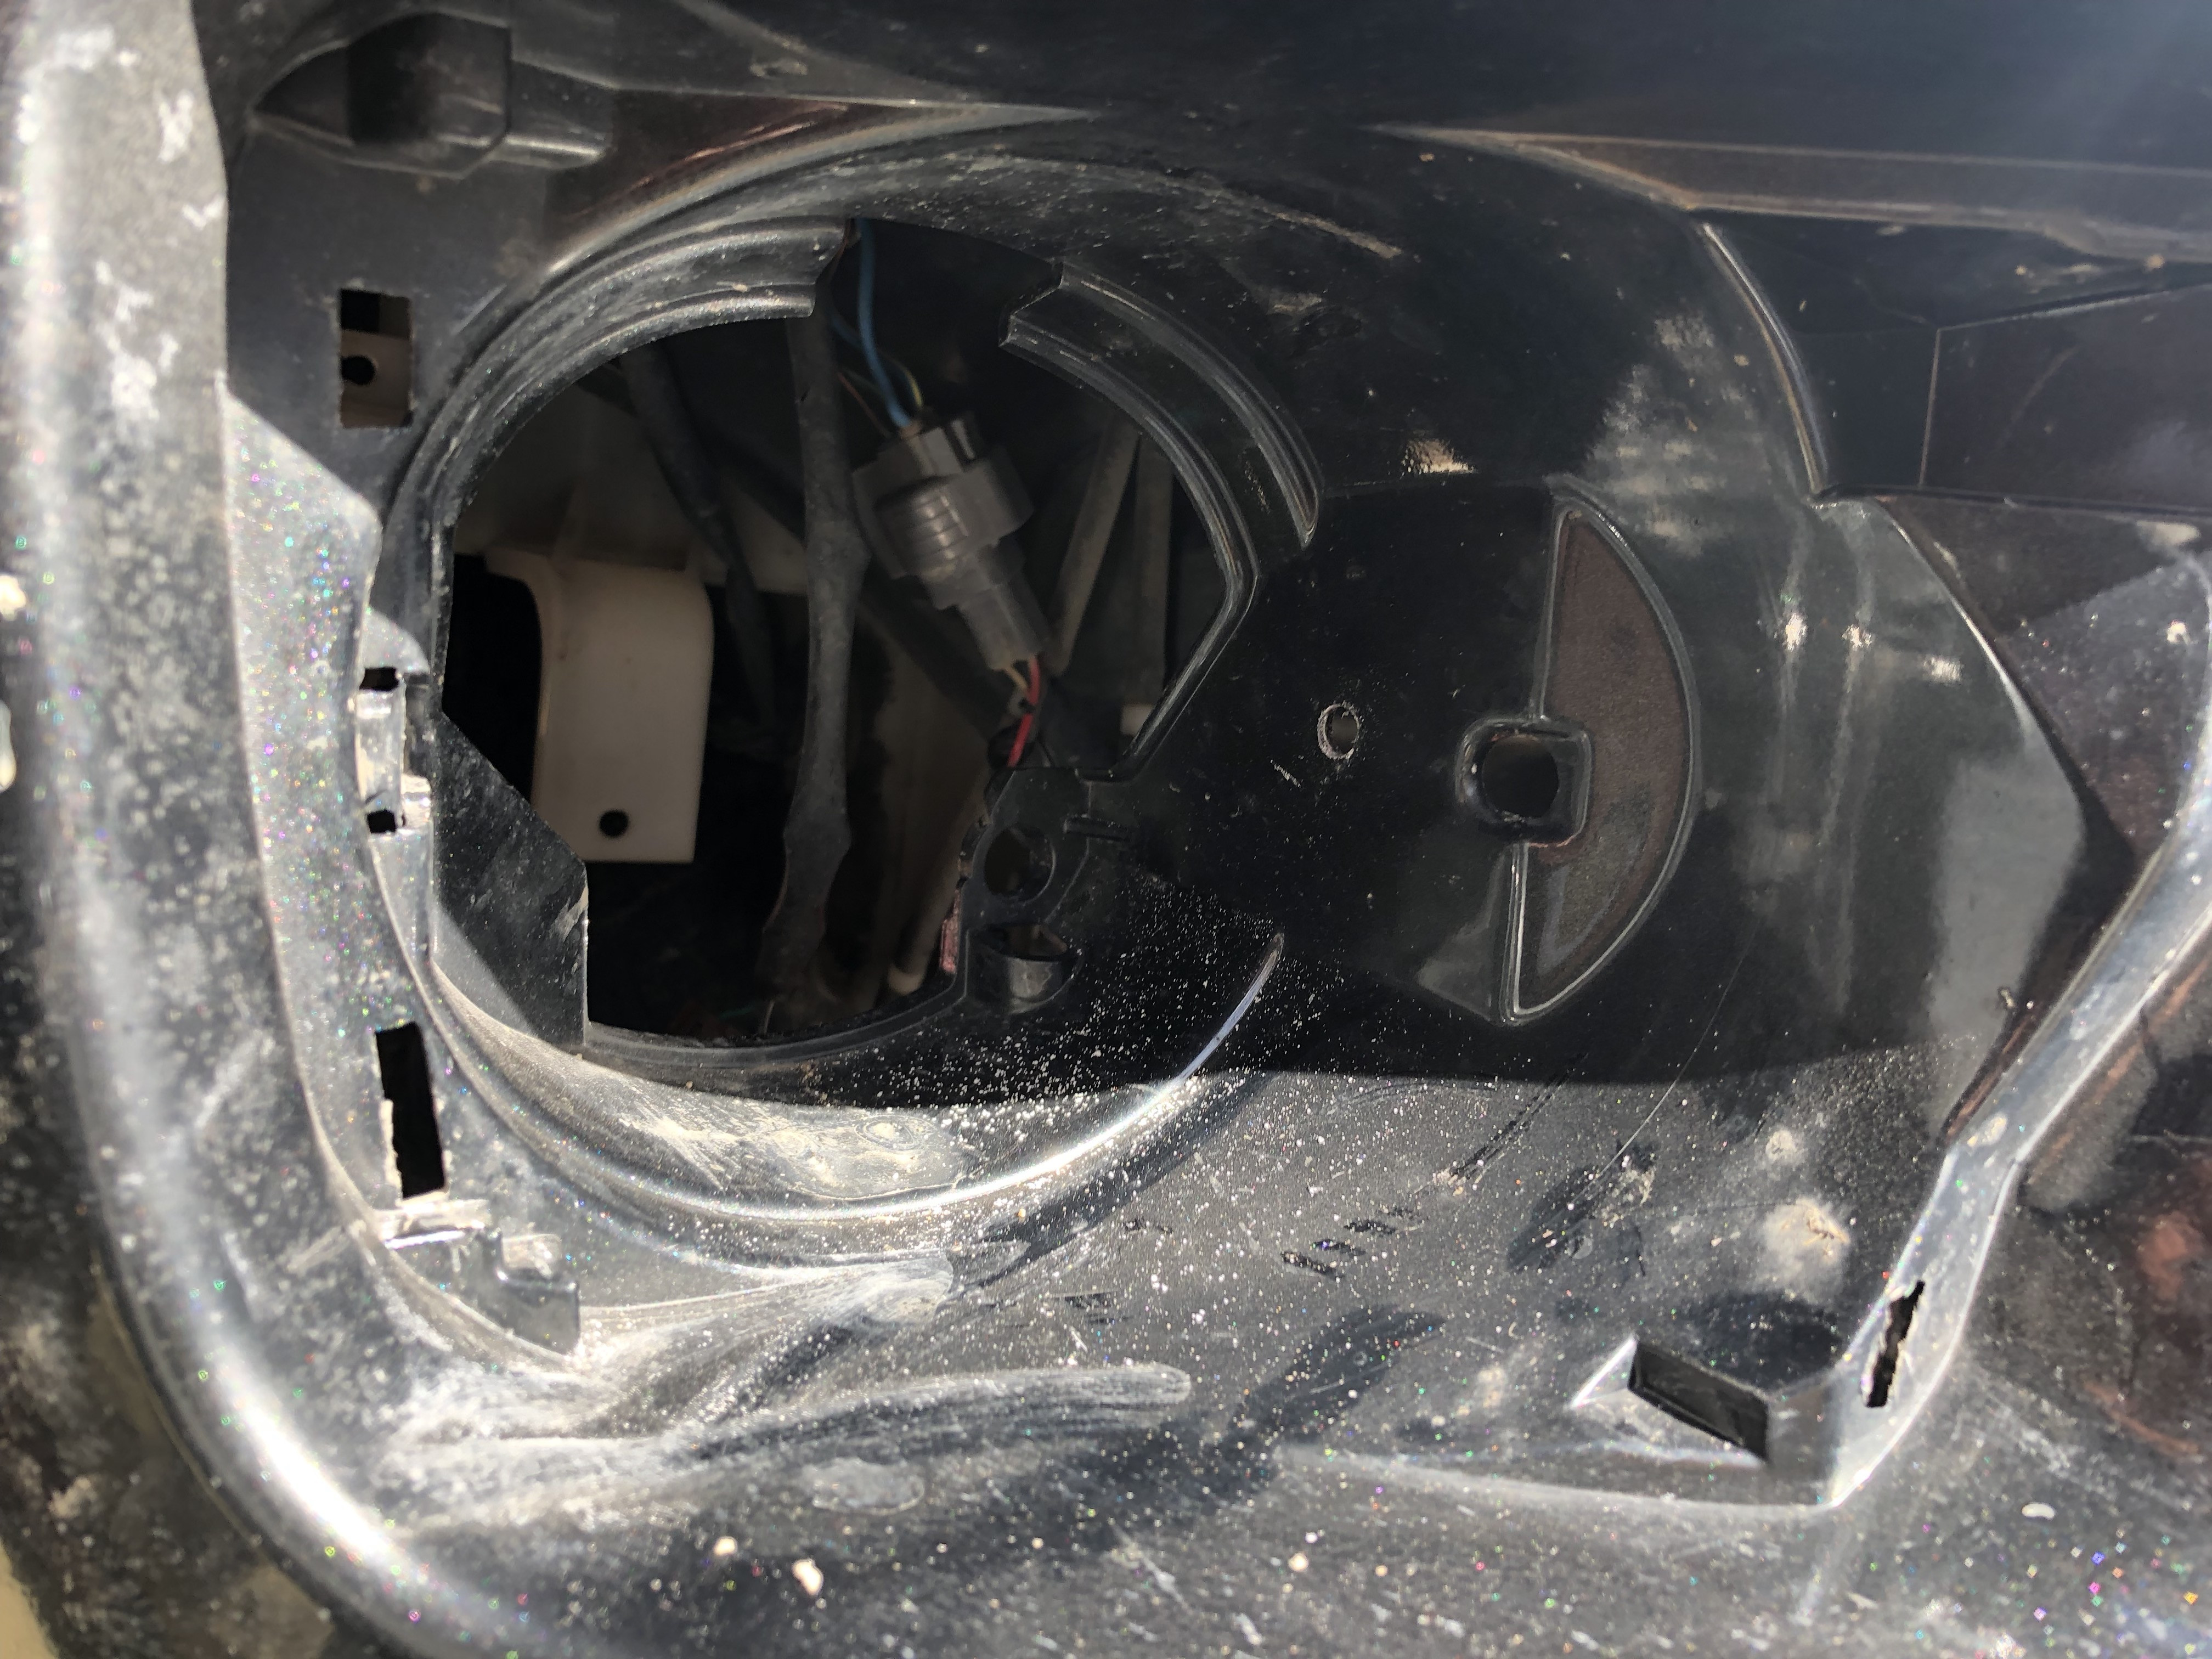
Before:
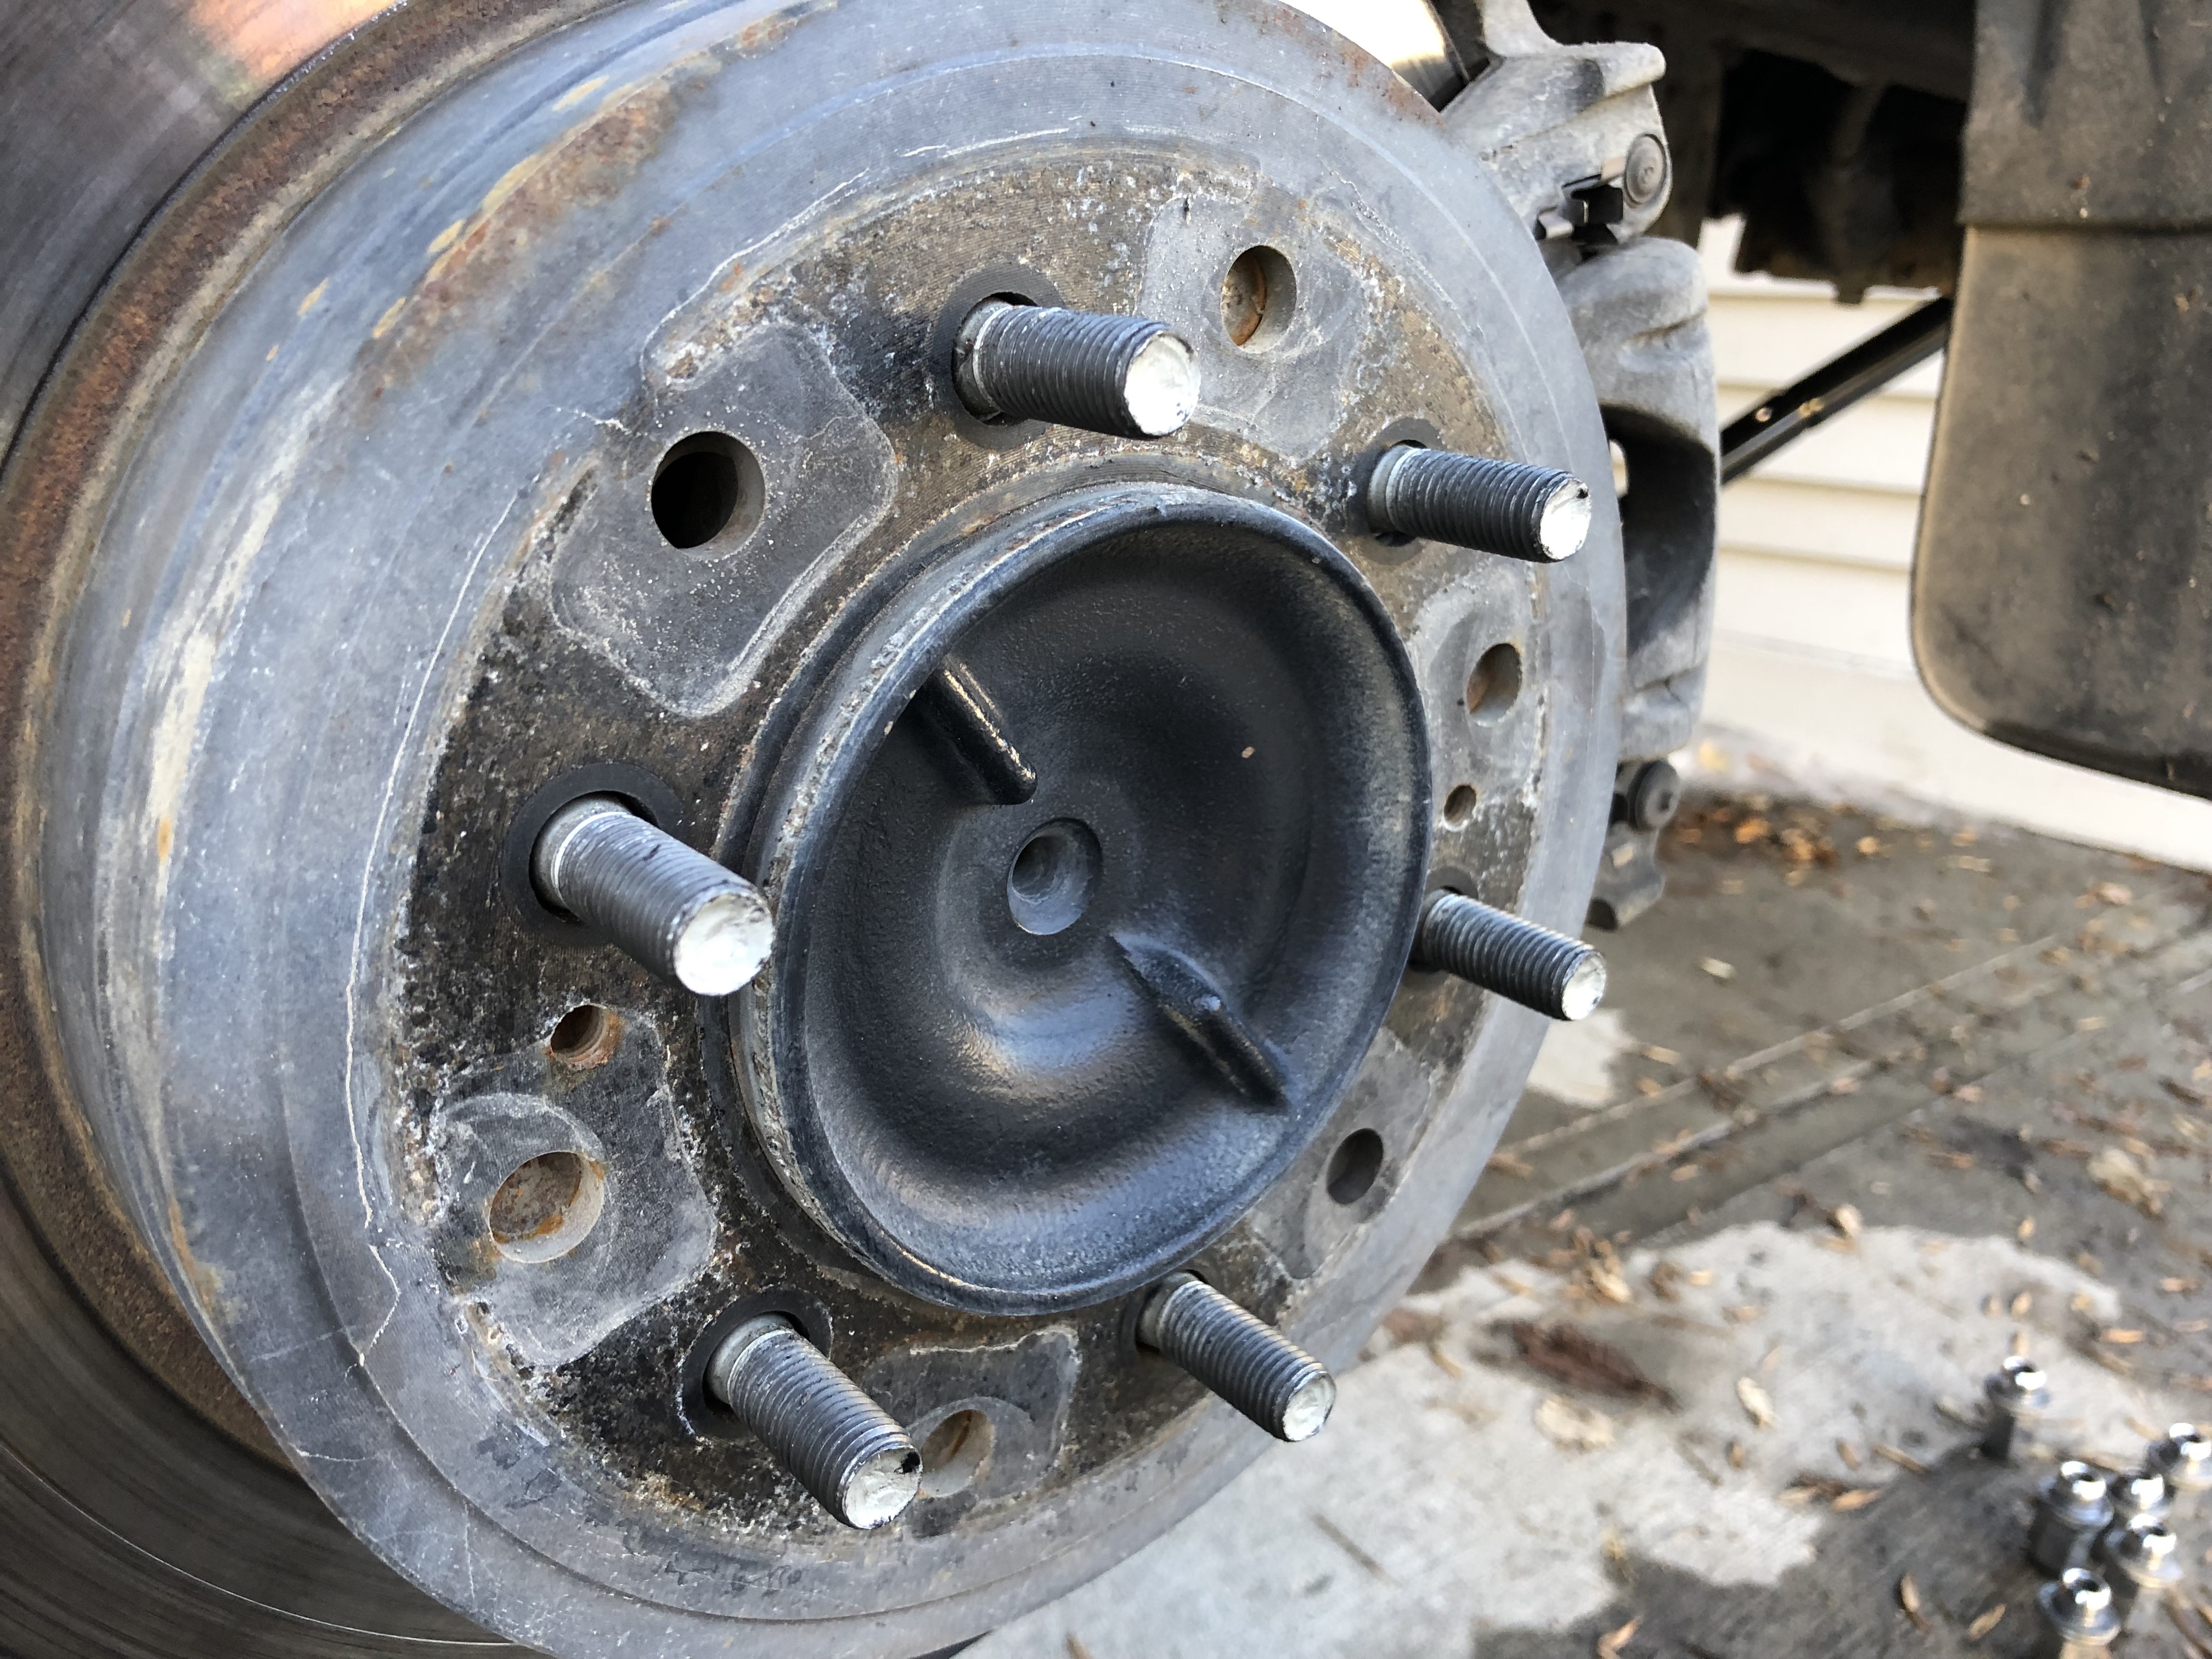
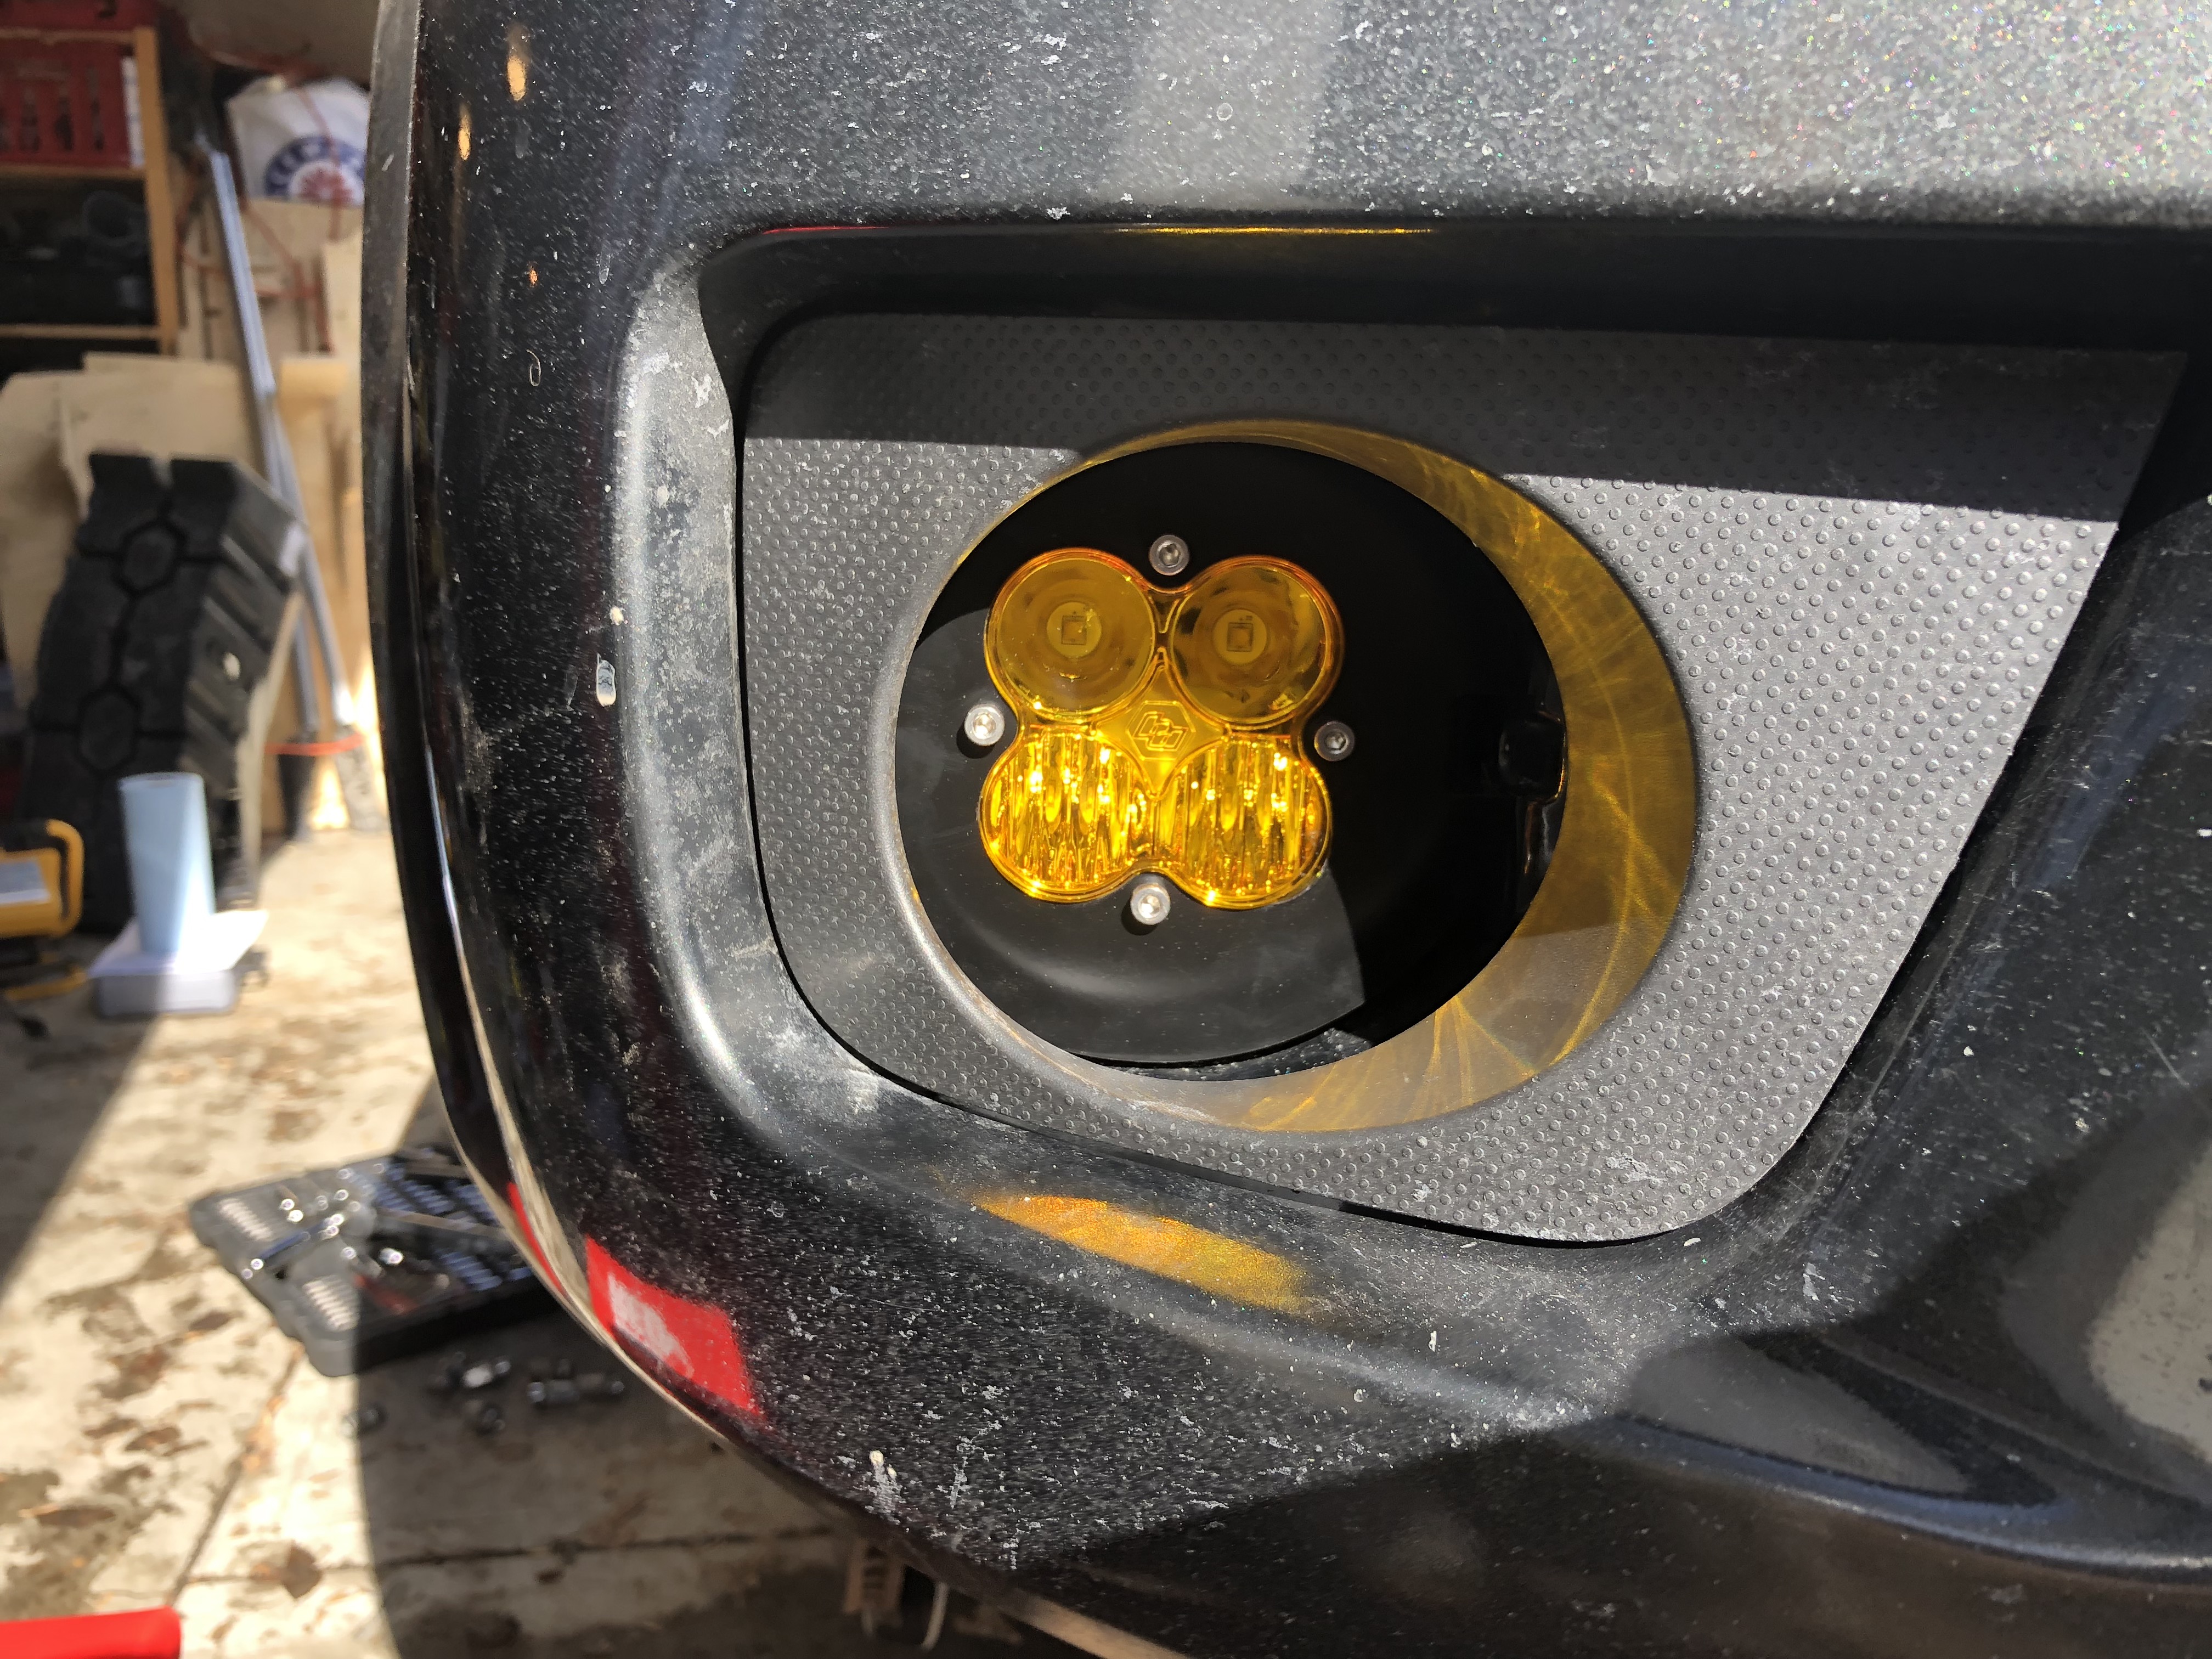
After:
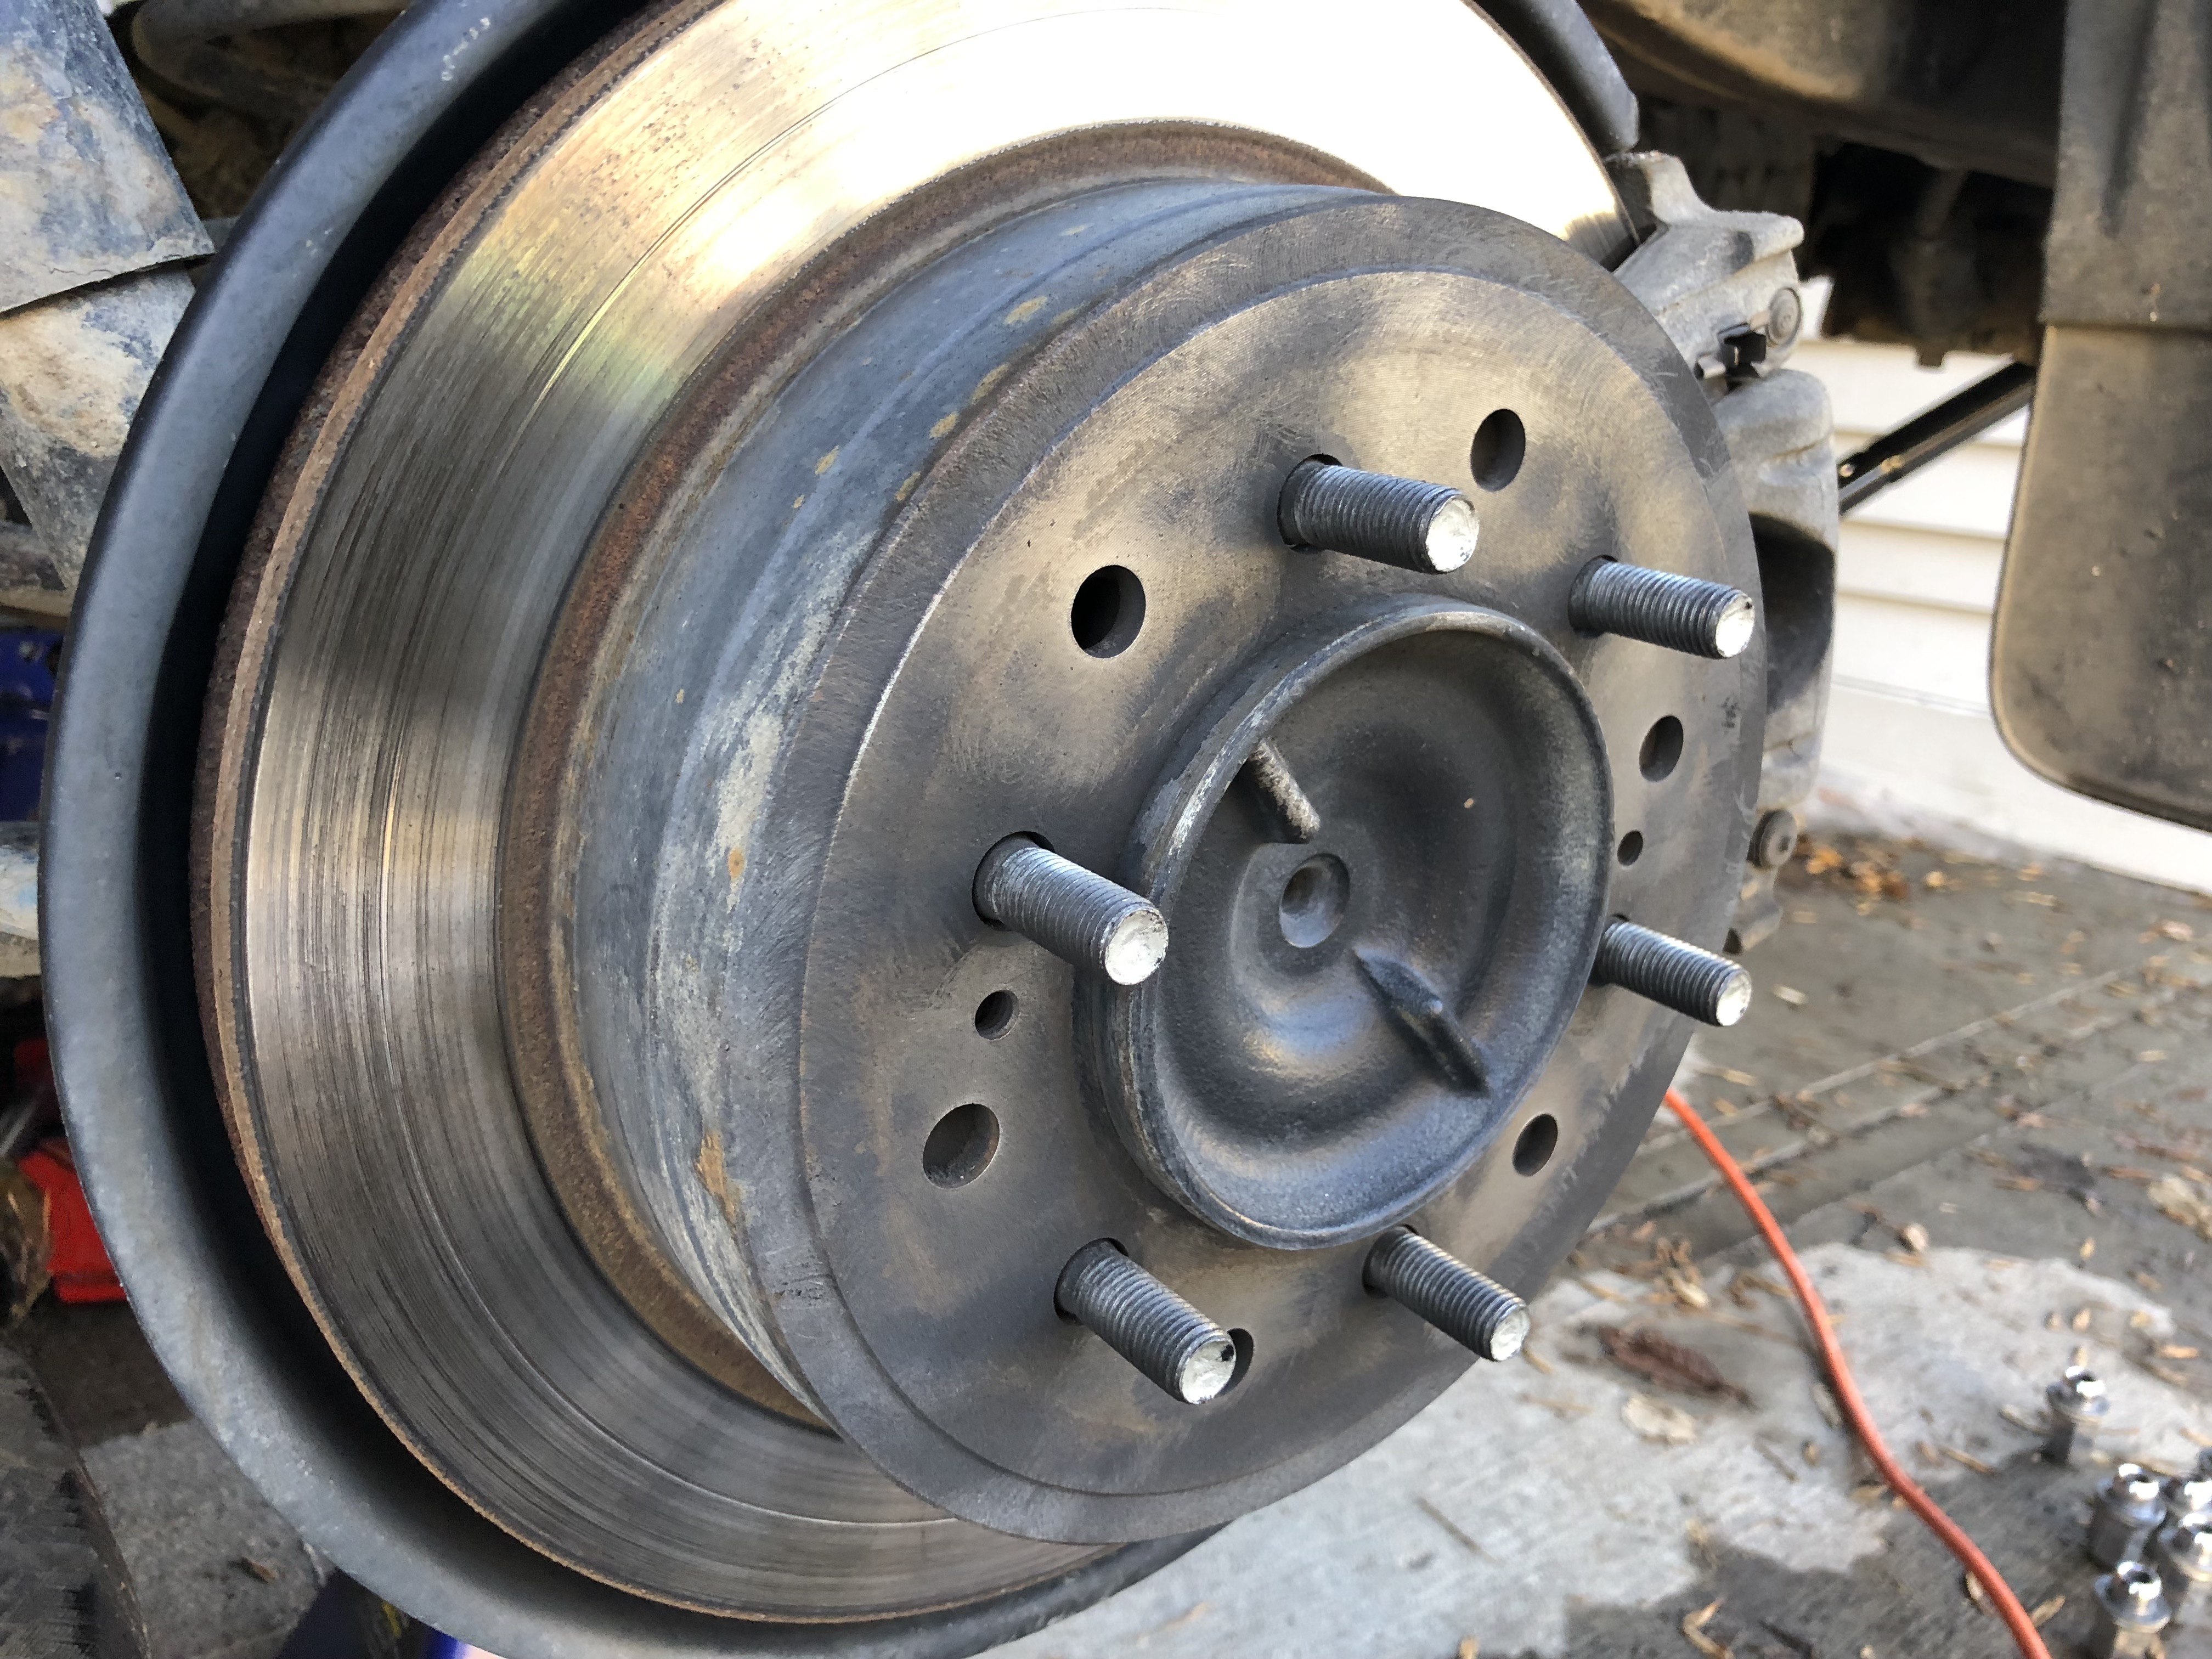
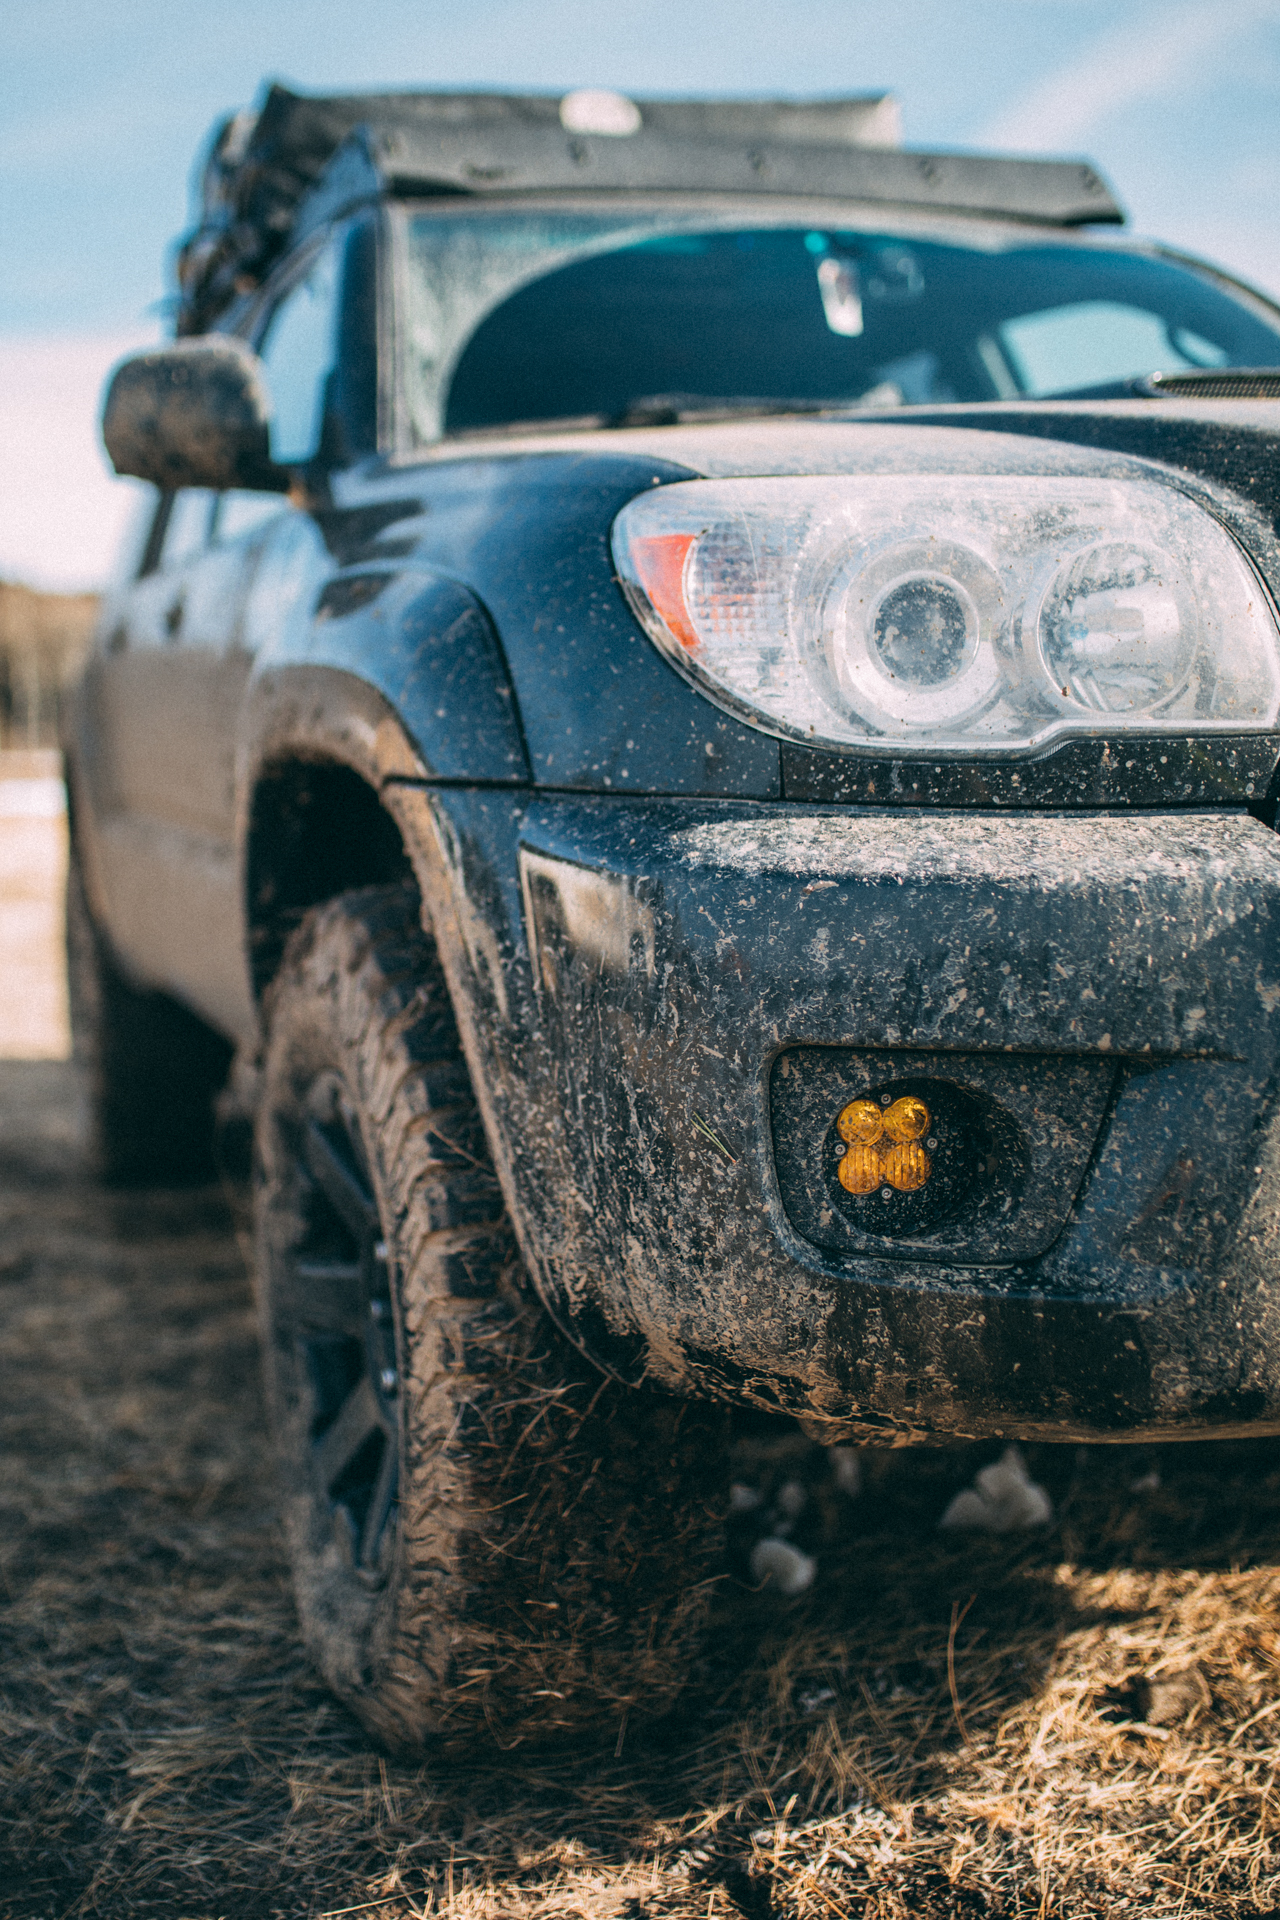
And Wheel Spacers with new tire "poke":

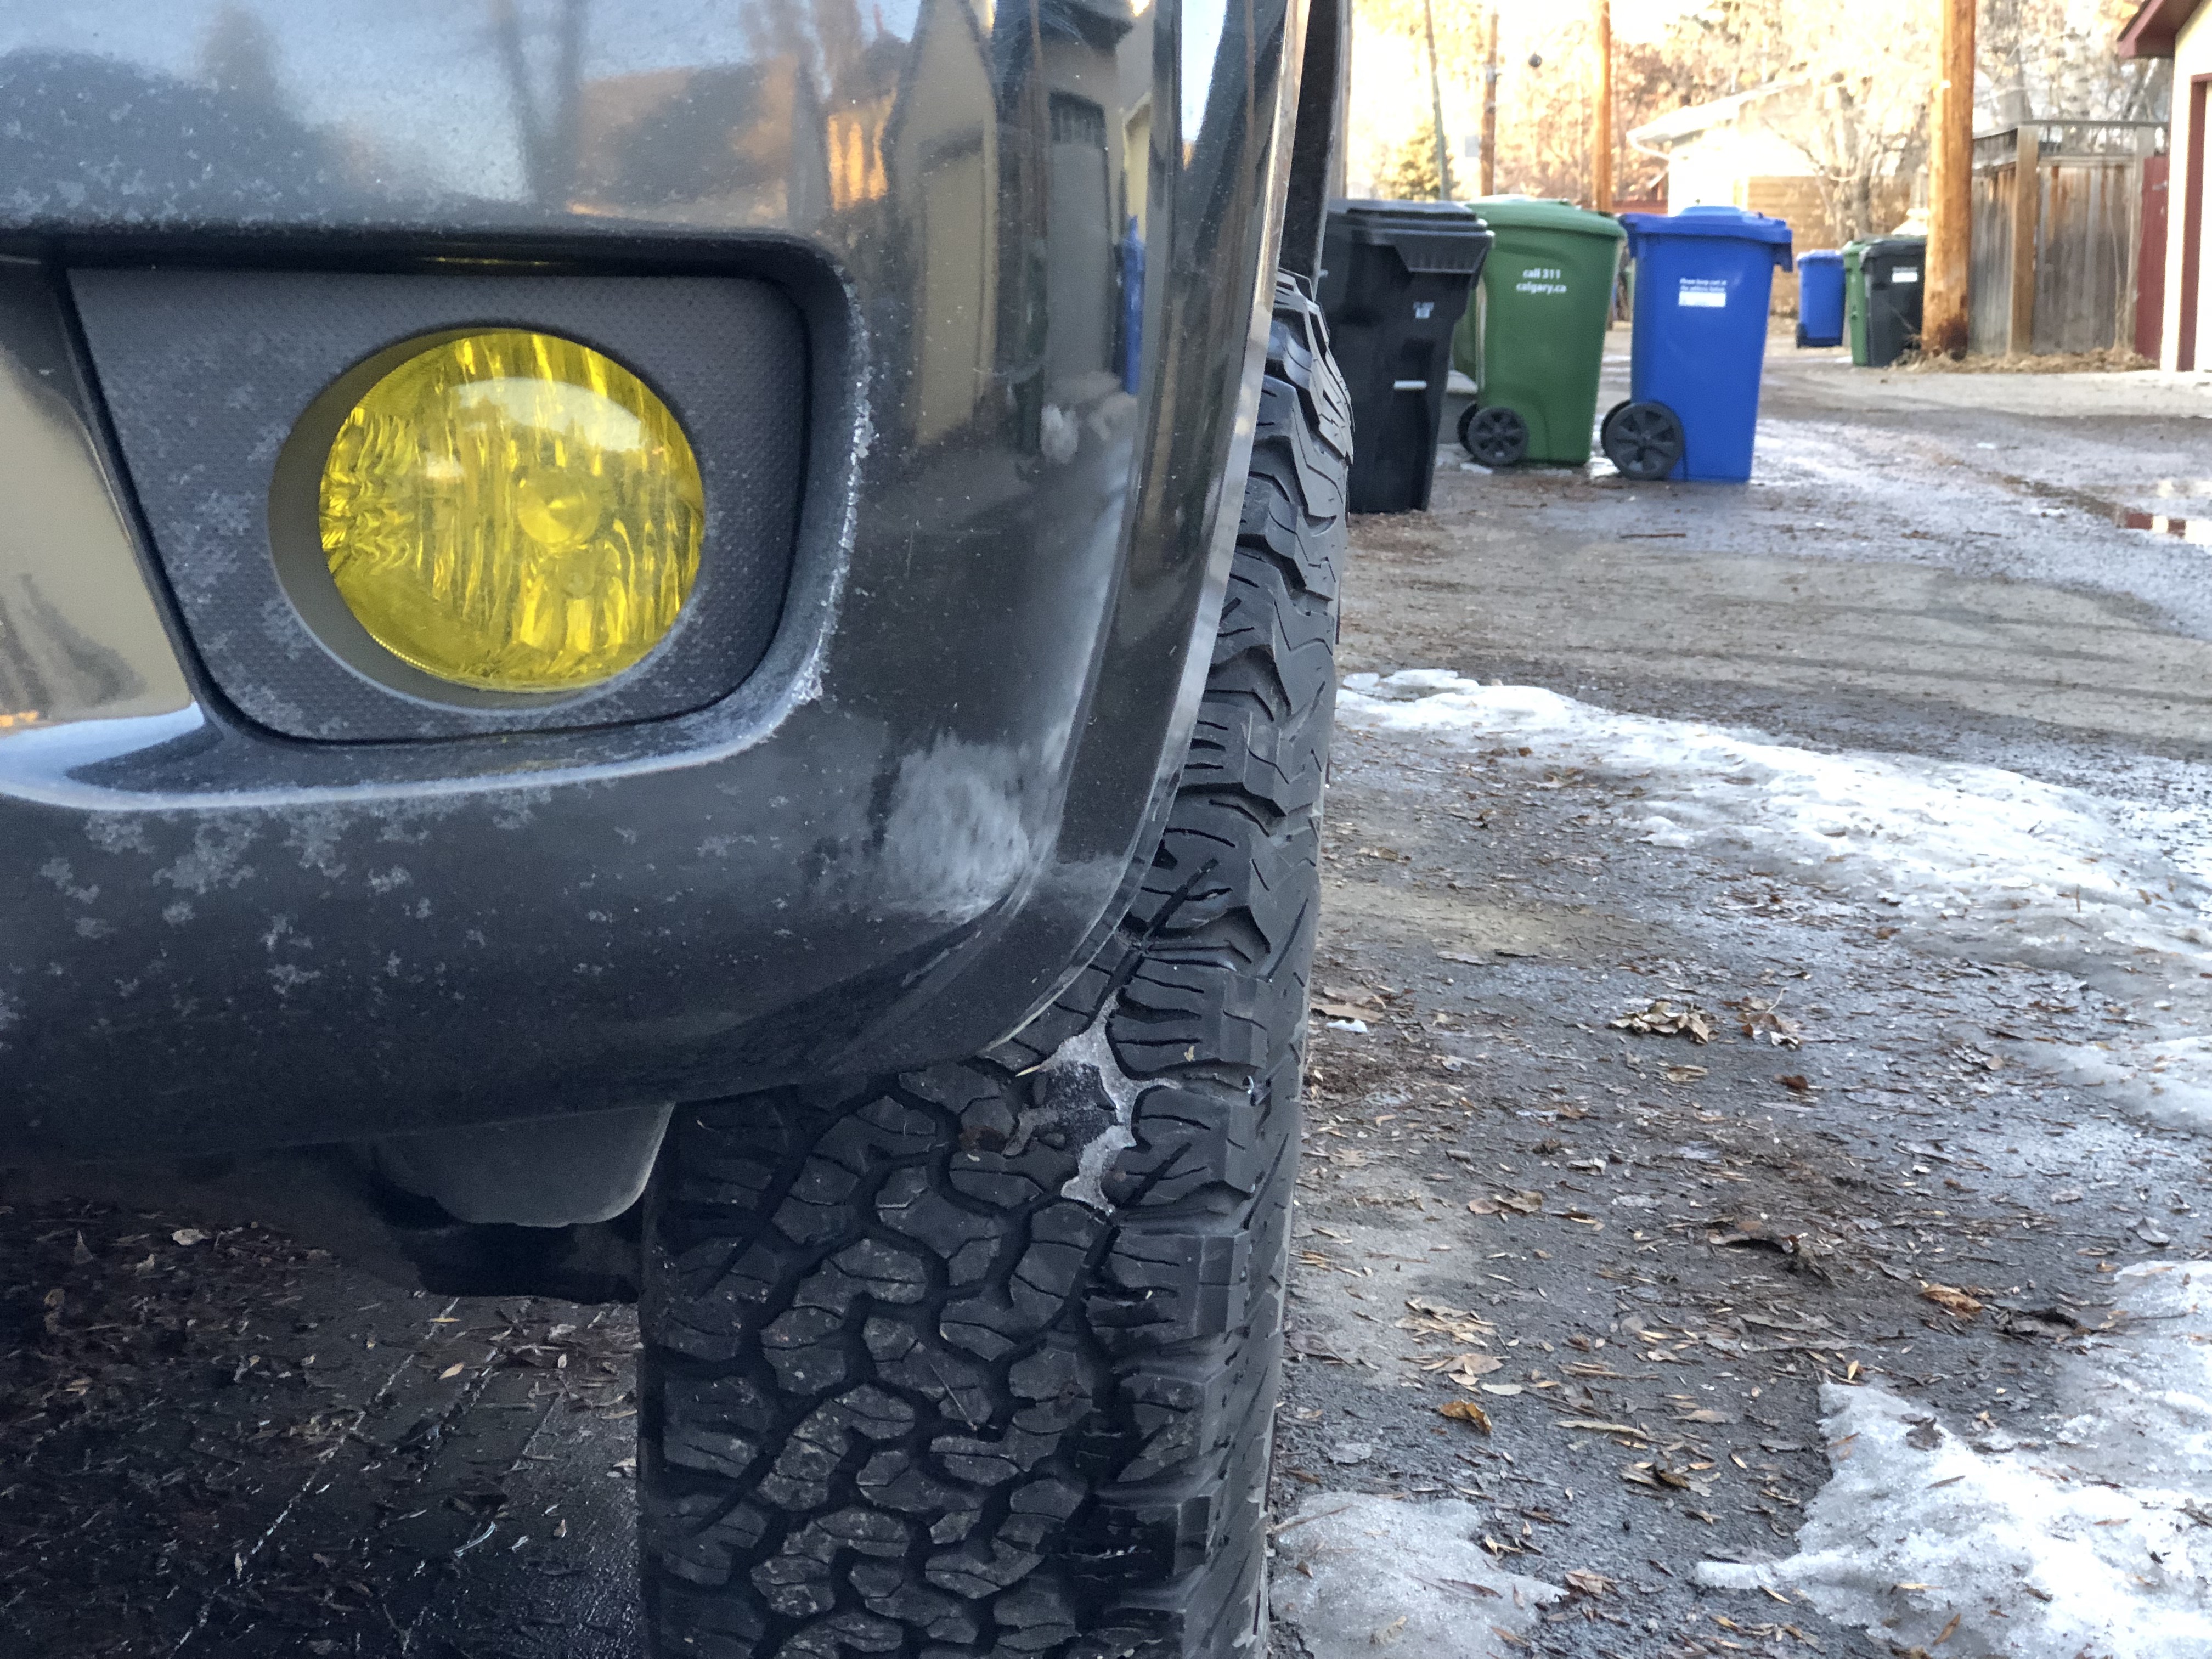
These spacers gave me exactly the stance and poke from the fenders that I was after!
I have never been impressed with stock fog lights on any vehicle and this one is no different. I even put LED's in them to see if that would help but it still really only lit up the 3 feet in front of me.
So these lights have been on my list for a while and finally just pulled the trigger and installed them. It was unbelievably easy!
I followed YETIX Instructions and they fit like a glove. I did have to reverse the polarity on the connectors but that was it. Luckily I had one of the tools laying around that was designed for this cause before I found it I could not get the pins out for the life of me. Here is his build page with that info:
YETIX Build and Adventure Thread aka Travels with Savanna
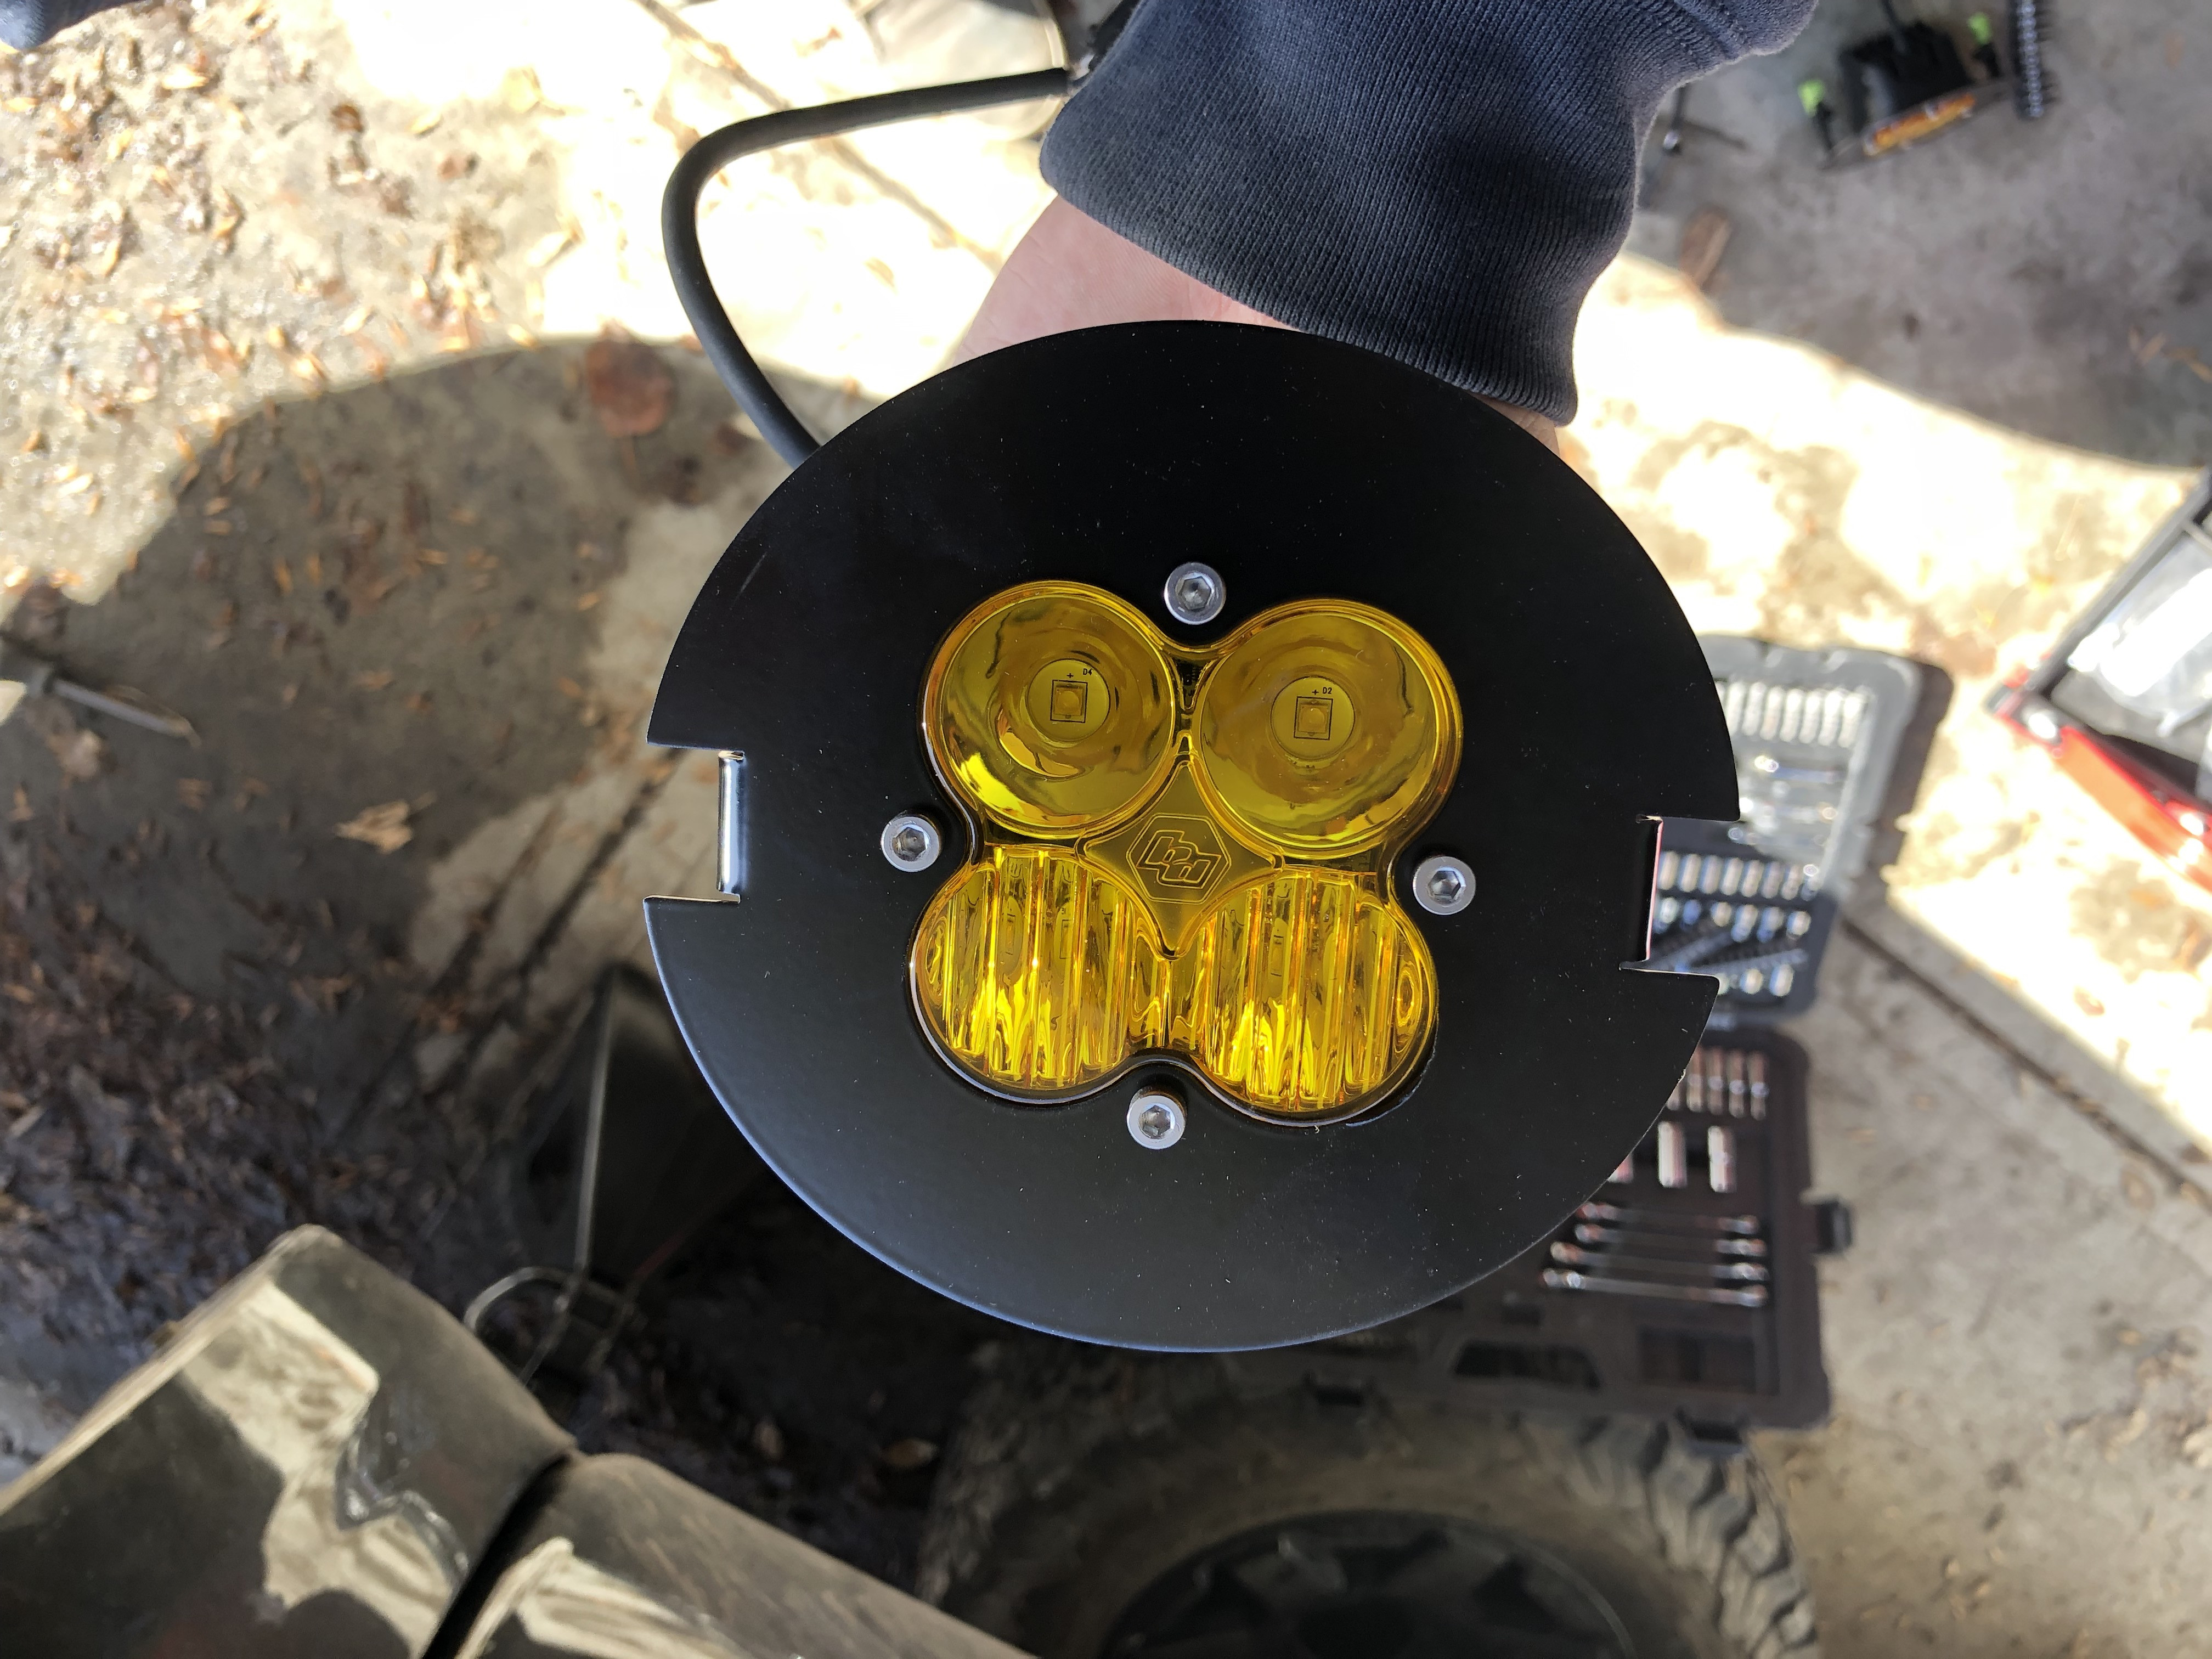
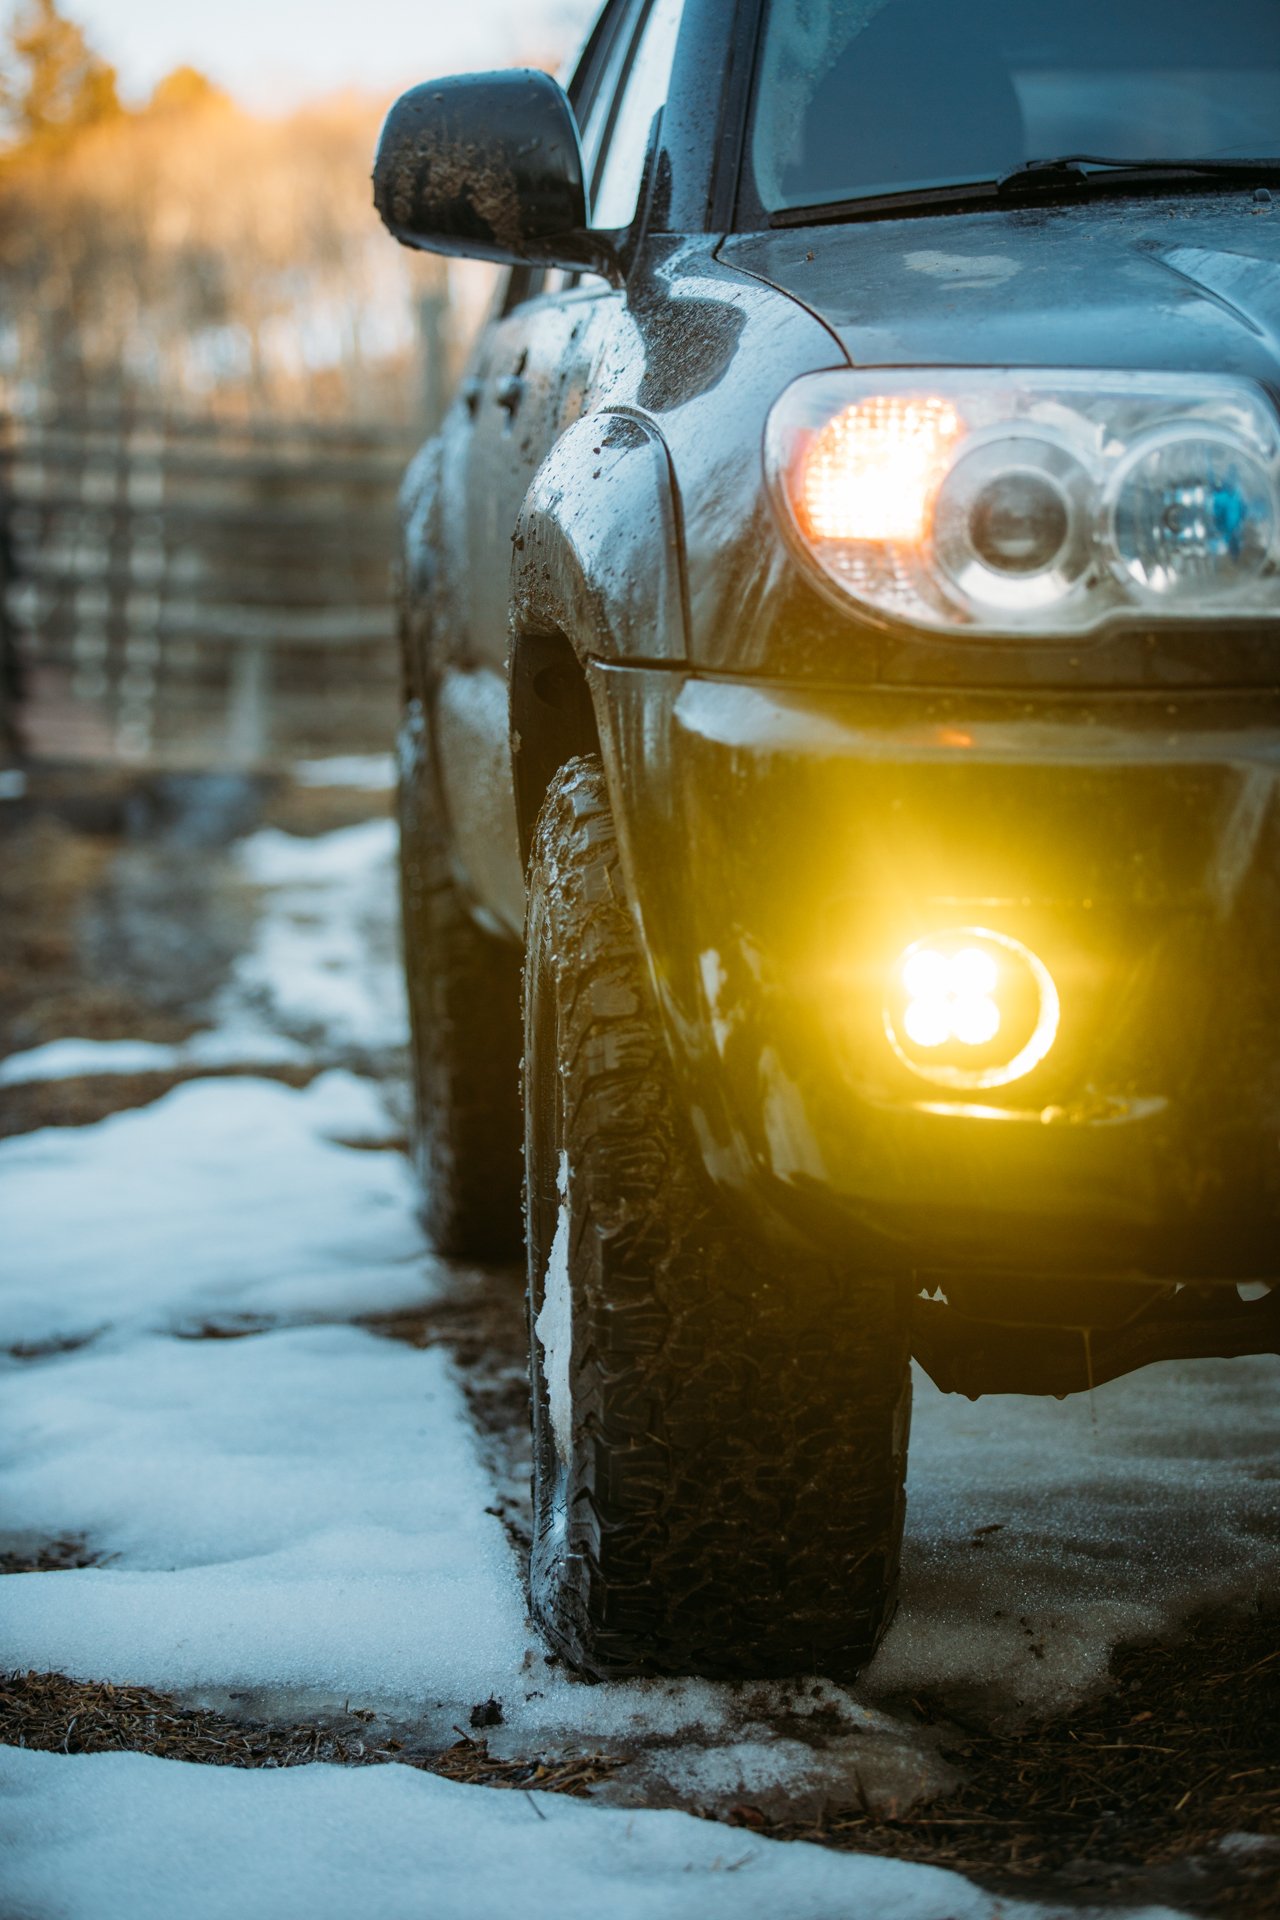
I opted for the Squadron Sports over the Squadron Pro's because I wanted to be able to use them on the road in snowy or foggy conditions. I've heard the Pro's are just too damn bright.
The Sports seem to be a perfect level and love that I now have functional fog lights.
Plus the spacers now Bob Ross the crap out of my mirrors and entire side of the 4runner. Love it.
__________________
Whytey's 07 V8 Build Thread
2007 Toyota 4Runner Sport Edition V8, Elka 2.5 Suspension, Total Chaos UCA w/ Delta Uniball, Dobinsins C59-677V Rear Coils, Timbren Bumpstops, Prinsu Design Roof Rack, Baja Designs Squadron Sport Fogs, 285/70R17 BFG KO2, Blacked Out TE Rims, Spidertrax 1.25" Wheel Spacers, Satoshi Grill
|
|
|
Reply With Quote
|
|
03-24-2019, 12:42 AM
|
#28
|
|
Member
|
|
Join Date: Jul 2016
Location: Calgary, AB
Posts: 198
|
|
|
Member
Join Date: Jul 2016
Location: Calgary, AB
Posts: 198
|
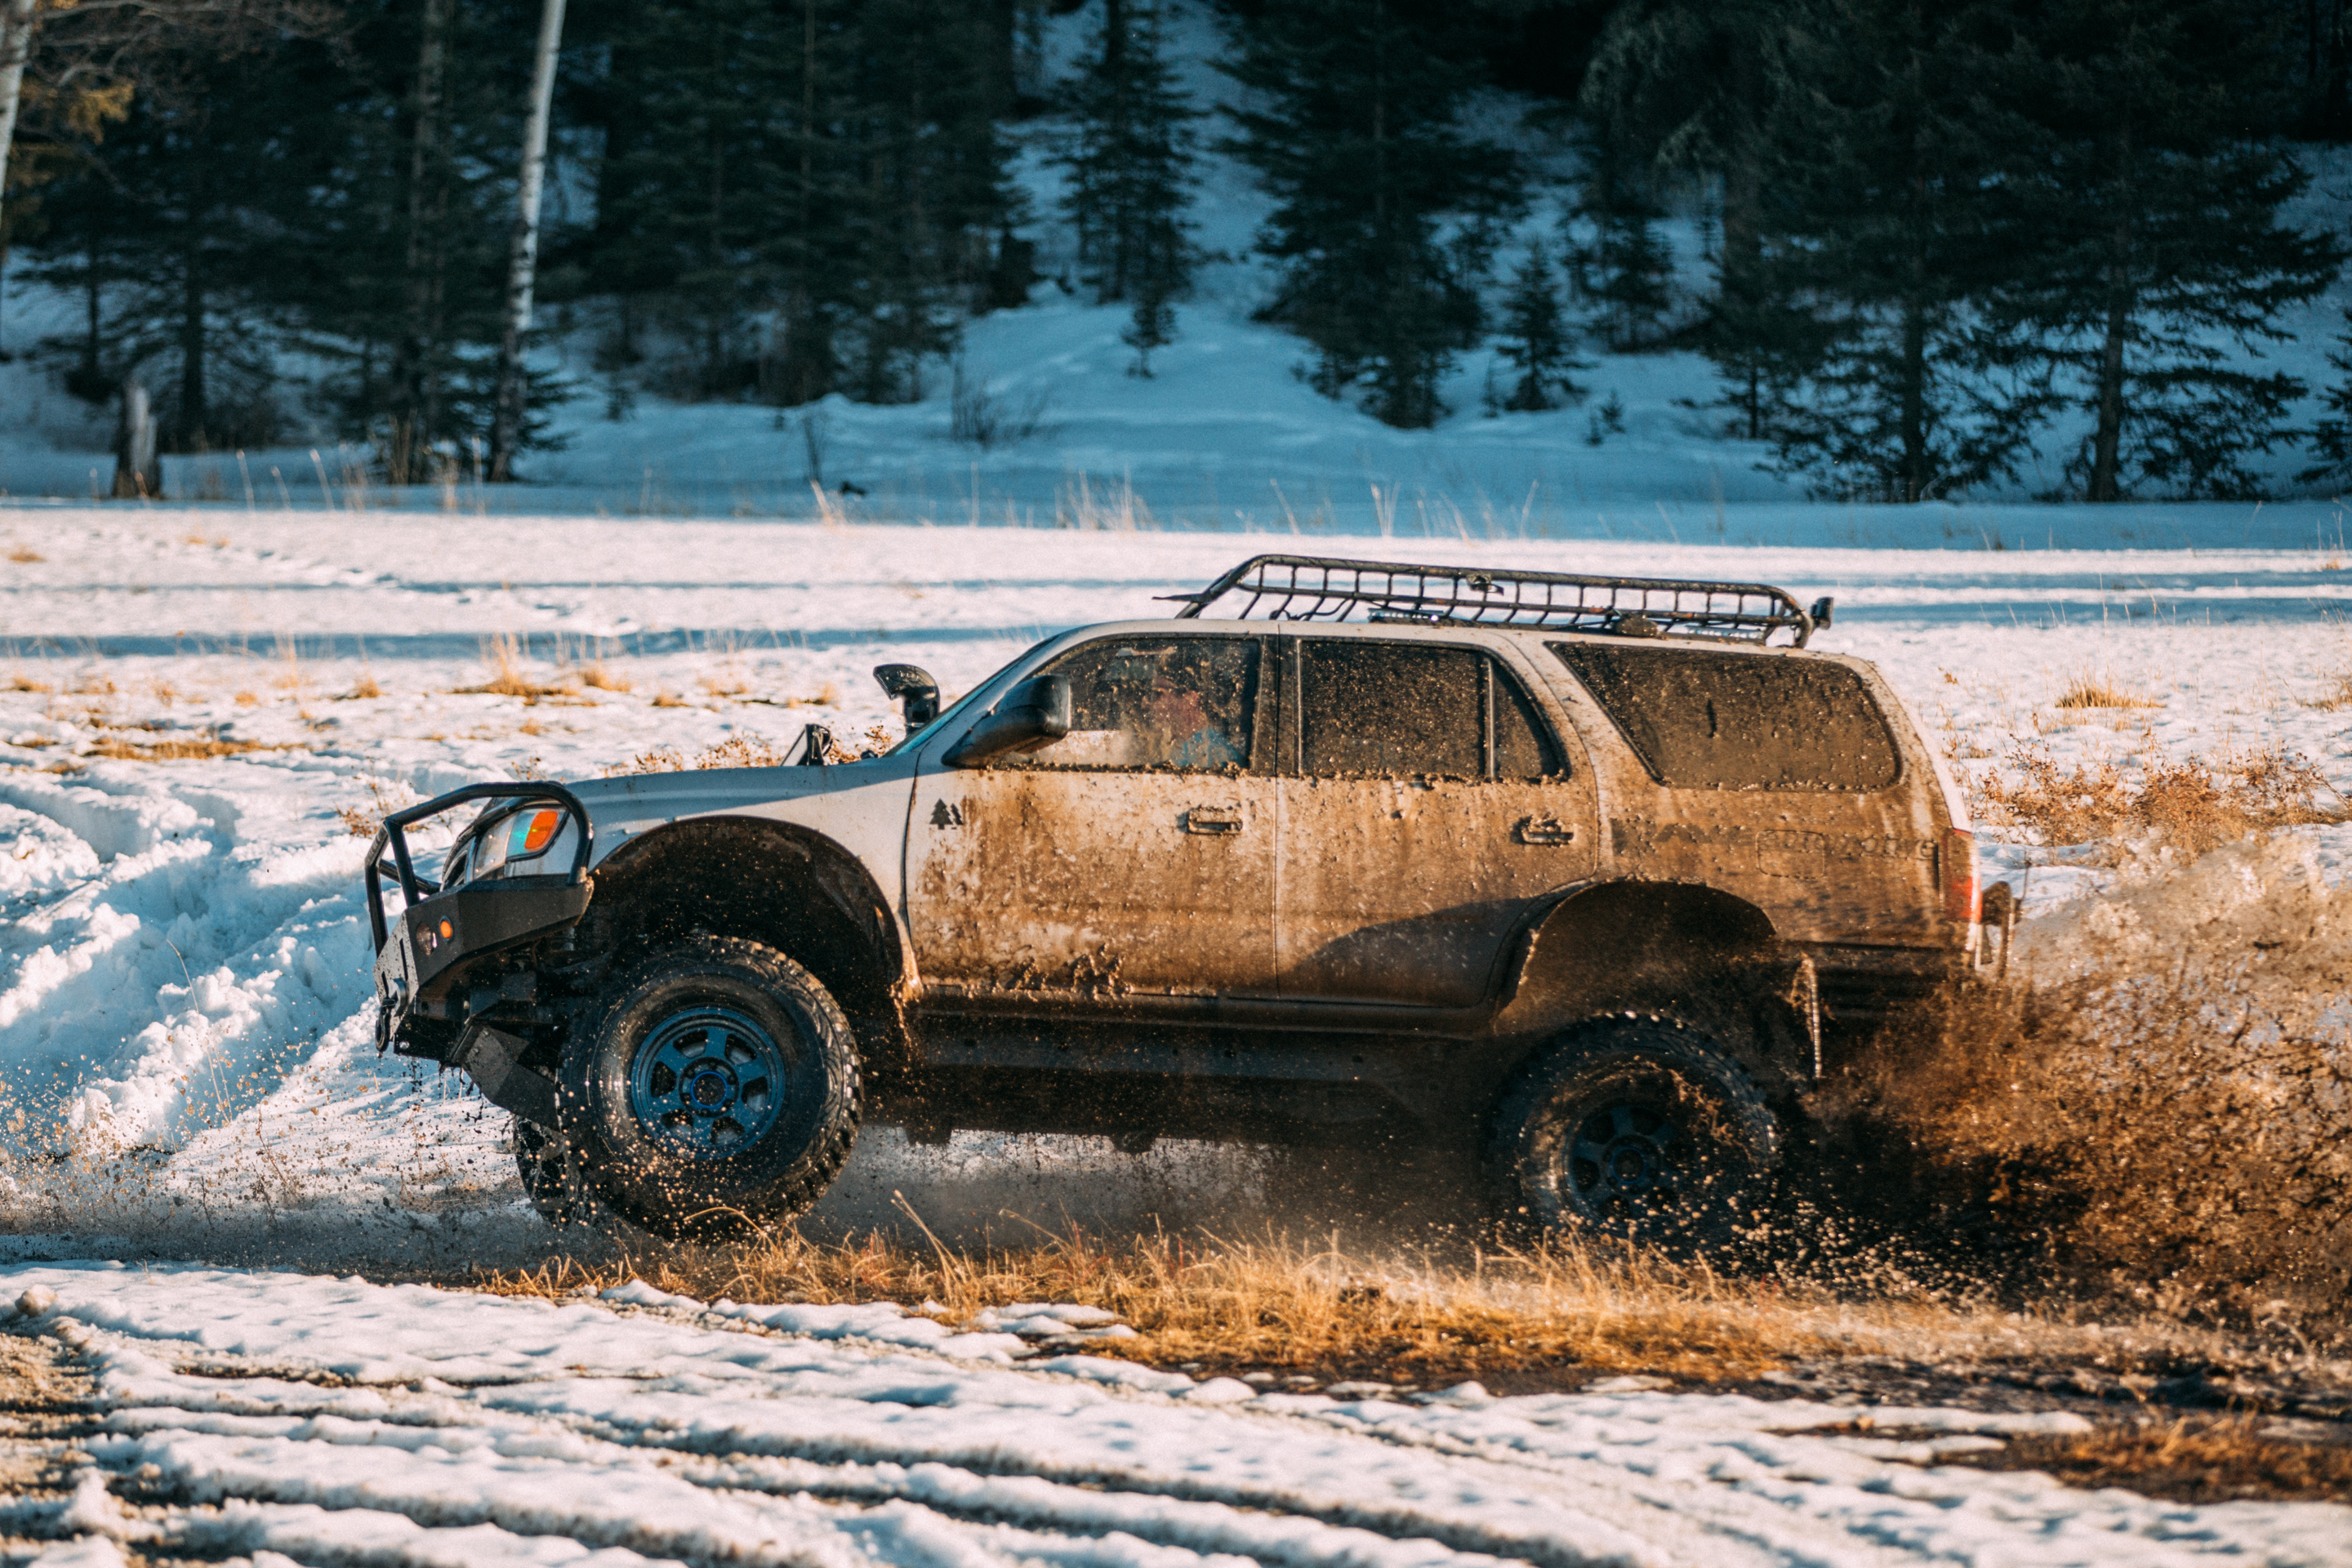
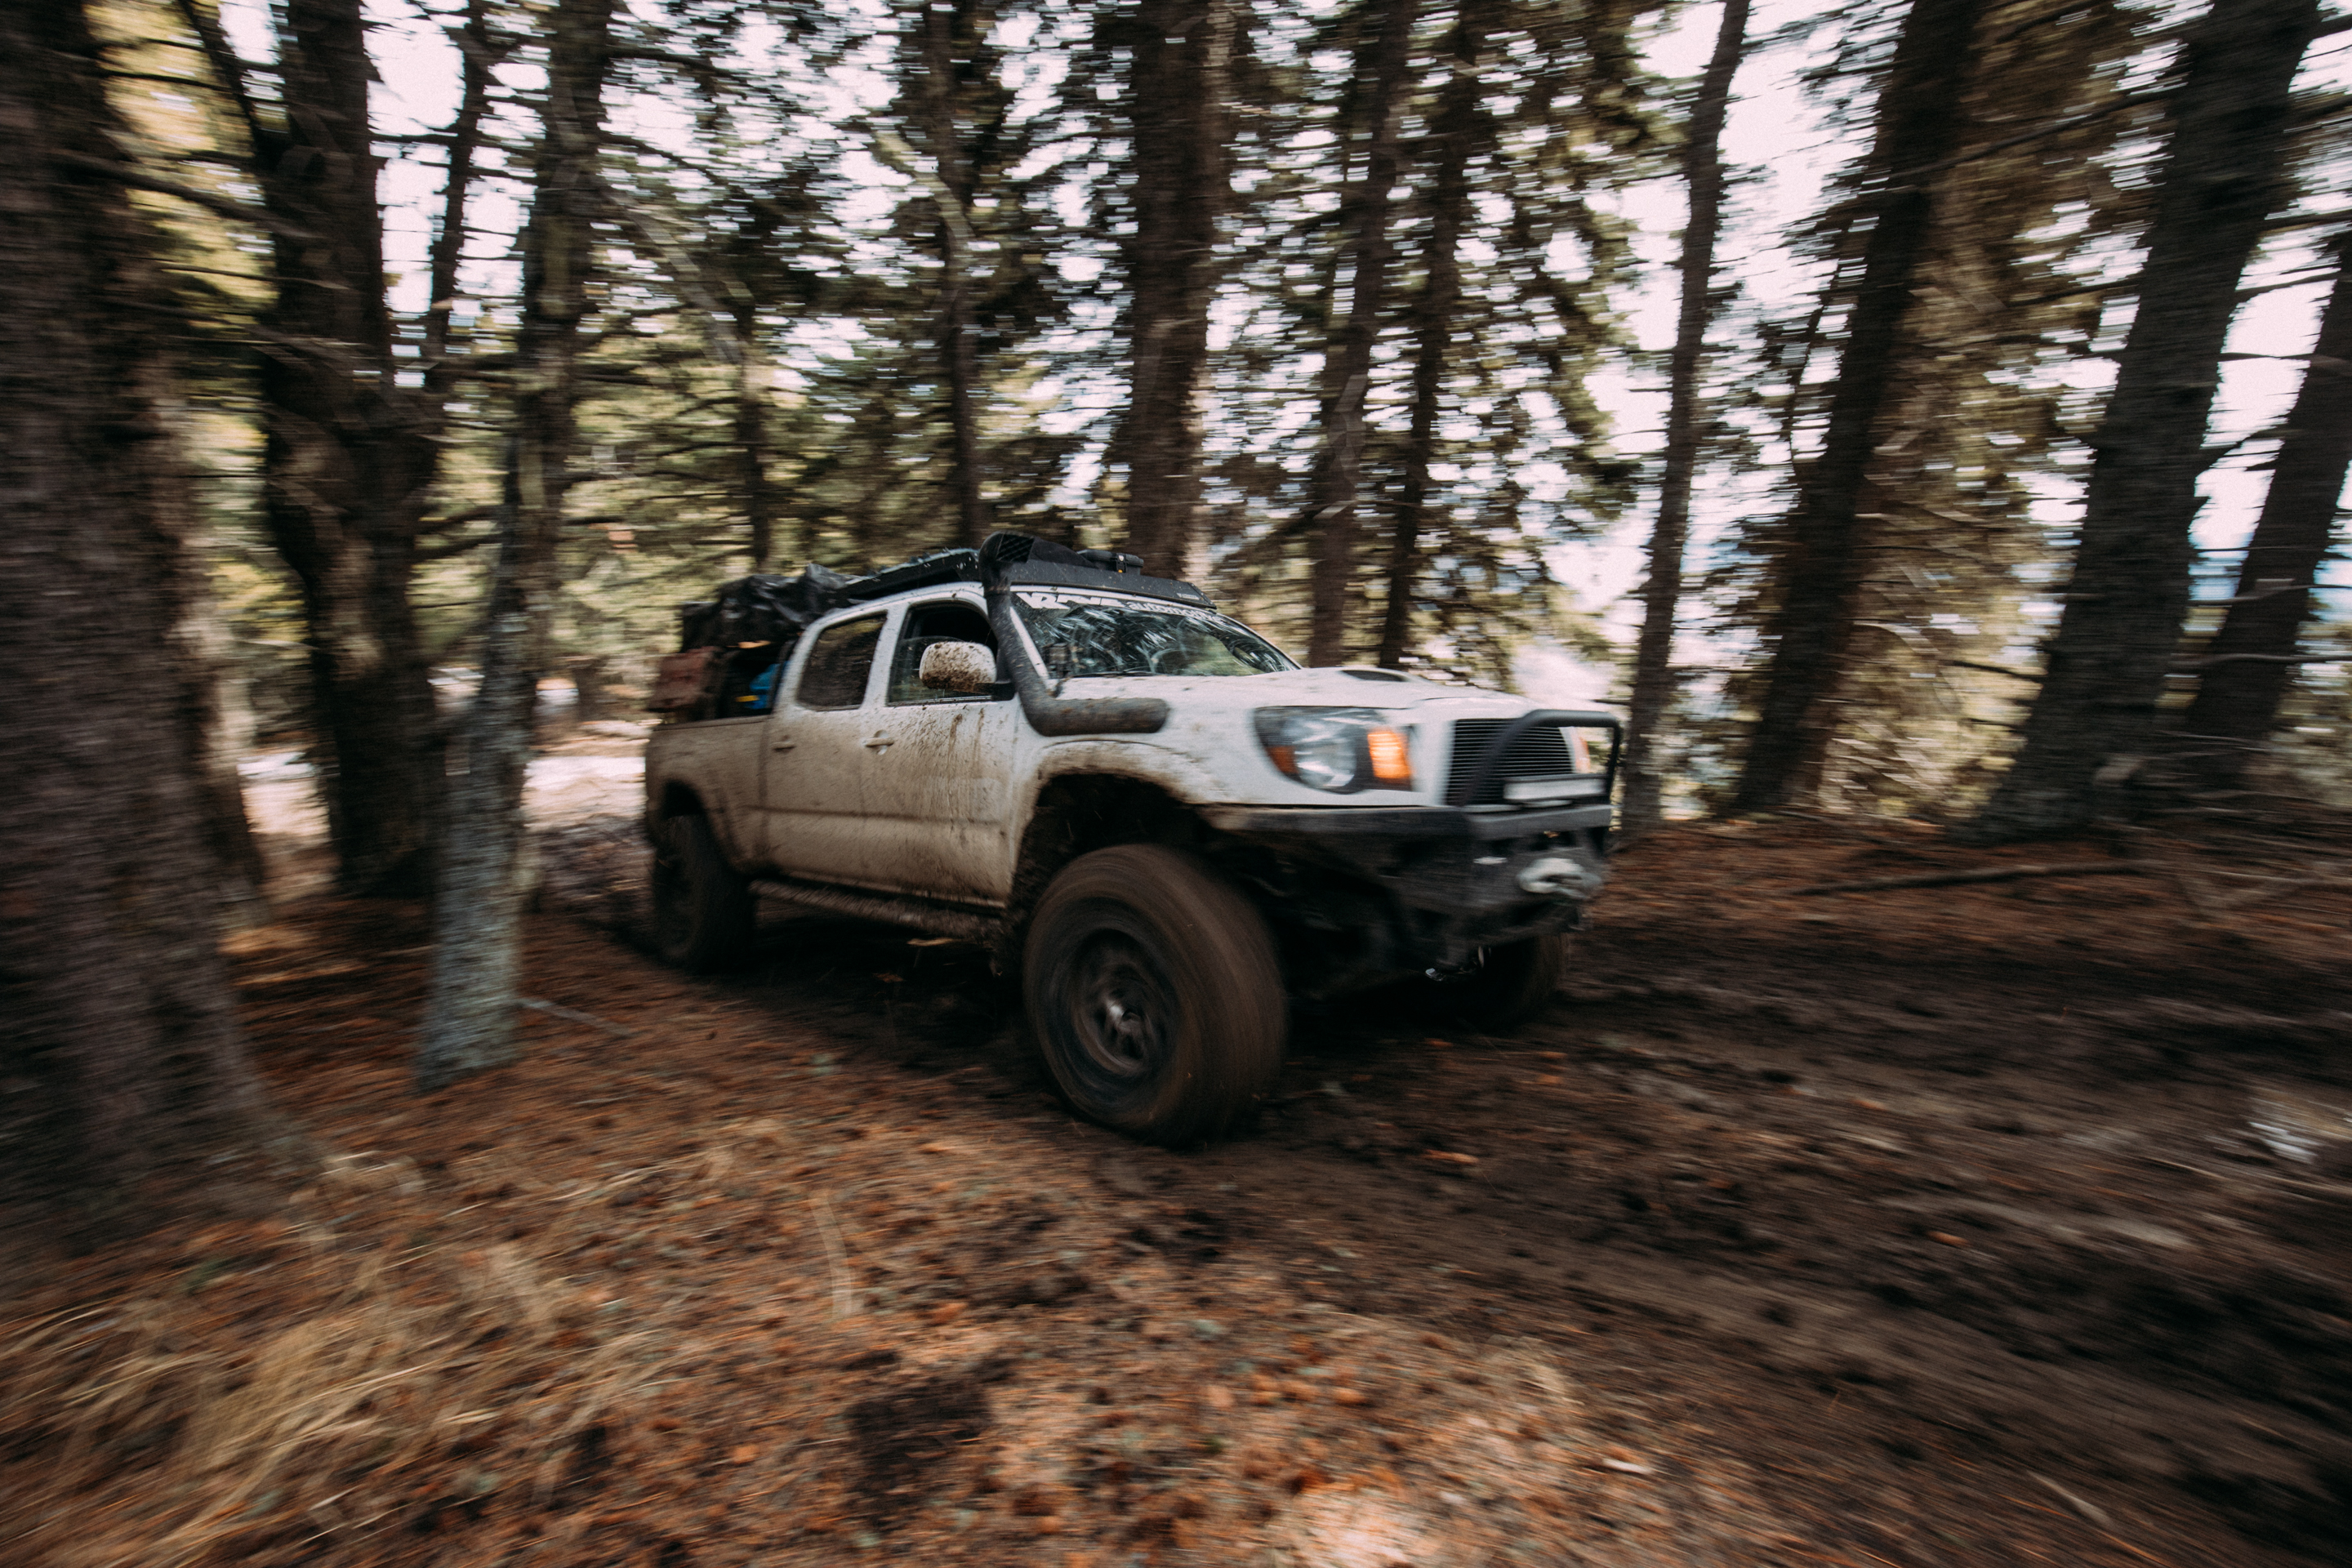
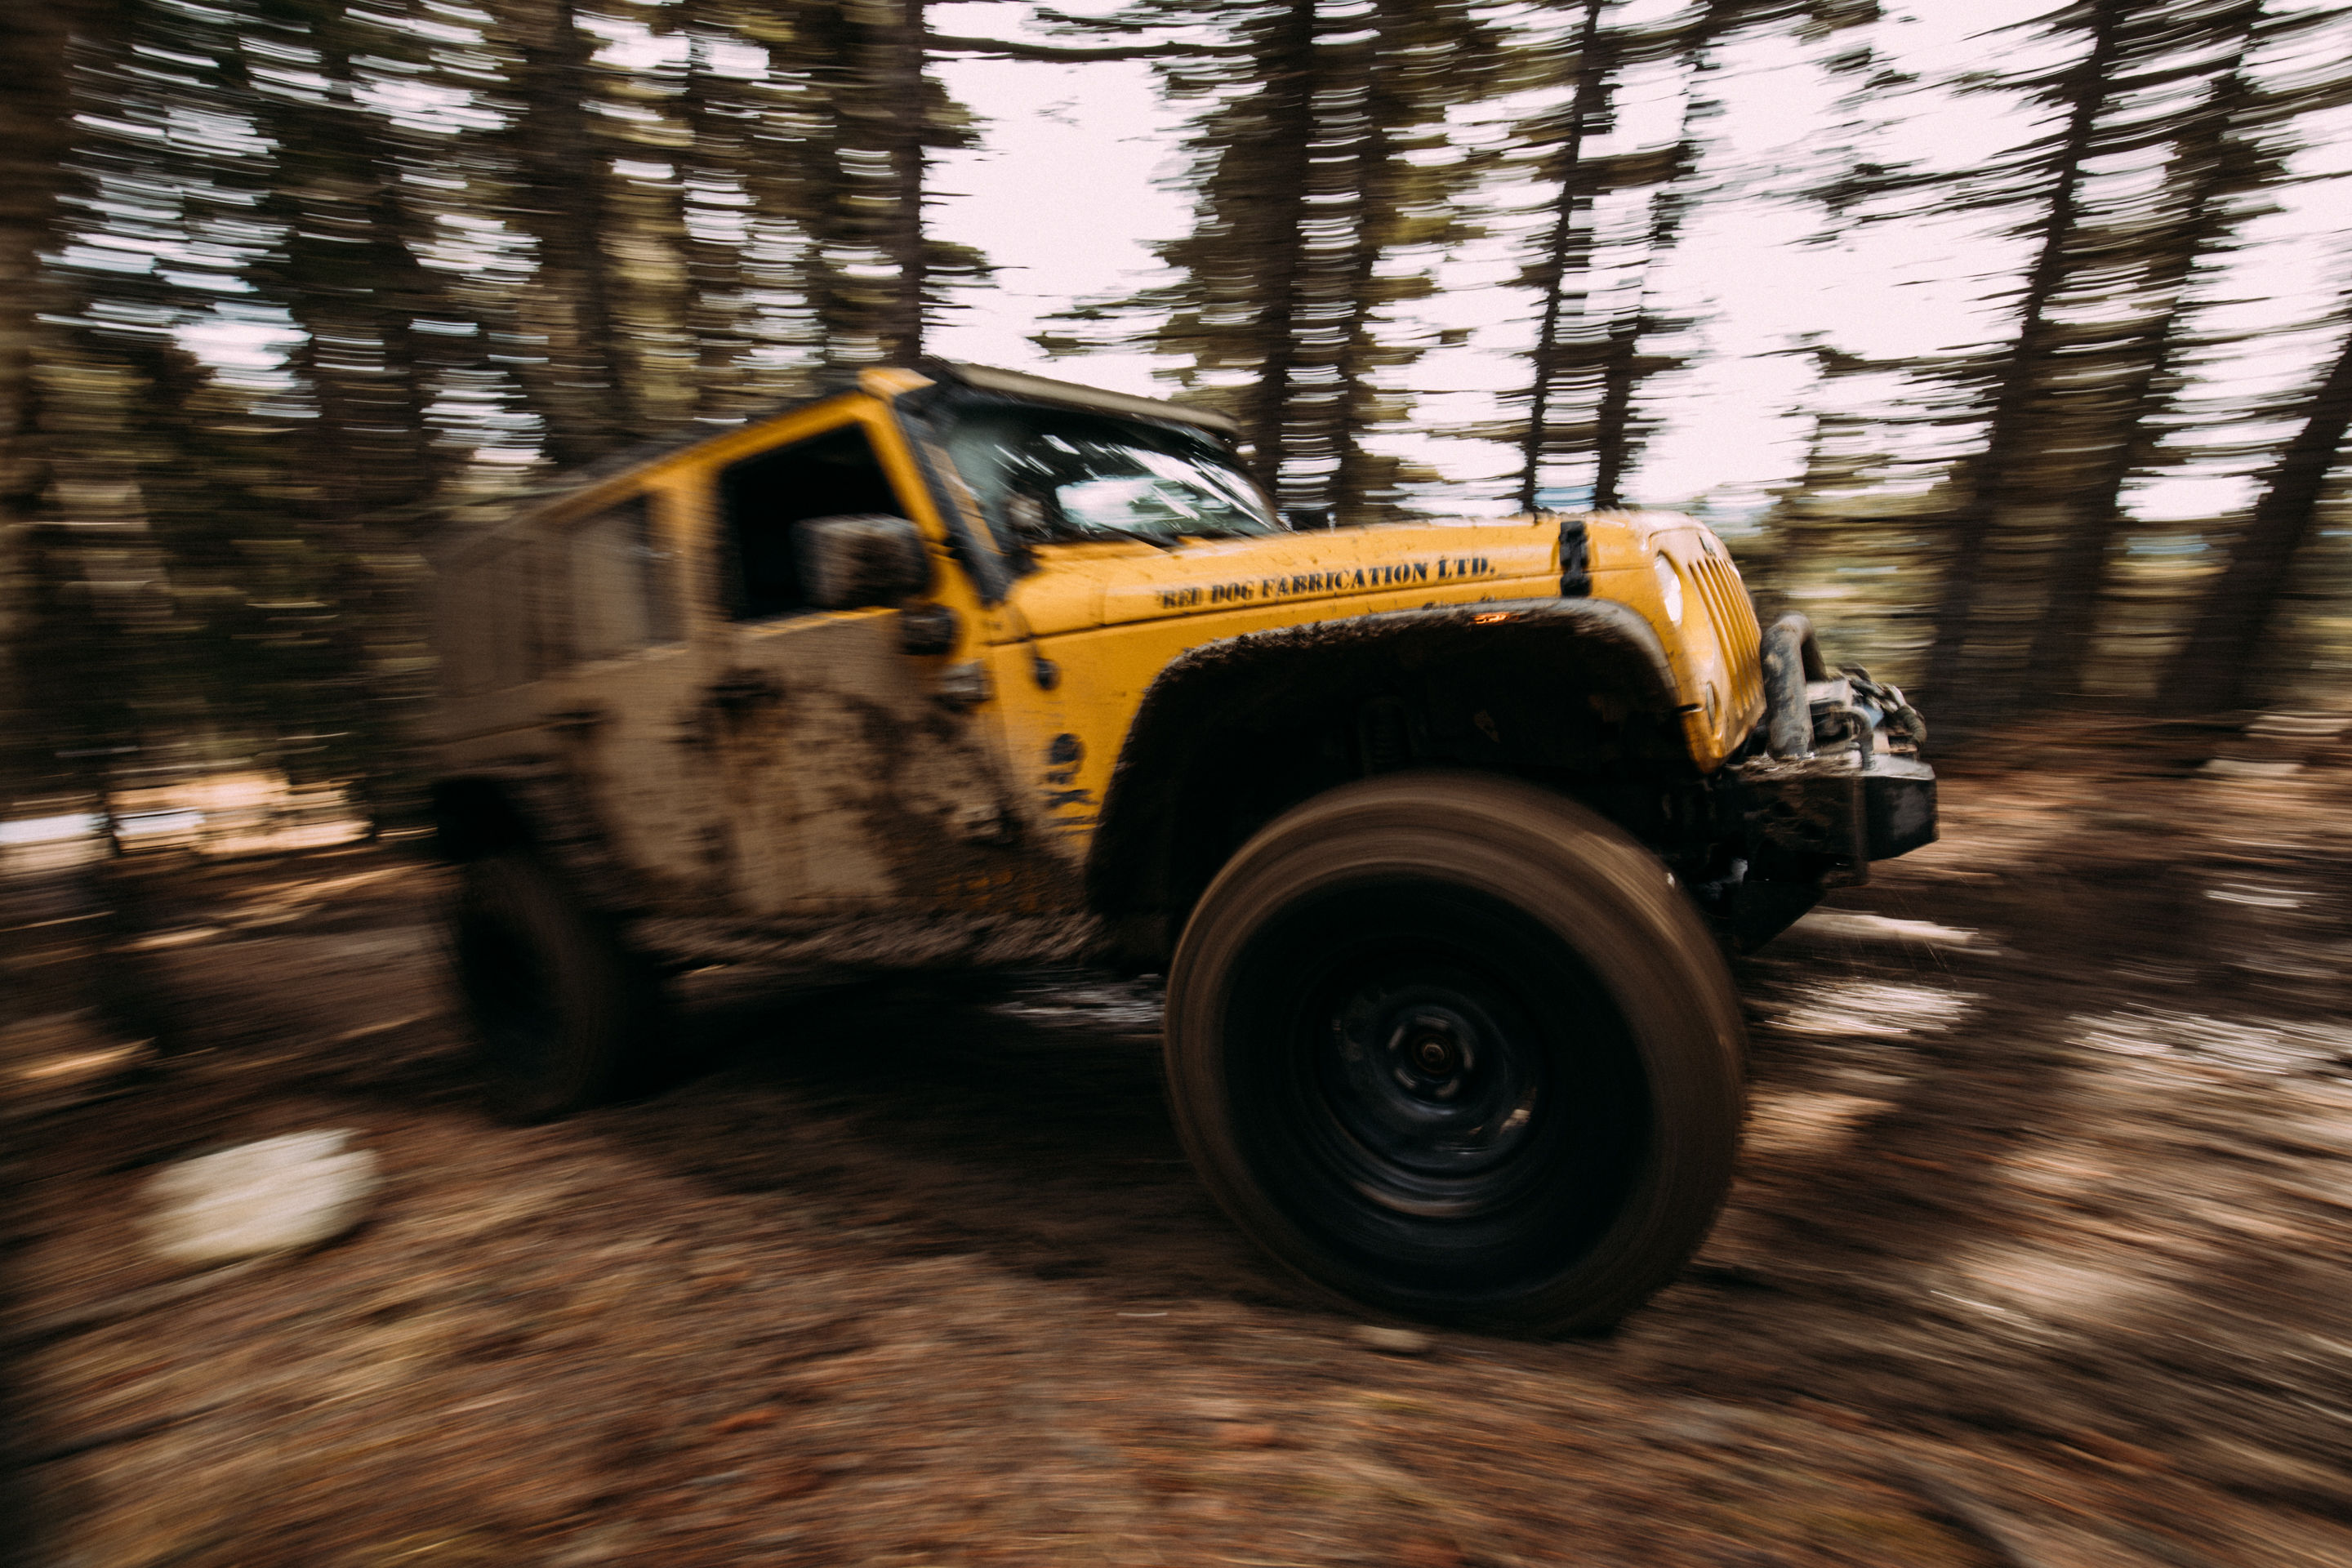
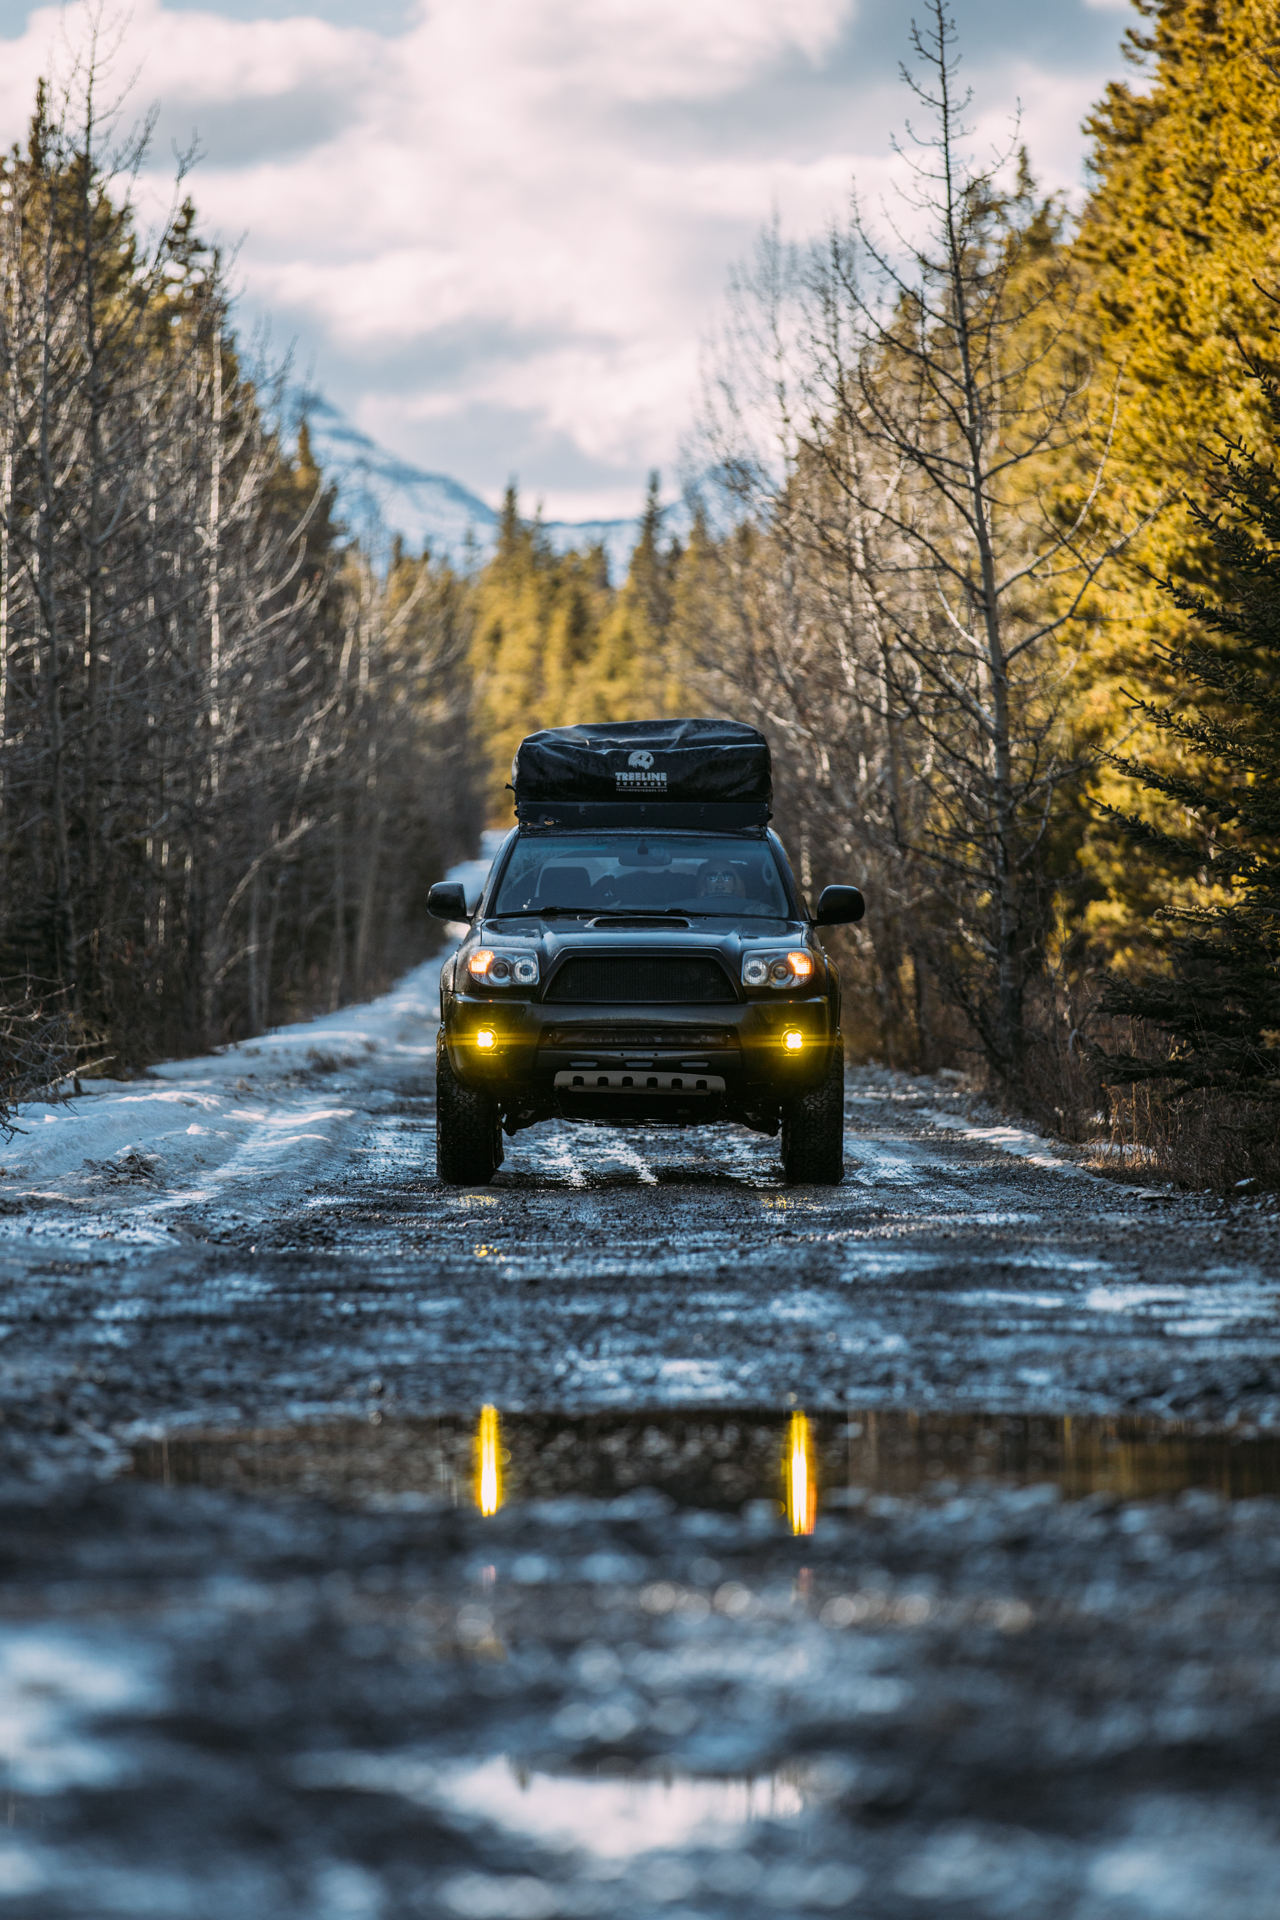
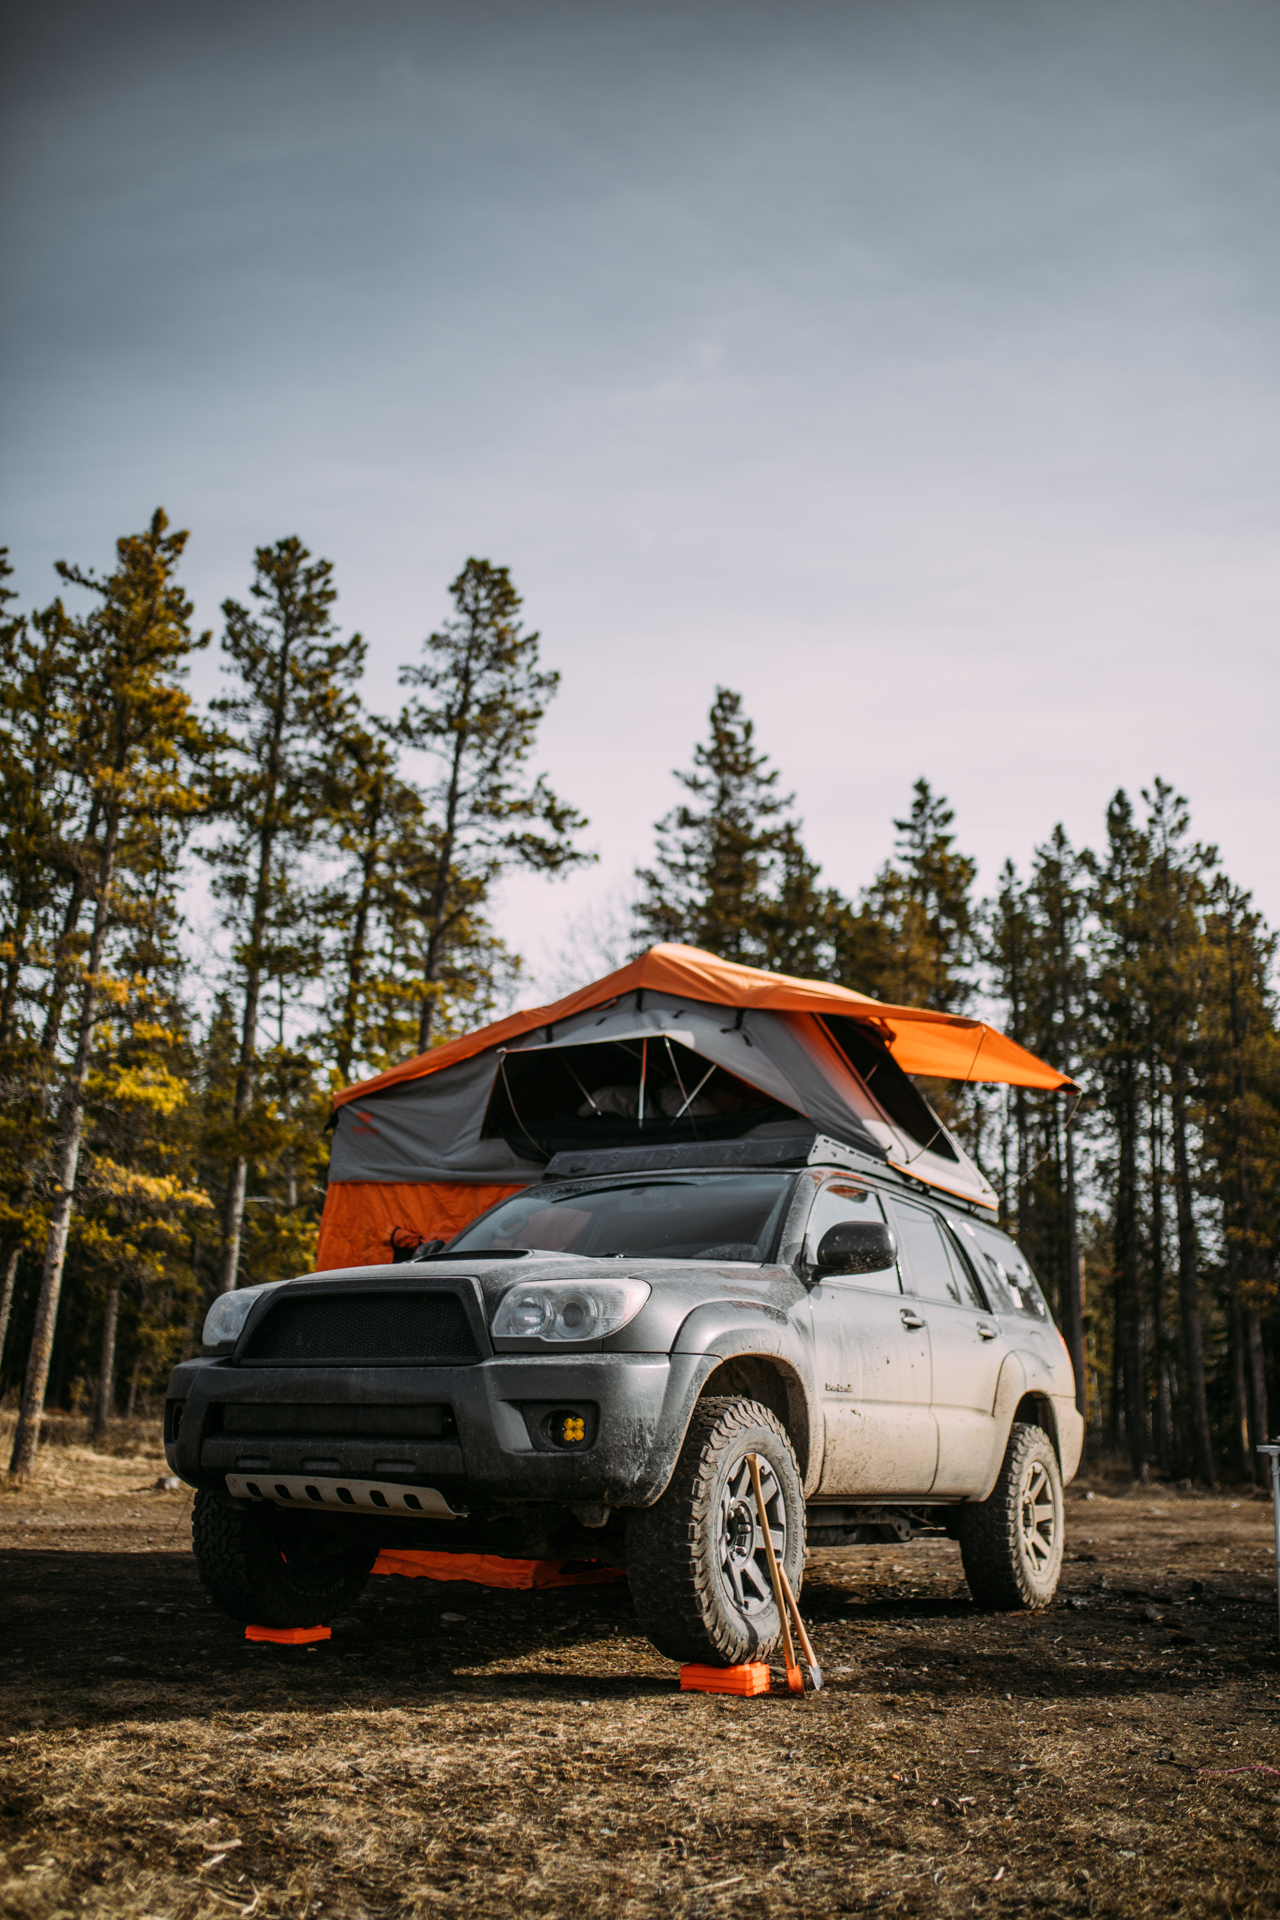
We've been blessed with some unreal weather here the last few weeks (about damn time, that was a long winter...)
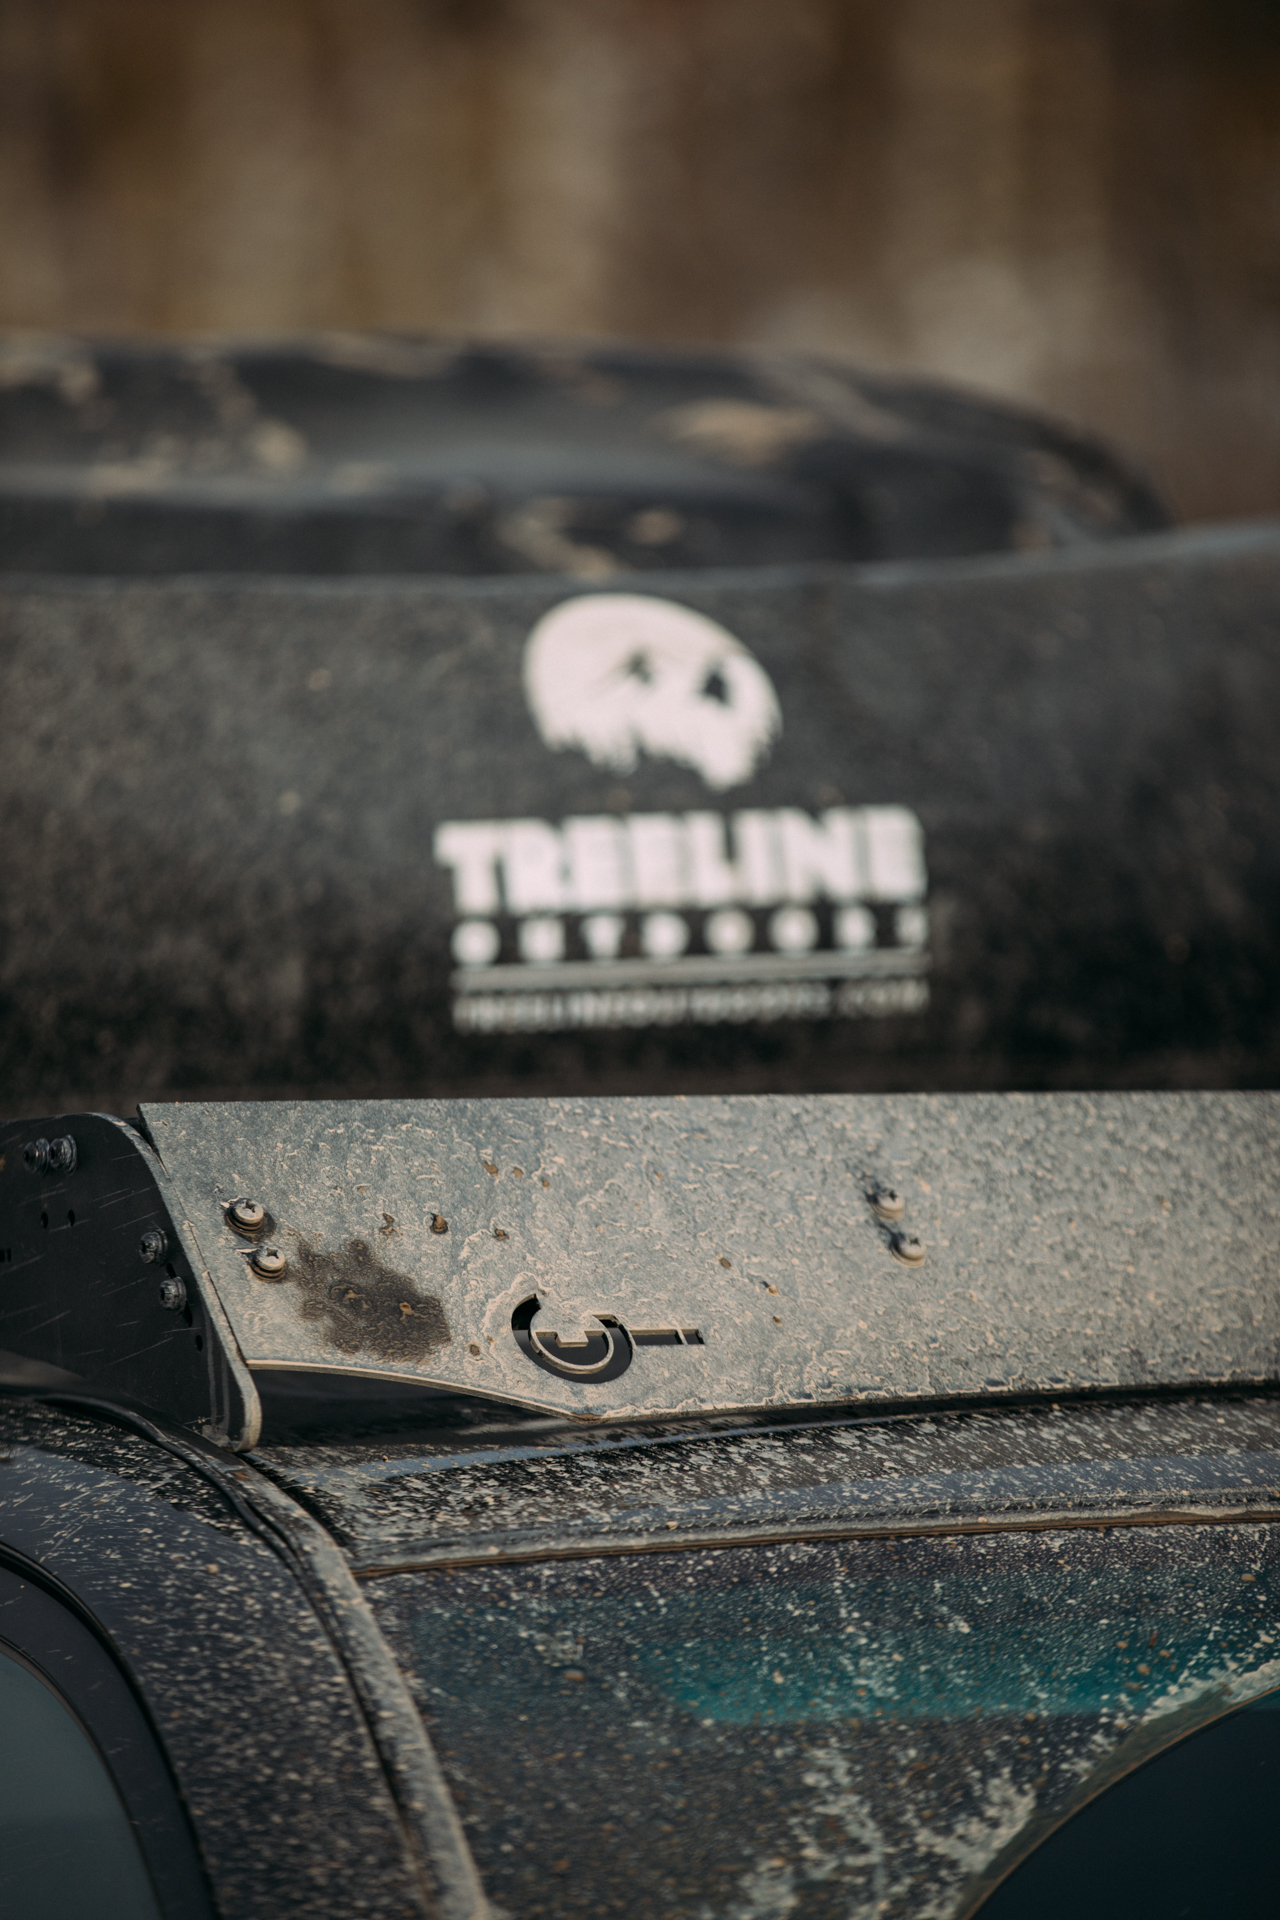
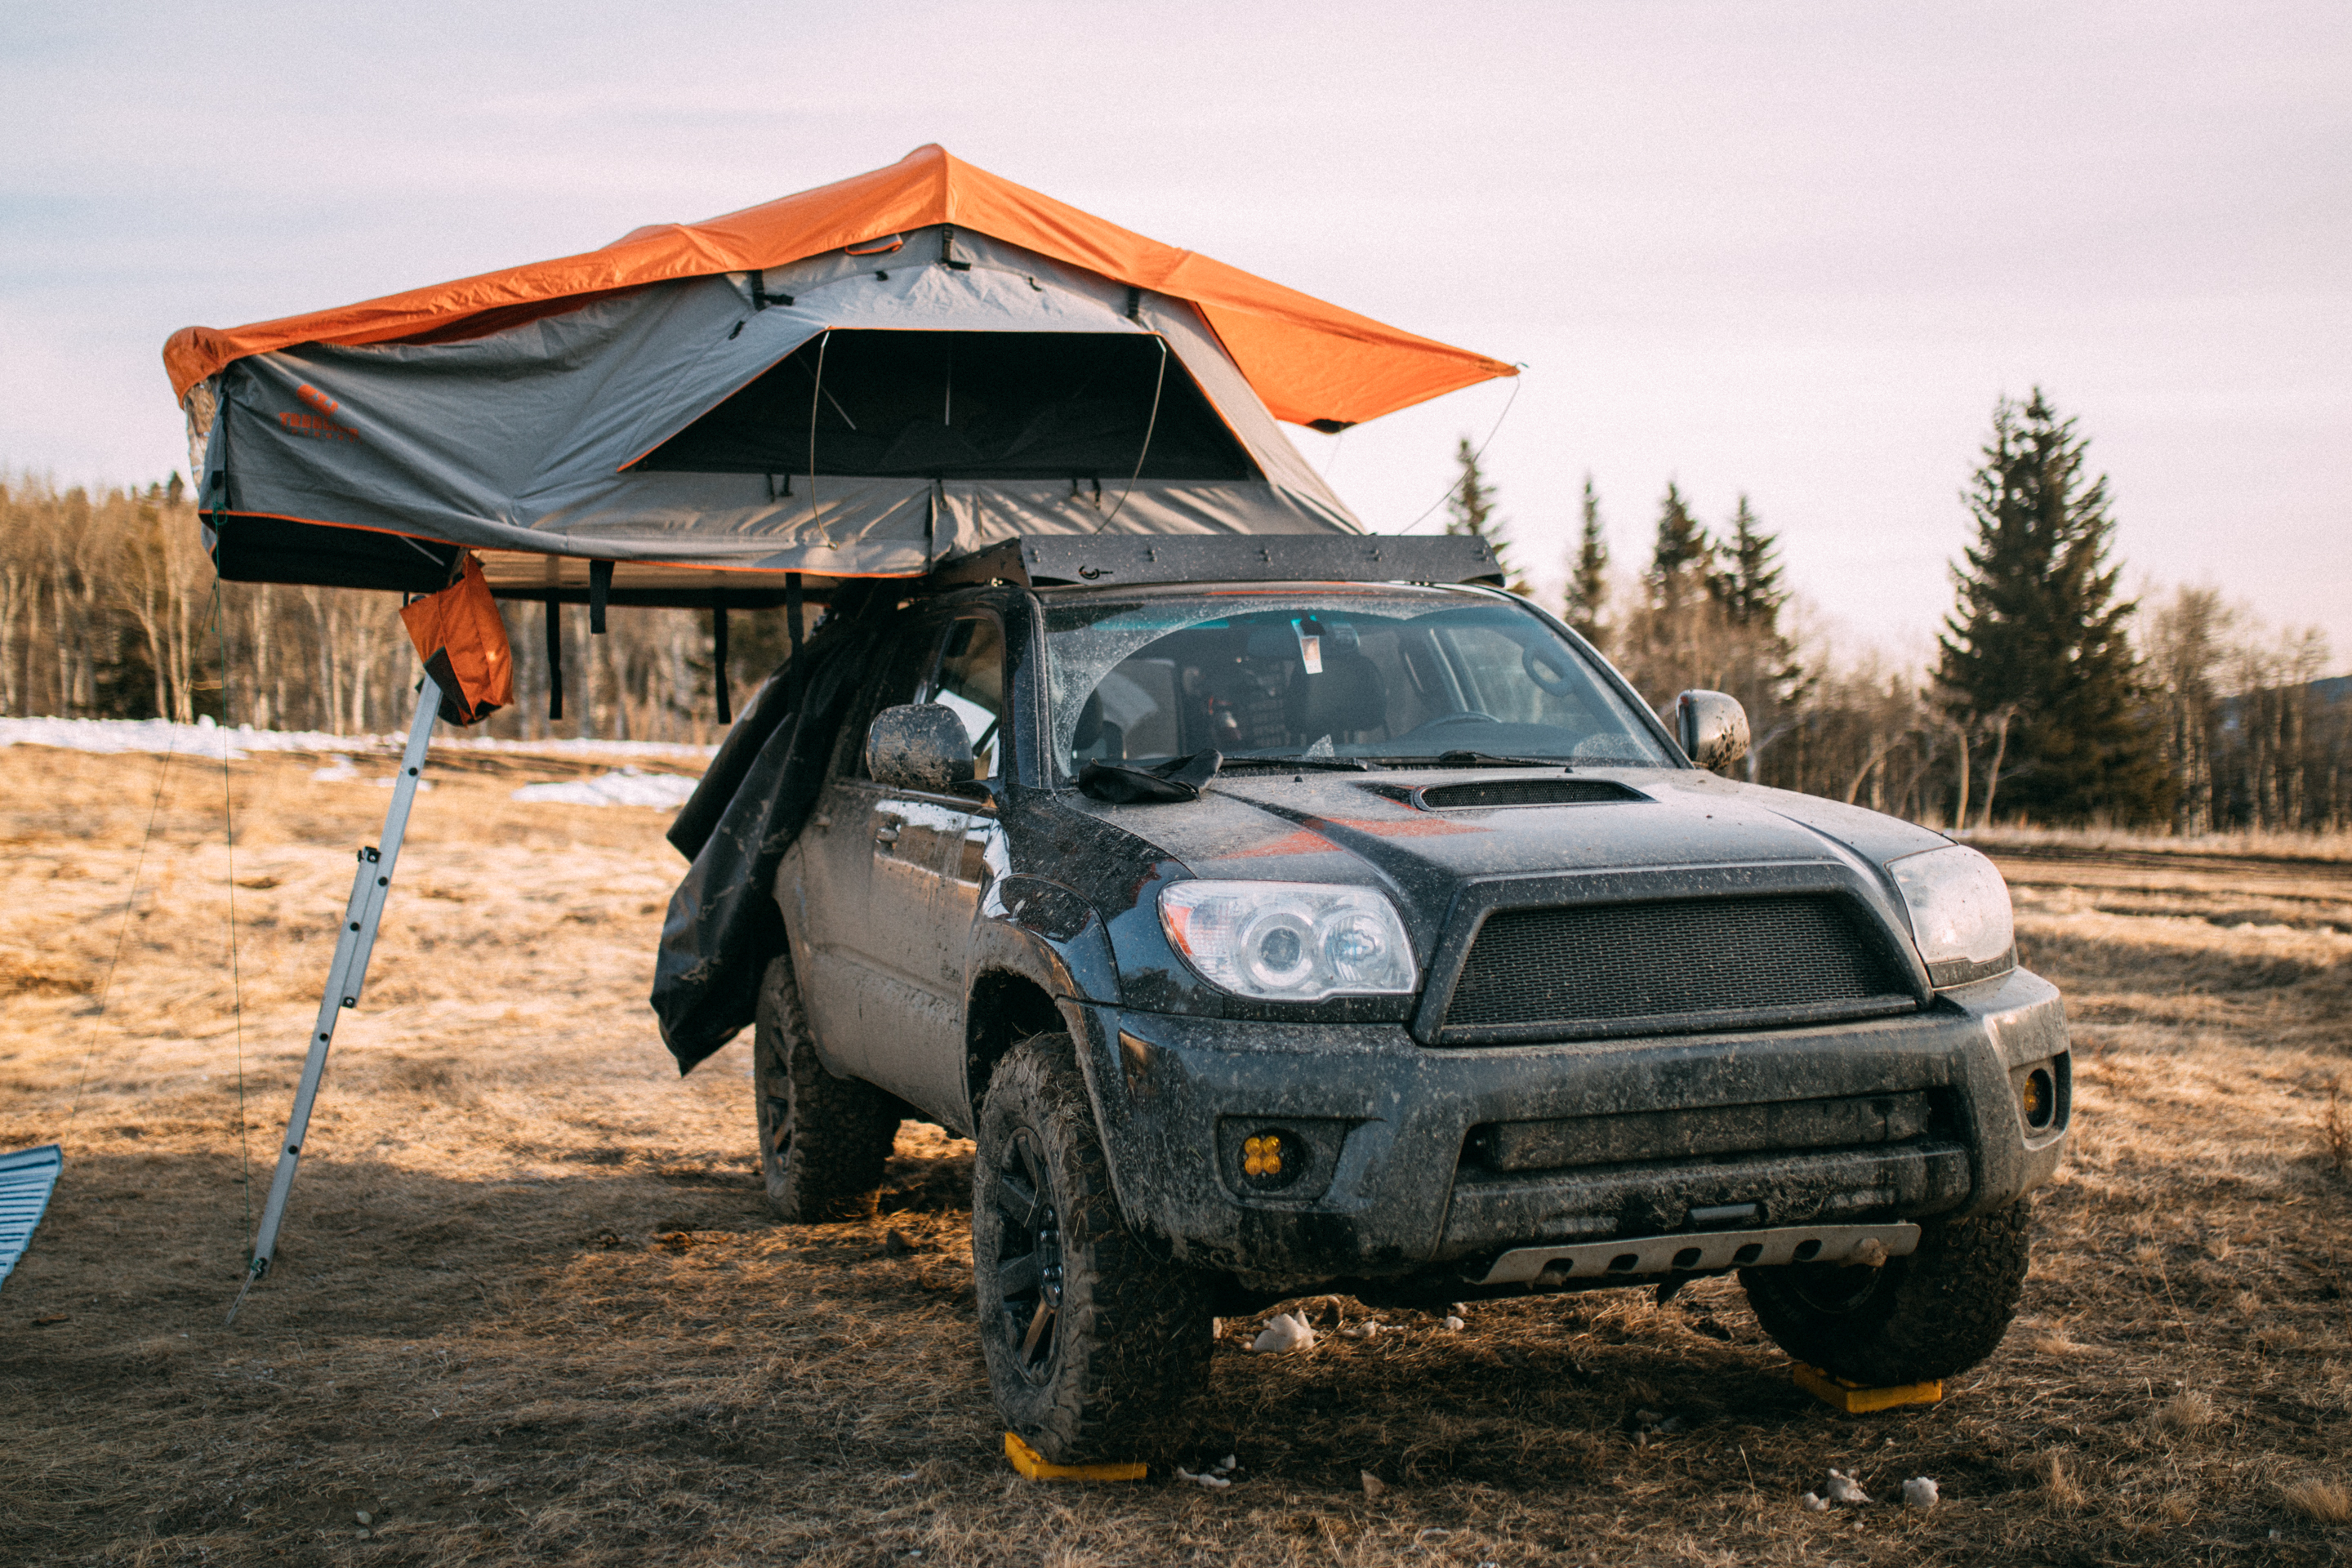
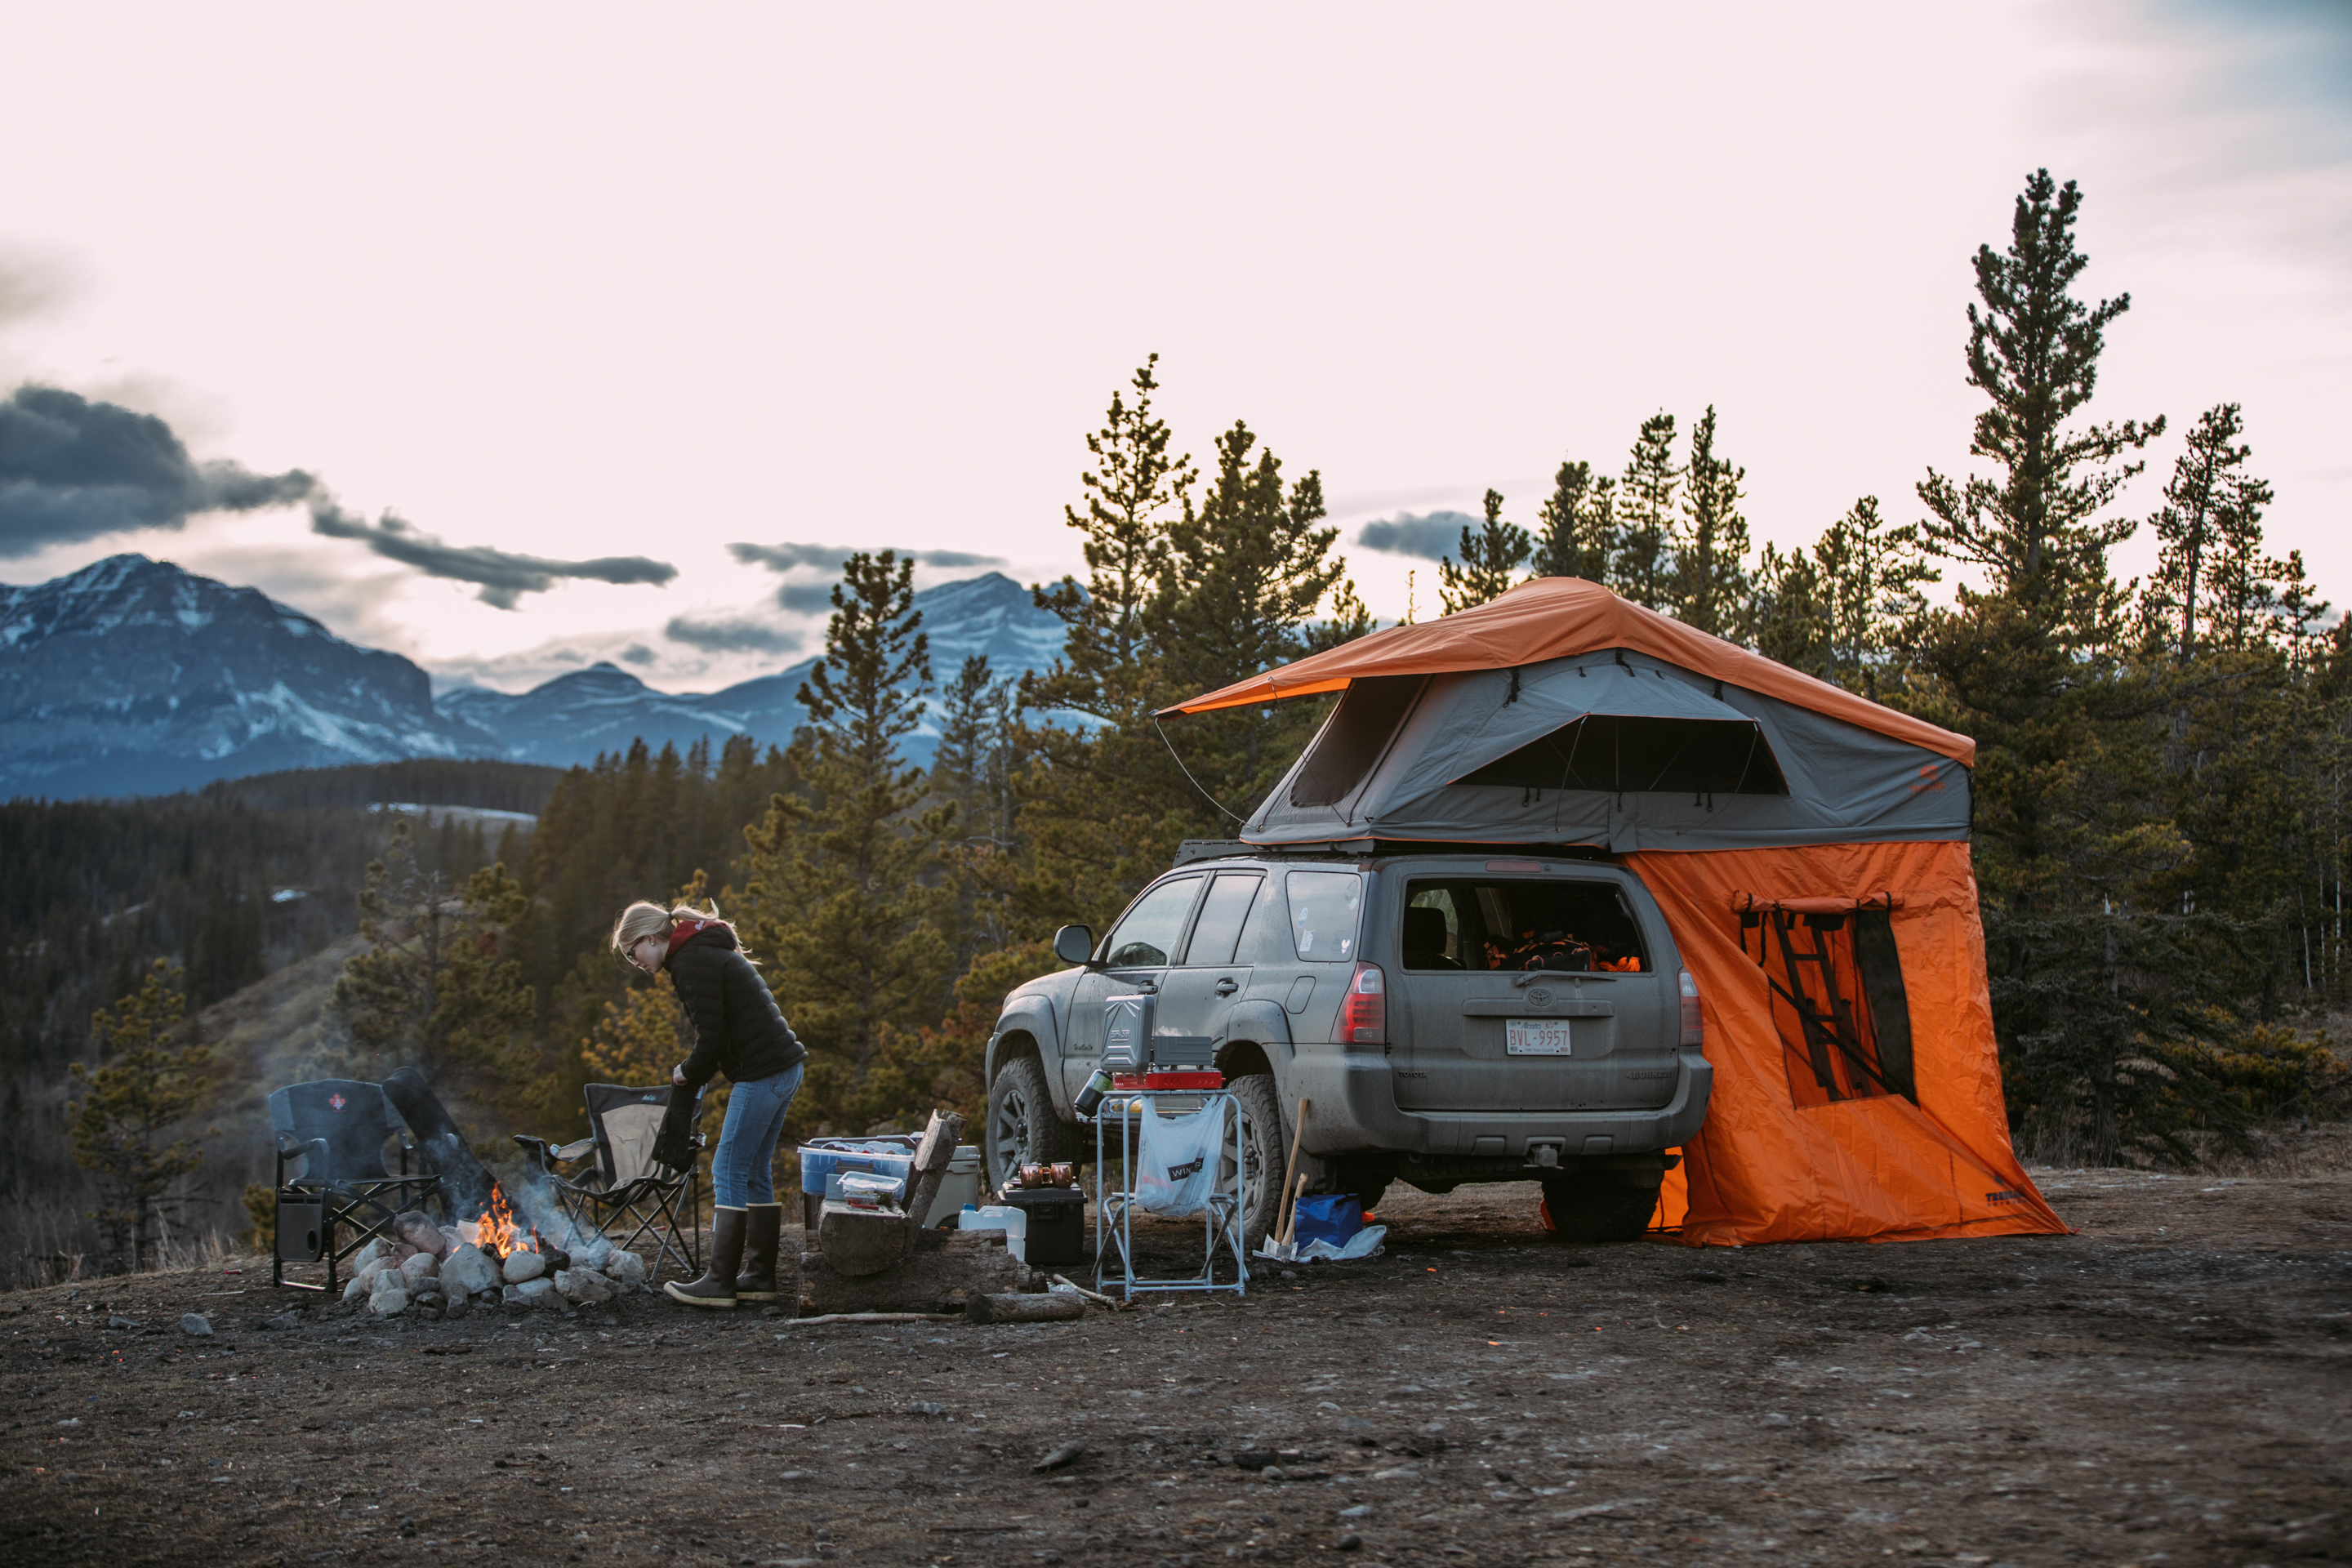
Finally got to test out the new-to-me Treeline Outdoors Rooftop Tent I bought at the end of last summer. These tents are amazing, plus local to where i'm from (Alberta.) Plus got to give my "mostly stock" 4runner a good testing before I put the new goodies in. I didn't get many shots of my own 4runner but got some actions shots of the other guys.
Loving the Prinsu Rack and the RTT. NOT loving the mounting system. Really limits where I can put the tent as I can barely reach my hand underneath to tighten the thing down. Good thing is it'll slow anyone down trying to steal it.
Anybody using any of the tent risers or RTT quick mounts?
A little 3 wheelin:

__________________
Whytey's 07 V8 Build Thread
2007 Toyota 4Runner Sport Edition V8, Elka 2.5 Suspension, Total Chaos UCA w/ Delta Uniball, Dobinsins C59-677V Rear Coils, Timbren Bumpstops, Prinsu Design Roof Rack, Baja Designs Squadron Sport Fogs, 285/70R17 BFG KO2, Blacked Out TE Rims, Spidertrax 1.25" Wheel Spacers, Satoshi Grill
|
|
|
Reply With Quote
|
|
03-27-2019, 08:42 PM
|
#29
|
|
Member
|
|
Join Date: Jul 2016
Location: Calgary, AB
Posts: 198
|
|
|
Member
Join Date: Jul 2016
Location: Calgary, AB
Posts: 198
|
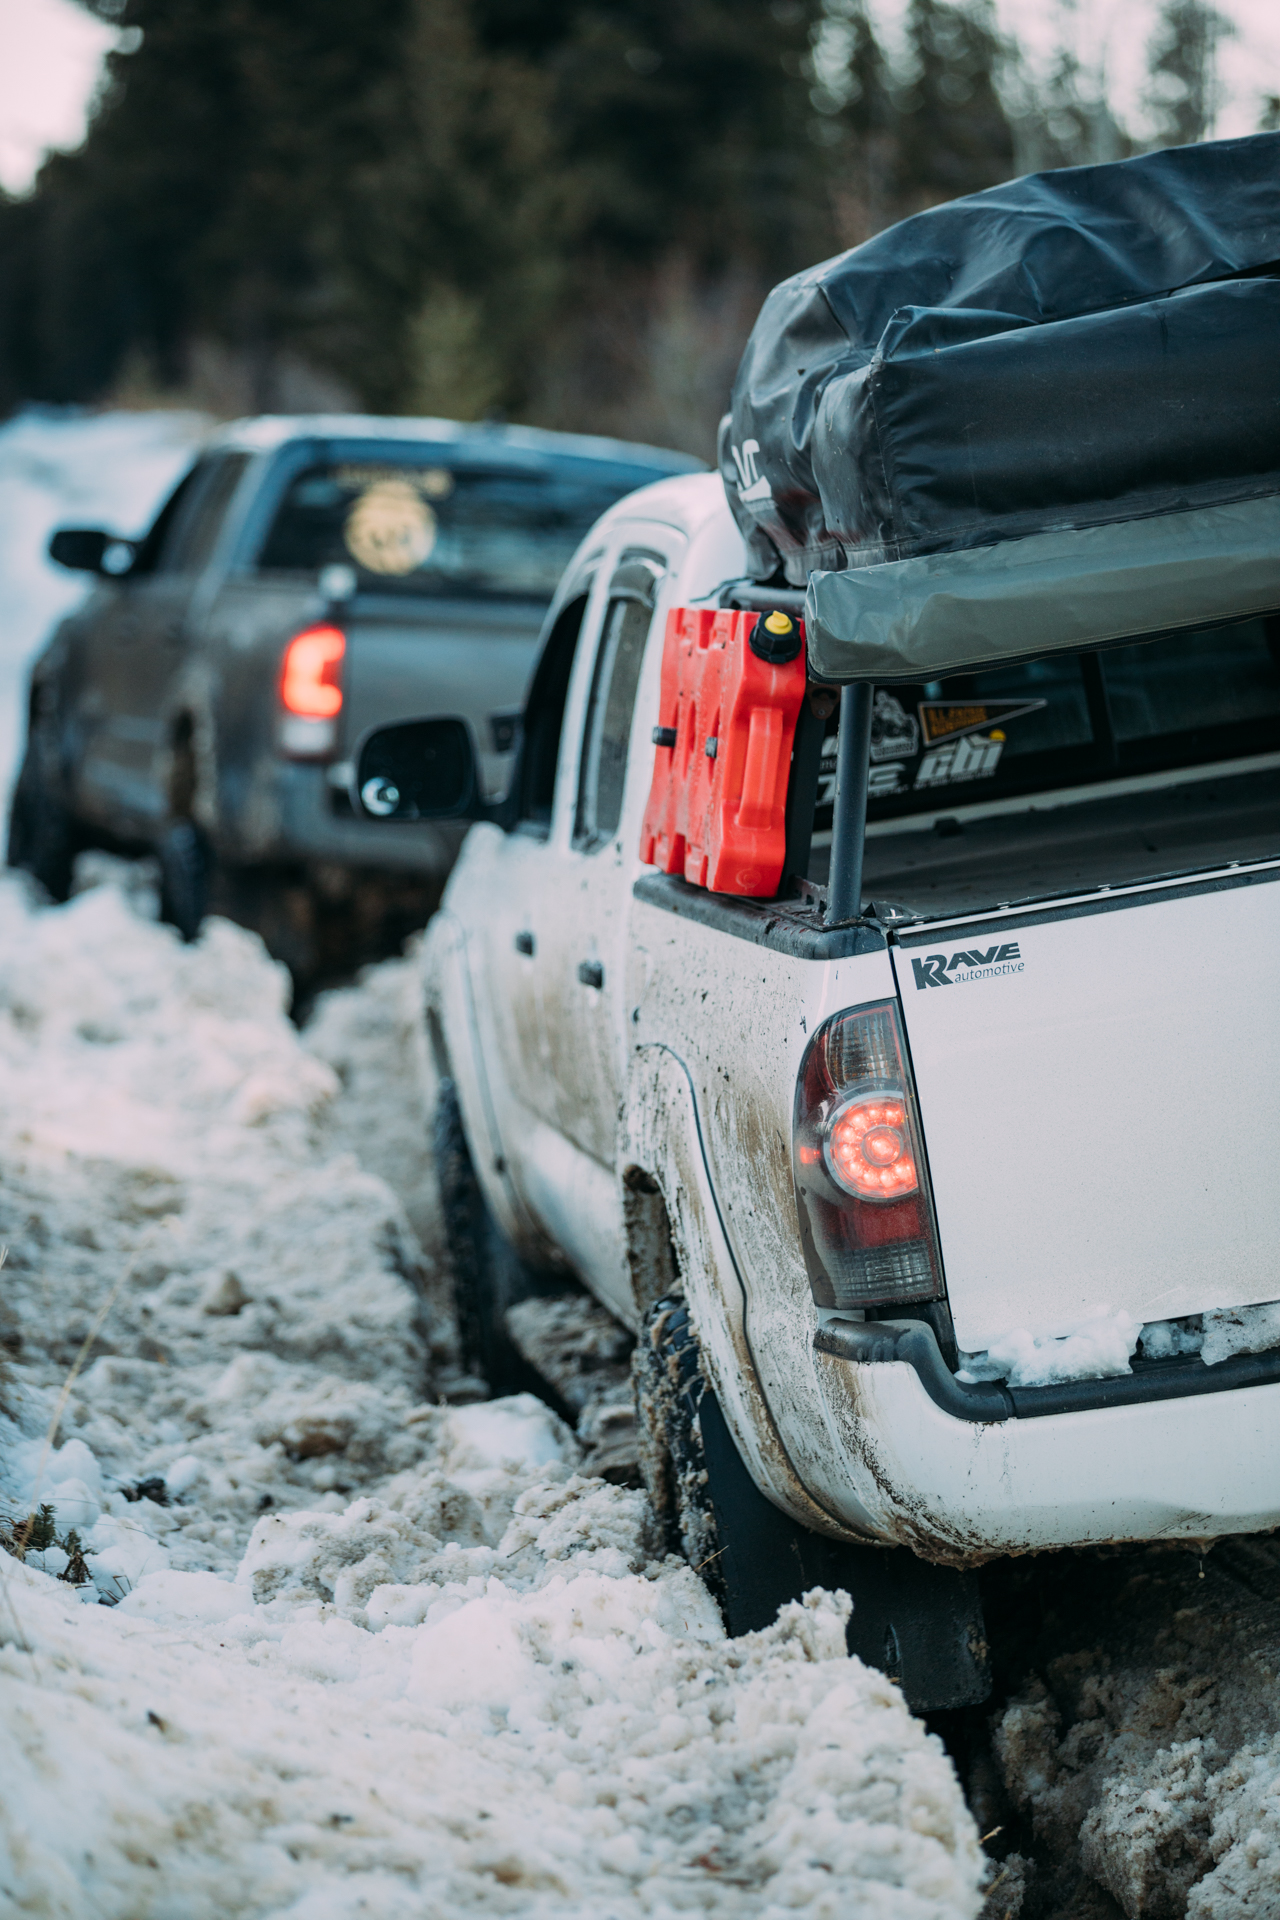
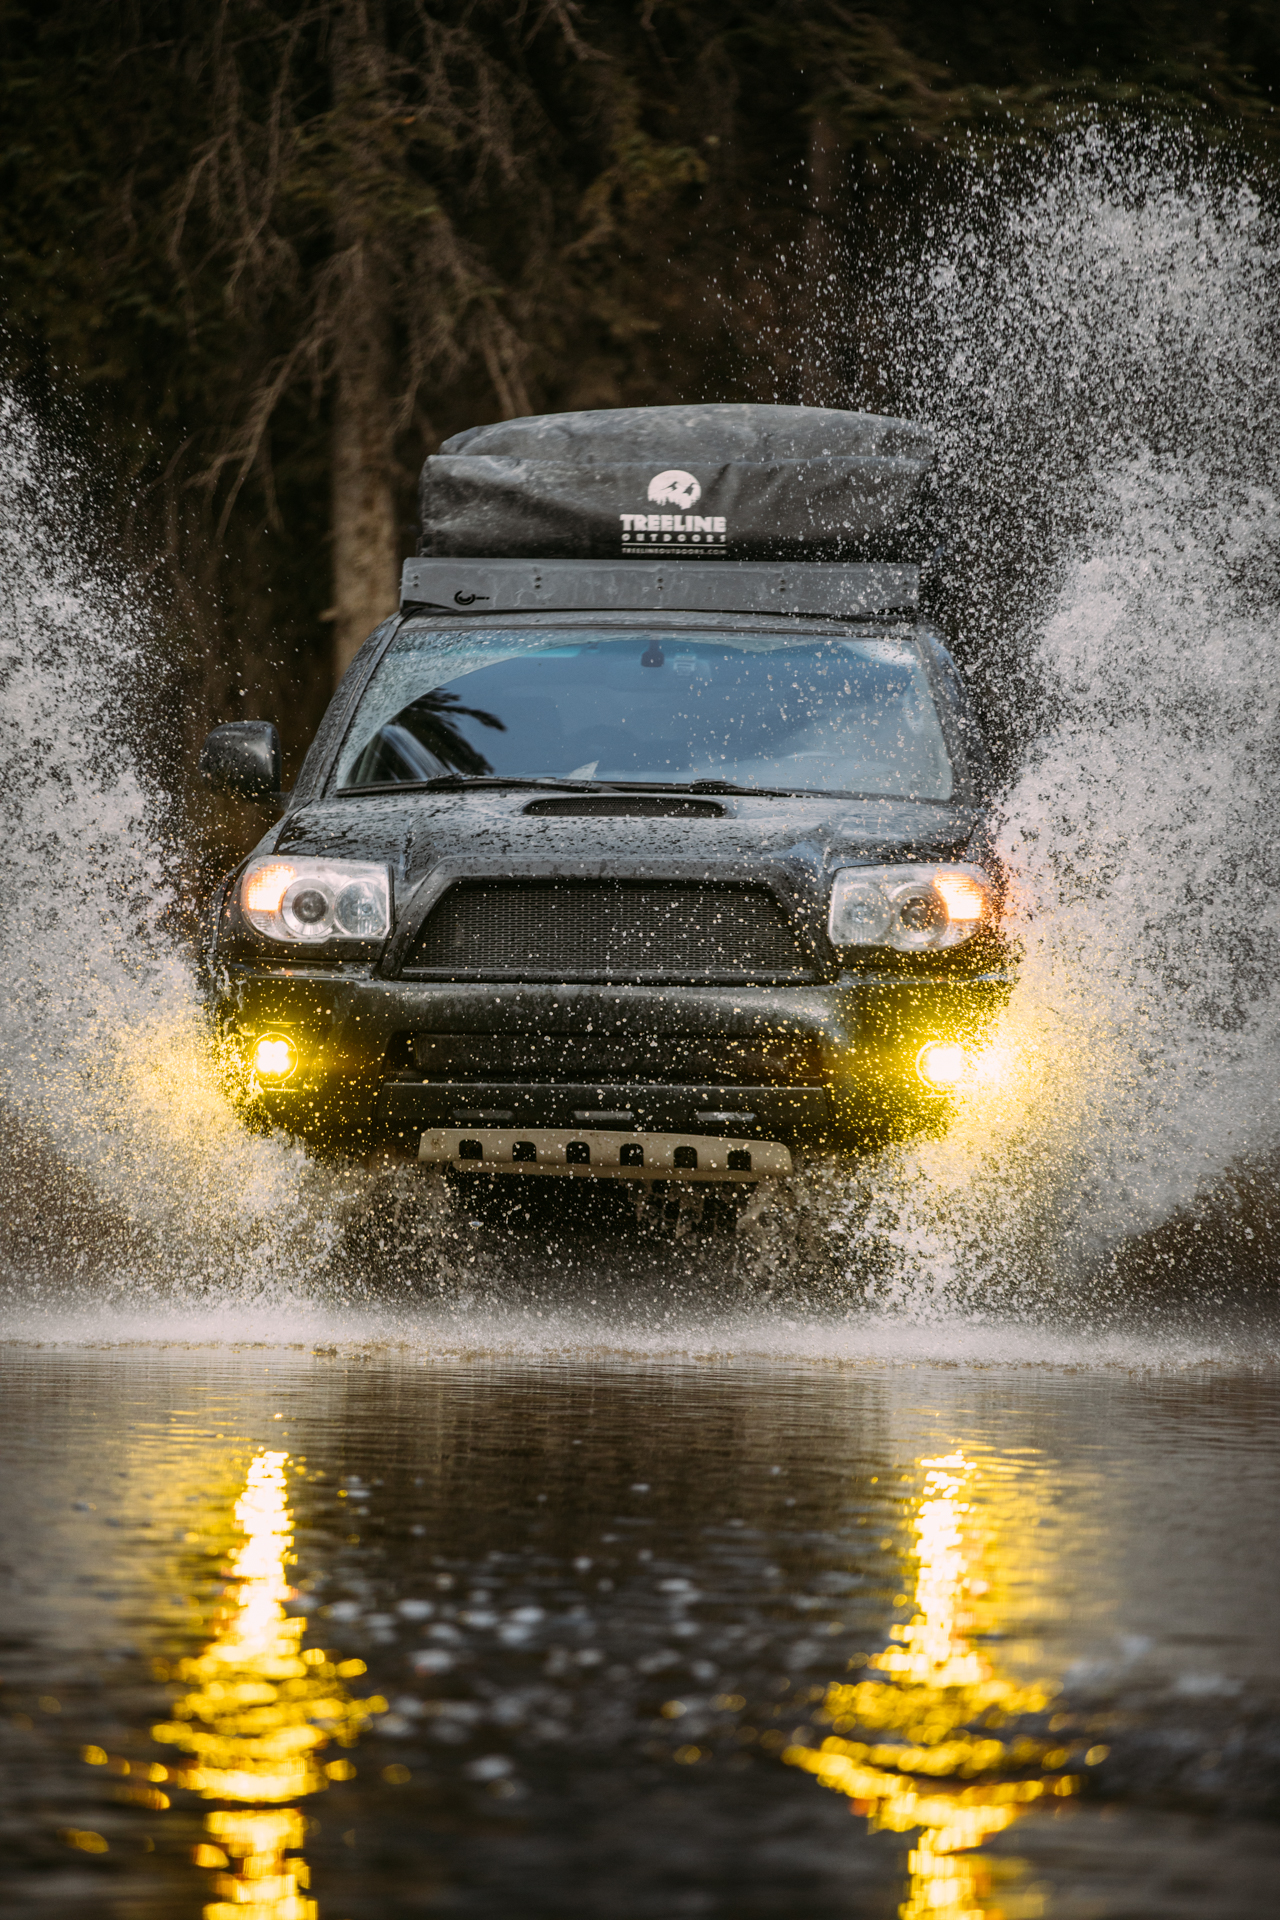
Weekday exploring/camping
__________________
Whytey's 07 V8 Build Thread
2007 Toyota 4Runner Sport Edition V8, Elka 2.5 Suspension, Total Chaos UCA w/ Delta Uniball, Dobinsins C59-677V Rear Coils, Timbren Bumpstops, Prinsu Design Roof Rack, Baja Designs Squadron Sport Fogs, 285/70R17 BFG KO2, Blacked Out TE Rims, Spidertrax 1.25" Wheel Spacers, Satoshi Grill
|
|
|
Reply With Quote
|
|
04-04-2019, 12:03 PM
|
#30
|
 |
Member
|
|
Join Date: Apr 2019
Location: Waco, TX
Posts: 32
|
|
|
Member
Join Date: Apr 2019
Location: Waco, TX
Posts: 32
|
Nice build! I am looking to pickup a 4th gen in the next month or two and start my build. I came from tacomas and can't wait to get started. I just want a mild setup for the occasional beach champing trips I take.
|
|
|
Reply With Quote
|
 Posting Rules
|
You may not post new threads
You may not post replies
You may not post attachments
You may not edit your posts
HTML code is On
|
|
|
|


 Linear Mode


