So after spending 10 hours on Friday and 5 hours today, the FJ case is in and works! Took it for a test drive after, got up to highway speeds, put it in 4Lo, and everything is perfect. So now for some photos!
First, here's the center console area before any cutting was done:

Ended up cutting the hole in the floor way too big but we really had no idea what we were working with to start so we just cut away as needed:

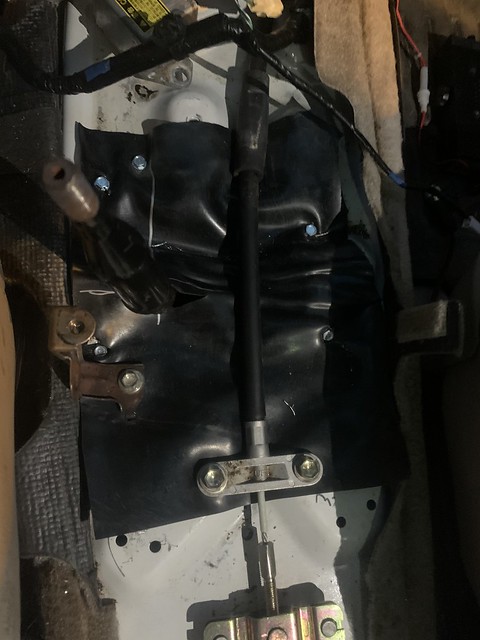
So if you look at the pictures so far, we determined that we needed to lose the front left mounting bolt for the transmission shifter housing, which ended up being a good choice cause the shifter hugs it pretty tightly when in 4Lo. But the transmission shifter is mounted plenty sturdily with the other 3 bolts. You can see where we cut out a small section towards the rear at first then started working our way forward as needed. I think I also lost a hole for a clip that held a wiring harness in place but that's not a big deal.
All of the other writeups I've seen on this have been done on V8 trucks with the 5 speed which would have pushed the shifter farther back. Having the 4 speed A340F, my shifter ended up being about 3-4" farther forward, making it really difficult to clear everything. We cut pretty much all the way up to the yaw rate sensor (silver box bolted to the floor).
To cut out the hole, we used a combination of a cheap harbor freight body saw and then a sawzall. It was a slow and painful process but it was better than using a grinder and getting grinding dust everywhere and throwing tons of sparks in the interior.
Just for fun, here's my hand for reference on how large the hole ended up being:

Even though its a large hole, it's nice cause I can take the shifter out of the transfer case without removing the entire case from the vehicle.
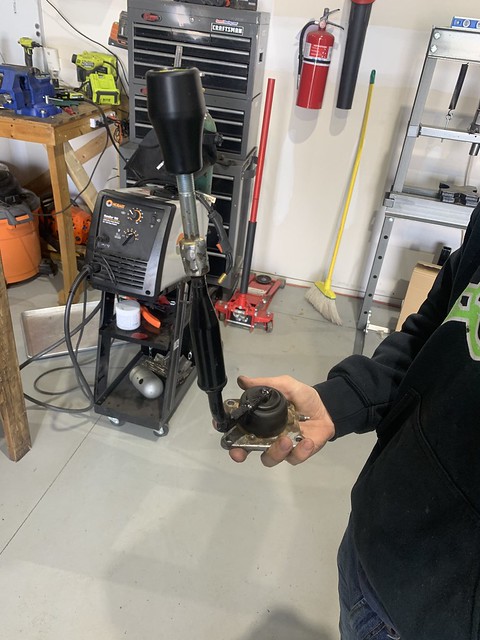
So, now on to making the shifter work. This was the most troublesome part of the swap and took my buddy and I about 5 hours of fitting to get it located the way we want. The goal was to get the shifter into the coin pocket w/ the cigarette outlet and avoid trimming any of the center console trim. This was an iterative process and involved probably 10+ test fits of the shifter. The end result was cutting the shifter off and welding in a roughly 3" piece of 1/4" flat bar to get the shifter farther driver and towards the rear. We ended up also having to bend the flat bar up and twist it slightly. There's really no good way to explain this part except for mess with it until you're happy with how it fits.
Another issue we ran into was that the shifter was not long enough, so the shift knob was going to interfere with the edges of the center console trim. To get around this, we got two nuts and a bolt from the store. Welded two nuts together and ran those onto the factory threads of the shifter. Then we welded the head of the bolt to those nuts to get about a 2" extension. Just used an M12x1.25 bolt which is standard threading for shift knobs. I also chose to go with the Marlin turtle shift knob cause I like Marlin

Shifter:
Shift Knob:

Close-up of the Extension:

Before spoiling the cool part of how the shifter fits with the center console trim, let's look at driveshafts. Rear driveshaft turned out to be really simple. I bought a 1.25" driveshaft spacer from 4Crawler Offroad and installed it between the rear driveshaft and the transfer case flange. Installed:

For the front driveshaft, I didn't have to make any modifications. All I did was pull the slip out some more and it bolted right up with plenty of spline engagement left. The front driveshaft changed the length of the dirty section of the driveshaft in the next picture. You can see the line between what was previously exposed and what was previously inside the slip:

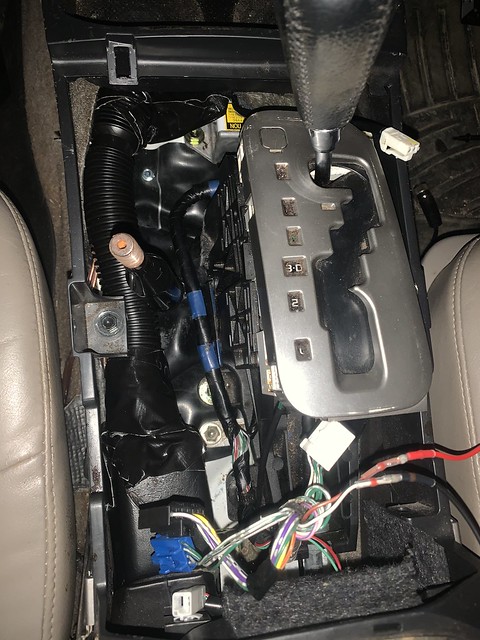
Now . . . . shifter fitment!! So I haven't installed all of the center console trim yet, but I'm 99% sure this will work based on the testing method I did. All we did to help place the shifter in the coin pocket was repeatedly place the corresponding trim piece on top of the transmission shifter and line it up as if it were installed. To explain this better visually, here's some pics of the shifter positions.
2WD:

4Hi:

4Lo:

So I call this an absolute win! Shifter is at a really comfortable height as well and doesn't get in the way of access to anything else.
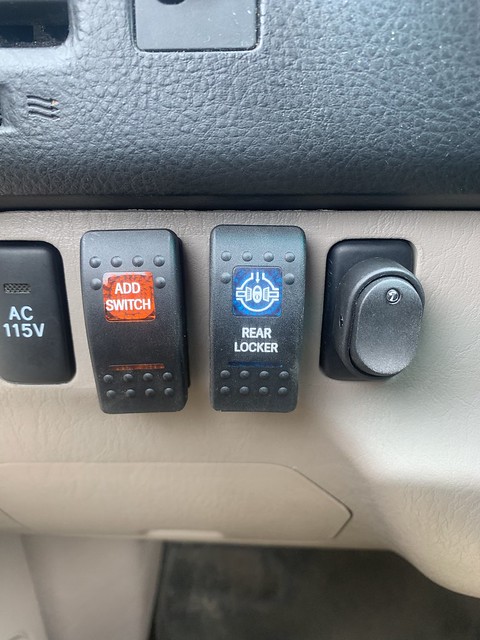
I also wired up the dash lights to work with the new transfer case with the center diff lock light indicating 4Hi and 4Lo to 4Lo. I'll make a post tomorrow with some more details on how that was done.
So everything works but there's still a lot to button up:
- Make sheet metal plate and/or rubber piece to seal the floor as much as possible and reduce noise (chain-drive cases and road noise are super loud)
- Install ADD harness to get the ADD to work
- Wire up an ABS/Traction Control bypass switch
- create method of retaining rear AC (got an idea)
I'm hoping to get all of this done within the next few weeks but school has been super busy so we'll see. Overall I'm so happy it worked and it's cool to be the first (possibly but could be wrong) person with the 4 Speed transmission to install an FJ case.
I couldn't have done this without the help of my friends, so feel free to check out their Instagram pages to see their cool builds. One is a 22RE toyota buggy that runs on propane, and the other is a Jeep Cherokee that is built properly and not hacked like 99% of other Cherokees.
Instagram Handles:
@
THOMAS
_previti (Toyota Buggy)
@the_green_dumpster (Jeep Cherokee)
Stay tuned for more updates on wiring, sealing the floor, and retaining rear AC!!


 Linear Mode


