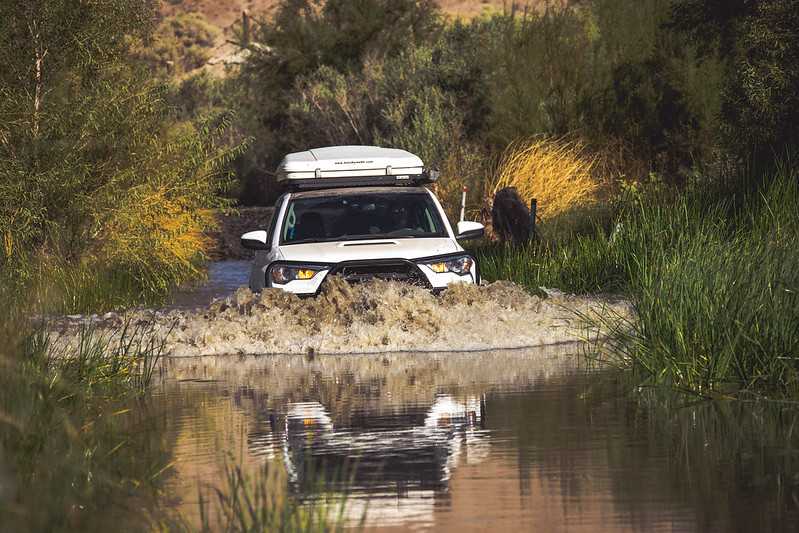
Ugh....I need a snorkel at some point but I think I'll wait a little bit for now. Most of the crossings I've done up until now have been okay with the stock airbox but I'll let you know if I change my mind.
The water I went through in the same crossing was higher than what Victor did, and I even didn't need a snorkel. It's nice to have but not critical at that depth at all.
And yeah, MR isn't a HARD trail, but it's a mix of either high speed driving in washes, whoops, and a lot of rutty terrain. So it'll shake loose what you forgot to torque down.
From talking to Victor, I think he ran MR too quickly, it's really a 2 day trail to take in all the sights. Honestly you can blast through in 5-6 hours, but it takes all the fun out of it.
I also added one of those green frogs and left money in the Money Tree!
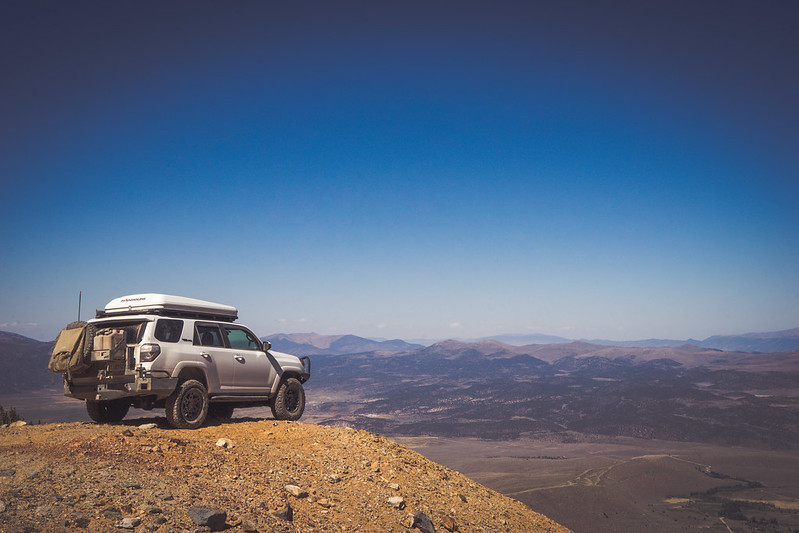
I started this build with the idea that it'd be just a mild expedition setup. I don't plan on doing any heavy wheeling, but most of the mods are planned around being as capable as possible while still being mild mannered and retaining factory reliability/drivability. With that in mind, don't expect anything crazy here
CURRENT MODS
Engine
TRD Cold Air Intake LINK
AFE Pro Dry S filter LINK
Interior
Antman Flashlight Mod- Surefire P3X Fury Tactical LINK
5K LED Interior Lighting
Husky Weatherbeaters
Canvasback Cargo Liners
Customized RAM Mount w/ Proclip Vent Clip for iPhone LINK
Hard-wired Dash Cam LINK
Zulu Tactical Window Visor Organizer
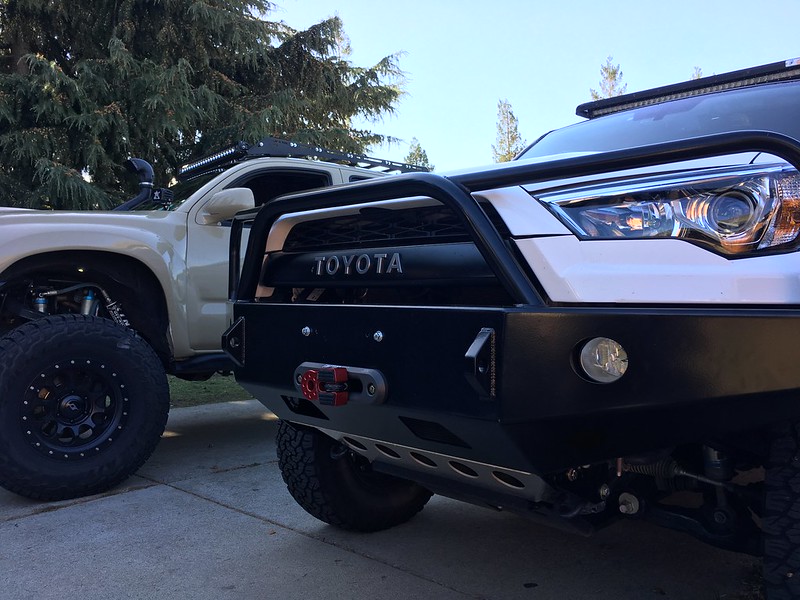
Armor Demello Triple Hoop Front Bumper
Shrockworks Front Plate Bumper
BAMF Bolt-on Rock Sliders LINK
RCI Full Underbody Skids
CBI Rear Bumper- Dual Swing Out LINK
Exterior Bajarack Spy Utility Rack
Eezi-Awn K9 2.2M Rack w/ 40mm legs
RAV4 Blind Spot Mirror Retrofit LINK
Low profile XM antenna mod LINK
ARB 2000mm Awning LINK
ARB Awning Room
Maggiolina Airlander Roof Top Tent (SM)
Weathertech In-Channel Vent Visors
Satin Black 3M 1080 Roof Wrap
Electrical/Lighting
40" Single Row LED light bar on K9 Rack
Xenon Depot HID kit w/ Philips 4300k bulb upgrade
Adventure Trailers Solar Plug mounted in hood cowl trim LINK
Renogy 100W folding solar panel LINK
Odyssey 31-PC2150 Group 31M Deep Cycle Battery LINK
National Luna Single Battery Monitor LINK
Truck Fridge/Indel-B TF51 w/ Wagon Gear hinge flip kit LINK
Tacomapros Bussman Relay Box LINK
OTTRATTW Switches in center console
ARB Twin Compressor OBA system LINK
Suspension/Wheels
Front TRD suspension swapped for Bilstein 6112, set at 2.5" front lift
Rear TRD 5160 stock shocks w/ Toytec Superflex 2" lift springs BF Goodrich KO2 34x10.5x17
BF Goodrich KO2 285/70/17
Spidertrax 1.25" Wheel Spacers
No-Loss Valve stem caps LINK
Comms
Full Size CB (Bearcat 980SSB) in center console LINK
Firestik 2' CB Antenna
Diamond K400 3/8C on hatch
Hustler CB Quick Release LINK
I'm never disappointed checking in on this build thread- just really awesome all around.
How satisfied are you with your current suspension setup? It looks plenty capable judging from your pics and it looks to be handling the increase in weight with the front/rear bumpers just fine. Are you eventually thinking about changing it out or are you sticking with this setup for the foreseeable future?
Wow great build. That trip through the Mojave road looked amazing!
Quote:
Originally Posted by ribelliaj
WOW awesome build and even better pics
Thanks for the kind words! Knowing people are enjoying this thread keeps me taking photos and documenting my trips/build.
Quote:
Originally Posted by Jaydub514
I'm never disappointed checking in on this build thread- just really awesome all around.
How satisfied are you with your current suspension setup? It looks plenty capable judging from your pics and it looks to be handling the increase in weight with the front/rear bumpers just fine. Are you eventually thinking about changing it out or are you sticking with this setup for the foreseeable future?
Thanks!
I'd be happy with my setup if I didn't have so much weight around. Even unloaded without the RTT and my camping gear it still sags a bit on account of the full armor and skids. Fully loaded with my RTT/gear I get quite a bit of reverse rake and it seems like I'm riding lower than a stock 4Runner, lol. Without all that weight I was pretty satisfied with my suspension setup.
I was about to just buy upgraded springs to handle the additional weight while keeping the 6112/5160 shocks but decided it'd be more straightforward to just swap out the entire suspension and be done with it. I have some Kings on order, just waiting for them to come in.
I want to thank you for sharing your adventures! New SR5 owner here, and I came to the forum and discovered threads like these -- this one in particular really inspired me... made me think what I might want to do with my SR5 and what kinds of adventure I might take my son on! Thanks again, and know you are appreciated by total newbies. :-)
I want to thank you for sharing your adventures! New SR5 owner here, and I came to the forum and discovered threads like these -- this one in particular really inspired me... made me think what I might want to do with my SR5 and what kinds of adventure I might take my son on! Thanks again, and know you are appreciated by total newbies. :-)
Thanks man! I really appreciate it, and documenting my trips to help other members explore more is what this thread is all about. An SR5 is plenty capable even in stock trim. Just remember to be safe and have fun!
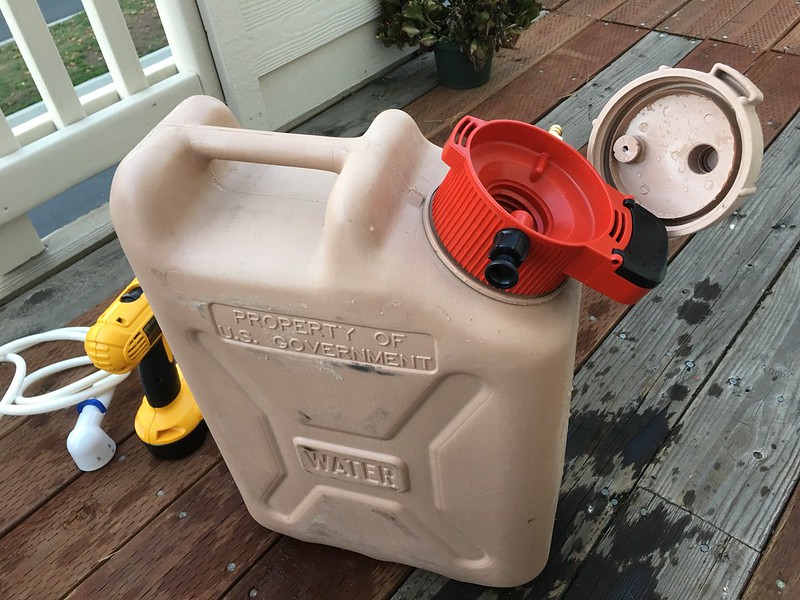
I was tired of taking out the water cans from the jerry can holder on the bumper every time I wanted access to water (i.e washing hands, dishes, etc.). The official $40 Scepter spigot also left a bit to be desired:
The idea of pressurizing the Scepter water cans isn't new, but I made some modifications to make it better suit my needs. The plastic MWC's are pretty stout and can handle about 10-15 psi without any issues. I opted not to use my air compressor to pressurize mine just because I didn't want to deal with the hassle of turning it on and hooking up the air lines, etc.
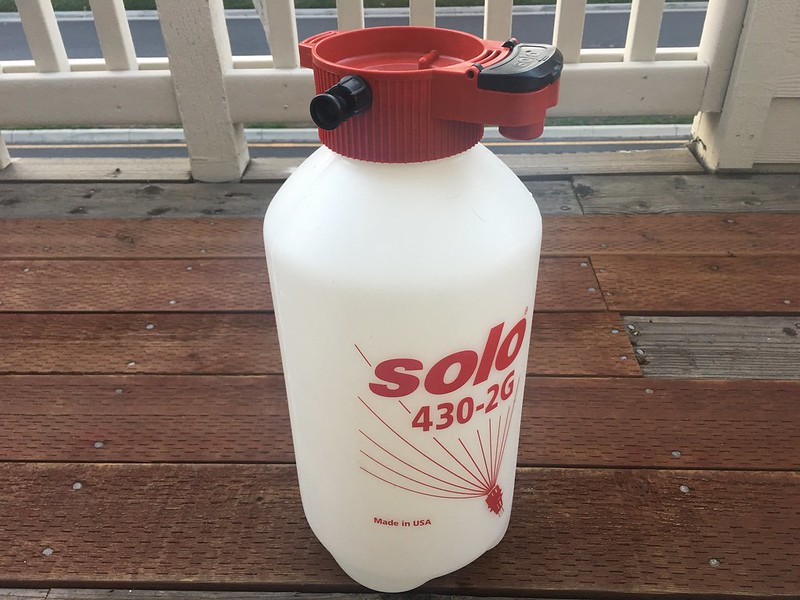
Through some internet searches I found that people have been using the Solo weed/garden sprayers to pressurize the plastic jerry cans. I really liked this idea, but needed to modify it a bit further with a different spray head. This simple mod took less than 10 minutes.
Parts needed:
Solo Weed Sprayer 430-2G
Rinse Ace 3-Way Pet Shower
3/8-in hose barb (get a lead-free hose fitting)
Teflon tape
Start by stripping down the weed sprayer:
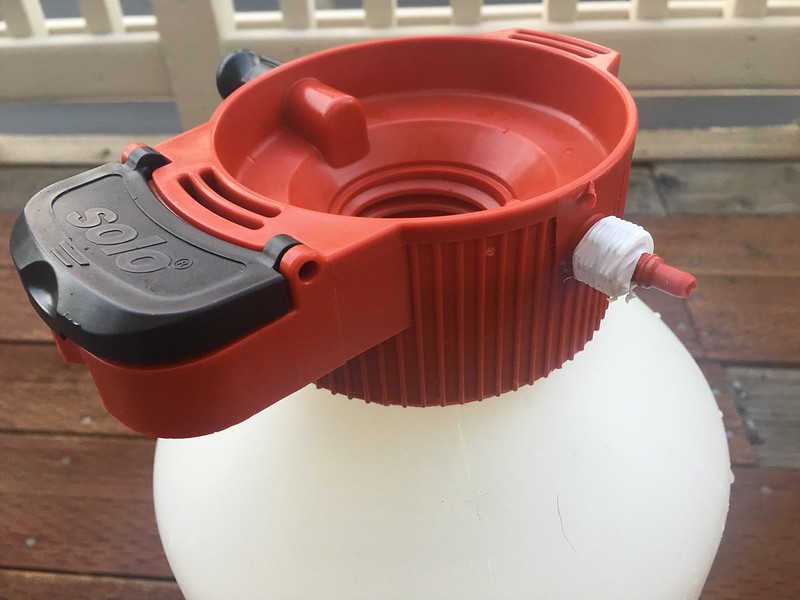
Remove the old sprayer hose, wrap teflon tape around the threads.
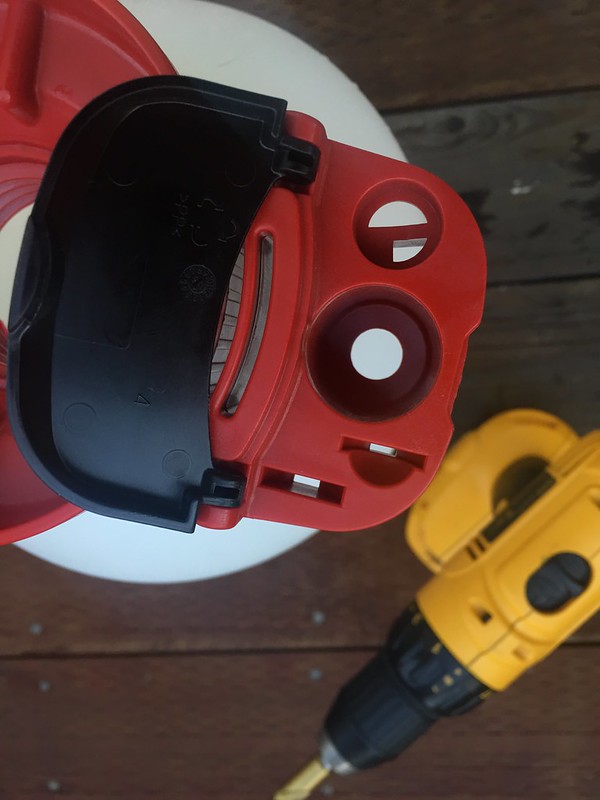
I'll be mounting the spray head to this area here. Unfortunately the hole is a little small. Use a 1/2" drill bit to enlarge it to fit the hose and spray head.
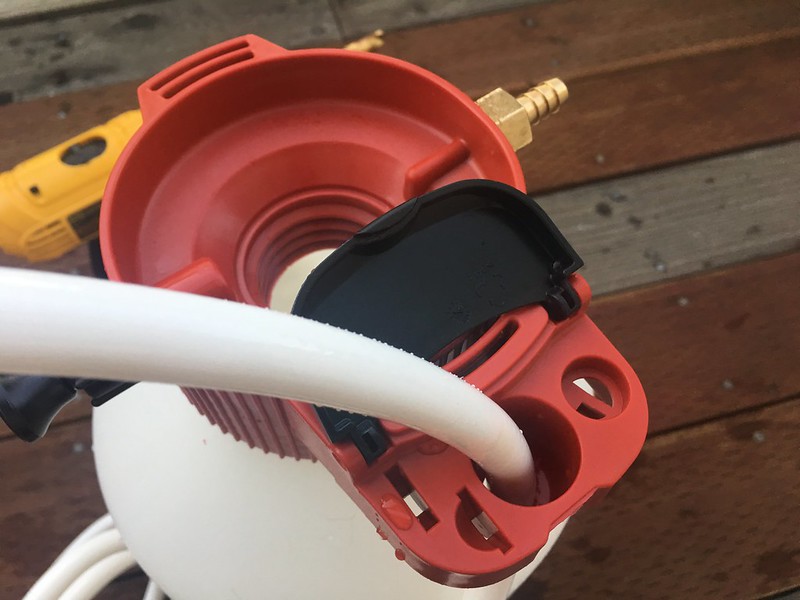
Feeding the new sprayer hose through to make sure it all fits:
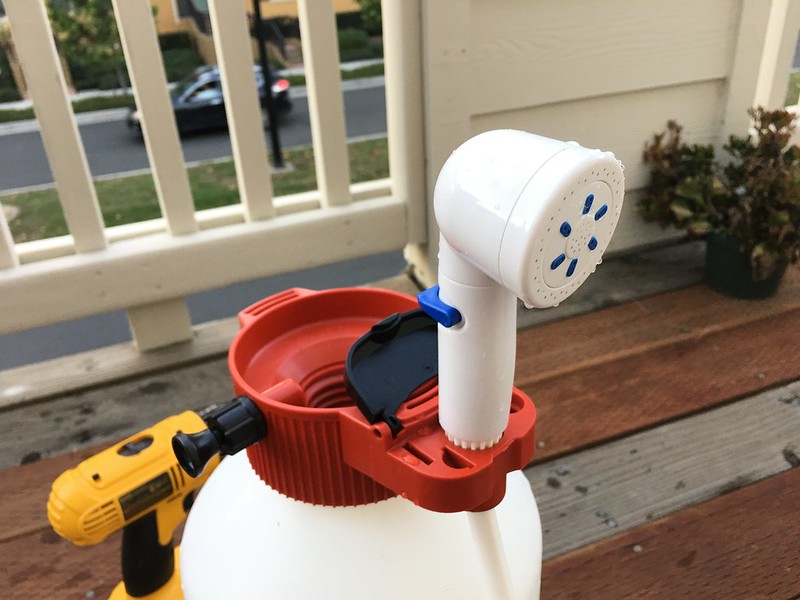
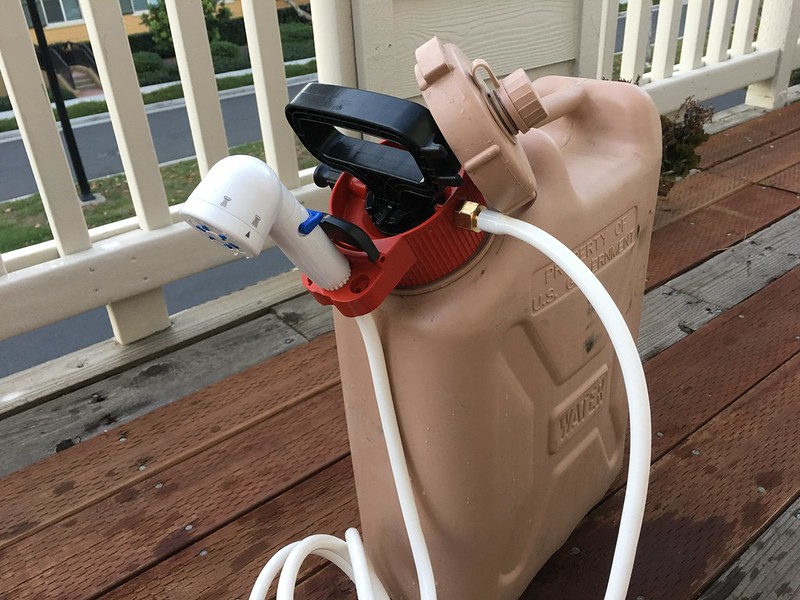
Transfered the Solo sprayer assembly over to the MWC
All done!
In action:
About 10-15 pumps gives me a steady water stream about 5 minutes long. With the sprayer head I can change the water pattern (stream, jet, etc.) and strength. I can also leave it on to wash my hands or dishes and leave it on the holder for hands free operation.
Later on I'll likely build a hot shower setup using the same head.


 Linear Mode


