So I finally got off my behind and did my rear diff breather mod. I had started and earlier thread on the subject where I referenced this thread on Tacoma World:
Rear Diff Vent behind the tail light Mod - Tacoma World Forums
My excitement was short lived when I realized that wasn't really a viable solution on the 5th Gen 4Runner (though I still borrowed from his suggestions).
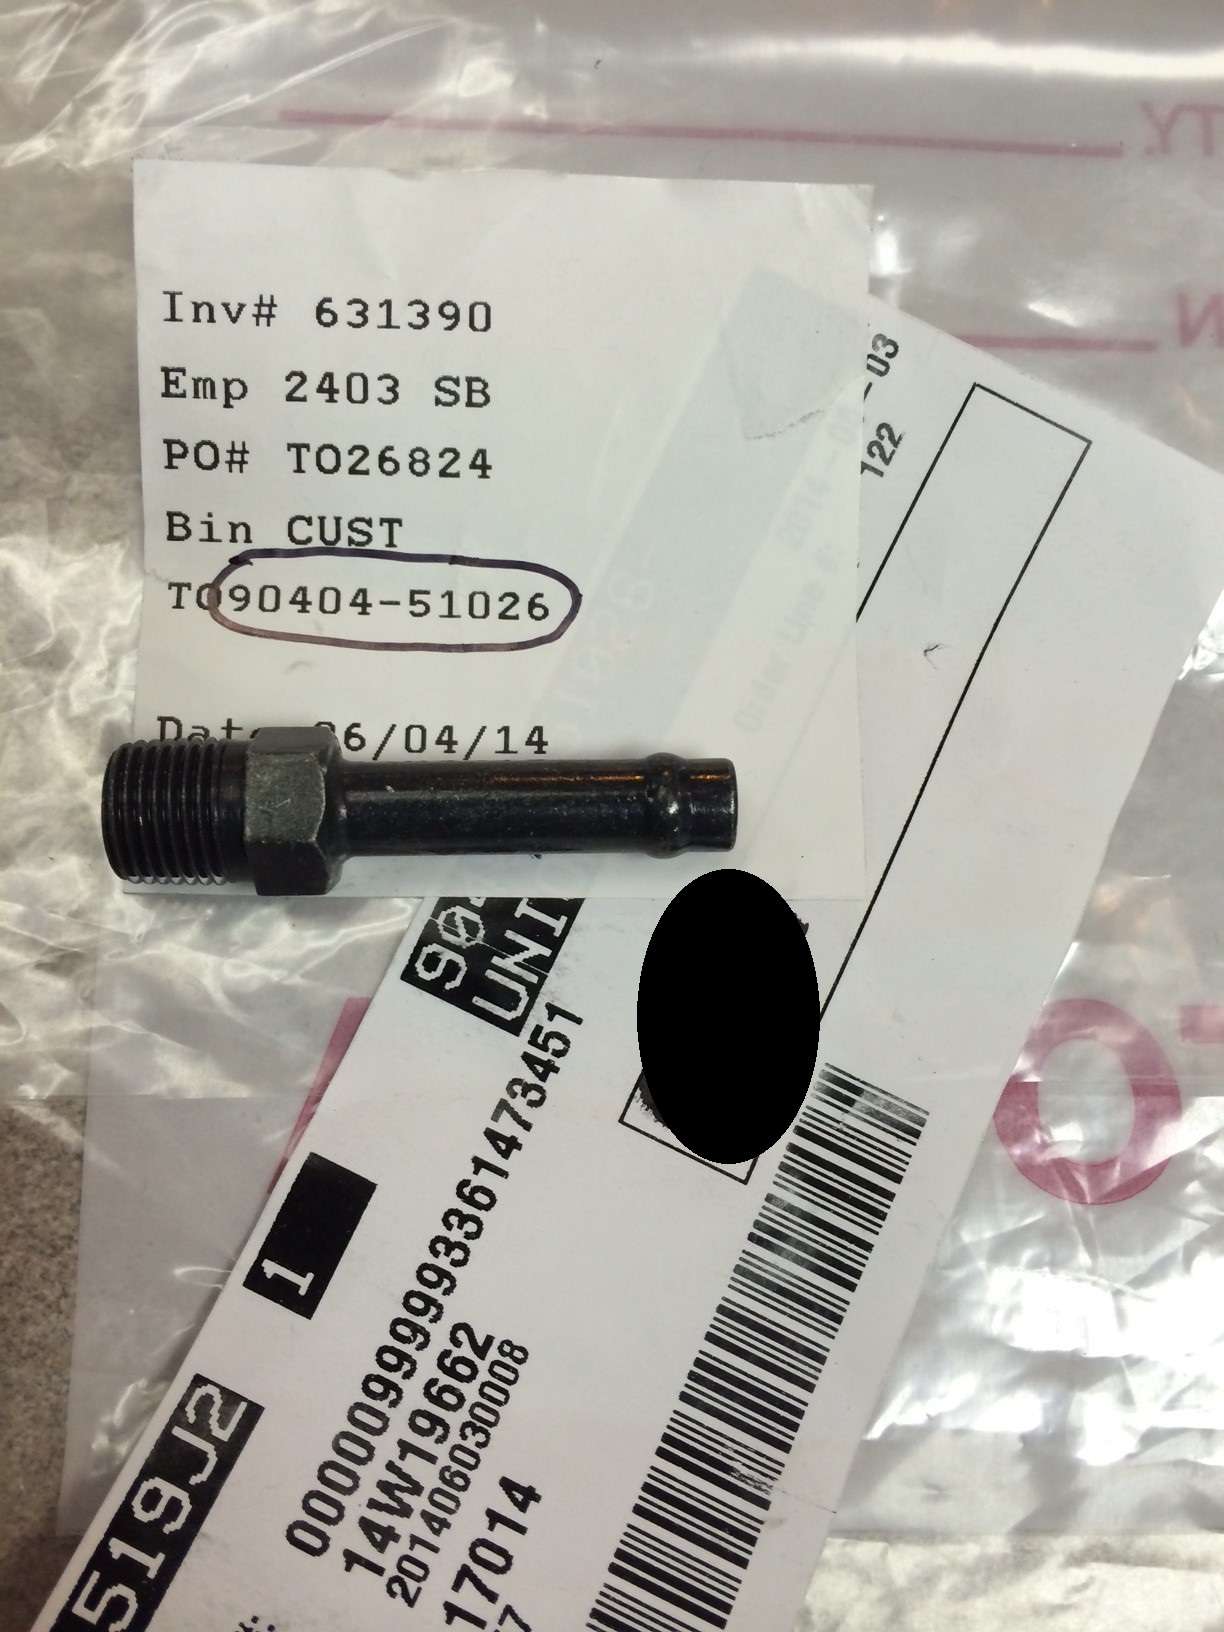
I ordered the following parts from local Toyota dealer:
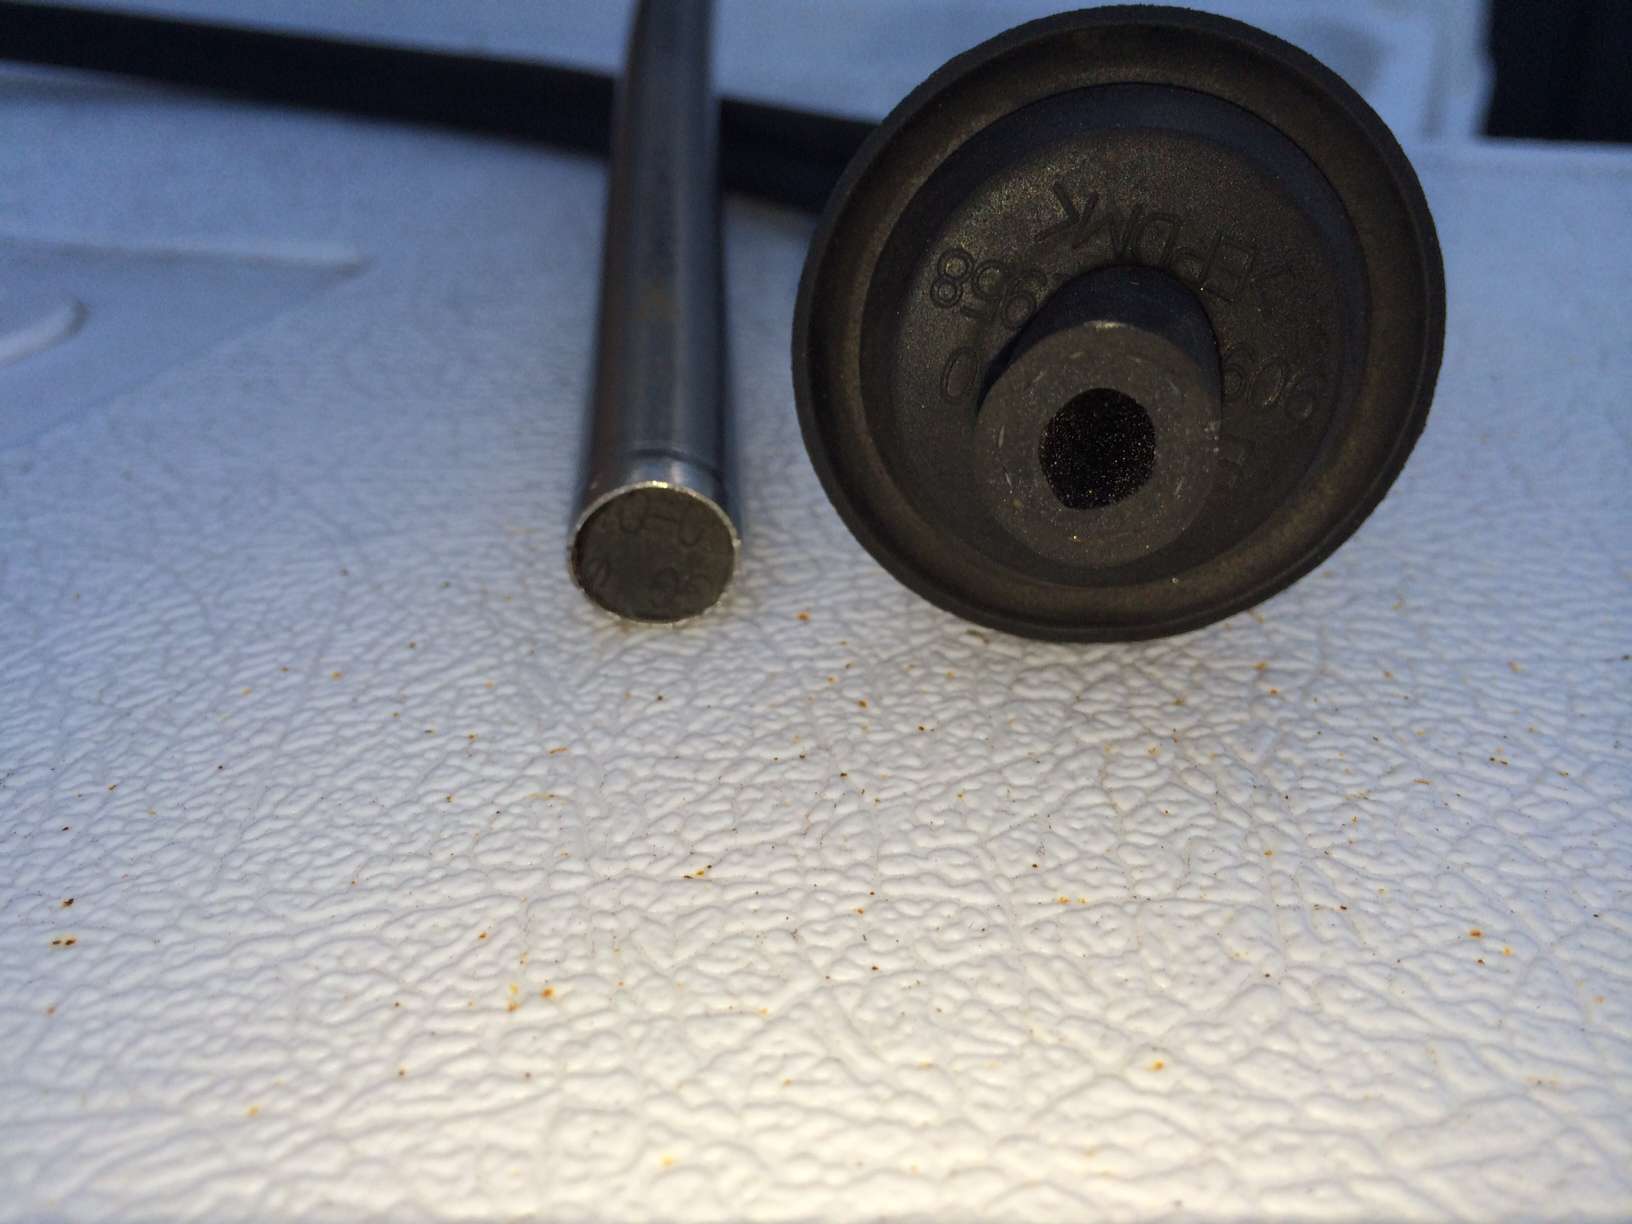
Union, part# 90404-51319
Breather, part# 90930-03136
I don't remember the exact costs, but they were cheap (less than $20).
I bought 30' of 5/16" fuel line (I have two other vehicles that need this mod). After doing a couple of practice runs I cut a piece at 9' and it was about perfect length.
Next I located the rubber grommet plug in the jack compartment referenced in
@
hoeftm2002
's thread:
New Location for Rear Diff Breather Ext.
@
hoeftm2002
did a good job documenting locating that grommet, I'm not going to repeat it. I drilled out the grommet/plug so that I could fit my fuel line through it and re-install. Drilling it out was only sort-a successful, ended up rough cutting it w/ my pocket knife w/ a backing board:
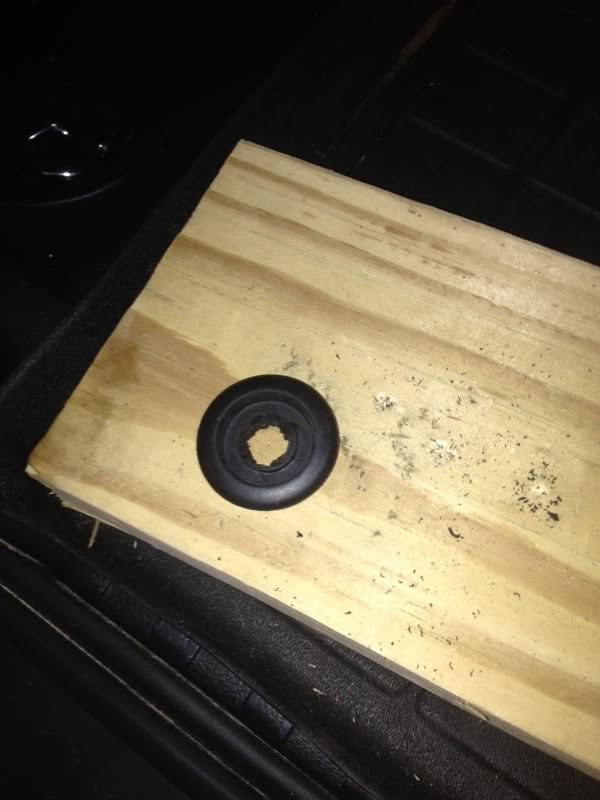
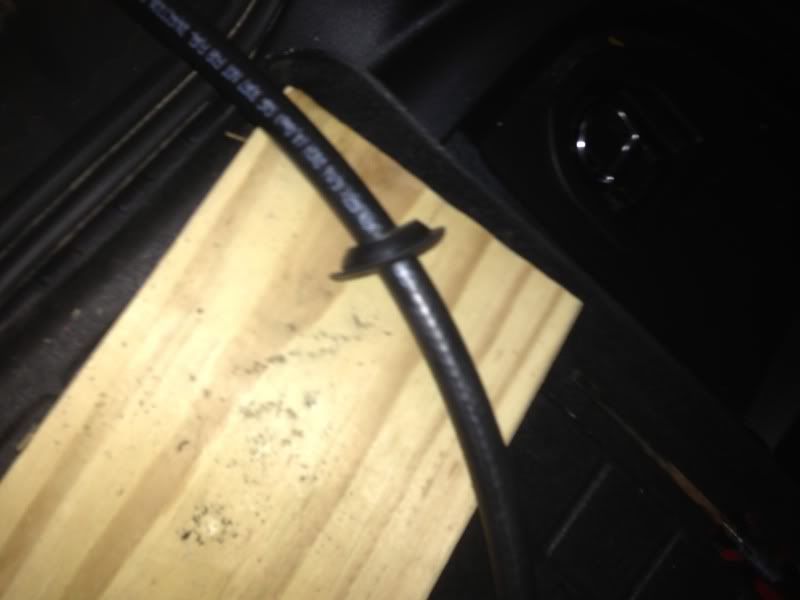
I know, its rough, but with the hose stretching through the opening it seals pretty well. Next, I slid the hose through the grommet and fed the excess hose through the grommet hole to the underside of the vehicle:
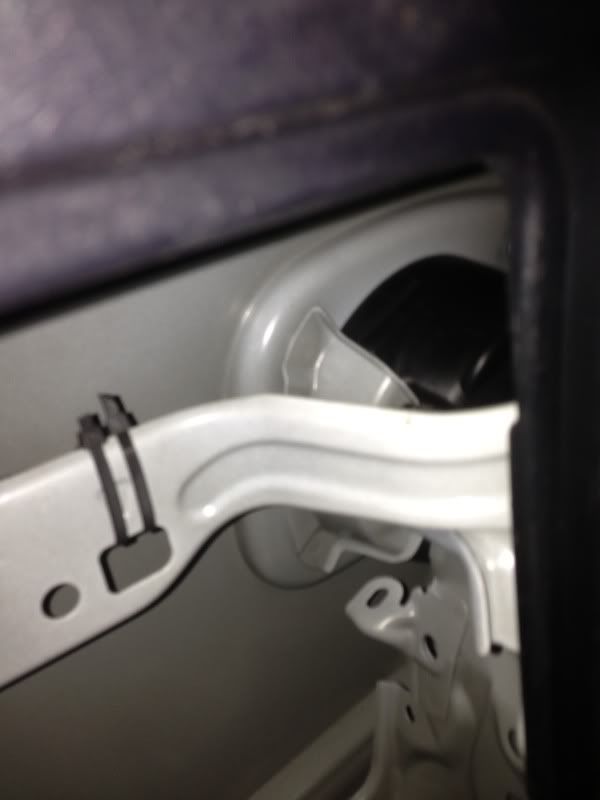
Next I drilled a 3/8" hole above through the fuel filler rubber seal into the bracket hole behind (in the jack compartment). Hole location is just above the fuel filler door retainer clip. Push on the rubber, you can feel the hole in the bracket behind it and see it from the other side. I started w/ a real small bit and stepped up 3 or 4 times before I went to the 3/8" bit. The drill never made a clean hold in the rubber, but a stretch fit was good for my purposes.
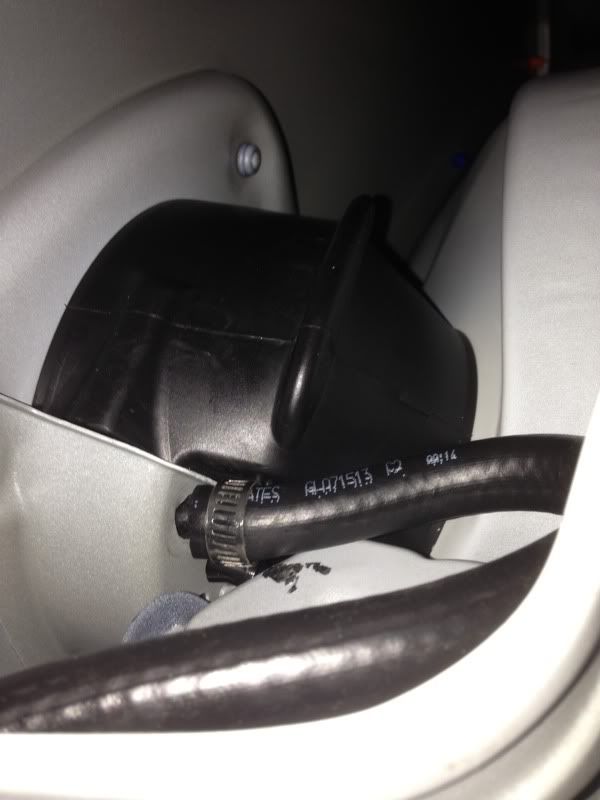
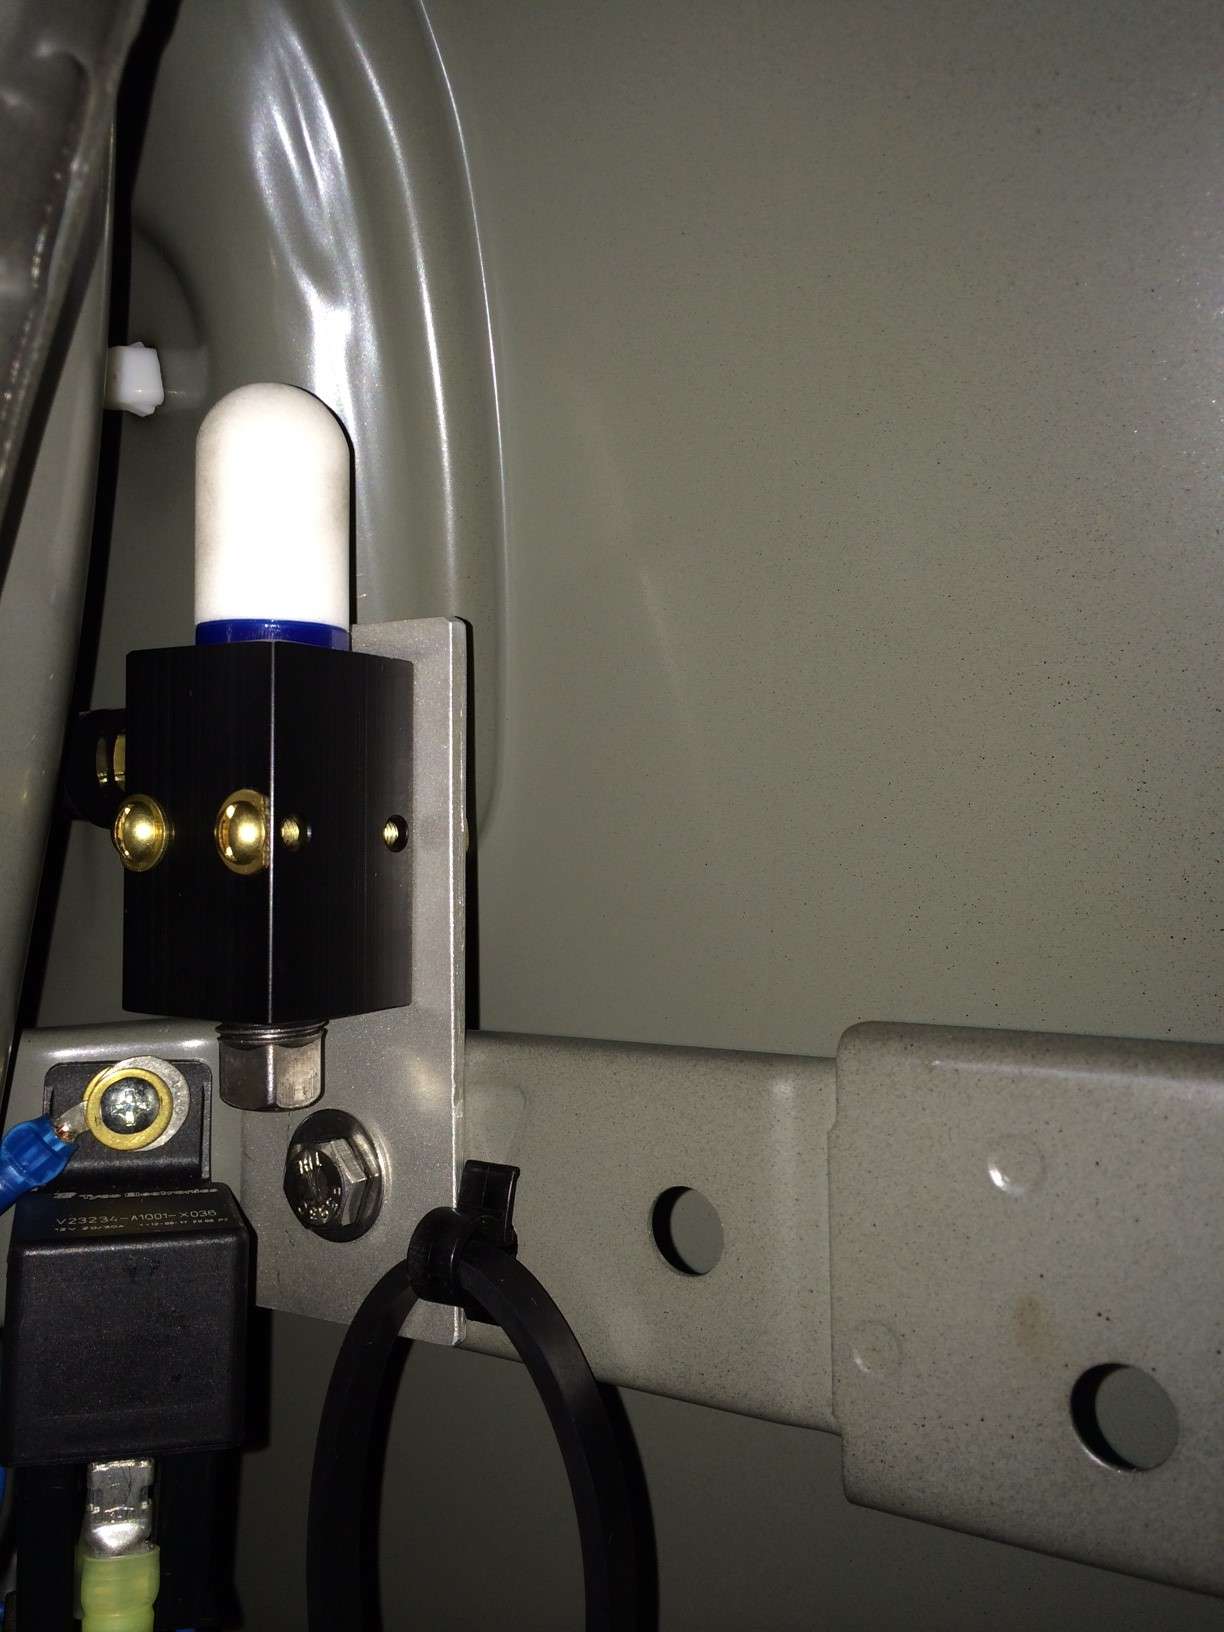
I slipped a 5/16-5/8" hose clamp over the fuel line and gently tightened it on the line about 4" down to stop it from falling off while I put the hose on the breather barb. I pushed the barb of the breather through from the fuel filler door side and got my son to hold it while I lubed it up w/ some dishing washing soap on the jack side. My son (a grown man) pushed on the breather from the outside while I pushed the hose on from the inside. It was a real pain, space is limited! A lot of grunting later it was on. I put the hose clamp on and tightened down, again, son pushing on the breather from the fuel filler door side helped a lot. I wedged the line down and made an S turn behind the brackets for the jack/jack tools and secured the hose on the backside w/ a couple of tie wraps.
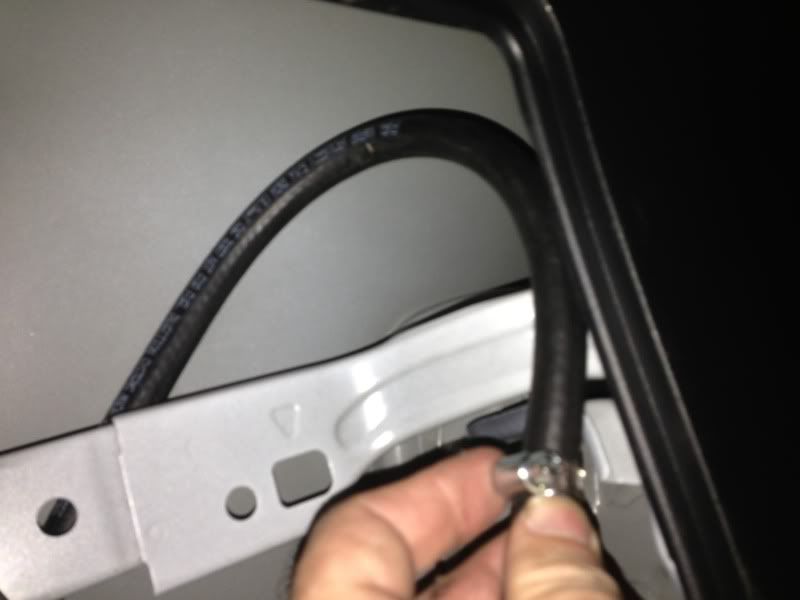
The breather is now installed in the fuel filler door area, just above the retaining clip:
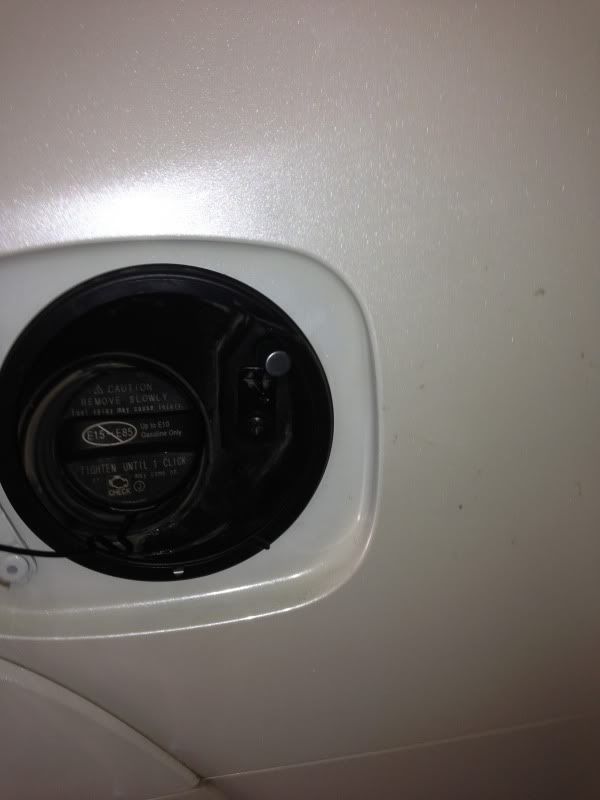
It doesn't interfere w/ the door at all, is unlikely to get fuel on it here and I think it looks clean like this.
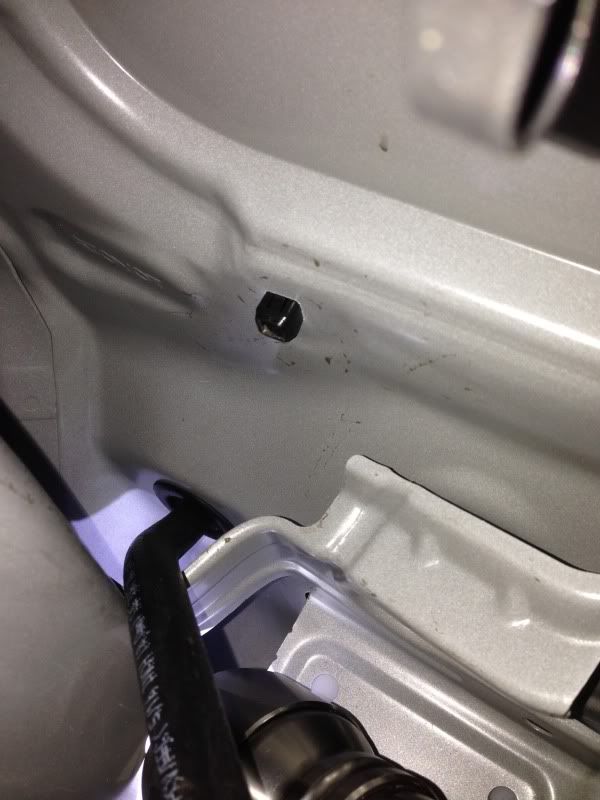
I fed the excess fuel line out through the grommet hole, pushed the grommet down and re-installed. The picture below is actually from a previous test fit, I forgot to snap one after ran the line behind the brackets but you get the idea on grommet fit (the silver thing is my flashlight):
So underneath the vehicle where those drops out there is a piece of sheet metal w/ an inviting hole ~5/16" drilled through - perfect for a clamp! I looped the hose and used a 1/2" insulated clamp (local hardware store) to attach it to the body with 1/4x1" SS bolt w/ a washer and lock nut:
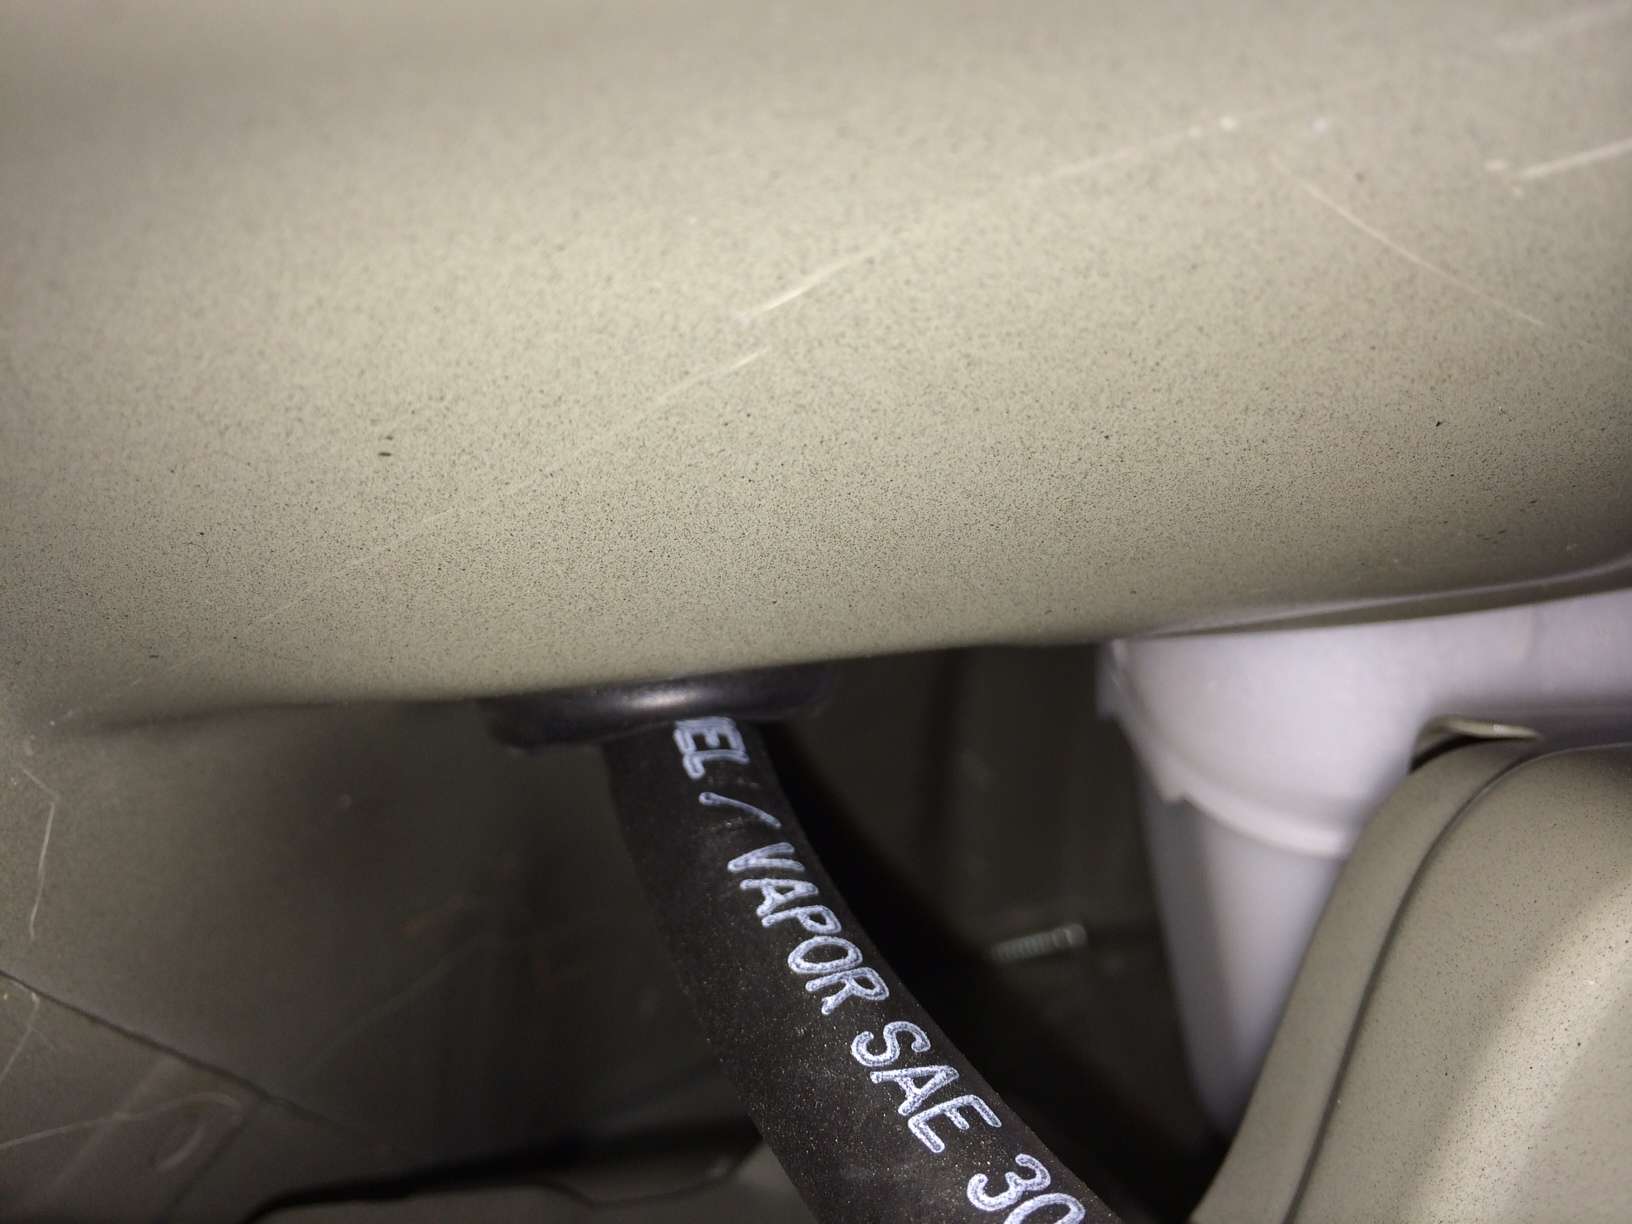
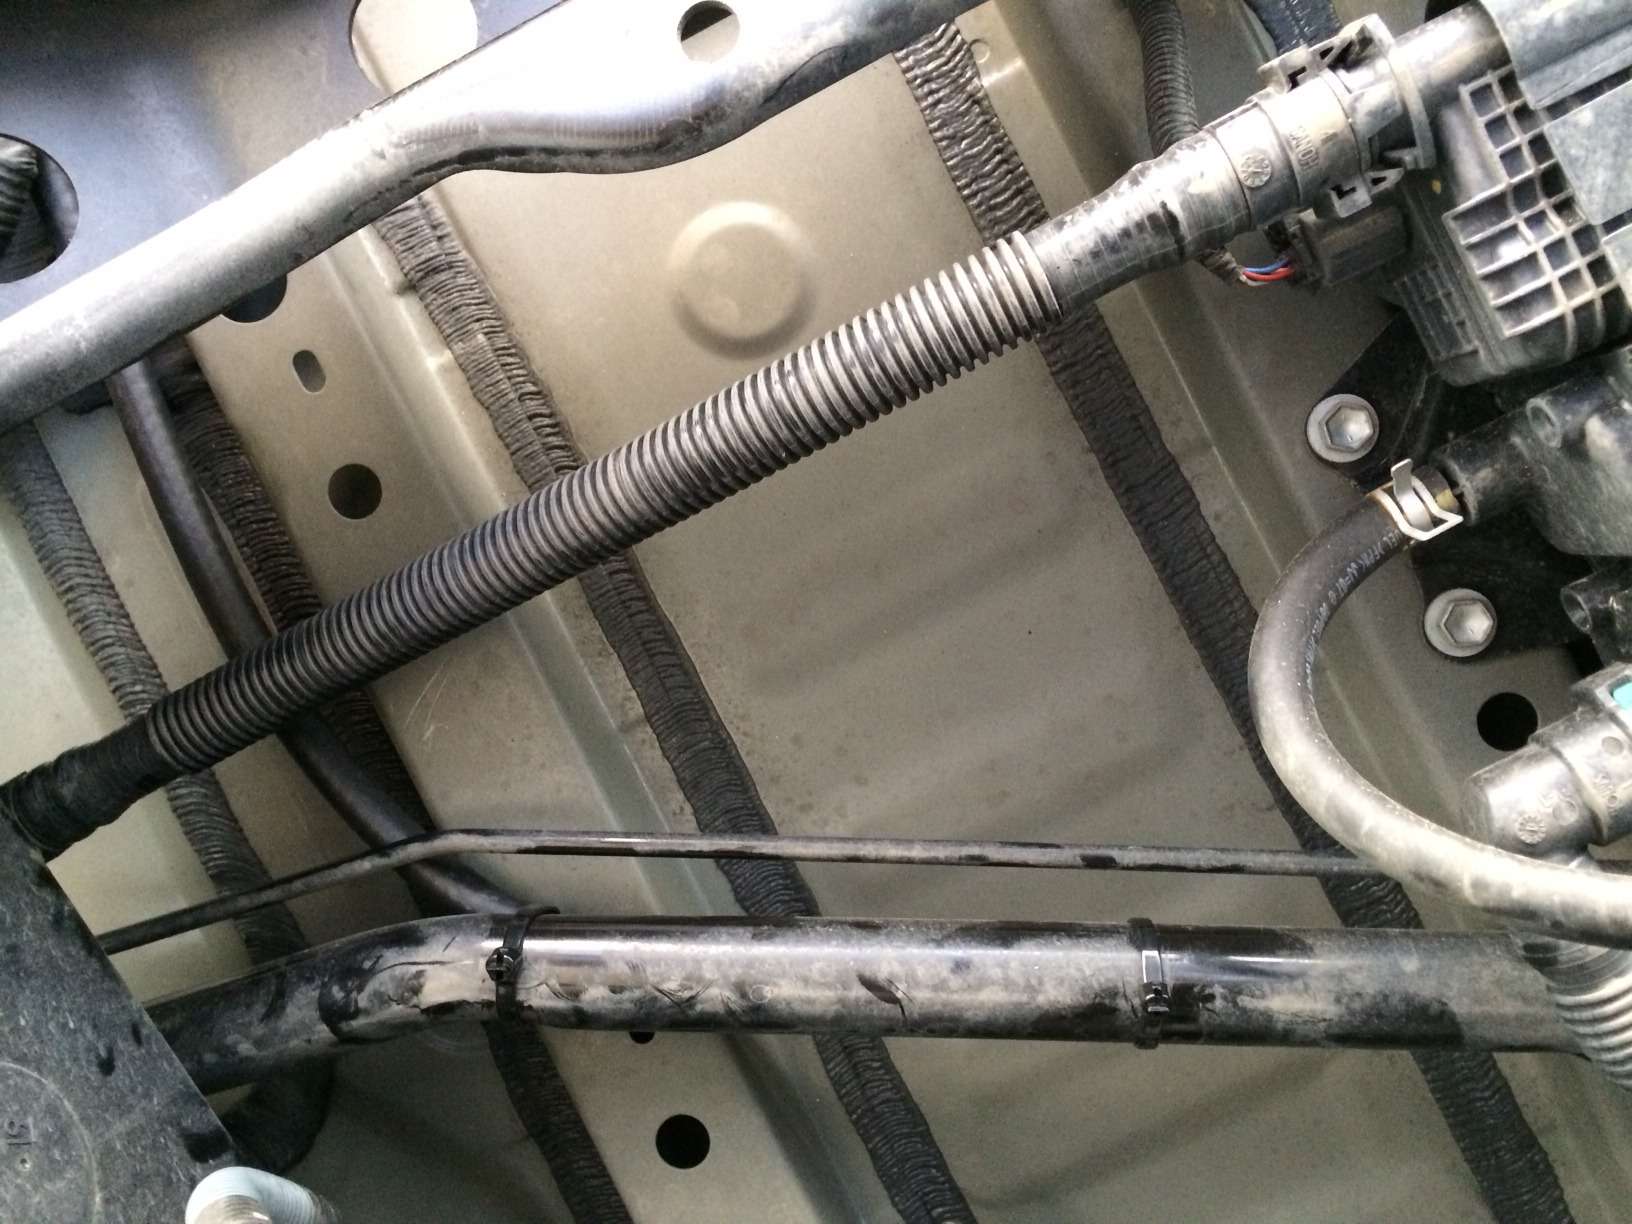
Now I added a 5' piece of 3/4" split wire loom tubing (local hardware store) onto the fuel line and tie wrapped it about every 6-9". Then I ran the fuel line/wire loom over the frame
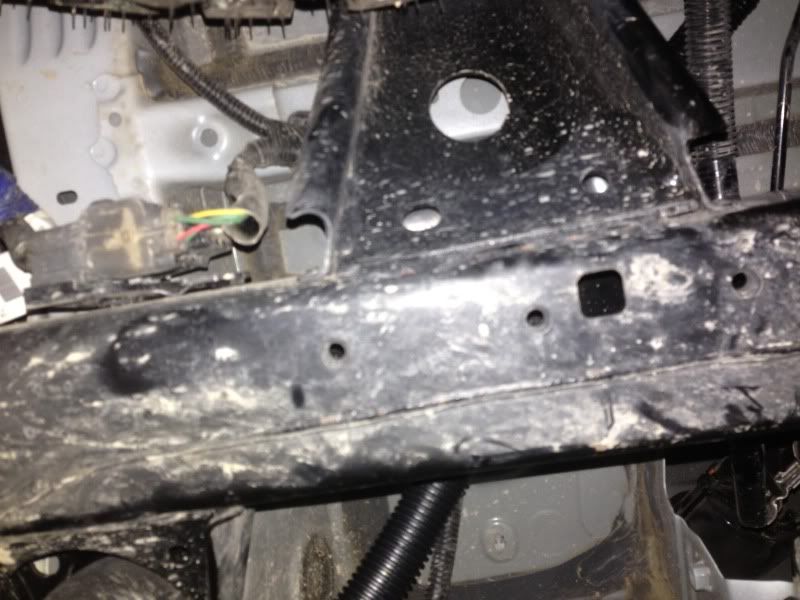
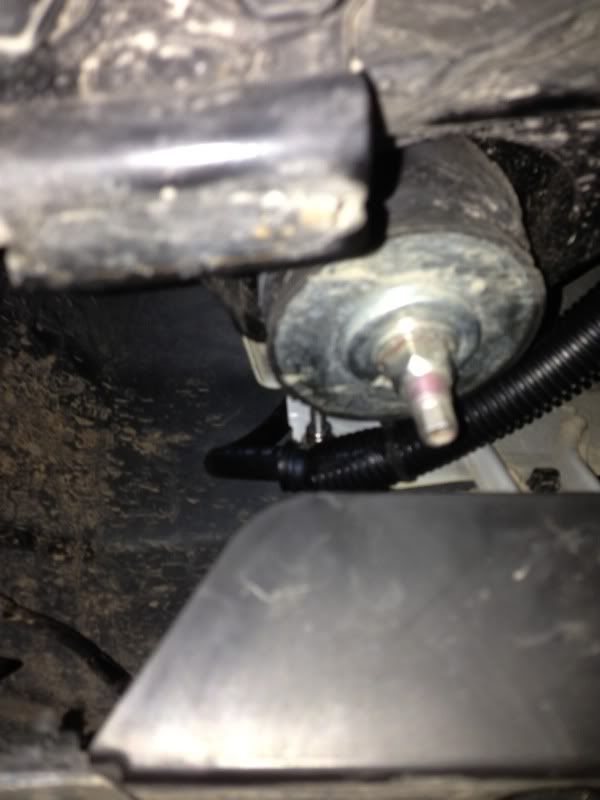
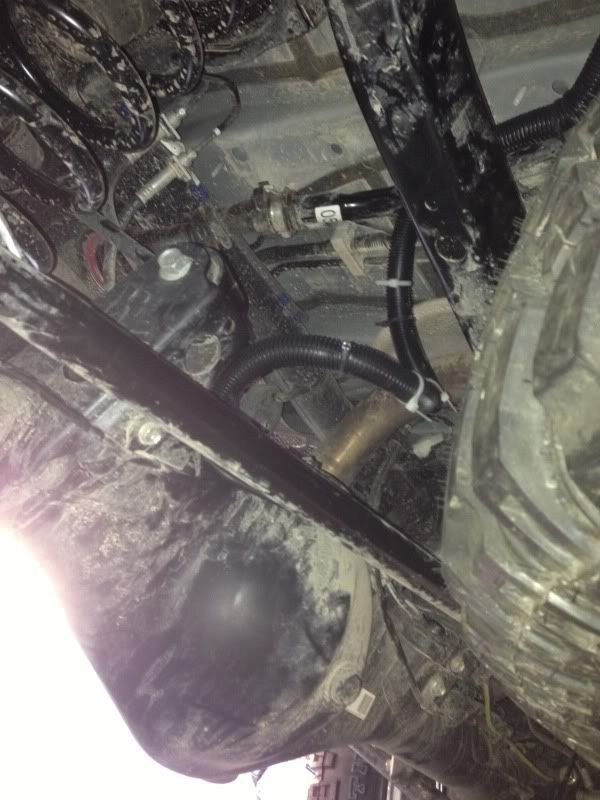
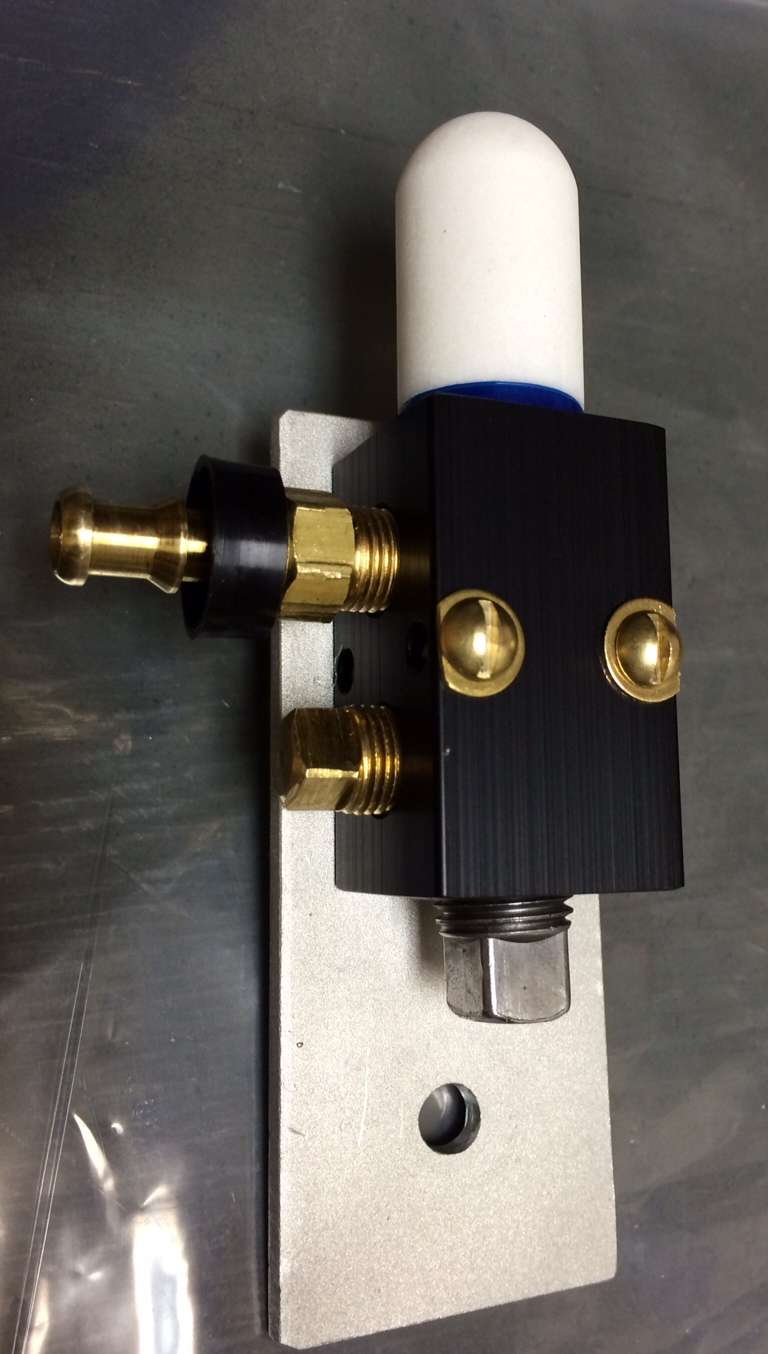
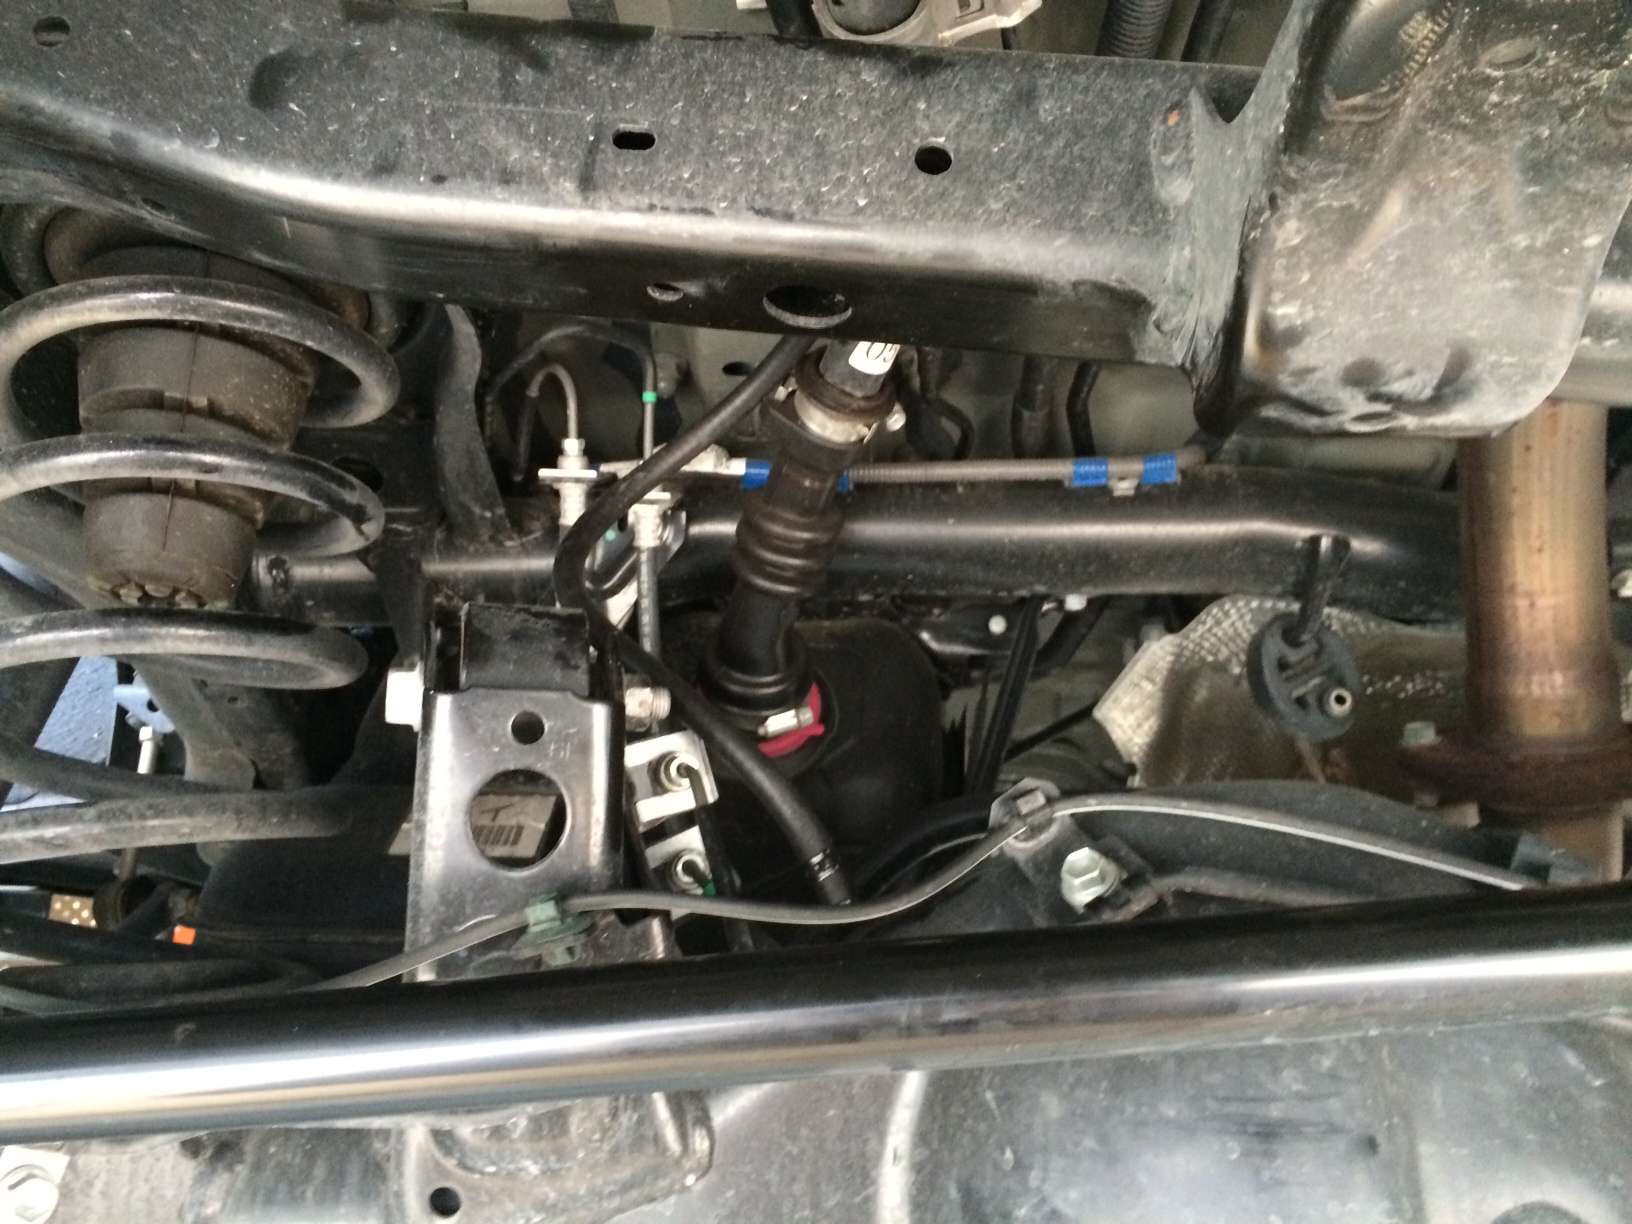
I ran the fuel line/wire loom over the cross member paralleling the fuel tank filler line. I got a wet rag and cleaned up the differential by the 1-way valve with a wet rag so I wouldn't knock loose dirt into the diff when I removed it. I removed the 1-way valve w/ a 14mm box end wrench. As others have mentioned, there was a hiss as air rushed into the diff (it was under vacuum) as it was removed.
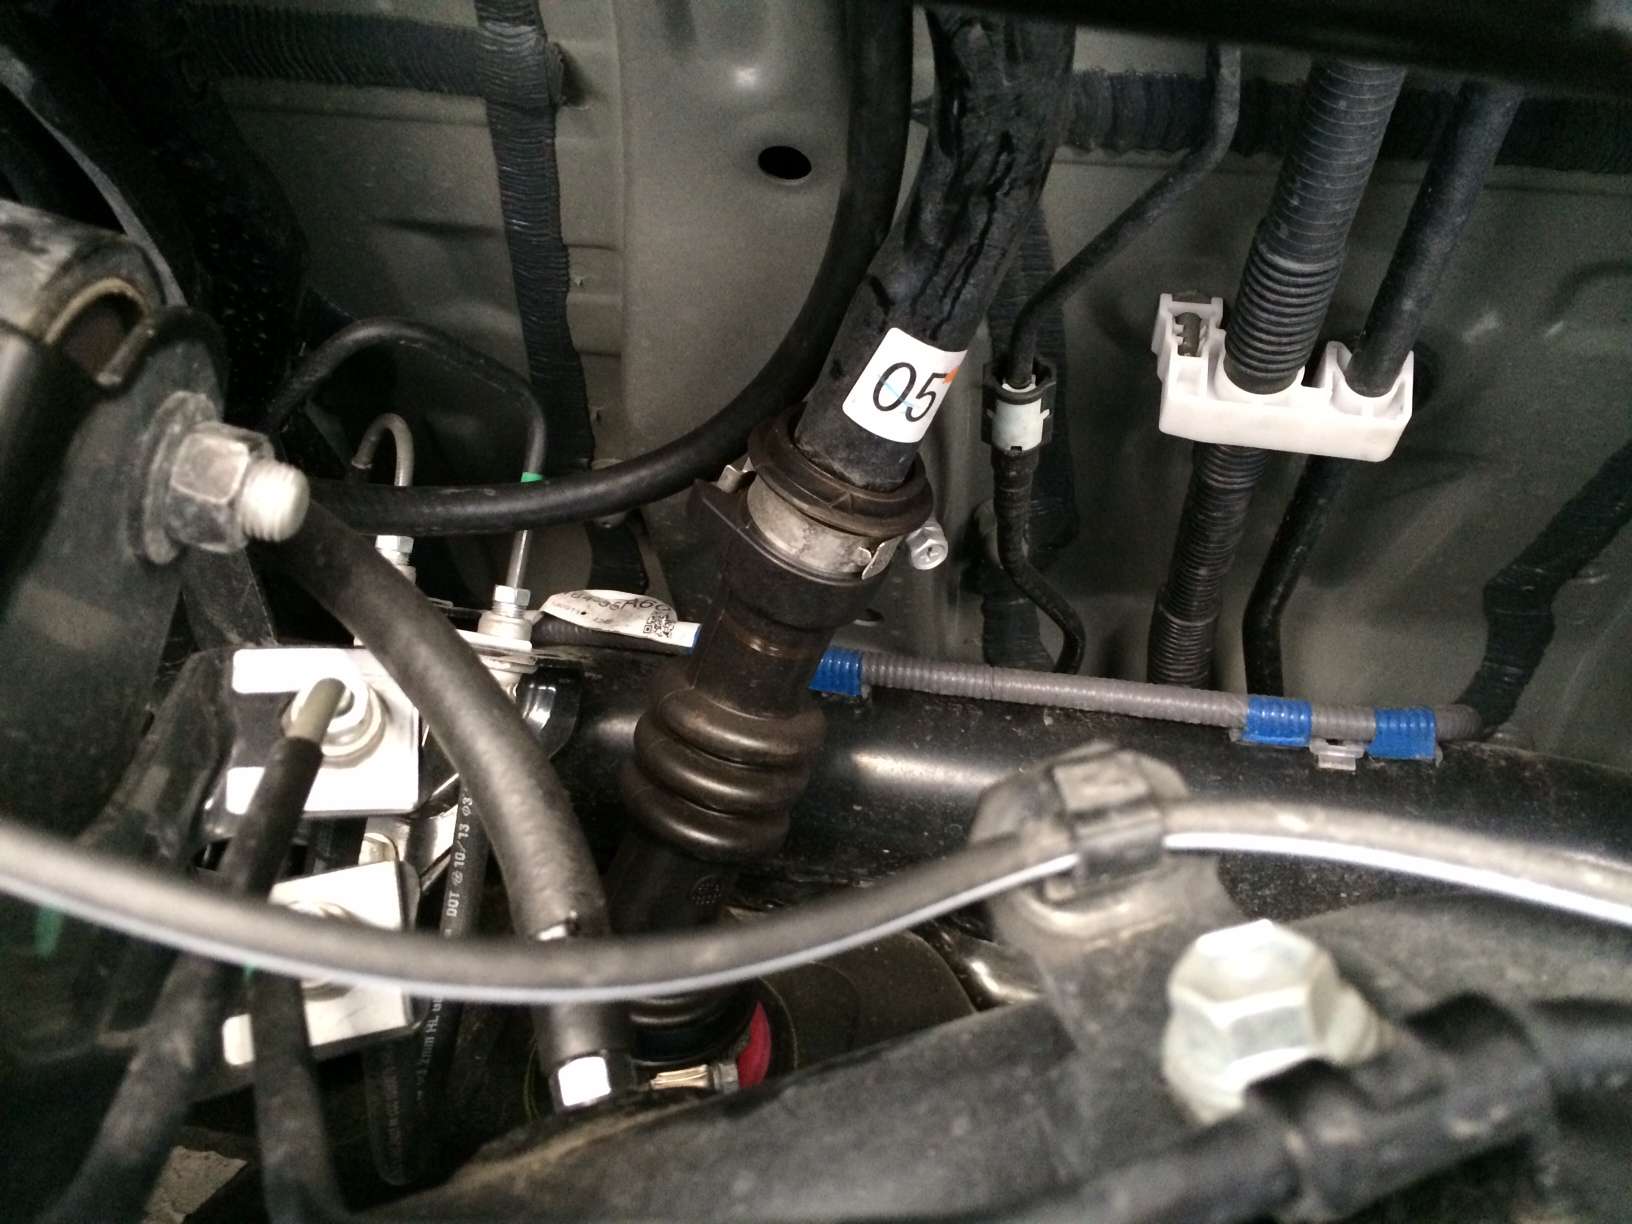
I installed the Toyota union w/ a 13mm box end, teflon tape on the threads. Once the union was installed, I put a 5/16-5/8" hose clamp over the fuel line, lubed the barb with dish washing detergent and pushed it on. Again, tight spot, lots of grunting, its on now... Tightened down w/ the hose clamp, cut off about 1" excess wire loom tubing and tie wrapped wire loom to fuel fill line leaving a generous S in the line to allow the diff to drop/wiggle. The whole install looked very clean and professional till my son decided to add a few white nylon tie wraps (I think he does things like this just to make my eye twitch...):

Then we jacked it up to make sure there was plenty of extra - there was:
Glad I decided to jack it up - the jack wouldn't extend high enough w/ the new lift/tires! 2x4 was all it needed, cut a piece, wrapped w/ an old shop towel to muffle the noise and dropped it into the jack compartment for when its needed.
David


 Linear Mode


