 Getting a Front Runner Full Length Rack on a 5th Gen. Part 2!
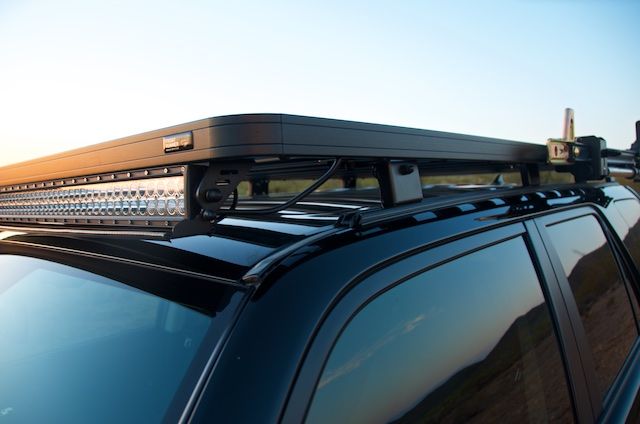
After a few weeks and a thousand miles, the rack is still perfect! No issues!
Step 1: Remove the Old Stuff
Follow this post to help if you need it -
DIY: Roof Rack Delete (w/ pics) Now decide if you will keep this thing, try to sell it, or recycle it.
You can remove the rubber stripping in the rain gutter. You will need the front sections later to finish of the front edge.
Step 2:Build the Rack
Build the rack! Nothing special, just follow the instruction that came with the rack. Use a blanket or two to cover the floor so you don't get scratches.
Step 3: Measure the drill holes
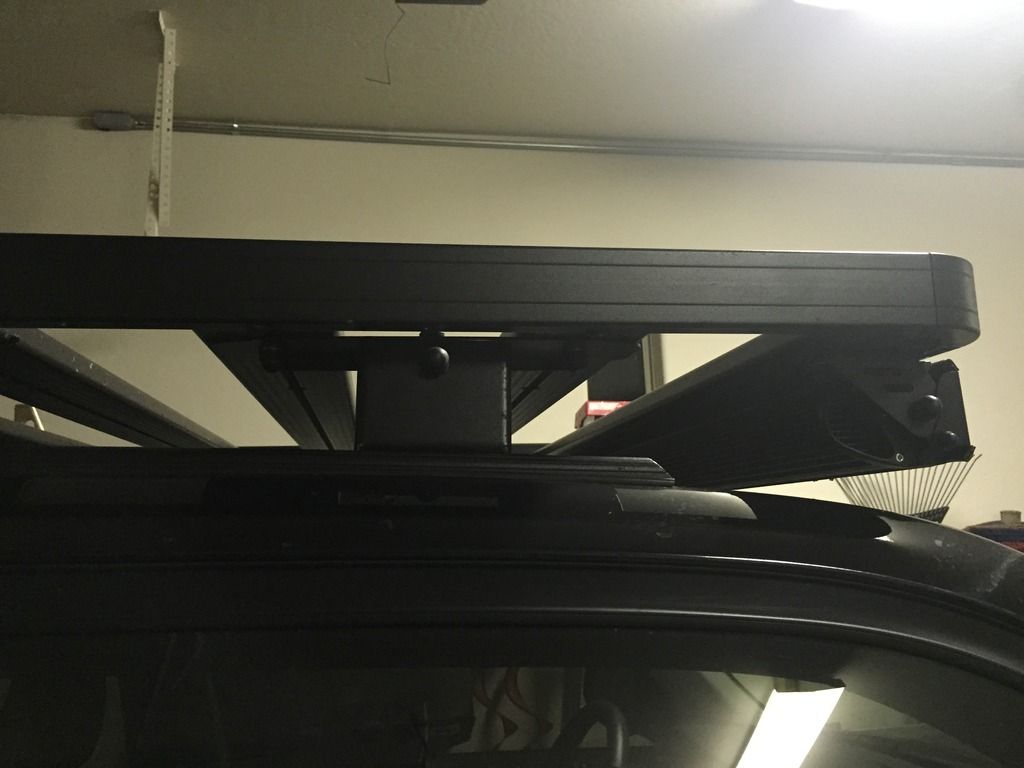
Ok this is the part that I did the hard work on. To be just like me, starting at the the end you will put nearest to the rear measure and mark 5", 7 1/4", 56" and 58 1/4. From the front measure and mark 3". You can follow my measurements above, but I would propose a change. Let me caution you, I have not tried these new measurements so no guarantees. You can stick with what I just told you and you will be fine. I honestly believe this change will make life easier, but i could be wrong. Now I will tell you what I wish I had done. Move every measurements 2" forward so 2", 5 1/4", 54" and 56 1/4 and 1" from the front. This would decrease the extra track in the rear and give a bit more length in the front. This may possibly solve the fact that my rack feet straddled the factory holes. Making it hard to insert the stud plates. My original measurements did this-
It's possible that moving the 2" will fix this issue above and allow for the front foot to actually tie directly into the 2nd cross bar and not between the 2nd and 3rd. I used the Front Runner Between Slat Foot Adapter RRAC021 to place the front foot between the 2nd and 3rd cross bars.
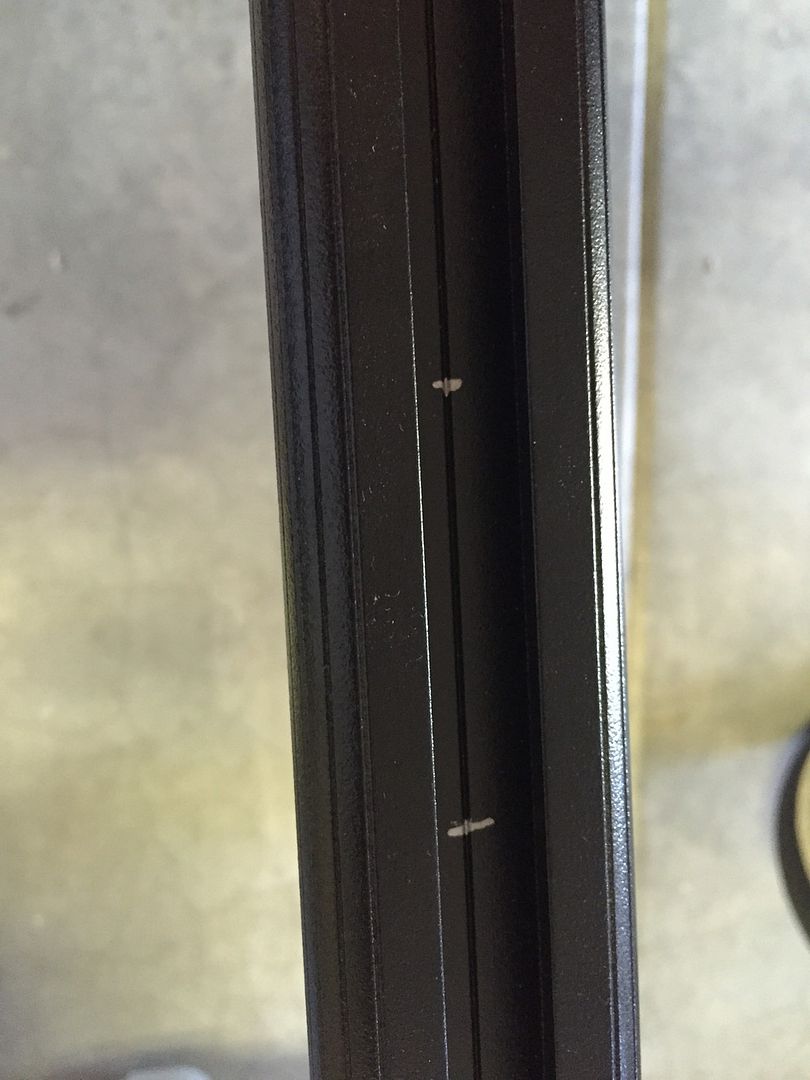 Step 4: Drill the tracks
Using a pilot bit first drill from the inside of the track, using the center line to help stay centered. A total of 5 holes on each track. I used a 11/32 bit as my final bit size. This was enough diameter for the M8 bolts.
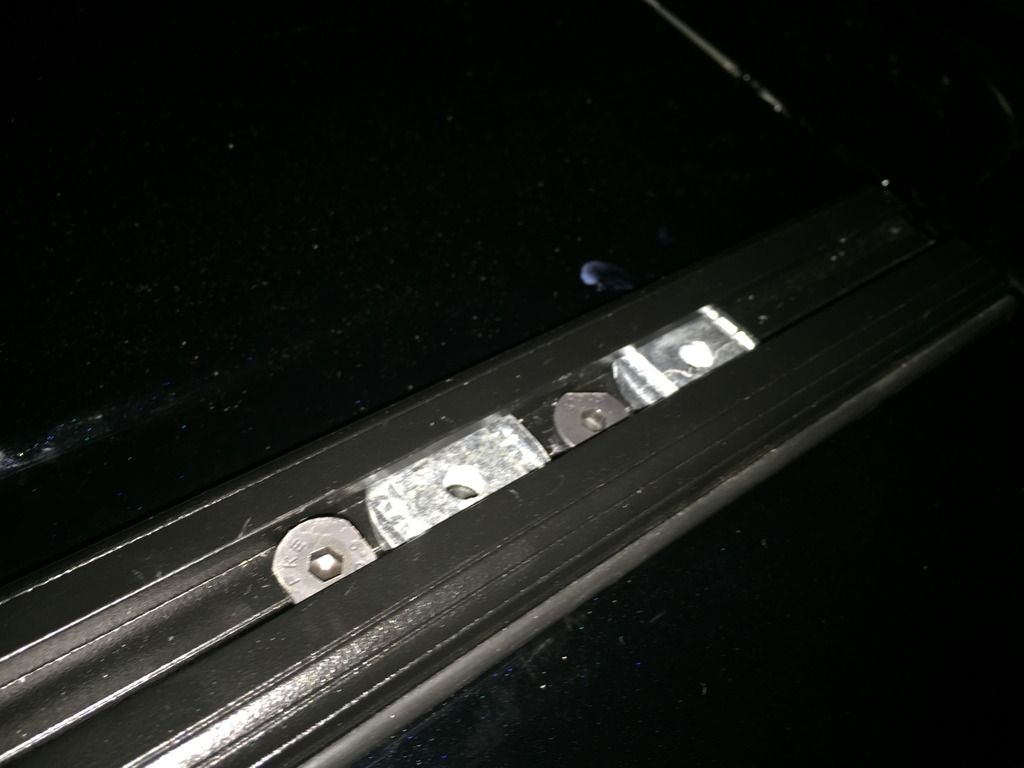
Step 5: Customize your M8 Bolts
The heads on the M8 bolts will not fit in the track width. I used my grinder and squared of the heads so the fit. Just hold with a pair of liars and grind a few seconds on opposite sides, this will give you just enough space for the heads to drop into the track. You can see the heads edges in the 2nd picture in step 3. You will need 10 M8 bolts like this.
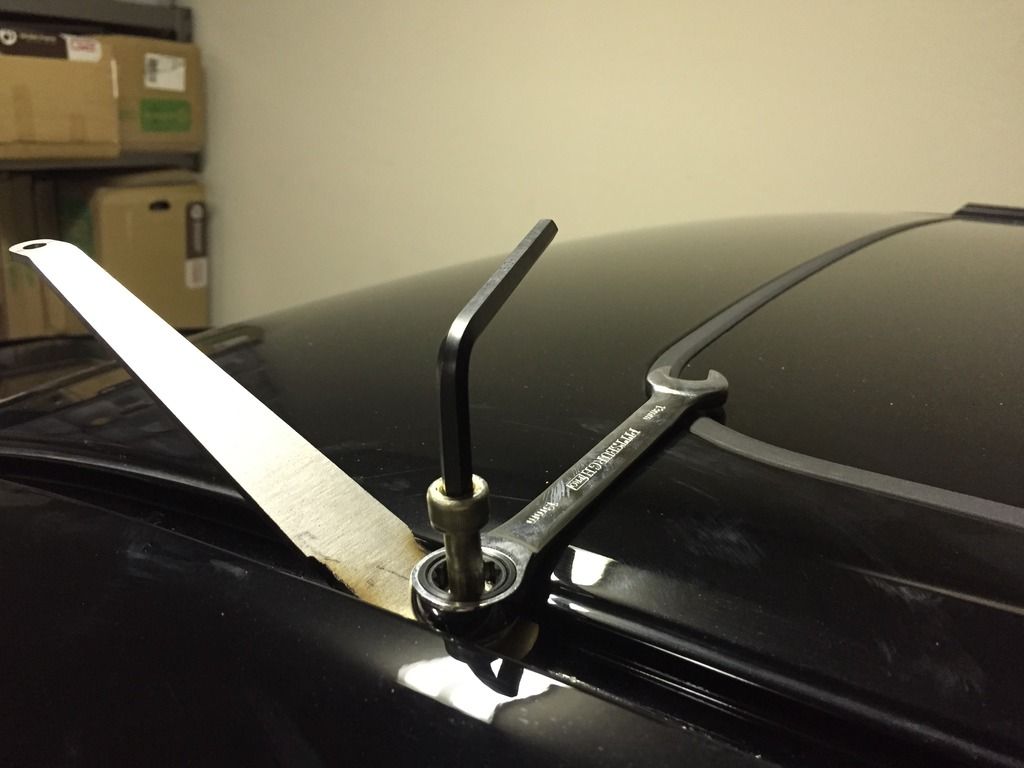
Step 6: Test fit and mark for front drill hole
You can place the tracks over the factory holes and install one of the bolts to hold it in place. Now push down on the front track and mark the location of your front drill hole in the rain gutter. I centered the mark in the gutter. Now take the tracks back off.
Step 7: Drill the front hole
This will probably be the most nervous you get, don't worry. I used a fresh 11.0mm Diameter Drill Bit and drilled the front hole. This is the exact size for the rivnuts I used. Made for a good tight fit when inserting the rivnuts. Only needed a minute on each side. Nothing appeared under the metal and the bit easily drilled. (I don't imagine any different result with the new measurements, but I have not drilled that exact location.)
Step 8: Insert Rivnut
OK I used the rivet tool that Front Runner provided. I had to grind off a half inch on each side of the M8 side to fit in the rain gutter. You could do this, or try a homemade rivet setup that you can find on the web. Just need something that will fit in the narrow gutter.
 I strongly recommend that you practice a few rivnuts before you try for real!
 You don't want to not have a good seated rivnut and have to cut out a failed one. Learning the proper direction of force and the number or times you need to turn the rivnut to properly compact it is important. The type of rivnut can vary.
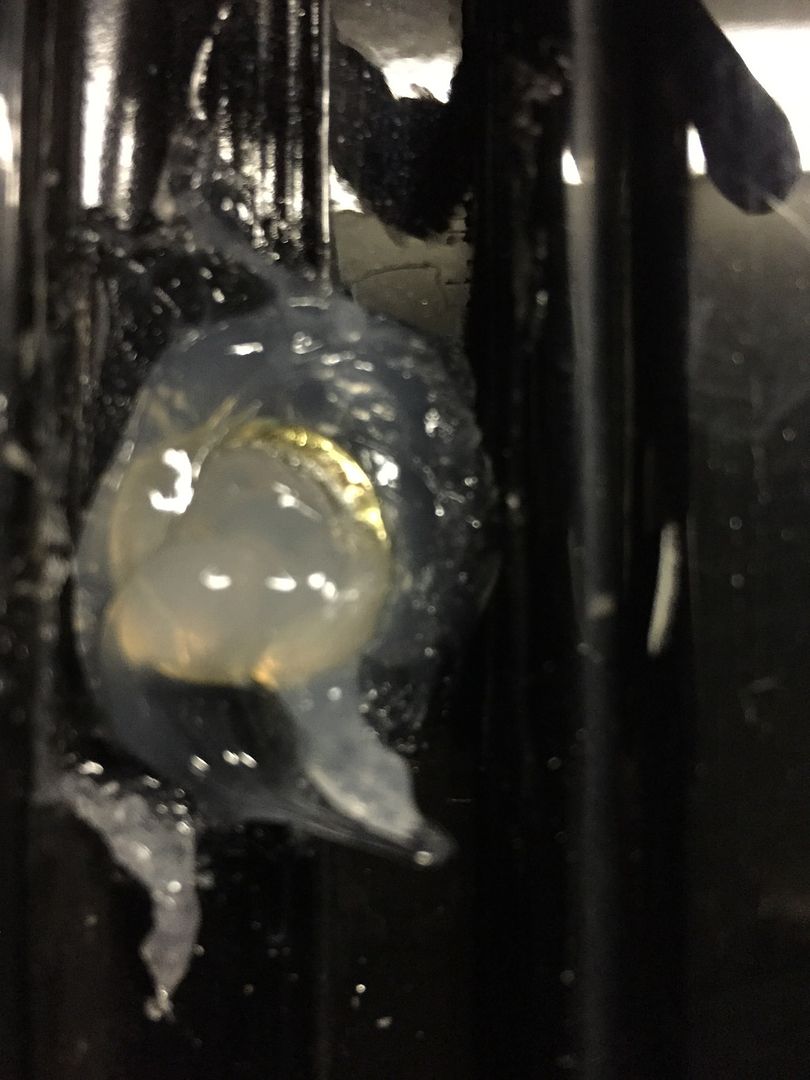
Before I inserted the rivnut I applied some marine grade silicone to the opening and around the edge of the opening.
 OK Now Take a brake and have beer! Part 3 is next!


 Linear Mode


