Quote:
Originally Posted by wesrick

That looks pretty close to me, too. Not sure how I can confirm, though... any ideas?
Also, I don't see how to install it. Any ideas on how I might go about installing it? I'm just not sure where to start.
|
If it were me I'd probably order it from my local dealer so that I could return it easily if it ends up being the wrong part.
As for installation, looks like maybe there's a couple screws that hold the padded assembly to the "frame", maybe accessable under the seatback board sub-assembly? I'd have to go poke around at mine to see.
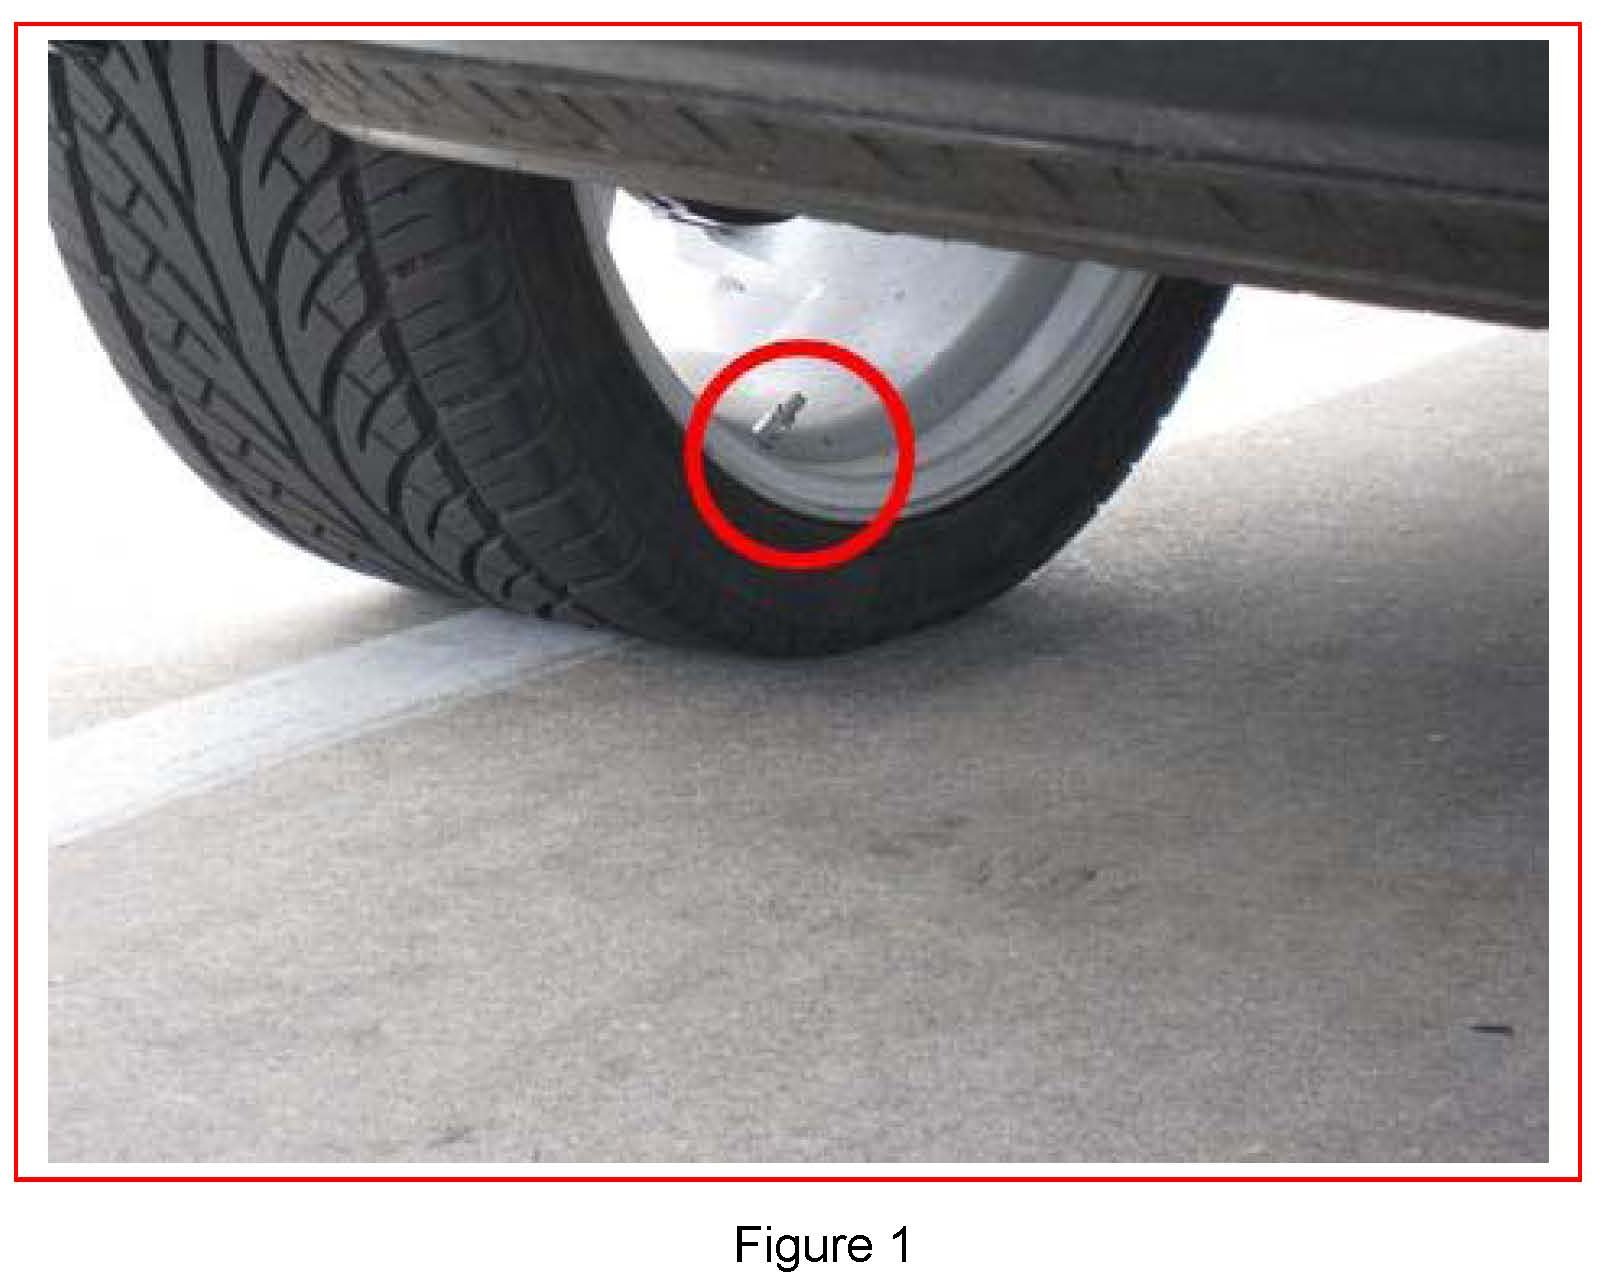
Does the image below work for you? This is all I've found to go on...


 Linear Mode


