Well i guess it being Friday night and i might have to work in the morning i might as well start a build thread for my current ridiculous project.
First off i'm a overboard type guy. Usually things work out for the better sometimes not so much. I know this type of build isnt for everyone. That's ok though, i didn't build it for you i built it for me. I like building things that flashy, fast, and capable. I also find the most expensive to build things, so if you have to ask how much then probably it's way too much.
This build will be for anyone that is looking to do any of the modifications that i have done to further help them in their decision making. Plus it will give a better idea of what all is involved.
Lets begin!
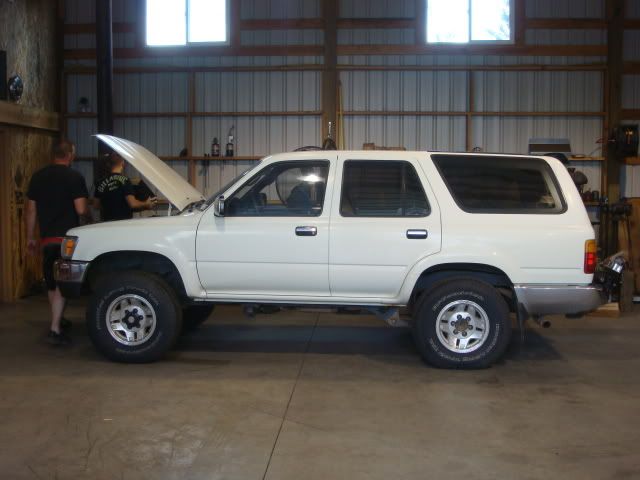
Basic 1992 4runner SR5 w/everything except leather and sunroof. Very well maintained and very clean inside. It had a 3.0l/auto combo, my headgasket wasnt blown but i had a bent exhaust valve on no.4 cyl, it was leaking fuel from under the intake and it couldnt hold power steering fluid to save it's life.
Now comes the body lift (3") yes i know and i hate them but its the only way to keep your heater and clear the chevy distributor on the firewall.
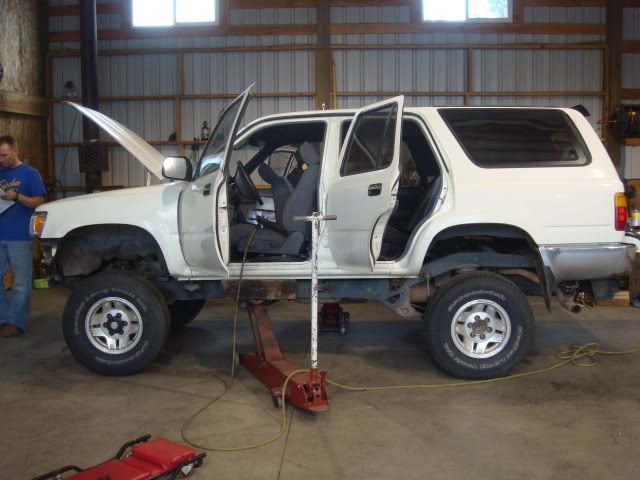
Next was the powerplant removal. Typical engine removal except i pulled the engine, transmission, and t-case out as a whole. My yota friends robbed what i didnt need everything else went to the scrap yard.

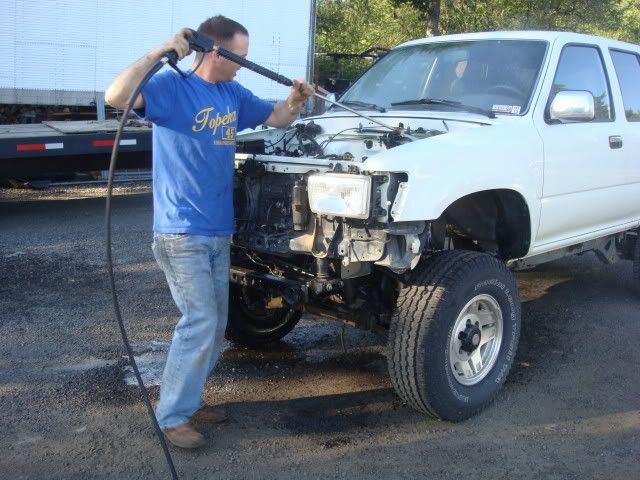
Just a thought... when you have the engine out it would be a great time to clean the engine bay up. I couldn't believe how clean it was afterword!
With IFS
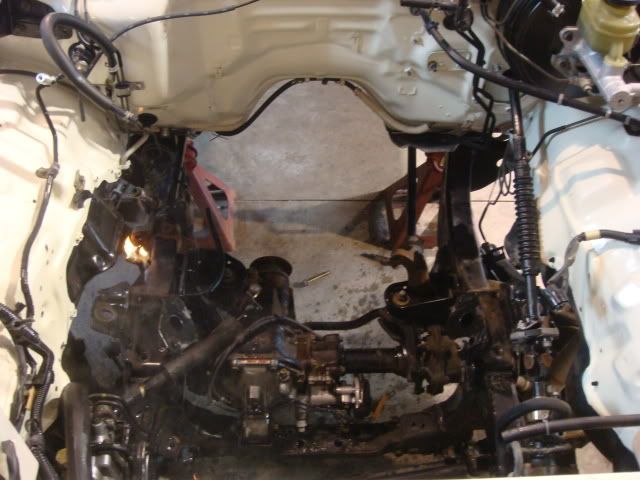
Deleting IFS
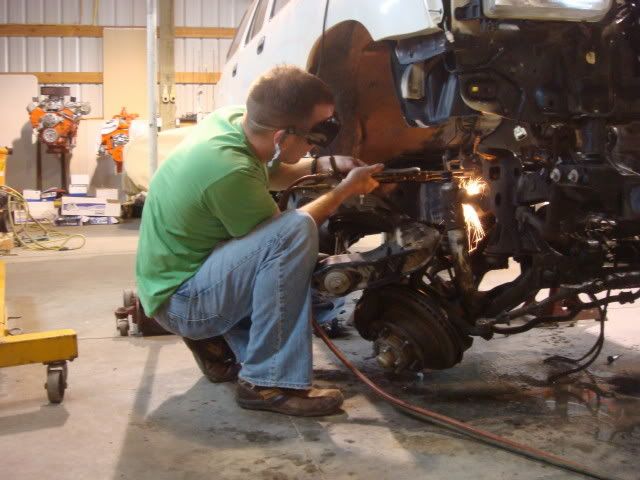
IFS Gone
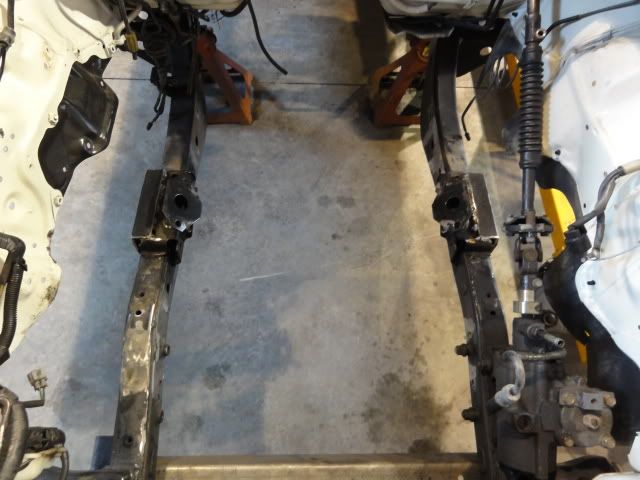
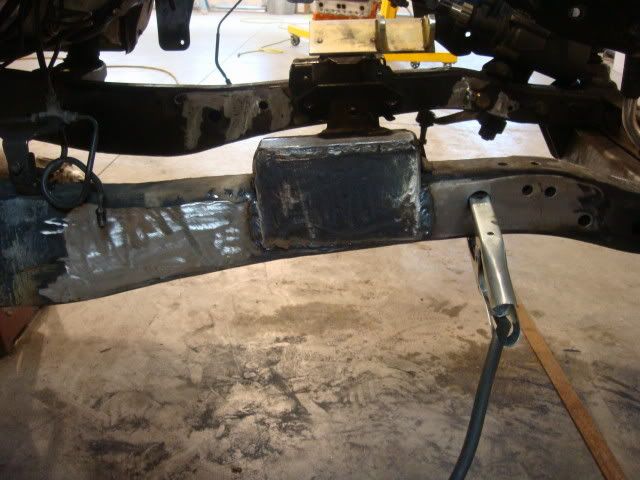
Next i smoothed the frame rails with a grinder and many hours. This is very time consuming!
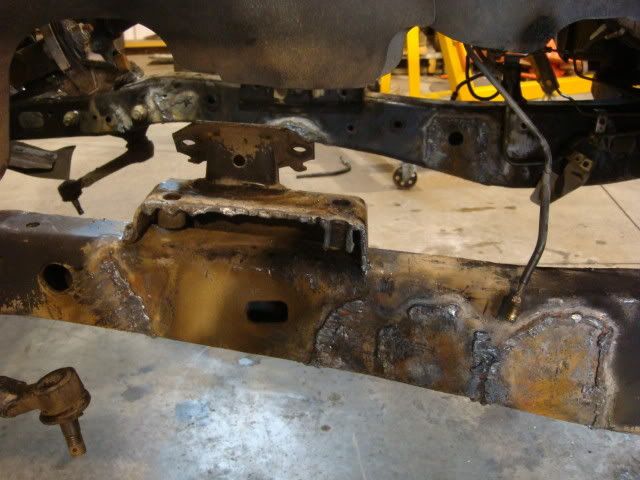
Boxed the motor mounts in with 1/8" plate steel and 1/8" strap steel on top
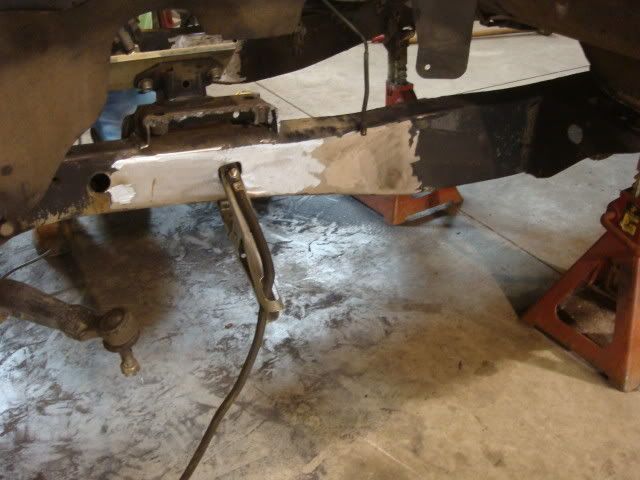
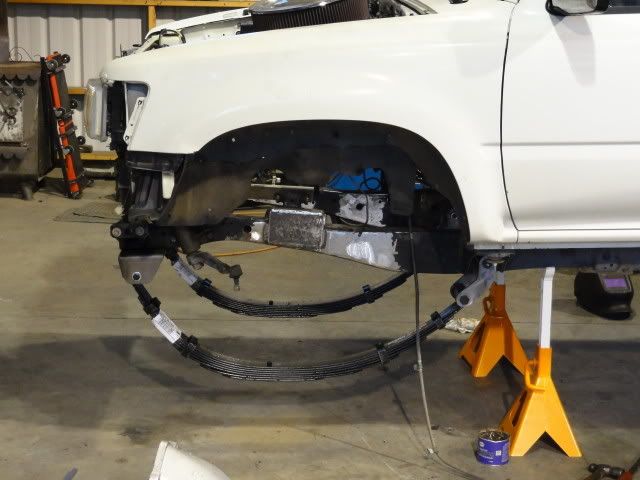
I used SKY manufacturing for most of the conversion suspension wise. They are local in my home state and great guy's to work with!
The front hanger actually bolts into the factory cross member so you can set it flush, 1" forward or 2" forward. I set mine flush since my springs have centering pins 2" forward. Bolting it to the cross member takes the guess work out of making sure its aligned.

Only picture I have of the shackle mount. It's a typical sleeve through frame mount but Sky uses boomerang shackles.(side note if you use these the long portion mounts to the frame. I had to flip mine later, the picture is the wrong way!)
Next Post I will start cutting out the Rear!


