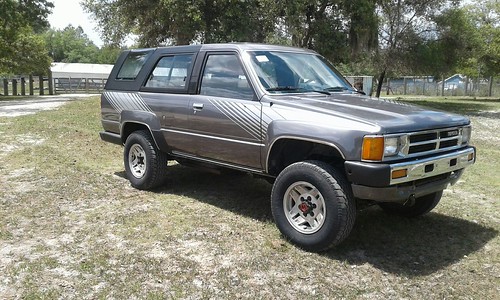
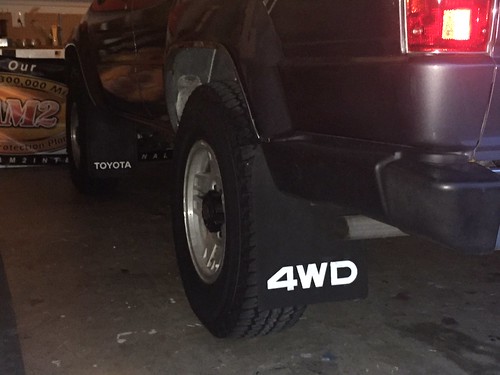
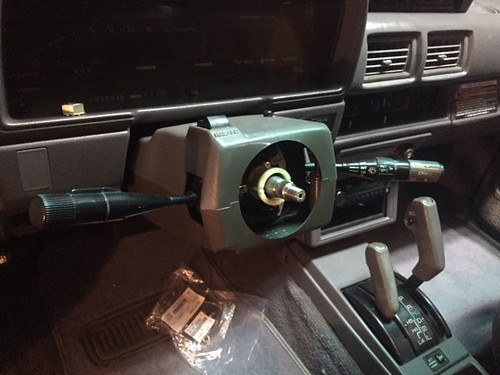
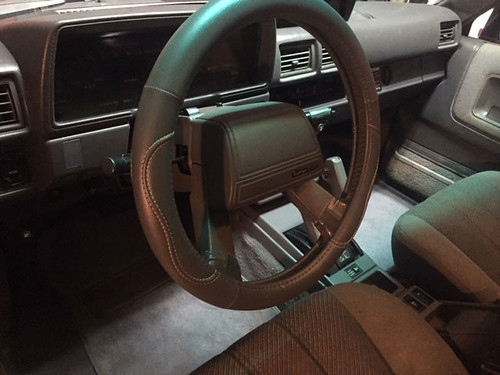
I've had this for a few weeks now and overall it's in good shape thanks the work of FuelInfected.org restoring her back to a daily driver condition. The photo above was taken right after the stripe kit was put, which is why the side mirrors were still off. She needed a lot of TLC and here's a list of what I can remember was done before I got it:
-Replaced A340H Transmission
-Replaced Turbo
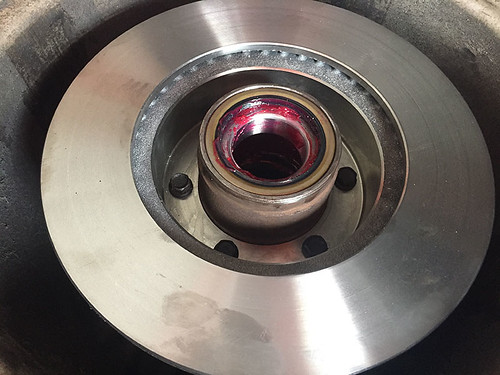
-New front calipers
-Replaced steering components
-Replaced several hoses
-Replaced water pump
-Replaced windshield
-Replaced driver power window
-Troubleshoot A/C (bad evaporator)
-Repaired rust
-Painted and added stripe kit
-Reinstalled seats and rest of interior
-etc.
And a list of the known things still to do or look at:
-Replace Heater control valve (Seized)
-Repair Heater switch on Climate Control (busted due to seized control valve)
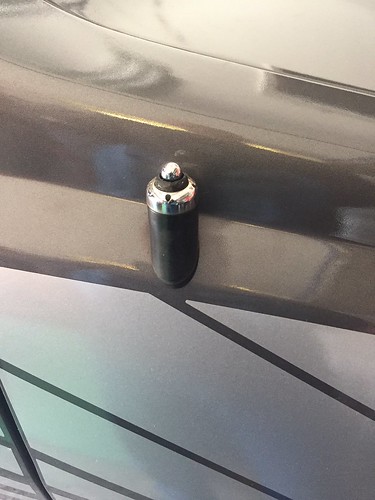
-Replace power antenna
-Replace evaporator
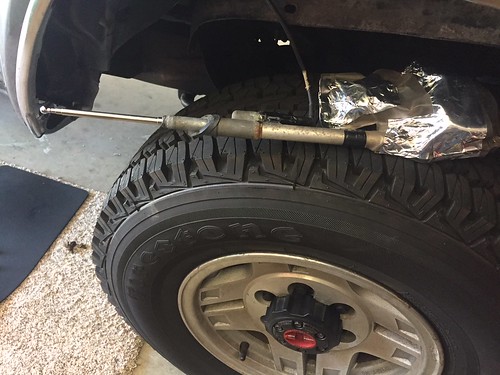
-Replace shocks
-Inspect differential
-Inspect all hoses
-Clean seat upholstery
-Paint a few interior pieces
-Re-key tailgate cylinder
-New sound system
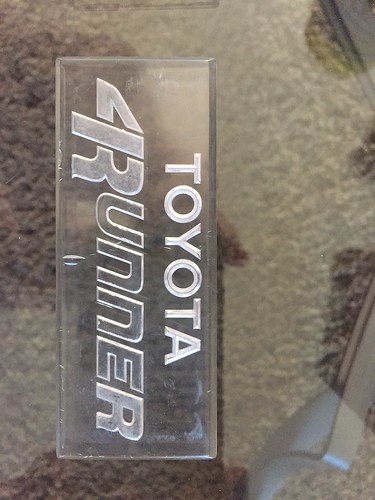
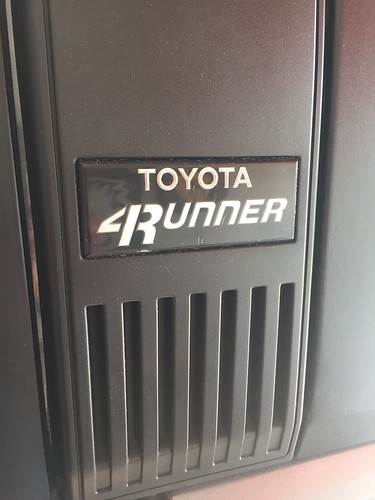
-Clean and attach emblems/badges
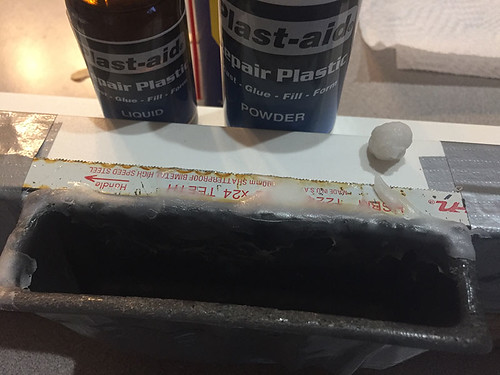
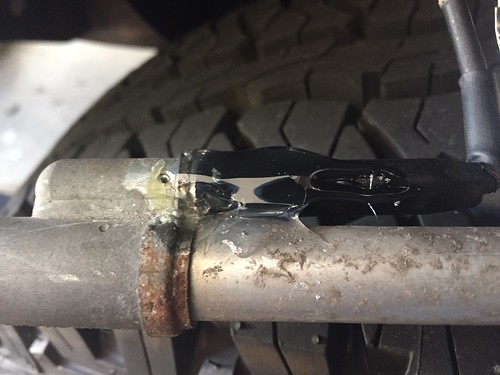
I replaced one of the trans oil cooler lines earlier in the week, it had a slight leak at the fitting on the transmission end. Picked up a new brake line, steel fitting, and tube bender. The line I took out was not original and since it didn't hit all the line hangers I couldn't use it as a guide for the bends on the new line. I straightened a metal hanger and used it to figure out the bends I needed to catch the hangers and then used the hanger as a template.
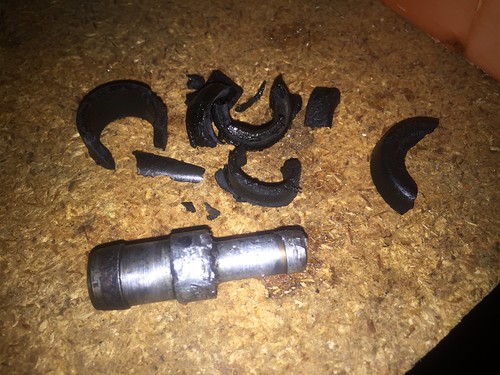
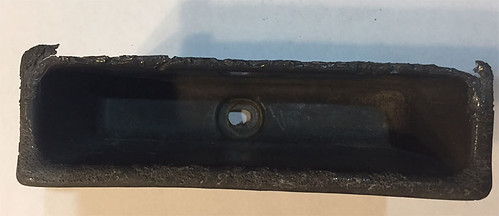
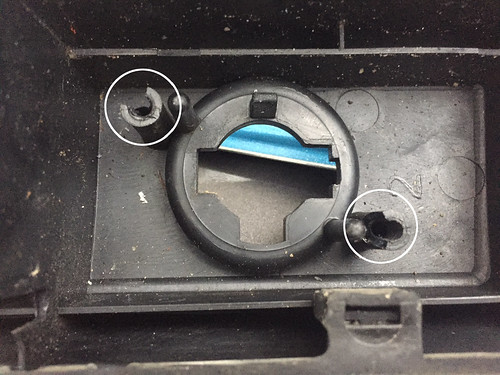
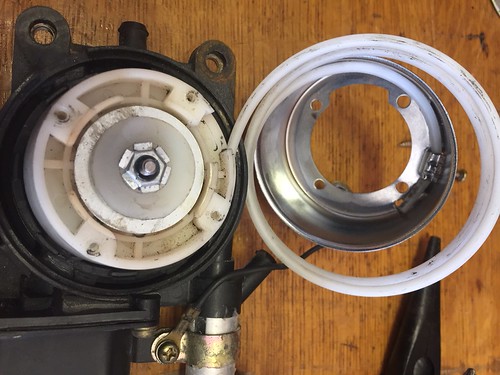
Tonight I replaced the PCV, grommet and hose. Like many others who have done this, the PCV gave a good fight but I finally worked it free. The grommet came off in pieces. The bottom section fell into the valve cover, but I was able to reach into the PCV hole with the needle nose and pull it out.
Old PCV and grommet:
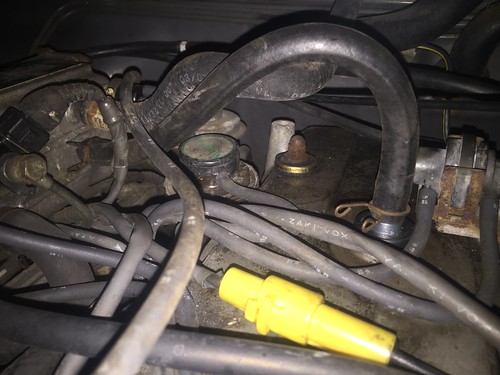
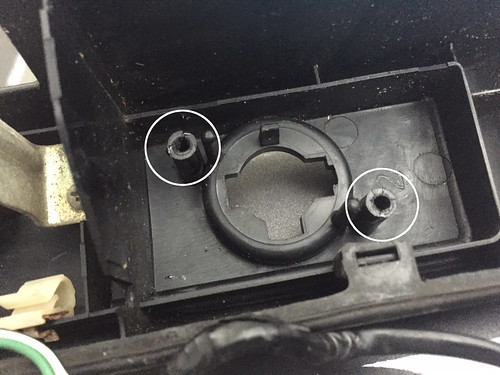
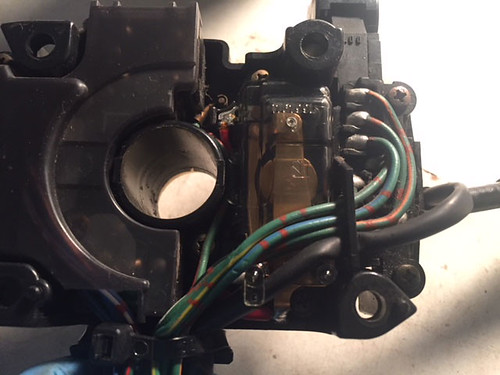
New PCV, grommet and hose installed:
__________________
---------------------------------------------------
2008 4Runner SR5
1987 4Runner Turbo SR5
http://www.toyota-4runner.org/classi...ner-build.html


 )- 620LB Eibach/OME 890 - 33" Falken Wildpeak ATs - 4x4 - 164k and climbing
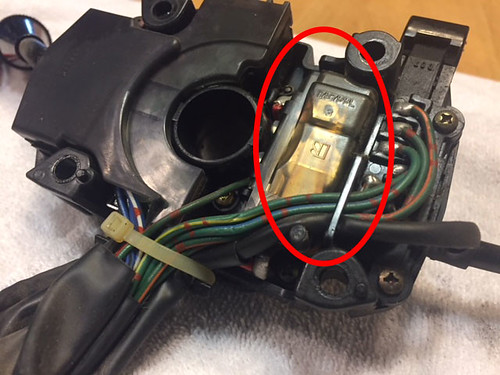

 Linear Mode


