Help CBI rear bumper

bikerjosh

New member
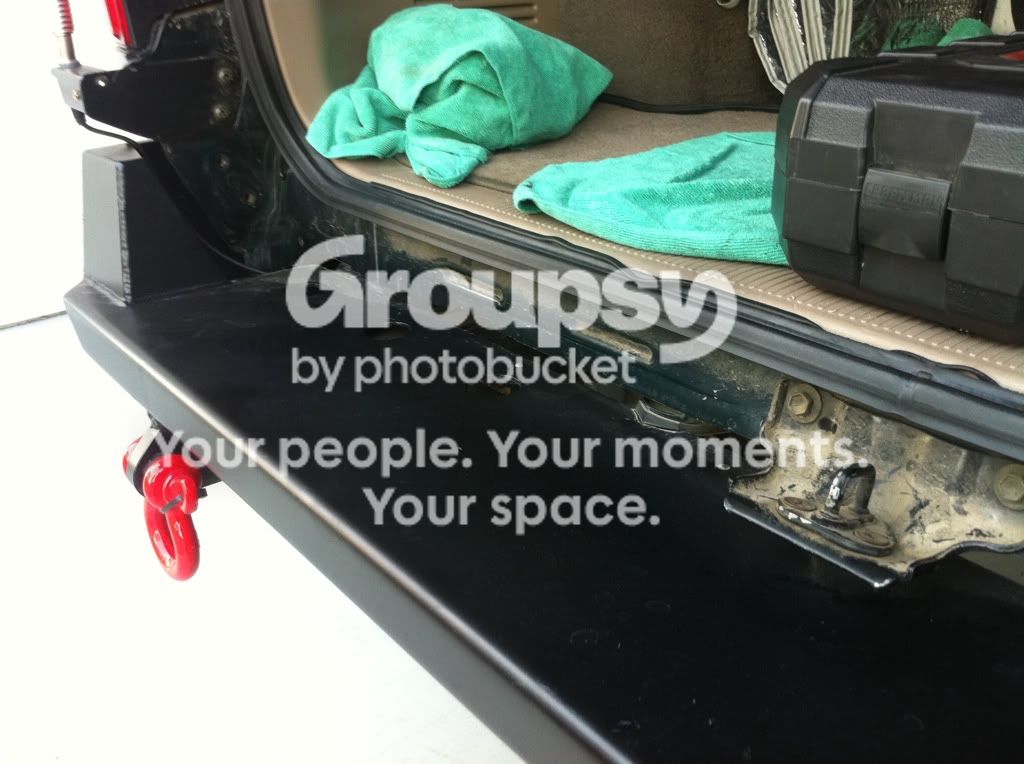
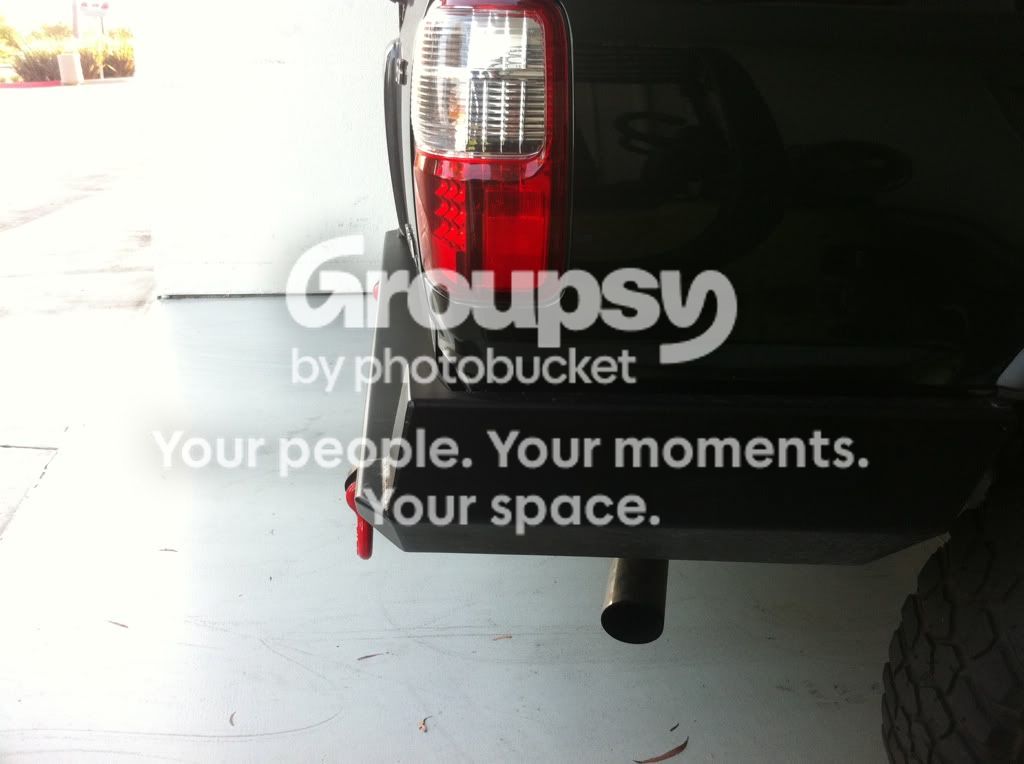
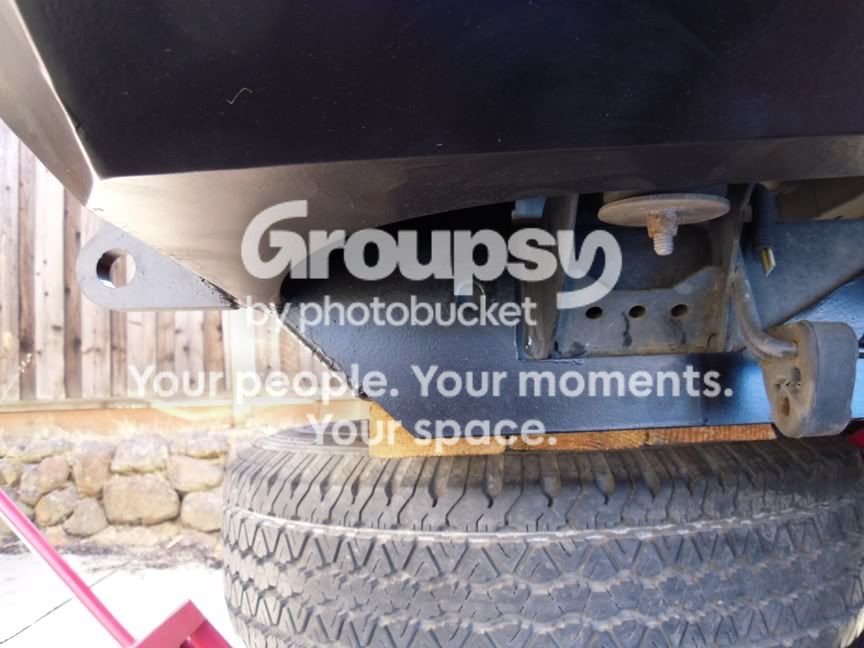
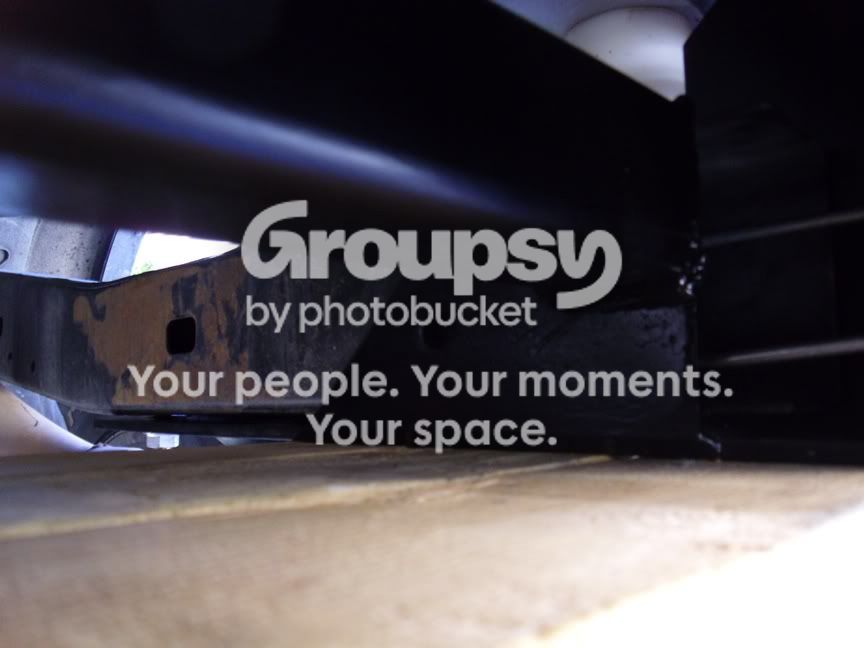
So in the middle of an install on the rear bumper. Looks like I have to cut off the last 20 inches on the exhaust pipe to clear the supports, (note I have a custom exhaust that sits close to the frame)

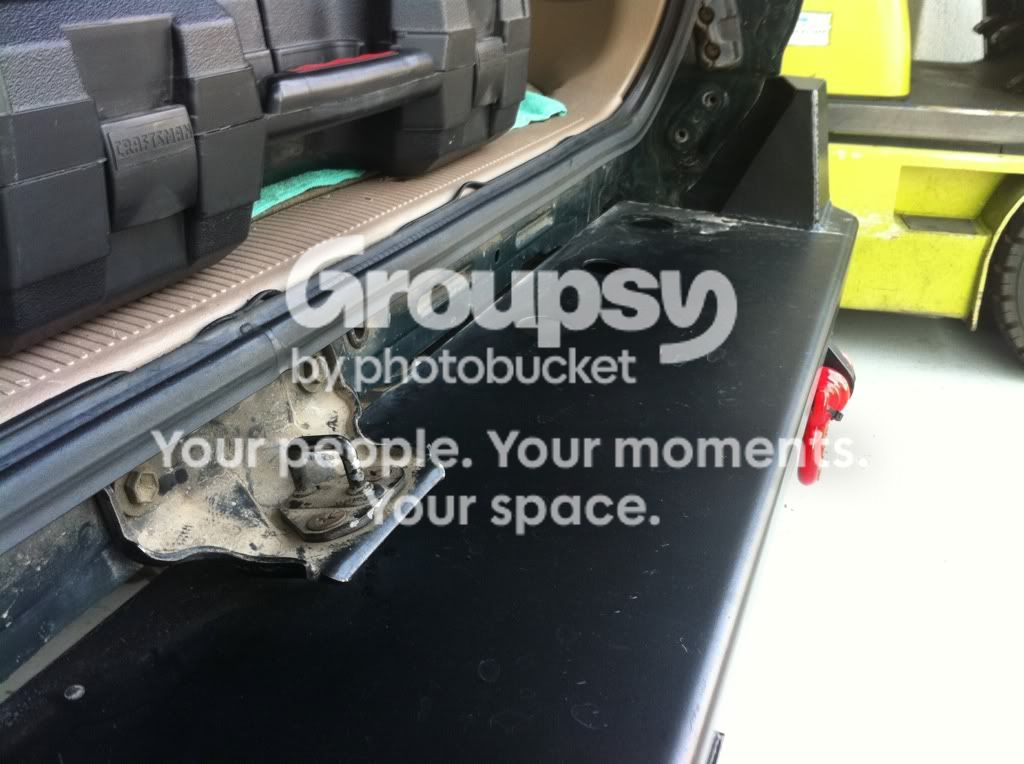
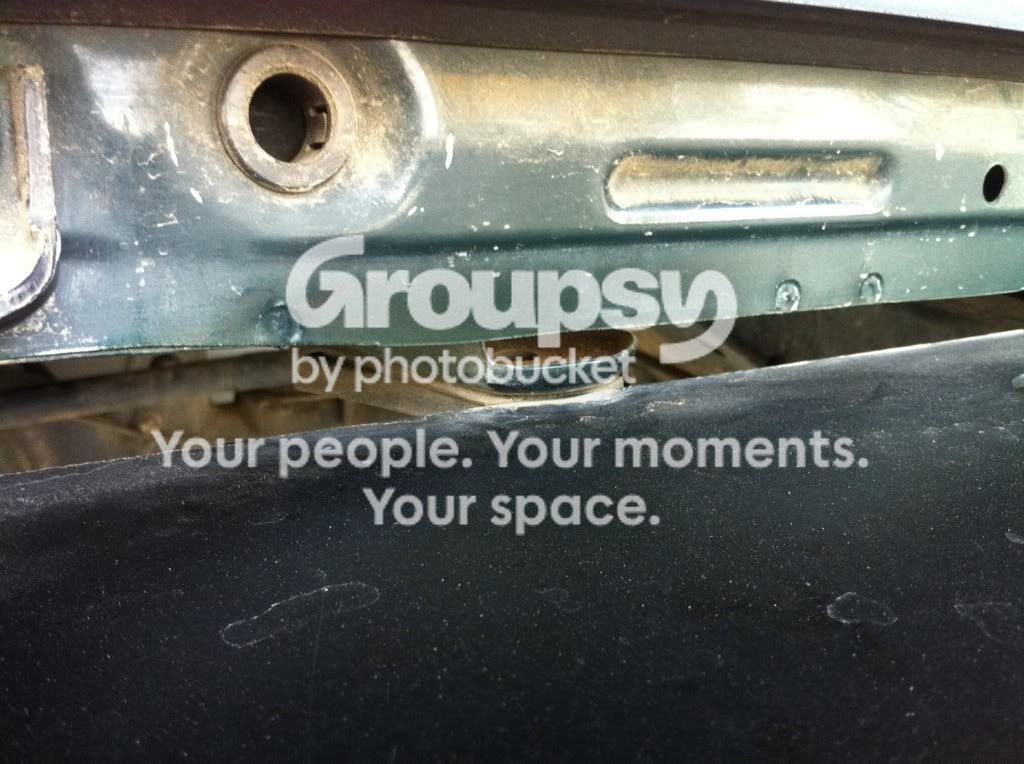
Wondering if the bolts that cbi supplied require some of the holes in the frame to be bored out? I seems the most forward mounting holes aren't big enough. The lack of instructions, kind of have me second guessing what I'm looking at.
thanks Josh:hiding:
 
Register to hide this ad
So in the middle of an install on the rear bumper. Looks like I have to cut off the last 20 inches on the exhaust pipe to clear the supports, (note I have a custom exhaust that sits close to the frame)

Wondering if the bolts that cbi supplied require some of the holes in the frame to be bored out? I seems the most forward mounting holes aren't big enough. The lack of instructions, kind of have me second guessing what I'm looking at.
thanks Josh:hiding:

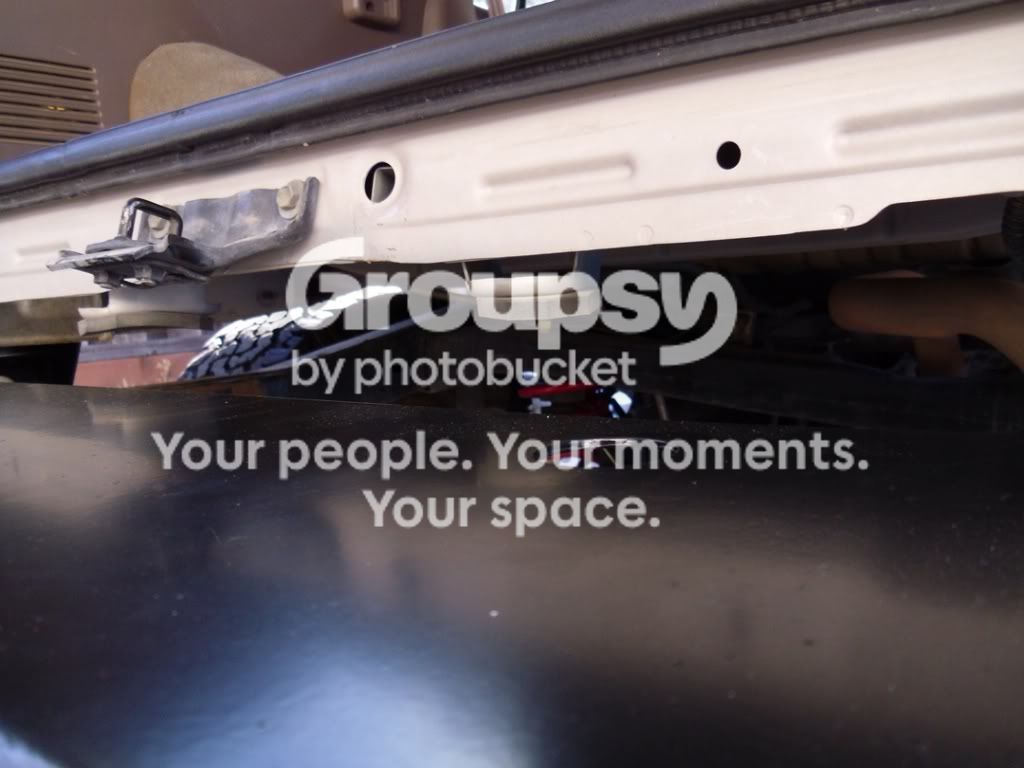
It's pretty straight forward... line up, mark your holes, drill, mount. Can you be more specific or include pics so we can help you?
 
yeah I thnk you can mount it up with the few stock holes. to get your mark. then you can drill after you take off the bumper again. sucks, cause there beastly bumpers. but I am really happy with mine so far.

mine had the hole cut out so I have been trying to get the exhaust pipe to go up and over the frame. and I had to bend the fender under/behind the bumper to make room for the new pipe. I know not your issue but thought i would share.
 
CBI bumper install

Ok, so after cutting off my exhaust pipe it's a little easier to visualize.
I was under the impression that the bumper used all existing holes in the frame, which I now know is not the case. Doing this install by myself so lots of second guessing and trying not to f$%k something up. :violin:
A a few questions on fit. with pictures:
1. Is the front of the plate supposed to fit in this groove or the edge of:
014-1.jpg~original


015-1.jpg~original


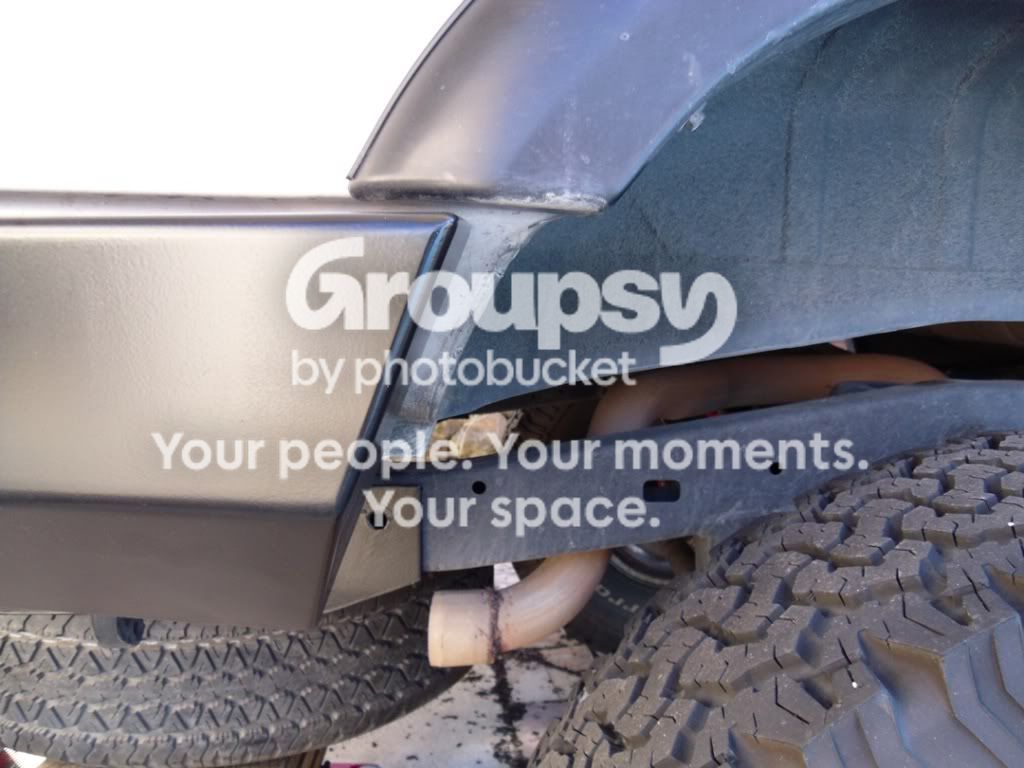
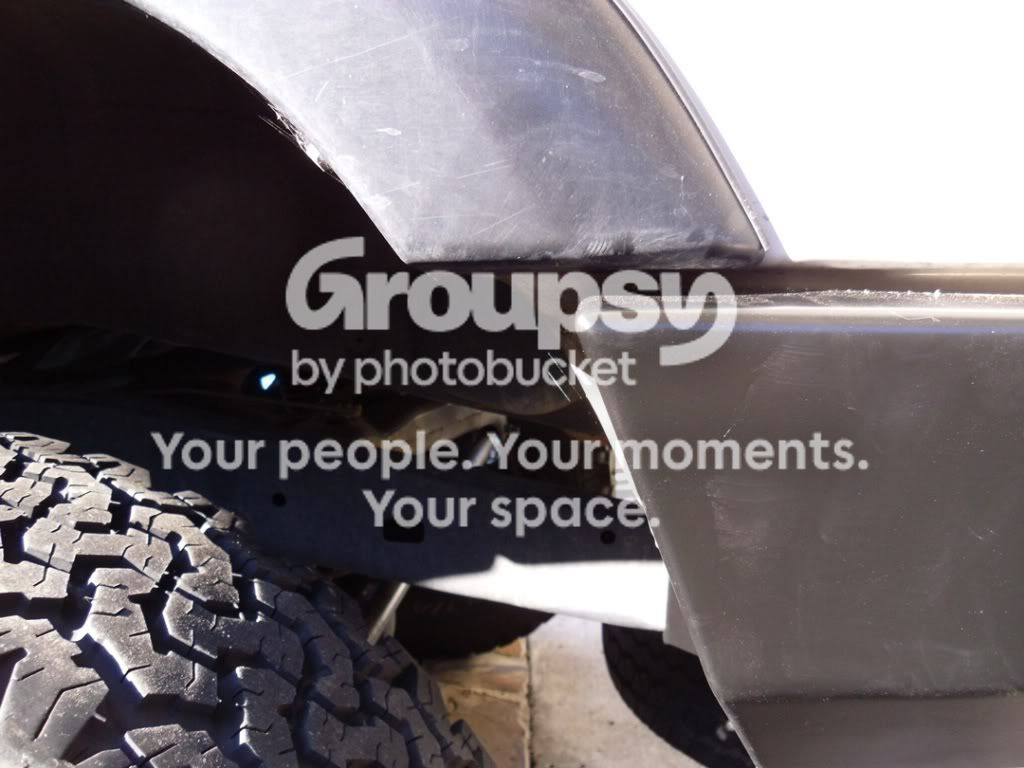
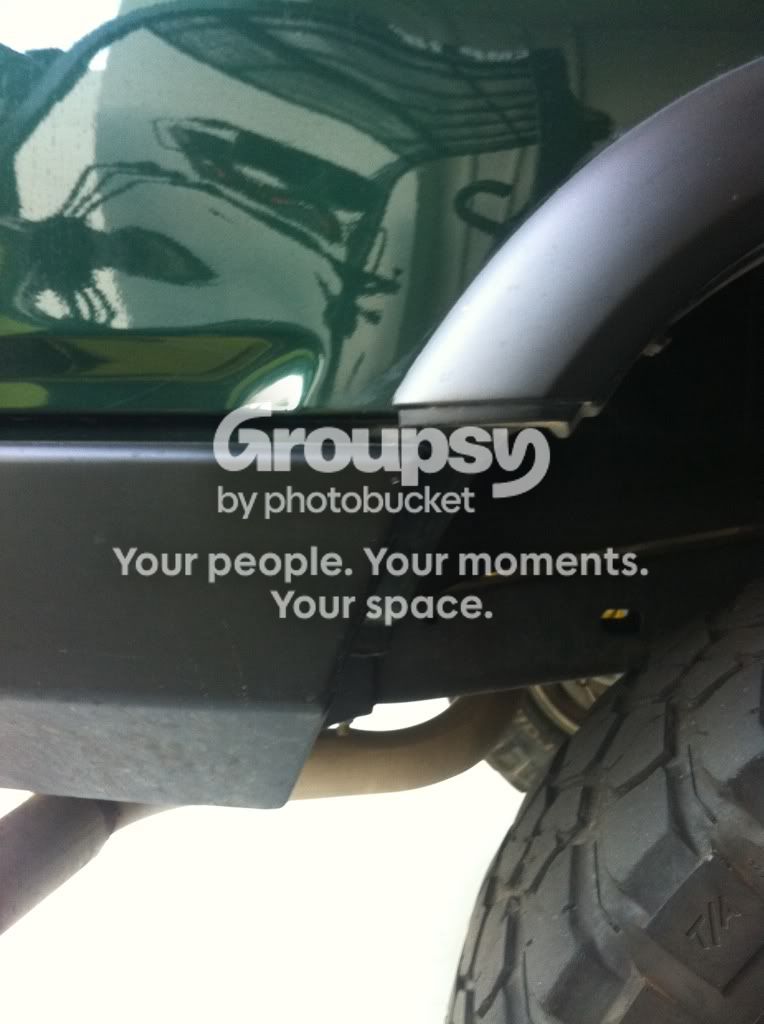
Second does this look right, with respect to the gaps? I would have thought the bumper sides would come forward more? Note: I ordered this bumper to fit with my "bushwacker extend a fender" flairs.
019-1.jpg~original


018-1.jpg~original


same thing here bumper extends past flairs:
020.jpg~original


Thanks for looking, and the advice. BTW-the bumper is up against the frame rails and as far forward as it can go in the photos.
Josh
 
Ok, so after cutting off my exhaust pipe it's a little easier to visualize.Oh yes - just did this mod today, that bugger was in the way! Cut mine off just behind the axle.
I was under the impression that the bumper used all existing holes in the frame, which I now know is not the case. Doing this install by myself so lots of second guessing and trying not to f$%k something up. :violin: They're only holes - I used 5 achors per side: 4 on the bottom, one on the outside of the frame at the back end.
A a few questions on fit. with pictures:
1. Is the front of the plate supposed to fit in this groove or the edge of:
014-1.jpg~original


015-1.jpg~original


Second does this look right, with respect to the gaps? I would have thought the bumper sides would come forward more? Note: I ordered this bumper to fit with my "bushwacker extend a fender" flairs. Looks like mine did - I trimmed off the pieces that stuck out beyond my bumper. I thought they looked weird.
019-1.jpg~original


018-1.jpg~original


same thing here bumper extends past flairs:
020.jpg~original


Thanks for looking, and the advice. BTW-the bumper is up against the frame rails and as far forward as it can go in the photos.
Josh
Added in your quote.

Let me know if you need any pictures.
 
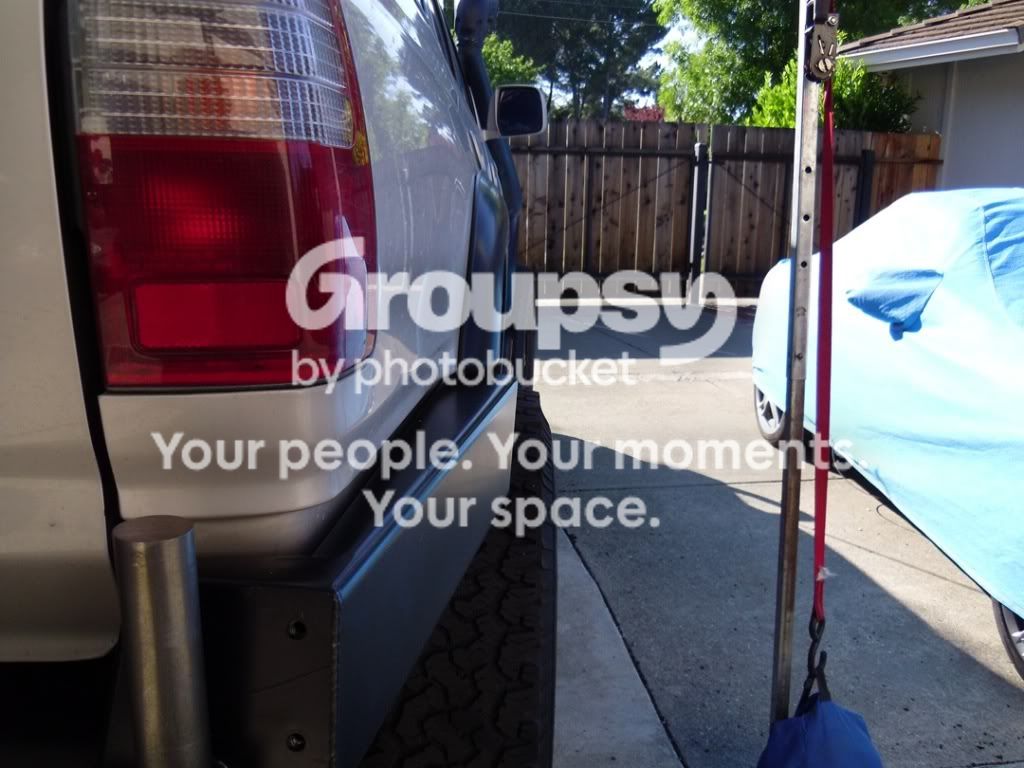
I cut those spare tire snubbers off mine. They rattled against that top plate on my bumper and it was annoying. The sides of the bumper not extending all the way to the inside of the fender flares are supposed to be that way so you won't rub 33s on the bumper. My 33s are only ~1/32" away from the bumper when I'm fully flexed out. I'm going to have to do some chopping on mine when I get 35s.
 
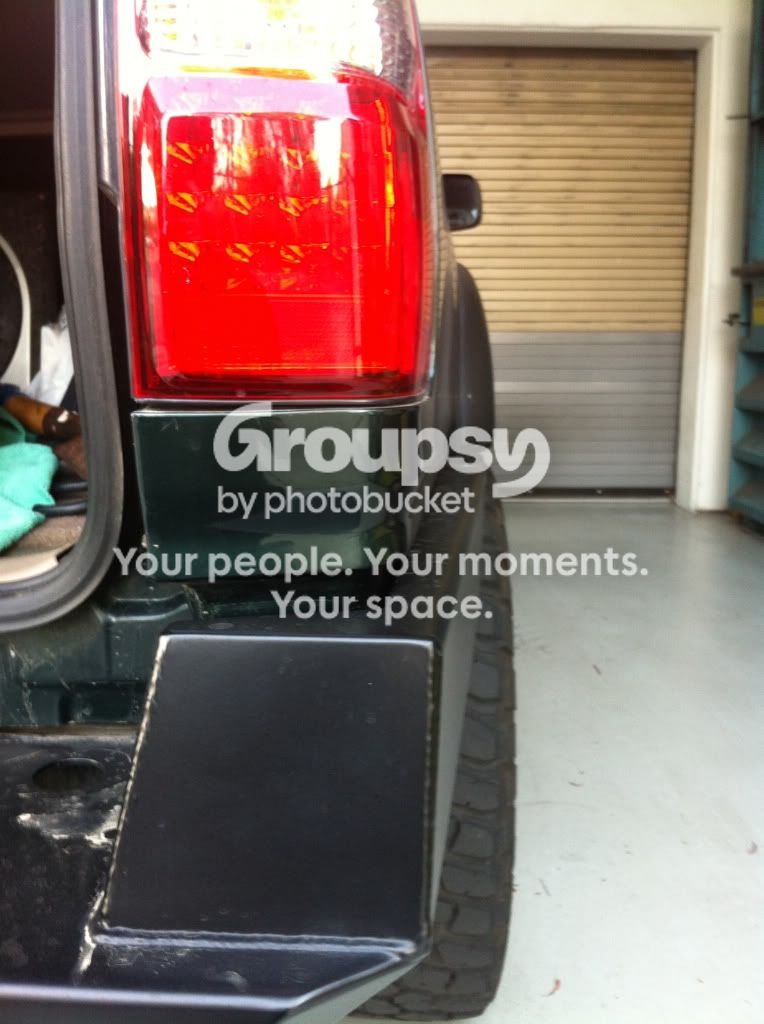
not the best pic but I had to share. the master and maker of these bumpers installed mine.

Steve him self.

(hope he don't mind)
 

Attachments

  • IMG01163.jpg
    IMG01163.jpg
    139.3 KB · Views: 4,163
  • IMG01149.jpg
    IMG01149.jpg
    131.8 KB · Views: 2,386
Aren't you a robot? mybe. none of your postings seem real hotlvbags. can't you move on to another forum?
 
Yeah, hotlvbags is a cyborg sent to kill the future leader of the forum! "It" posted all over a bunch of threads last night.
 
ok, next question

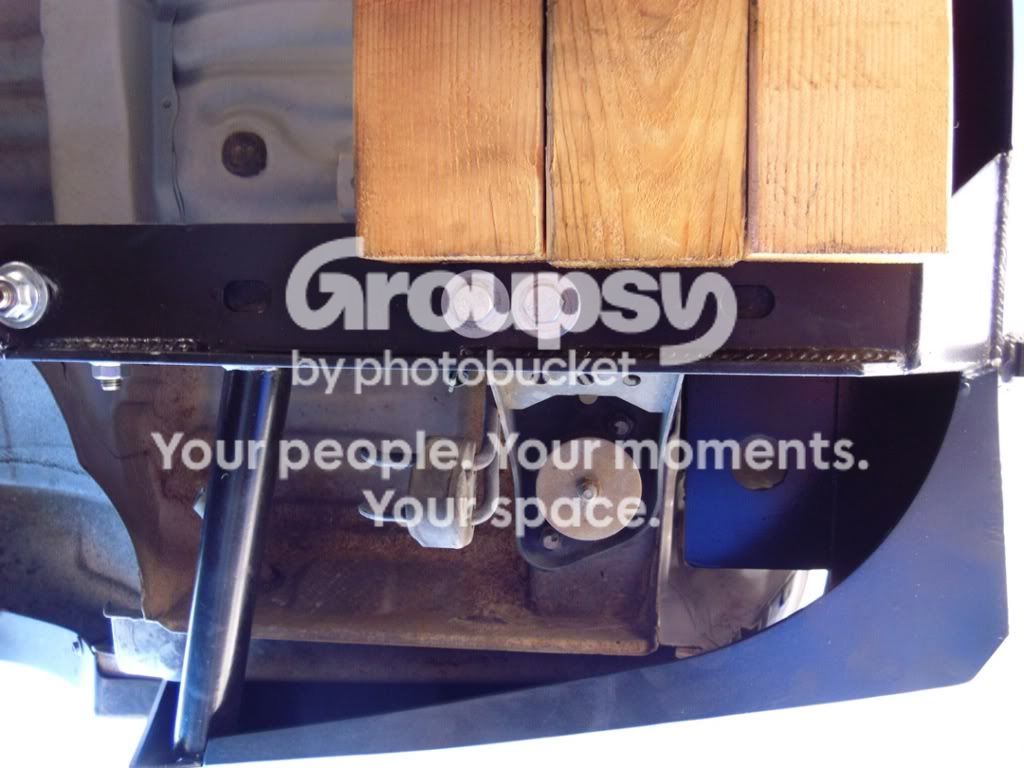
So I mounted the "stick bolts" and the 4 that use the existing welded nuts, but now I have 8 potential holes and 6 bolts left.
Options 4 possibles on the bottom of the frame rail (2 on each side)
009-2.jpg~original


next option outside of frame rail near the back of of the bumper.
010-1.jpg~original


last option inside of frame rail on each side.
011-1.jpg~original


Thanks for the guidance, anyone drilled the remaining holes without removing the bumper? By myself this was a total PIA :boxer:to get to this point, really don't want to repeat that.
thanks Josh
 
So I mounted the "stick bolts" and the 4 that use the existing welded nuts, but now I have 8 potential holes and 6 bolts left.
Options 4 possibles on the bottom of the frame rail (2 on each side)
009-2.jpg~original

Drill the one on the right - should stop it from levering down.
next option outside of frame rail near the back of of the bumper.
010-1.jpg~original

You will probably have to grind down the body mounts that are showing - I did. This is the last hole I drilled, figured 10 mounting points was sufficient.
last option inside of frame rail on each side.
011-1.jpg~original

Deemed to much of a PITA
Thanks for the guidance, anyone drilled the remaining holes without removing the bumper? I took a sharpie, outlined the holes on the frame then pulled the bumper off, center punch and drilled. And yea, after I had the exhaust chopped, I did this all on my own! Git er done! By myself this was a total PIA :boxer:to get to this point, really don't want to repeat that.
thanks Josh

Bold in Quoted
 
did you happen to call CBI?

Yep, got a hold of Nathan yesterday afternoon and got the skinny. Furthest hole back on bottom of frame rail, inside and outside of rails. The most forward of the potential holes wasn't needed.

Went to Harbour Freight Tools after work and bought a low speed drill that would accept a 1/2" bit, marked the holes with a drift punch, removed the bumper (had to) and started drilling away. Lots of oil, and sweating but made it through. Had to stop for dinner. I'll remount the bumper after work and start putting the swingout together.

Thanks for the help.
Josh
 
I maybe a driving spokesman for them as I have there Front, Rear, and sliders on my rig.
but they have treated me right every time.

and I could strongly say Steve and his gang at the shop can WELD!

glad you got squared away. enjoy the bumper.

I just picked up a ratty old LC rim to match the 4 on the ground for my spare for free. yahoo
 
CBI rear w/swing out mounted

Ok, so finished last night after work(mostly). Still need to mount the lic plate light and the lever leash for the swing out.
I'll post some pictures after work.
Thanks for all the advice and pictures that people contributed.
The bumper install is fairly straight forward, but with lot's of pieces and no readily available printed instructions a little/lot of second guessing was present.
So in the name of helping out, anyone in the Bay Area that is planning on getting a CBI rear bumper for their third gen and wants some help with the install drop me a line. As I mentioned in this thread I bought a heavy duty drill for the frame rails and I have plenty of space off the street to do the install.
Thanks again
 

Members online

No members online now.

Forum statistics

Threads
278,310
Messages
3,554,078
Members
248,016
Latest member
Advally Service

Trending content

Back
Top