The first modification I decided to do was open up the intake and exhaust ports on the cylinder head. While it won't increase the max CFM of the compressor, this should improve the efficiency of the compressor overall, while helping it to run cooler.
Once again, for reference, the intake port in stock form:
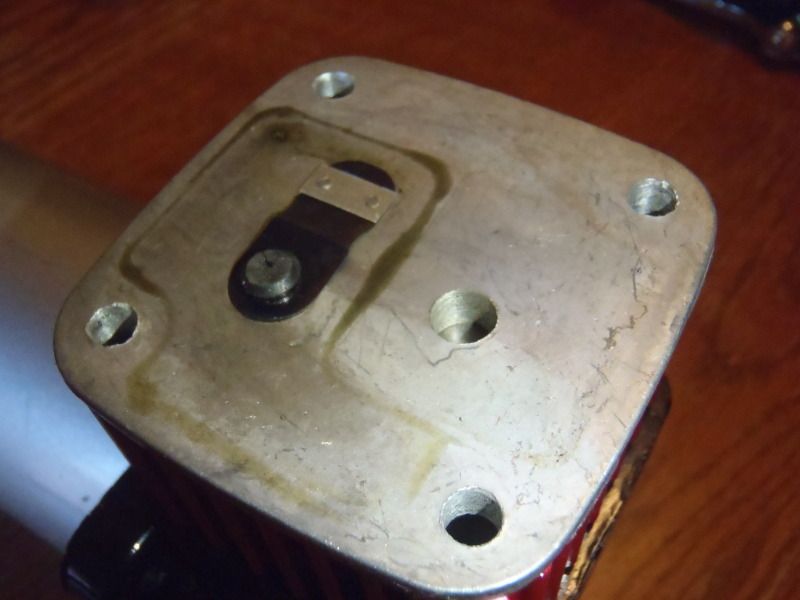
The cylinder head is aluminum and the material is pretty soft. To open up the ports I used a #194 "High Speed Cutter" Dremel Bit. (Link >
Dremel 194 Bit)
After porting:
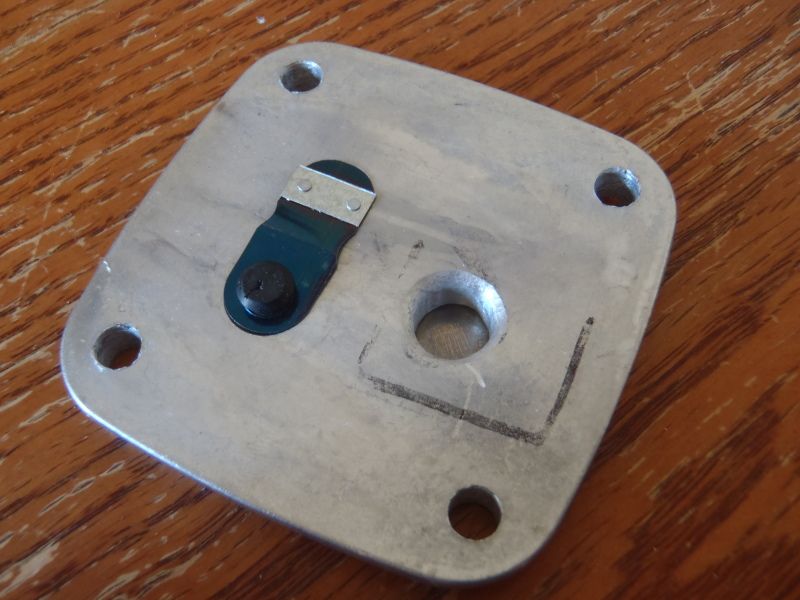
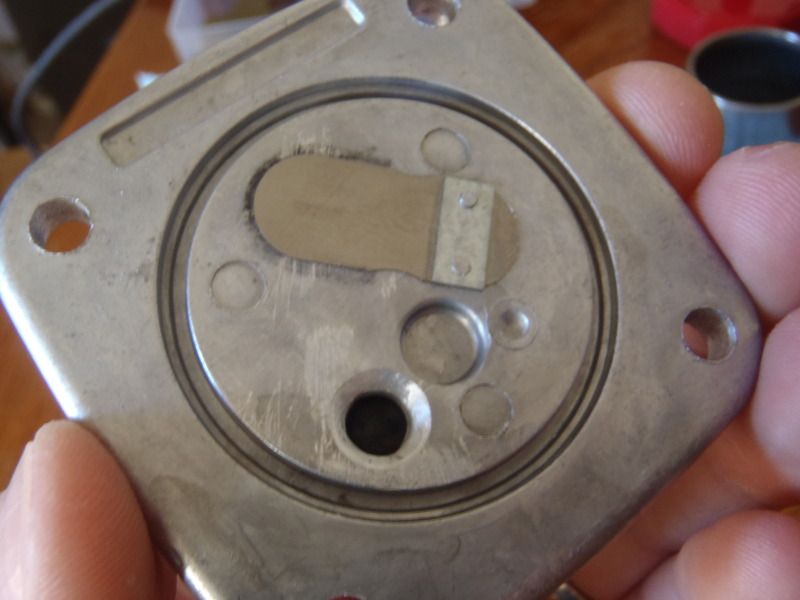
Exhaust port, stock:
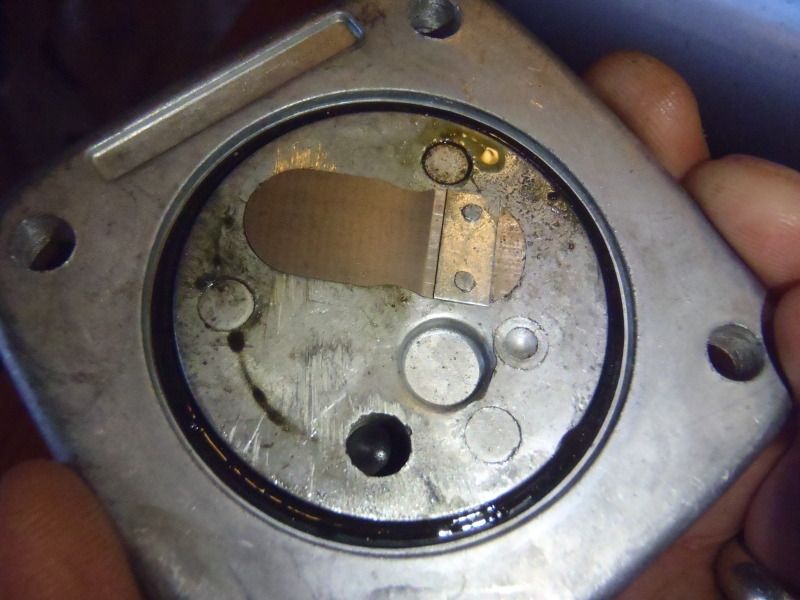
And ported:
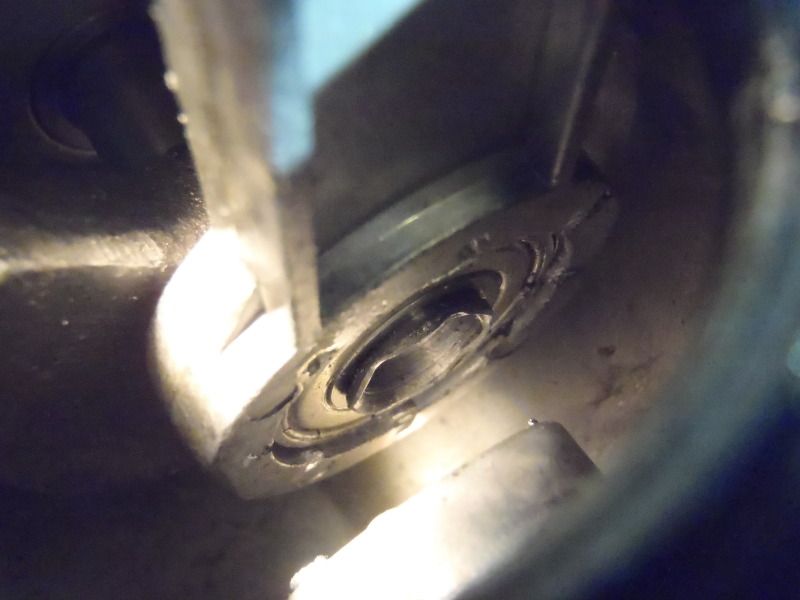
While I had the compressor torn apart, I took a peek down inside the crank case and considered whether or not it would be worth it to try and perfect the alignment of the piston with the cylinder... I decided it wouldn't be worth the time for minimal gains, but took a few pictures anyway.
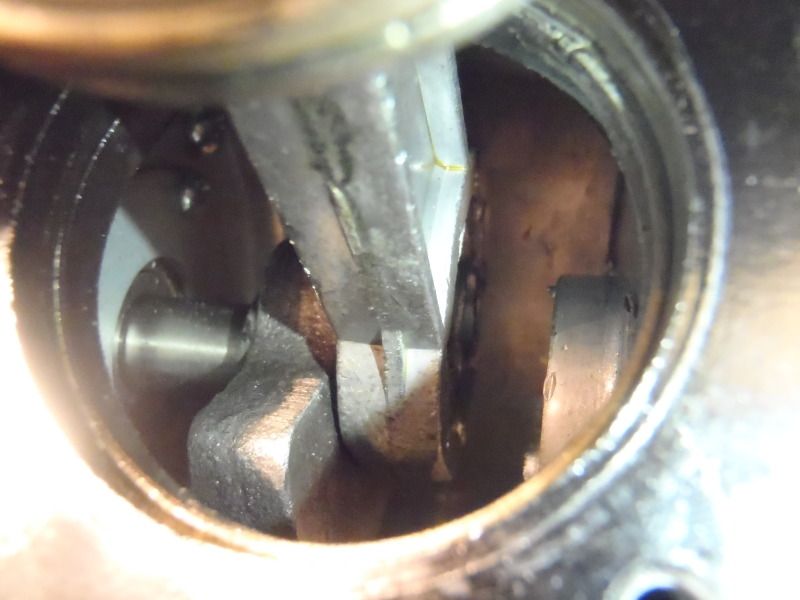
The main "rod bearing" where the piston connects to the crankshaft:
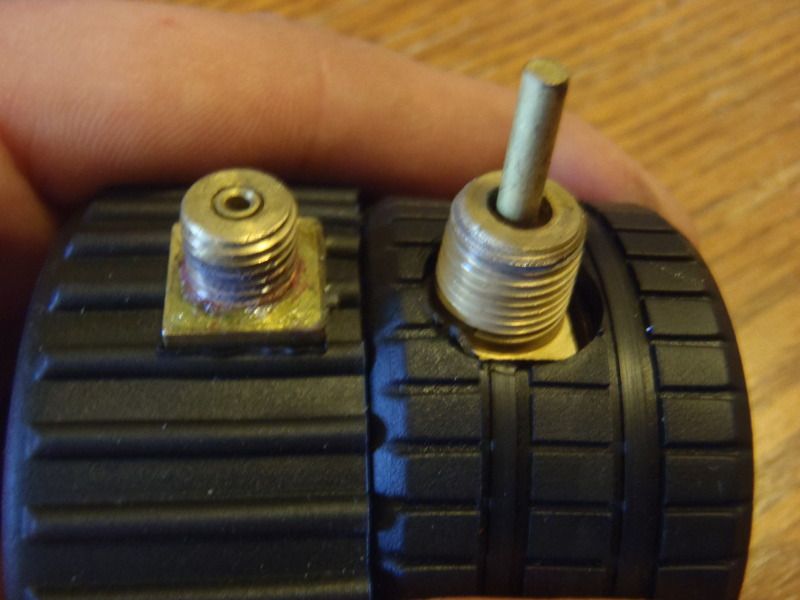
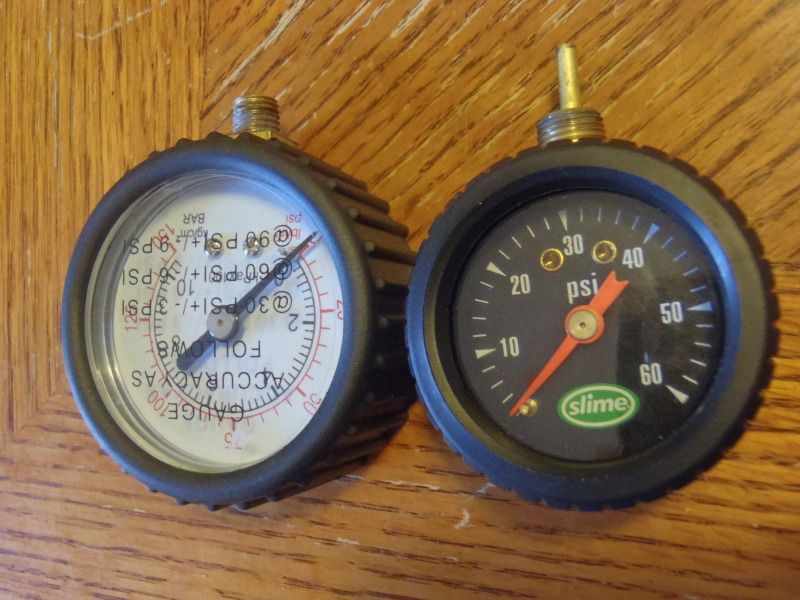
Next I decided to get rid of the crappy pressure guage that was installed on the compressor. The guage read about 15 PSI high and was completely useless for determining tire pressure. I followed the suggestion I found in other write ups and purchased a "Slime" brand tire gauge which can be found at many auto parts stores.
The problem with the guage was that ALL of the other write-ups I had read told me that the new "Slime" gauge would thread right into the port on the cylinder head. Unfortunately that was not true. The threads on the stock guage were quite a bit smaller than the the threads on the new one.
The new guage had 1/8" NPT threads, and I had a tap in the garage, so I just drilled the hole and tapped some new threads. Finally I added some teflon sealing tape and installed the new gauge.
Up next was the power cord & fuse holder. The stock power cord is made of 14 AWG wire with an inline ATO blade-type fuse holder containing a 30 amp fuse.
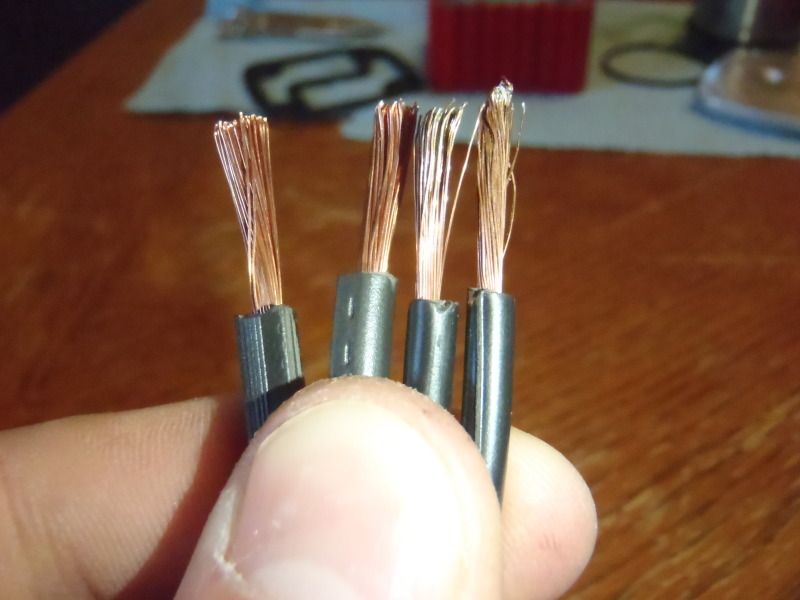
I replaced the 9 foot stock power cord with 10 feet of 12 AWG "Underground Low Voltage Landscape Lighting Wire". The new wire has more strands, steps up an AWG size, and has thicker PVC insulation. This should allow the motor to more easily draw the current it needs from the battery, help the wire run cooler, and the thicker insulation will help if/when the wire heats up.
New on left, old on right:
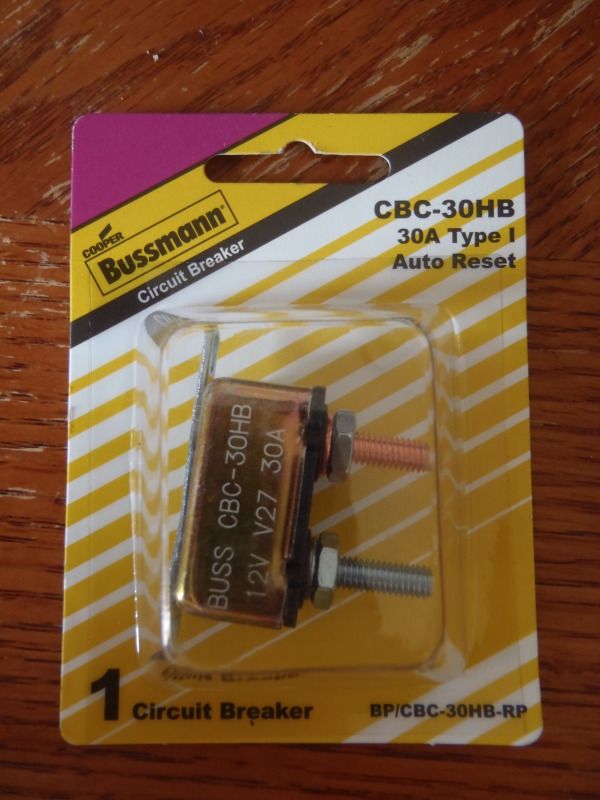
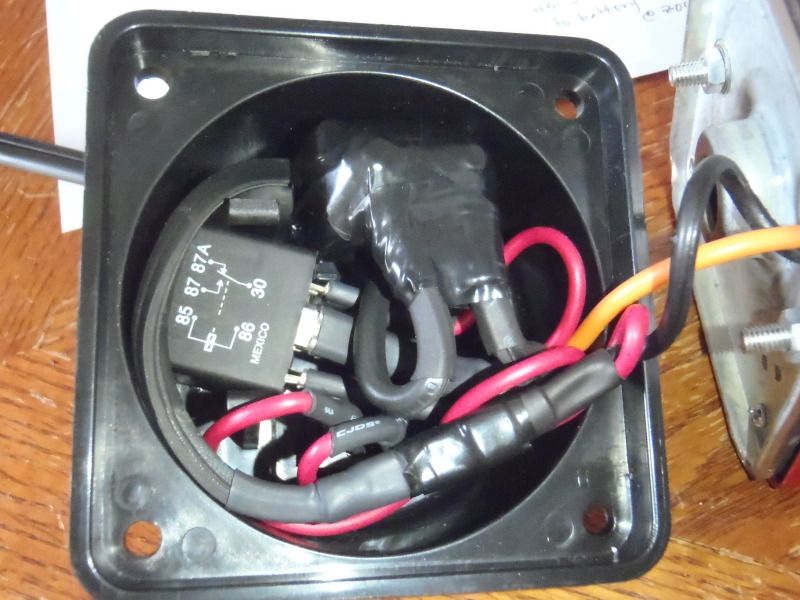
Since the new cord eliminated the fuse holder, I decided to go with something a bit simpler and chose a 30 AMP Auto Re-setting circuit breaker for $4. This will eliminate the need to carry extra fuses, since the circuit breaker has the ability to re-set itself multiple times. Also I can house the circuit breaker inside the end cap with the other wiring.
I used the Dremel to shorten up the studs on the breaker, and some aviation snips to cut off the mounting brackets at either end.
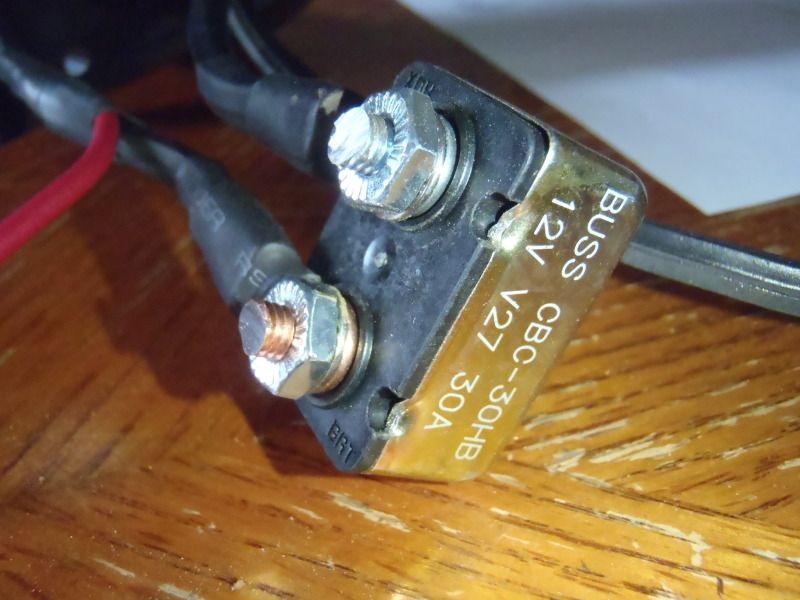
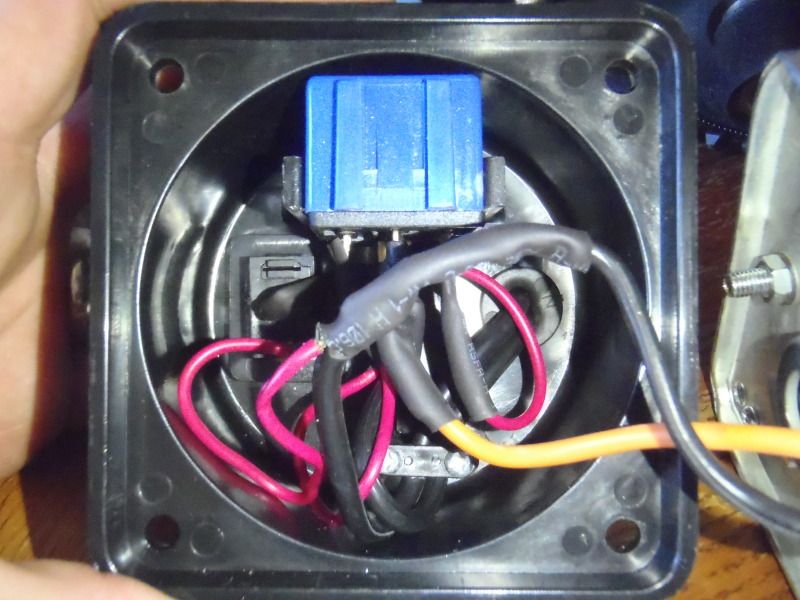
Last but not least, I got rid of the stock "el cheapo" relay and put in a DEI 30/40A Starter Kill relay I had leftover from the alarm install. I also replaced all the stock 16 guage wiring with 14 gauge and re-built the harness with quick disconnects and more precise application of heat shrink tubing. The circuit breaker was also fully wrapped in several layers of 3M electrical tape to prevent shorting.
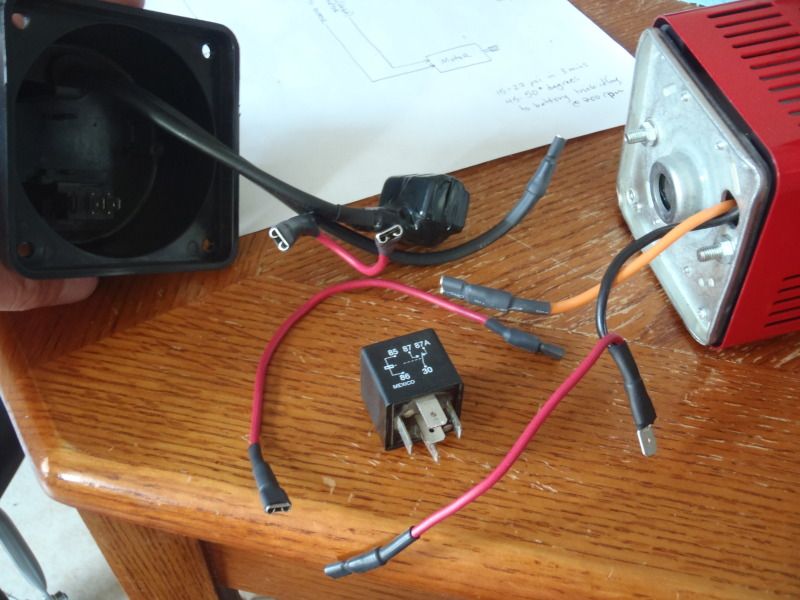
The new wiring, relay, and circuit breaker all fit nicely inside the endcap. Here's some before/after shots of the wiring:
Before:
After:
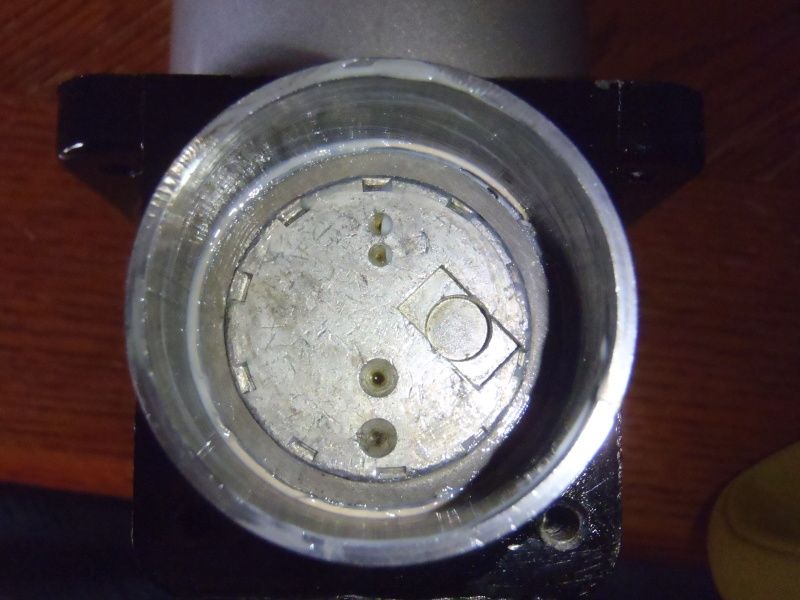
I cleaned up all the mechanical components and gave them a coating of engine assembly lube...
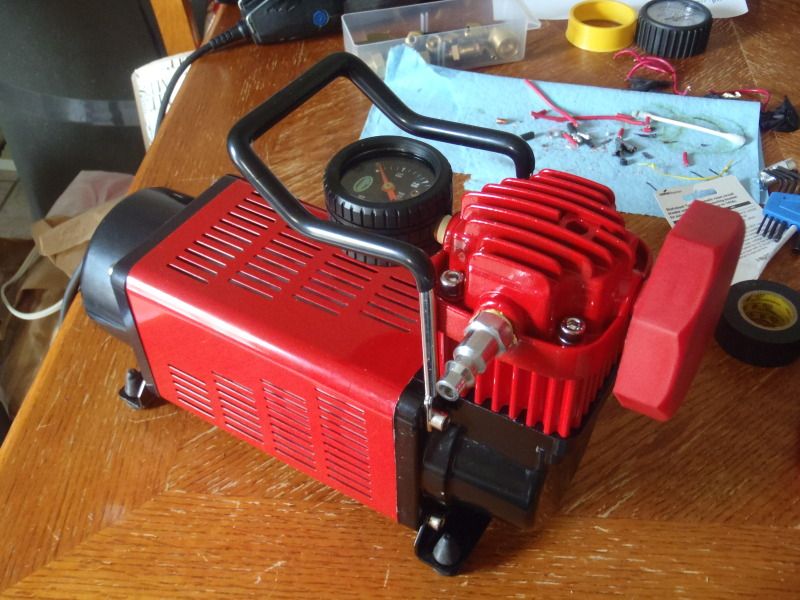
And it was done...
 Remember those issues I mentioned earlier?
1. The air fittings are a non-standard size, as are the threads on the fittings.
For now I'm going to stick w/the stock fittings, and if/when the air hose fails I'll drill & tap for 1/4" NPT and install an upgraded hose/air chuck.
2. The power cord overheats with extended use.
UPGRADED! Check.
3. When re-starting against a significant head of pressure, the compressor will often blow it's fuse.
The instructions call for the user to start the compressor first, THEN attach it to the valve stem. If you try to start it while it's attached to a valve stem with 60 PSI on it, the motor will stall, draw a ton of amps, and pop your fuse. Read the manual.
4. The relay sometimes fails/melts.
UPGRADED! Check.
5. The air hose can melt with extended use and/or crack in cold weather.
See #1
6. The pressure guage is inaccurate.
UPGRADED! Check.
With the tune up I performed, this little compressor should be good to go.
 As always, I'm going to include a references section. These are the links that I found useful in researching the compressor and associated mods:
Manufacturer's Website
SuperFlow:: Tools Not Toys!
General Info
Harbor Freight vs Costco Portable 12v Air Compressor - In Depth Review w/ Pictures - JeepForum.com
Mod threads
My Costco Q-Maxx / MV50 Compressor build - JeepForum.com
Hot Rodded Compressor - Expedition Portal
Porting threads
Cheap air compressor porting - TTORA Forum
Porting the Superflow MV50 Compressor - 4x4Wire.com
TrailShot Galleries - Superflow MV50 - 4x4Wire.com
General Writeups & Info
air compressor test
Superflow MV-50
Awesome Air Compressor Comparison Test
On Board Air w/Tank using MV50
4x4Wire - Portable Onboard Air Installation
As always, I'm going to include a references section. These are the links that I found useful in researching the compressor and associated mods:
Manufacturer's Website
SuperFlow:: Tools Not Toys!
General Info
Harbor Freight vs Costco Portable 12v Air Compressor - In Depth Review w/ Pictures - JeepForum.com
Mod threads
My Costco Q-Maxx / MV50 Compressor build - JeepForum.com
Hot Rodded Compressor - Expedition Portal
Porting threads
Cheap air compressor porting - TTORA Forum
Porting the Superflow MV50 Compressor - 4x4Wire.com
TrailShot Galleries - Superflow MV50 - 4x4Wire.com
General Writeups & Info
air compressor test
Superflow MV-50
Awesome Air Compressor Comparison Test
On Board Air w/Tank using MV50
4x4Wire - Portable Onboard Air Installation