Too many images, continued from above:
The next step was to install the stereo in the 4Runner. I thought that the stereo would fit into the factory opening with only a little trimming, but somehow I managed to miss a post with these critical dimensions. The opening on my ’99 Limited is only 6 15/16” wide, but the face of the stereo is 7 13/16” wide. This means that the stereo is 7/16” wider than the opening on both sides!!! That’s almost an inch total! IT DOESN’T FIT!!!

I wasn’t too happy at this point, but decided to proceed a little further and see what could be done.
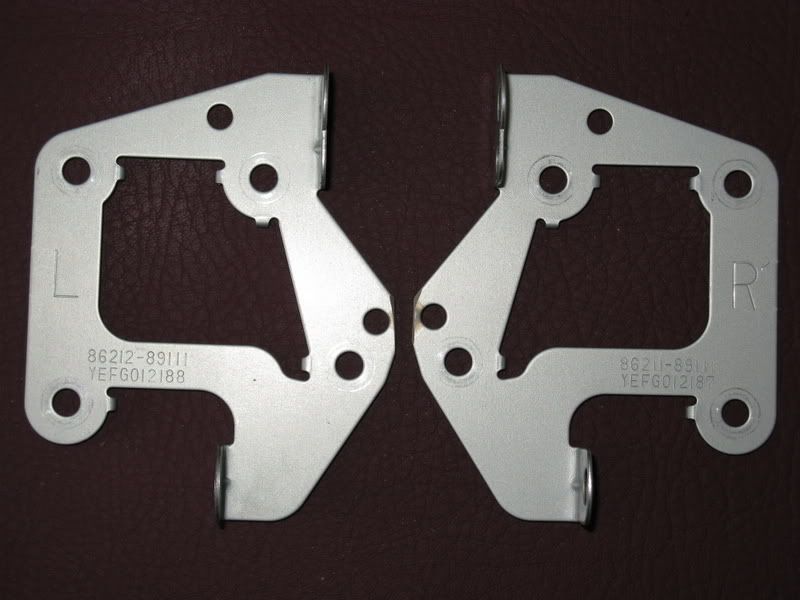
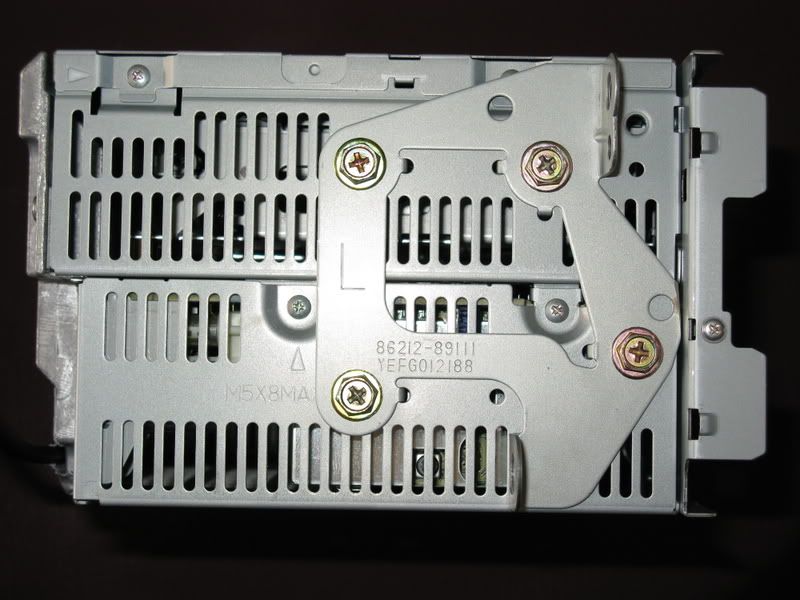
First thing to do is take the mounting brackets off of the old factory stereo and put them on the Scion stereo. Mine didn’t quite fit because there was a round protrusion at the front which interfered with the Scion stereo frame. Not much needed to be removed, so I touched it to the bench grinder to make it fit.
Next, the center dash panel needs to be removed, which involves pulling the cup holder off, then the trim around the shift levers, then finally the dash panel. They all snap in/out, so no tools are involved here other than your bare hands (there are write-ups on how to do this elsewhere, so I won’t cover it).
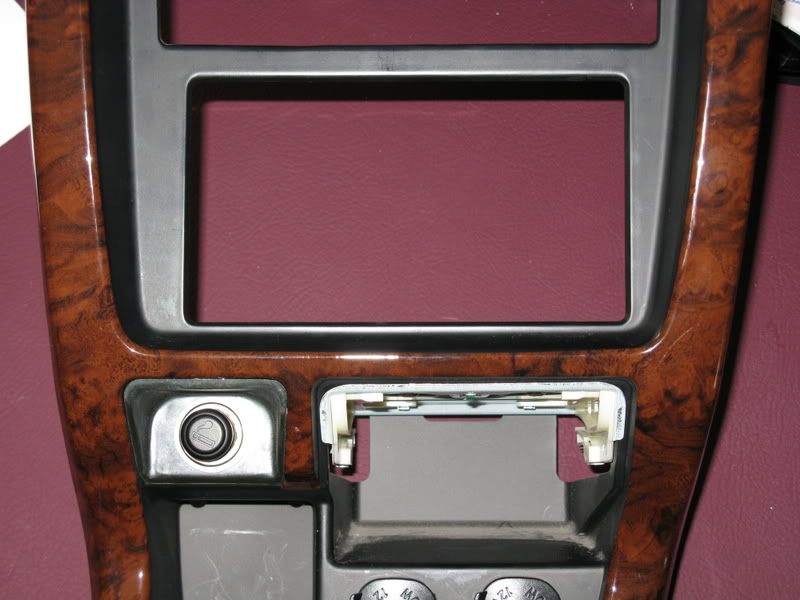
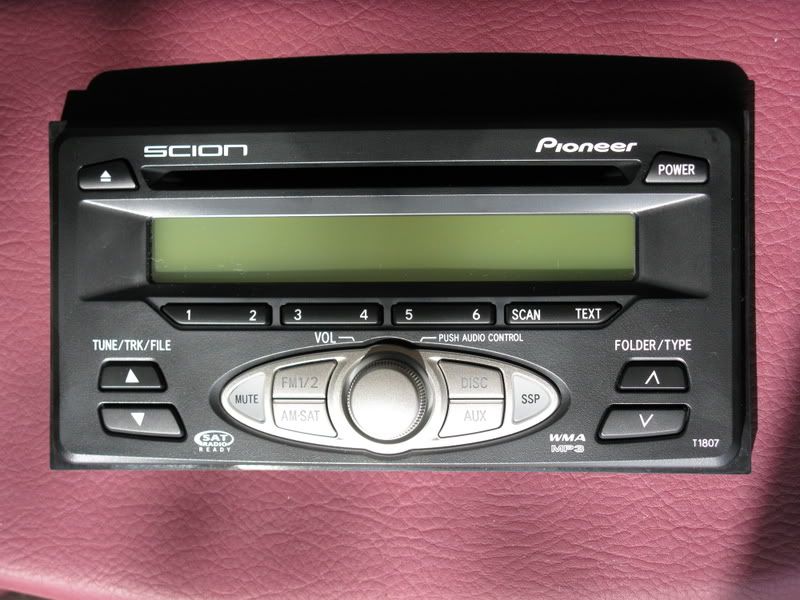
I check fit the stereo face to the dash panel, and it was pretty obvious it wasn’t going to fit very well (note the Eject and Power buttons are wider than the opening).

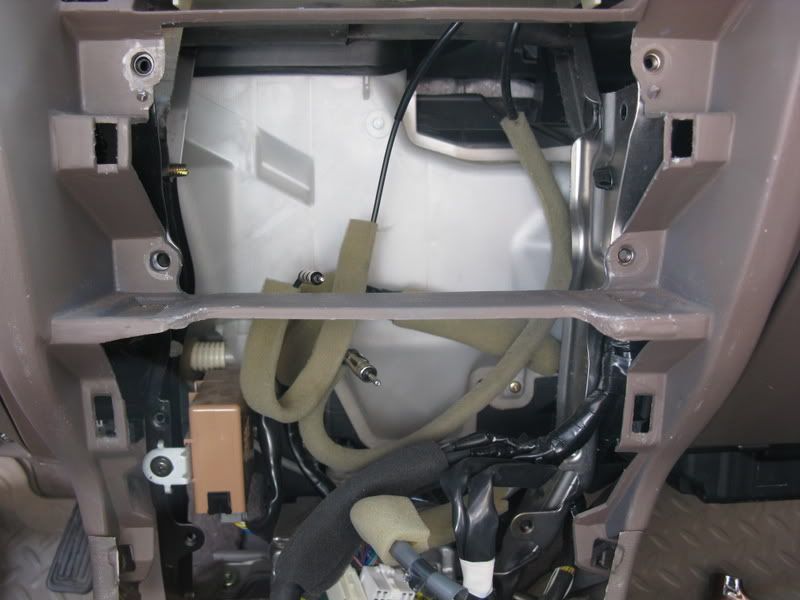
I unscrewed the 4 screws holding the factory stereo in place, unplugged the wiring harness coming from the external amplifier, unplugged the two antenna inputs, and removed the stereo. Next, I unscrewed the two screws holding the external amp in place, unplugged the two harnesses, and removed it as well. Here is what you end up with:
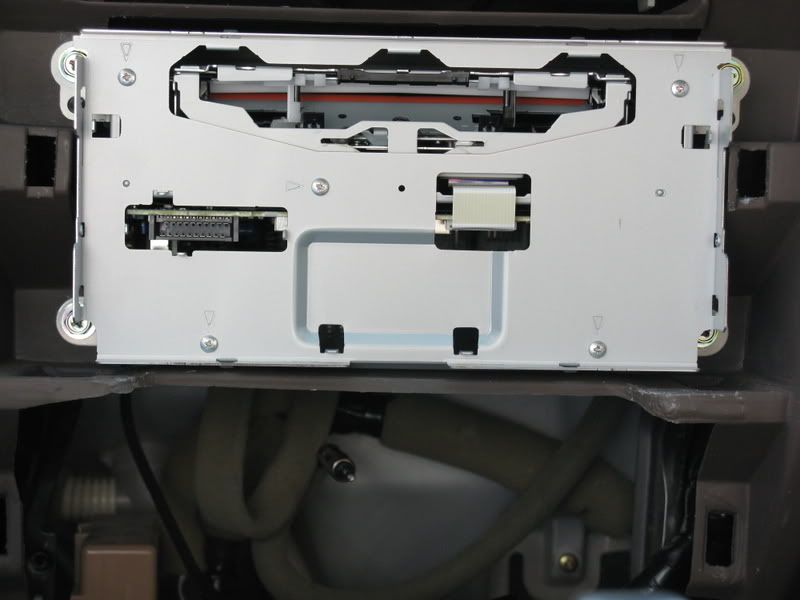
Next, I installed the Scion stereo into the opening (without it’s face attached) to check fitment. No problems here.
However, the square base of the plastic stereo face is even wider than the part that is supposed to protrude through the dash trim bezel, and it wouldn’t fit between the two dash clip openings, so I needed to trim something. I was leery of trimming the plastic on the dash, afraid that the dash panel mounting clips would no longer hold in place without the plastic surrounding them. Luckily, I was able to trim off part of the stereo face where it interfered with the dash without any ill effects. There was nothing in that area of the face plate, so nothing was really lost. The part I removed was about an inch long, about right next to the LCD. It is easy to see what needs to come off with the stereo in hand. I only trimmed the flat, square part off until it was flush with the rounded part of the face that protrudes through the dash. Trim off the approximate parts I have outlined in blue. Check fit the stereo face on the dash to see what exactly needs to be removed before cutting.
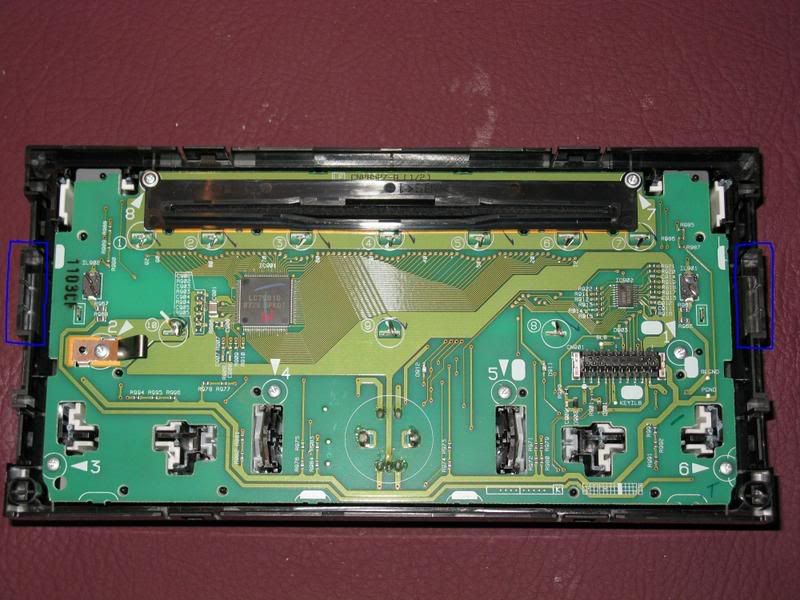
All I can say about trimming the plastic on the stereo face is go slowly, taking the time to be careful. I used a Dremel cut-off wheel to get it close, then a file to finish it off nicely. Unfortunately, the picture of the finished cut is the one I forgot to take – sorry. :dumb:
Once the stereo was mounted into the 4Runner, I could check fitment with the dash trim bezel. Upon initial inspection, I could see that there was some thin “ribbing” made of plastic on the back of the dash trim panel that would need to come off before anything else.
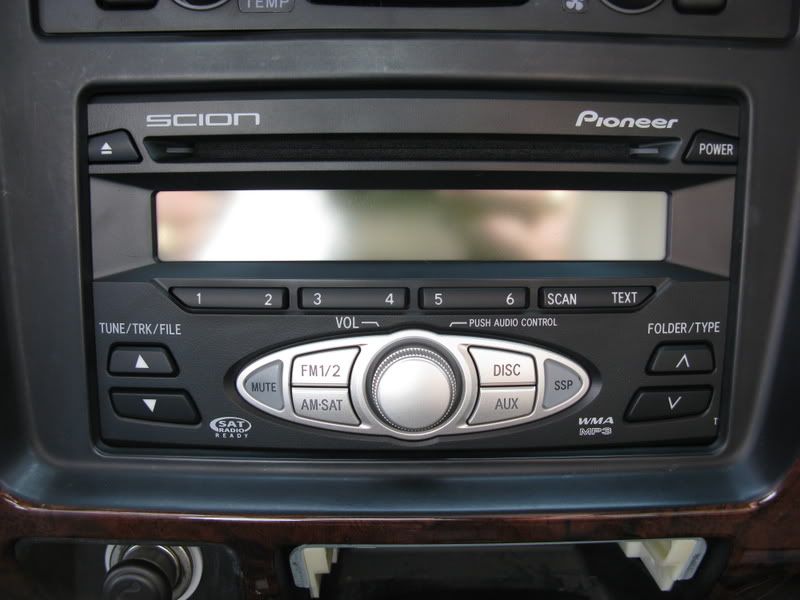
I used some wide, flat jawed pliers and bent the ribbing in toward the opening and it sheared right off. I had to cut it from the top and bottom pieces, and trim some of the lower supports off of the sides with dikes.