Quote:
Originally Posted by Rahll

Decided to swap in a junkyard headliner over the break. Discovered that I have an aftermarket (I think) sunroof hidden under the old headliner, which also wasn't factory. Finished ripping out the old security system and taped up all the splice points. Anyone have any experience with aftermarket sunroof wiring? I'm assuming the two leads off the motor are just power and ground, so I'm not sure how to integrate that into factory sunroof controls, or if it even can. Open to wiring suggestions.
|
I would think that it takes a positive and negative from the battery and runs to that relay box, but I'm not sure what the controls would be. In theory it would be pretty easy to incorporate it into factory sunroof controls, given that you find the wiring diagram for it.
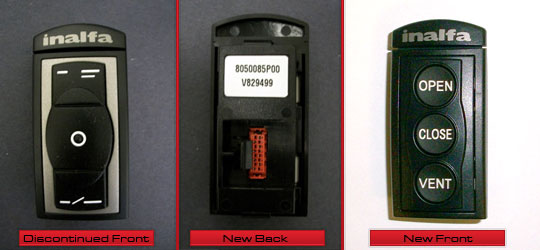
I looked up the text on the box you found and came up with this:
Cherry Sunroof SCU - C-49X8-4769-EXXX - Used-Sunroofs.com
Seems like your sunroof is a "Signature Auto Products / Inalfa / ASI / Model 750/840/845/925"
That box you found seems to be the "SCU" (sunroof control unit? not sure what it means), but that's a "CHERRY C-49X8-4769-EXXX"
If you're going to use OEM controls, go for the 99+ overhead upgrade while you're at it, imo it looks MUCH better than the 96-98s do. Otherwise, I've got a set of 98 sunroof controls sitting around I could sell to you.
__________________
----------------
1998 4Runner Limited 4WD w/Rear Locker
281k Miles
Build Thread
----------------


 Linear Mode


