 01-26-2016, 11:55 AM
|
#91
|
 |
Senior Member
|
|
Join Date: Aug 2015
Location: Central Oregon
Posts: 1,641
Real Name: Max
|
|
|
Senior Member
Join Date: Aug 2015
Location: Central Oregon
Posts: 1,641
Real Name: Max
|
Quote:
Originally Posted by 4Rainier

Are you going with the full length? Can't wait to see pics either way. Looking for a low profile flat rack.
|
It will be a full length rack, and install will be within a month if all goes to plan. I will have an extensive install and product review on this build following installation! And plenty of photos to get everyone thru the work day 
|

|
 Reply With Quote Reply With Quote
|
|
01-26-2016, 11:56 AM
|
#92
|
|
Senior Member
|
|
Join Date: Aug 2015
Location: Central Oregon
Posts: 1,641
Real Name: Max
|
|
|
Senior Member
Join Date: Aug 2015
Location: Central Oregon
Posts: 1,641
Real Name: Max
|
Quote:
Originally Posted by mcarey86
HID write up is great. Hopefully using it this week if my lights show up. Thanks
|
Awesome! Glad that it will work for you. PM me if you have any questions when you're installing, always happy to help. Good luck!
|
|
|
Reply With Quote
|
|
01-29-2016, 11:05 AM
|
#93
|
 |
Member
|
|
Join Date: Nov 2015
Posts: 327
|
|
|
Member
Join Date: Nov 2015
Posts: 327
|
Installing the
@ XenonDepot
Philips HIDs today using your template. Thanks for the writeup and pics.
Quick question, I'm planning on doing it pretty much exactly the way you did as far as the dust cover drilling, but I wanted to ask: you mentioned that Toyota used a similar grommet in the bottom of the dust cover to bring the stock wiring through. Is there a way to bring the HID wires in through that hole instead?
|
|
|
Reply With Quote
|
|
01-29-2016, 11:15 AM
|
#94
|
 |
Senior Member
|
|
Join Date: Aug 2014
Location: Walnut Grove
Posts: 1,268
Real Name: Krister
|
|
|
Senior Member
Join Date: Aug 2014
Location: Walnut Grove
Posts: 1,268
Real Name: Krister
|
Quote:
Originally Posted by Go2Slp
Installing the
@ XenonDepot
Philips HIDs today using your template. Thanks for the writeup and pics.
Quick question, I'm planning on doing it pretty much exactly the way you did as far as the dust cover drilling, but I wanted to ask: you mentioned that Toyota used a similar grommet in the bottom of the dust cover to bring the stock wiring through. Is there a way to bring the HID wires in through that hole instead? |
Yes, you can, but the issue becomes that that if you move the OEM connector outside of the housing, it is not a weatherproof connector. If you felt like cutting the wiring and installing weatherproof connectors on both side you could. I though about it for about 3 seconds, since I have several weatherproof connectors, but I didn't want to bastardize the OEM harness.
__________________
2020 Tundra Limited Crew Max 4X4 - Tundra Build
2014 4Runner TE - rochmpr Build - SOLD
|
|
|
Reply With Quote
|
|
01-29-2016, 11:16 AM
|
#95
|
|
Member
|
|
Join Date: Nov 2015
Posts: 327
|
|
|
Member
Join Date: Nov 2015
Posts: 327
|
Quote:
Originally Posted by rochmpr
Yes, you can, but the issue becomes that that if you move the OEM connector outside of the housing, it is not a weatherproof connector. If you felt like cutting the wiring and installing weatherproof connectors on both side you could. I though about it for about 3 seconds, since I have several weatherproof connectors, but I didn't want to bastardize the OEM harness.
|
Thankyousir.
|
|
|
Reply With Quote
|
|
01-29-2016, 11:18 AM
|
#96
|
|
Senior Member
|
|
Join Date: Aug 2015
Location: Central Oregon
Posts: 1,641
Real Name: Max
|
|
|
Senior Member
Join Date: Aug 2015
Location: Central Oregon
Posts: 1,641
Real Name: Max
|
Quote:
Originally Posted by Go2Slp
Installing the
@ XenonDepot
Philips HIDs today using your template. Thanks for the writeup and pics.
Quick question, I'm planning on doing it pretty much exactly the way you did as far as the dust cover drilling, but I wanted to ask: you mentioned that Toyota used a similar grommet in the bottom of the dust cover to bring the stock wiring through. Is there a way to bring the HID wires in through that hole instead? |
Glad to help out! Some days when I come to the forum, I learn. Some I teach. It's a pretty cool cycle that we have going on here!
From what I could see, there are (and I can't remember the specific amount) X amount of wires for the factory harness, and X amount of perforations in the grommet. Short answer, no. I don't think you can combo route through the existing grommet and stay as dust tight as with the supplied grommet with the Xenon Depot kit. Take a swig of beer (or maybe not considering its 7am) and drill that dust cap!
Let me know if you have any questions and good luck with the install! 
|
|
|
Reply With Quote
|
|
01-29-2016, 11:20 AM
|
#97
|
|
Senior Member
|
|
Join Date: Aug 2015
Location: Central Oregon
Posts: 1,641
Real Name: Max
|
|
|
Senior Member
Join Date: Aug 2015
Location: Central Oregon
Posts: 1,641
Real Name: Max
|
Quote:
Originally Posted by rochmpr
Yes, you can, but the issue becomes that that if you move the OEM connector outside of the housing, it is not a weatherproof connector. If you felt like cutting the wiring and installing weatherproof connectors on both side you could. I though about it for about 3 seconds, since I have several weatherproof connectors, but I didn't want to bastardize the OEM harness.
|


|
|
|
Reply With Quote
|
|
01-29-2016, 04:06 PM
|
#98
|
|
Member
|
|
Join Date: Nov 2015
Posts: 327
|
|
|
Member
Join Date: Nov 2015
Posts: 327
|
It's done!
I'm not sure whats happening with embedded pictures on the forum today, but of course it'd be the day that I decide to tackle an install that all the pictures aren't working for me. 
Anyway, I just wanted to mention that I went to 4 different hardware stores searching for a step drill bit that wasn't $50- can't justify spending that much on a bit that I only plan to use twice, and on 1/8" thick plastic to boot. I decided to take a risk and try a standard 1" hole drill ($5), and long story short my holes are nowhere near as pretty / clean as yours but the grommet fits flush and snug and the lights look killer.
Anyway sorry for the thread hijack and thanks again, man. 
|
|
|
Reply With Quote
|
|
01-29-2016, 04:30 PM
|
#99
|
|
Senior Member
|
|
Join Date: Aug 2015
Location: Central Oregon
Posts: 1,641
Real Name: Max
|
|
|
Senior Member
Join Date: Aug 2015
Location: Central Oregon
Posts: 1,641
Real Name: Max
|
Quote:
Originally Posted by Go2Slp
It's done!
I'm not sure whats happening with embedded pictures on the forum today, but of course it'd be the day that I decide to tackle an install that all the pictures aren't working for me.
Anyway, I just wanted to mention that I went to 4 different hardware stores searching for a step drill bit that wasn't $50- can't justify spending that much on a bit that I only plan to use twice, and on 1/8" thick plastic to boot. I decided to take a risk and try a standard 1" hole drill ($5), and long story short my holes are nowhere near as pretty / clean as yours but the grommet fits flush and snug and the lights look killer.
Anyway sorry for the thread hijack and thanks again, man. |
Awesome
@ Go2Slp
! Sorry about the photos, but glad you were able to make it work. The instructions aren't very specific towards the 4Runner. I found myself back and forth to the forum checking out different installs.
Yeah, the step drill is pricy, but I figure that if I have to drill holes in my rig, I may as well try to make them as clean as possible so I cry less. Plus they work for metal too, always a plus. Whatever gets the job done at the end of the day though. Plus, with the grommet, you'll never see the difference between yours and mine!
Enjoy the light! They're kick ass

|
|
|
Reply With Quote
|
|
02-02-2016, 03:20 PM
|
#100
|
 |
Member
|
|
Join Date: Feb 2016
Location: North Carolina
Posts: 481
Real Name: Jacob
|
|
|
Member
Join Date: Feb 2016
Location: North Carolina
Posts: 481
Real Name: Jacob
|
Quote:
Originally Posted by MTN4RNR
When you bring the new truck home, and the lift gate doesn't clear the overhang... Custom limiting strap, installed. Uses a Nite-Ize CamJam XT on the d-ring in the corner, and a carabiner attached to the lift gate strap.
Function>Form
 |
I just joined today, so this is my first post. I have a two week old 2016 Trail in the same color as yours, so I'm sure this wont be the last time I visit your thread.
My tailgate hits the garage door when opened, so I've just been slowly letting it kiss the door when opening. Your idea rocks though, I'm putting that together first thing tonight when I get home! I was going to say it'll be the first mod, but I already added OEM running boards due to the wife's request. Thanks for the idea.
|
|
|
Reply With Quote
|
|
02-02-2016, 03:58 PM
|
#101
|
|
Senior Member
|
|
Join Date: Aug 2015
Location: Central Oregon
Posts: 1,641
Real Name: Max
|
|
|
Senior Member
Join Date: Aug 2015
Location: Central Oregon
Posts: 1,641
Real Name: Max
|
Quote:
Originally Posted by jafrush
I just joined today, so this is my first post. I have a two week old 2016 Trail in the same color as yours, so I'm sure this wont be the last time I visit your thread.
My tailgate hits the garage door when opened, so I've just been slowly letting it kiss the door when opening. Your idea rocks though, I'm putting that together first thing tonight when I get home! I was going to say it'll be the first mod, but I already added OEM running boards due to the wife's request. Thanks for the idea.
|
Welcome to the forum! Glad this mod will work for you, sometimes it's the little mod's that count. Good luck with the build, and let me know if you have any questions about the truck, or the forum!
|
|
|
Reply With Quote
|
|
02-02-2016, 04:30 PM
|
#102
|
|
Member
|
|
Join Date: Feb 2016
Location: North Carolina
Posts: 481
Real Name: Jacob
|
|
|
Member
Join Date: Feb 2016
Location: North Carolina
Posts: 481
Real Name: Jacob
|
Quote:
Originally Posted by MTN4RNR
Welcome to the forum! Glad this mod will work for you, sometimes it's the little mod's that count. Good luck with the build, and let me know if you have any questions about the truck, or the forum!
|
Thanks! There's a long list of mods growing already... Already ordered that molle visor cover you showed, and a molle panel for the rear seat too.
I took it off road for the first time Sunday, and it preformed beautifully in some nasty spots. Its my first 4Runner, and really my first off-road vehicle. Very happy so far.
|
|
|
Reply With Quote
|
|
02-02-2016, 04:35 PM
|
#103
|
|
Senior Member
|
|
Join Date: Aug 2015
Location: Central Oregon
Posts: 1,641
Real Name: Max
|
|
|
Senior Member
Join Date: Aug 2015
Location: Central Oregon
Posts: 1,641
Real Name: Max
|
Quote:
Originally Posted by jafrush
Thanks! There's a long list of mods growing already... Already ordered that molle visor cover you showed, and a molle panel for the rear seat too.
I took it off road for the first time Sunday, and it preformed beautifully in some nasty spots. Its my first 4Runner, and really my first off-road vehicle. Very happy so far.
|
It's a black hole, beware. Anything BROG is great! I have a lot of their items, and am looking to add more.
This is my first capable off road rig as well, unless you count my beater Chevy pickup I had in high school. Not off roady by nature, but by a lot of skinny pedal haha.
|
|
|
Reply With Quote
|
|
02-05-2016, 12:56 PM
|
#104
|
|
Junior Member
|
|
Join Date: Feb 2016
Location: Arlington TX
Posts: 10
Real Name: Nathan Whitmire
|
|
|
Junior Member
Join Date: Feb 2016
Location: Arlington TX
Posts: 10
Real Name: Nathan Whitmire
|
Quote:
Originally Posted by MTN4RNR
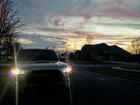
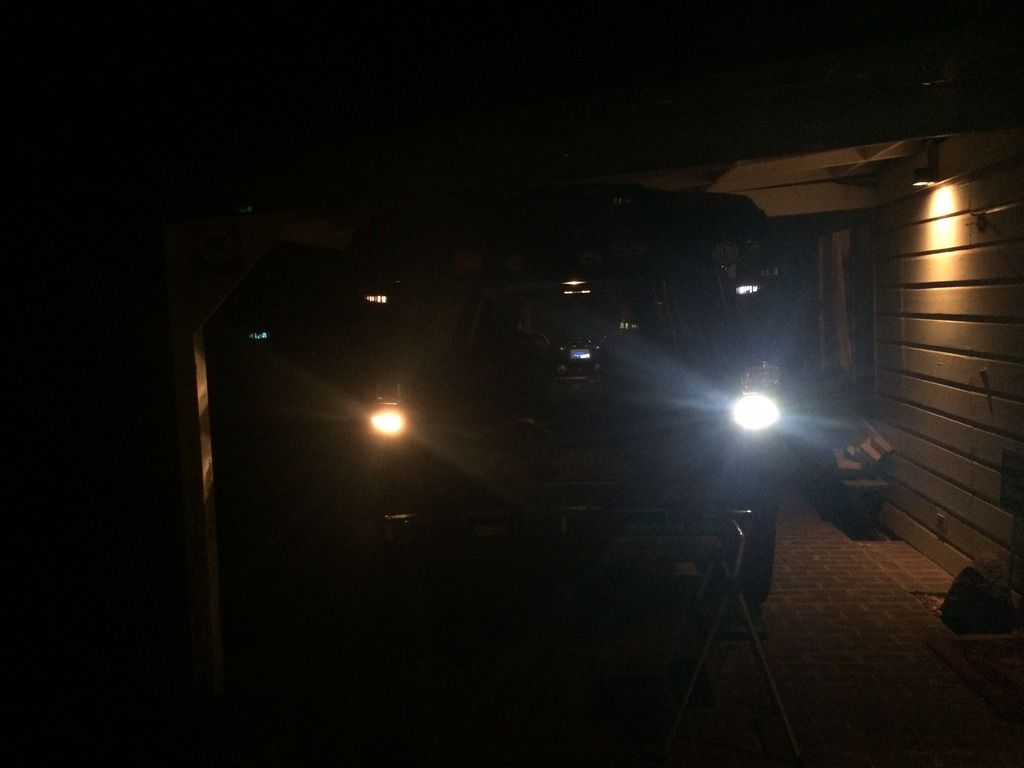
I upgraded the license plate and reverse light bulbs from the stock halogens. Goals were simple:
1. Hopefully increase the illumination and visibility from the reverse lights
2. Change the look of the rear end to better match the awesome LED stop/tail lights
To do this I used LED lights from
@ XenonDepot
:
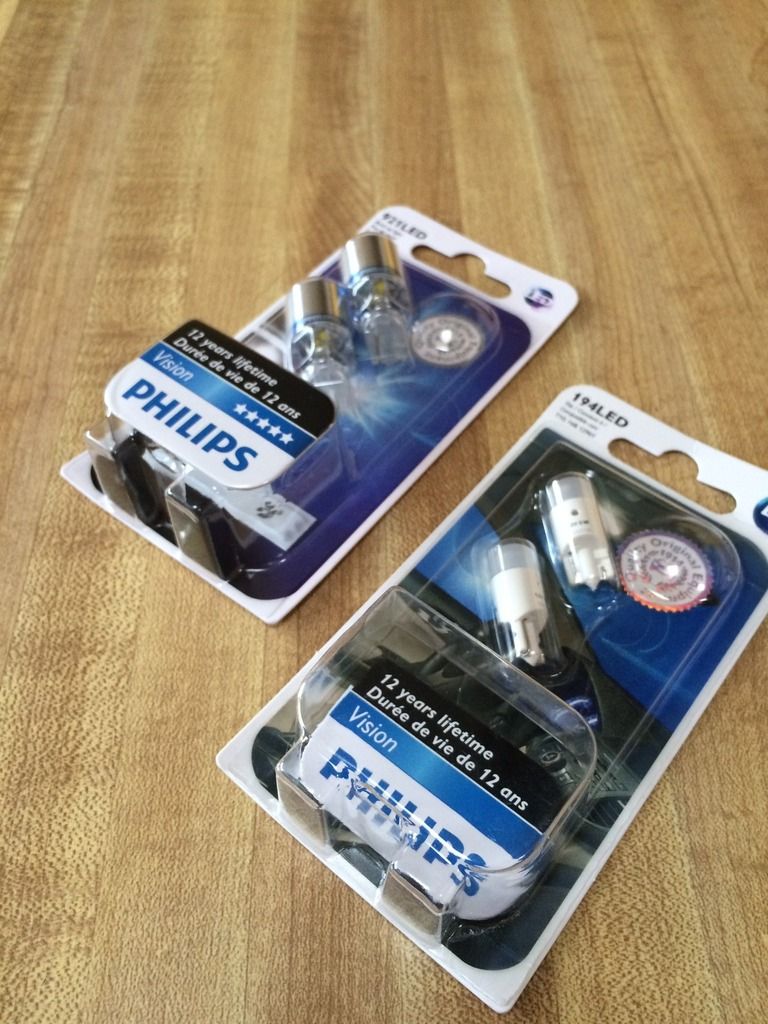
- Reverse lights -
921 T16 Philips X-TREME Vision LED
I didn't take a before photo, because you can go in your driveway and look yourself if you don't have the LED's already...
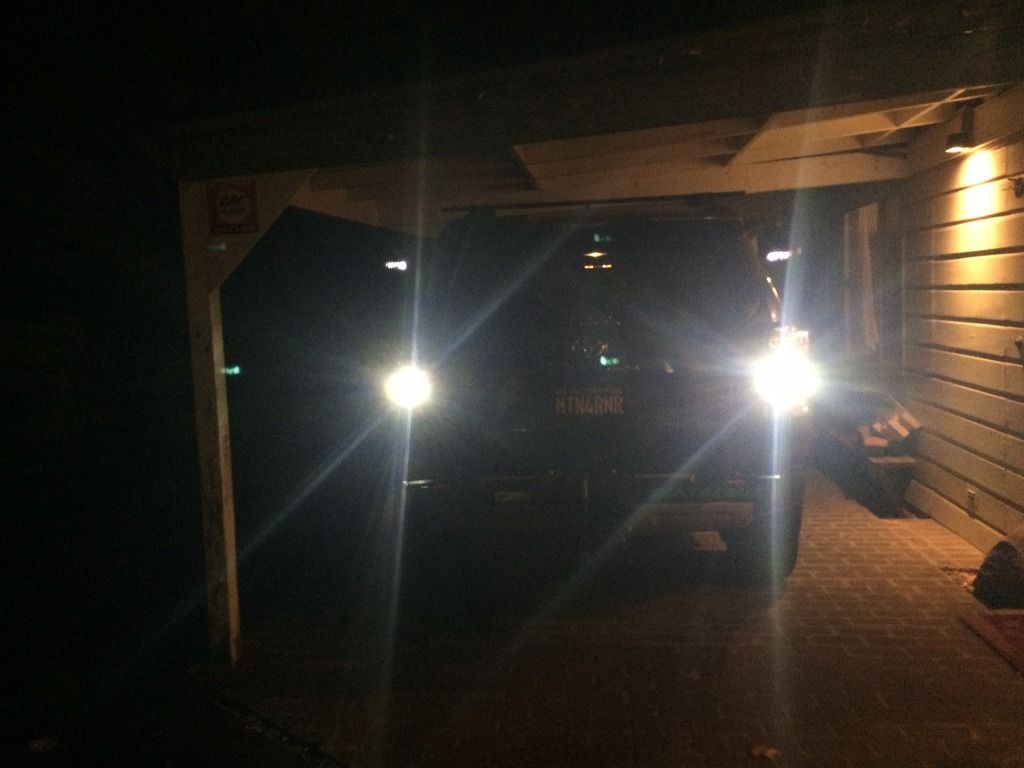
During
After
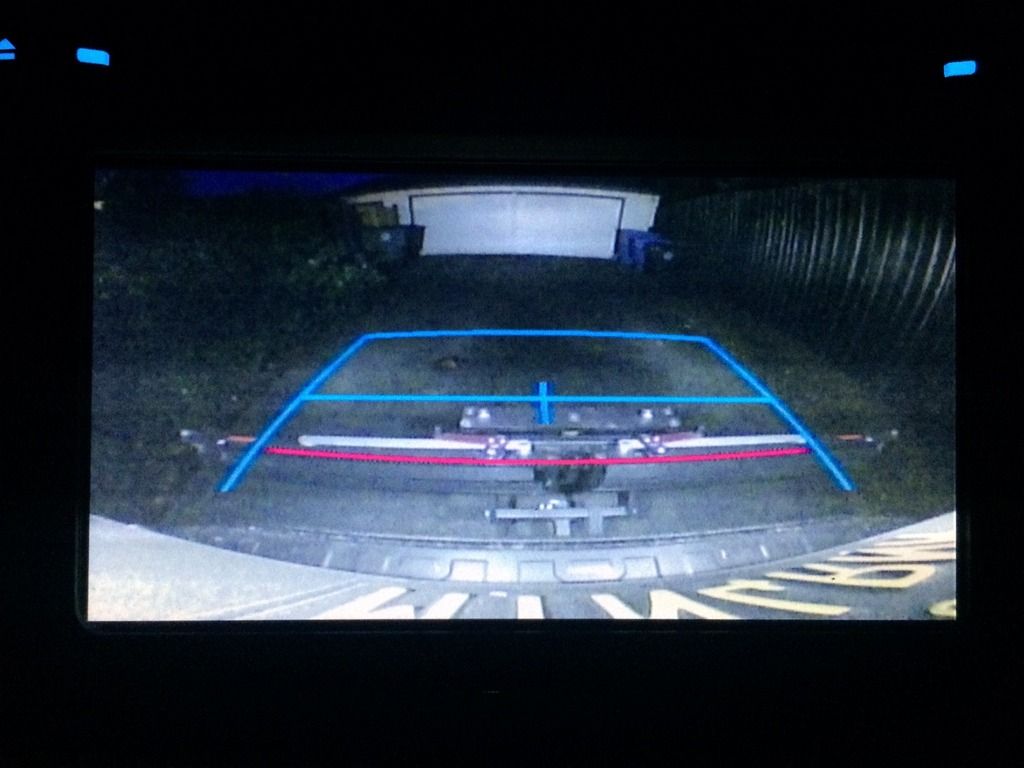
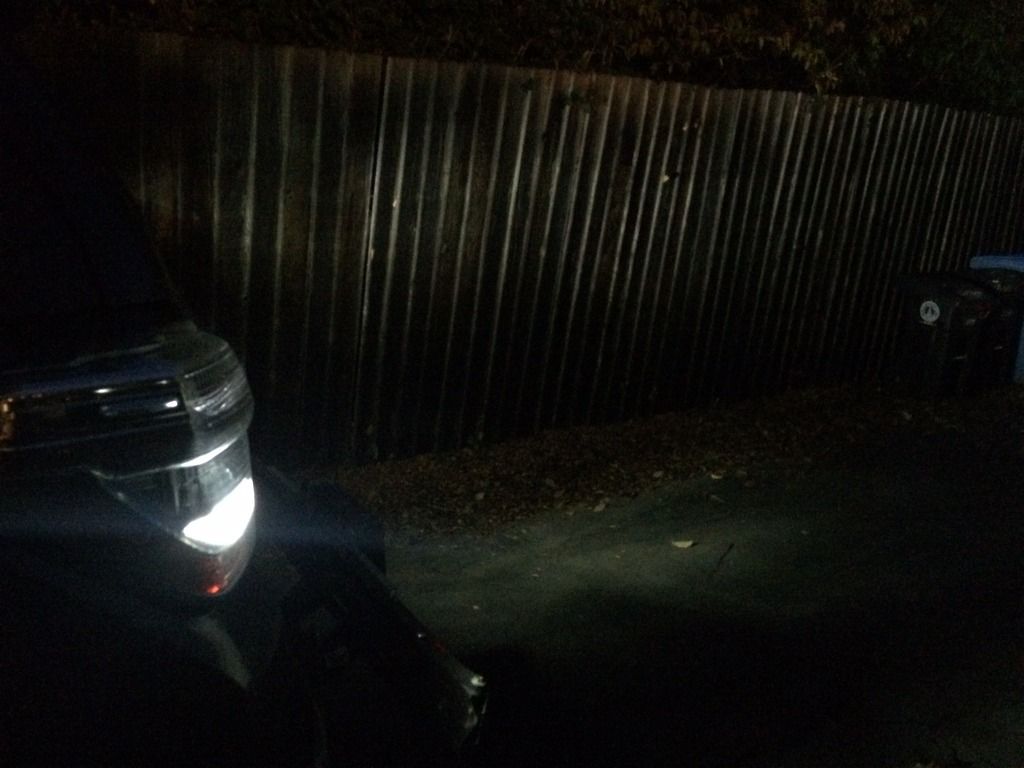
Here are some before and after photos in the same spot of my driveway to show the light dispersal difference between the stocks and the LED's.
Before:
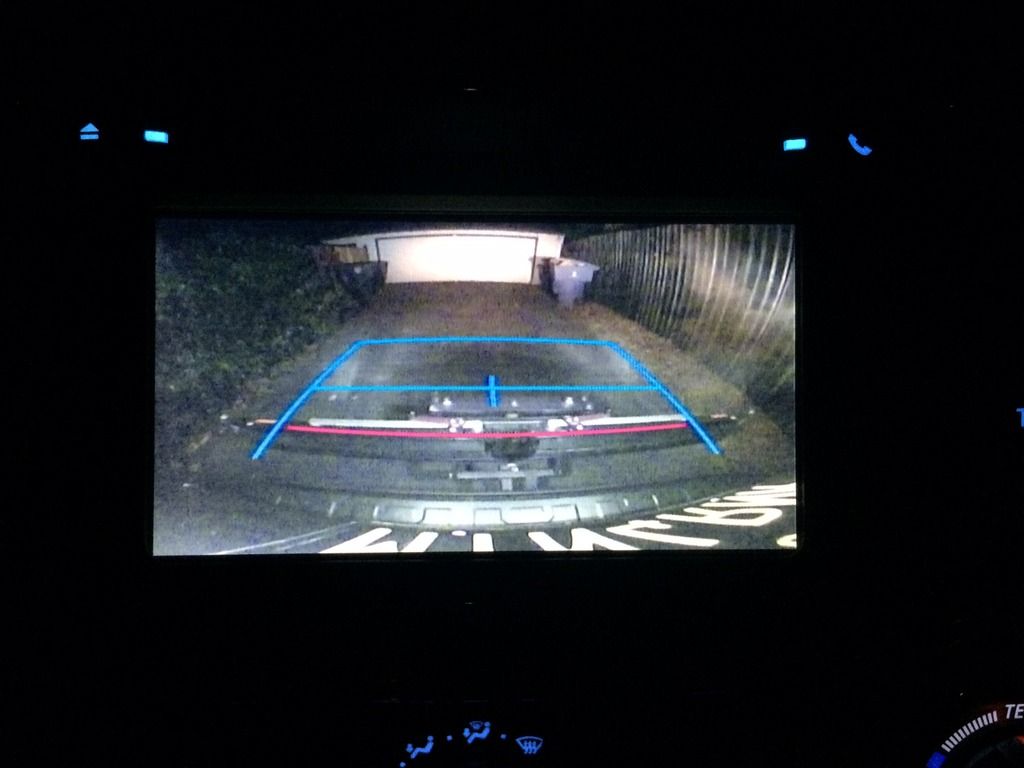
Rear camera
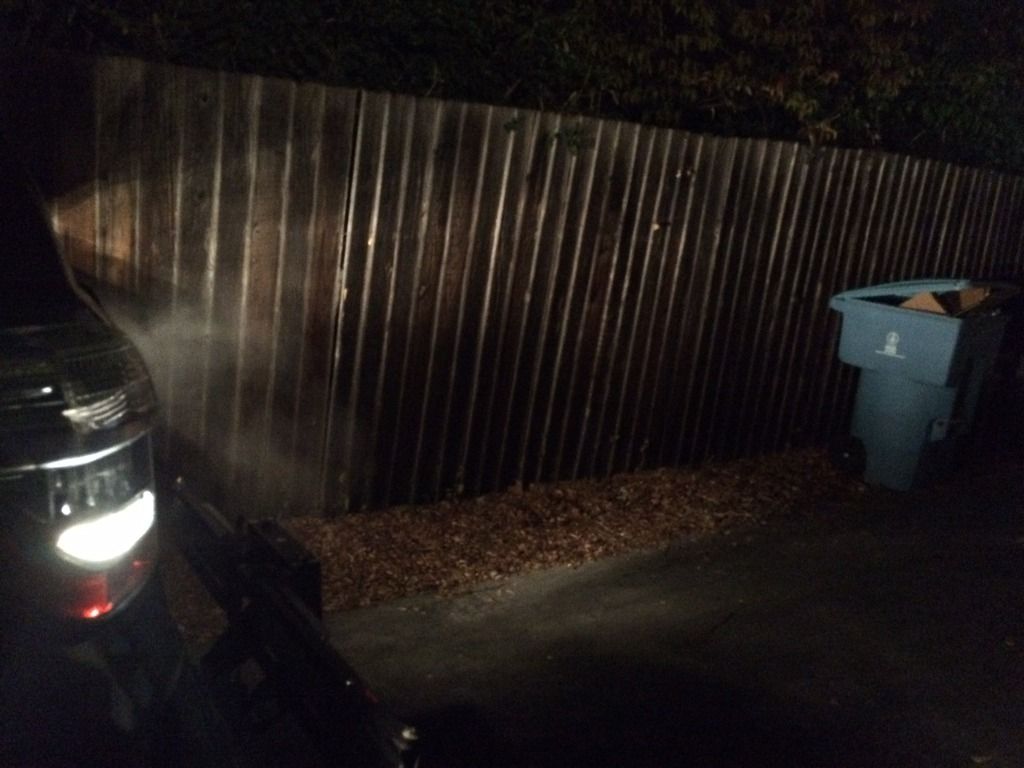
Side dispersion
Rear dispersion (shotty focus, but you get the picture)
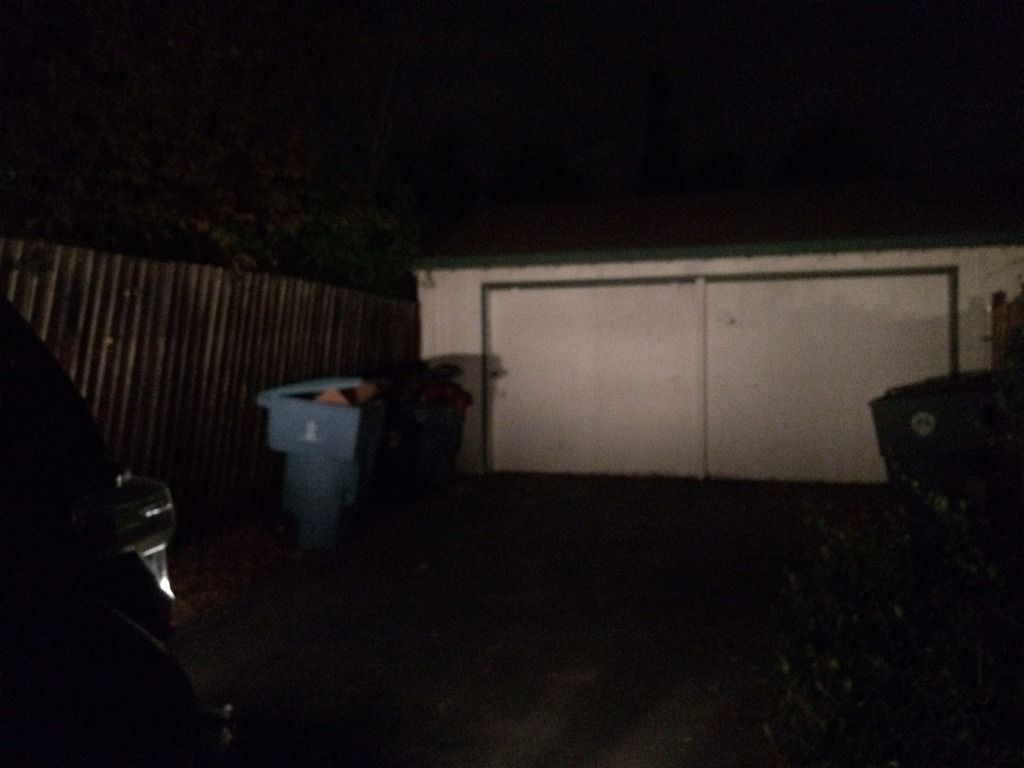
After:
Rear camera
Side dispersion
Rear dispersion (same shotty focus)

- License plate lights -
194 T10 W5W Philips vision LED
Before

During
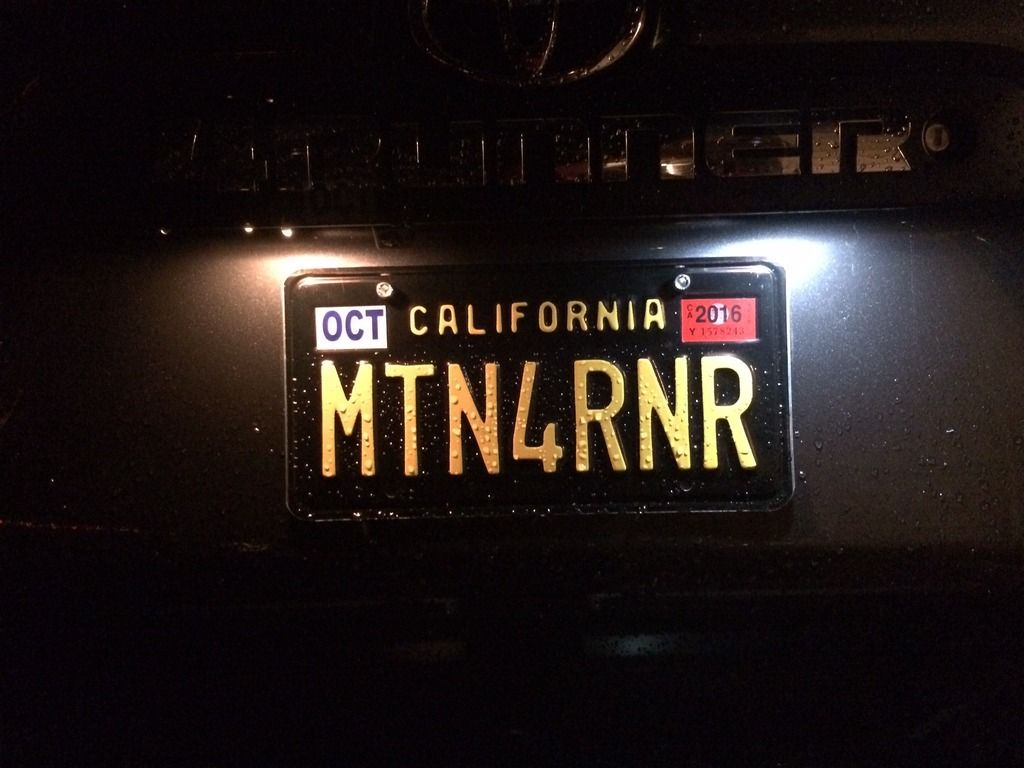
After
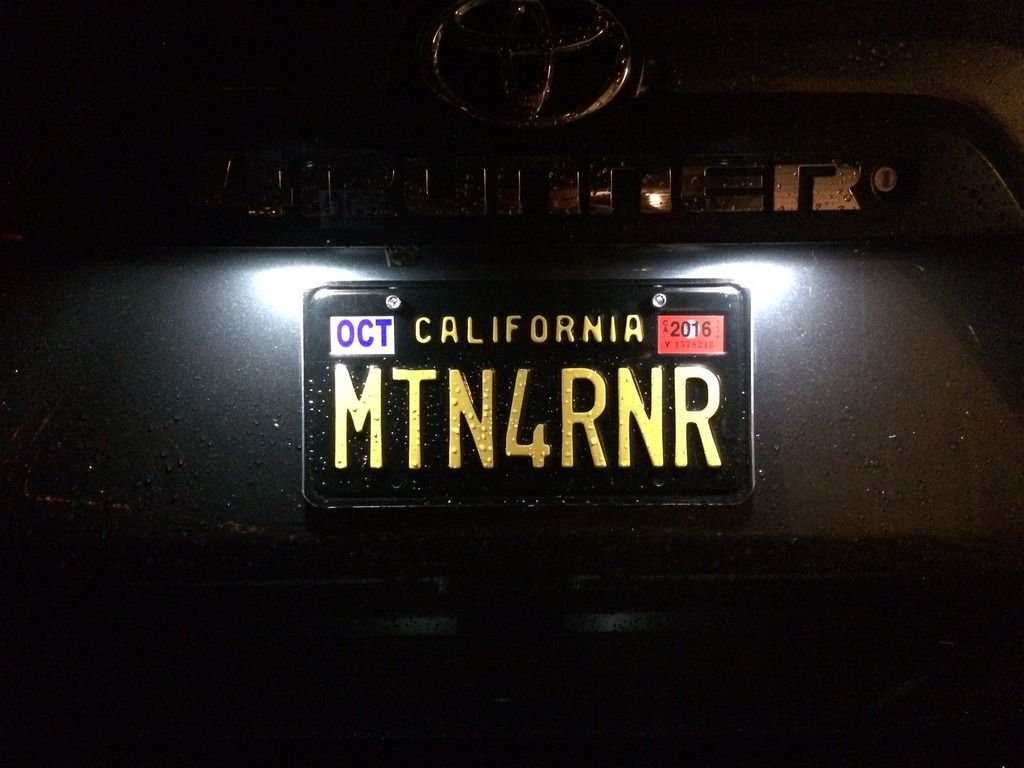
Overall impressions are that the reverse lights definitely brighter than the halogens from an illumination standpoint [not just a 'looking at it' standpoint, because we know the LED's will look brighter head-on]. And the license plate lights definitely make the back end look a bit more sophisticated and modern, which is what I was going for. Overall a good upgrade. Now for some HID headlights and LED fogs... [Hear that
@ XenonDepot
?]
More to come...
|
Im looking at these bulbs for my new 2016 4Runner limited. I love that brightness you achieved. Looking at the site it says do you want it with "CANbuss" or without. I'm not sure what that is and if I need it or not. What did you purchase?
|
|
|
Reply With Quote
|
|
02-05-2016, 01:25 PM
|
#105
|
|
Senior Member
|
|
Join Date: Aug 2015
Location: Central Oregon
Posts: 1,641
Real Name: Max
|
|
|
Senior Member
Join Date: Aug 2015
Location: Central Oregon
Posts: 1,641
Real Name: Max
|
Quote:
Originally Posted by Nathan.whitmire
Im looking at these bulbs for my new 2016 4Runner limited. I love that brightness you achieved. Looking at the site it says do you want it with "CANbuss" or without. I'm not sure what that is and if I need it or not. What did you purchase?
|
Nothing in the 4Runner will require CANbus. It's tech that is usually in higher end cars that will tell the computer if a bulb is out, and which bulb it is. Our sticks and rocks 4Runners don't have/need that kind of tech! Hope that helps.
|
|
|
Reply With Quote
|
 Posting Rules
|
You may not post new threads
You may not post replies
You may not post attachments
You may not edit your posts
HTML code is On
|
|
|
|


 Linear Mode


