 |
Elite Member
|
|
Join Date: Feb 2011
Location: Maryland
Age: 56
Posts: 6,868
Real Name: Jeff
|
|
|
Elite Member
Join Date: Feb 2011
Location: Maryland
Age: 56
Posts: 6,868
Real Name: Jeff
|
One wire will go to a ground (doesn't matter which, but I used the black one). Here is a good ground…This is a metal dash support behind the lower panel you have pulled off. This will be very evident when you have it apart...
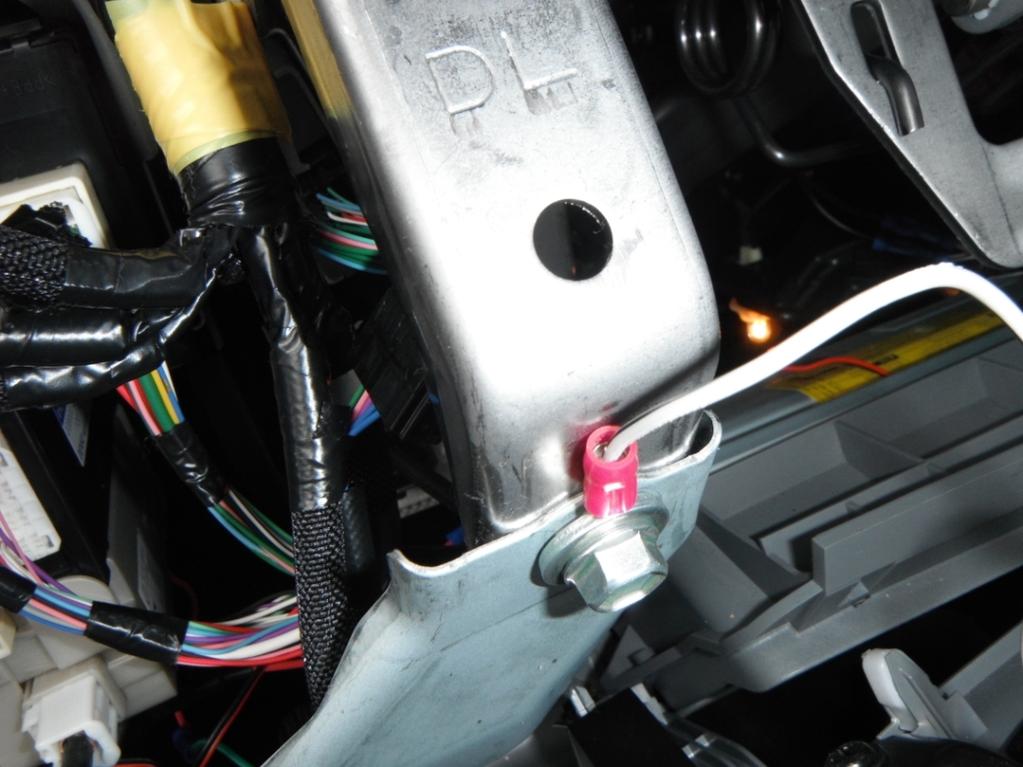 The other wire (brown) will go to the relay you are about to mount. Attach a female spade terminal to the brown wire and connect it to relay terminal#86 (more on this in a minute)
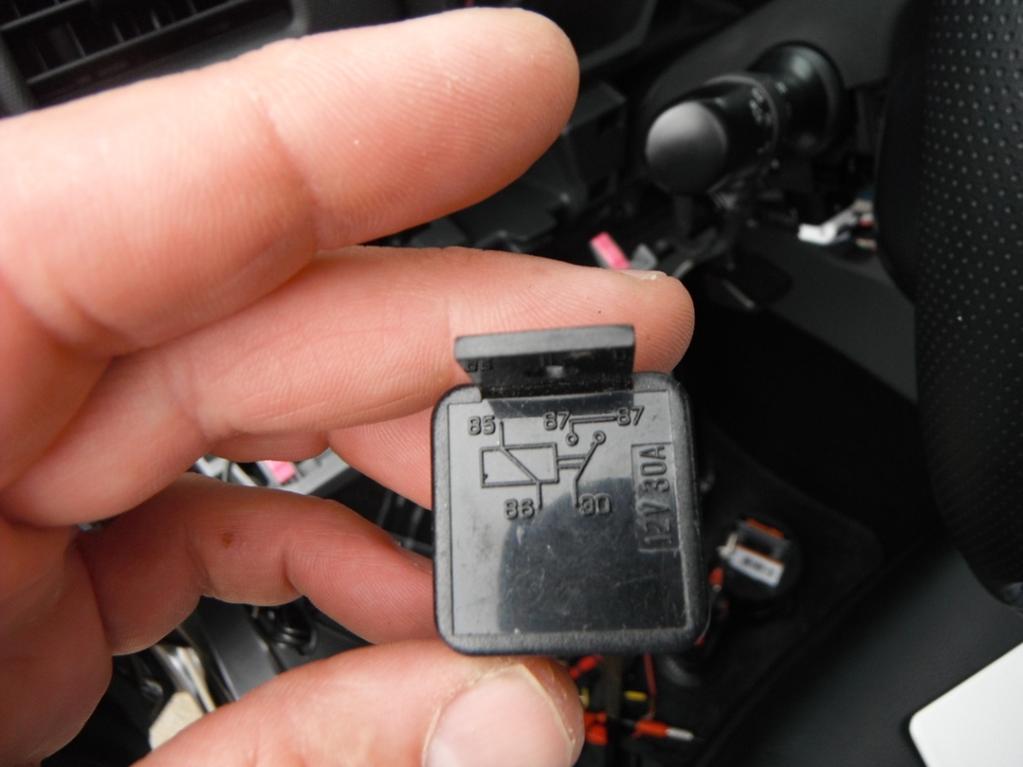
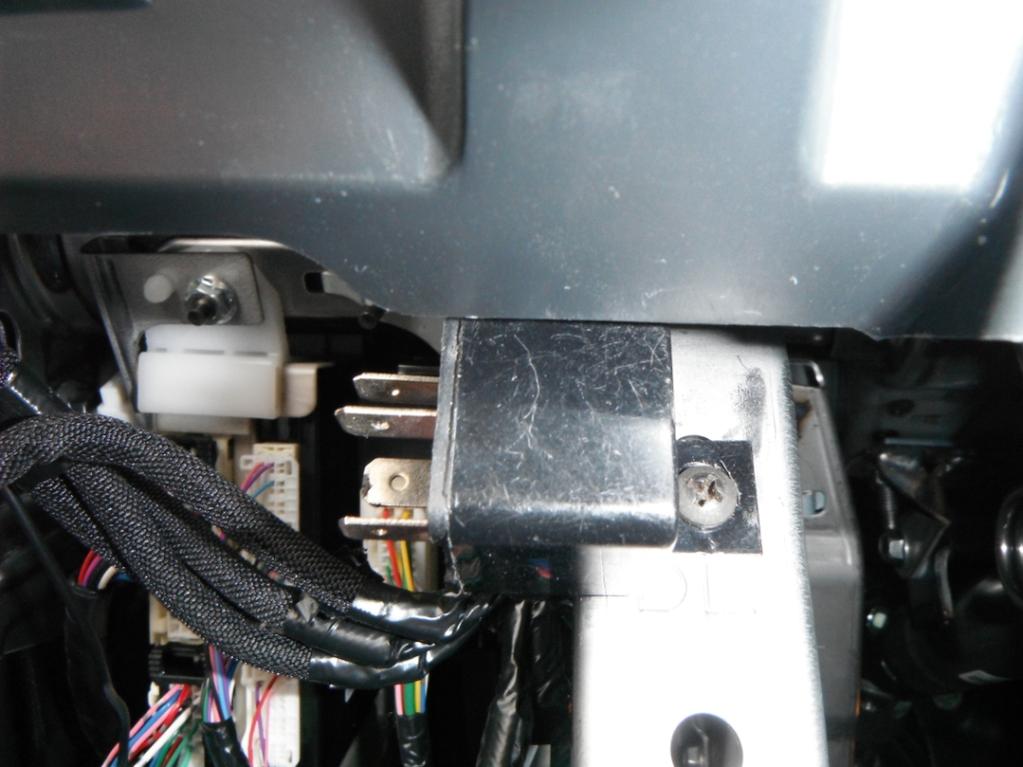
This is a standard relay – don’t get all worked up- it’s easy to hook this up. Relay's are like heavy duty switches that are controlled by, in this case, another switch. This will enable your lights to work without burning up your factory fog-light switch! The relay can mount here, right above the ground location.
I used a j-nut behind the metal dash support, and a screw to secure the relay.
The other wire (brown) will go to the relay you are about to mount. Attach a female spade terminal to the brown wire and connect it to relay terminal#86 (more on this in a minute)
This is a standard relay – don’t get all worked up- it’s easy to hook this up. Relay's are like heavy duty switches that are controlled by, in this case, another switch. This will enable your lights to work without burning up your factory fog-light switch! The relay can mount here, right above the ground location.
I used a j-nut behind the metal dash support, and a screw to secure the relay.
 You will also need 2 mini-fuse taps (unless you want to cut more wires…). You can get these at any auto-parts store. Make sure you install two 15a fuses in each one! (buy fuses when you buy the taps, factory fuses won't fit!) Make sure you read the included instructions- these need to be installed correctly to properly protect the circuit. This is very important!
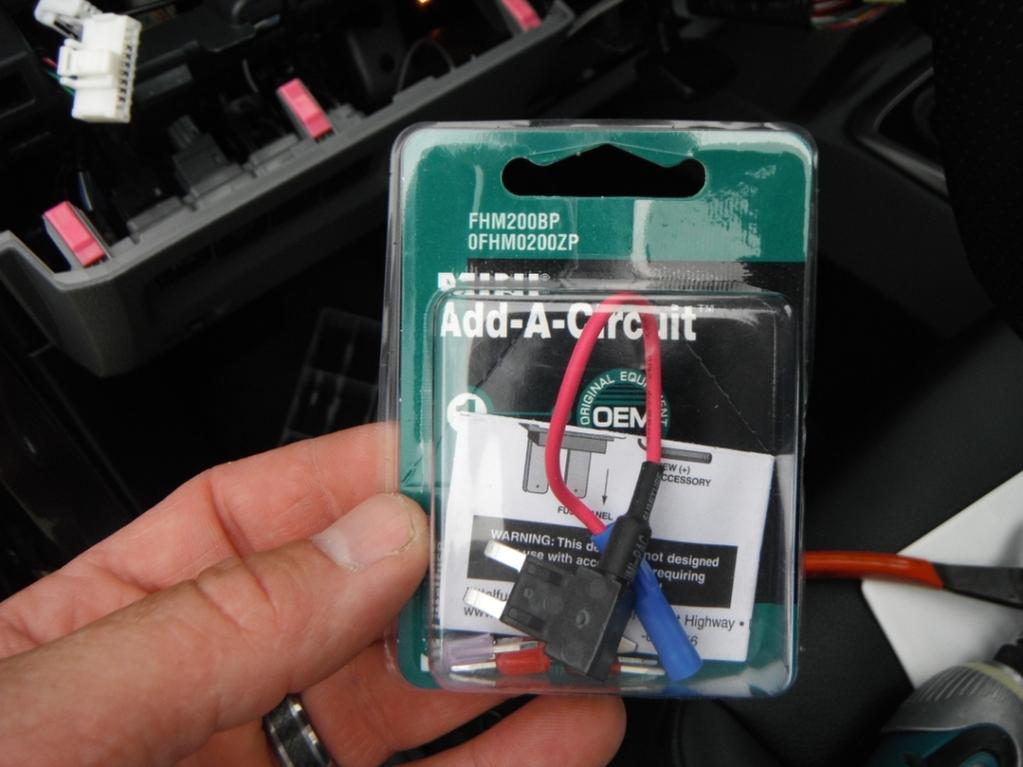 These minitaps will plug directly into your fusebox in the following locations: lower right (FOG FR 15A), and upper right (P/OUTLET 15A).
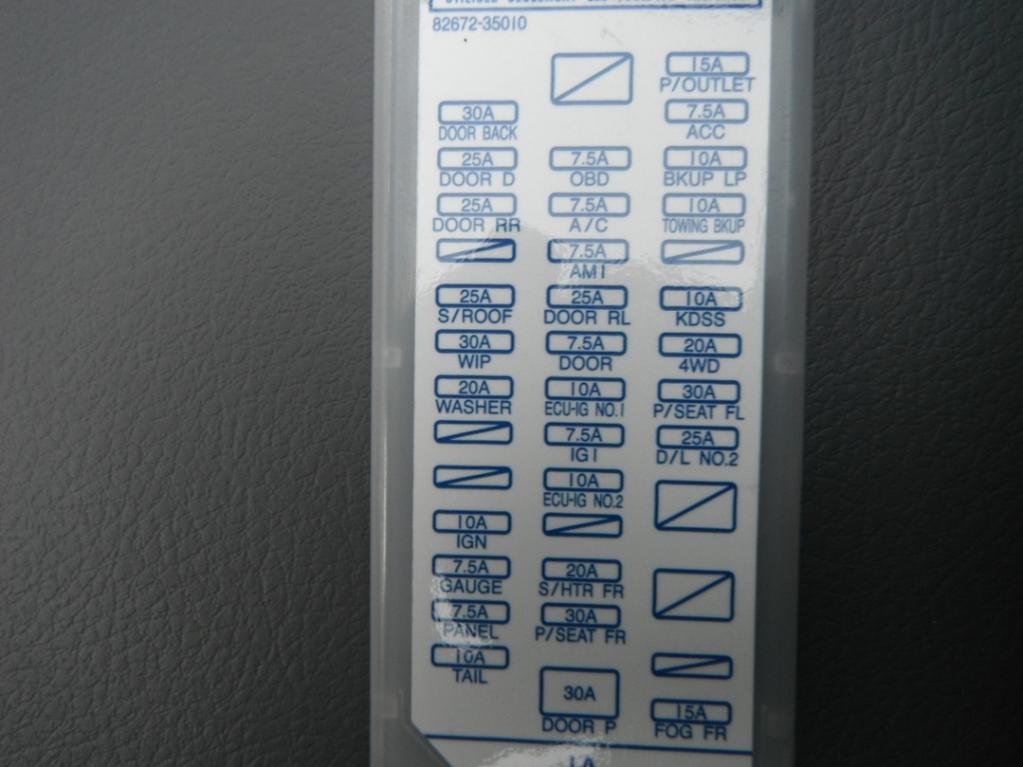 Attach some wire to each of the supplied connectors on the minitaps, and feed the wires to your relay location. Attach some female spade connectors and plug them into the relay:
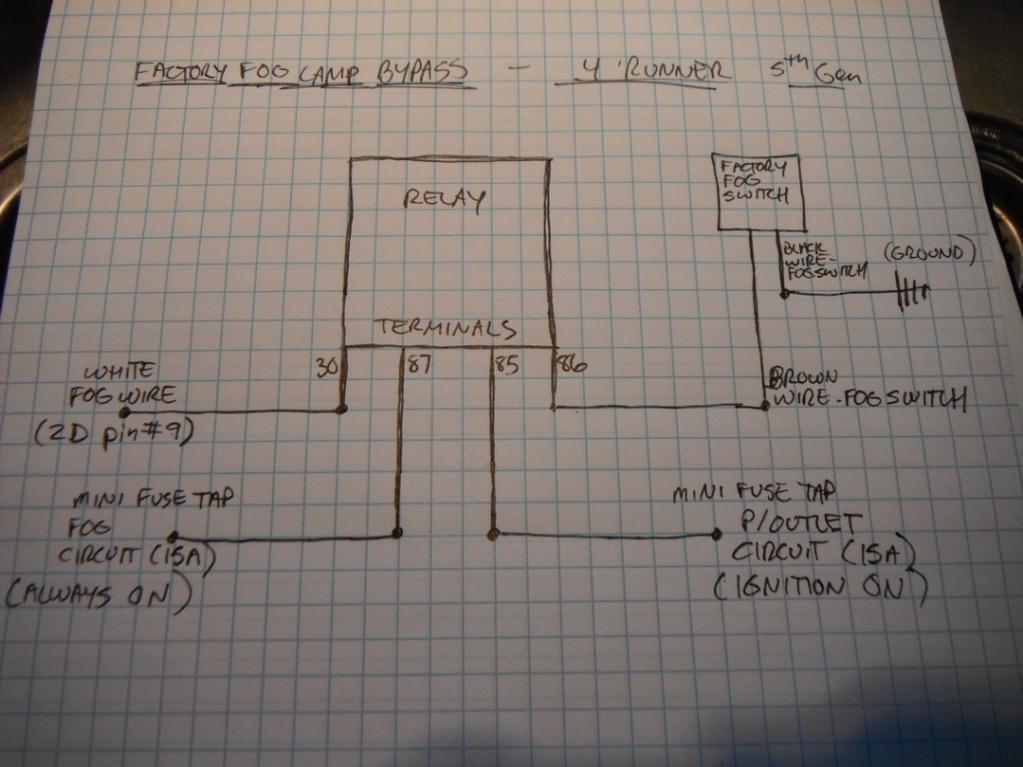
Your relay will have numbered attachment terminals. The minitap from the FOG FR will plug into terminal #87. The minitap from the P/OUTLET will plug into terminal #85.
One more connection to make! The lead that you tapped into the White fog-light wire. Attach a female spade to this, and connect it to the relay terminal#30.
Sounds confusing- but very simple. Here is a wiring diagram I drew up for you guys (and girls!):
Attach some wire to each of the supplied connectors on the minitaps, and feed the wires to your relay location. Attach some female spade connectors and plug them into the relay:
Your relay will have numbered attachment terminals. The minitap from the FOG FR will plug into terminal #87. The minitap from the P/OUTLET will plug into terminal #85.
One more connection to make! The lead that you tapped into the White fog-light wire. Attach a female spade to this, and connect it to the relay terminal#30.
Sounds confusing- but very simple. Here is a wiring diagram I drew up for you guys (and girls!):
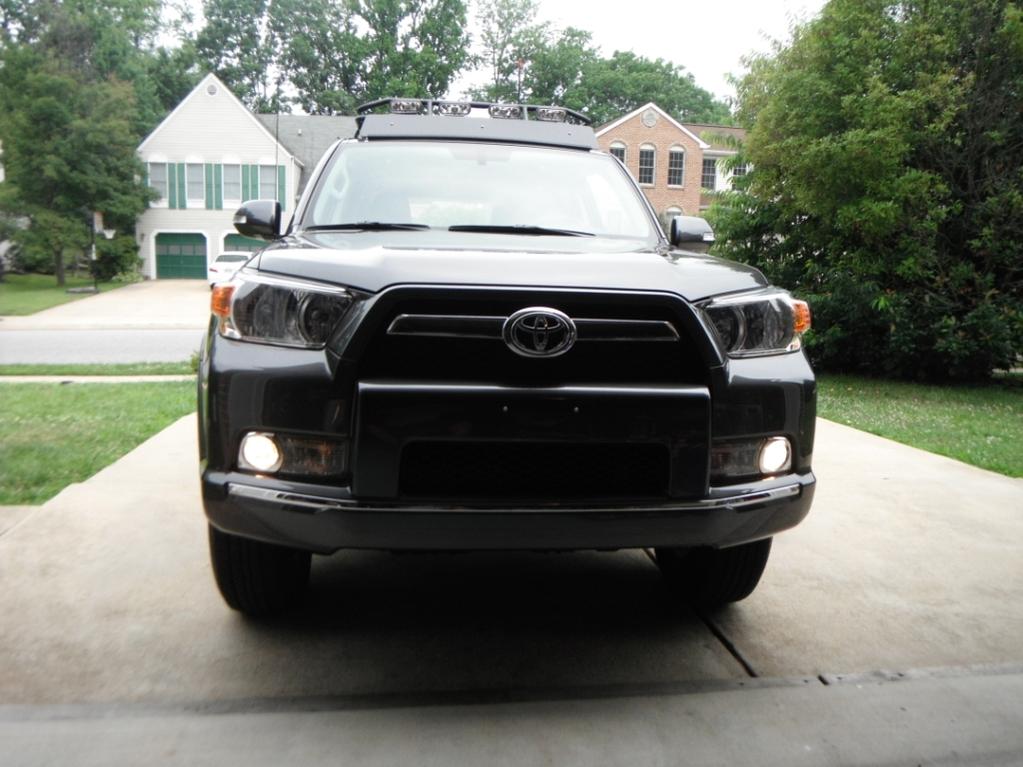
 This is what you end up with.
Fogs only
This is what you end up with.
Fogs only
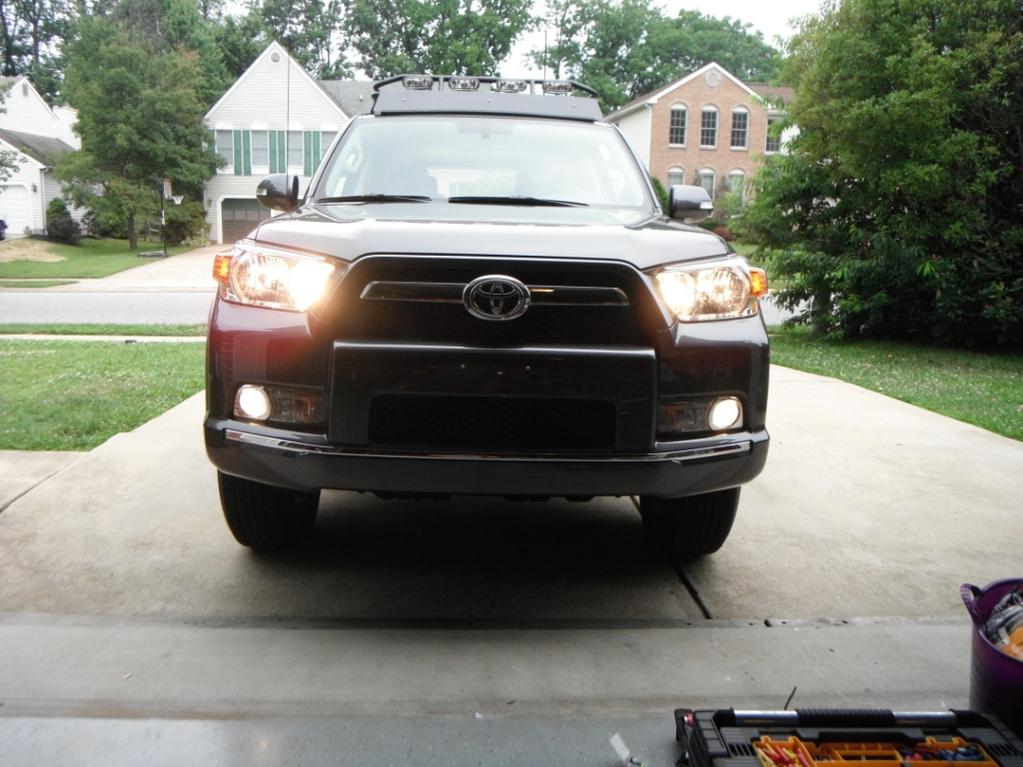
 Hi-beams with fogs
 Oh yeah- one other thing. If you want to control the fogs at any time, regardless of ignition “on”, only use 1 minitap connected to the FOG FR circuit, and connect this lead to both relay location #87, and #85. Don’t get mad at me if your battery dies… :
)
****** KEEP READING TO SEE HOW I LIT UP THE FOG LED...
__________________
HERE FISHY FISHY FISHY!
Last edited by Antman; 12-09-2012 at 11:48 AM.
|