17 TRD Pro build thread (Instagram: @trdpro_cement)

Binx159

New member
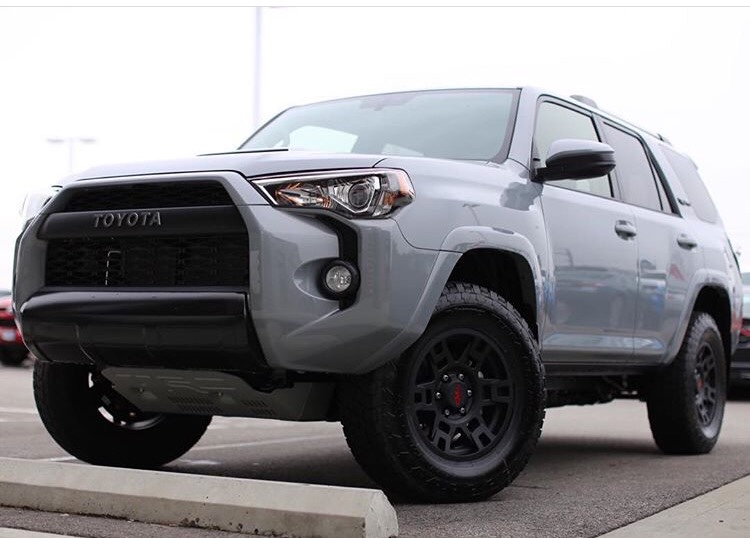
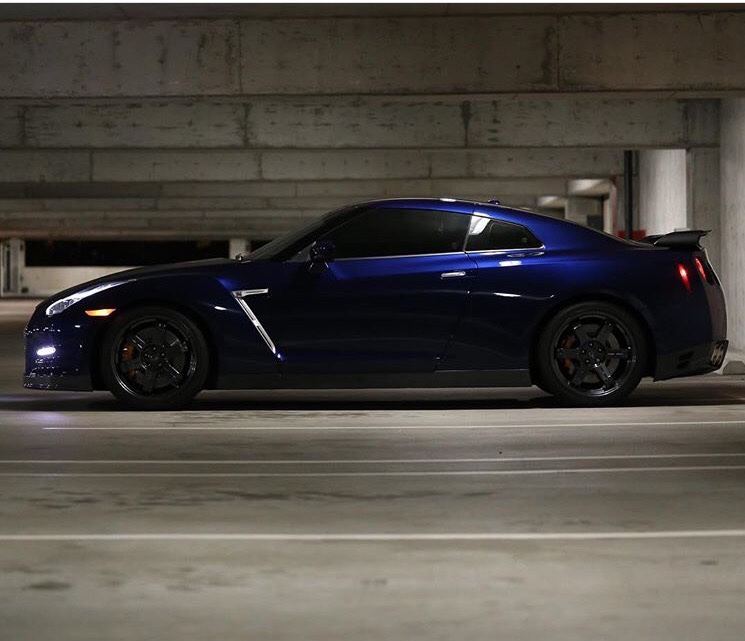
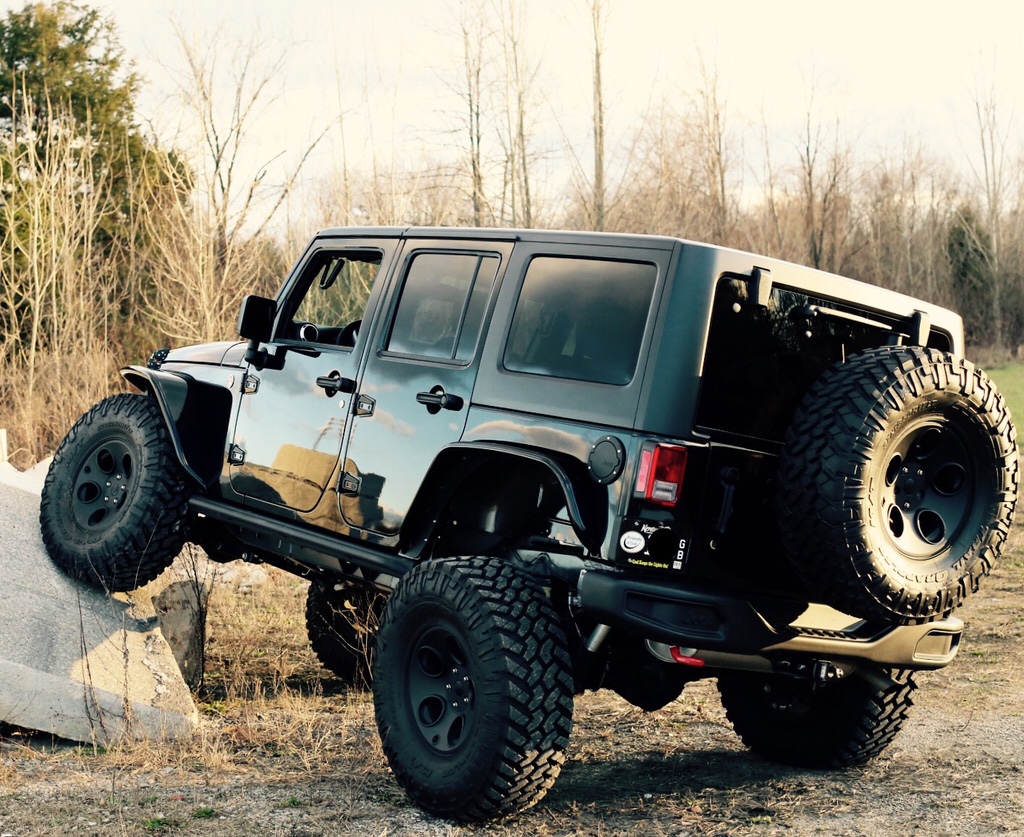
Hey everyone! I'm a little late to the game on a build thread for my rig, but I have gotten a handful of questions through Instagram and I thought if I logged it all here that would help those that have questions. And hopefully I can learn from some of you experts as well! I acquired my 4R in May. Prior to that I had a 2015 Nissan GTR Black Edition (Weekend warrior, not daily) and a 2015 Jeep Wrangler Hard Rock Edition. I sold those and went with 1 vehicle that I felt would be the perfect balance of adventure, practicality, mod potential, and fun!


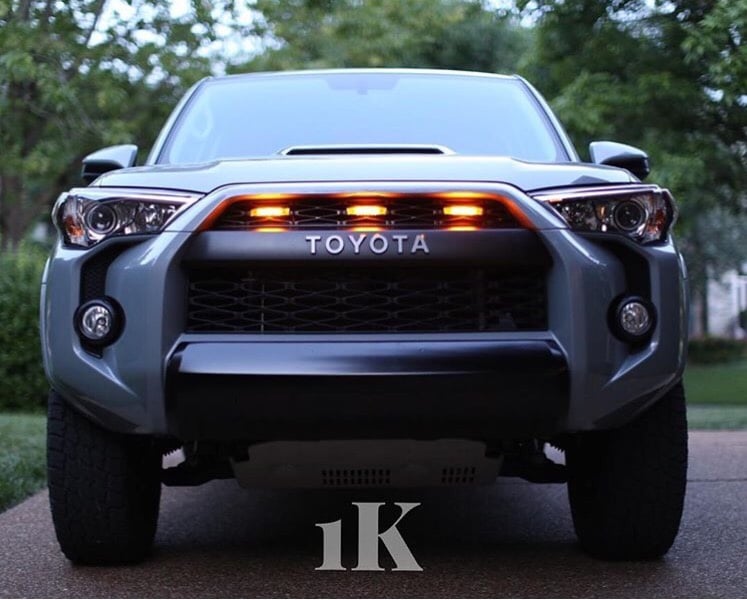
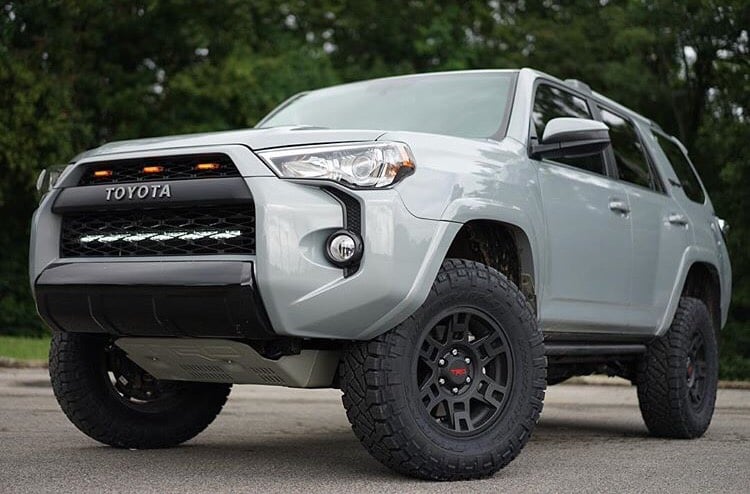
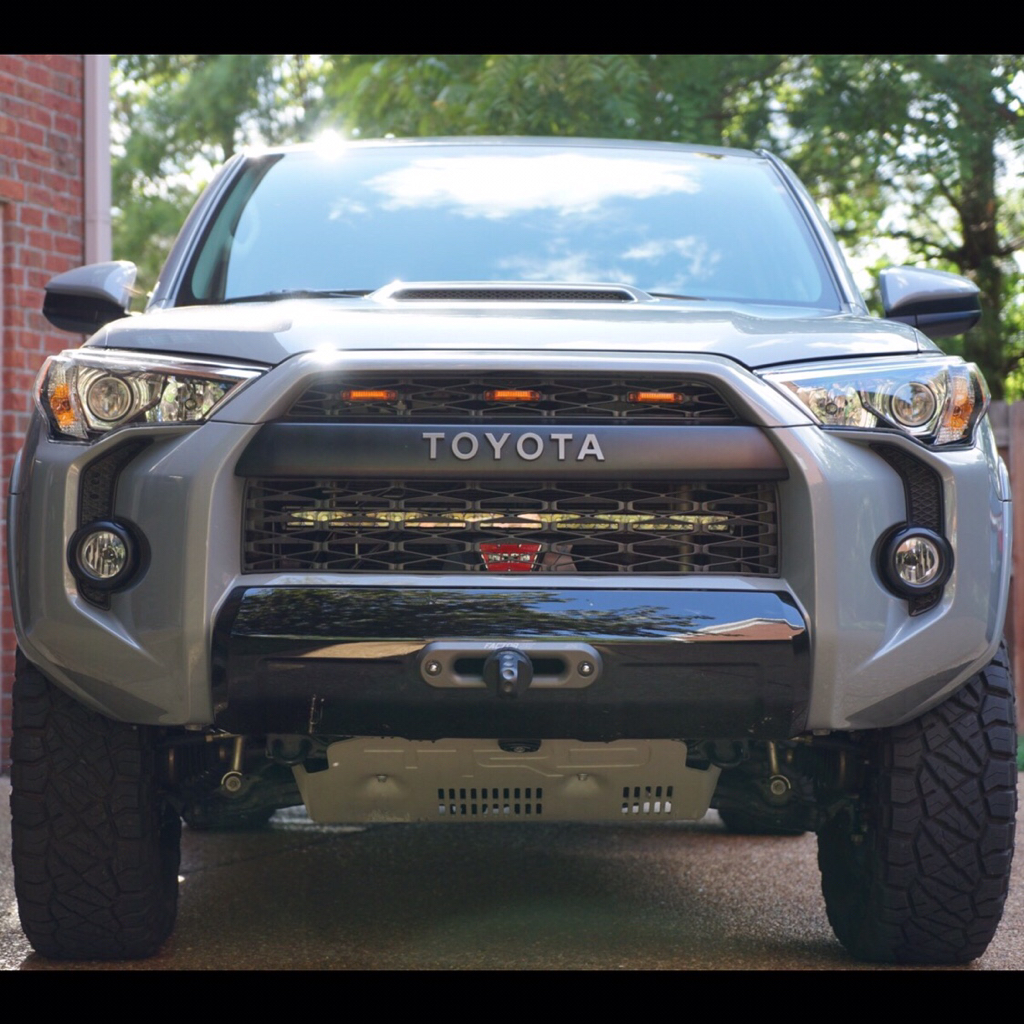
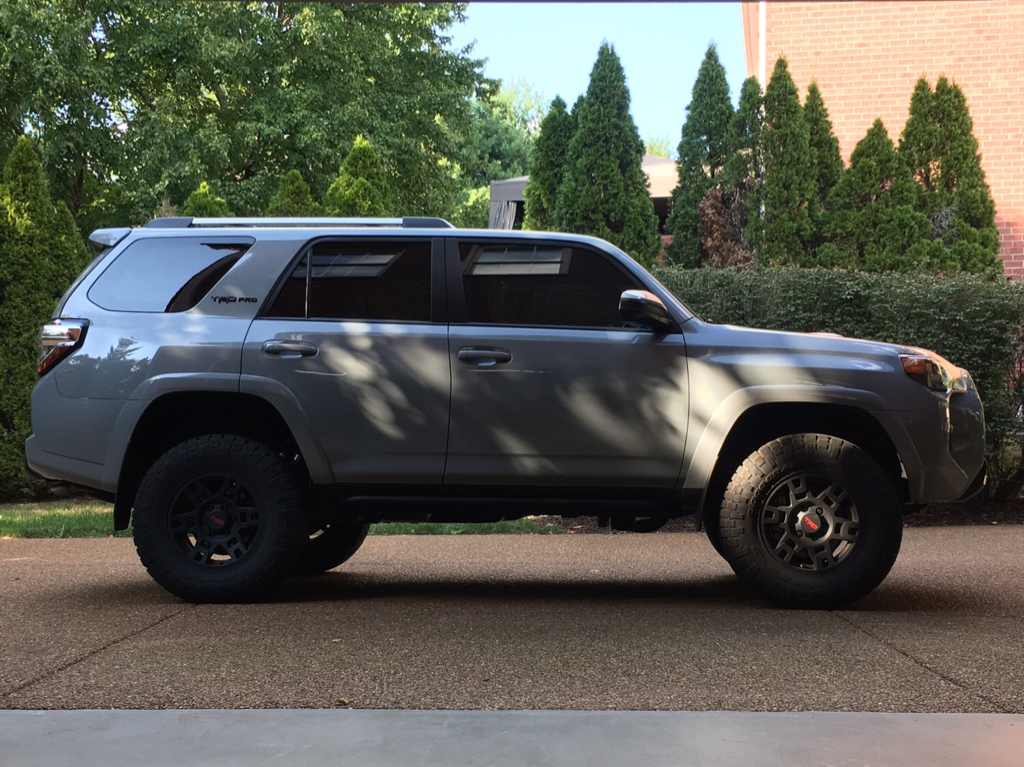
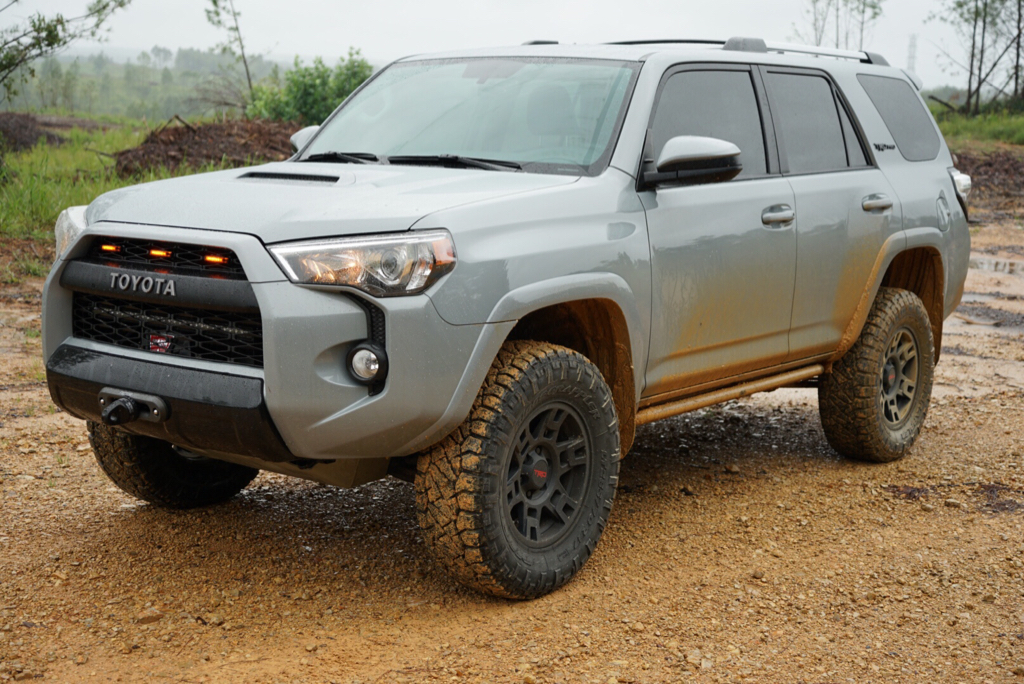
The way the 4R currently sits:
1faba138bd0b4d1a56322fe6376be134.jpg


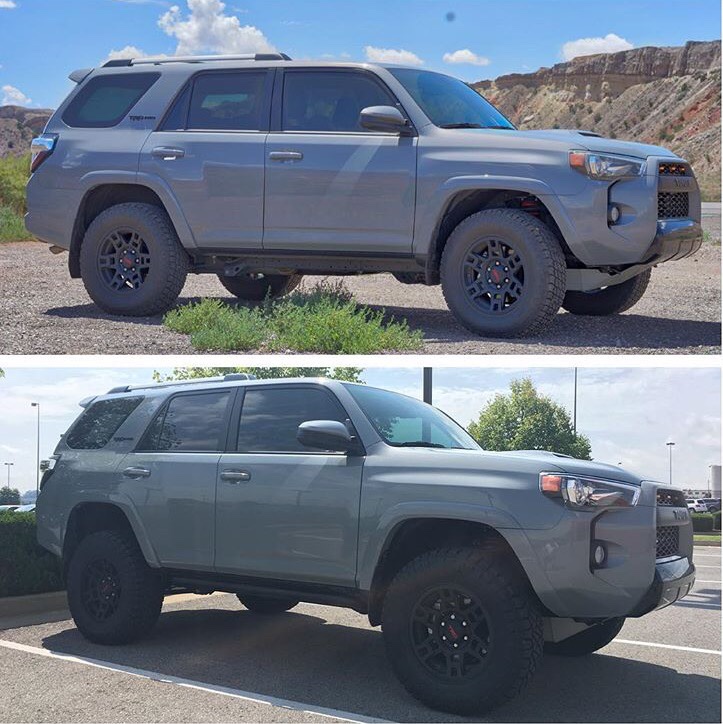
4R before leaving the dealer:
94bce3a12904264daf4172114f8cbde5.png


Retired GTR:
34093d54993fca3da1620ffd9ac760a2.png


Retired Jeep:
f21c5a667487bb292be2743b1f76a7de.jpg
 
Last edited:
Register to hide this ad
Here is a breakdown of the current mod list:

Exterior:
-Expel Ultimate Front Bra
-Opti Coat Pro+ Ceramic coating

Suspension/Wheels:
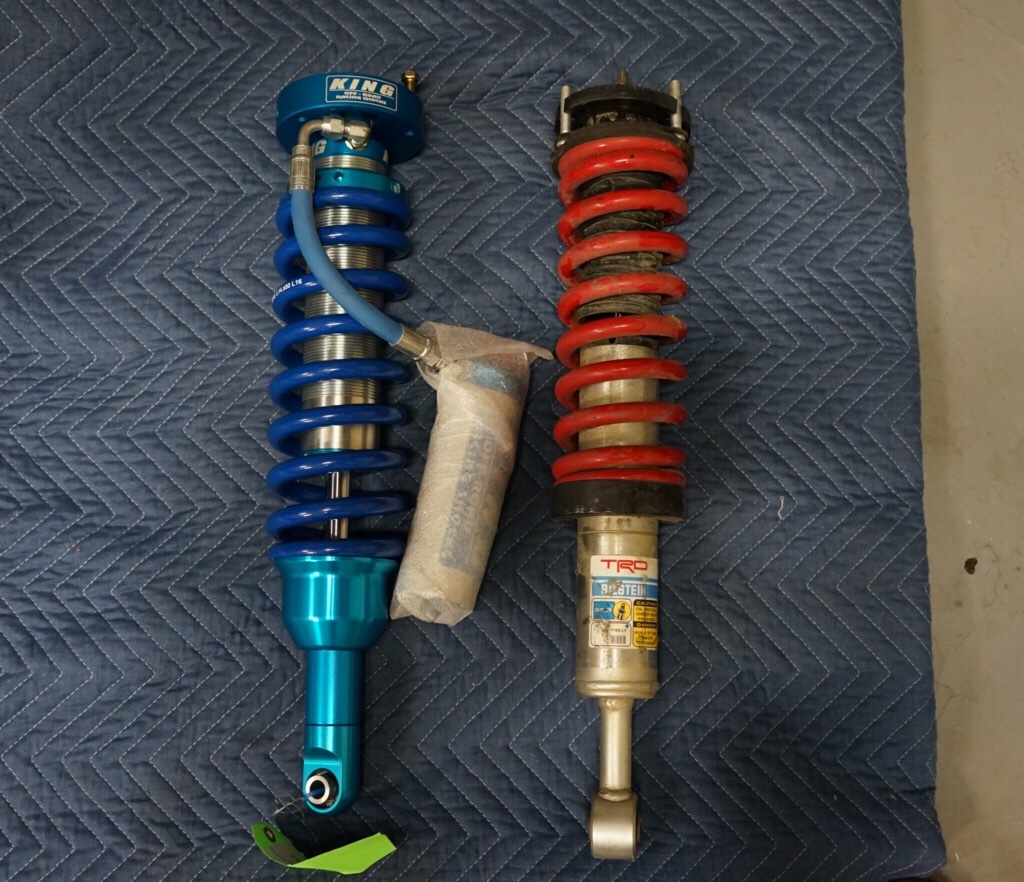
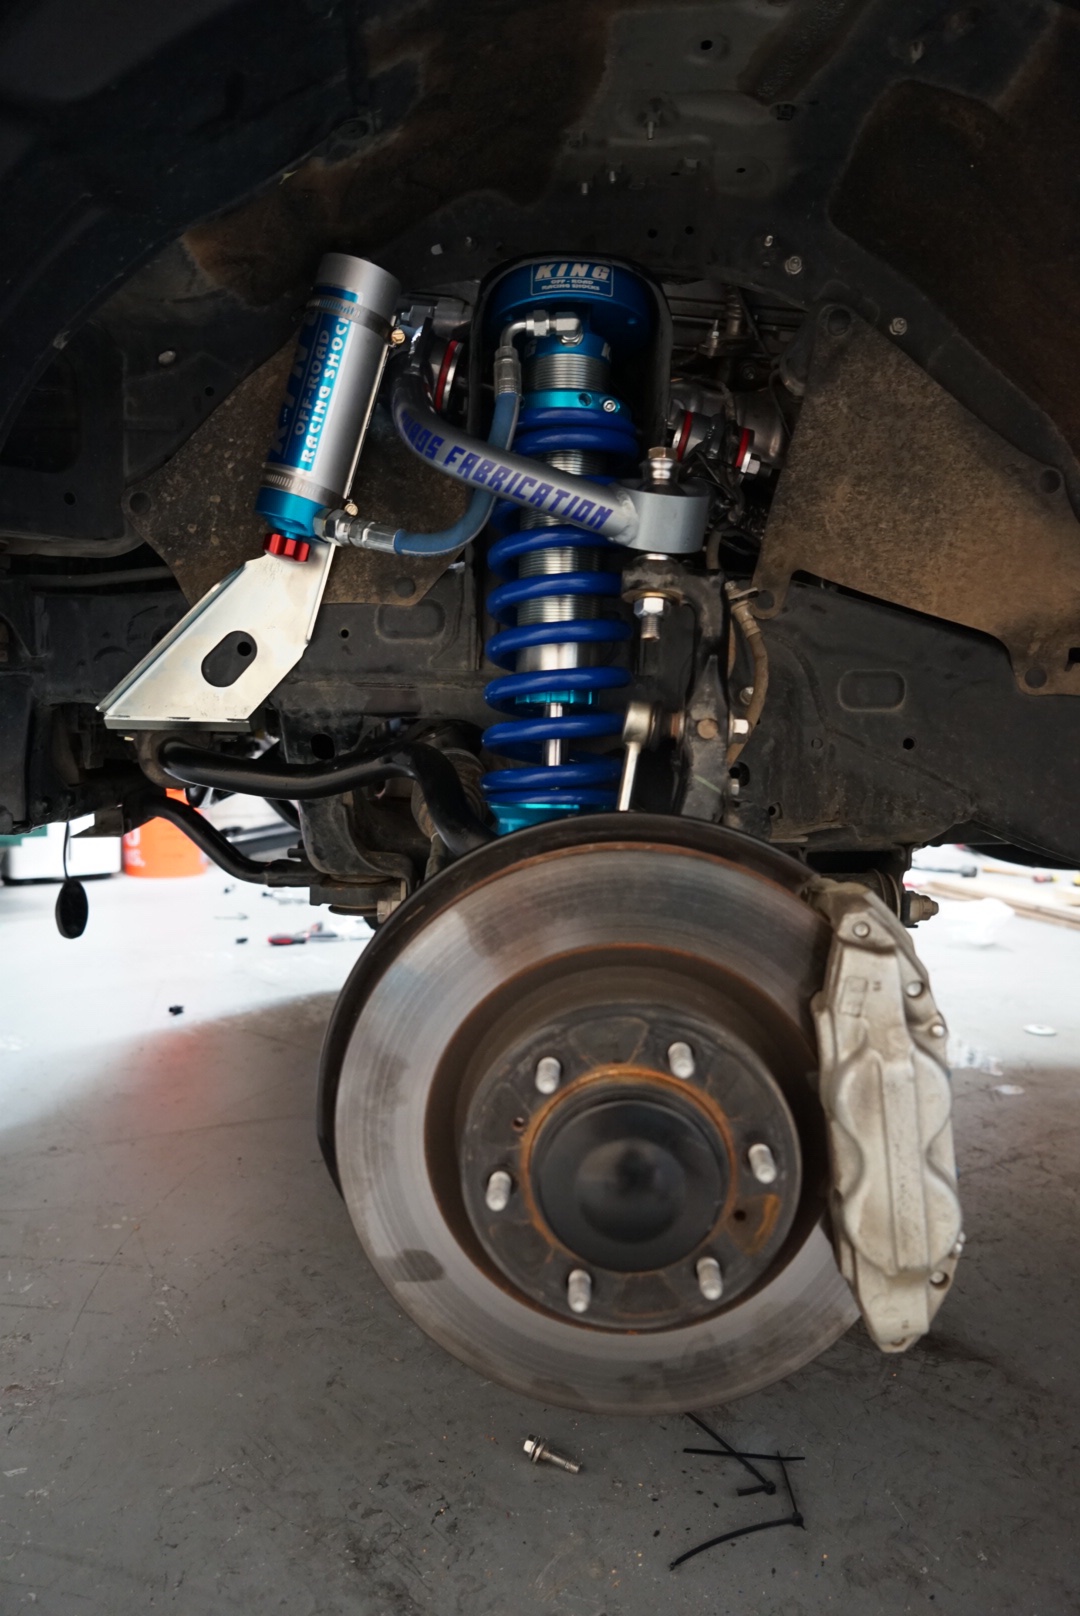
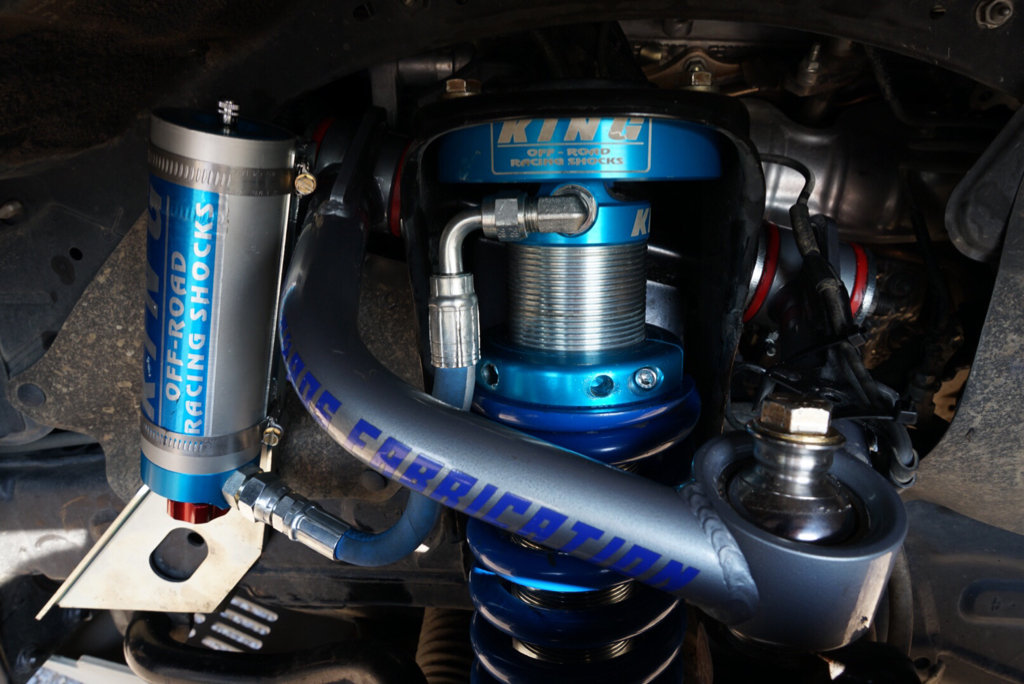
-King Coilovers w/ adjustable compression
-Toytec rear springs
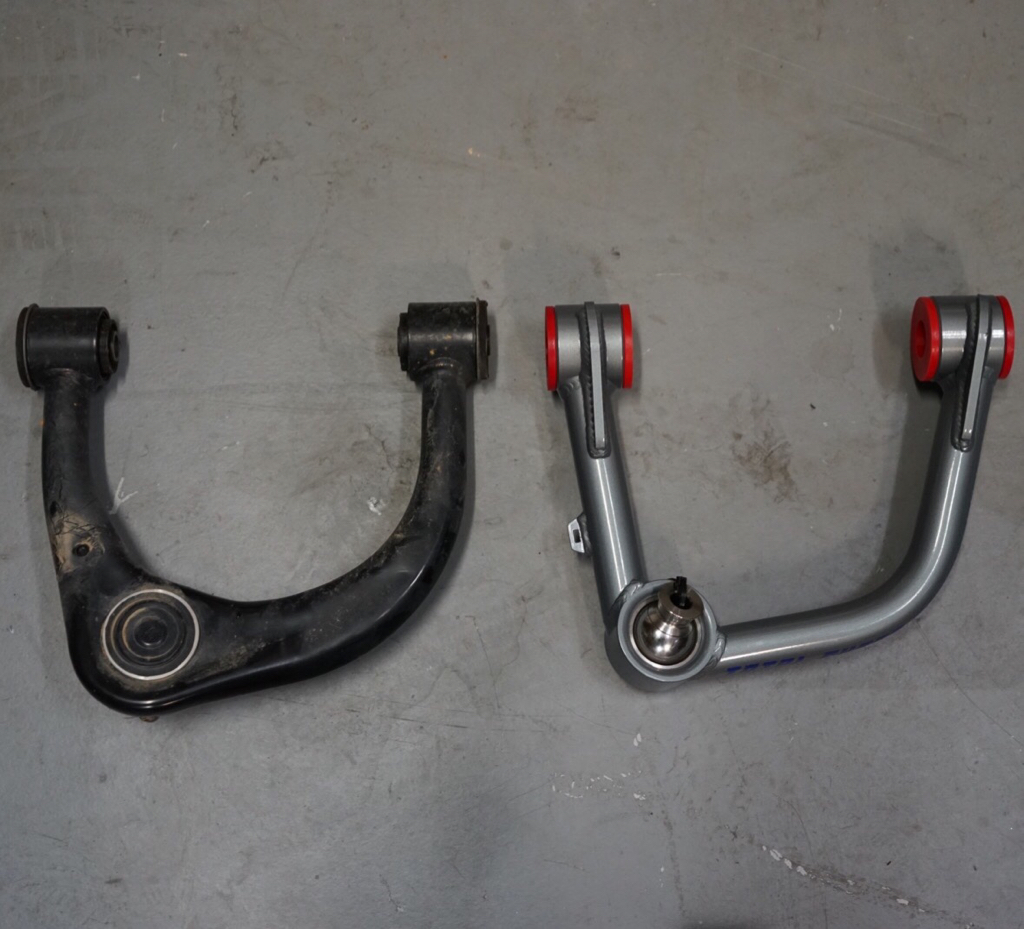
-Total Chaos Upper control Arms
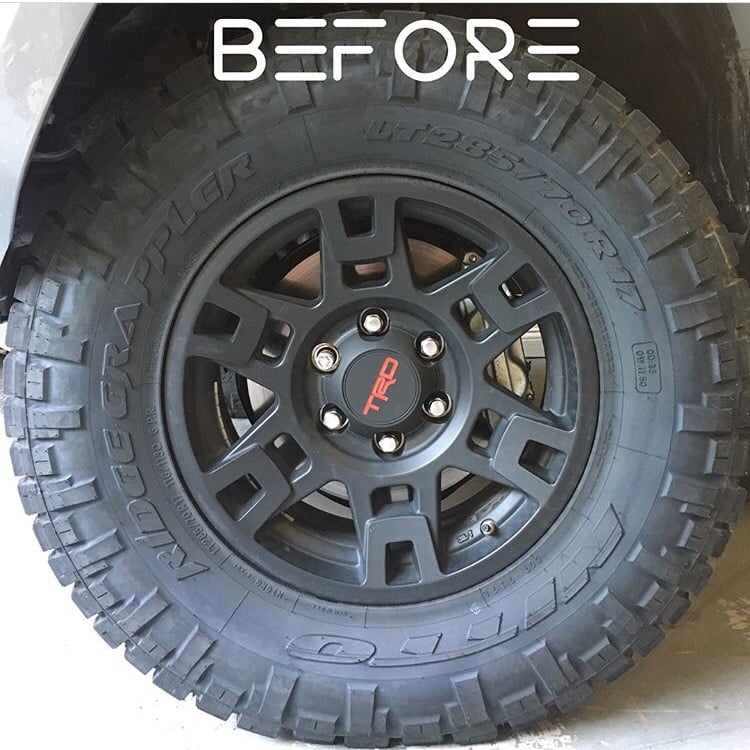
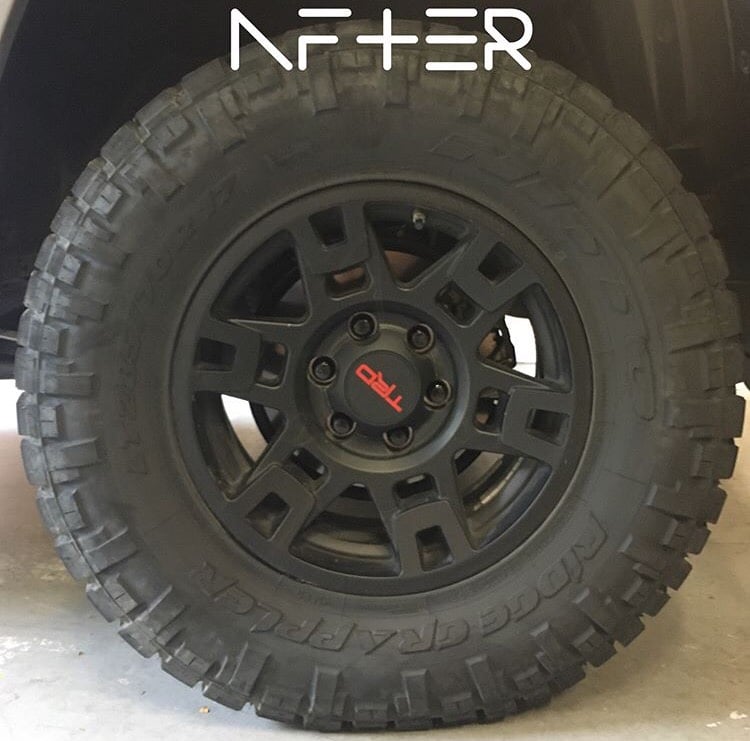
-Nitto Ridge Grapplers (285/70r17)
-Exchanged factory chrome lug nuts for black

Lighting:
-Xenon Depot HID low beams
-Xenon Depot LED Fog Lights
-Rigid Industries 30" Single row Midnight series light bar
-Rigid Industries 6pack high output A-Series Rock lights
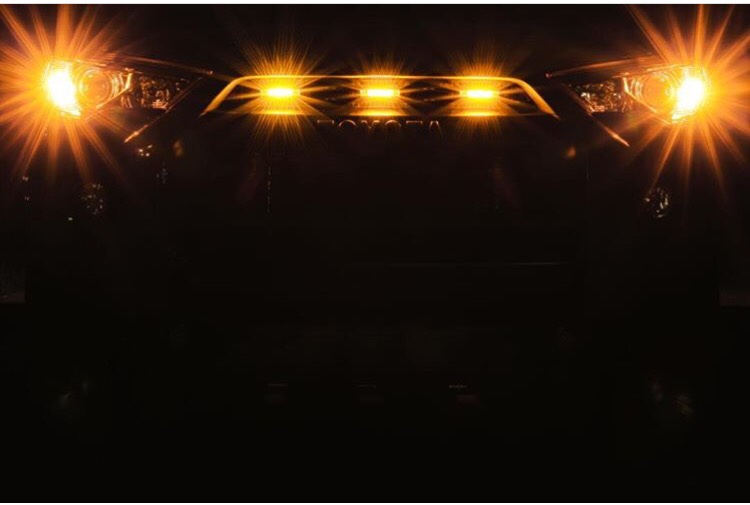
-"Amazon Raptor lights"

Recovery:
-Filson bag in the back full of tools! [emoji6][emoji6][emoji23]
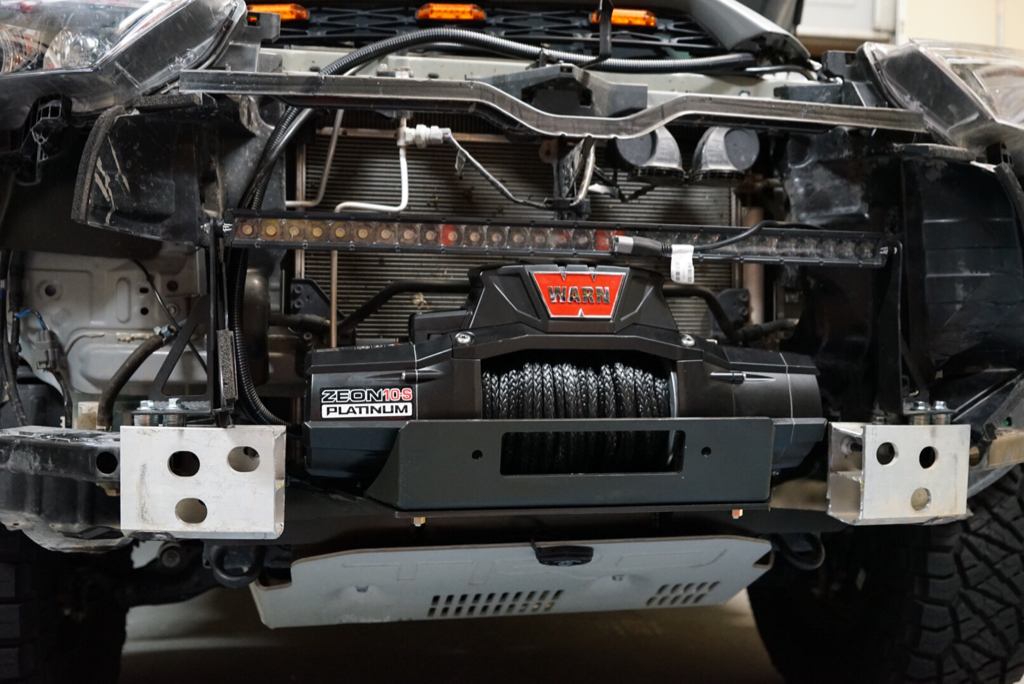
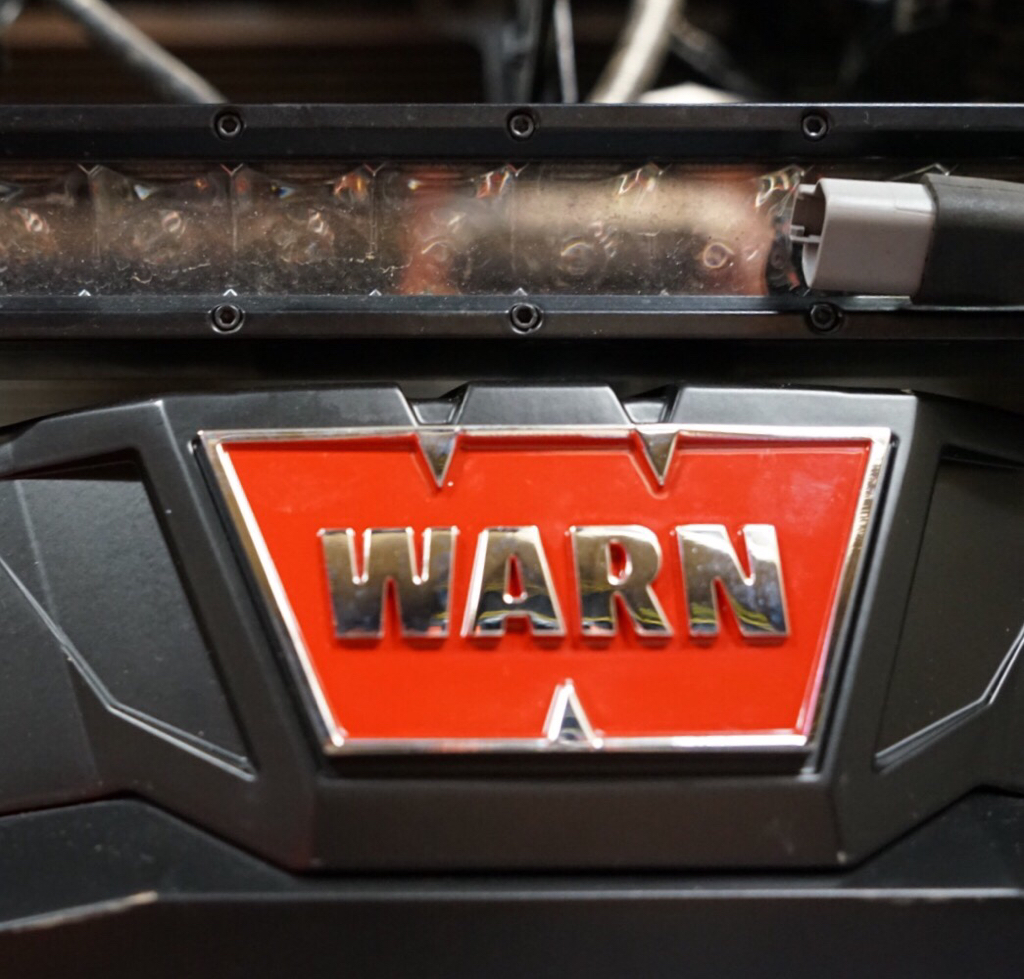
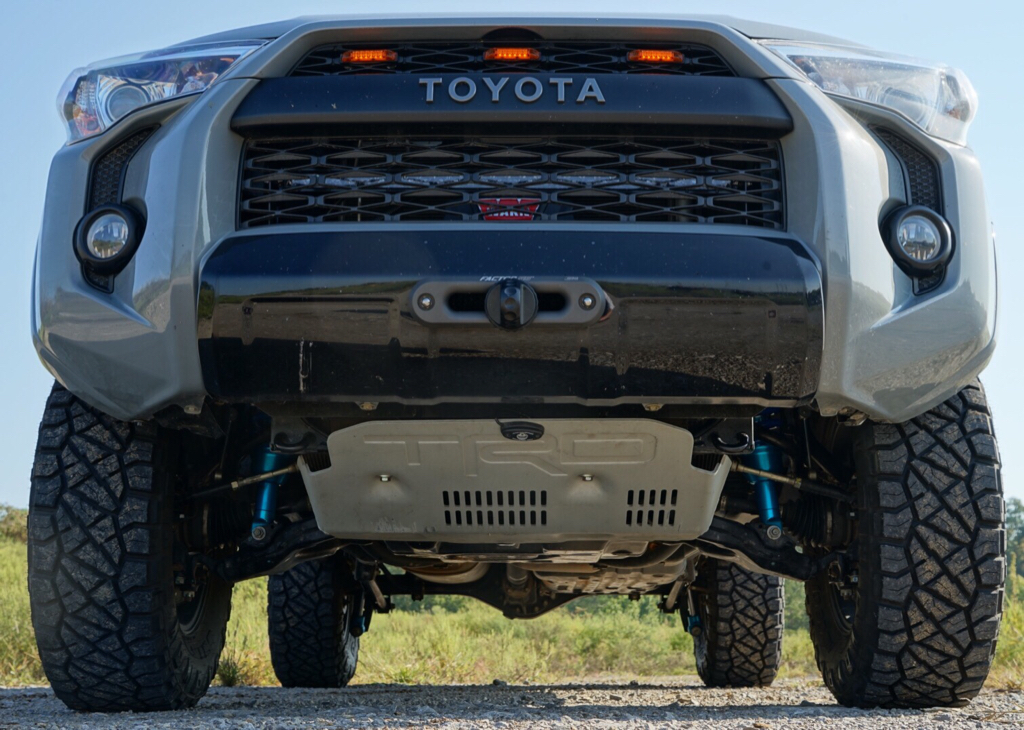
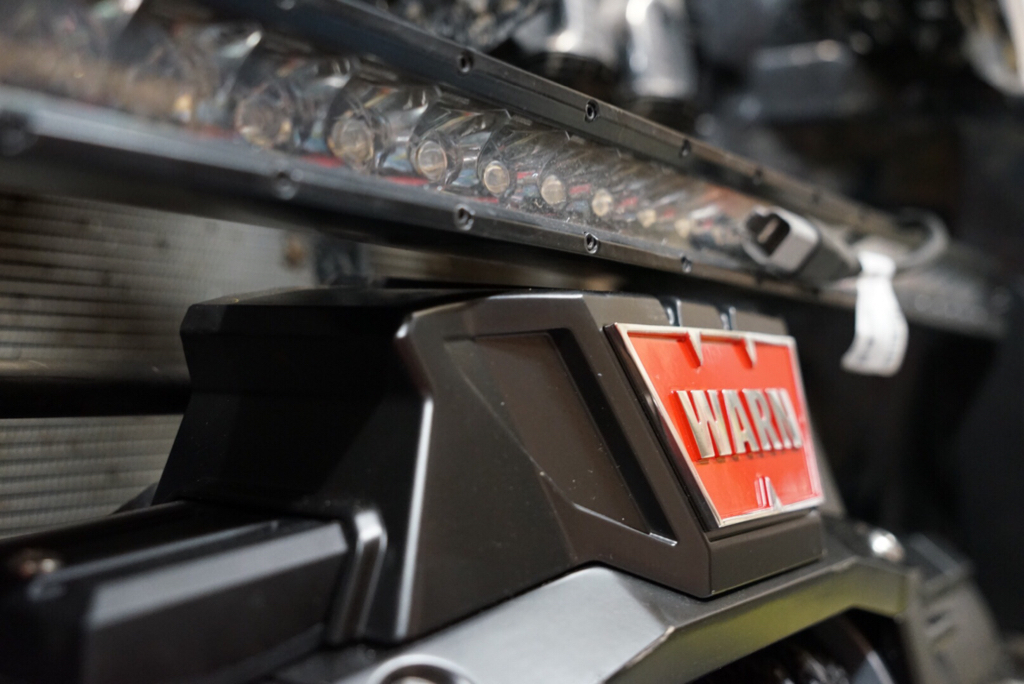
-Warn Zeon 10s Platinum mounted on a Pelfeybilt Hidden Winch Mount
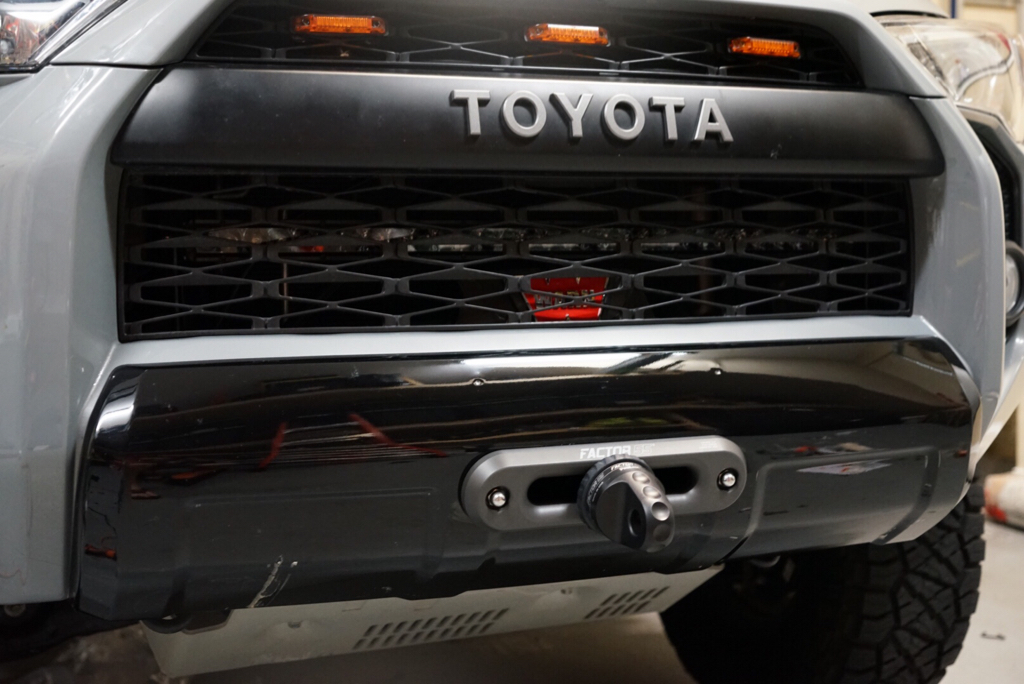
-Factor 55 Prolink/fairlead
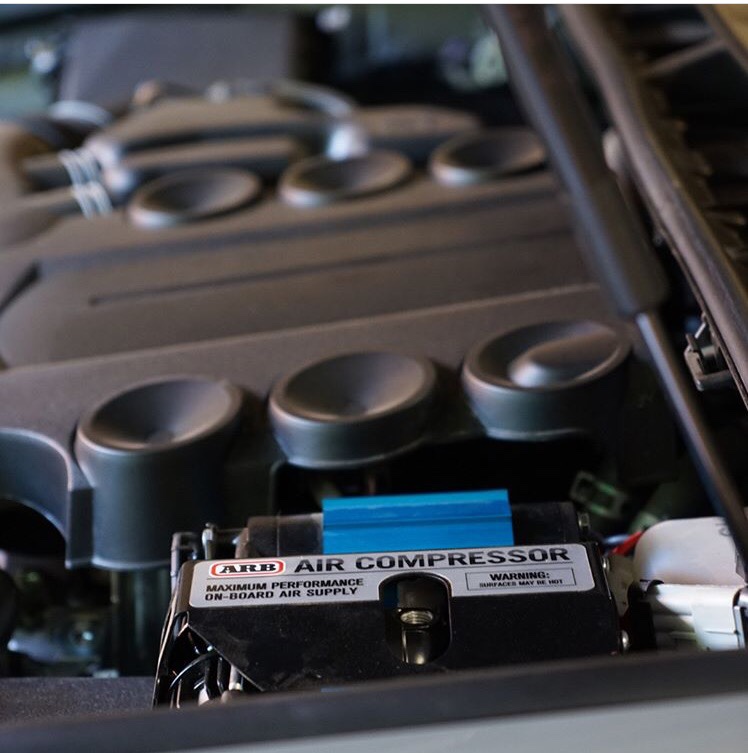
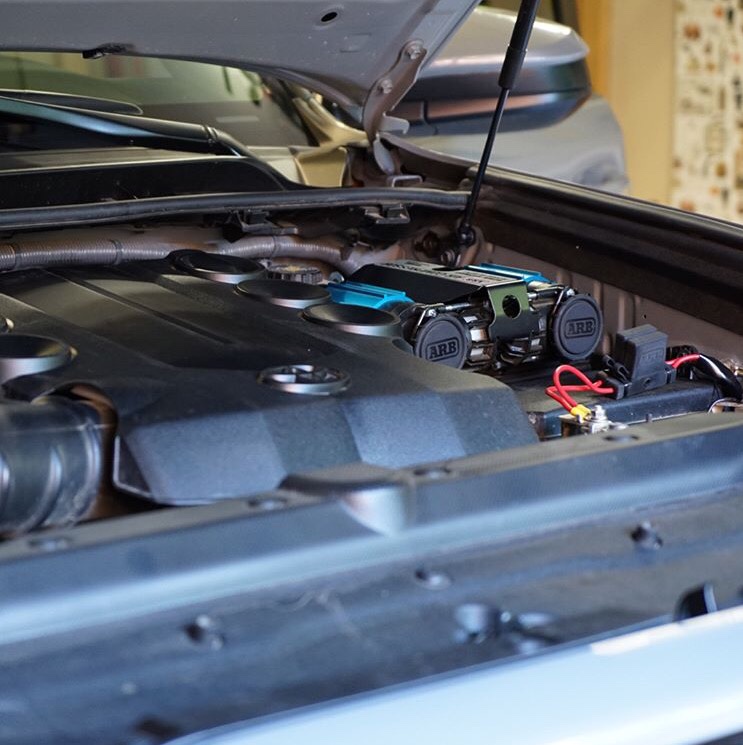
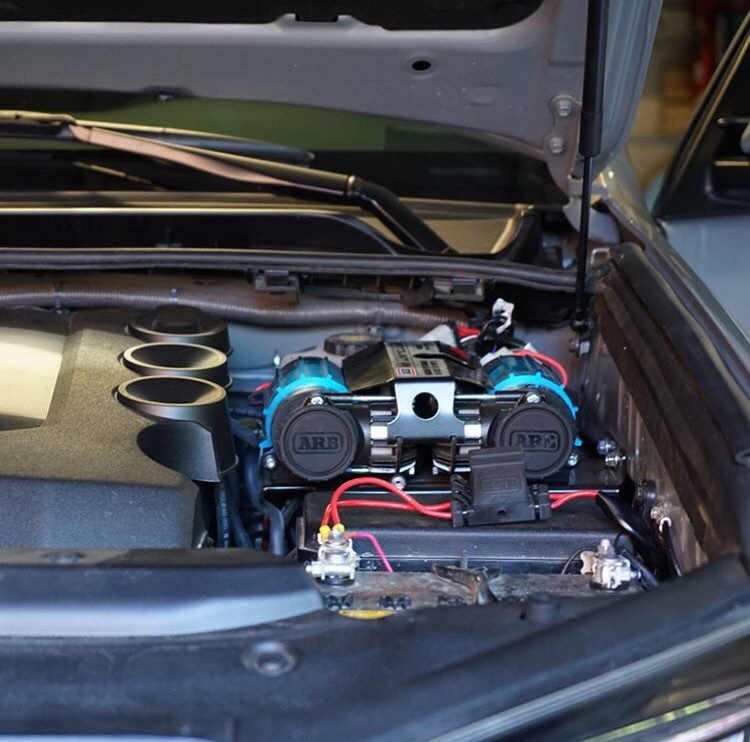
-ARB CKMTA12 compressor mounted under the hood
 
First Mod: (5/24/17)

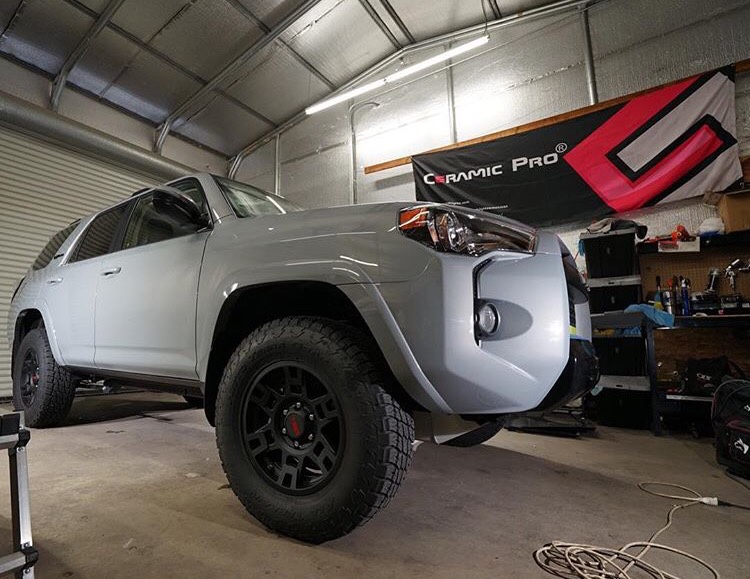
Expel Clear Bra and Opticoat Pro+ ceramic coating. These things are not cheap, but they keep the Car looking good and protect the finish.

79a93ac5412e500f99a9eb0ccd1c9044.png


Sent from my iPhone using Tapatalk
 
CO/UT Trip

In July I took a trip to CO/UT with essentially a factory rig which really helped me decide what I wanted to do as far as modifications.

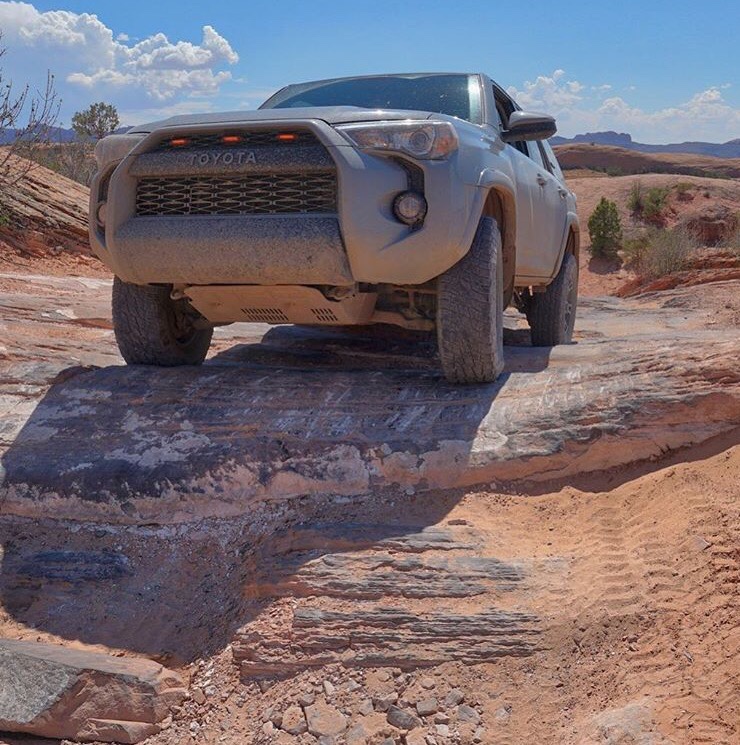
Moab:
08258df85917e893677cd5e19ca5efaa.png


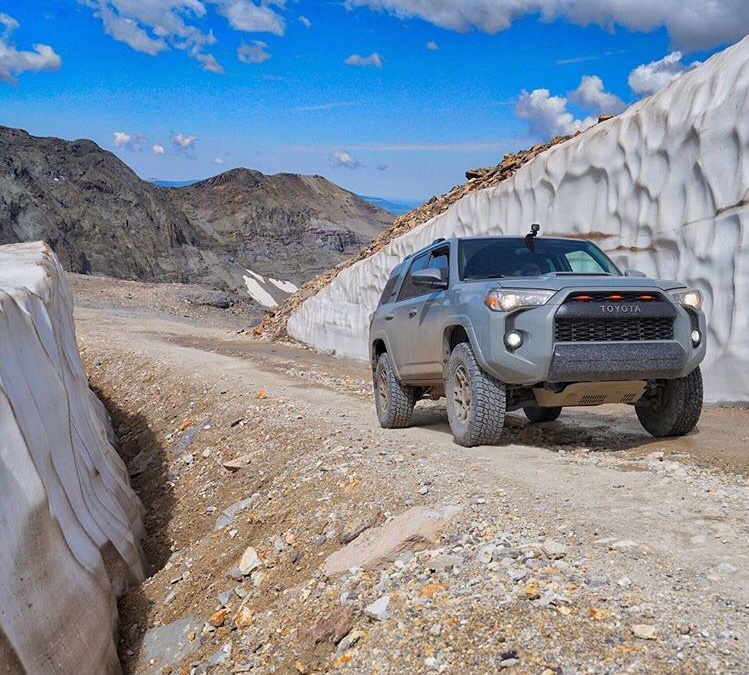
Imogene Pass:
13685e6fbc0a8fc72fd01dbb08972157.png


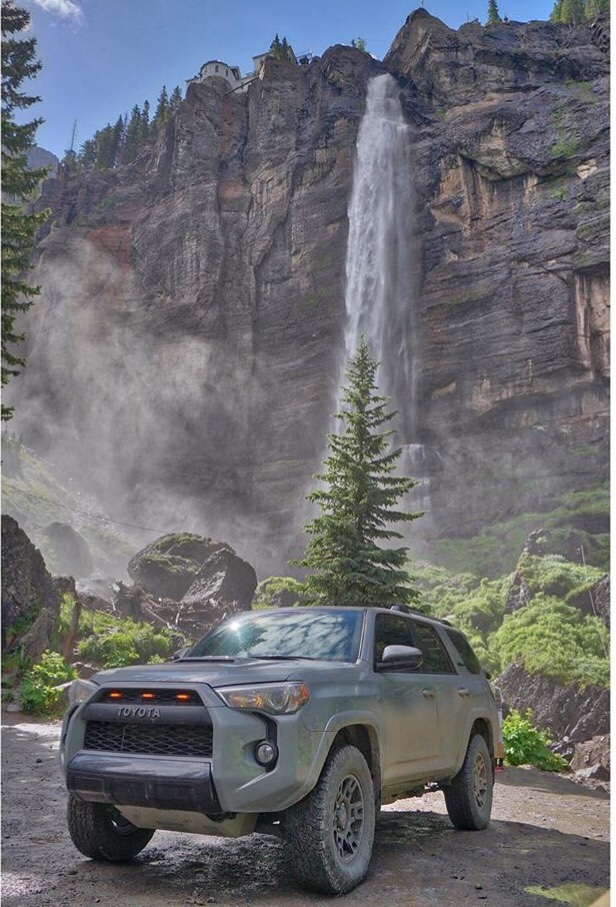
Bridal Veil Falls off Black Bear Pass:
a61c3c442069f9ff1bfc3c7362b04202.png


Sent from my iPhone using Tapatalk
 
@trdpro_cement build thread

3rd mod "session": (8/15/17)

After returning from CO/UT I ordered tires, Toytec 2" lift, Nfab rock sliders, and a Rigid 30" lightbar.

Tires where installed by Firestone. I purchased the lifetime alignment which has already panned out to be a value!

I installed the lift in my garage

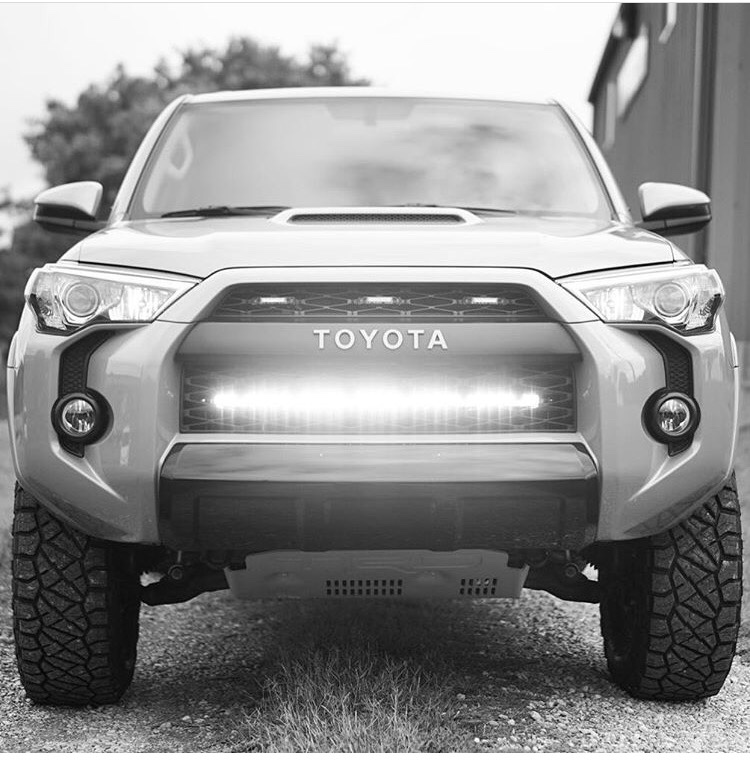
The lightbar was mounted via the Rago hidden lightbar mount. Very clean. I was nervous about removing the bumper cover but it actually went smoothly.

bfafafa53e717a88fa901cc0e9f01fe3.png

82c79be2cf0b8359717faf7e2a877496.png
09e37efa5dde9dd81f8d6acf987b0095.png


Sent from my iPhone using Tapatalk
 
Mod: 8/22/17

I ordered some black lug nuts to eliminate the silly chrome ones. They look so much better!! I should have done this on day 1!

fe458de284ed4854c7e306d3caad4fab.png

156db51ab4670524d5527691fa182e3f.png


Sent from my iPhone using Tapatalk
 
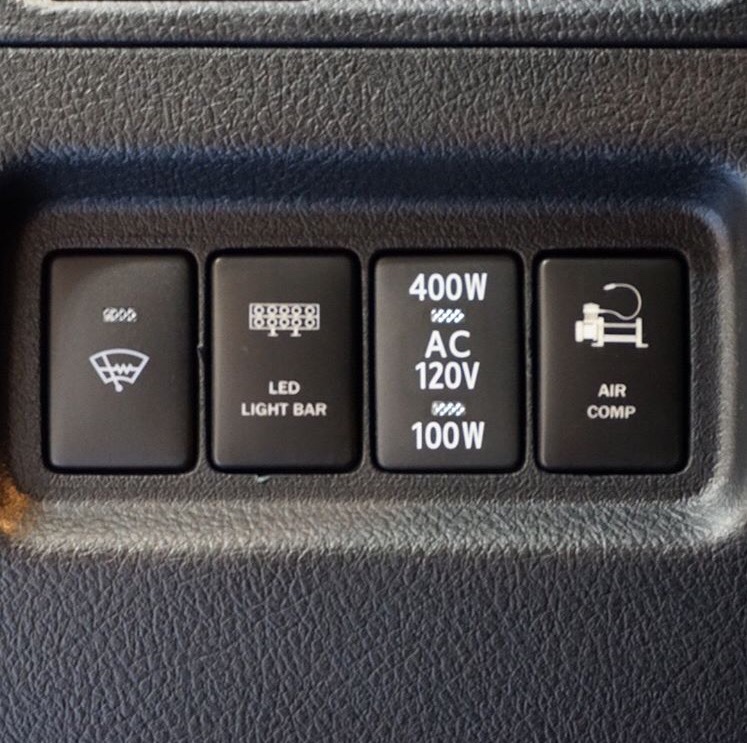
Next mod is the compressor. I mounted it via a Slee mount and used a factory looking switch from Air on Board. This helped keep everything clean. I may still run a line out so I done have to pop the hood but I haven't done it yet.

And for anyone that already thinking it.... I need to clean up my wiring big time!!

edee7f6de01a011ad18fd34328eca6ed.png

1ebfc8f03d1e979b3d37c682e932f07a.png

ef84d00d3329771c7df30a6265a53e23.png

a62015f14f416dc3156748f5da7c7af4.png


Sent from my iPhone using Tapatalk
 
@trdpro_cement build thread

Winch! Yea baby!

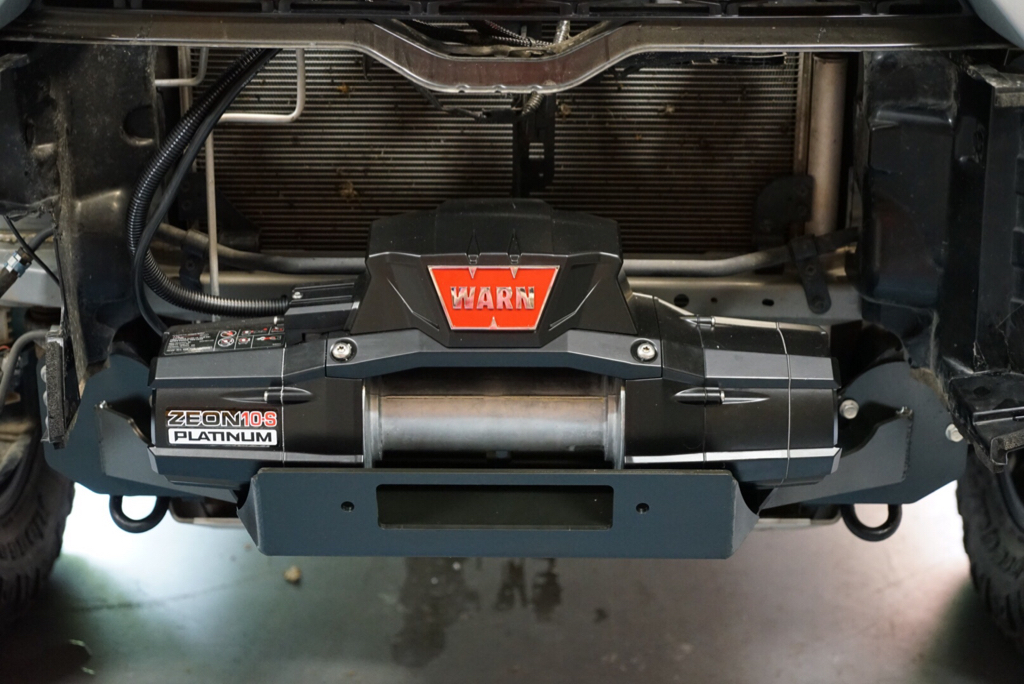
I'm a realist and understand this thing will likely never get the amount of use it deserves based on my lifestyle, but I enjoy the mods, and like to overbuild a little in some cases! For the winch I used:

Pelfreybilt Hidden Winch mount
Warn Zeon 10s Platinum
Factor 55 fairlead
Factor 55 Prolink.

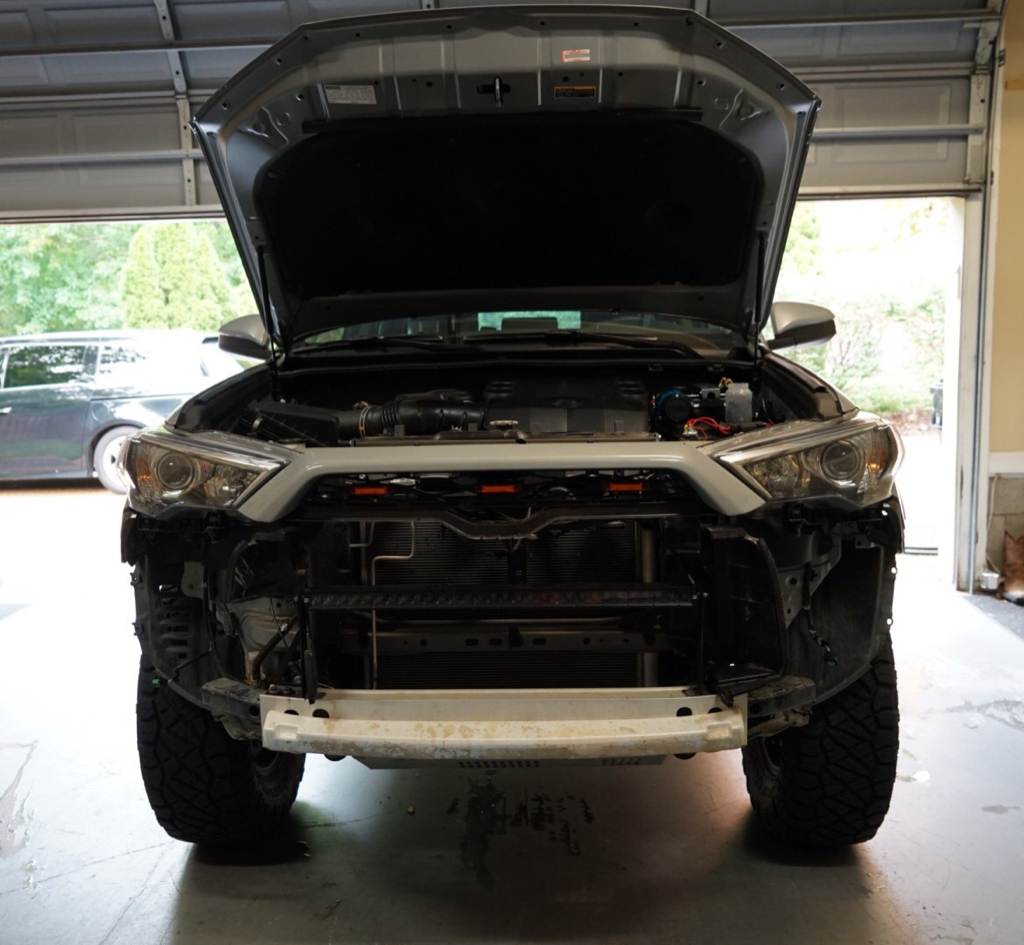
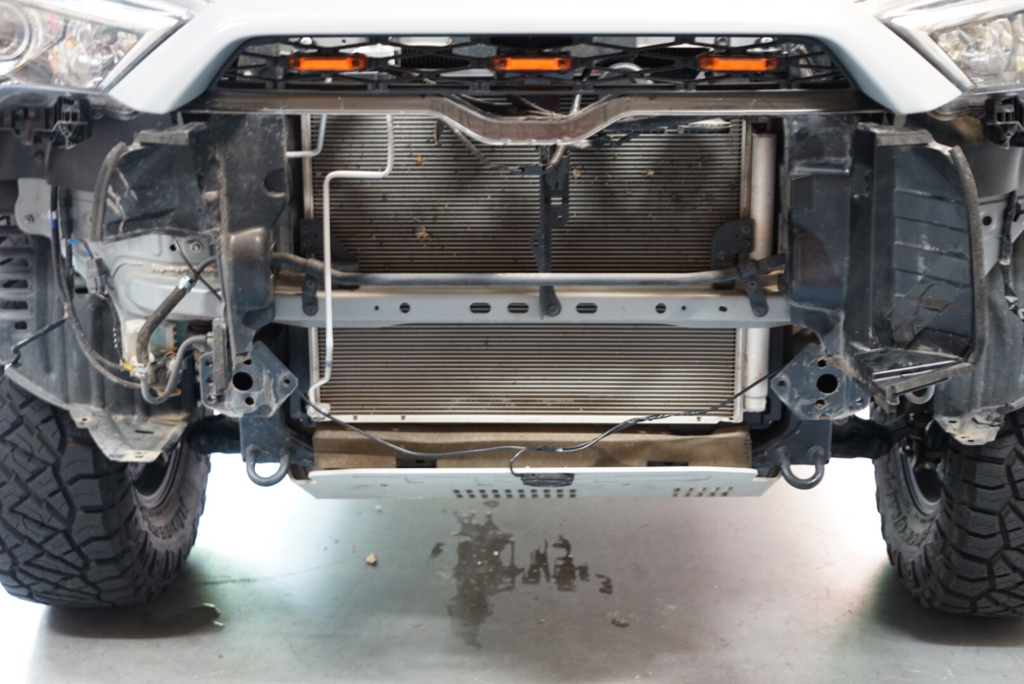
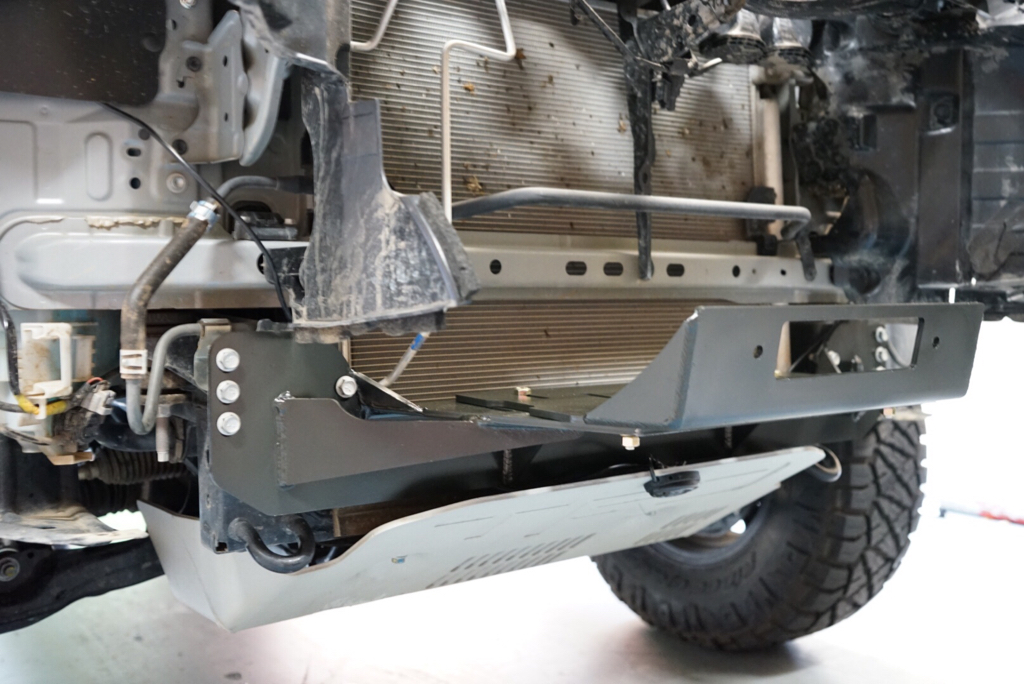
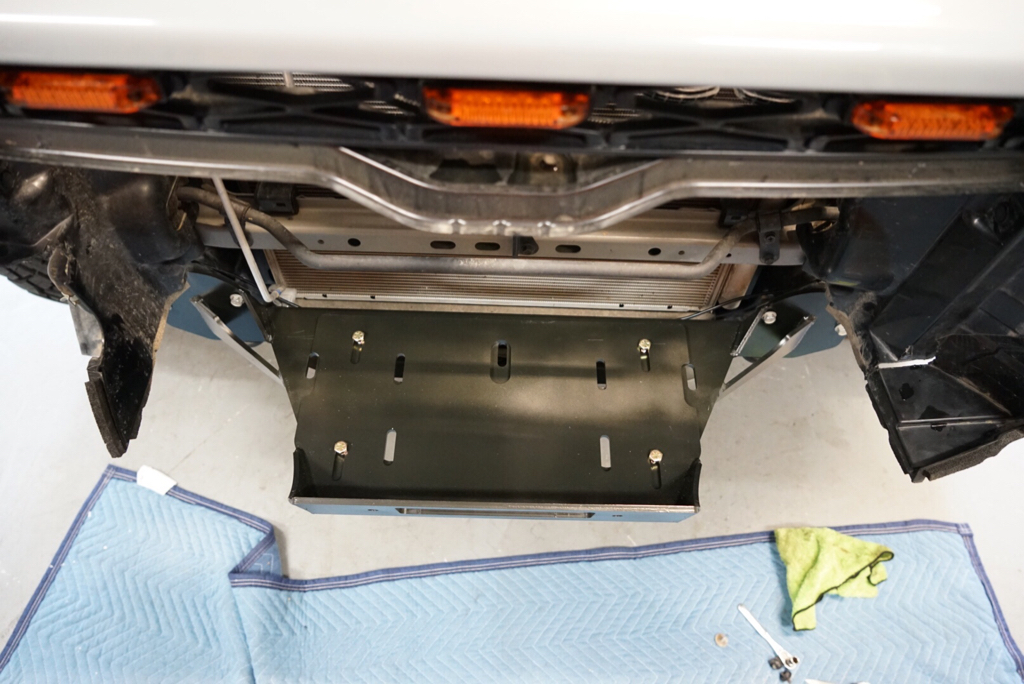
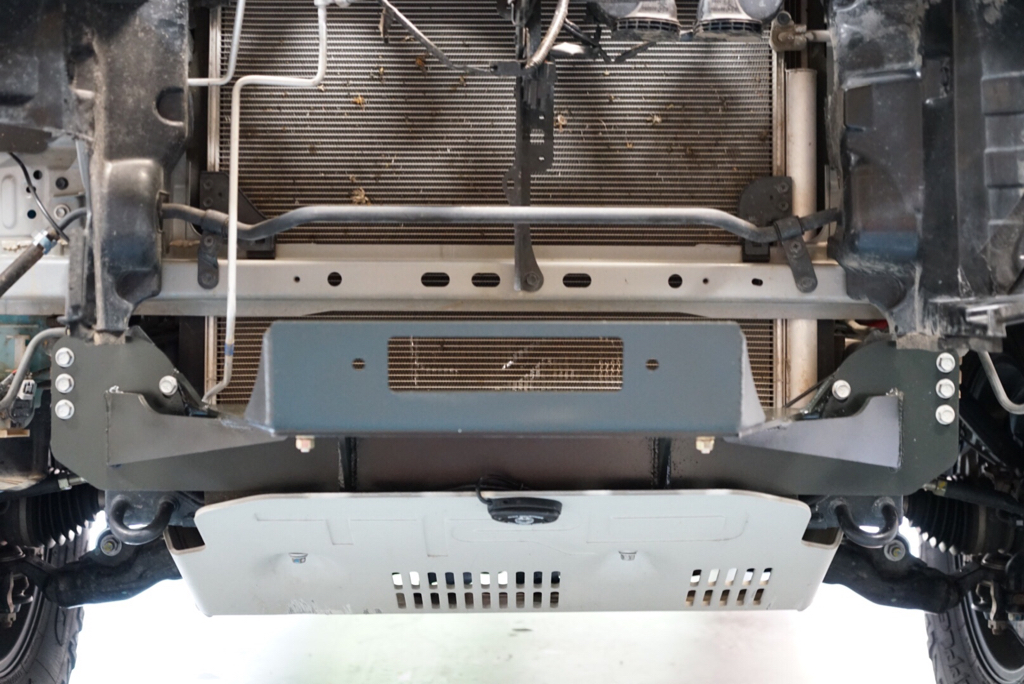
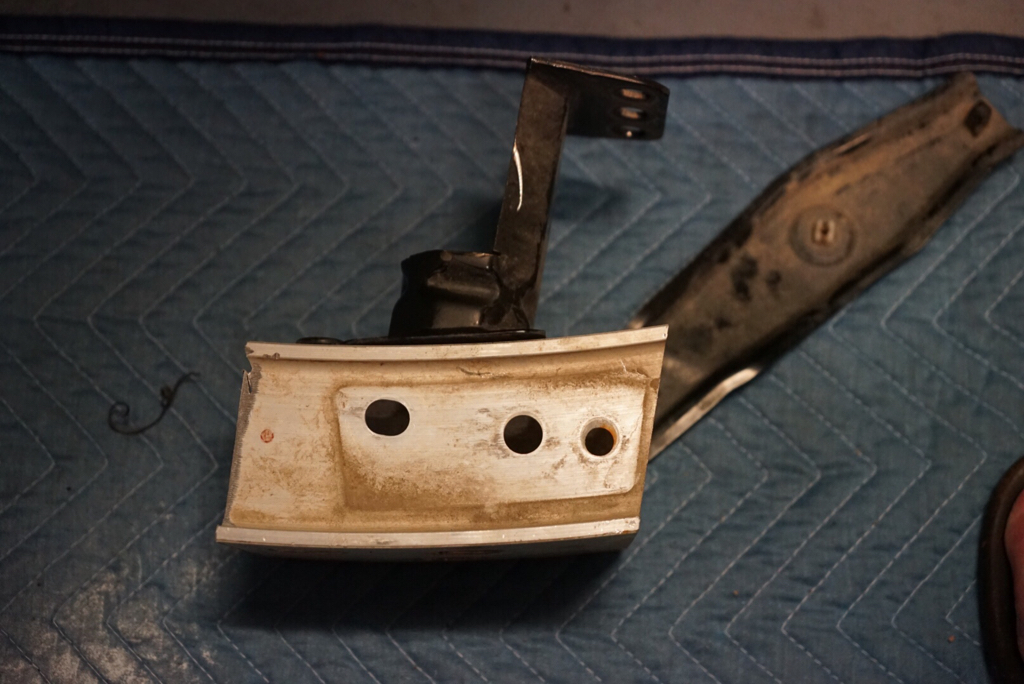
THE CHALLENGE: I wanted to keep my 30" lightbar and install the winch. The Rago lightbar brackets mount to the aluminum crush bumper which has to be removed to install the winch. I have not seen it anywhere else yet so I was concerned if it would be possible.

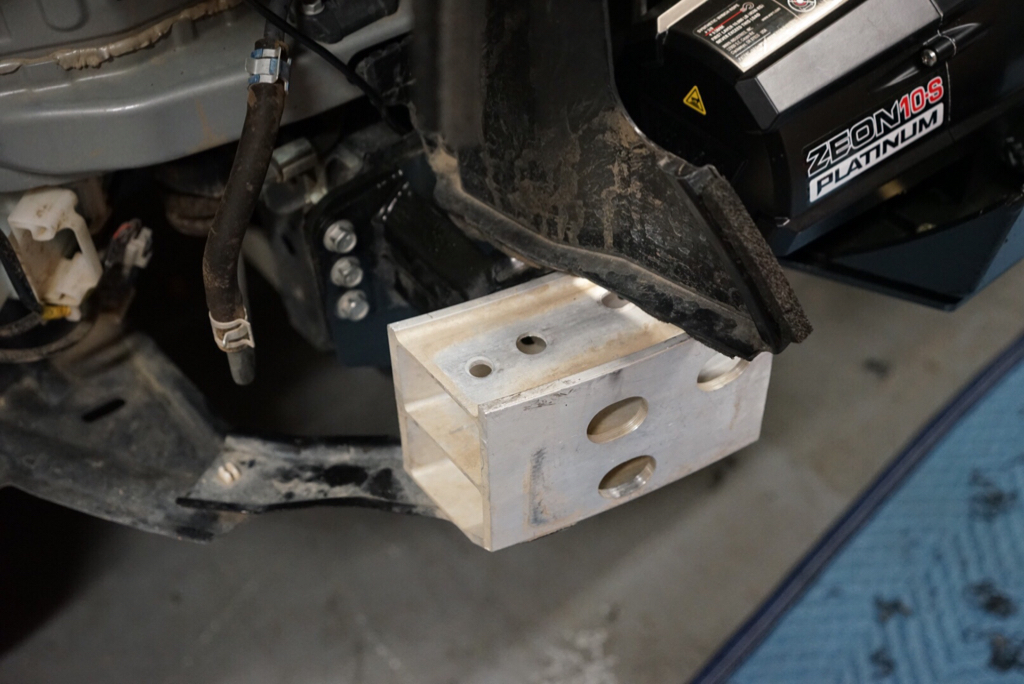
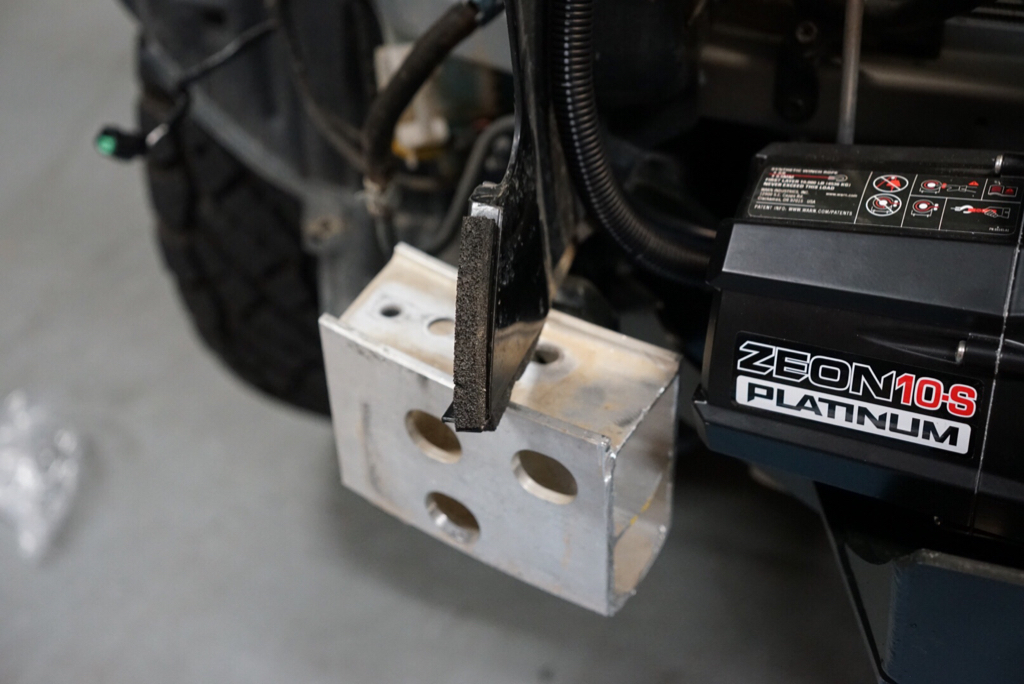
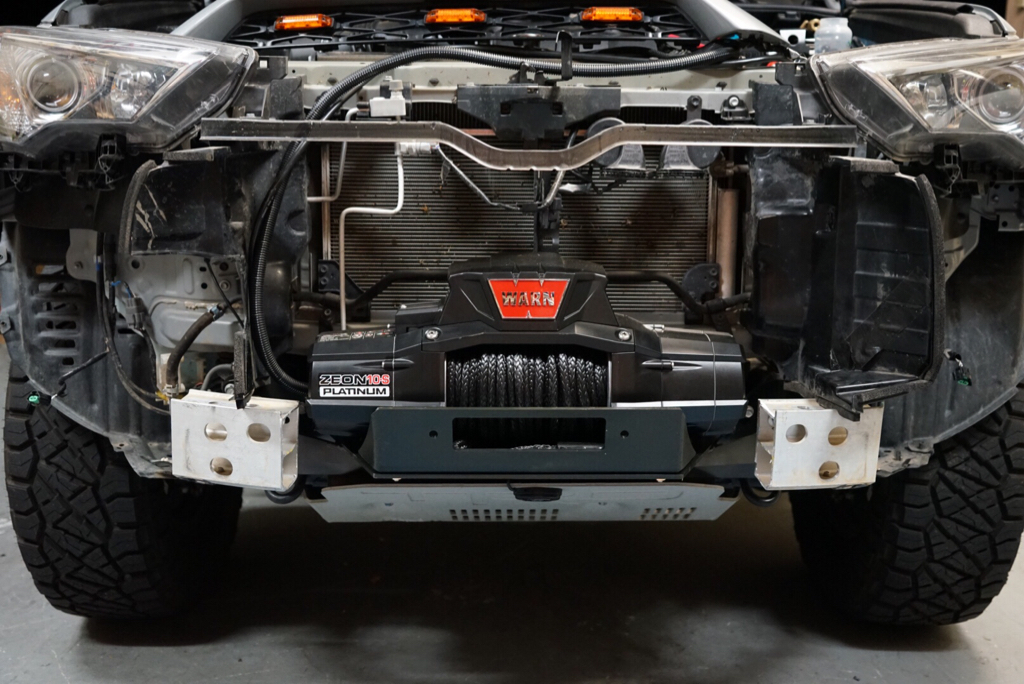
SOLUTION: I ended up cutting the ends off the crush bumper and reinstalled them so they could support the light bar. I was EXTREMELY HAPPY with the end result.

Bumper removed
5c1163dc16e8e0ca68d82d2e3cd825ff.jpg


Crush bumper removed:
96e08baeade7395ea81d16ee119b1d0b.jpg


Mount installed:
13de2feb14938622adfd6875415b486a.jpg

40ac5c7fef24a5dd630c7d1b836cdbd7.jpg

1584815c315d913976b0b5e7b1124383.jpg


Winch mounted:
3e0744e98ea9ec27ef2874ce18c9c879.jpg


Crush bumper cut:
02d1fb2be21a83c5db54528f82dfa893.jpg


Aluminum crush bumper ends reinstalled:
304238575c2a381043a20829fa6dae65.jpg

59489f0155f552e060ae646ff9152ecf.jpg

1dc27506ba34e01cbfd8186f3d0e4f98.jpg


Lightbar mounted:
0ea80cbe1809d862b1917f9a4aef65b9.jpg

2d230ec3a33b1e0dca36dad869fcae8d.jpg

f2253453d8107be059d23c3209dee1d5.jpg


Bumper cover mounted, trimmed, and Factor55 equipment installed:
ad8418e27fdf7a0b9e9f234eb22f4a86.jpg


918c62b99e1a4bc4c02566c0eae79c7e.jpg


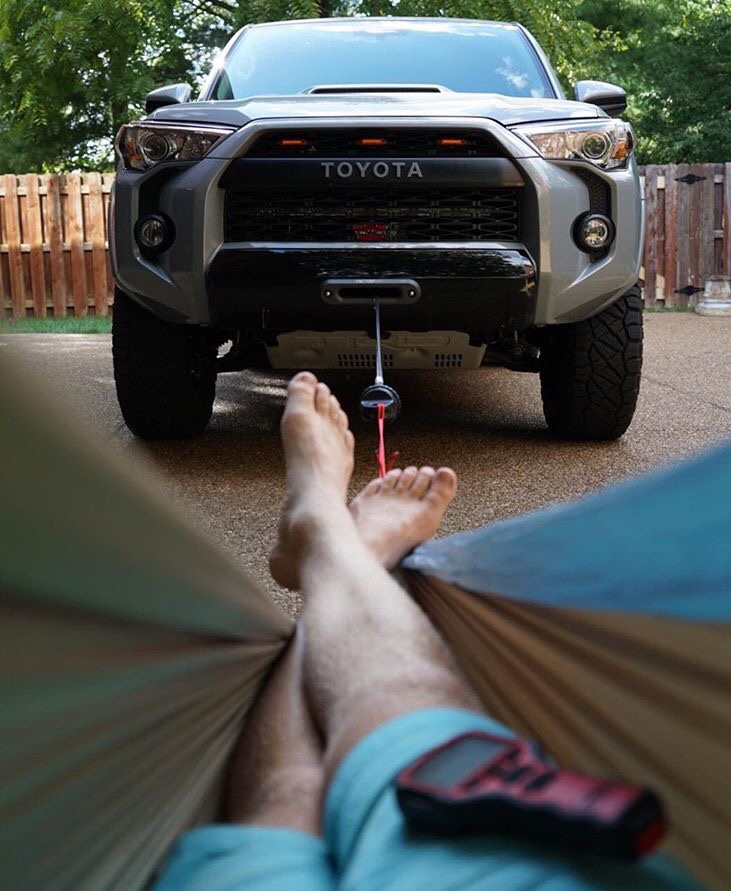
Lastly, enjoyment of the new mod:
9e8b735344e6652d763567040b3814cb.png


Sent from my iPhone using Tapatalk
 
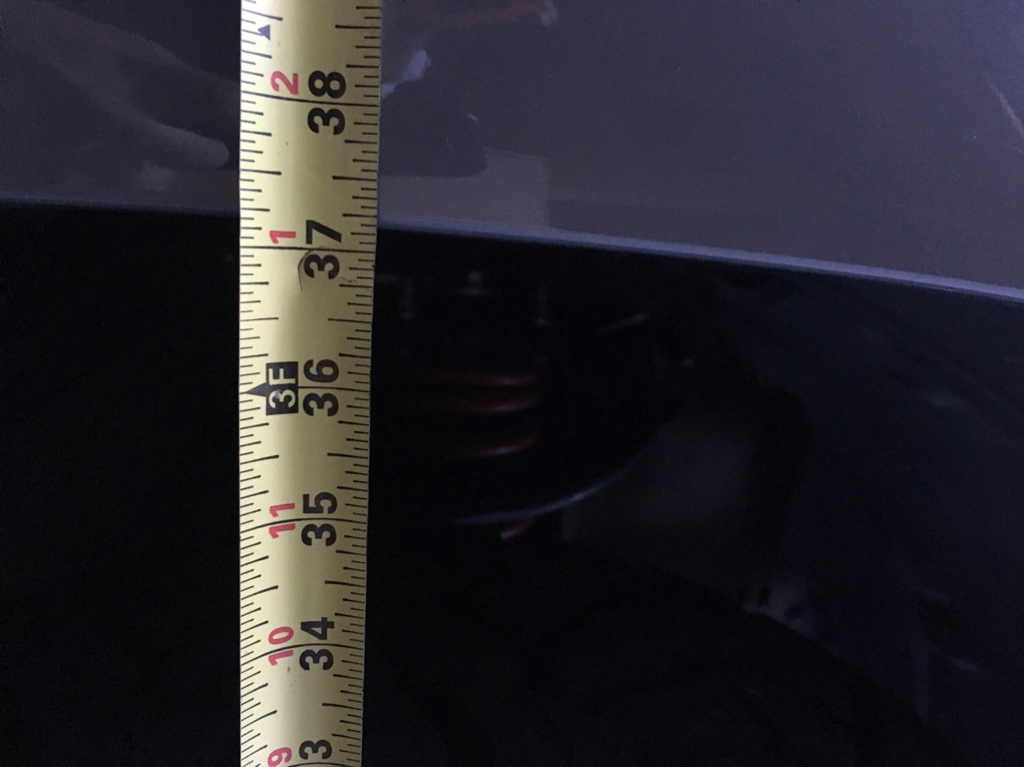
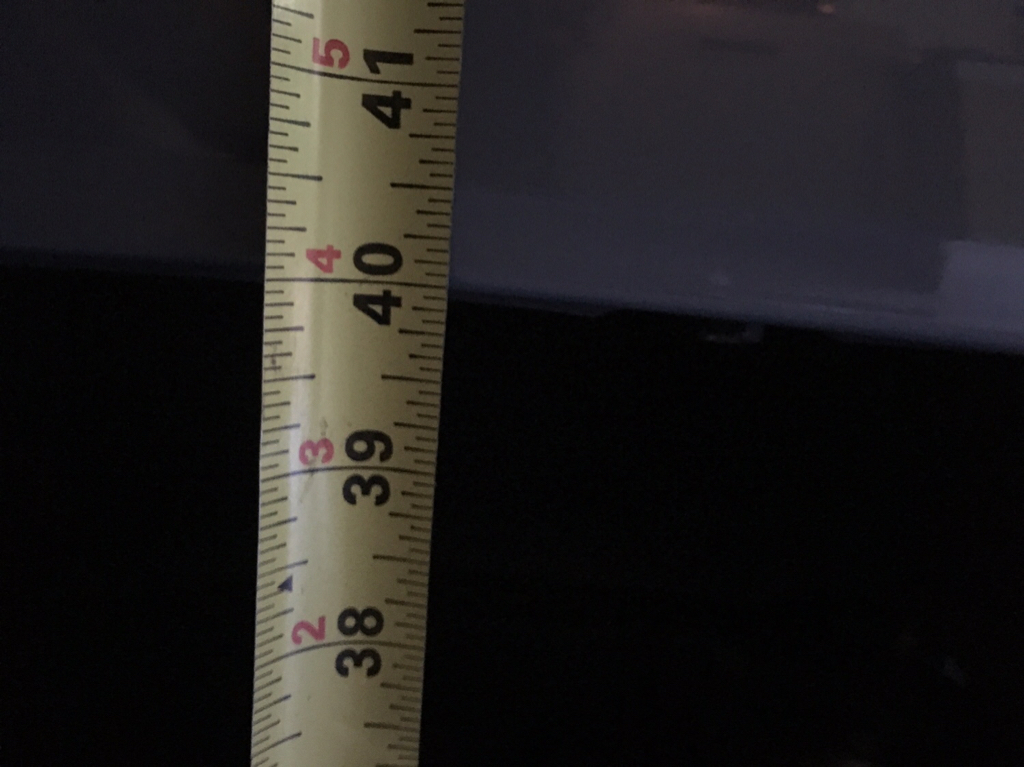
New problem! The winch is heavy enough that it pushes down the front end to much!

Front:
06ba81273ea37ad06f6be88578855fe5.jpg


Back:
7fc18199e74bea01873b15ee5545eb33.jpg


c21af7dccea96abc2aa9f9d6a224dc93.jpg


Suspension (again) is up next.


Sent from my iPhone using Tapatalk
 
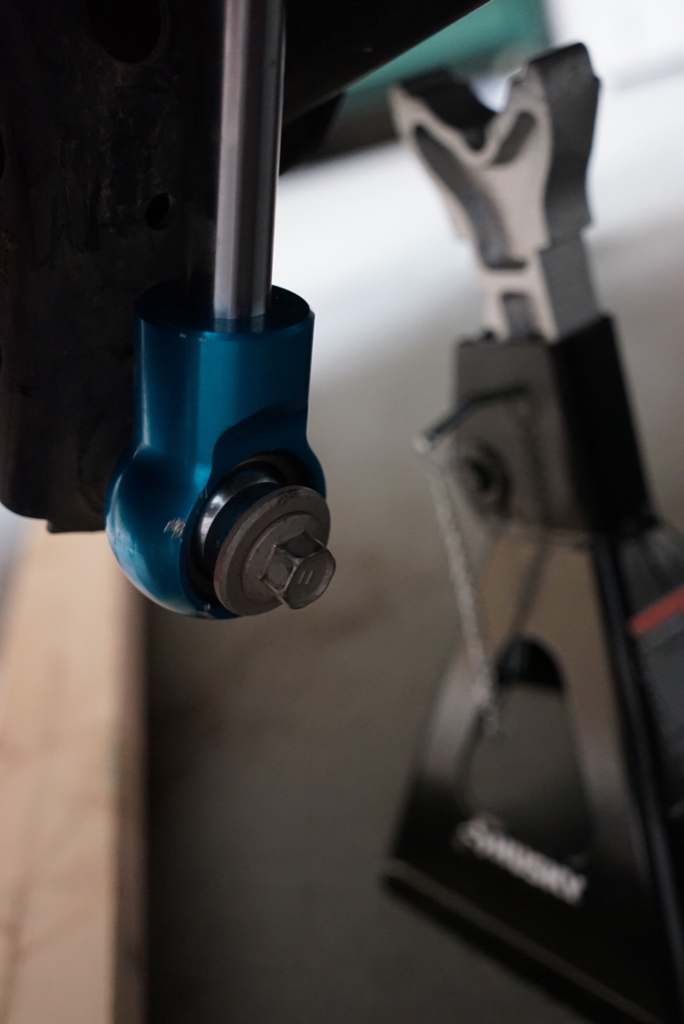
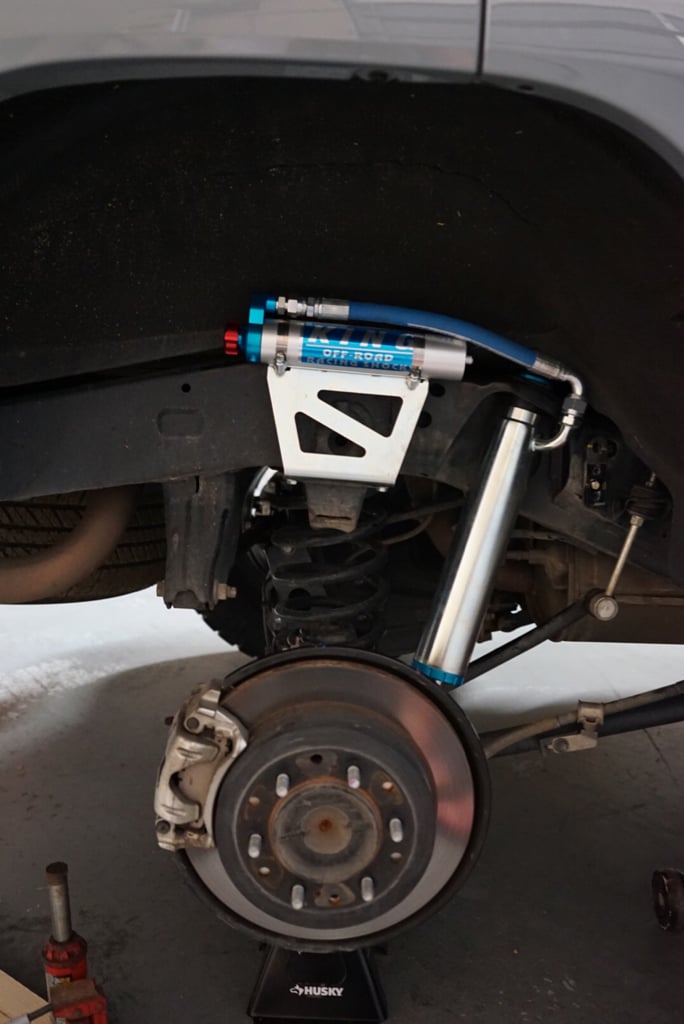
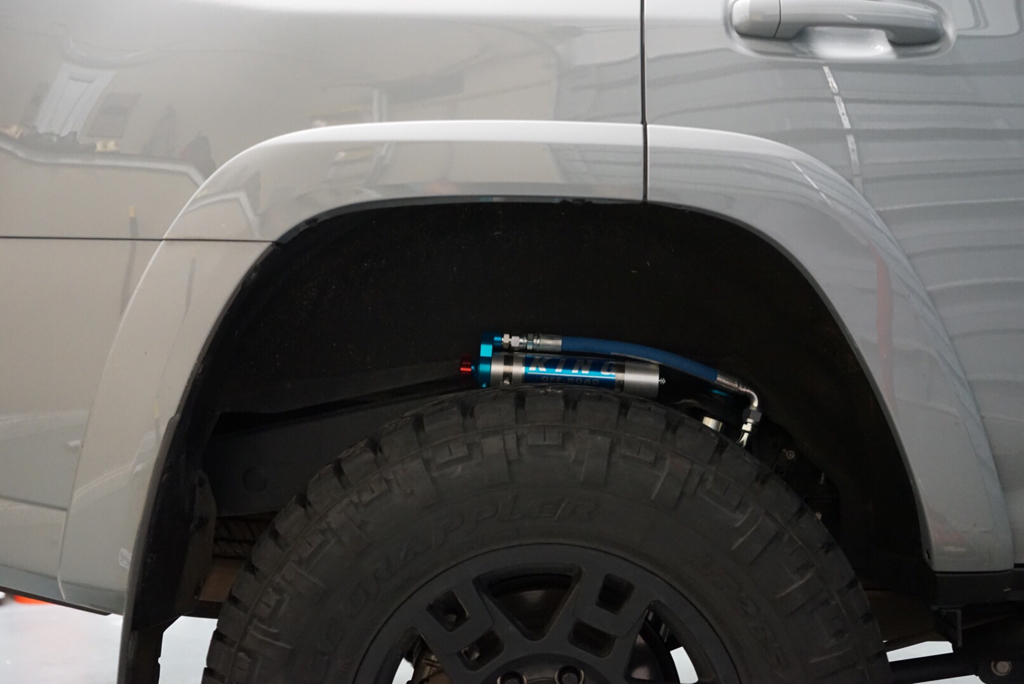
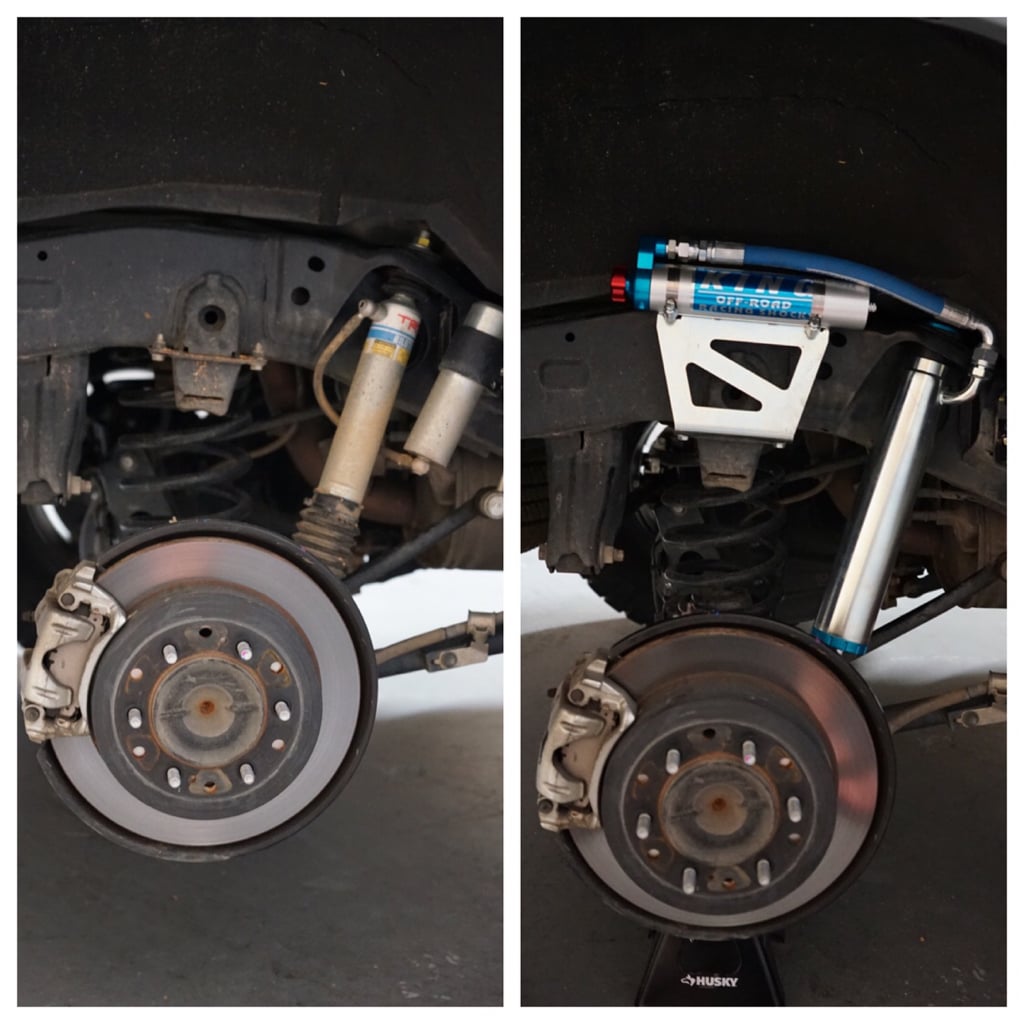
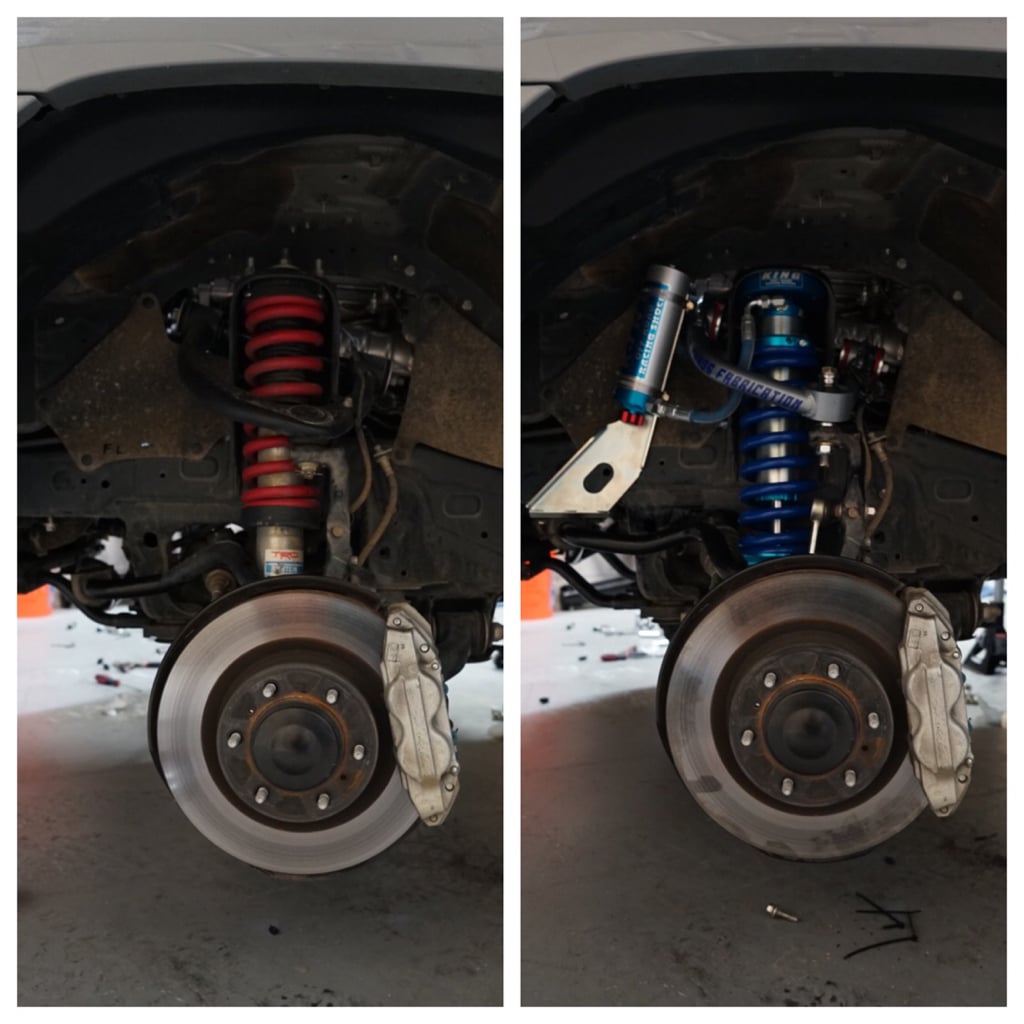
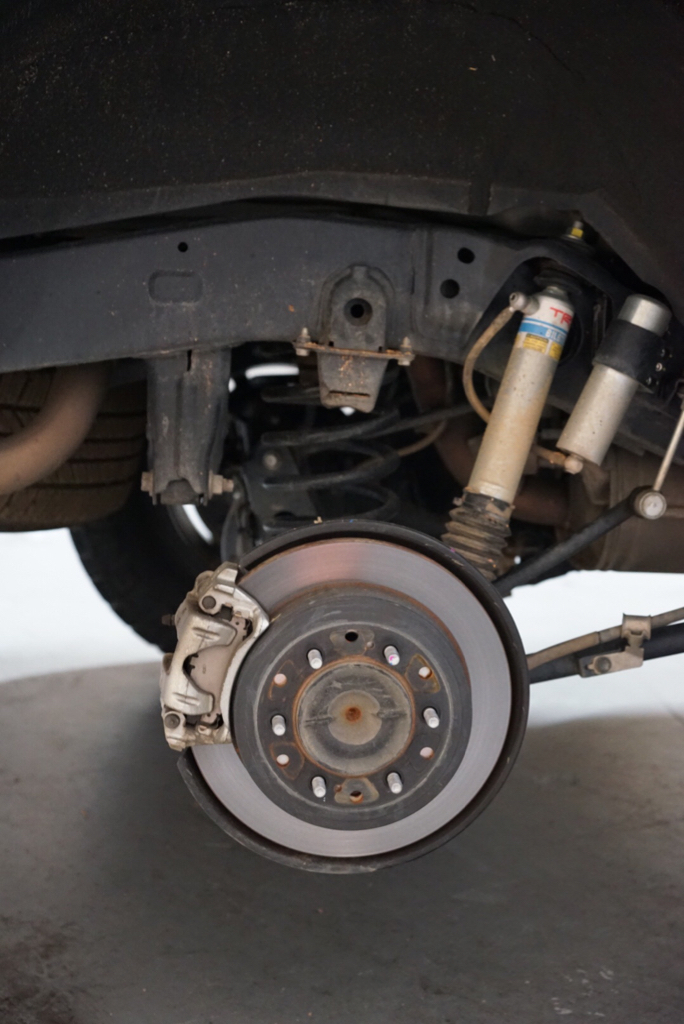
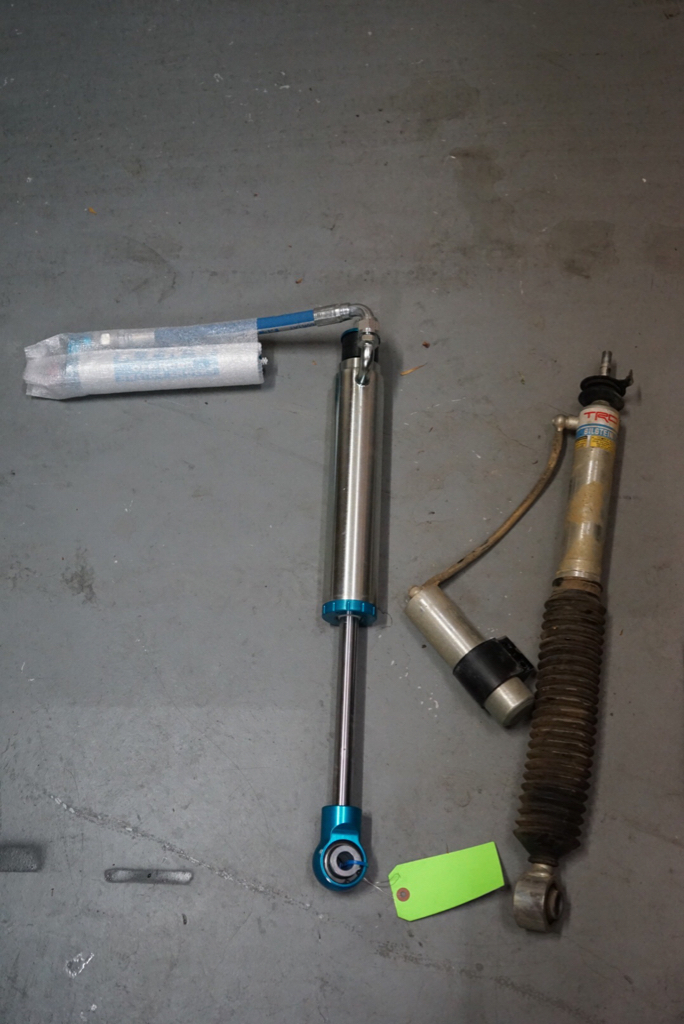
I decided to do the 'buy once cry once' approach and go for the KINGS. Although technically I am buying for a second time since I already bought the Toytec lift and part of the reason I bought the pro in the first place was the suspension. Whatever, I make no sense!

Installed the rears:
bfe397ea61da7b8c031c1c7364417081.jpg

60f1d2ff424aba0b57bb74d109521e60.jpg

2b9378053bd72bd5c690bc7fb7caad02.jpg

cf0aa6172f4828fdaec513e593e52502.jpg

f6948d075a1c380f47de60389fa7bda1.jpg

055a2b667b765c8d293121e04e001b0f.jpg

29395d6cf31ad2fe049fc0e4e7c8afa5.jpg

0068d4fbcccb95d4c77c4d2644cae321.jpg


Sent from my iPhone using Tapatalk
 
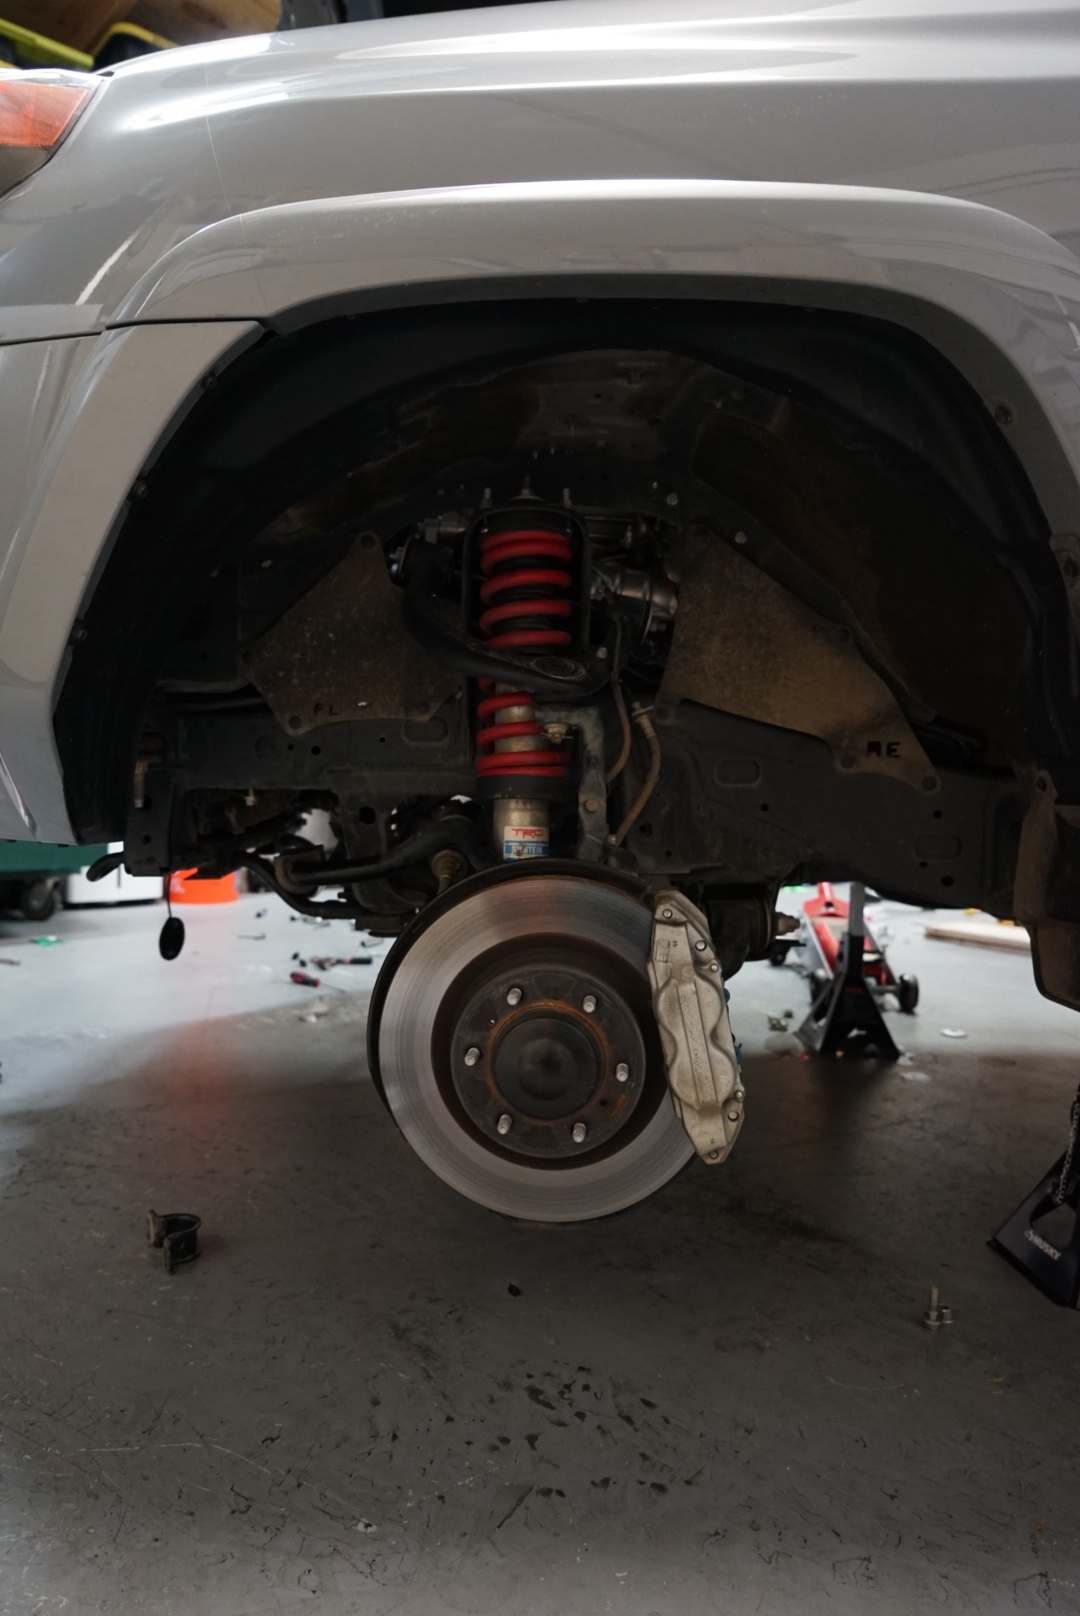
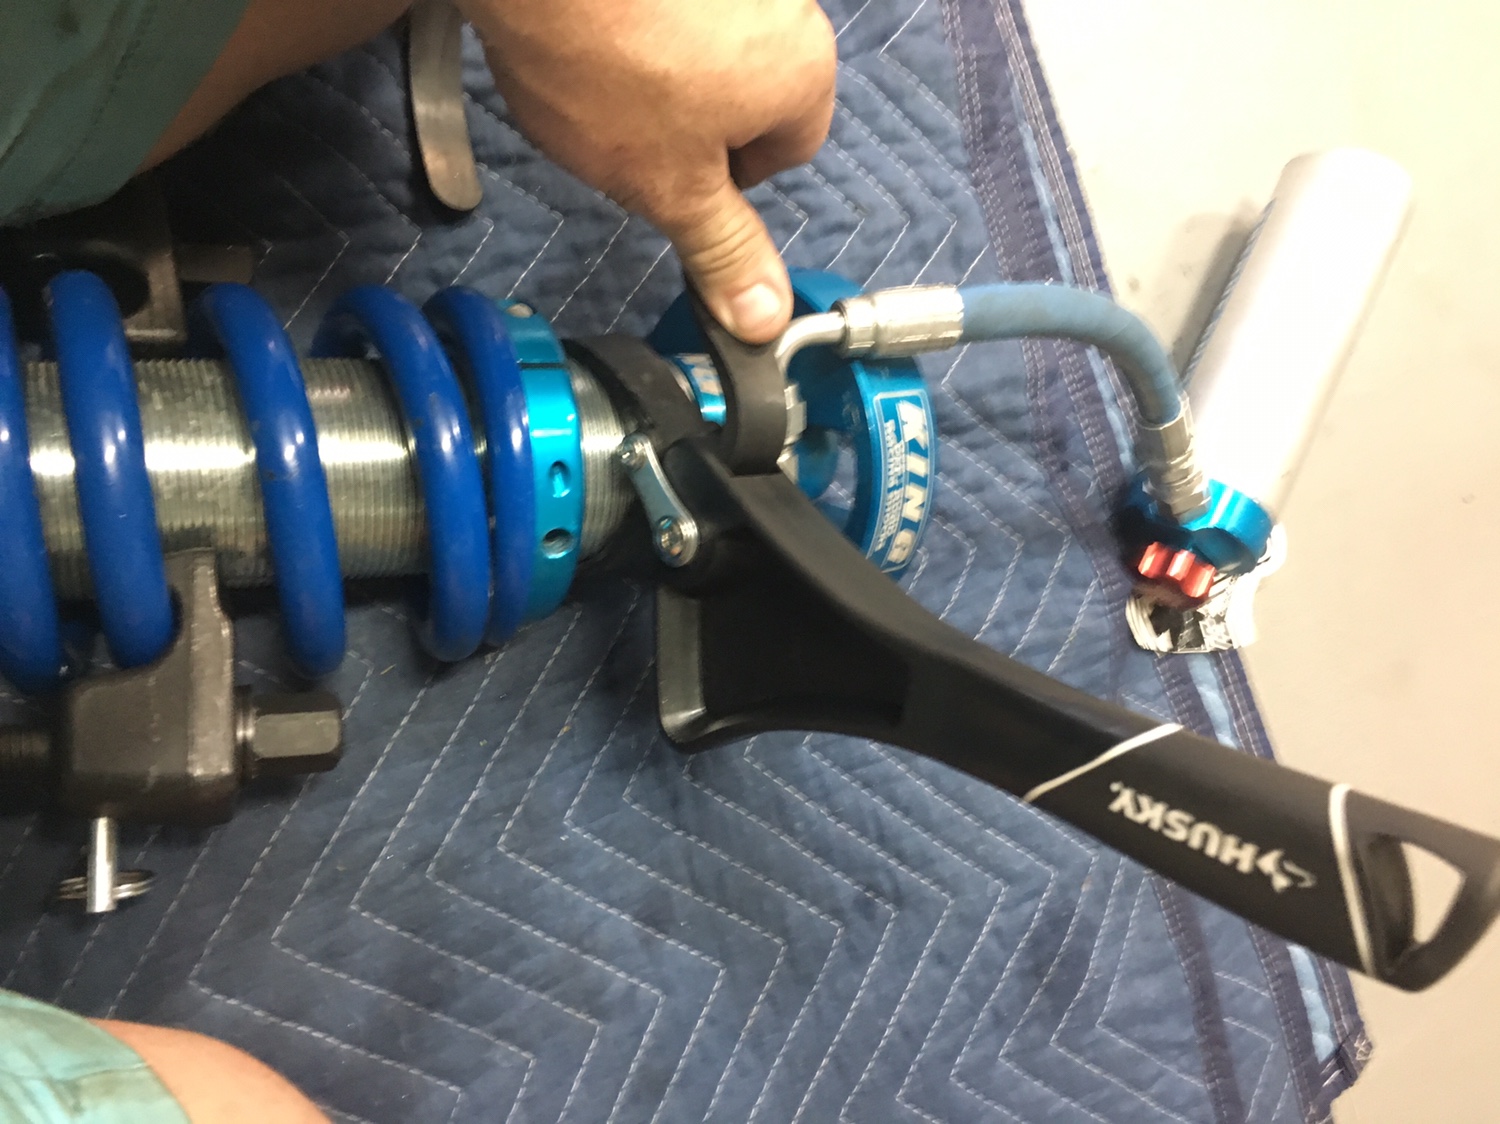
Next up: Fronts, which is way more work. Adjusting these guys are a pain. You need to compress the springs, and contrary to what you may think, each side needs to sit differently in order to get the truck even. In order to adjust you have to uninstall the coilover, so your basically for sure going to do the install at least twice! Thankfully I nailed it on the second install and didn't have to do a third!

Also.. I decided to upgrade the Upper Control Arms in order to be able to get the alignment to where it needs to be.

a57819cc65a465a8aae6b5cb6263687f.jpg

8ed8e06c4ccbfd5f3e0847b9a941fed8.jpg

282943bda64436fa1d5a0d207edc80b2.jpg
1be3c2122c7cea84820836b61ff237d4.jpg

This "pipe wrench" type tool helped with the coilover adjustment:
e70a7b34c2cb27f9a295b0e2417ea97b.jpg


e3ca16edf299bf78f6116cd48e10a130.jpg


36d62ae0d1247e3236f691fe74d44924.jpg


ab320269e5a6967393d508347bb096fc.jpg


Sent from my iPhone using Tapatalk
 
I kept thinking to myself that I have seen this rig somewhere else...then I checked your instagram ...YUP I follow you there!

VERY NICELY DONE!
 

Members online

Forum statistics

Threads
278,310
Messages
3,554,080
Members
248,016
Latest member
Advally Service

Trending content

Back
Top