You are using an out of date browser. It may not display this or other websites correctly.
You should upgrade or use an alternative browser.
You should upgrade or use an alternative browser.
a few pics of my truck
- Thread starter T?@\7
- Start date


PitbullRescuer
New member
I come over to the Classic forum because I secretly want to be one of you guys. LOL, maybe not so secretly actually. Nice truck, looks great. Sorry about your pup too, I lost two of my Boxers to cancer, hardest thing I've ever been through.

awbartley
New member
Looks to me more like the camber is off.Nice!
Is it a trick of the camera, or does your front wheels look like they are 'toe-in'?
Is a wheel alignment in it's future?

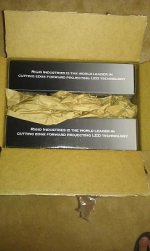
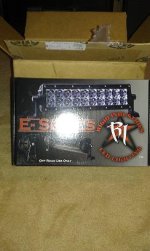
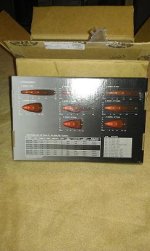
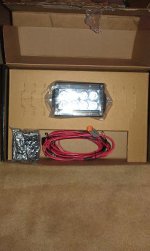
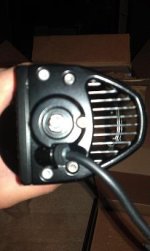
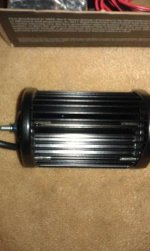
some cool videos
Tortured - Rigid Industries - YouTube
www.youtube.com/watch?v=EXMzkh-NzJk
Rigid Dually 2x2 Night shot comparison - YouTube
Toyota Tacoma Hood Scoop LED - YouTube
#1 is obviously badas5, #2 is a 4R..... all goodness
Tortured - Rigid Industries - YouTube
www.youtube.com/watch?v=EXMzkh-NzJk
Rigid Dually 2x2 Night shot comparison - YouTube
Toyota Tacoma Hood Scoop LED - YouTube
#1 is obviously badas5, #2 is a 4R..... all goodness
bumper update
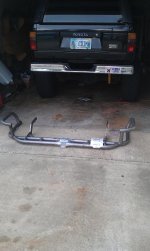
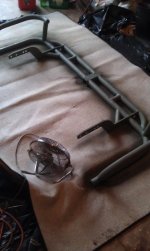
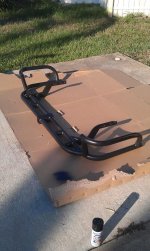
Decided against powdercoat for the bumpers 1 for cost and 2 to avoid the hassle of finding a pc'er locally with a big enough oven. I am following in FoGs steps and went with rustoleum self etching primer and rustoleum black hammered texture paint. I cleaned and primed both f&r and will have the rear finished tonight. Probably will have used three cans of paint when I'm done. Been goin really slow, because TS DEBBIE is making it rain and I really want them to.come out GOOD. I'm hoping to get started painting the front tomo after work. Pics to come
Ray
Decided against powdercoat for the bumpers 1 for cost and 2 to avoid the hassle of finding a pc'er locally with a big enough oven. I am following in FoGs steps and went with rustoleum self etching primer and rustoleum black hammered texture paint. I cleaned and primed both f&r and will have the rear finished tonight. Probably will have used three cans of paint when I'm done. Been goin really slow, because TS DEBBIE is making it rain and I really want them to.come out GOOD. I'm hoping to get started painting the front tomo after work. Pics to come
Ray

Footofgod
New member
And the best part is if you scratch it wheeling (like I do), you just spritz a little paint over the scratch and continue with life. Looks good!
Just went back a page. Do you plan on getting your beautiful black body dirty?
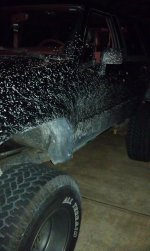
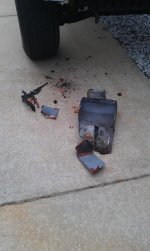
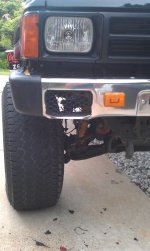
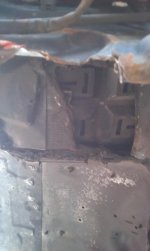
this evening i decided to rip out the old 'raim air' that one of the PO's setup. the 2nd or 3rd owner of this truck turbo'd the motor (not the one thats in it now  ) and this mustve been part of the intake setup. it was a ram air style intake setup using the pass. side blinker hole in the bumper, some sh1tty as redneck engineered tin and a hole that exists under what is now the (normal) location of the battery.
Pic 1) the sh1te tin that i pulled out from underneath there, been wanting to for 2 years now.....
pic 2) the modified turn signal hole for ramming air, HAHA
pic 3) the hole underneath my battery tray
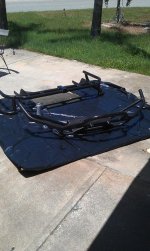
pic 4) updated shot of both bumpers (so stoked to get em on)
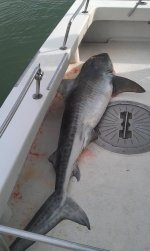
pic 5) an 8'6" tigershark
) and this mustve been part of the intake setup. it was a ram air style intake setup using the pass. side blinker hole in the bumper, some sh1tty as redneck engineered tin and a hole that exists under what is now the (normal) location of the battery.Pic 1) the sh1te tin that i pulled out from underneath there, been wanting to for 2 years now.....
pic 2) the modified turn signal hole for ramming air, HAHA
pic 3) the hole underneath my battery tray
pic 4) updated shot of both bumpers (so stoked to get em on)
pic 5) an 8'6" tigershark