fightman80
New member
Well, did a couple of things to the 4Runner this month! I was only planning on doing my inner tie rod, and the lower ball joints, but ended up doing the entire front end!
The project started on April 4th, 2012 and ended May 2nd!
April 4th work:
Pic of the parts I picked up:

I paid $115.00 for the inner tie rod and $93.00 for the outer TRE, but didn't plan on using the outer unless I really needed to replace it. Both were good quality aftermarket replacements.
Pics of the day's debacles:


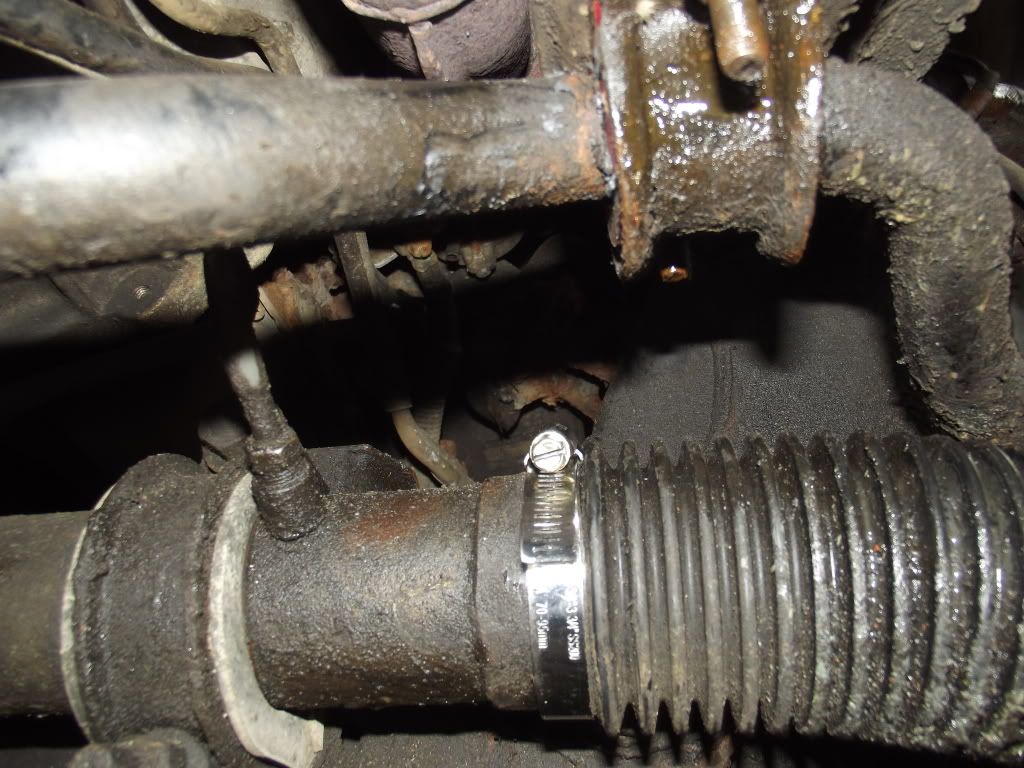
We got it done.... messed up the boot on the outer tie rod end. I tried to hammer on the knuckle (as instructed by 2 other guys), but didn't work for me. I then tried the pickle forks the part store lent me, which messed up the boot on the outer TRE. That didn't work either, so I finally just put the castle nut on the bolt again, and just tapped it down. Then I had trouble separating the inner and outer tie rods from eachother, so I opted to just remove the entire assembly as one unit. I couldn't get any leverage on the inner tie rod, and ended up giving up! A quick text to LDForget, and he ended up coming over to save my tail again.
Together, we figured out that if we used a short pipe on the end of pipe wrench, we could get enough leverage on the inner tie rod to turn it. It finally worked, and we were good to go.

Pic of the old inner Tie Rod:

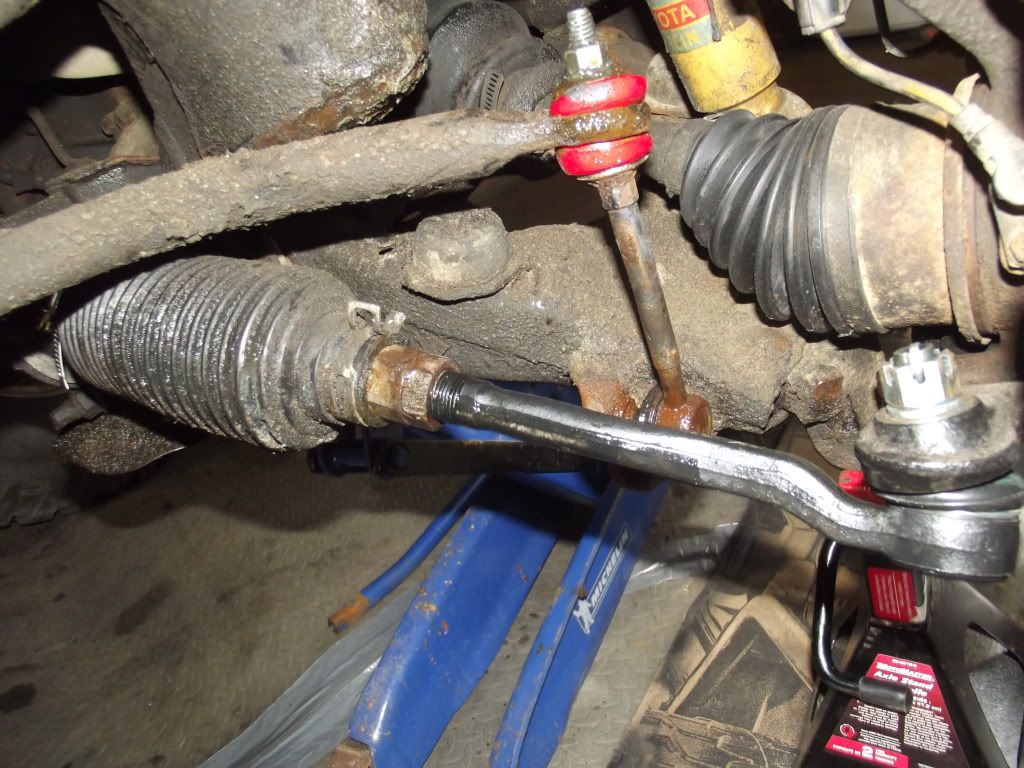
We had tried to clean up the old boot on the outer tie rod, and Permatex'd it to see if it could be salvaged. Unfortunately, it was still oozing out grease. I tried to call 3 different part stores to buy just the boot, they didn't have em. So, I ended up using the Outer Tie Rod I ordered, and the job cost me another $93.00.
Pic of the two installed:

Aside from the cost of the two parts, I payed $10.00 for a second Crescent Wrench, in an effort to detach the inner tie Rod from the Outer TRE. I also tossed Lee $20.00 for driving out here and saving my a$$. He's always willing to help, but living a half hour drive away, is a major pain, so paying him this, was the least I could do!
April 15th work:
I got my stabilizer bushings for the rear of the truck... so got those put on! Well half of them anyway... lol!
First I removed the old ones:

Note the little bushings... those are from the front... I swapped those out today too.
This is a shot of the main bushings installed:
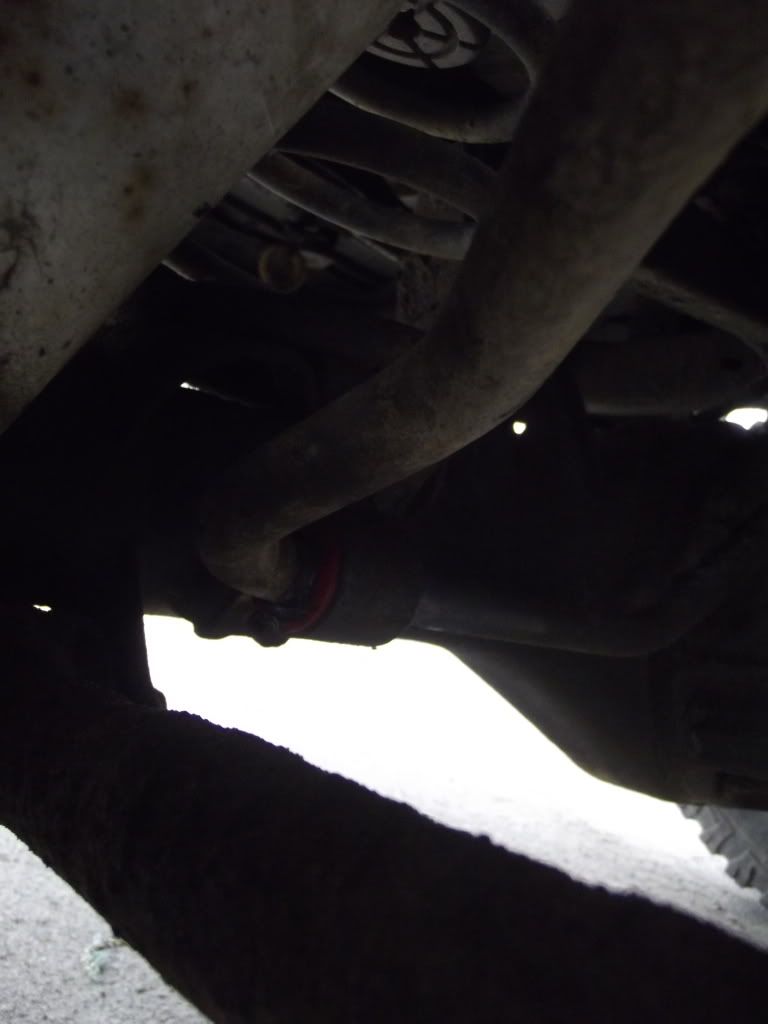
Now like I mentionned above, I changed out the link bushings that day, but not before I bent the passenger side bushing trying to install the new polys!
I had tried to thread on the top nut, but apparently the nut and stud was completely rotted and simply stripped when messed with it.
My buddy (who happens to be an awesome welder), tried to save me a couple of bucks, and heated up the link to get it back in shape, and then cut and welded a new stud on the top.

It seems pretty strong... but will probably break sooner than later. I'm gonna ride it out, and once it breaks, I'll swap it out.
As for the rear link bushings, I'm gonna wait til next month, and then order some longer front links from a 95 4Runner 4X4. Once I get those in, I'll install the new poly bushings with those too.
April 20th, got some new parts!
Well, I got my parts in from Toyota of Dallas! Even with the shipping costs, and customs fees... Upper and lower ball joints for both the passenger and driver side cost me $311.47!

Now, most of you are probably thinking, that's not that great of a deal.... but let me explain! When I got home, I called the local Laking Toyota and asked them how much for all with taxes..... are you ready????? Drum roll.....................
That's $282.45 more than I paid!!!
From now on, I'm ordering from Toyota of Dallas! Screw Laking Toyota!
The project started on April 4th, 2012 and ended May 2nd!
April 4th work:
Pic of the parts I picked up:
I paid $115.00 for the inner tie rod and $93.00 for the outer TRE, but didn't plan on using the outer unless I really needed to replace it. Both were good quality aftermarket replacements.
Pics of the day's debacles:
We got it done.... messed up the boot on the outer tie rod end. I tried to hammer on the knuckle (as instructed by 2 other guys), but didn't work for me. I then tried the pickle forks the part store lent me, which messed up the boot on the outer TRE. That didn't work either, so I finally just put the castle nut on the bolt again, and just tapped it down. Then I had trouble separating the inner and outer tie rods from eachother, so I opted to just remove the entire assembly as one unit. I couldn't get any leverage on the inner tie rod, and ended up giving up! A quick text to LDForget, and he ended up coming over to save my tail again.
Together, we figured out that if we used a short pipe on the end of pipe wrench, we could get enough leverage on the inner tie rod to turn it. It finally worked, and we were good to go.
Pic of the old inner Tie Rod:
We had tried to clean up the old boot on the outer tie rod, and Permatex'd it to see if it could be salvaged. Unfortunately, it was still oozing out grease. I tried to call 3 different part stores to buy just the boot, they didn't have em. So, I ended up using the Outer Tie Rod I ordered, and the job cost me another $93.00.
Pic of the two installed:
Aside from the cost of the two parts, I payed $10.00 for a second Crescent Wrench, in an effort to detach the inner tie Rod from the Outer TRE. I also tossed Lee $20.00 for driving out here and saving my a$$. He's always willing to help, but living a half hour drive away, is a major pain, so paying him this, was the least I could do!
April 15th work:
I got my stabilizer bushings for the rear of the truck... so got those put on! Well half of them anyway... lol!
First I removed the old ones:
Note the little bushings... those are from the front... I swapped those out today too.
This is a shot of the main bushings installed:
Now like I mentionned above, I changed out the link bushings that day, but not before I bent the passenger side bushing trying to install the new polys!
I had tried to thread on the top nut, but apparently the nut and stud was completely rotted and simply stripped when messed with it.
My buddy (who happens to be an awesome welder), tried to save me a couple of bucks, and heated up the link to get it back in shape, and then cut and welded a new stud on the top.
It seems pretty strong... but will probably break sooner than later. I'm gonna ride it out, and once it breaks, I'll swap it out.
As for the rear link bushings, I'm gonna wait til next month, and then order some longer front links from a 95 4Runner 4X4. Once I get those in, I'll install the new poly bushings with those too.
April 20th, got some new parts!
Well, I got my parts in from Toyota of Dallas! Even with the shipping costs, and customs fees... Upper and lower ball joints for both the passenger and driver side cost me $311.47!
Now, most of you are probably thinking, that's not that great of a deal.... but let me explain! When I got home, I called the local Laking Toyota and asked them how much for all with taxes..... are you ready????? Drum roll.....................
$593.92!
That's $282.45 more than I paid!!!
From now on, I'm ordering from Toyota of Dallas! Screw Laking Toyota!