Headlight Restoration w/ Pics
Just thought I would through this out there for anyone that might be looking for option with their old or oxidized headlights.
My 4Runner's headlights were not that considering their age, but my driver side light had some visible oxidation that made it look old and dingy next to the passenger side light.
After searching around for different cleaning/restoration options, I decided to follow the directions from this youtube video.
Ultimate Headlight Restoration - YouTube
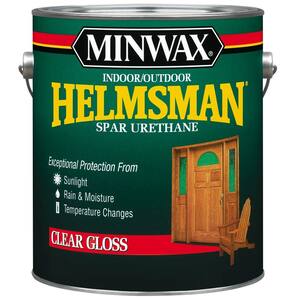
I went out and purchased 600, 800, 1000, 1500, and 2000 grit wet/dry sand paper. The paper was about $4.99 per grit for a package of 5 sheets. I also bought some Miniwax Helsman Spa Urethane. All together I spent about $50 on materials. I already had some mineral spirits and blue shop towels.
Since my headlights weren't too bad, I started with the 800 grit and worked my way up to 2000. After sanding, I cleaned them again with soapy water then with mineral spirits. I then applied the mix of mineral spirits and urethane.
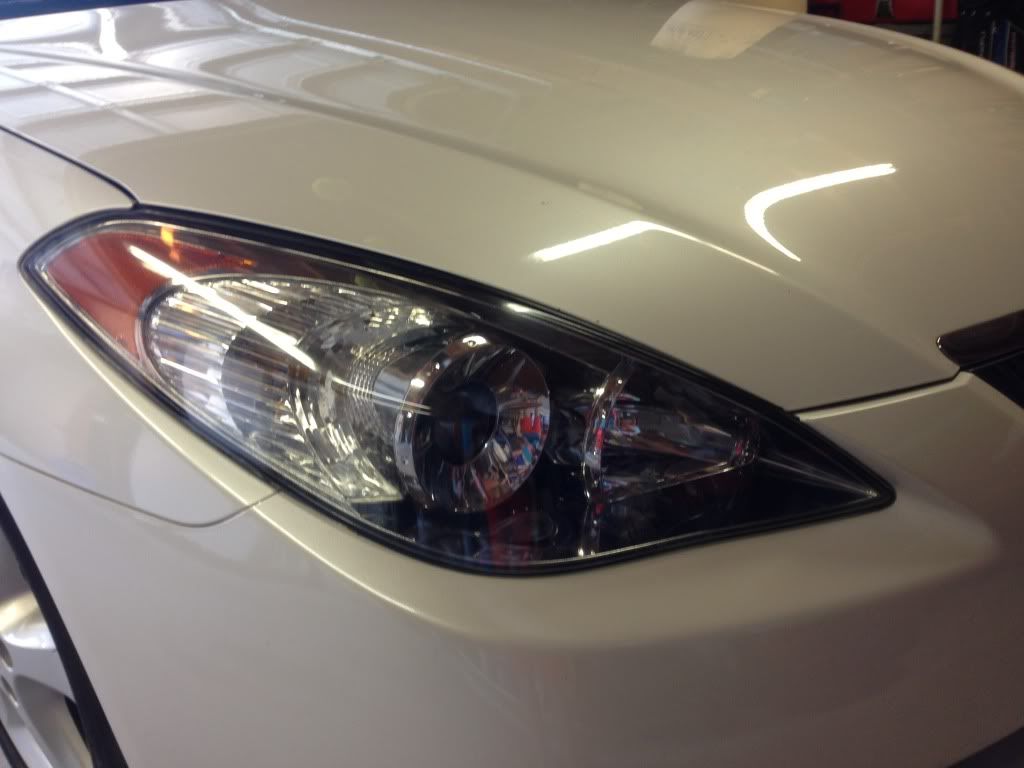
I was a little leery of sanding my headlights before I started, but now that they are finished Im glad I did. The lights look pretty scratched and hazy before you apply the urethane mixture at the end. But after its applied, the lights look brand new.
Unfortunately I did not get any before and after pics of the 4Runner, however I did get some of my Mom's Solara, as I did her right after mine.
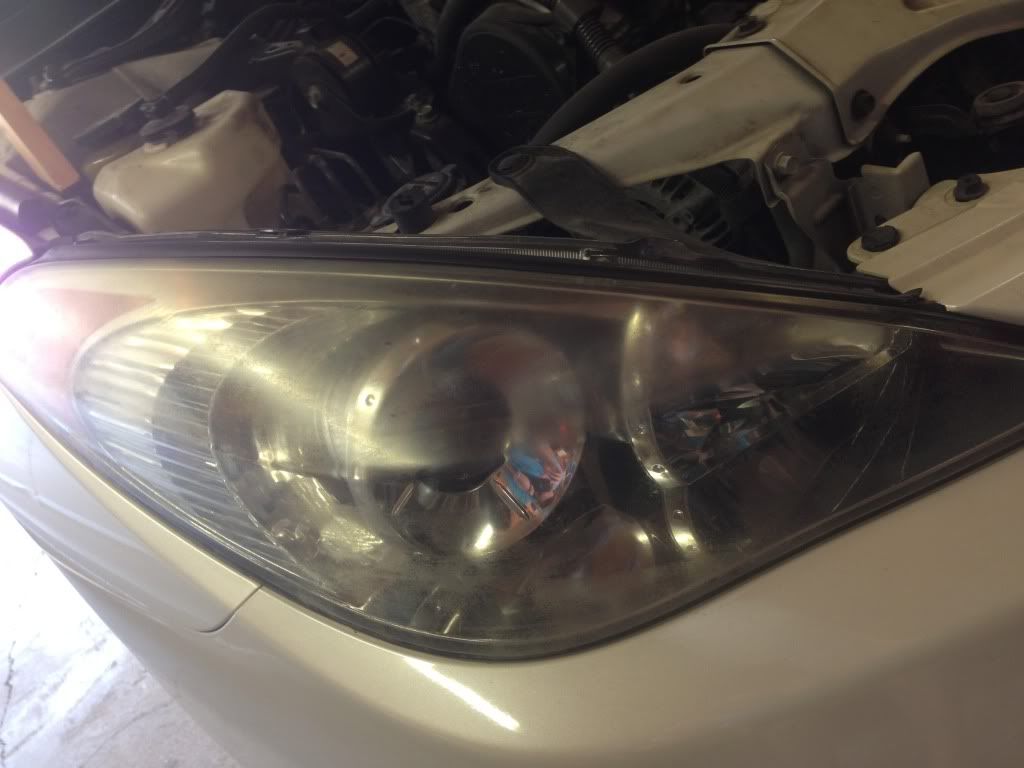
Here are some pics. Heres were considerably worse than mine before the restoration.
Before passenger side:
After passenger side:
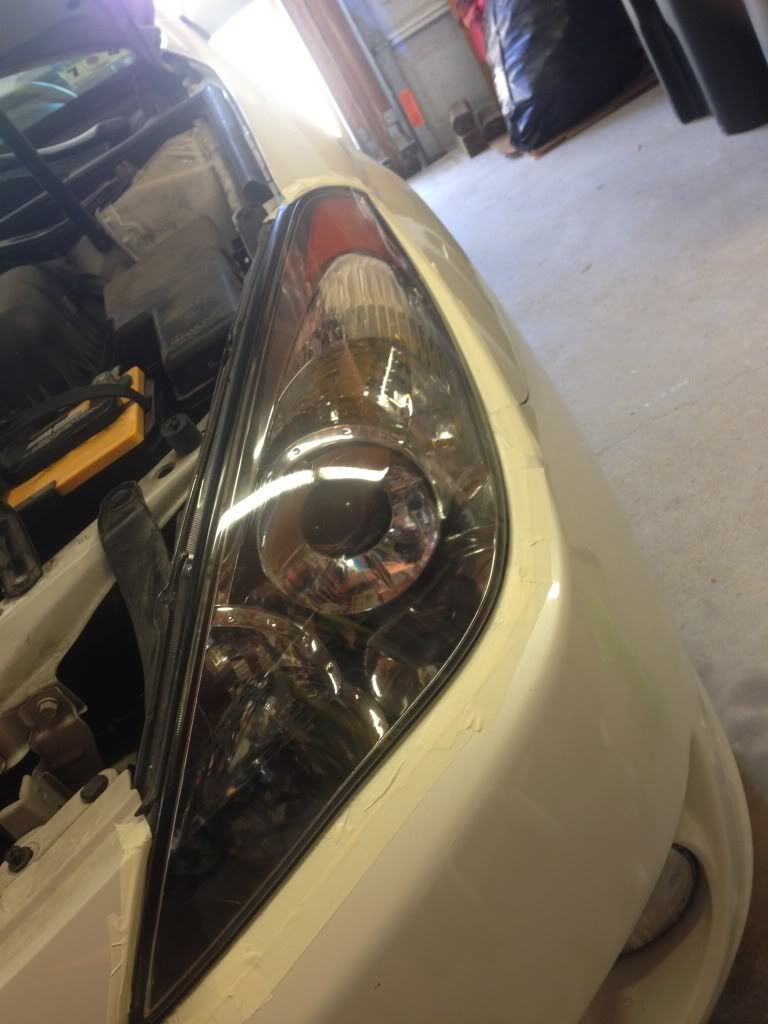
After driver side:
This was definitely a great outcome that did not take a whole lot of work. I would recommend this process to anyone looking to restore their headlights.
Just thought I would through this out there for anyone that might be looking for option with their old or oxidized headlights.
My 4Runner's headlights were not that considering their age, but my driver side light had some visible oxidation that made it look old and dingy next to the passenger side light.
After searching around for different cleaning/restoration options, I decided to follow the directions from this youtube video.
Ultimate Headlight Restoration - YouTube
I went out and purchased 600, 800, 1000, 1500, and 2000 grit wet/dry sand paper. The paper was about $4.99 per grit for a package of 5 sheets. I also bought some Miniwax Helsman Spa Urethane. All together I spent about $50 on materials. I already had some mineral spirits and blue shop towels.
Since my headlights weren't too bad, I started with the 800 grit and worked my way up to 2000. After sanding, I cleaned them again with soapy water then with mineral spirits. I then applied the mix of mineral spirits and urethane.
I was a little leery of sanding my headlights before I started, but now that they are finished Im glad I did. The lights look pretty scratched and hazy before you apply the urethane mixture at the end. But after its applied, the lights look brand new.
Unfortunately I did not get any before and after pics of the 4Runner, however I did get some of my Mom's Solara, as I did her right after mine.
Here are some pics. Heres were considerably worse than mine before the restoration.
Before passenger side:

After passenger side:

After driver side:

This was definitely a great outcome that did not take a whole lot of work. I would recommend this process to anyone looking to restore their headlights.