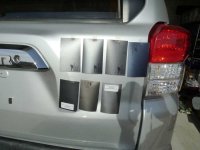
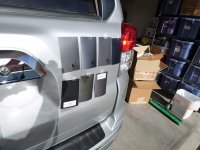
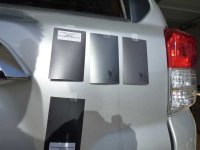
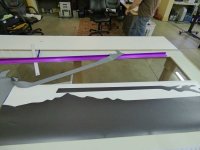
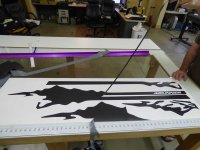
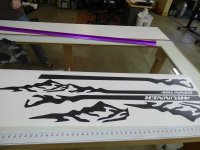
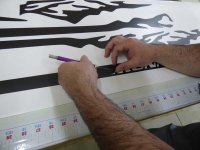
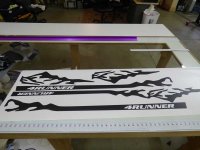
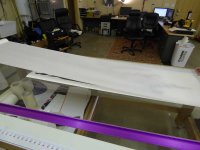
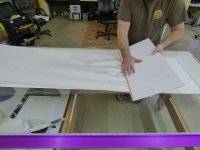
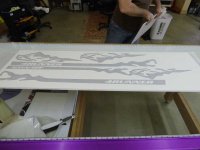
So I thought I would show some of the process of cutting, weeding, masking and installing graphics.
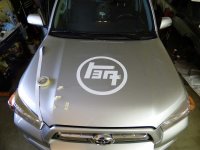
I was initially thinking of doing 4runner under the wrap then thinking about something a little larger. Then I learned about the history of the Toyota logo. Didn't really like the very first one, but found the second one pretty cool. It isn't a fully accurate logo since the initial company name was Toyoda and not Toyota. The change was made to reduce the number of strokes in the logo from 10 to 8 (which is considered a good number in the Japanese culture) Toyota Logo History
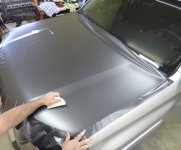
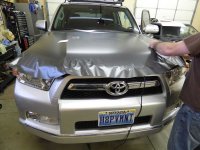
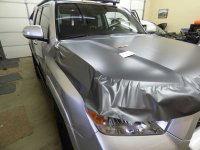
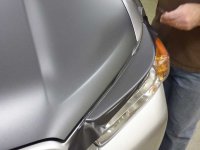
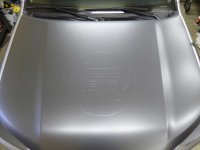
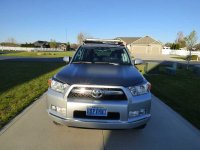
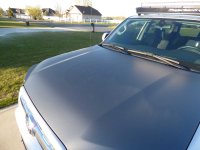
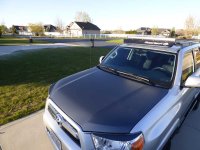
We found a scrap piece of vinyl that had been laminated and was about the right size, so did a quick layout and cut and install on the hood to see how it looked. THen we wrapped over it so it looks as if the hood-wrap is embossed.
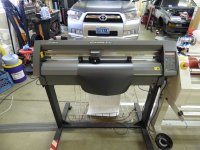
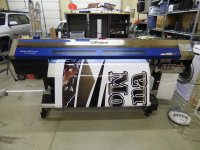
The first machine is a cutter. This machine will take a piece of vinyl and cut out any pattern you want. The second one is a printer cutter. It will print any design you want on up to 58 inch(edit 53 inch) by 60 feet, then cut it if it's a cut pattern. This is the type a machine that full vehicle wraps are printed on.
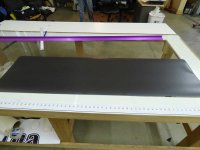
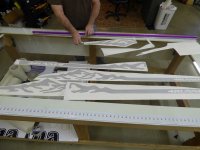
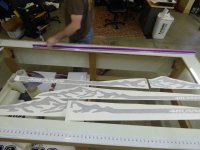
The next pics are what's called weeding. This is the process of removing the unneeded vinyl so the desired pattern is left.
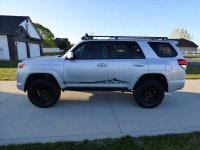
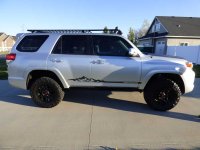
In an effort to save some vinyl we split the pattern at the door seam. This requires very accurate measurements.
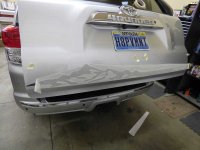
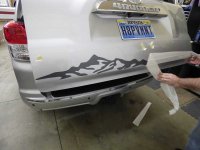
Then we move on to masking the pattern. This allows you to remove intricate patterns from the backing paper so it can be transferred to the surface.
You then line up the pattern, remove the backing paper and squeegee the pattern to the surface. (there is a detailed method to this procedure.Let me know if you want more details on it)
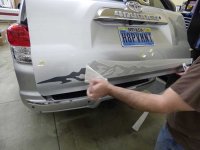
Then you remove the mask and your graphic in now finished.
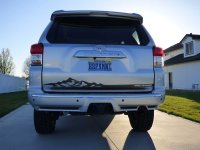
Here we have the finished layout. I like the design. I will probably remove the rear and move it higher. The curve on the back is strong enough to reflect the black on the bumper and it blends into the design. I need to move it higher to create a separation between the reflection and graphic.
I also need to fix the gap in the front of the hood. The hood looks as if it has been repainted so it may have been in an accident. I think lowering the bump stops a little will help.
That's turning out sweet !! Nice to have the right tools , I kinda micky'd mine, but man it works well on cutting the glare ! The grey looks good IMO . Might have to hook up with ya & redo my full hood ?
That's turning out sweet !! Nice to have the right tools , I kinda micky'd mine, but man it works well on cutting the glare ! The grey looks good IMO . Might have to hook up with ya & redo my full hood ?
I wish that was my setup. I am at a buddies shop in Boise.
But I can help you layout the wrap on the hood. I have done a few wraps but won't say I am an expert on it by any means.
I'm not a big fan of graphics on vehicles but I really like what you guys came up with. The TEQ logo gets a lot of play on Land Cruiser forums so it's nice to see it on a 4Runner for a change.
Curious, how much did you pay for the hood wrap? Material for Brian's hood was $130 bucks or so, and it literally took us under 30 minutes to completely wrap the hood, and that was just us taking our time.
Wrapping the hood is super easy too, there's only a couple of complex corners that need to be stretched, the rest just lays down on its own. This is something I could do in about a half hour by myself, but it's just easier with two people to peel, flip and stretch while laying it on the hood. After that its easily a one-man job to squeegee it down, stretch a bit on the front edge, wrap the edges in (don't forget tape primer on the bottom edge of the hood!) and clean up afterwards!
Now, if you want hard, you can wrap something like this: