hwohl Build Thread

hwohl

Junior Member
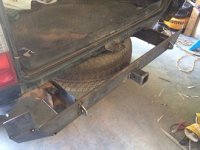
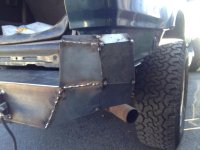
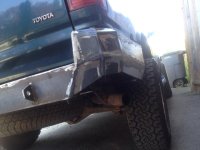
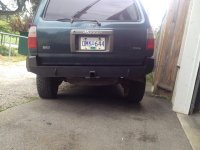
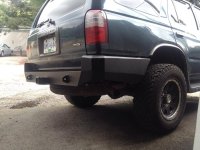
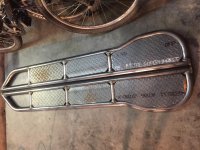
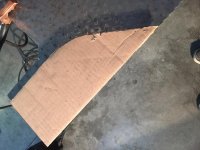
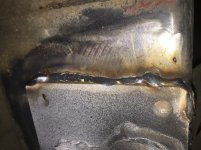
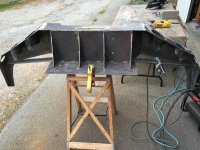
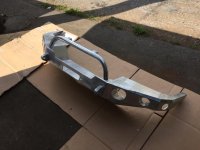
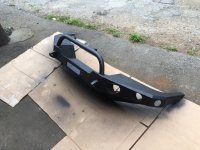
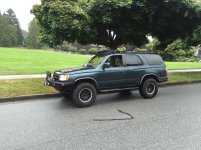
I started by purchasing a used welder and decided to build a rear bumper to replace my rusted-out one.
 

Attachments

  • Bumper 1.jpg
    Bumper 1.jpg
    19.2 KB · Views: 280
  • Bumper 2.jpg
    Bumper 2.jpg
    65 KB · Views: 263
  • Bumper 3.jpg
    Bumper 3.jpg
    66.9 KB · Views: 257
  • Bumper 4.jpg
    Bumper 4.jpg
    99.3 KB · Views: 303
  • Bumper 5.jpg
    Bumper 5.jpg
    97.2 KB · Views: 265
Register to hide this ad
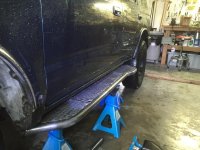
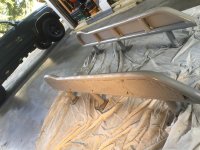
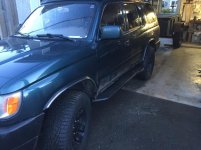
Next I purchased 4x Innovations Rock Sliders which I cut out plates so they could be used as steps as well (for the wife and kids).
 

Attachments

  • IMG_1952.jpg
    IMG_1952.jpg
    135.6 KB · Views: 279
  • IMG_1953.jpg
    IMG_1953.jpg
    130.6 KB · Views: 268
  • IMG_1954.jpg
    IMG_1954.jpg
    134.9 KB · Views: 246
  • IMG_1967.jpg
    IMG_1967.jpg
    133.6 KB · Views: 271
  • IMG_1969.jpg
    IMG_1969.jpg
    136.3 KB · Views: 272
  • IMG_1970.jpg
    IMG_1970.jpg
    131.7 KB · Views: 246
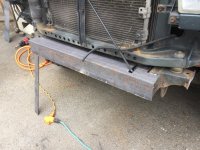
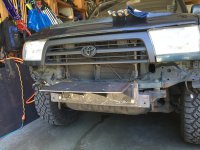
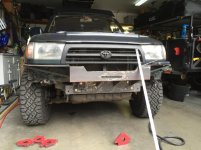
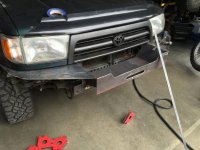
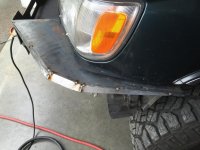
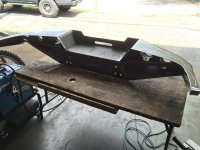
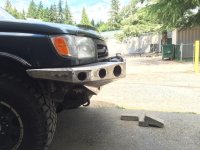
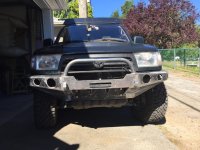
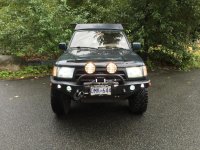
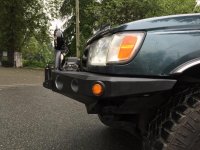
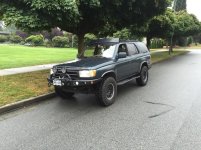
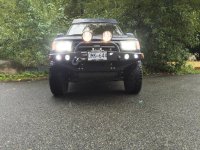
Since the rear bumper turned out so well, I wanted to replace the rusted front bumper with a winch carrying plate bumper. Spent a lot of time looking at what was available and went with Addicted to Off Road mounting system with a look similar to Blktpgsr ARB conversion. Was sick of the rust spots showing up on my plated rear bumper, so had it galvanized. I'm happy with the result.

 

Attachments

  • IMG_2254.jpg
    IMG_2254.jpg
    137.2 KB · Views: 240
  • IMG_2256.jpg
    IMG_2256.jpg
    134.8 KB · Views: 239
  • IMG_2257.jpg
    IMG_2257.jpg
    133 KB · Views: 229
  • IMG_2260.jpg
    IMG_2260.jpg
    135.3 KB · Views: 246
  • IMG_2263.jpg
    IMG_2263.jpg
    133.4 KB · Views: 237
  • IMG_2268.jpg
    IMG_2268.jpg
    137 KB · Views: 268
  • IMG_2271.jpg
    IMG_2271.jpg
    135.2 KB · Views: 276
  • IMG_2277.jpg
    IMG_2277.jpg
    137.1 KB · Views: 273
A few more pics to finish it off.
 

Attachments

  • IMG_2358.jpg
    IMG_2358.jpg
    137.6 KB · Views: 269
  • IMG_2427.jpg
    IMG_2427.jpg
    136.8 KB · Views: 261
  • IMG_2434.jpg
    IMG_2434.jpg
    136.2 KB · Views: 267
  • IMG_2441.jpg
    IMG_2441.jpg
    136 KB · Views: 249
  • IMG_2445.jpg
    IMG_2445.jpg
    137.1 KB · Views: 258
  • IMG_2448.jpg
    IMG_2448.jpg
    136.9 KB · Views: 287
  • IMG_2450.jpg
    IMG_2450.jpg
    134.6 KB · Views: 227
  • IMG_2443.jpg
    IMG_2443.jpg
    135.8 KB · Views: 228
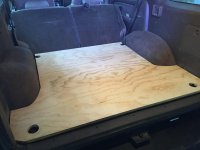
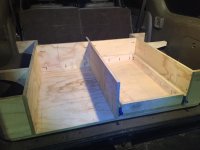
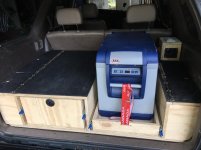
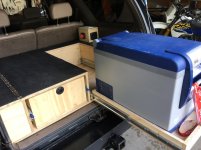
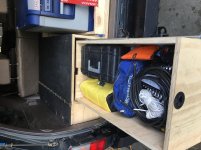
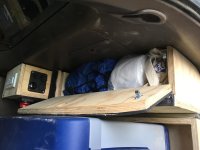
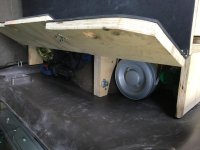
A month ago, I spent 3 nights putting together a drawer system with storage, fridge and extra battery for our trip to Utah. A bit rough, but works great.
 

Attachments

  • IMG_3140.jpg
    IMG_3140.jpg
    130.8 KB · Views: 253
  • IMG_3147.jpg
    IMG_3147.jpg
    129.2 KB · Views: 239
  • IMG_0390.jpg
    IMG_0390.jpg
    130.8 KB · Views: 239
  • IMG_0391.jpg
    IMG_0391.jpg
    129.1 KB · Views: 223
  • IMG_0394.jpg
    IMG_0394.jpg
    133.7 KB · Views: 262
  • IMG_0396.jpg
    IMG_0396.jpg
    125.1 KB · Views: 257
  • IMG_0397.jpg
    IMG_0397.jpg
    127.8 KB · Views: 210
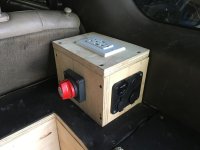
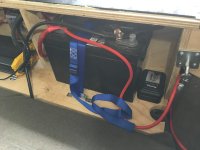
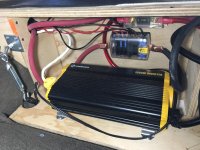
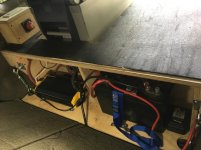
And Electrical System
 

Attachments

  • IMG_0393.jpg
    IMG_0393.jpg
    135.6 KB · Views: 203
  • IMG_0398.jpg
    IMG_0398.jpg
    125.1 KB · Views: 201
  • IMG_0399.jpg
    IMG_0399.jpg
    135.2 KB · Views: 209
  • IMG_0400.jpg
    IMG_0400.jpg
    133.7 KB · Views: 203
threads like these should have way more attention. i miss following peoples builds that do their own this fabrication like this. great job and thanks for sharing!
 

Members online

Forum statistics

Threads
278,305
Messages
3,554,042
Members
248,016
Latest member
Advally Service

Trending content

Back
Top