Installing Rago Fabrication Modular Panel - 3rd gen 4runner - **Pictures!**

ramonortiz55

New member
I was able to obtain a 3rd gen 4runner Rago Fabrication Modular panel for my rear side windows.

These panels will require drilling trim and removing the back cargo panels for proper installation.

I highly recommend:

1. Beer.

2. A friend to help you - This is not a solo job.

3. Time - This is not a job you want to start after work, during the week. You will need at least half a day to install both panels.
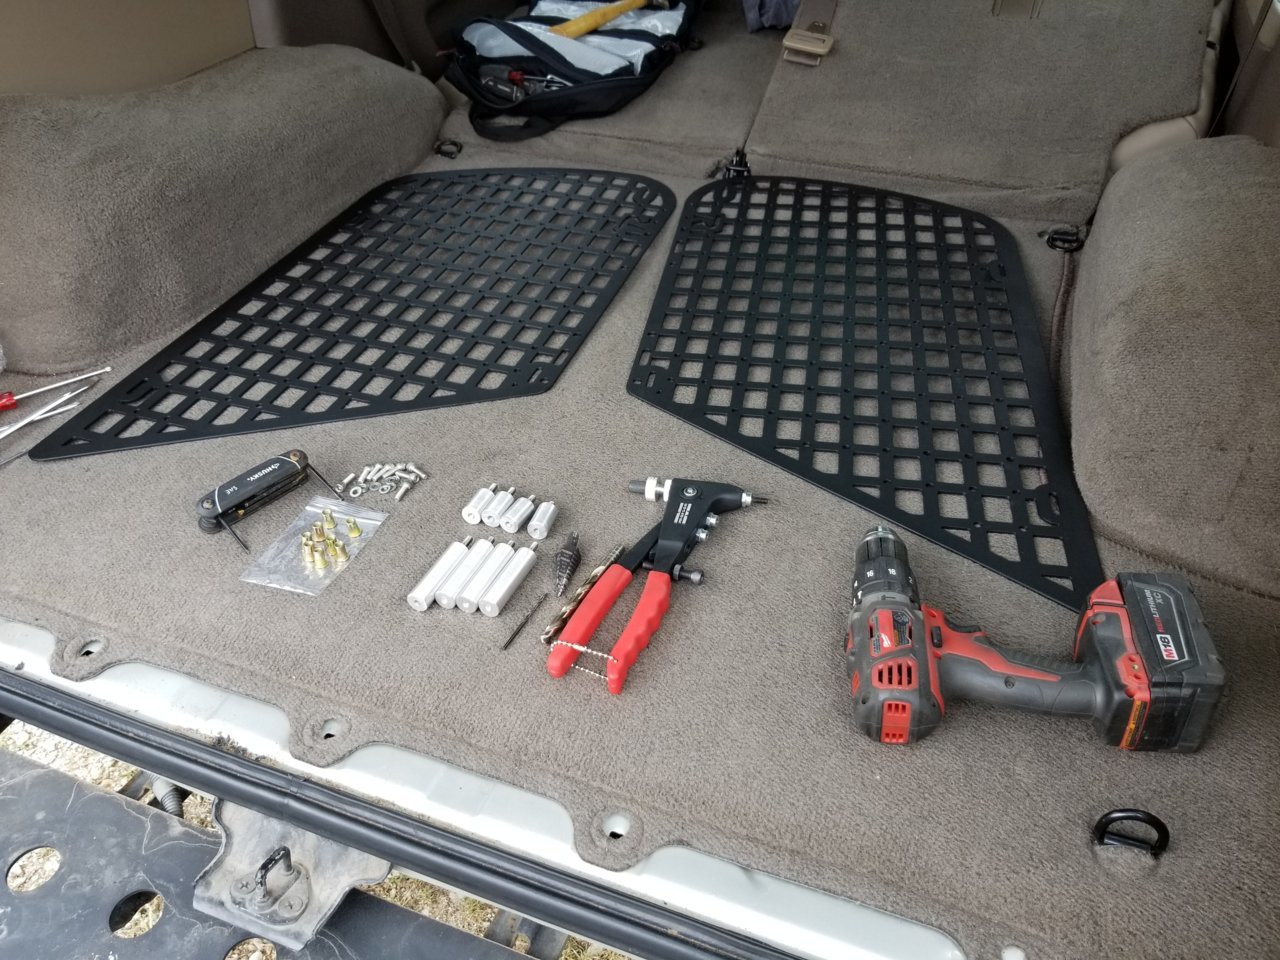


You will need a rivnut tool, a drill, a step bit that steps up to at least 3/4" diameter, and 1/8" pilot bit, and a 25/64" drill bit.

The 25/64" drill bit is important since the holes for the rivnuts must be EXACT. I recommend making sure the rivnuts in the packaging are all the same diameter and the drill bit is sized accordingly. There can not be room for error here.
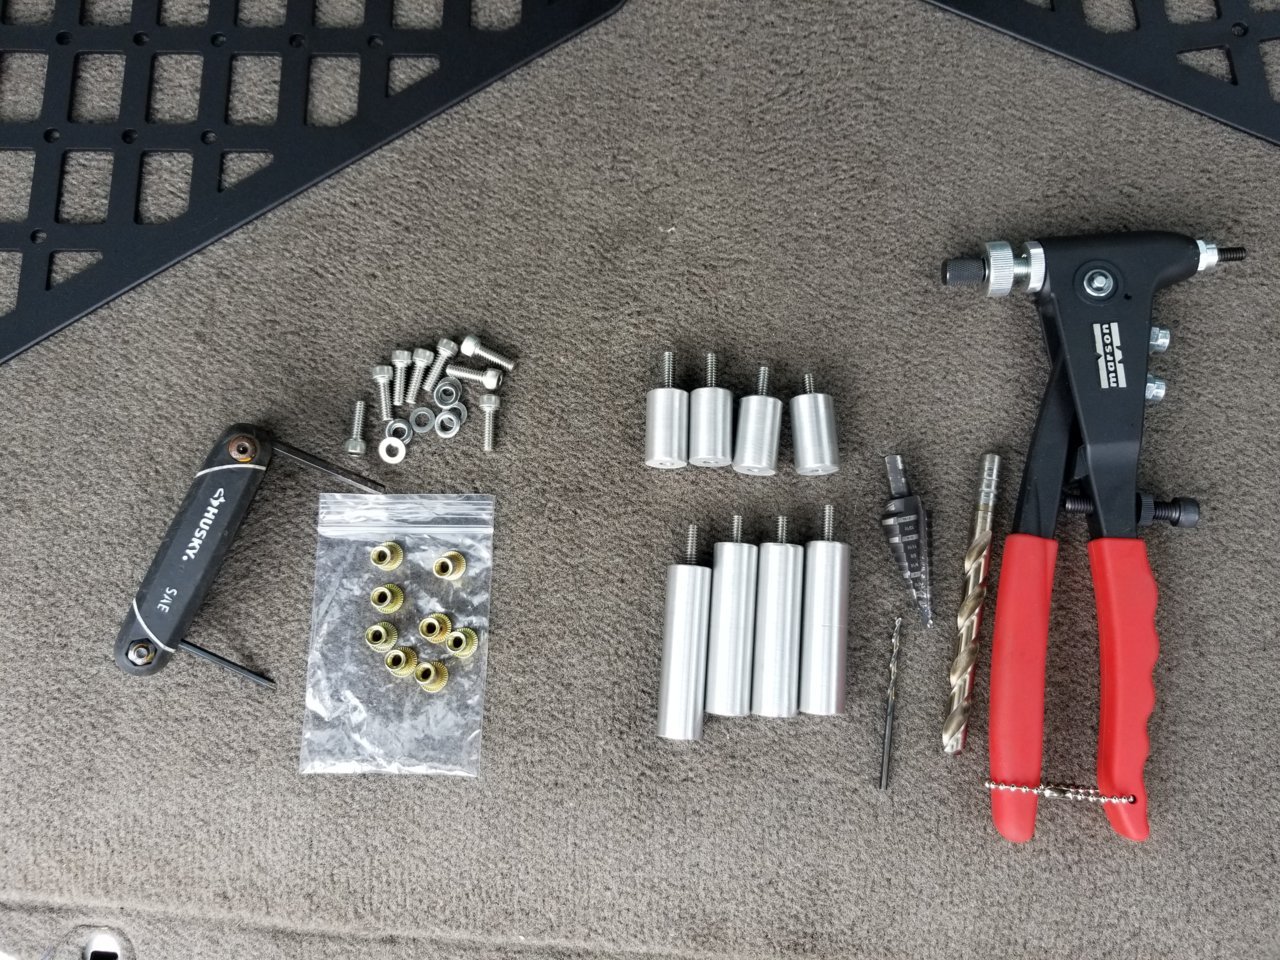


Make sure you have a helper. Even if it is your feline.
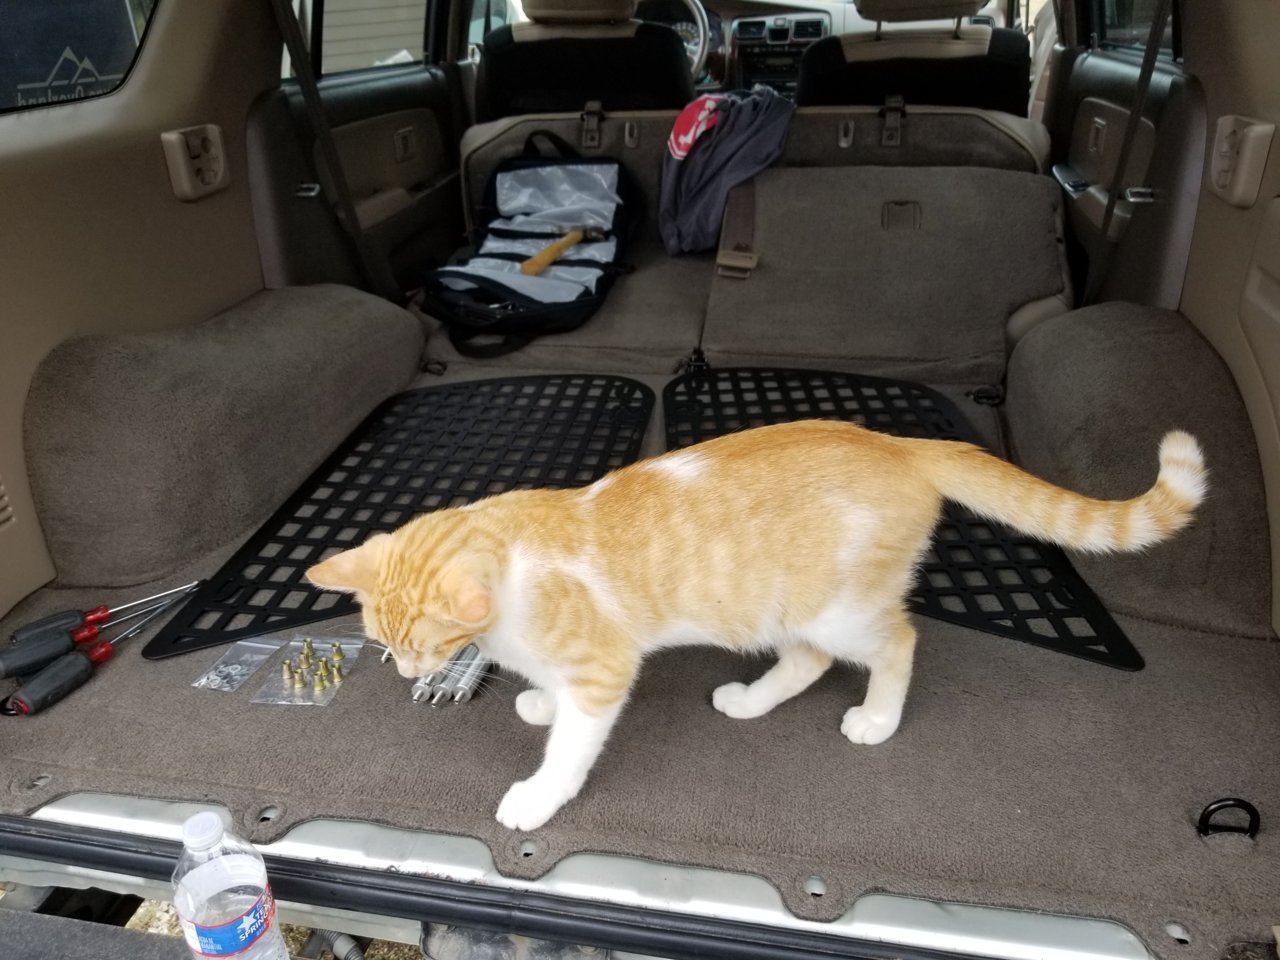


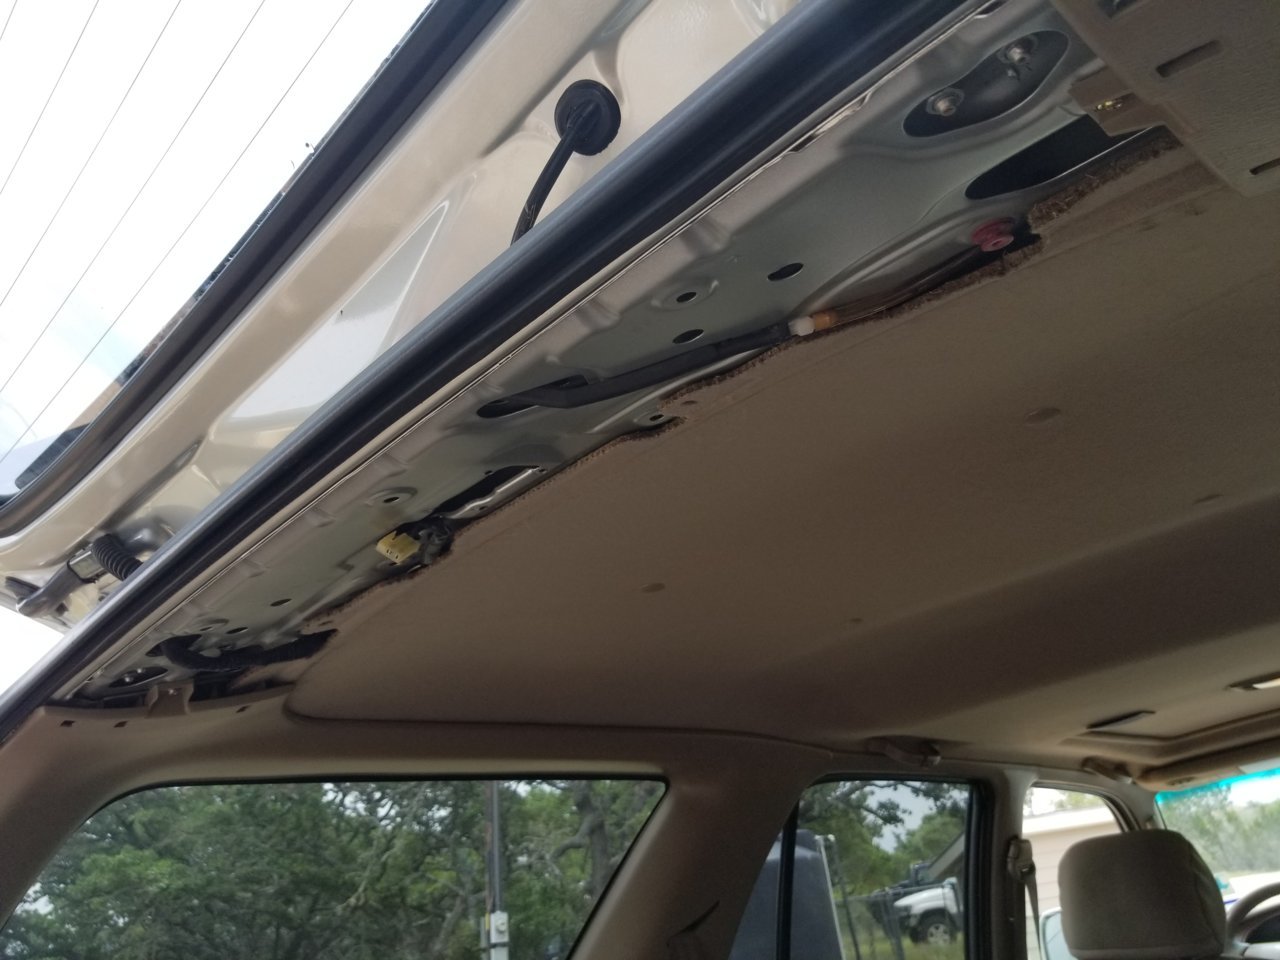
First order of business is to remove the rear cargo panels. The first thing to be removed is the hatch floor trim -
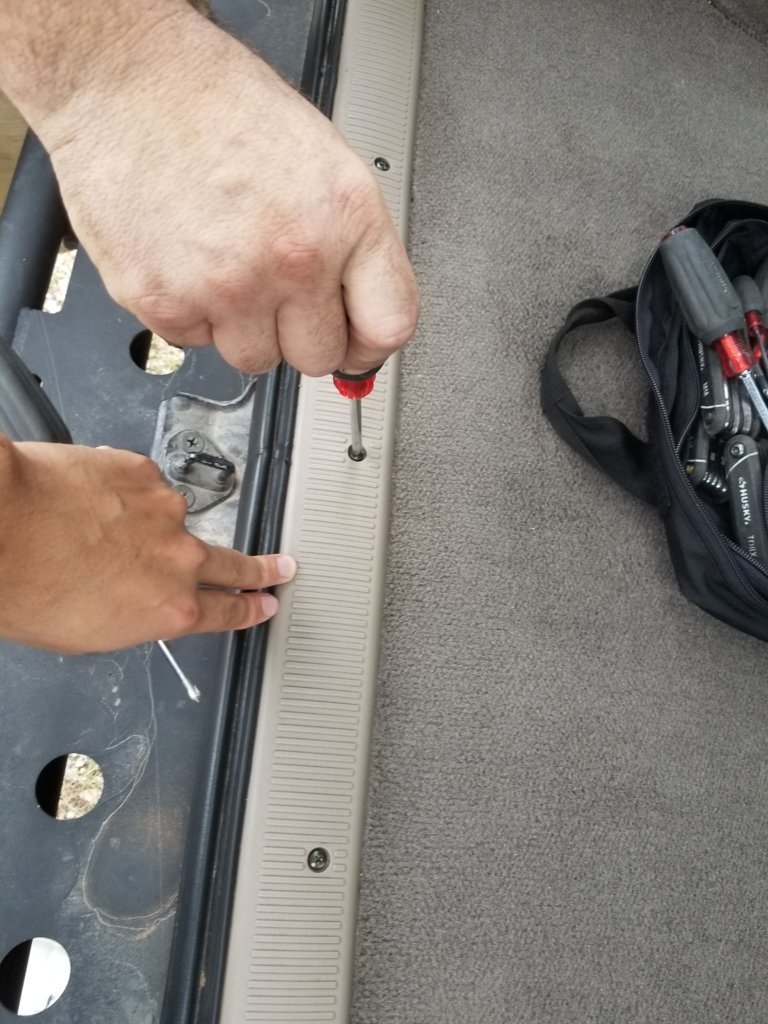
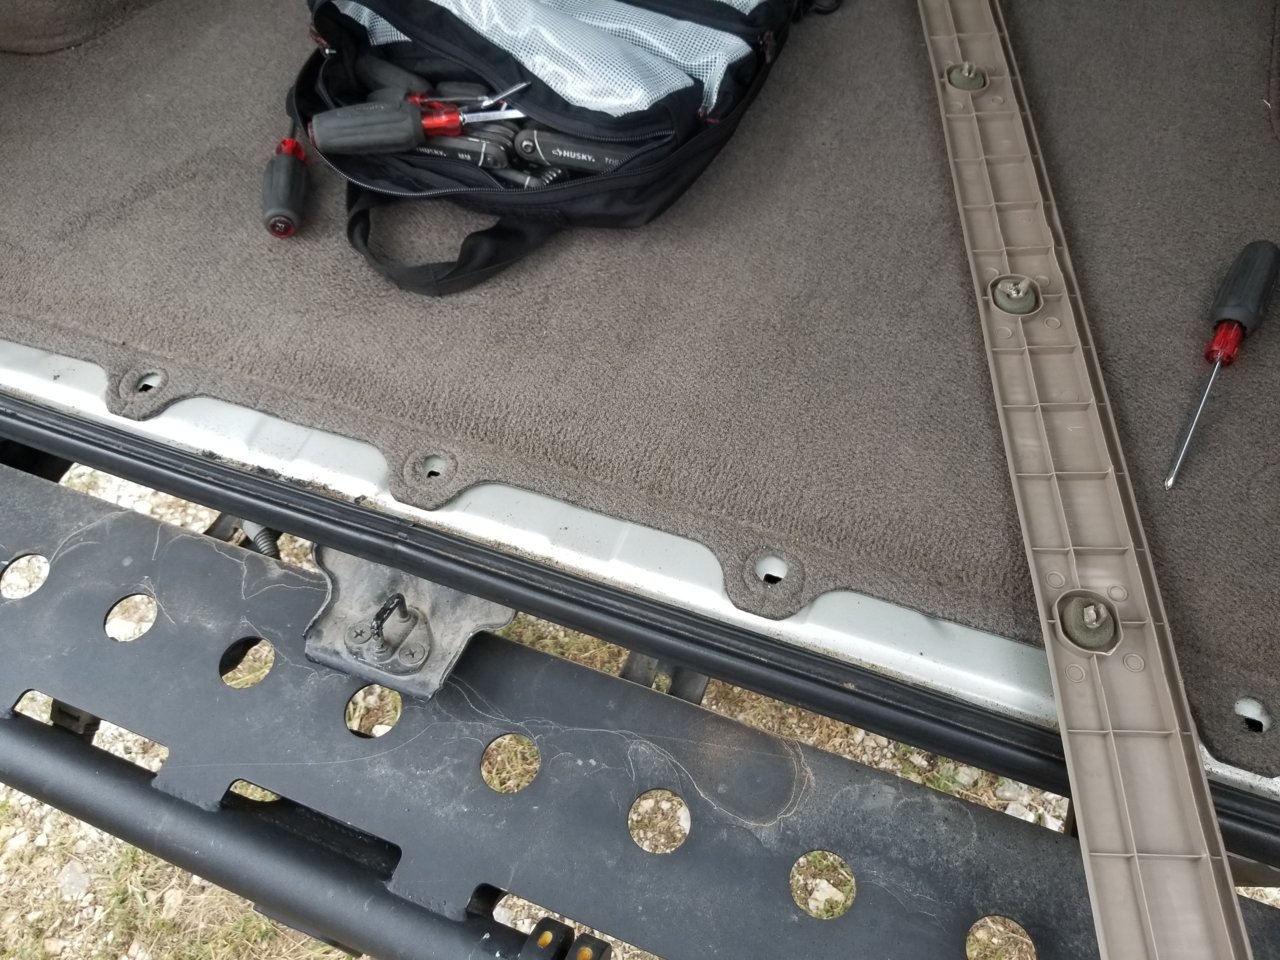


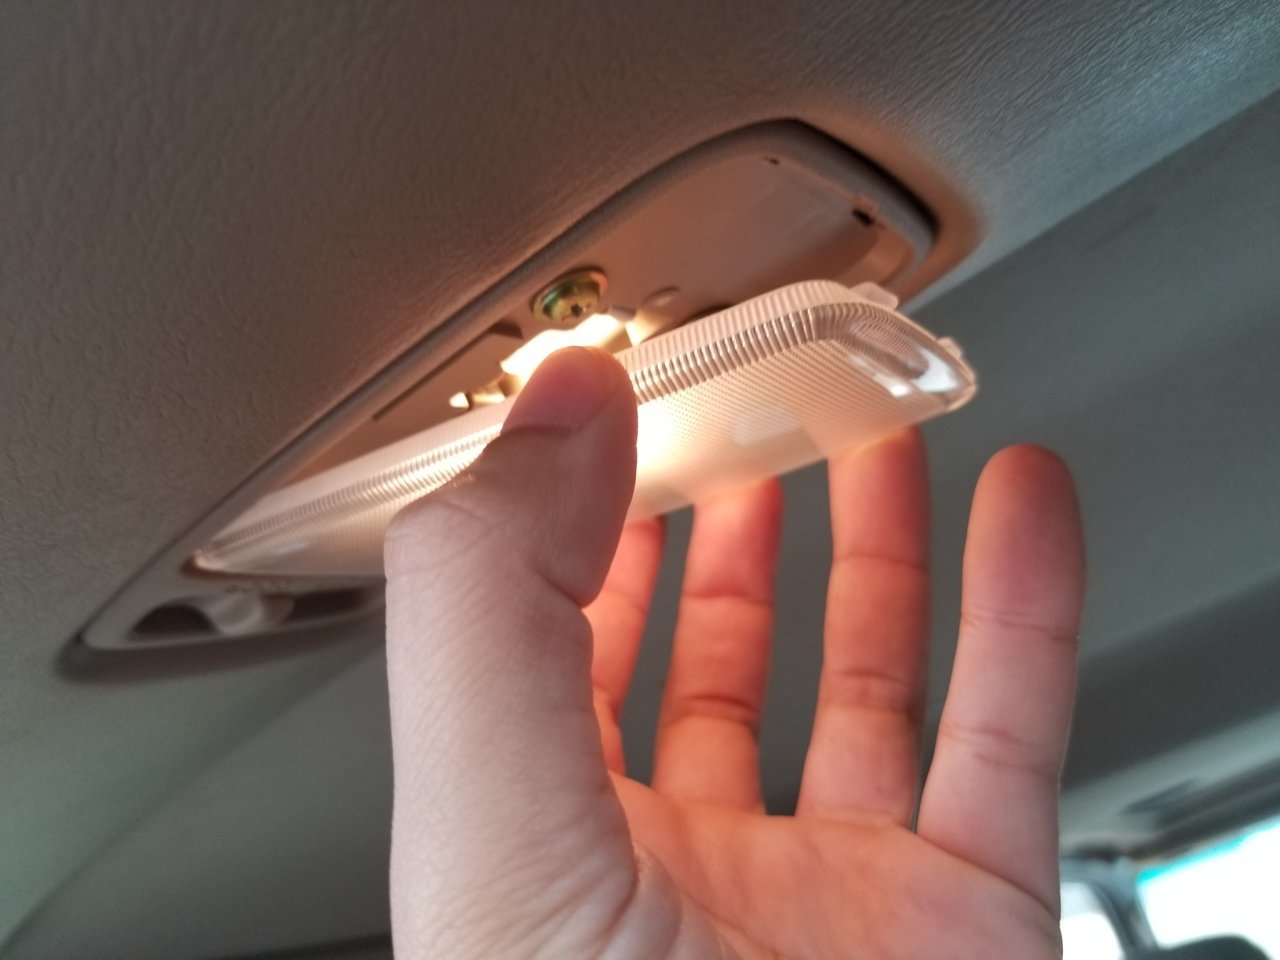
Next, remove the top panel where the hatch light is at.
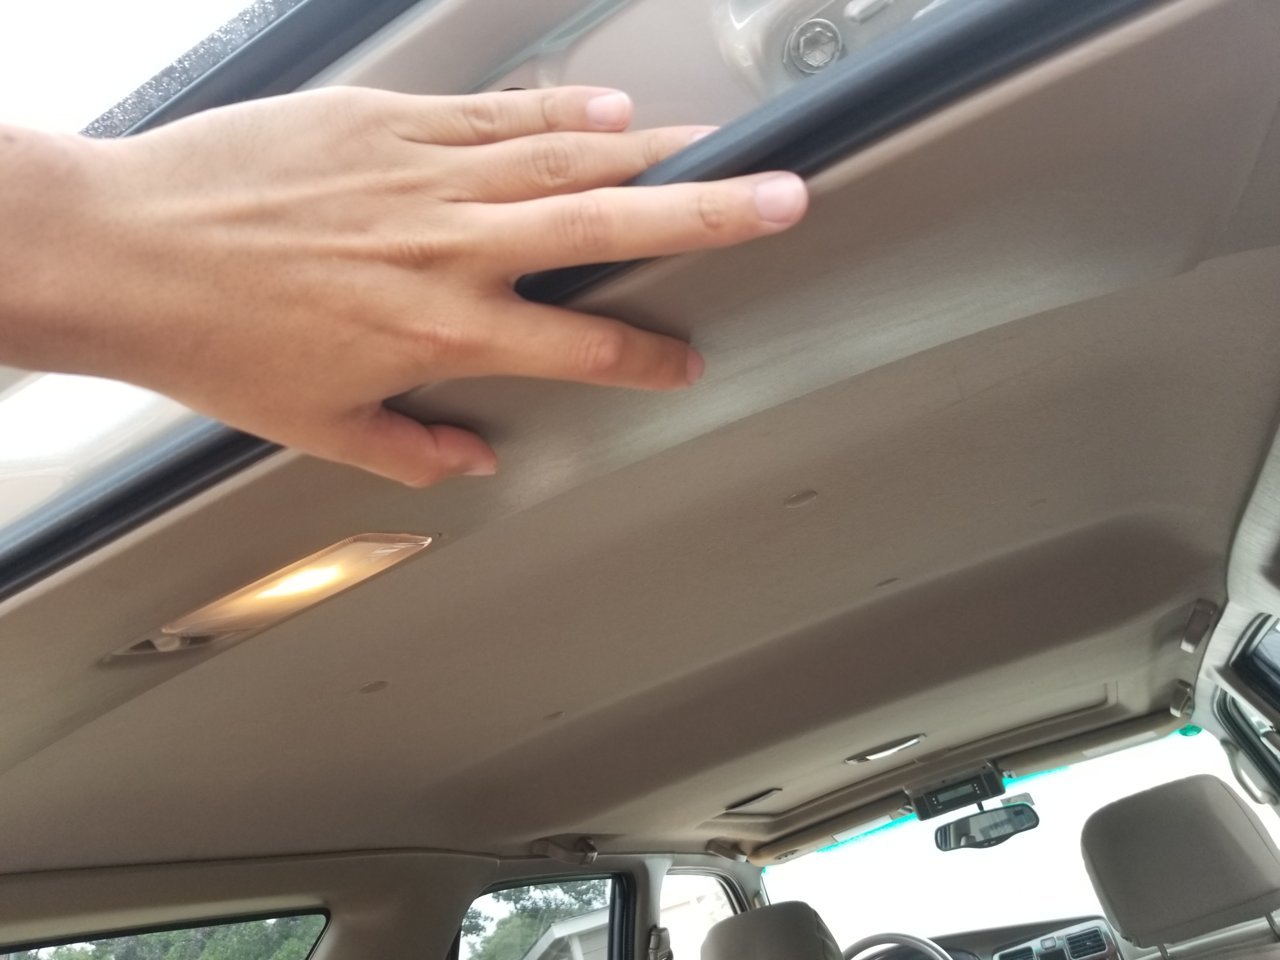


This is done by removing the light cover:


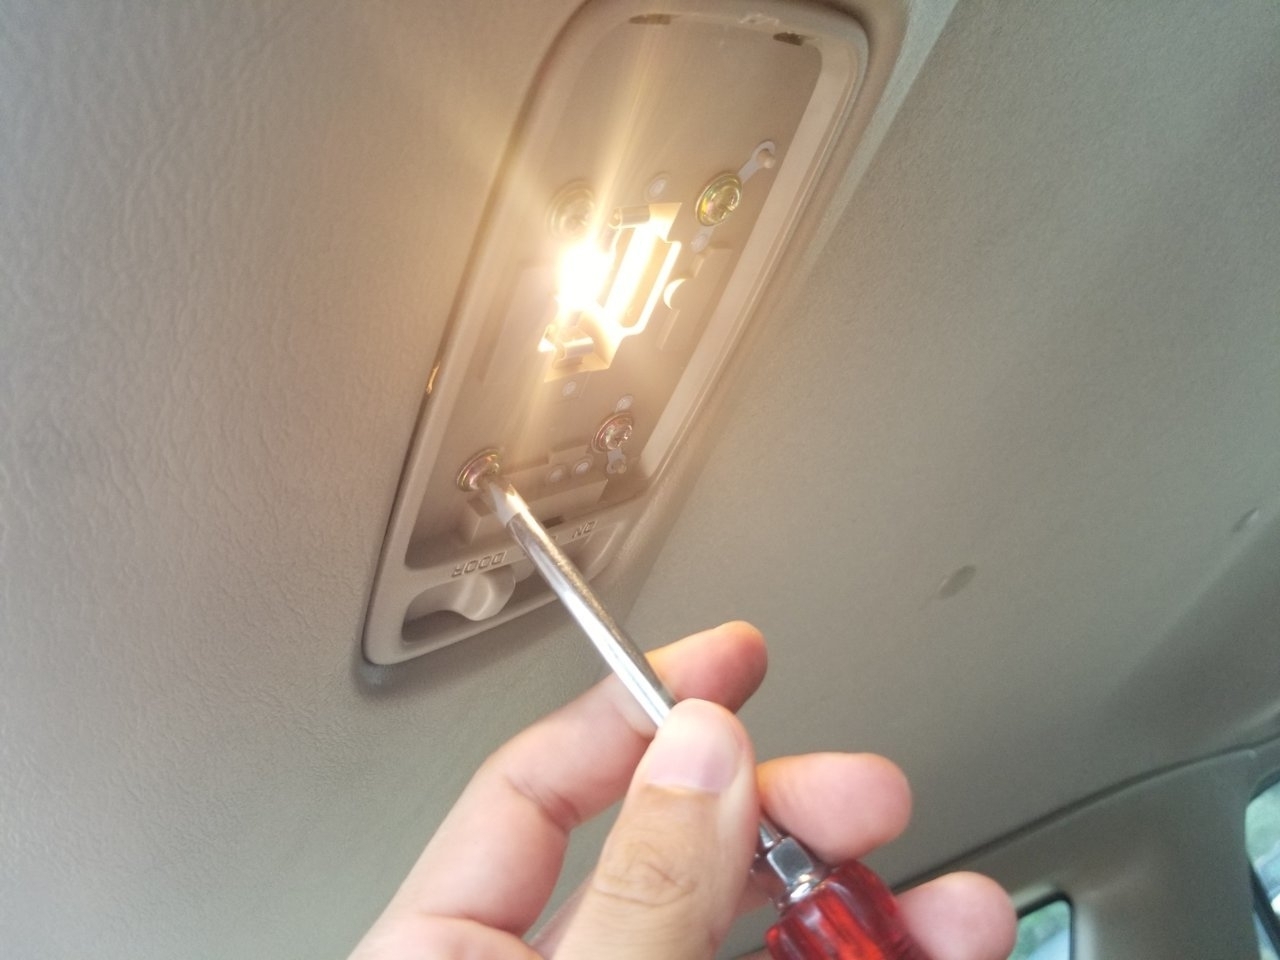
Removing the four screws and the bulb:


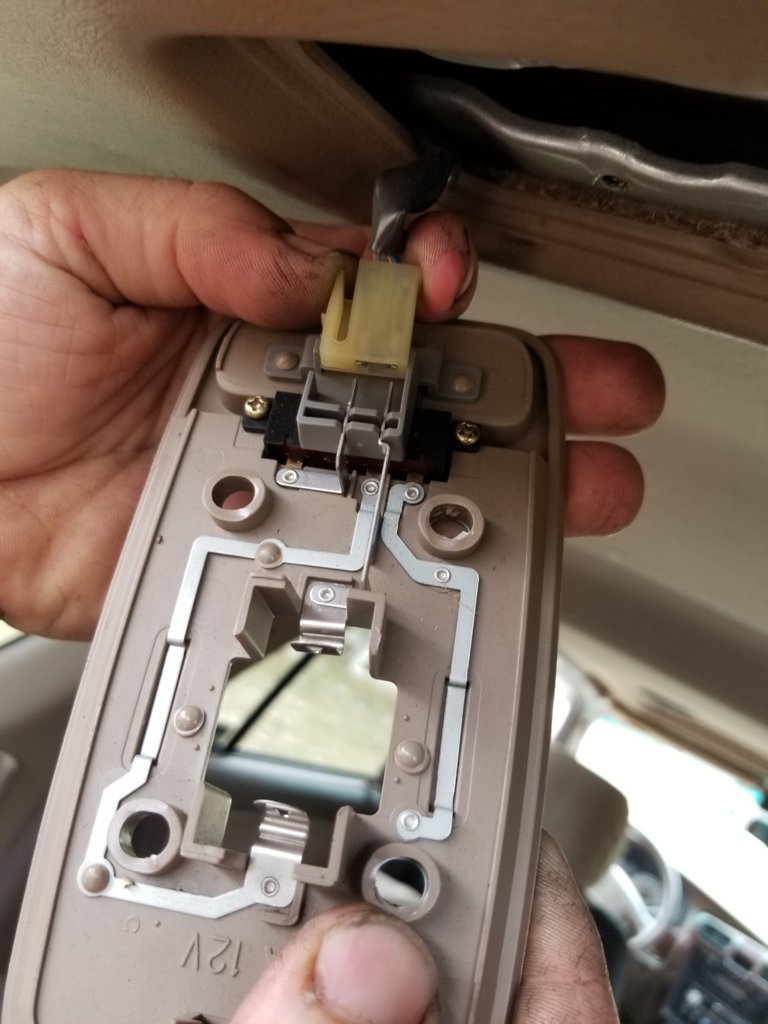
Pry the lighting bracket away from the roof trim carefully and pull out the power plug:


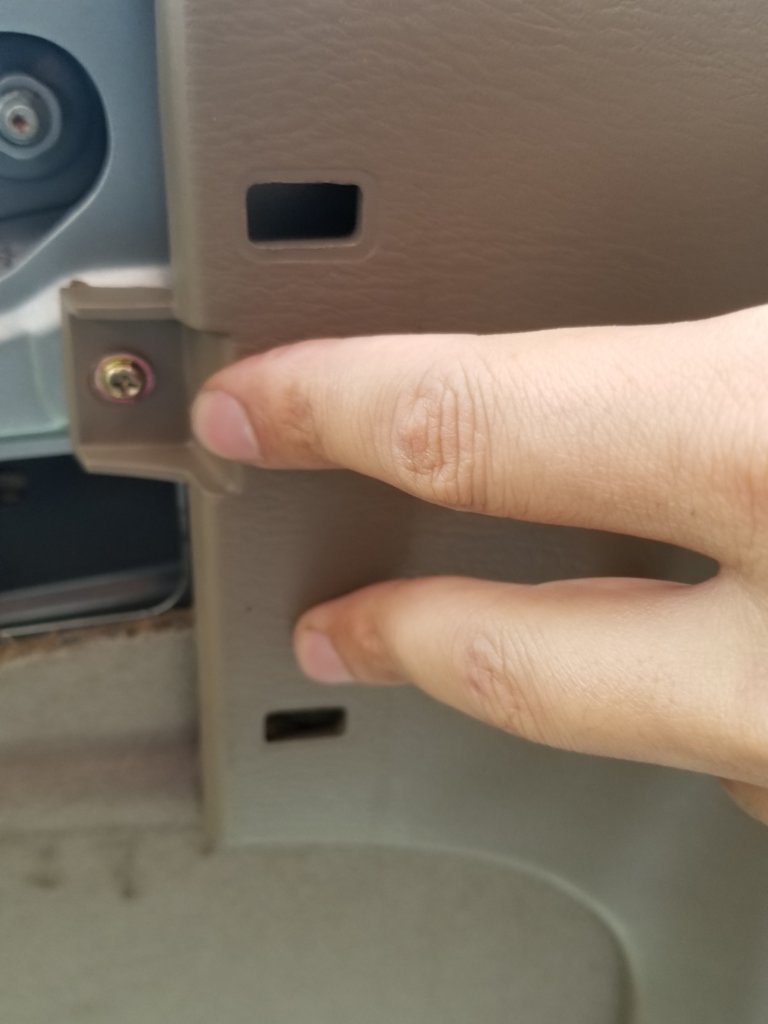
at the ends of the roof trim there will be two small brass screws, remove these as well:


Now the top trim can be removed by pulling firmly:


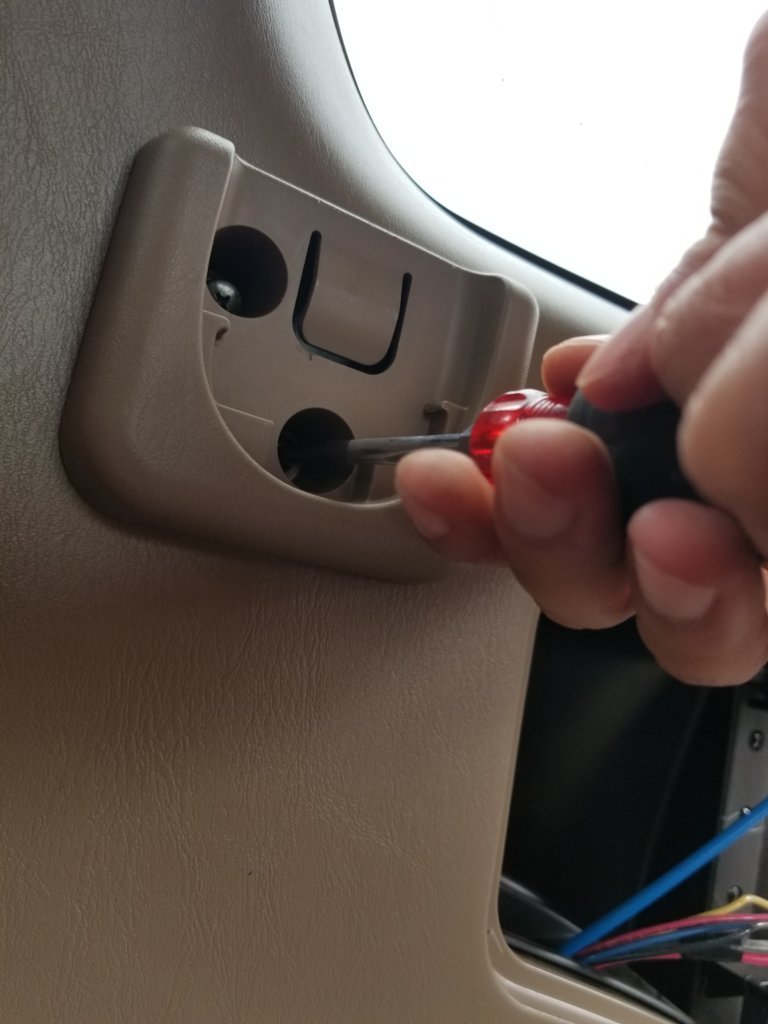
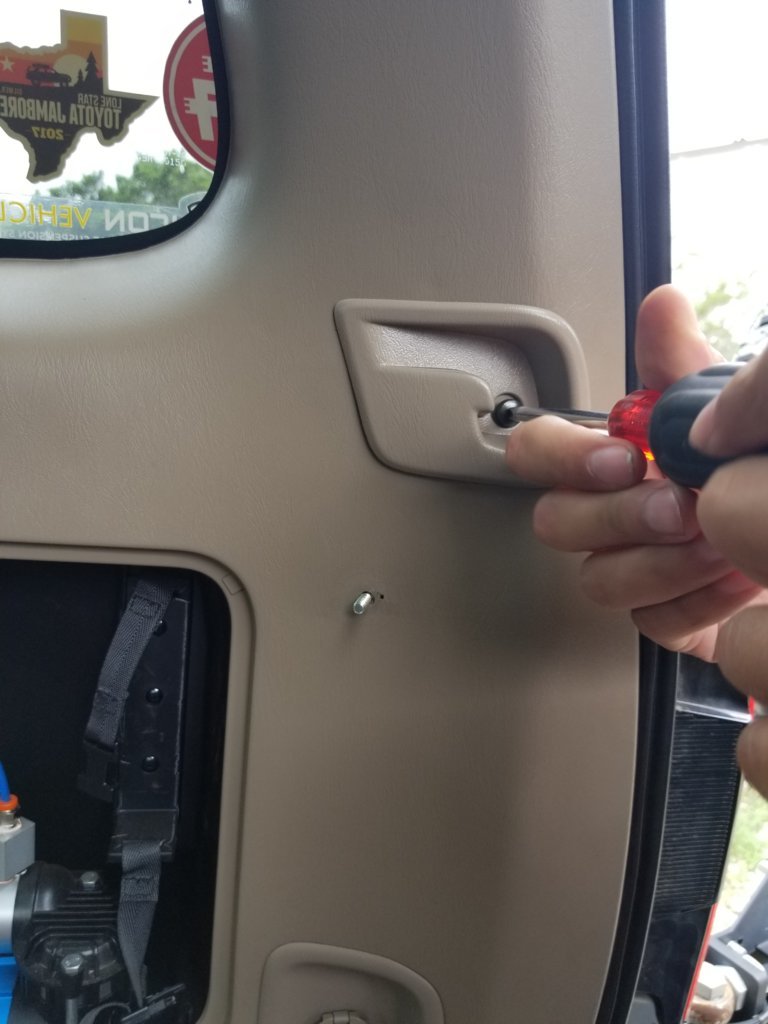
Next we remove cargo cover brackets, removing the visible bolts will release them


Register to hide this ad
The shoulder panel must now be removed (picture was taken before I removed the cargo cover bracket):


To remove the shoulder panel, the door floor trim must be removed, locate two screws and remove the door floor trim by firmly pulling away.


The shoulder trim can now be removed by pulling firmly. No screws are located on the shoulder trim.


The main cargo panel can now be removed. In this case, the passenger side:


We will now locate the TWO outer holes where the trim fasteners push into. In the picture below, you will see four holes below the window. It is the two outer holes.


Pointing at the left and right hole respectively:


Once they have been located - drill out the hole to the size of the rivnut:


Use the step bit to de-burr the holes. We want nice clean holes to set the rivnut:


Test fit and set rivnut:


Drink Beer. Pet Cat.

Next:

A pilot hole will be drilled from the BACK end of the trim panel.

Remember where the rivnuts are?

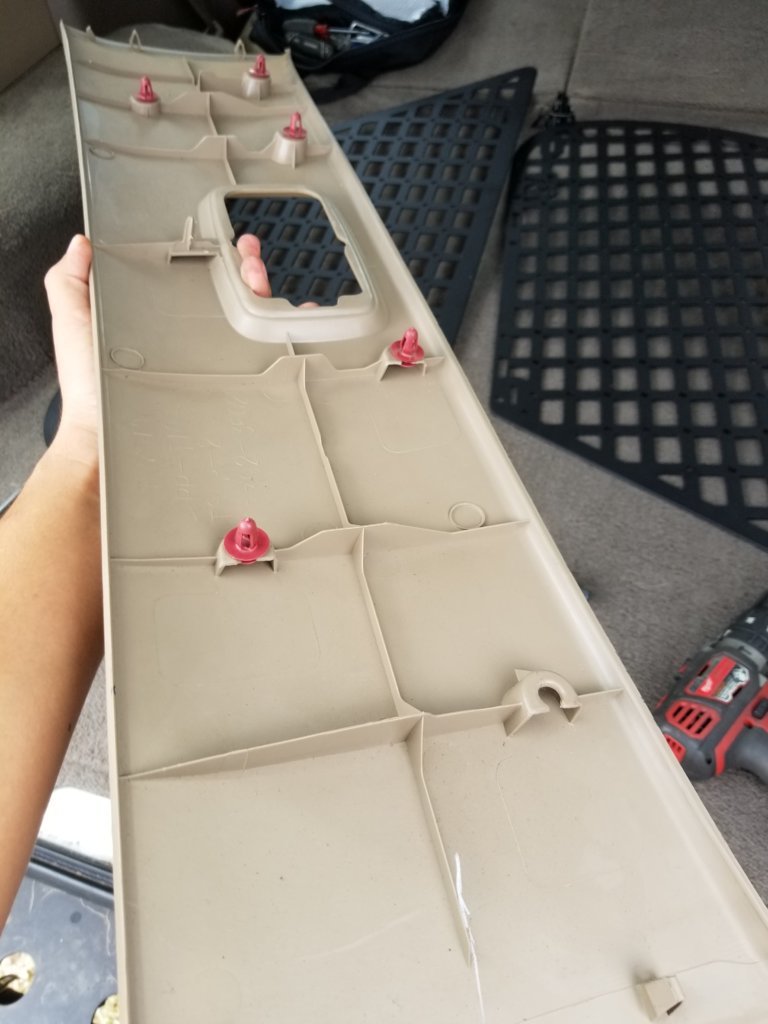
The trim fasteners that were in this location are now obsolete. Remove them from their seats on the back of the panel. Use the center of the fastener seat to create your pilot hole.


Grab the step bit and drill out to 3/4" hole, stopping periodically to check the fitment of the aluminum spacer. You want a nice snug fit. Don't over drill. Be patient.


You can barely see the rim of the fastener seat thru the hole. Use it to make sure you are centered.


Test the spacer for a nice, snug fit.


This is what the back end will look like:


Once the hole in the trim is complete - it will be centered against the rivnuts:


Drill your second hole and install the panel, yes. INSTALL it. Make sure all the fasteners clip in place. Make sure it doesn't wobble. Make sure it is set to STAY. You will see why. This is important.

Install the top brackets on the modular panel:


Install modular panel (top brackets not shown here):


Side view for clarity:


Next make sure your friend is holding the panel to where the brackets are away from the window - I have it about a 1/4" clearance.

Use the slotted holes in the bracket to center the pilot bit, drill thru the trim and mark a location in the metal beyond the trim. This will locate where the rivnut goes.

Next, drill out the trim hole with the step bit in the same manner as mentioned before, drill your hole for the rivnut and set rivnut.

The finished spacer install should look like this:


Once the second location has been drilled and set, the panel can now be installed:


Same installation procedure for the passenger side:


Install goods and enjoy!

 
I really like these. I just wish they installed like an inch or so higher.

its really not that bad. I can still open the little storage door below it without any clearance issues..

I've noticed a lot of people tell me that from the pictures, but when they see it in person, they end up telling me the picture made it look lower than it really is.
 
its really not that bad. I can still open the little storage door below it without any clearance issues..

I've noticed a lot of people tell me that from the pictures, but when they see it in person, they end up telling me the picture made it look lower than it really is.

I can't say I'm surprised the photos show them that way. They looks great!
 
Thank you for posting this. I have been wanting them so bad.. but right now they seem crazy expensive!

Can you still use your rear cargo cover with these?
 
Thank you for posting this. I have been wanting them so bad.. but right now they seem crazy expensive!

Can you still use your rear cargo cover with these?

No problem!

I sold my cargo cover a long time ago.

The pictures on the rago website show a cargo cover in use.. it appears to be a 3rd gen, not sure.
 
That's very nice. But when I saw the price for this. No thank you. It's really expensive for flat metal ? Just my opinion.
 
[MENTION=122940]ramonortiz55[/MENTION] How solid is it? Is it stout enough to hold heavy things like a shovel, axe and fire extinguisher? Do the holes on the grate have a certain pattern, like to match up with Quick Fist clamps? Really like the idea of these, but I want to be REALLY sure it can hold heavy stuff like an axe before I mount that in such a way that it would split my head in half in a collision. Also I was thinking I could put some insulated reflective pad in the window behind that metal panel to block the sun and heat, especially with having a fridge back there. Like this at 13:07 https://youtu.be/93hTBlo8jmg?t=785
 
Last edited:
[MENTION=122940]ramonortiz55[/MENTION] How solid is it? Is it stout enough to hold heavy things like a shovel, axe and fire extinguisher? Do the holes have a certain pattern, like to match up with Quick Fist clamps? Really like the idea of these, but I want to be REALLY sure it can hold heavy stuff like an axe before I mount that in such a way that it would split my head in half in a collision. Also I was thinking I could put some insulated reflective pad in the window behind that metal panel to block the sun and heat, especially with having a fridge back there. Like this at 13:07 https://youtu.be/93hTBlo8jmg

its pretty solid - Ive seen people mount a 2.5 LB fire extinguisher and axes on it.

Due to safety - Id be too scared to mount an axe inside a vehicle in any place. regardless of mount rigidity.

I have never used quickfists..So I couldn't tell you if they work with quickfists or not.
 
its pretty solid - Ive seen people mount a 2.5 LB fire extinguisher and axes on it.

Due to safety - Id be too scared to mount an axe inside a vehicle in any place. regardless of mount rigidity.

I have never used quickfists..So I couldn't tell you if they work with quickfists or not.

Yeah I get that, unfortunately I'm running out of places to mount stuff on my rear swing out, and I have a lot of weight on it already with the spare, 11 lbs propane tank, 8gal Rotopax, shovel and one day a Hi-Lift. Since the panel comes down so low I think it being along the bottom would be safe-ish, hopefully it would be blocked by the rear seat if it came loose.

This may be just an optical illusion, but it seems the aluminum spacer is really thick on the bottom making the panel stick out far. How far out does the new panel stick out from the factory panel?
 
Yeah I get that, unfortunately I'm running out of places to mount stuff on my rear swing out, and I have a lot of weight on it already with the spare, 11 lbs propane tank, 8gal Rotopax, shovel and one day a Hi-Lift. Since the panel comes down so low I think it being along the bottom would be safe-ish, hopefully it would be blocked by the rear seat if it came loose.

This may be just an optical illusion, but it seems the aluminum spacer is really thick on the bottom making the panel stick out far. How far out does the new panel stick out from the factory panel?

its an optical illusion. Ive had people tell me its way different in person. When I first saw pictures this was also a concern for me, I didn't want it to protrude into my cargo space since I have a way of packing my gear for camping. It's not much at all.

What swingout do you have? Pictures of your setup?
 
Would be interest to know how cheaply one could get these in a group buy. That is a very cool design and seems very pragmatic. Honestly, I might want to only use one side (someone want to go halvsies with me??)
 

Members online

No members online now.

Forum statistics

Threads
278,312
Messages
3,554,083
Members
248,016
Latest member
Advally Service

Trending content

Back
Top