
Yoyocruisin425
New member
Here's my 2000 Toyota 3rd gen 4-Runner 4wd Build-_-_-_-_-_-_-_-_-_-_these trucks are sweet and I plan to keep this one forever. Just hit 175,000 miles the other day.
I did the Tundra Brake Upgrade and suspension lift. My stock shocks were kind of blown out and I wanted to put bigger tires on. I mainly got all the info on this site and other threads and threw together a parts list and was hoping it would sit somewhat level. I was shooting for around a 2.5 inch lift, or enough to clear 285's. Not sure exactly how much it lifted, but other than a little bit of rubbing up front (hammer and grinder fixed this) it was the perfect amount to fit 285's.
I wanted to make a How-to thread but didn't take enough notes while doing it. I will highlight a few of the hardest parts of the whole build I ran into and what I would have done differently. Things that could have saved hassle and some time. And way less nights cussing at the garage door.
Overall I am happy with the performance and drive. Although I think a re-gear to 4.88 would really help, I am happy with the power and have driven it halfway across the country. This is my daily and I have put quite a few miles and trips on the car after the lift. I don't regret it at all, but you will lose a little power! I get about 17mpg combined, and on longer trips I have gotten 20mpg with 33's and lift. My MPG was not affected much at all, but I do drive a bit slower now. Overall smooth and firm and can wheel pretty damn good. Haven't gotten into any situations that I can't get through.
Parts List:
Chassis:
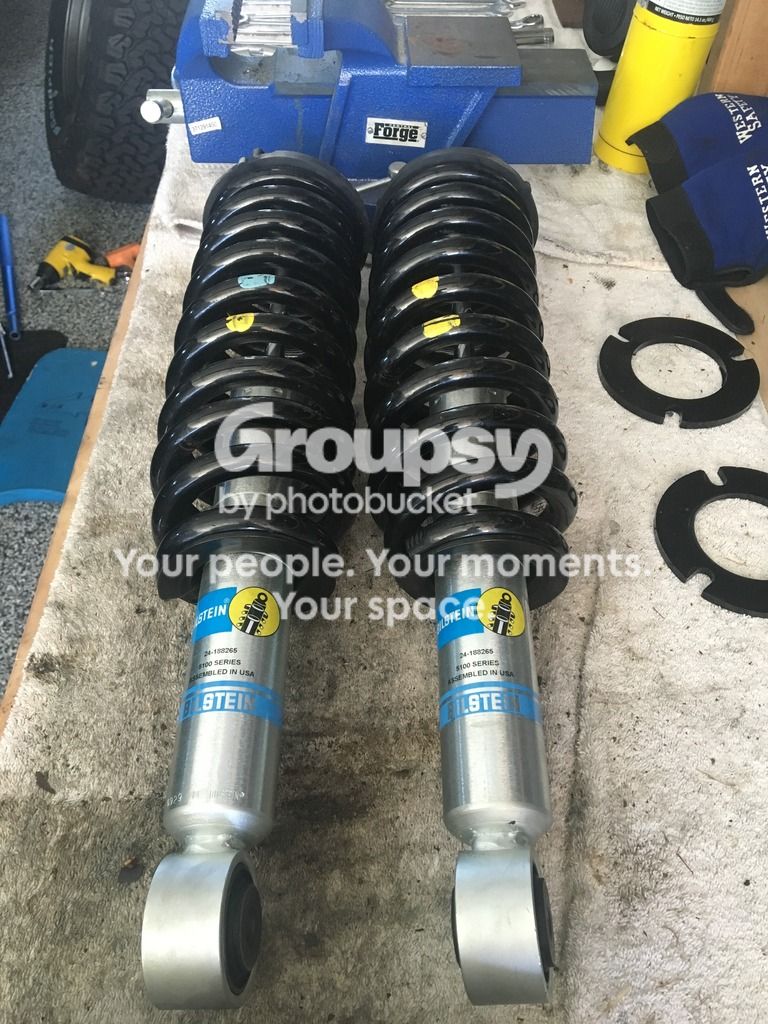
- Tundra Bilsteins with 5 ring slots
- Tundra Y/B TRD Progressive Springs
- Rubber Coil Isolator top plate
- 3/8 Top Plate spacer
- New Shock Bolts (do this!)
- Diff Drop Kit
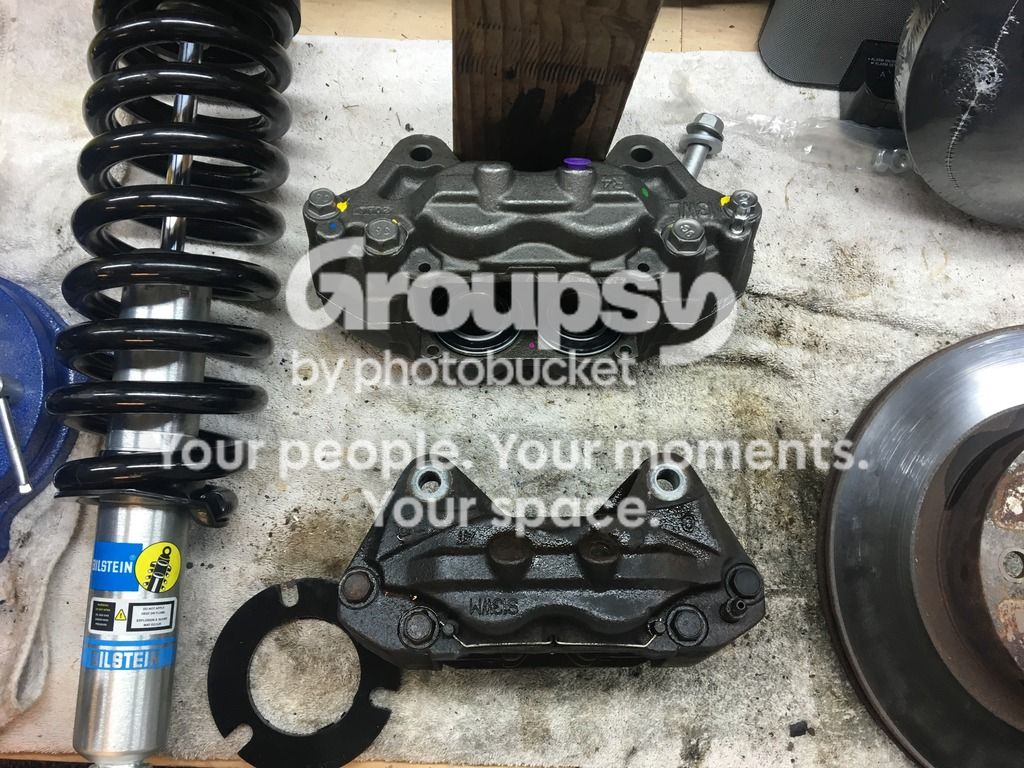
- Tundra Calpiers/Discs
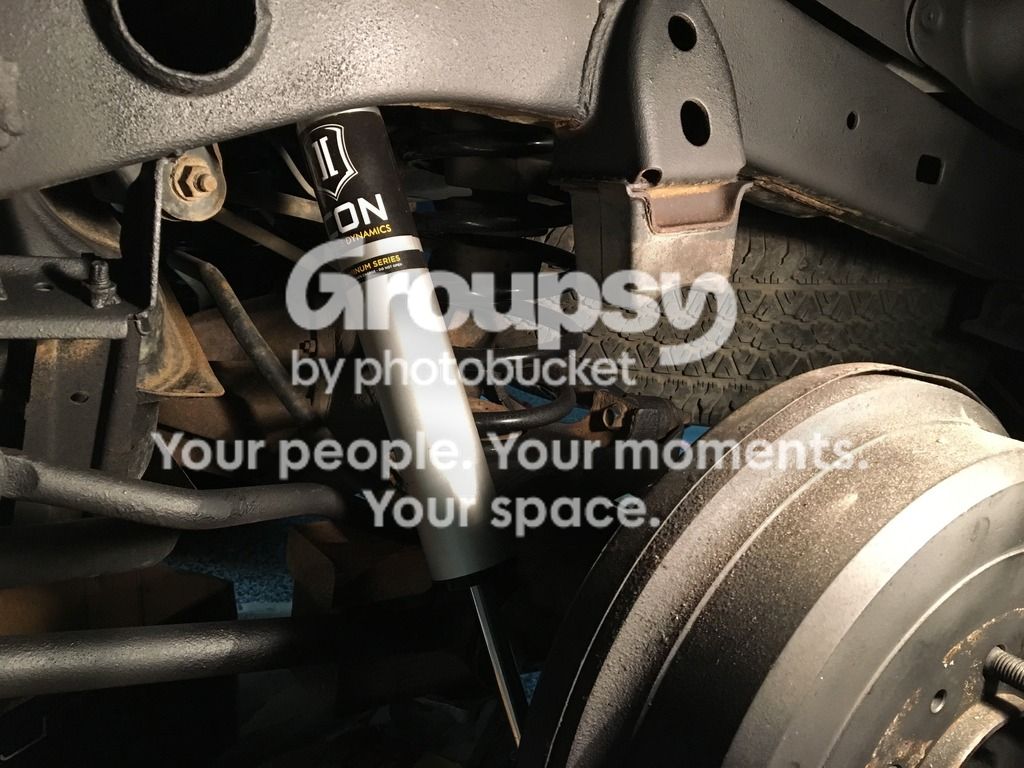
- Icon Rear Shocks
- OME 890 Coils in the rear
- Sway bar kit Fr/Rr
- Ext. Lug Nuts
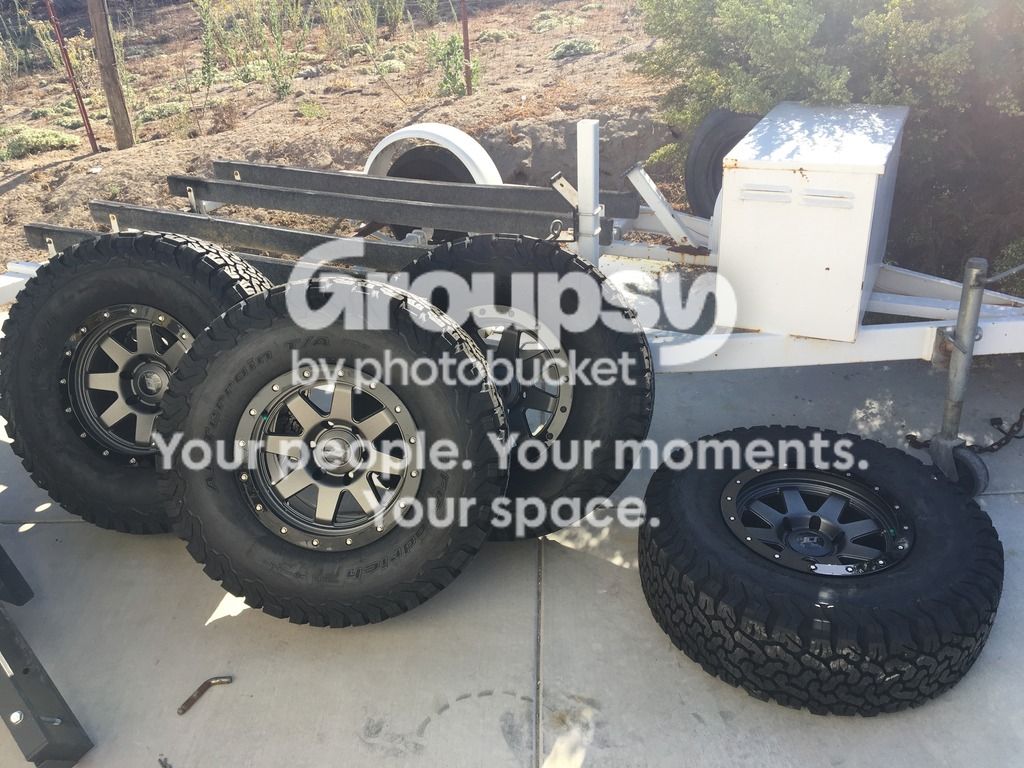
- Stealth SR8 Wheels 4.5 Back Spacing
- BF Goodrich All Terrain Ko2 285/75/16
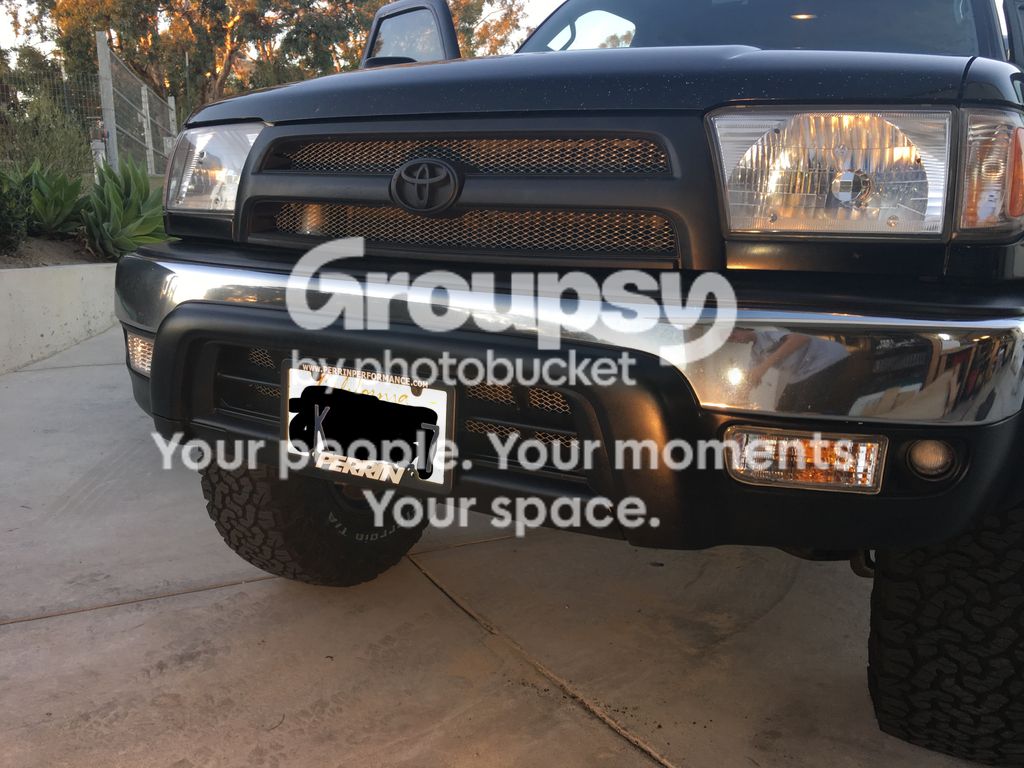
- Mesh Grill Mod
Interior:
- Polk Door Speakers
- Kendwood KDC-X 998 Deck
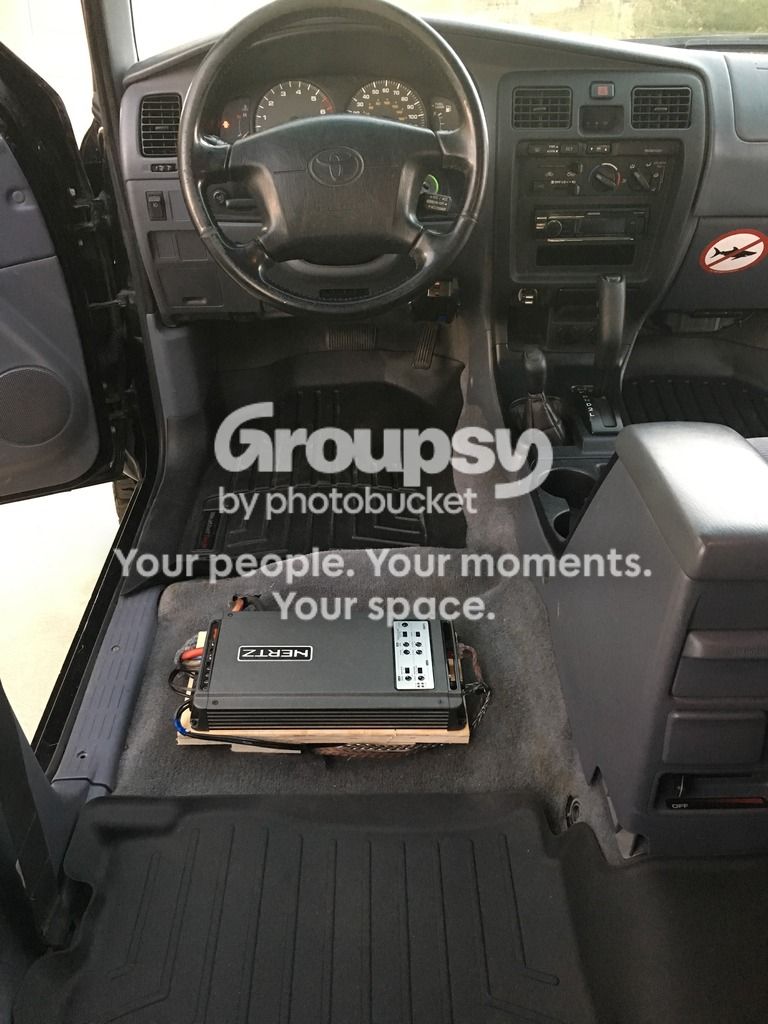
- Hertz HDP5 5-channel Amp
- 12in Ported Sub
- Dickies Seat Covers
- Weather tech floor mats (a must)
- Custom rear platform
- Rubber lined trunk area
- 400 Watt inverter
There's probably stuff I am missing, and I also replaced many other stock parts that were worn when doing everything.
BEFORE: (at UPS picking up my first order of parts)
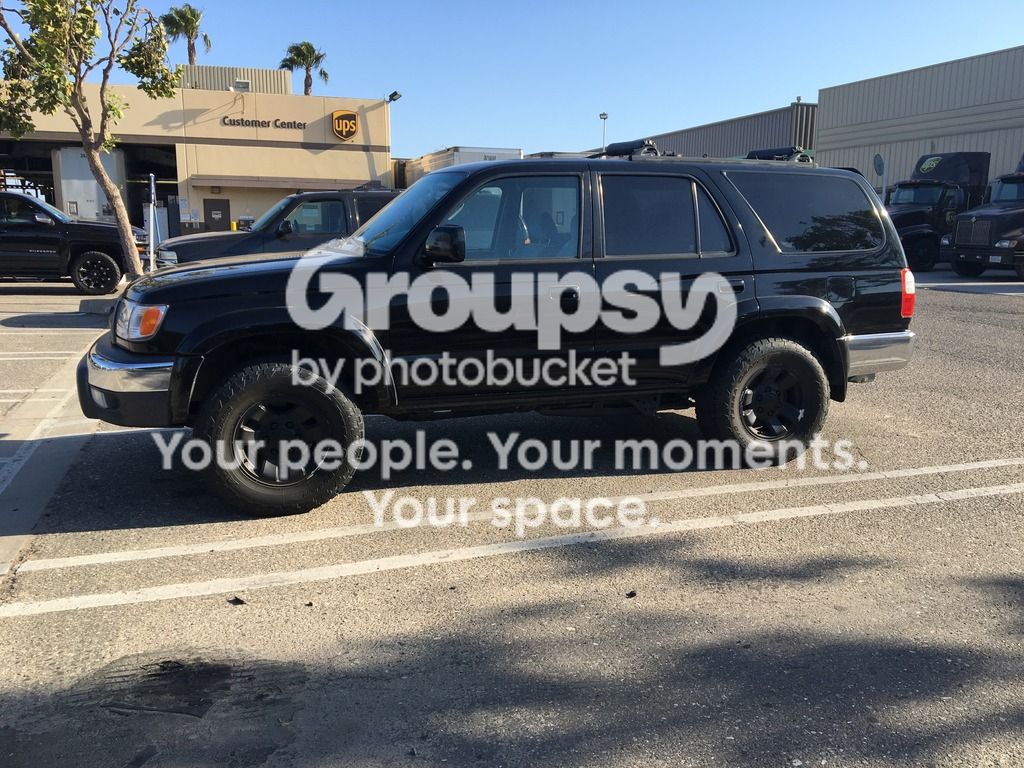
AFTER:
Installation
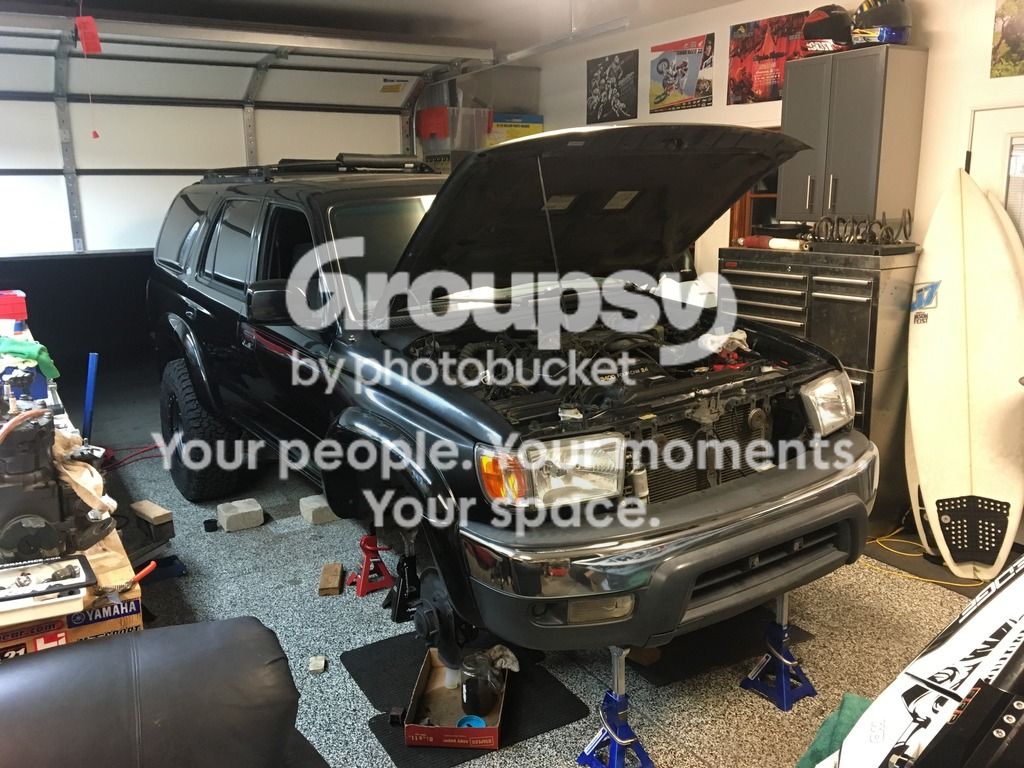
Front end
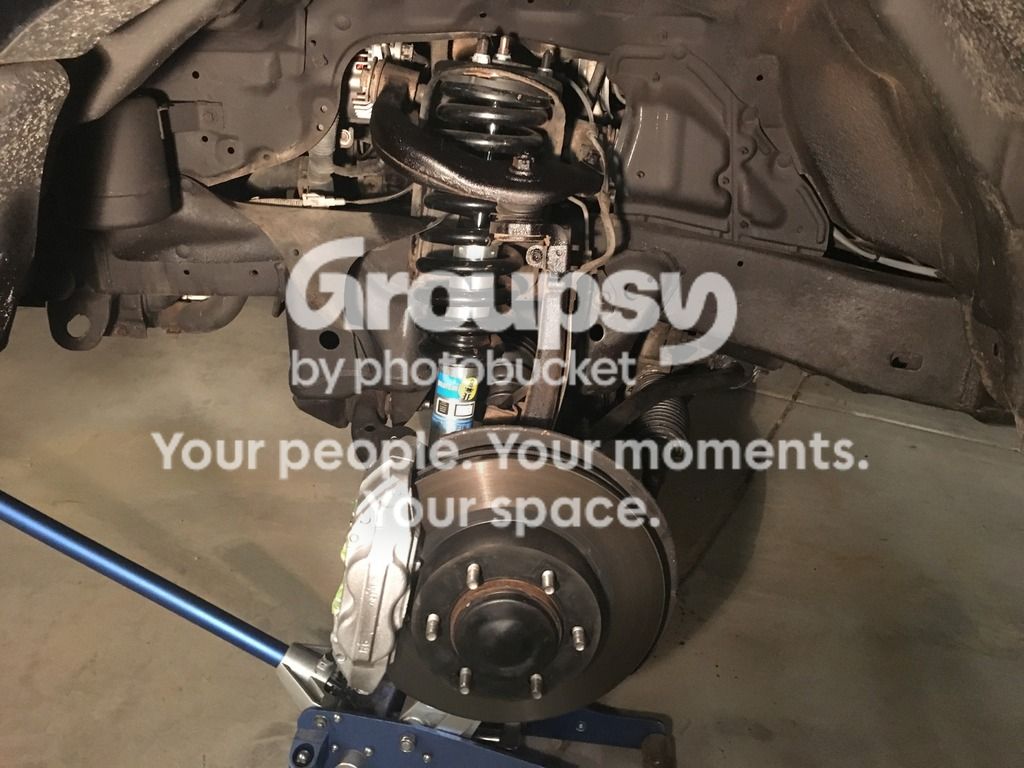
New Cv Axles
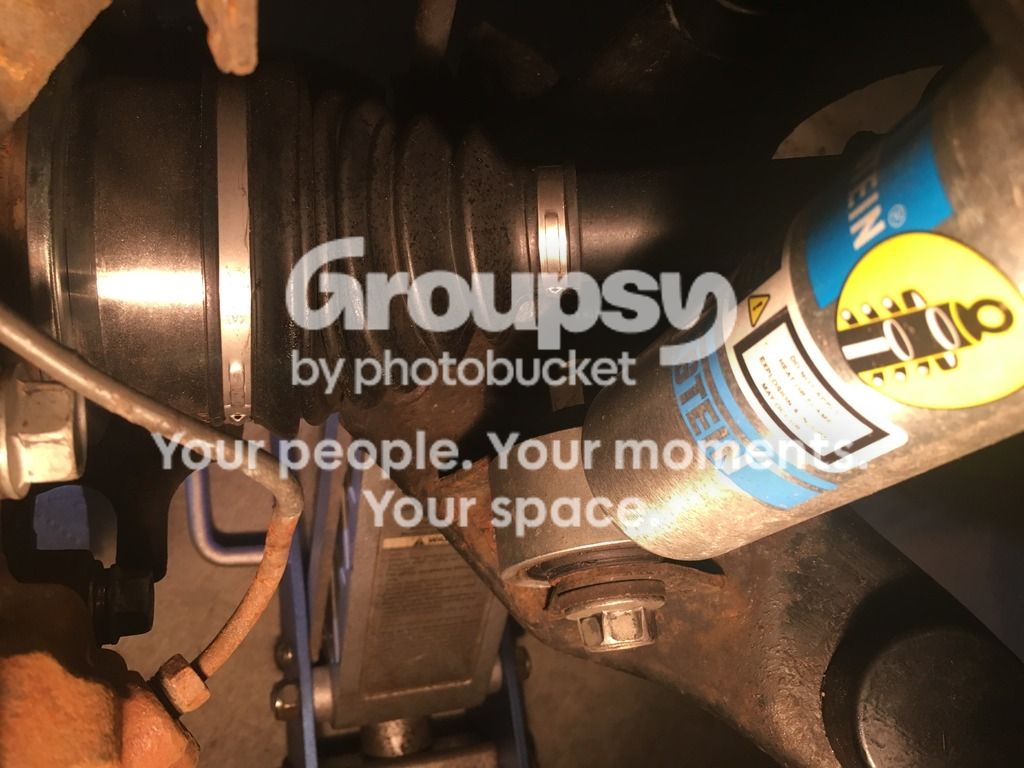
Rear End, OME 890 Coils and Icon Shocks
Front Shocks Built
Brake Caliper Tundra Vs. 4-Runner
Wheels
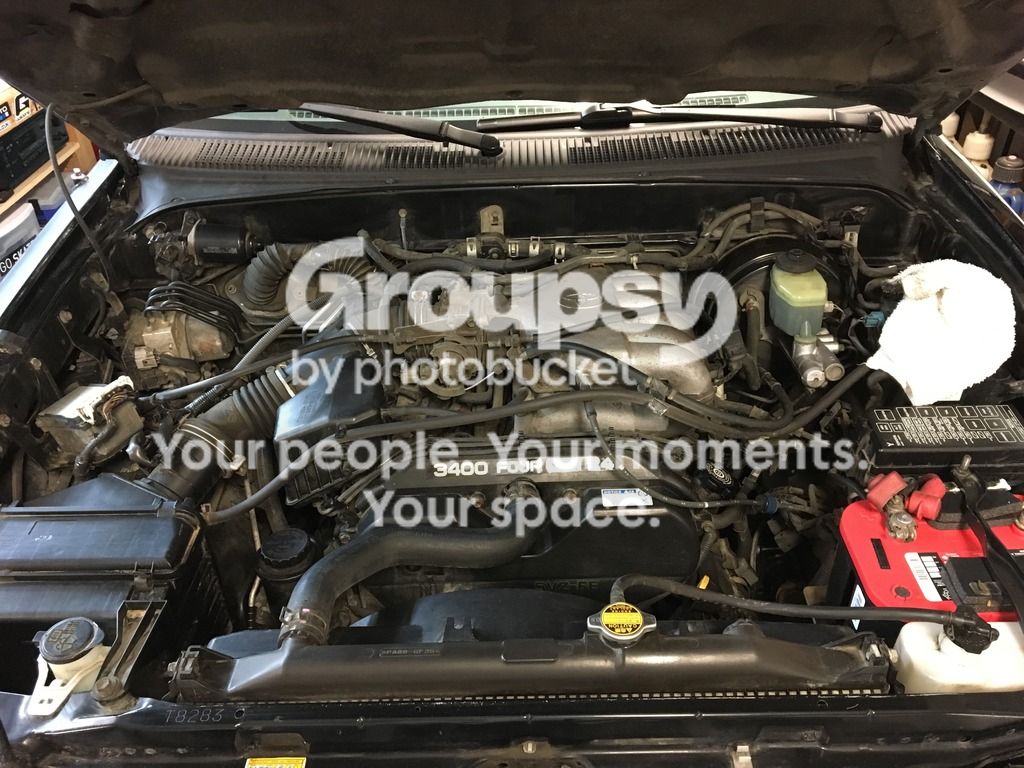
Engine Bay Pic
Sound System Amp
Cargo Box

Ragged point
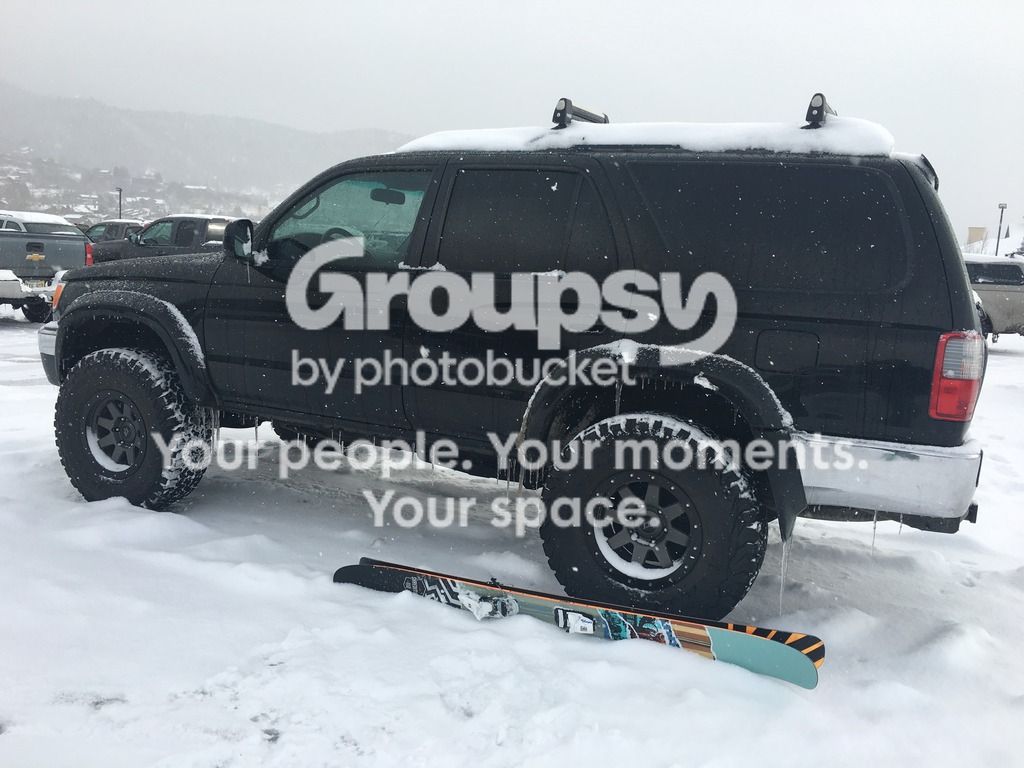
Pow Day
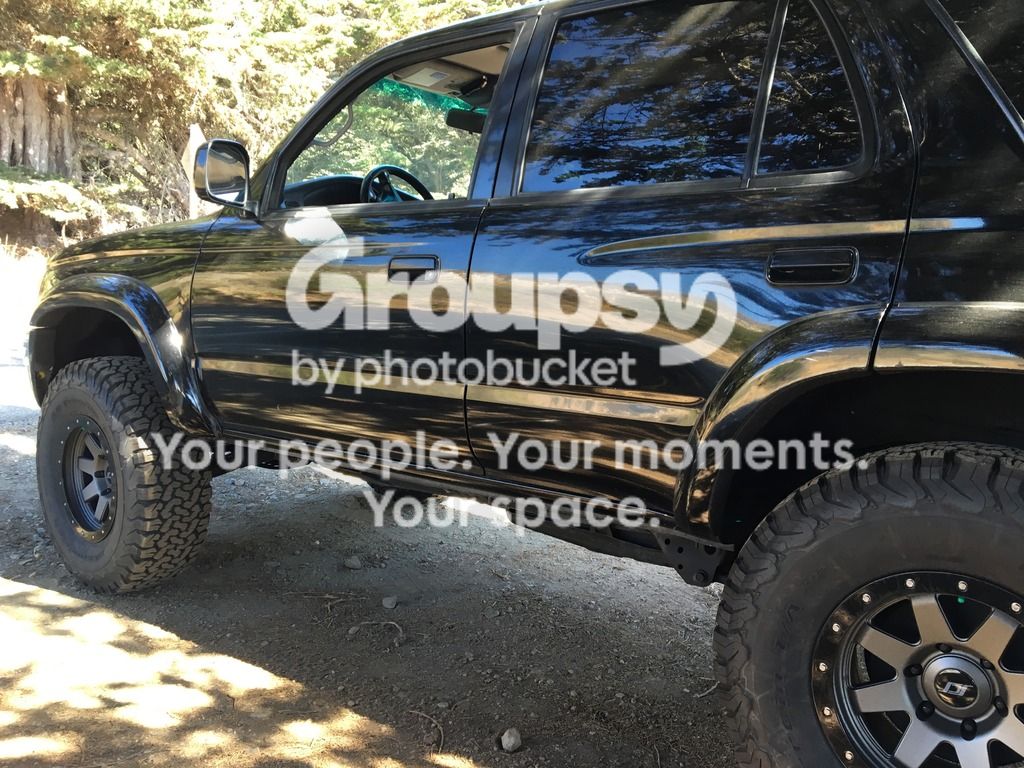
Mesh Grill mod and painted trim
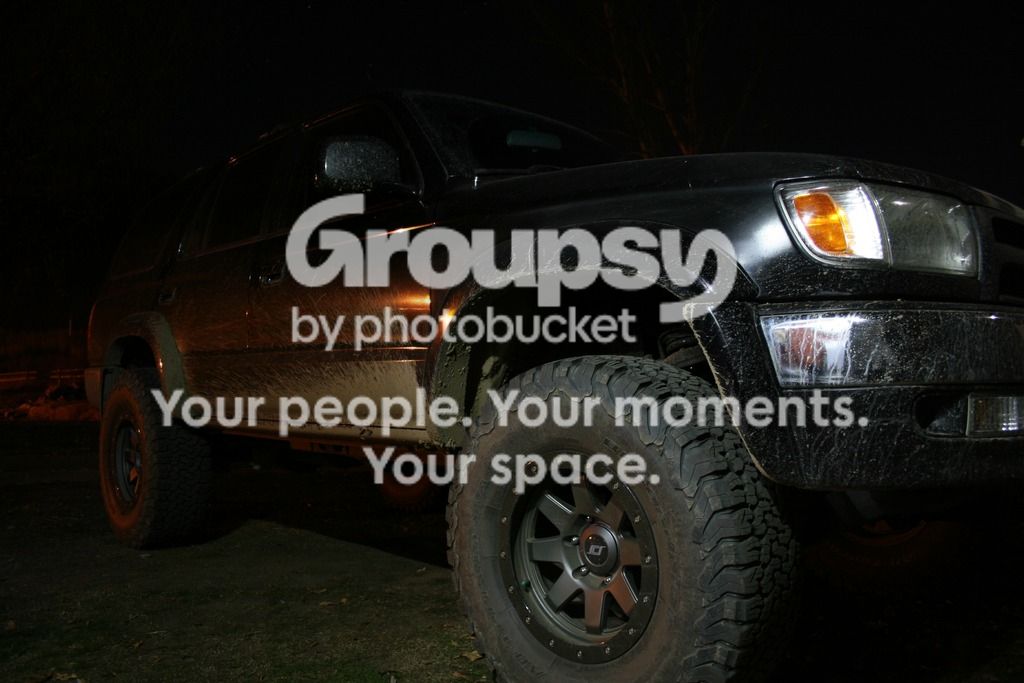
Wheelin

Hiding in the trees

Muddin
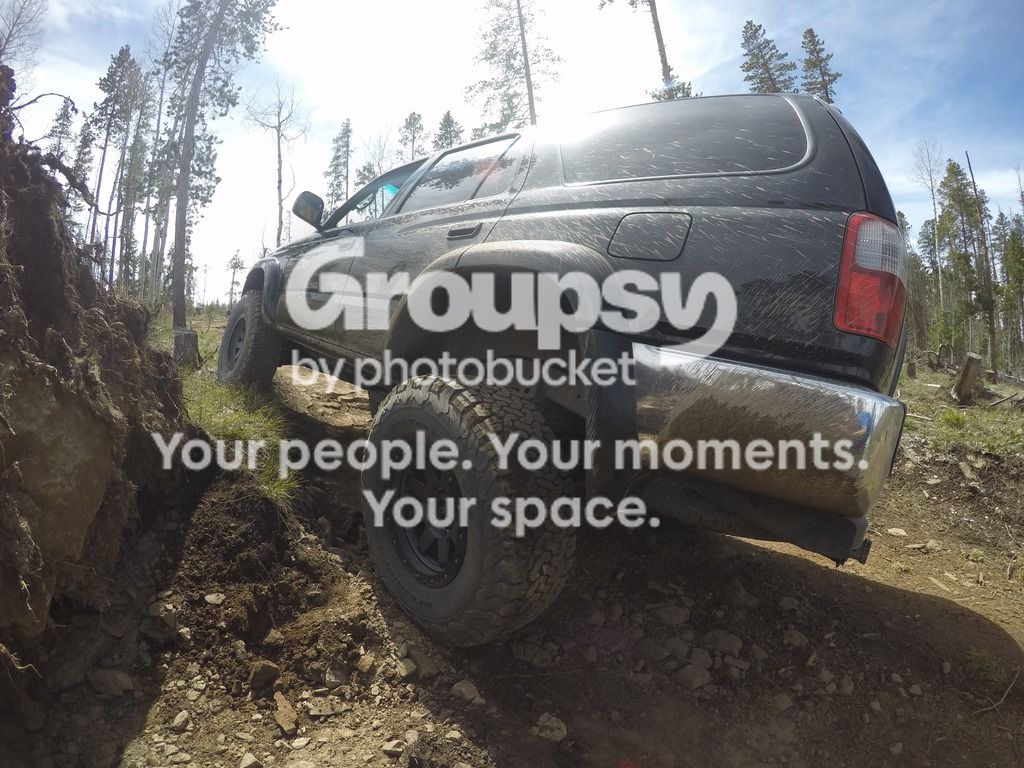
Flexing
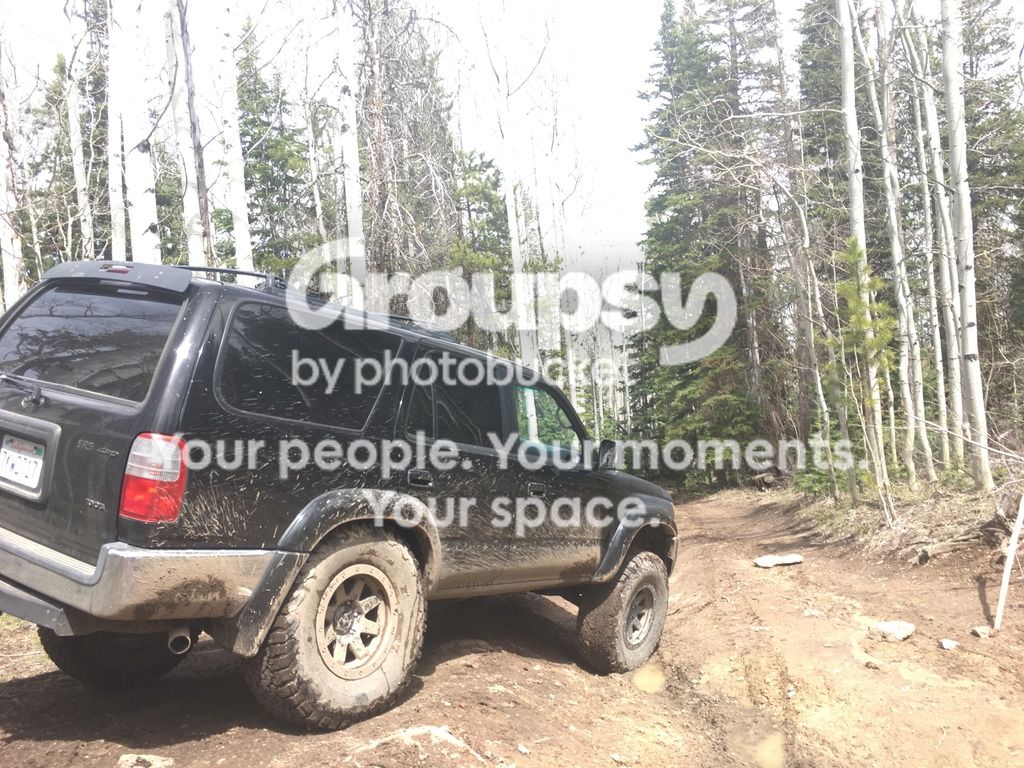
Buffalo Pass, CO

Tucked
TIPS AND THINGS I WOULD HAVE DONE DIFFERENTLY
If you will be installing a lift kit and/or tundra brake upgrade this next section is problems I had, or the hardest parts that could have been easier and quicker.
Problem:
1._________________________
Assembling the front shocks. Putting new Tundra TRD Progressive springs on bilstein shocks turned out to be really hard. You might as well spend $50-$100 and have a shop take apart your old stock shocks and take those top plates to put on your new shocks. Better yet, just buy all parts necessary to completely build a brand new shock, as my shock screws for top plate had to be cut off. Putting tundra springs on with the lock ring on the middle gap (out of 5 positions) was incredibly tight and I needed professional help.
If I were to start over again, I would have gone with brand new Fox Coil overs for $950 on wheelers.com. My shocks were in the shop for two days and I had to go pick them up and drop them off. Save time and hassle by getting coil overs, plus you won't ever need to upgrade again.
2._________________________
Installing built tundra shocks onto the car and tightening top bolts. First problem is getting enough droop out of your A-arms to fit the tundra shocks in there. I had my shocks set on the middle lock ring, and overall it was alot bigger of a shock than the stock shock. I tried so many different jacks before finding my buddies jack out of his Jeep which fit perfectly. I put the jack upside down in the wheel well, the top side on the UCA, and the bottom of jack on the top of the wheel well. Get a nice block or wood to chock between wheel well and jack. This was sketchy to me and there was alot of force going against the A-arms. I did not like doing it, someone think of a better way??
My other problems with the shocks were getting the bolts on. First hard part is to get your lower bolt through the bottom shock and lower A-arm. The shocks are so long and require so much droop to fit that the bottom part of the shock is very hard to line up with lower A-arm holes. The shock just blows past them. My solution was keeping the jack pushing down on the top of the UCA (how I got the shock to fit in their) and getting 2-3 tire irons to pull up and try to compress the shock a little bit. After some tweaking, I got the holes close enough and slid a punch through and then hammered the screw through next, knocking out the punch the other side. This was hard for me and took time. I ended up having the bolts backwards but said screw it.
Also, the top bolts (studs) can be pretty hard to get too. I ended up installing extended studs on the top plate because I put on 3/8 top plate spacers. It was needed in order to fit those but I wish I did not put either on. But this combo made the studs a tad longer than stock lengths, and the very back stud is hard to get to once tightening it down. It was super close to the wheel well and I was not able to get a torque wrench on it. In fact, I could barely get a wrench on it. I ended up tightening it as good as I could with an open end wrench. Not ideal, and I am not sure if this was a problem with the ext studs or not. If you look at the front end pic, it does look like the studs are quite a bit longer than they need to be. Regardless its a tight fit and be prepared for that or just don't run spacers! This would have made getting the shock on easier as well.
3._________________________
Like others have said, there are tabs on the stock front A-arms that will hit the shock spring at full droop. Sure enough, mine hit significantly even while putting the shock spring/shock in a favorable position. I had to grind the tabs on both sides completely off to fit, and its still very tight. This is my second reason to get Aftermarket UCA's from the start. They will clear better and hopefully provide better alignment, my other problem. Even though grinding the tabs off stock A-arms was easy, it took a lot of time with my shitty die grinder and many different attempts to see exactly where it was hitting.
4.__________________________
Lifting the truck or jacking it off the ground to get proper clearance to install lift and bigger tires. The whole time installing, it was a balancing act between different jack stands and floor jacks to get the proper height needed. Ideally, I would want a whole car lift, but the basic person doesn't have this. I got into way too many sketchy balancing acts I wouldn't want anybody else to see. Think about this and have a proper way of lifting your 4-runner pretty high off the ground! Also, I would install the front end lift before doing the back. The back shocks and springs are much easier to put on and requires less time, and that is why I did it first. But when wrenching on the front end trying to get tundra shocks to fit, you will be putting alot of force and pressure on the whole truck. It was pretty hard for me to get the front end high enough off the ground, and having the rear end lower while installing the front will be alot easier!
5._________________________
The front end shook really bad when first driving it, even after 2 different alignments. The third mechanic I took it to said my spindles were loose and worn out, causing the shaking. So I got new ones, and it still shook around 50mph but it was somewhat better. Eventually after a couple hundred miles it smoothed out significantly, and is fine now. It can still shake around 60mph every once in a while. I think things could be better but for now its okay.
This sucked alot at first and cost me money and time to drive it all around town trying to find someone to fix it. I think aftermarket UCA's would have helped it align better from the beginning and I wouldn't have had to take it to get multiple alignments. One reason to start your build with aftermarket UCA's. They might not have fixed my problem, hard to say since I actually haven't driven with UCA's yet.
6._________________________
My CV Axle boots blew out within the first 100 miles and spewed gray greese everywhere on the front end. I have heard people not doing anthing about this and everything is ok. I am in the snow quite a bit and wanted them sealed up, and they did look pretty worn and blown out to me. I wanted to replace them anyway so I put new ones on to be safe, plus I plan on keeping this for a while. At that time I installed a Diff drop to better align my diff and cv axles. I should have installed the Diff drop from the beginning, and this could have potentially not caused the boots to blow off making a mess. One less hassle!
Basically, if I were to do it all over again, I would have gotten these parts or done these things differently:
- Aftermarket UCA's (should help with alignment, save time and hassle)
- King/Icon/Fox Coilovers (one less hassle, quicker turn around time, prebuilt, better performance?)
- Back Roller to lay on while under car (dammit)
- Bigger and better jacks than you have. Whole car lift
- All new screws and bolts for any part you are installing. Things will be rusty.
- Regear when doing the lift. I think 4.88 gears go with a lift and 33's. Install all at once! This will be a future upgrade. Might as well throw a locker in too.
- Also try building the most lightweight wheel. 4-Runners don't have a ton of power for going up grades and what not; you will notice heavy wheels.
- I wish I didn't install top plate spacers. They lifted the front a tad too much once the rear settled.
If anyone knows how the lift height in the front would be affected by coil overs and/or uca's let me know!
Phase 2 will be coming soon...
King Coil Overs
Camburg UCA
Stealth F5 wheels (2lbs less a wheel)
255/85/16 KM2's
Re-gear 4.88 and E-locker
Thanks for Looking!
I did the Tundra Brake Upgrade and suspension lift. My stock shocks were kind of blown out and I wanted to put bigger tires on. I mainly got all the info on this site and other threads and threw together a parts list and was hoping it would sit somewhat level. I was shooting for around a 2.5 inch lift, or enough to clear 285's. Not sure exactly how much it lifted, but other than a little bit of rubbing up front (hammer and grinder fixed this) it was the perfect amount to fit 285's.
I wanted to make a How-to thread but didn't take enough notes while doing it. I will highlight a few of the hardest parts of the whole build I ran into and what I would have done differently. Things that could have saved hassle and some time. And way less nights cussing at the garage door.
Overall I am happy with the performance and drive. Although I think a re-gear to 4.88 would really help, I am happy with the power and have driven it halfway across the country. This is my daily and I have put quite a few miles and trips on the car after the lift. I don't regret it at all, but you will lose a little power! I get about 17mpg combined, and on longer trips I have gotten 20mpg with 33's and lift. My MPG was not affected much at all, but I do drive a bit slower now. Overall smooth and firm and can wheel pretty damn good. Haven't gotten into any situations that I can't get through.
Parts List:
Chassis:
- Tundra Bilsteins with 5 ring slots
- Tundra Y/B TRD Progressive Springs
- Rubber Coil Isolator top plate
- 3/8 Top Plate spacer
- New Shock Bolts (do this!)
- Diff Drop Kit
- Tundra Calpiers/Discs
- Icon Rear Shocks
- OME 890 Coils in the rear
- Sway bar kit Fr/Rr
- Ext. Lug Nuts
- Stealth SR8 Wheels 4.5 Back Spacing
- BF Goodrich All Terrain Ko2 285/75/16
- Mesh Grill Mod
Interior:
- Polk Door Speakers
- Kendwood KDC-X 998 Deck
- Hertz HDP5 5-channel Amp
- 12in Ported Sub
- Dickies Seat Covers
- Weather tech floor mats (a must)
- Custom rear platform
- Rubber lined trunk area
- 400 Watt inverter
There's probably stuff I am missing, and I also replaced many other stock parts that were worn when doing everything.
BEFORE: (at UPS picking up my first order of parts)
AFTER:
Installation
Front end
New Cv Axles
Rear End, OME 890 Coils and Icon Shocks
Front Shocks Built
Brake Caliper Tundra Vs. 4-Runner
Wheels
Engine Bay Pic
Sound System Amp
Cargo Box
Ragged point
Pow Day
Mesh Grill mod and painted trim
Wheelin
Hiding in the trees
Muddin
Flexing
Buffalo Pass, CO
Tucked
TIPS AND THINGS I WOULD HAVE DONE DIFFERENTLY
If you will be installing a lift kit and/or tundra brake upgrade this next section is problems I had, or the hardest parts that could have been easier and quicker.
Problem:
1._________________________
Assembling the front shocks. Putting new Tundra TRD Progressive springs on bilstein shocks turned out to be really hard. You might as well spend $50-$100 and have a shop take apart your old stock shocks and take those top plates to put on your new shocks. Better yet, just buy all parts necessary to completely build a brand new shock, as my shock screws for top plate had to be cut off. Putting tundra springs on with the lock ring on the middle gap (out of 5 positions) was incredibly tight and I needed professional help.
If I were to start over again, I would have gone with brand new Fox Coil overs for $950 on wheelers.com. My shocks were in the shop for two days and I had to go pick them up and drop them off. Save time and hassle by getting coil overs, plus you won't ever need to upgrade again.
2._________________________
Installing built tundra shocks onto the car and tightening top bolts. First problem is getting enough droop out of your A-arms to fit the tundra shocks in there. I had my shocks set on the middle lock ring, and overall it was alot bigger of a shock than the stock shock. I tried so many different jacks before finding my buddies jack out of his Jeep which fit perfectly. I put the jack upside down in the wheel well, the top side on the UCA, and the bottom of jack on the top of the wheel well. Get a nice block or wood to chock between wheel well and jack. This was sketchy to me and there was alot of force going against the A-arms. I did not like doing it, someone think of a better way??
My other problems with the shocks were getting the bolts on. First hard part is to get your lower bolt through the bottom shock and lower A-arm. The shocks are so long and require so much droop to fit that the bottom part of the shock is very hard to line up with lower A-arm holes. The shock just blows past them. My solution was keeping the jack pushing down on the top of the UCA (how I got the shock to fit in their) and getting 2-3 tire irons to pull up and try to compress the shock a little bit. After some tweaking, I got the holes close enough and slid a punch through and then hammered the screw through next, knocking out the punch the other side. This was hard for me and took time. I ended up having the bolts backwards but said screw it.
Also, the top bolts (studs) can be pretty hard to get too. I ended up installing extended studs on the top plate because I put on 3/8 top plate spacers. It was needed in order to fit those but I wish I did not put either on. But this combo made the studs a tad longer than stock lengths, and the very back stud is hard to get to once tightening it down. It was super close to the wheel well and I was not able to get a torque wrench on it. In fact, I could barely get a wrench on it. I ended up tightening it as good as I could with an open end wrench. Not ideal, and I am not sure if this was a problem with the ext studs or not. If you look at the front end pic, it does look like the studs are quite a bit longer than they need to be. Regardless its a tight fit and be prepared for that or just don't run spacers! This would have made getting the shock on easier as well.
3._________________________
Like others have said, there are tabs on the stock front A-arms that will hit the shock spring at full droop. Sure enough, mine hit significantly even while putting the shock spring/shock in a favorable position. I had to grind the tabs on both sides completely off to fit, and its still very tight. This is my second reason to get Aftermarket UCA's from the start. They will clear better and hopefully provide better alignment, my other problem. Even though grinding the tabs off stock A-arms was easy, it took a lot of time with my shitty die grinder and many different attempts to see exactly where it was hitting.
4.__________________________
Lifting the truck or jacking it off the ground to get proper clearance to install lift and bigger tires. The whole time installing, it was a balancing act between different jack stands and floor jacks to get the proper height needed. Ideally, I would want a whole car lift, but the basic person doesn't have this. I got into way too many sketchy balancing acts I wouldn't want anybody else to see. Think about this and have a proper way of lifting your 4-runner pretty high off the ground! Also, I would install the front end lift before doing the back. The back shocks and springs are much easier to put on and requires less time, and that is why I did it first. But when wrenching on the front end trying to get tundra shocks to fit, you will be putting alot of force and pressure on the whole truck. It was pretty hard for me to get the front end high enough off the ground, and having the rear end lower while installing the front will be alot easier!
5._________________________
The front end shook really bad when first driving it, even after 2 different alignments. The third mechanic I took it to said my spindles were loose and worn out, causing the shaking. So I got new ones, and it still shook around 50mph but it was somewhat better. Eventually after a couple hundred miles it smoothed out significantly, and is fine now. It can still shake around 60mph every once in a while. I think things could be better but for now its okay.
This sucked alot at first and cost me money and time to drive it all around town trying to find someone to fix it. I think aftermarket UCA's would have helped it align better from the beginning and I wouldn't have had to take it to get multiple alignments. One reason to start your build with aftermarket UCA's. They might not have fixed my problem, hard to say since I actually haven't driven with UCA's yet.
6._________________________
My CV Axle boots blew out within the first 100 miles and spewed gray greese everywhere on the front end. I have heard people not doing anthing about this and everything is ok. I am in the snow quite a bit and wanted them sealed up, and they did look pretty worn and blown out to me. I wanted to replace them anyway so I put new ones on to be safe, plus I plan on keeping this for a while. At that time I installed a Diff drop to better align my diff and cv axles. I should have installed the Diff drop from the beginning, and this could have potentially not caused the boots to blow off making a mess. One less hassle!
Basically, if I were to do it all over again, I would have gotten these parts or done these things differently:
- Aftermarket UCA's (should help with alignment, save time and hassle)
- King/Icon/Fox Coilovers (one less hassle, quicker turn around time, prebuilt, better performance?)
- Back Roller to lay on while under car (dammit)
- Bigger and better jacks than you have. Whole car lift
- All new screws and bolts for any part you are installing. Things will be rusty.
- Regear when doing the lift. I think 4.88 gears go with a lift and 33's. Install all at once! This will be a future upgrade. Might as well throw a locker in too.
- Also try building the most lightweight wheel. 4-Runners don't have a ton of power for going up grades and what not; you will notice heavy wheels.
- I wish I didn't install top plate spacers. They lifted the front a tad too much once the rear settled.
If anyone knows how the lift height in the front would be affected by coil overs and/or uca's let me know!
Phase 2 will be coming soon...
King Coil Overs
Camburg UCA
Stealth F5 wheels (2lbs less a wheel)
255/85/16 KM2's
Re-gear 4.88 and E-locker
Thanks for Looking!
Last edited:


