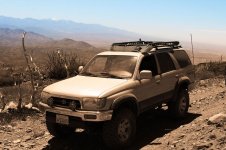
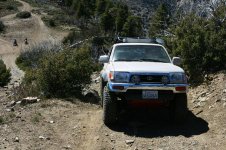
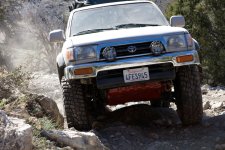
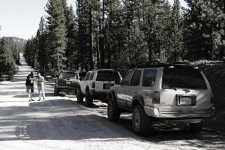
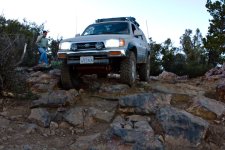
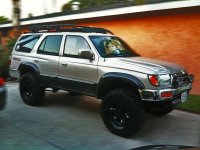
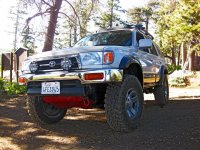
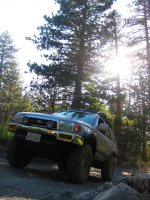
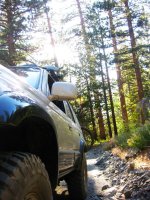
PURE 98's Build Thread, Lots of pics.

Attachments

  • IMG_0452.jpg
    IMG_0452.jpg
    141.8 KB · Views: 2,956
  • IMG_0473.jpg
    IMG_0473.jpg
    145.1 KB · Views: 2,866
  • IMG_0572.jpg
    IMG_0572.jpg
    145.8 KB · Views: 2,956
  • IMG_0589.jpg
    IMG_0589.jpg
    145.2 KB · Views: 2,829
  • IMG_0720.jpg
    IMG_0720.jpg
    143.3 KB · Views: 2,785
NO new mods just PS pictures

Fun with Photoshop.......
 

Attachments

  • IMG_1330.jpg
    IMG_1330.jpg
    138.6 KB · Views: 2,980
  • IMG_1301.jpg
    IMG_1301.jpg
    148.3 KB · Views: 2,730
  • IMG_1334.jpg
    IMG_1334.jpg
    142.7 KB · Views: 2,742
  • IMG_1352.jpg
    IMG_1352.jpg
    138.2 KB · Views: 2,737
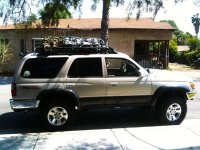
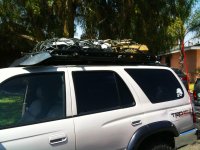
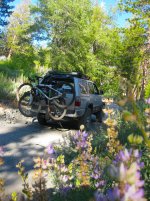
Putting my rack to work

This was the Runner loaded up for our last camping trip.
 

Attachments

  • IMG_0961.jpg
    IMG_0961.jpg
    140.6 KB · Views: 2,816
  • IMG_0959.jpg
    IMG_0959.jpg
    137.7 KB · Views: 2,718
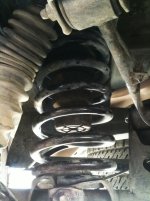
So thanks to drifter33 i figured out that my runner is missing the cone spacers in the rear. so i went to the junk yard and picked up some new stuff.
• Cone spacers $25 - This leveled out the truck :D
• Used trans cooler $10 -
• Tail light guards $10 - They are for a 2nd Gen so i have to fab them to fit:(
• Painted rims $23 - My rims were getting pretty ugly & the paint was coming off, the next best thing.
 

Attachments

  • IMG_1038.jpg
    IMG_1038.jpg
    132.8 KB · Views: 3,036
  • IMG_1039.jpg
    IMG_1039.jpg
    135.5 KB · Views: 3,020
  • IMG_1037.jpg
    IMG_1037.jpg
    130.9 KB · Views: 3,888
NO new mods just pictures

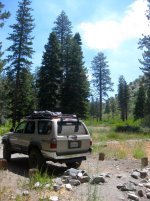
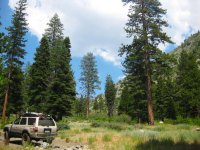
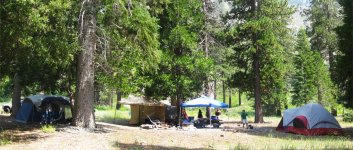
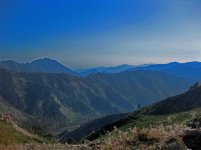
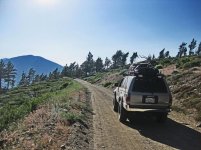
Guffy campsite, 3N39 & Lupine campsite at Wrightwood, CA ...
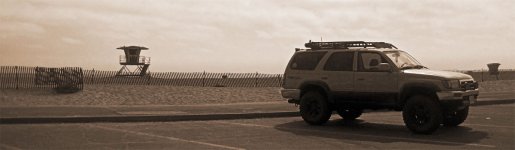
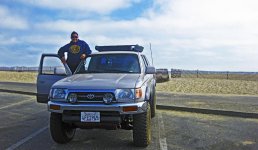
last 2 are from Doheny Beach
 

Attachments

  • IMG_4054.jpg
    IMG_4054.jpg
    145.8 KB · Views: 3,005
  • IMG_4062.jpg
    IMG_4062.jpg
    143.3 KB · Views: 2,881
  • IMG_4067.jpg
    IMG_4067.jpg
    145.1 KB · Views: 2,912
  • IMG_4071.jpg
    IMG_4071.jpg
    144.6 KB · Views: 2,861
  • IMG_4192.jpg
    IMG_4192.jpg
    141.5 KB · Views: 2,884
  • IMG_4282.jpg
    IMG_4282.jpg
    143.4 KB · Views: 2,870
  • IMG_4378.jpg
    IMG_4378.jpg
    65.7 KB · Views: 2,816
  • IMG_4387.jpg
    IMG_4387.jpg
    135.3 KB · Views: 2,897
Awesome, I figured you'd like those sites, it's pretty cool. Did you drive through Mt. High?

yeah i drove through Mt. High, pretty cool to see it with out snow. the view is cool from up there
 

Attachments

  • IMG_4268.jpg
    IMG_4268.jpg
    139.5 KB · Views: 2,832
  • IMG_4337.jpg
    IMG_4337.jpg
    133.1 KB · Views: 2,841
  • IMG_4352.jpg
    IMG_4352.jpg
    139.3 KB · Views: 2,862
Custom Shovel and Hi-Lift Mounts

The mounts are not professionally made but they work great and they have held up through Freeway use & offroad use, very fast to remove and most of it I found in my garage :biggrin2:

Hi-Lift Mounts:
<a href="http://s94.photobucket.com/albums/l93/evalencia102001/?action=view&current=IMG_1127.jpg" target="_blank"><img src="http://i94.photobucket.com/albums/l93/evalencia102001/IMG_1127.jpg" border="0" alt="Photobucket"></a>

I got two long plates and bolted them to the Rack for the base. then i took a long bolt that works as the high lift holder.
The order goes like this:
Bolt
Plates
Rack
Plates
Plastic washer
Plastic washer
Lock washer
Nut - This holds it all together so when the hi-lift comes off the mount stays on the rack.

Hi-Lift
Fly Nut

<a href="http://s94.photobucket.com/albums/l93/evalencia102001/?action=view&current=IMG_1131.jpg" target="_blank"><img src="http://i94.photobucket.com/albums/l93/evalencia102001/IMG_1131.jpg" border="0" alt="Photobucket"></a>

<a href="http://s94.photobucket.com/albums/l93/evalencia102001/?action=view&current=IMG_1129.jpg" target="_blank"><img src="http://i94.photobucket.com/albums/l93/evalencia102001/IMG_1129.jpg" border="0" alt="Photobucket"></a>

Back Side
<a href="http://s94.photobucket.com/albums/l93/evalencia102001/?action=view&current=IMG_1124.jpg" target="_blank"><img src="http://i94.photobucket.com/albums/l93/evalencia102001/IMG_1124.jpg" border="0" alt="Photobucket"></a>

Shovel Mounts:
This has a lot of random parts.
<a href="http://s94.photobucket.com/albums/l93/evalencia102001/?action=view&current=IMG_1126.jpg" target="_blank"><img src="http://i94.photobucket.com/albums/l93/evalencia102001/IMG_1126.jpg" border="0" alt="Photobucket"></a>

This is similar to the Hi-lift mount, but at the end it has a rollerblade adjustable clip. A hose clamp holds the clip to the plastic washers.
<a href="http://s94.photobucket.com/albums/l93/evalencia102001/?action=view&current=IMG_1122.jpg" target="_blank"><img src="http://i94.photobucket.com/albums/l93/evalencia102001/IMG_1122.jpg" border="0" alt="Photobucket"></a>

The front mount is the same but with a metal C hinged that i found at The Home Depot. I ran a bolt on top to stop it from rattling then a lock for security.
<a href="http://s94.photobucket.com/albums/l93/evalencia102001/?action=view&current=IMG_1123.jpg" target="_blank"><img src="http://i94.photobucket.com/albums/l93/evalencia102001/IMG_1123.jpg" border="0" alt="Photobucket"></a>

back side
<a href="http://s94.photobucket.com/albums/l93/evalencia102001/?action=view&current=IMG_1125.jpg" target="_blank"><img src="http://i94.photobucket.com/albums/l93/evalencia102001/IMG_1125.jpg" border="0" alt="Photobucket"></a>

Hope this Helps. If you come up with something different i would love to see. it.

 
Onboard Air

I decided it was time to add an on-board air system. So I went with a Viair 400C VIAIR Compressor & a 150psi Smittybilt tank system. This system is designed for filling 35" sized tires and will also work well to air up tires on the trail with ease or perform roadside repairs yourself using air tools.

The installation of the system took over 6 hours and is relatively involved. I chose to use the space behind the rear axle to mount both the compressor and air tank.
<a href="http://s94.photobucket.com/albums/l93/evalencia102001/?action=view&current=IMG_1942.jpg" target="_blank"><img src="http://i94.photobucket.com/albums/l93/evalencia102001/IMG_1942.jpg" border="0" alt="Onboard air"></a>

Viair 400C
<a href="http://s94.photobucket.com/albums/l93/evalencia102001/?action=view&current=IMG_1945.jpg" target="_blank"><img src="http://i94.photobucket.com/albums/l93/evalencia102001/IMG_1945.jpg" border="0" alt="Viair"></a>

I mounted the compressor bracket to the left cross frame rail. This location keeps the compressor shielded from most road grime. The tank is mounted to left frame rail that is bolted to the underside of the body.
<a href="http://s94.photobucket.com/albums/l93/evalencia102001/?action=view&current=IMG_1971.jpg" target="_blank"><img src="http://i94.photobucket.com/albums/l93/evalencia102001/IMG_1971.jpg" border="0" alt="Photobucket"></a>

Compressor mount
<a href="http://s94.photobucket.com/albums/l93/evalencia102001/?action=view&current=IMG_1980.jpg" target="_blank"><img src="http://i94.photobucket.com/albums/l93/evalencia102001/IMG_1980.jpg" border="0" alt="Photobucket"></a>

Tank mount
<a href="http://s94.photobucket.com/albums/l93/evalencia102001/?action=view&current=IMG_1979.jpg" target="_blank"><img src="http://i94.photobucket.com/albums/l93/evalencia102001/IMG_1979.jpg" border="0" alt="Photobucket"></a>

I tested the air system on my tires from 15psi to 35psi it took 1min 40, (note on 33's)
I decided to add 2 quick connect points. 1 in the front & 1 in the back.
<a href="http://s94.photobucket.com/albums/l93/evalencia102001/?action=view&current=IMG_1972.jpg" target="_blank"><img src="http://i94.photobucket.com/albums/l93/evalencia102001/IMG_1972.jpg" border="0" alt="Photobucket"></a>

Back mount (need to move it to a another location.)
<a href="http://s94.photobucket.com/albums/l93/evalencia102001/?action=view&current=IMG_1969.jpg" target="_blank"><img src="http://i94.photobucket.com/albums/l93/evalencia102001/IMG_1969.jpg" border="0" alt="Photobucket"></a>

I couldn't have onboard air with out air tools. :thumb3:
Then I realized that I need some were to store them, I came up with a shelve unit that also protects my sub.
<a href="http://s94.photobucket.com/albums/l93/evalencia102001/?action=view&current=IMG_1982.jpg" target="_blank"><img src="http://i94.photobucket.com/albums/l93/evalencia102001/IMG_1982.jpg" border="0" alt="Photobucket"></a>

Craftsman air tools
<a href="http://s94.photobucket.com/albums/l93/evalencia102001/?action=view&current=IMG_1985.jpg" target="_blank"><img src="http://i94.photobucket.com/albums/l93/evalencia102001/IMG_1985.jpg" border="0" alt="Photobucket"></a>

Gauge mount (coming soon) :
 
Wheel Spacer

Thanks to by buddy Chris i got some All-Pro Toyota Wheel Spacers
<a href="http://s94.photobucket.com/albums/l93/evalencia102001/?action=view&current=IMG_1948.jpg" target="_blank"><img src="http://i94.photobucket.com/albums/l93/evalencia102001/IMG_1948.jpg" border="0" alt="Photobucket"></a>

<a href="http://s94.photobucket.com/albums/l93/evalencia102001/?action=view&current=IMG_1951.jpg" target="_blank"><img src="http://i94.photobucket.com/albums/l93/evalencia102001/IMG_1951.jpg" border="0" alt="Photobucket"></a>

<a href="http://s94.photobucket.com/albums/l93/evalencia102001/?action=view&current=IMG_1958.jpg" target="_blank"><img src="http://i94.photobucket.com/albums/l93/evalencia102001/IMG_1958.jpg" border="0" alt="Photobucket"></a>

A little before and after
<a href="http://s94.photobucket.com/albums/l93/evalencia102001/?action=view&current=IMG_1959.jpg" target="_blank"><img src="http://i94.photobucket.com/albums/l93/evalencia102001/IMG_1959.jpg" border="0" alt="Photobucket"></a>
 

Members online

Forum statistics

Threads
278,316
Messages
3,554,120
Members
248,016
Latest member
Advally Service

Trending content

Back
Top