Oil Change 5th Gen: How To- LOTS of PICS!

Antman

Elite Member
Many of you have asked for a tutorial for this- so here is my best effort to explain the process. Let me start by saying that I am NOT a mechanic, but I have been changing my own oil for, well, 27 years or so FWIW.

IF ANYONE NOTICES AN ERROR, OR SOMETHING I SHOULD ADD, PLEASE SPEAK UP SO I CAN EDIT THIS TO BE AS ACCURATE AS POSSIBLE FOR THE FORUM!


Ok, enough with the small talk- let's get dirty.


Time to get some supplies together:


Here is what you will need, along with some extra stuff to make this a relatively pleasant experience...

DSCF1248.jpg~original


DSCF1235.jpg~original


DSCF1233.jpg~original


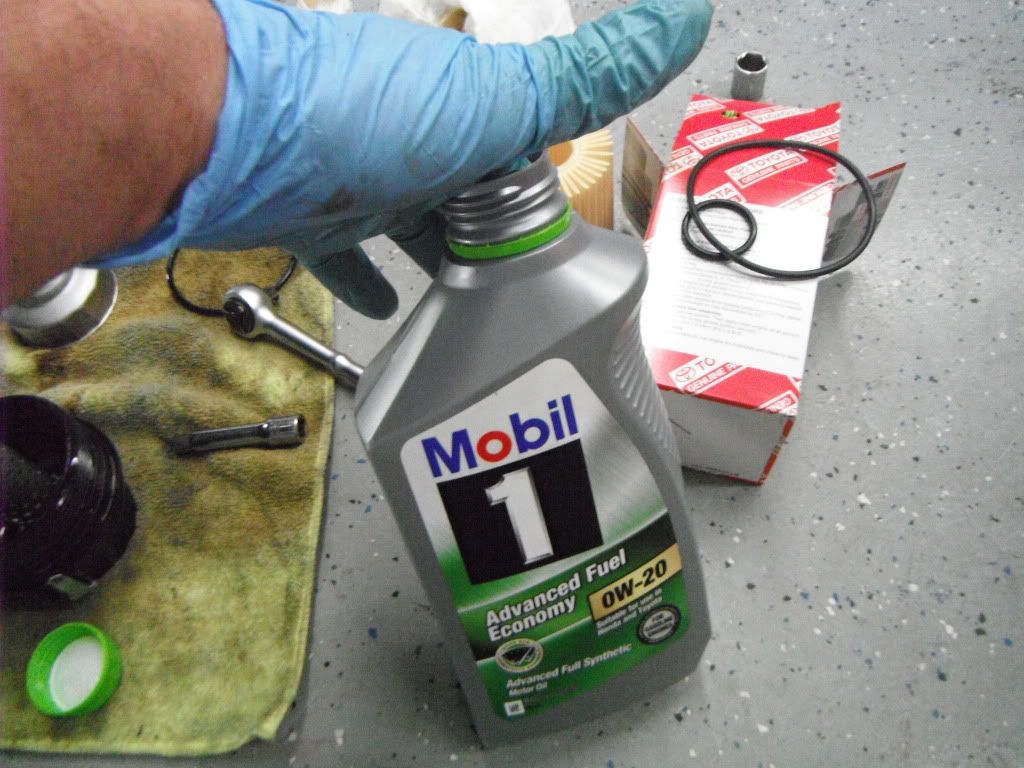
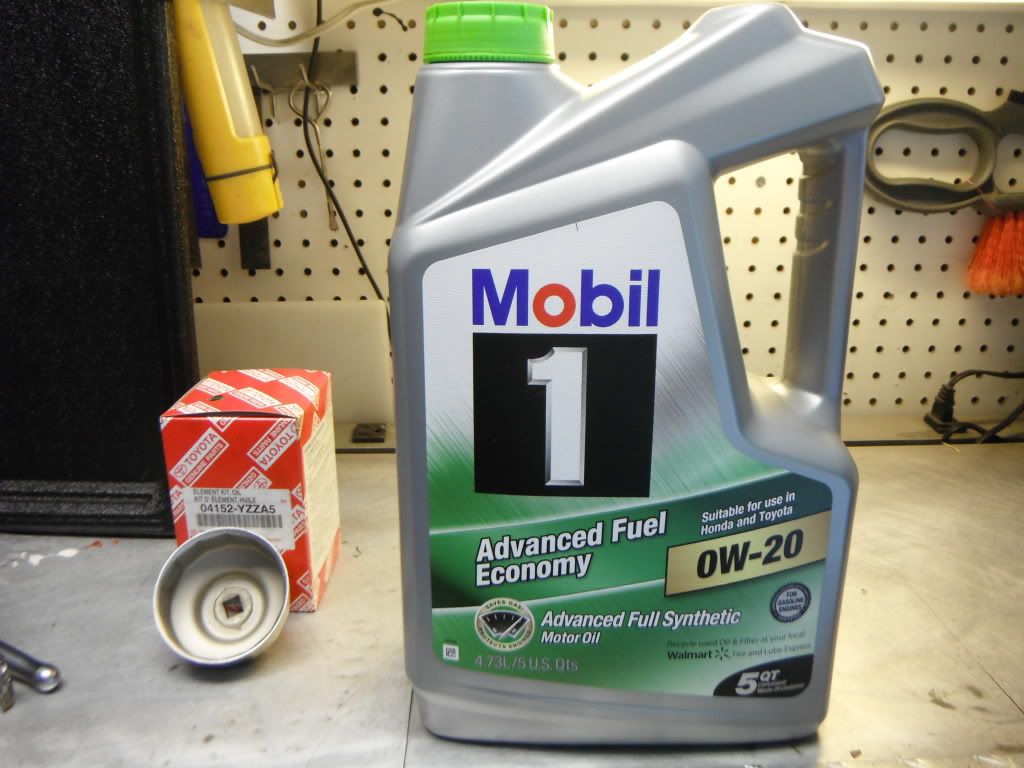
- 7 Quarts (you need 6.6) of synthetic 0W-20 oil. I prefer Mobil1, but Toyota Oil is great as well


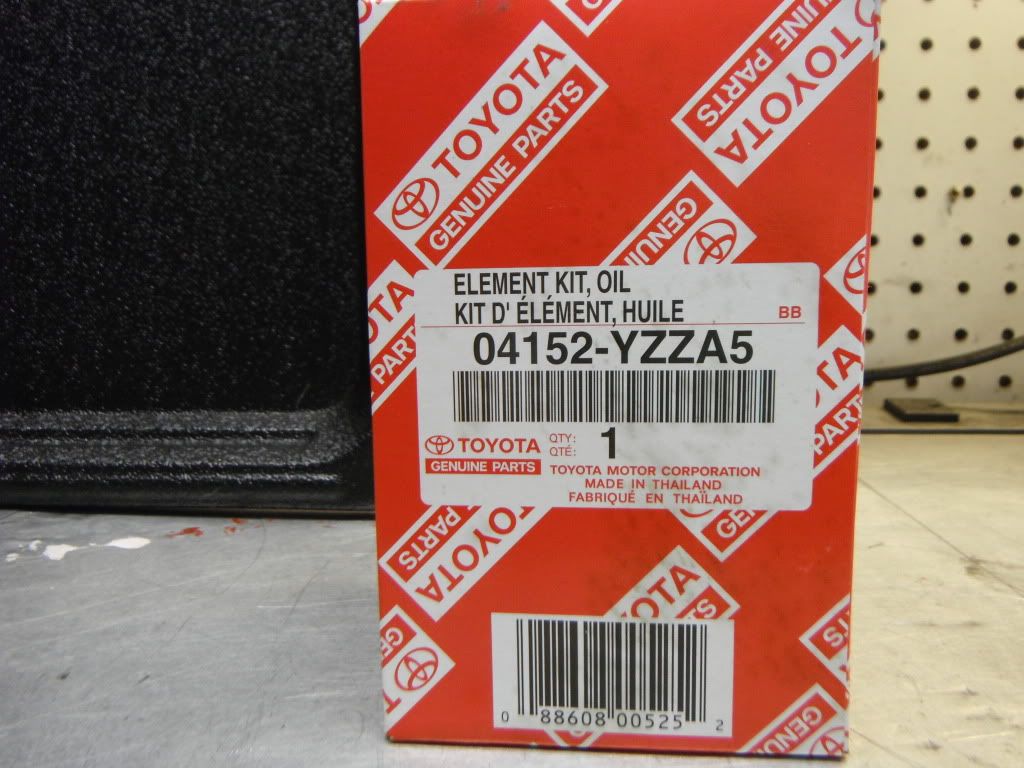
- Toyota filter kit part# 04152-YZZA5

- Toyota oil drain plug gasket part # 90430-12031

- Extra large drain pan

- Funnel

- 64mm filter wrench

- 3/8" drive ratchet, extension and 10mm, 12mm, & 14mm sockets

- Nitrile gloves

- Old Micro fiber towels, and papertowels to clean up

- Owner's manual

- Big plastic spill catcher pan (optional)


Time to change your oil...


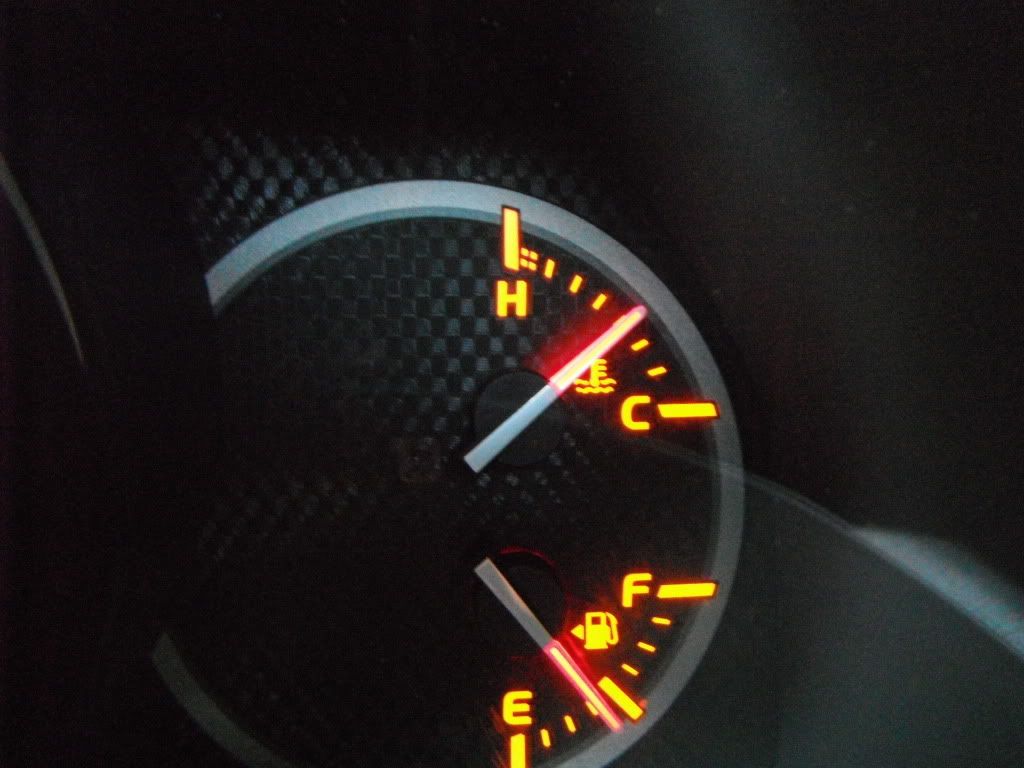
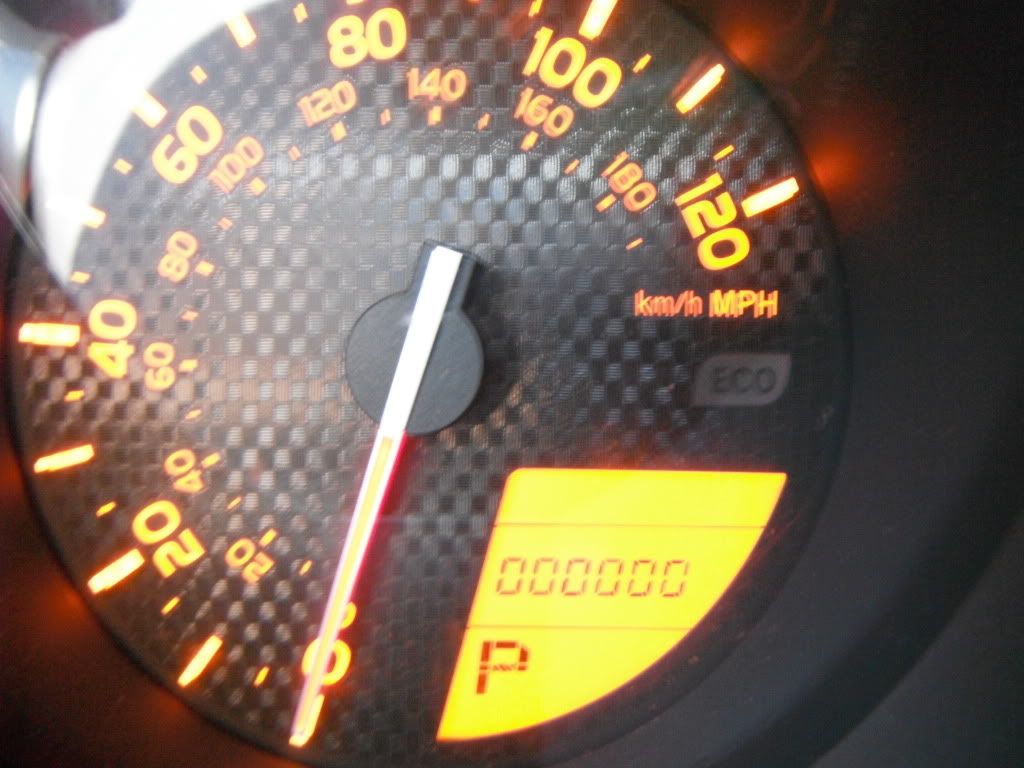
Get in your 4Runner, and drive it for a bit. You want your oil to be at operating temperature (read, hot) when you change it. Make sure your temp gauge looks like this;

DSCF1254.jpg~original


When you get back, put on the parking brake and pop the hood.
Make sure you are wearing some old clothes...don't ask where I got this one, but my wife is glad I'm ruining it...



DSCF1253.jpg~original


Hook up your smartphone to the garage stereo (you DO have a stereo out there, right?) and crank up the RUSH station on Pandora. It's my thread, so just do it...Or, just play this. One of the best Rush songs ever made.


Now you're ready as ever.

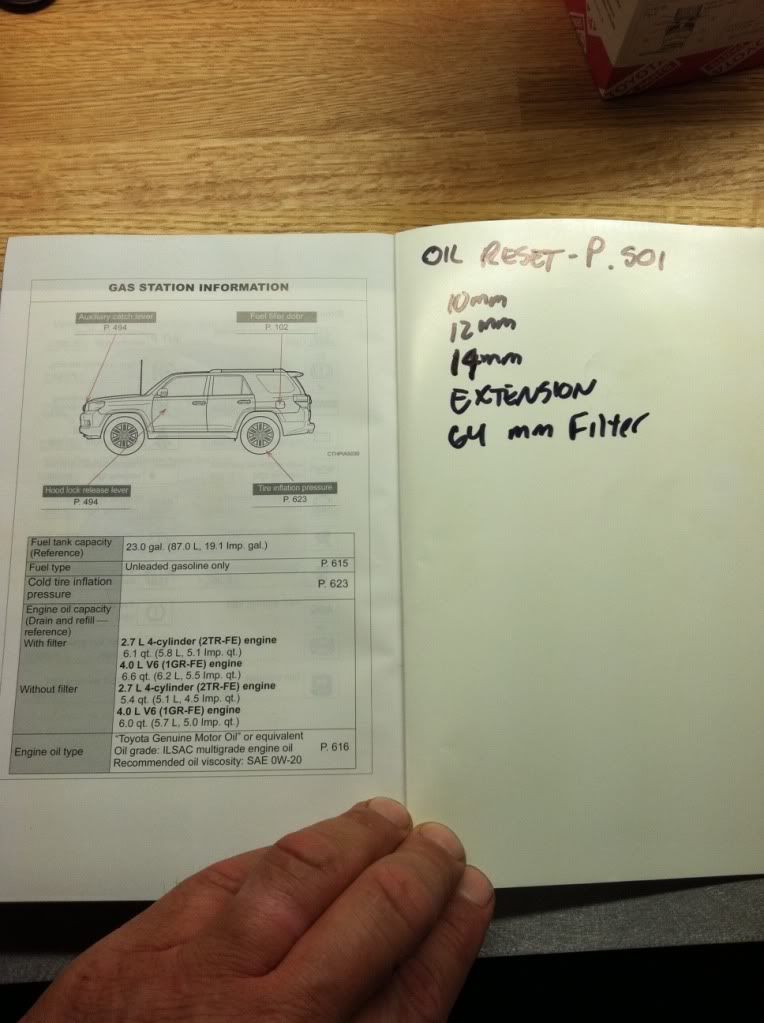
Before I forget- Do yourself and US a favor and write yourself some reminders in the owner's manual, and on the oil fill cap(silver sharpie)!
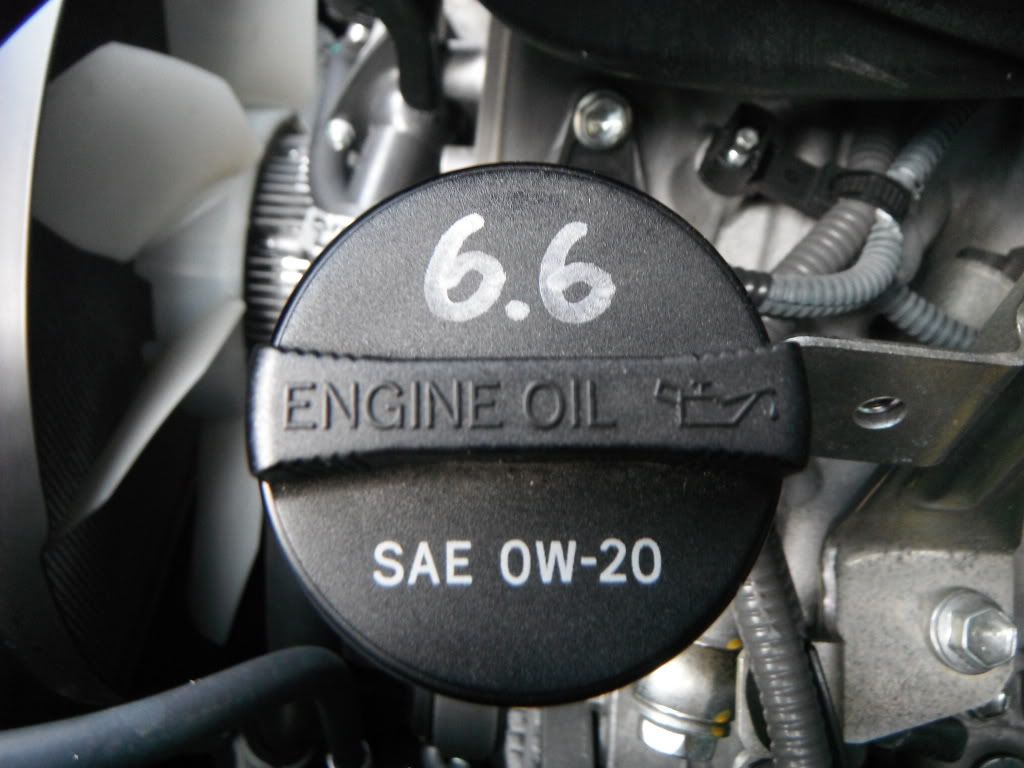


DSCF1239.jpg~original


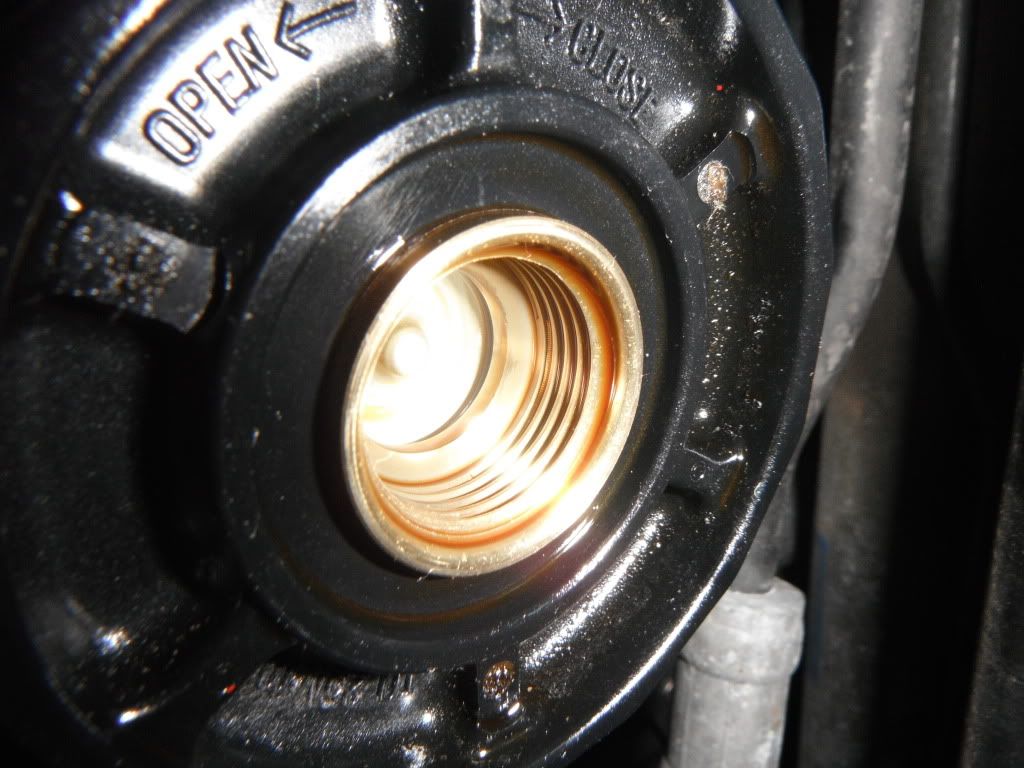
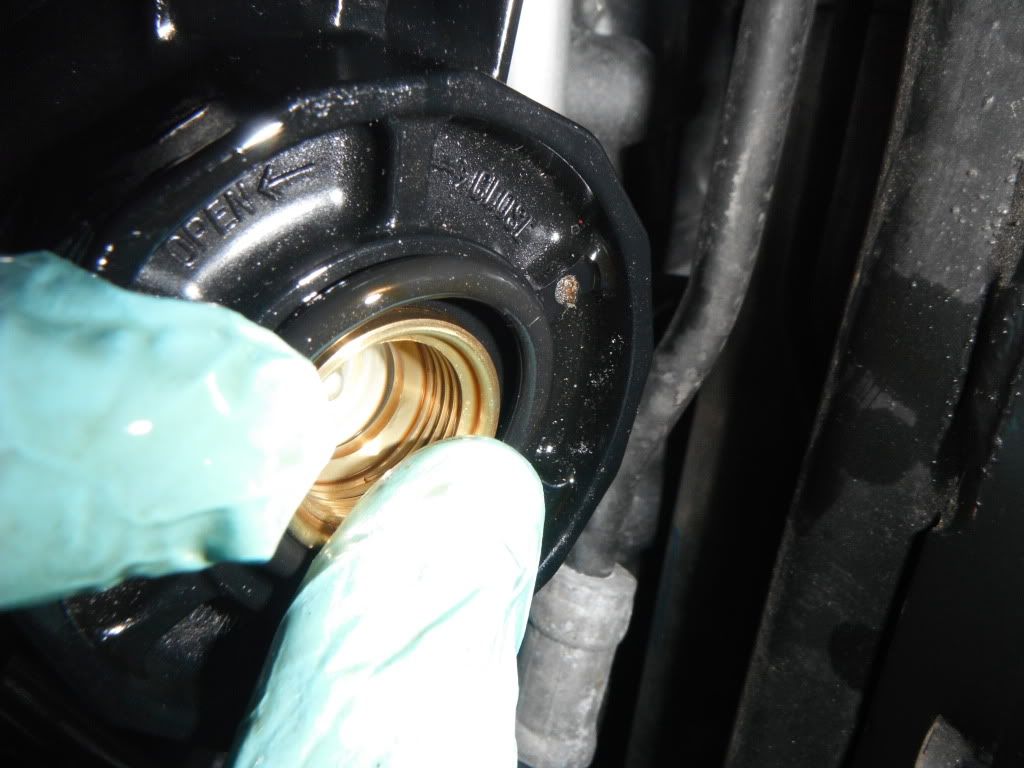
Remove the oil fill cap, and set it aside (the plastic engine cover is a good spot). This will help the oil drain out easier and faster.

Get under there and locate the oil drain cover. The bolts are 12mm, and there are 2 of them. Remove the bolts.
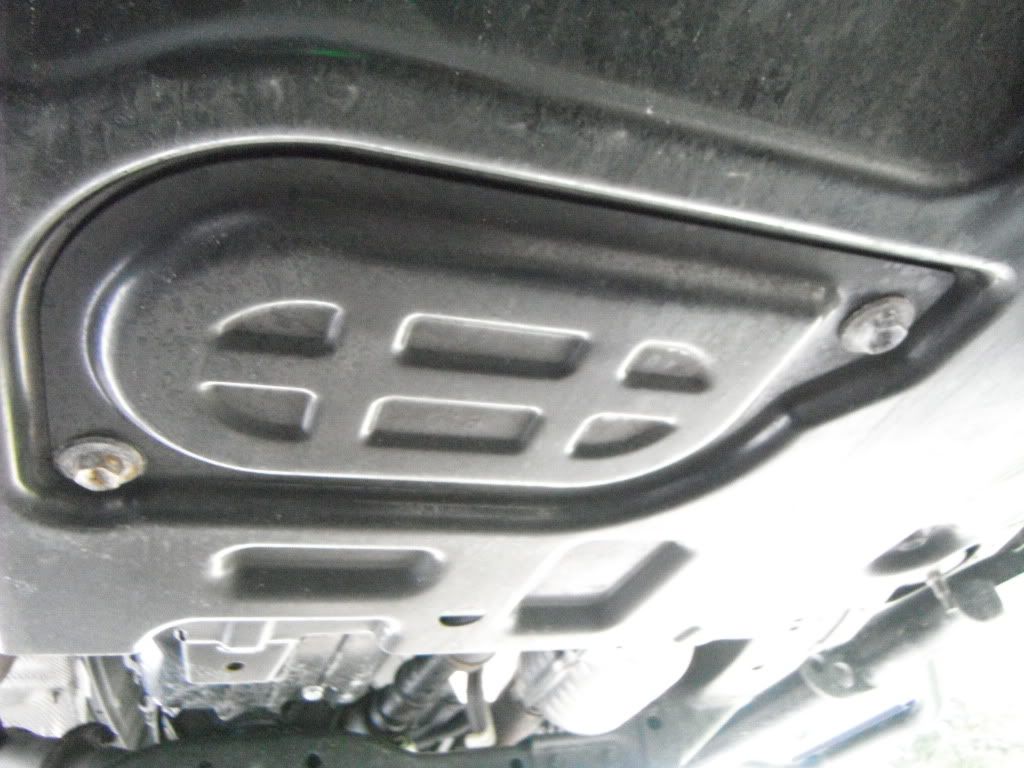
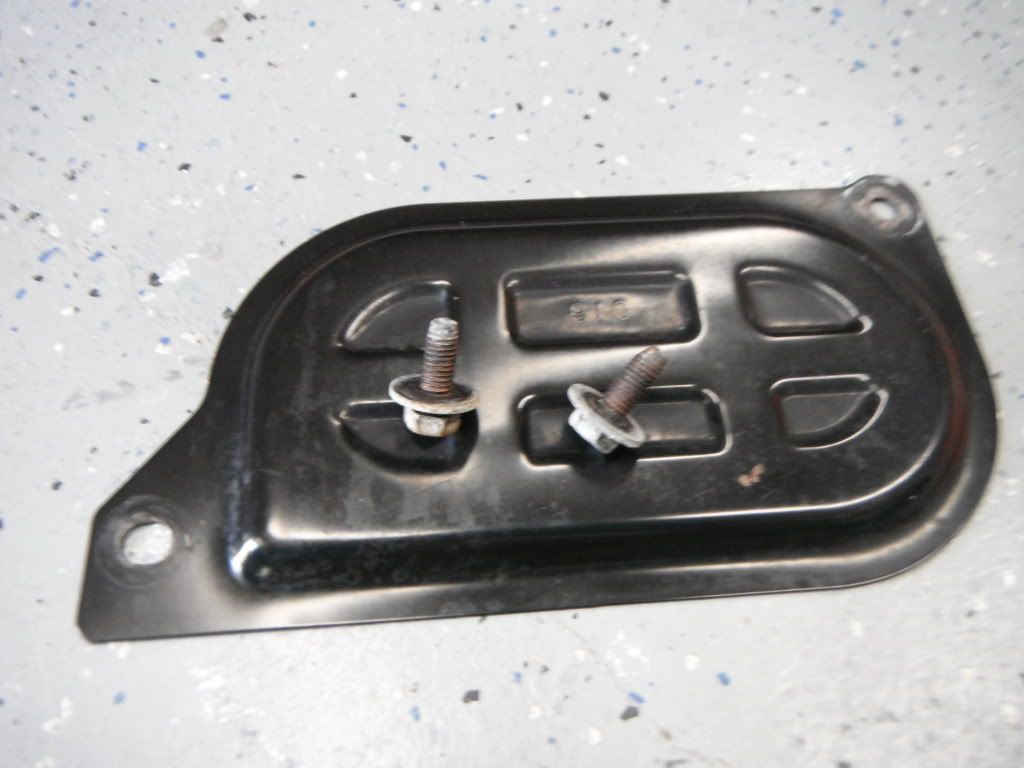
DSCF1242.jpg~original


DSCF1258.jpg~original


With the cover removed, you will see the 14mm oil drain plug.
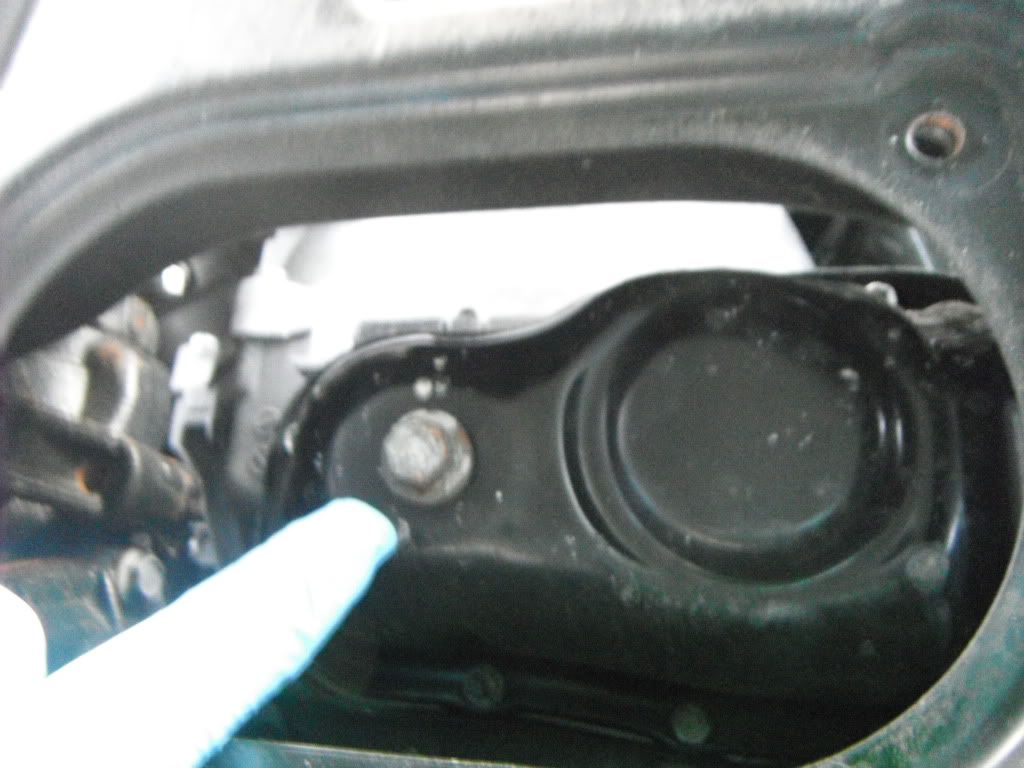
DSCF1260.jpg~original


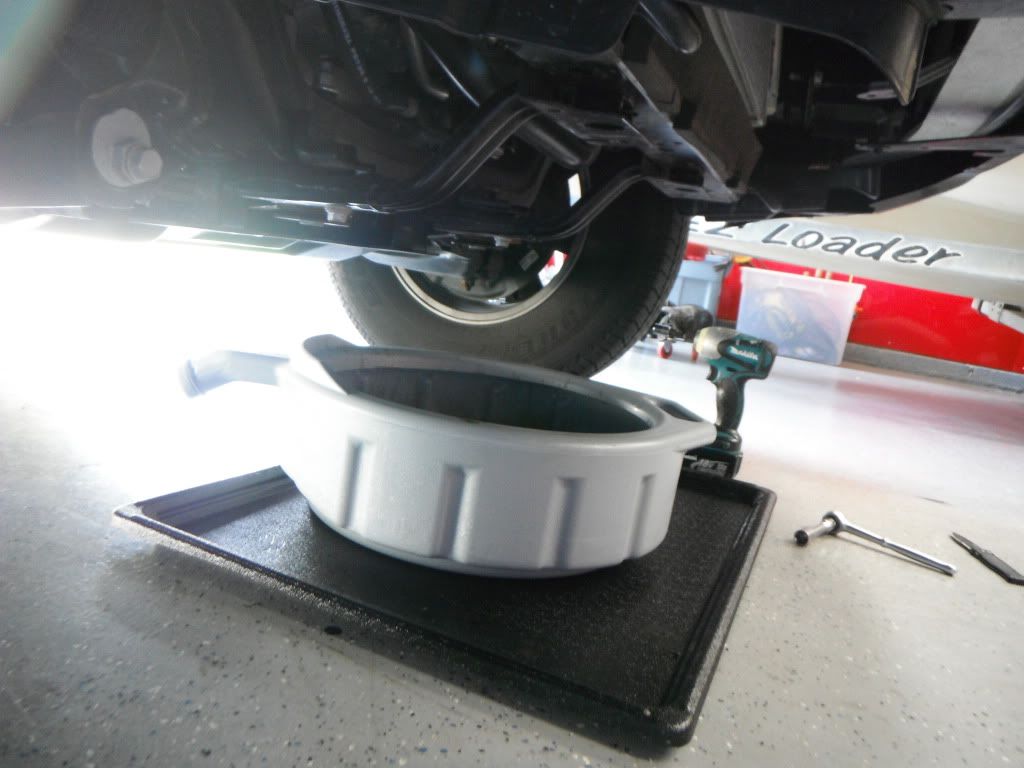
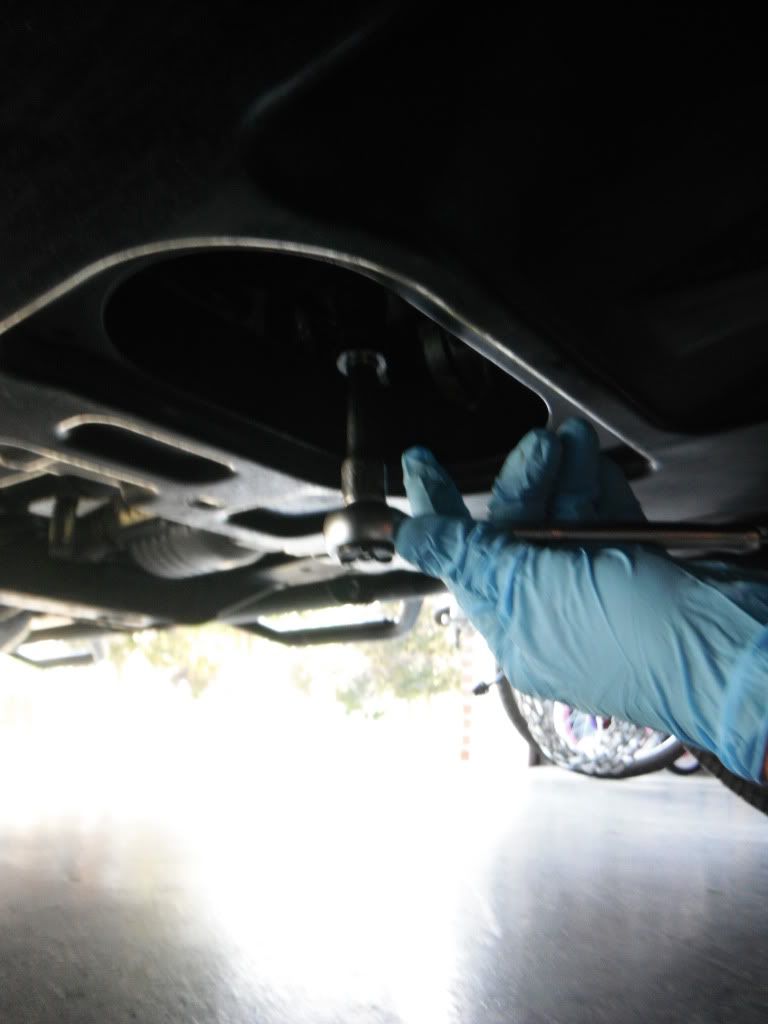
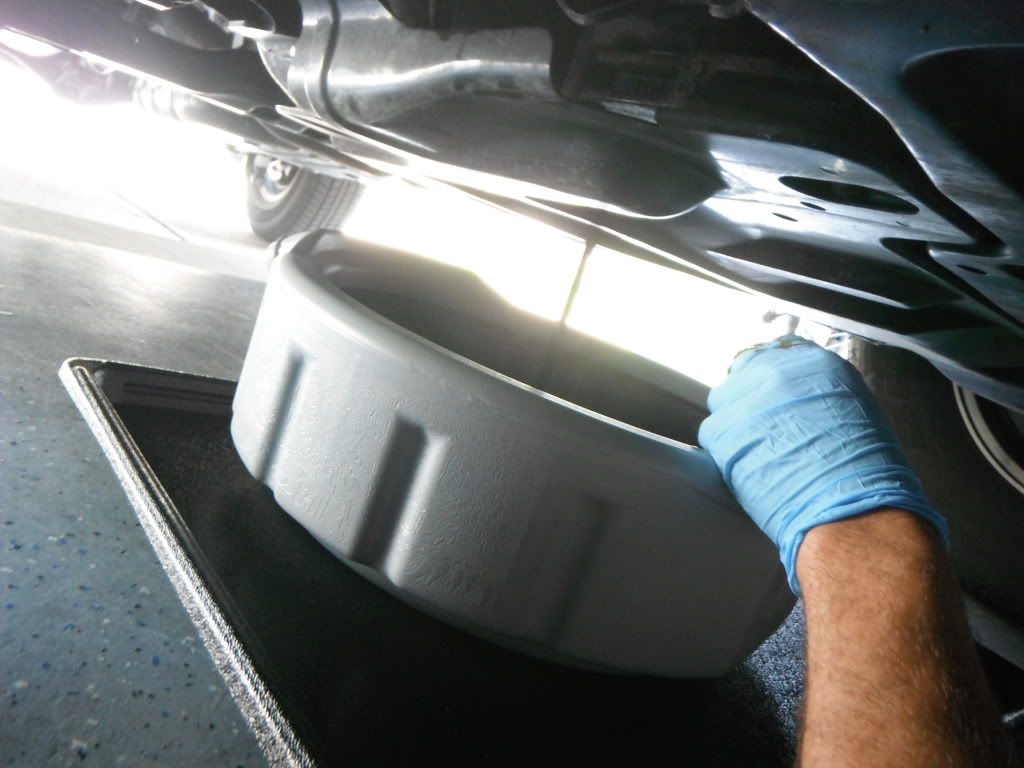
Put your drain pans in place, and carefully break the bolt loose.

For you newbies, it's easy to get mixed up when you are upside down under your truck. Make sure the ratchet is in reverse BEFORE you go under there!

Once the bolt is loose, take it out by hand slowly. The HOT OIL will immediately gush out when the bolt is removed, so be prepared.
DSCF1261.jpg~original


DSCF1262.jpg~original


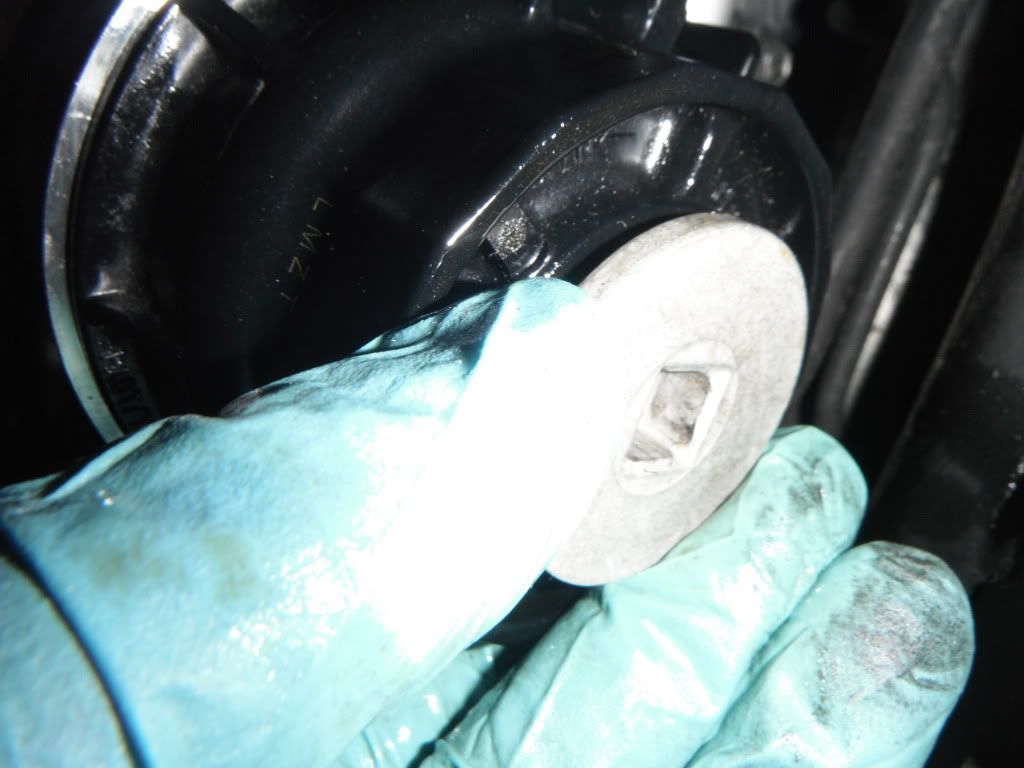
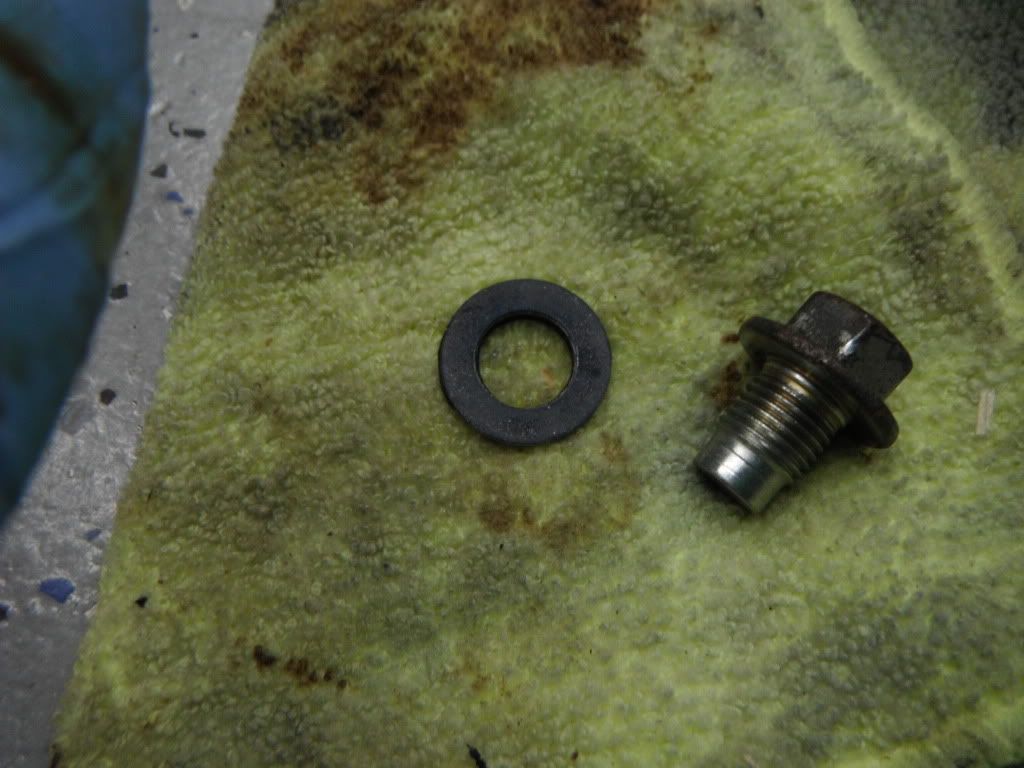
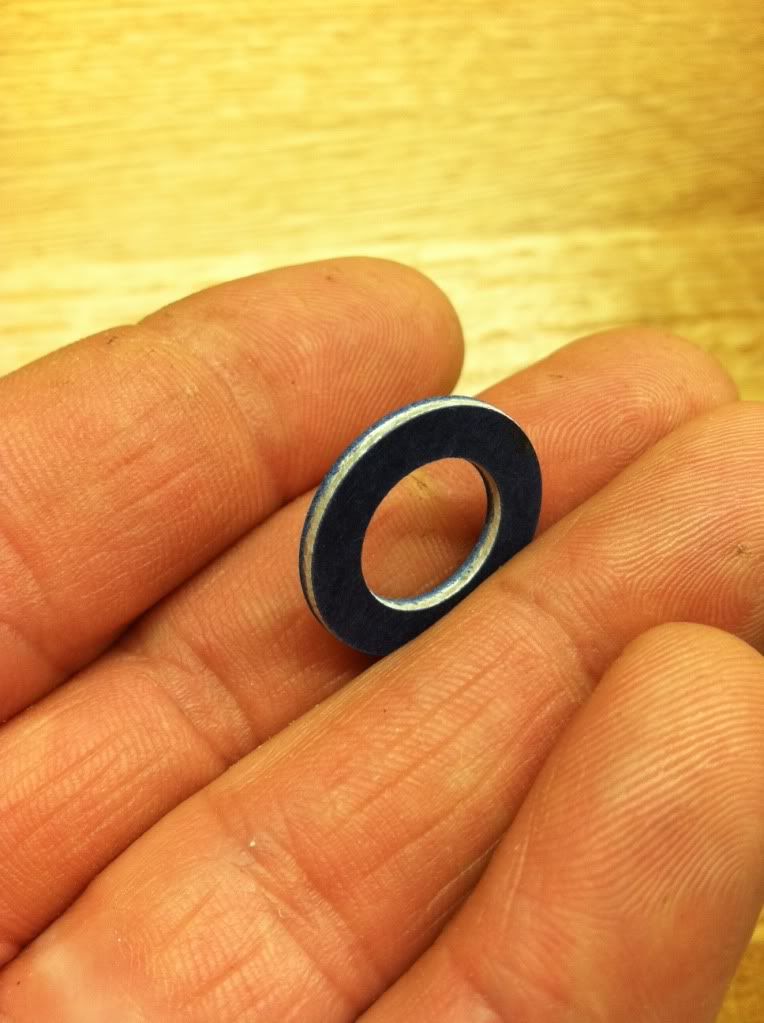
This is what the drain plug looks like,along with the washer that should be replaced every time.
DSCF1263.jpg~original


Now that your oil is happily draining away, you can remove the skid plate, and plastic front cover.

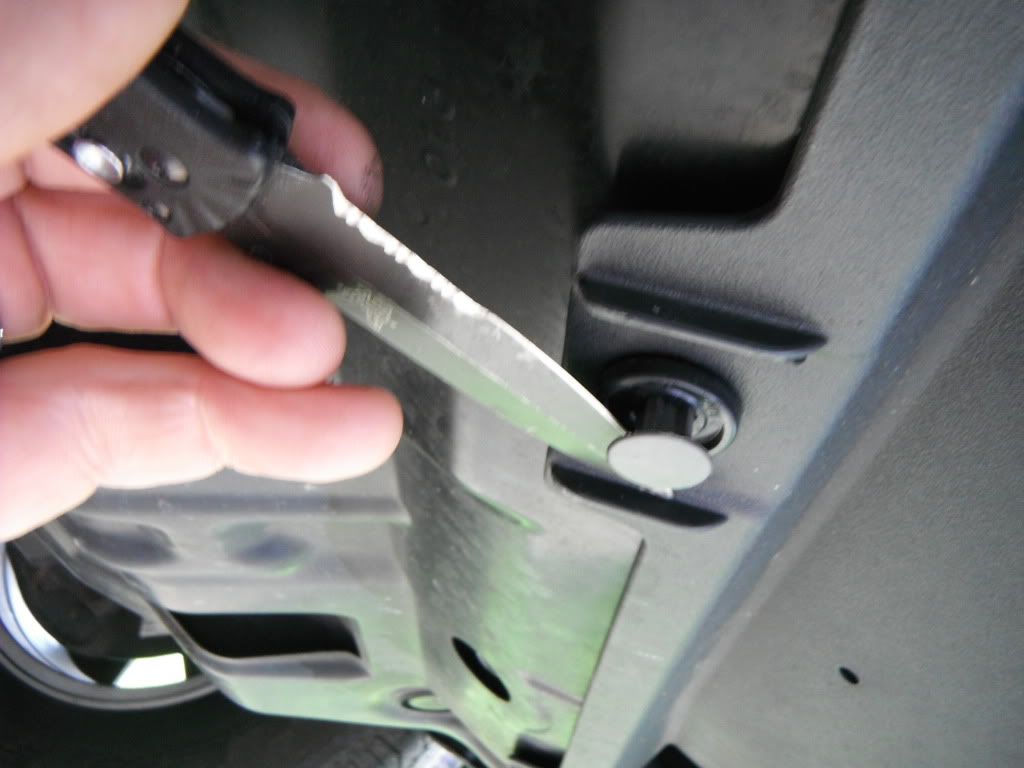
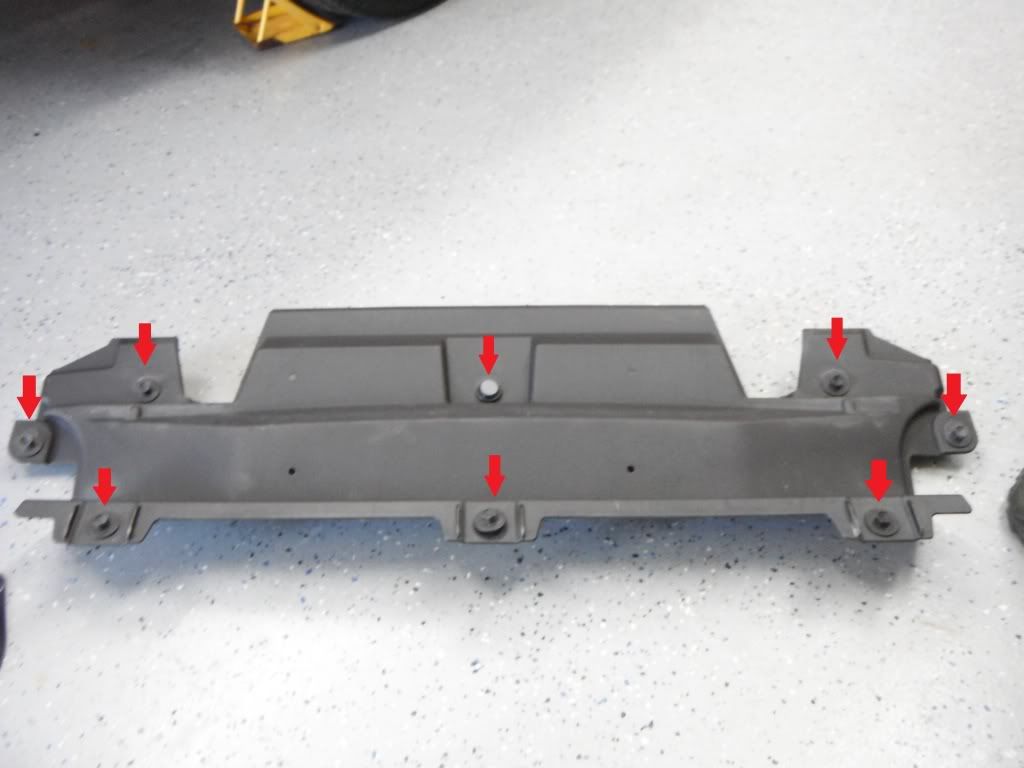
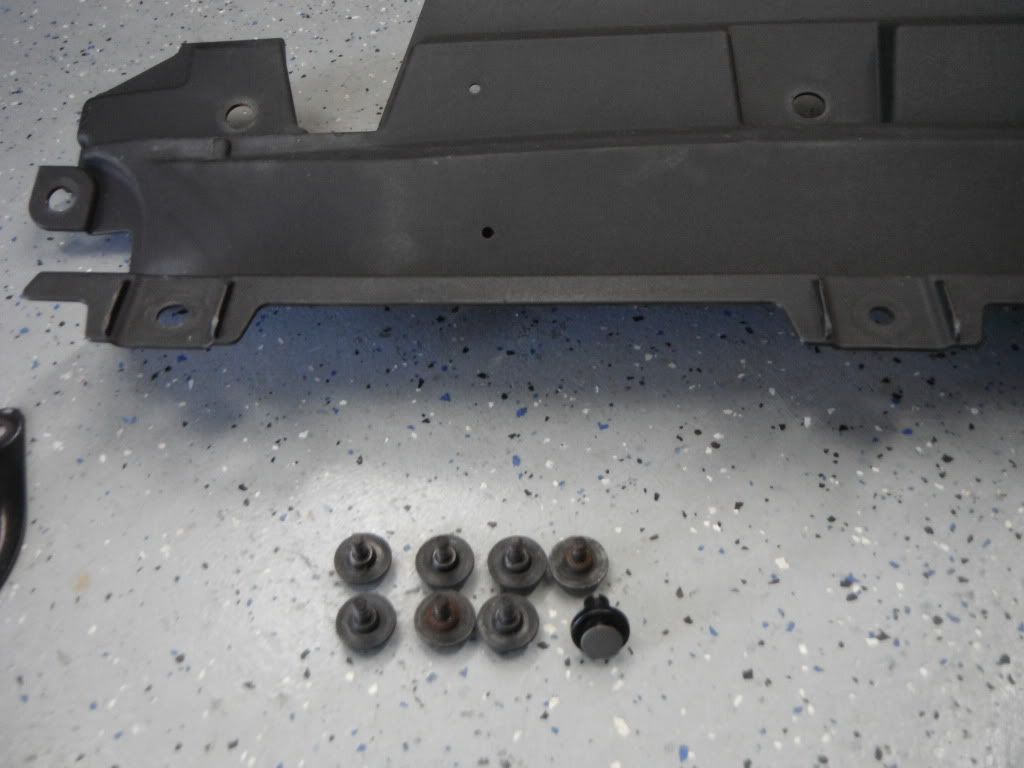
First the cover. There are a total of 7 10mm bolts, and a push-pin to remove. Here are the pics, along with how to remove the push-pin (pop the center gray piece out, and then pull out the black ring). It's important to note that I have removed my front spoiler, so you won't see that in the pictures!

DSCF1244.jpg~original


DSCF1246.jpg~original


DSCF1265.jpg~original


DSCF1266.jpg~original


CONTINUED
 
Last edited:
Register to hide this ad
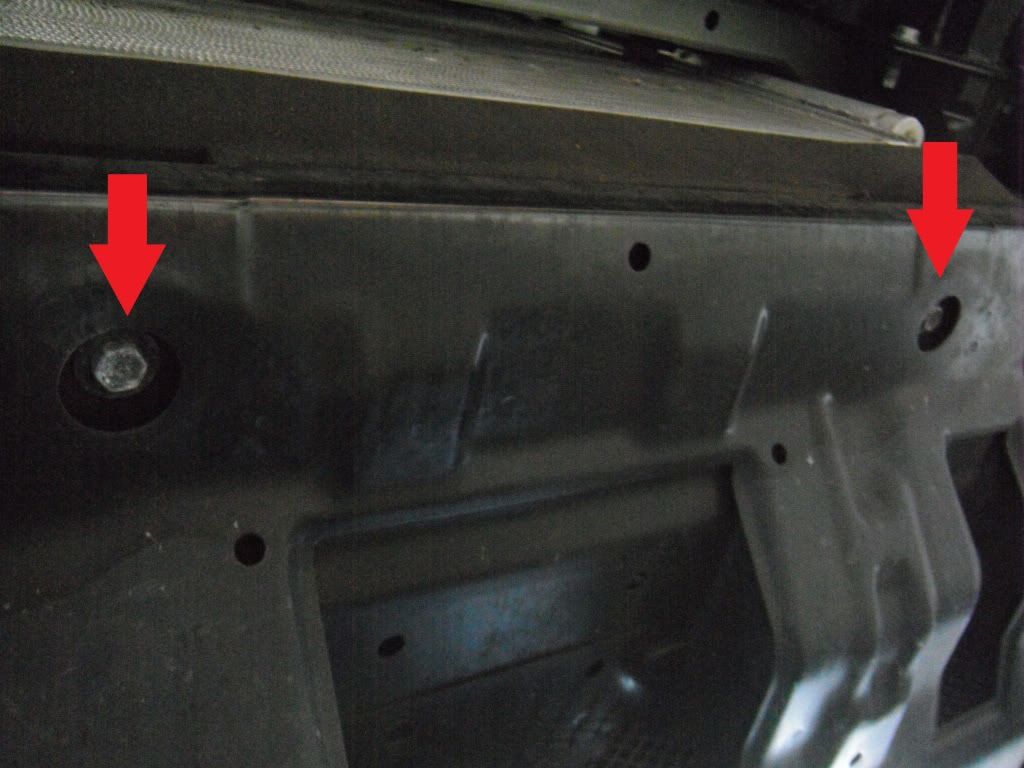
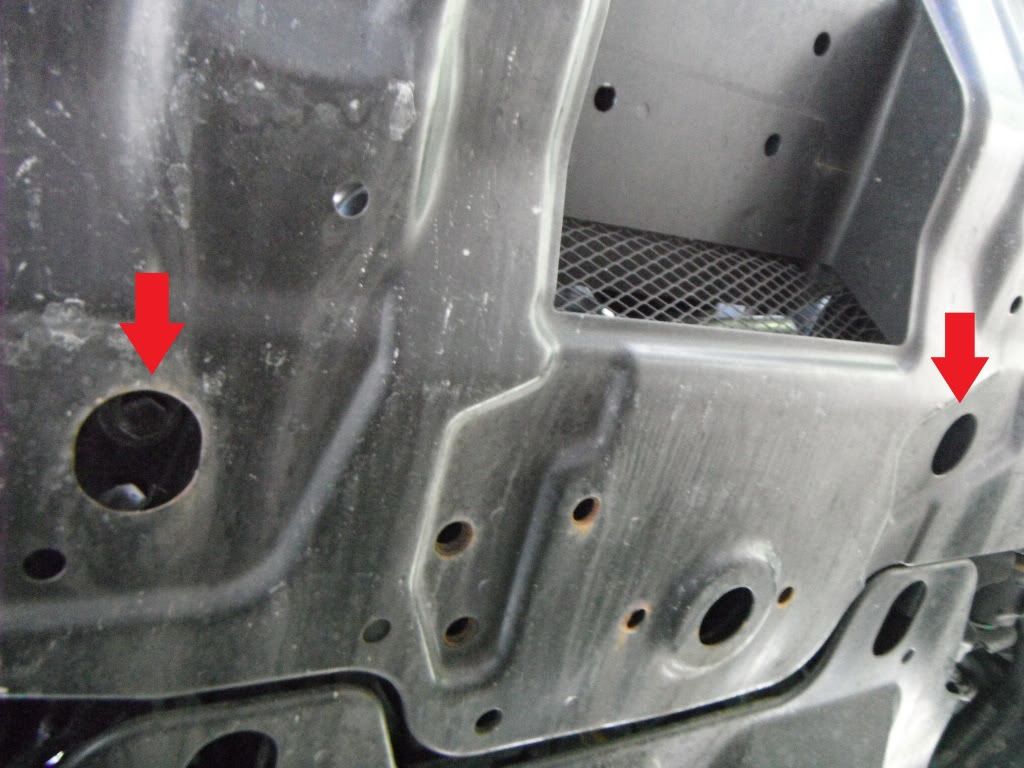
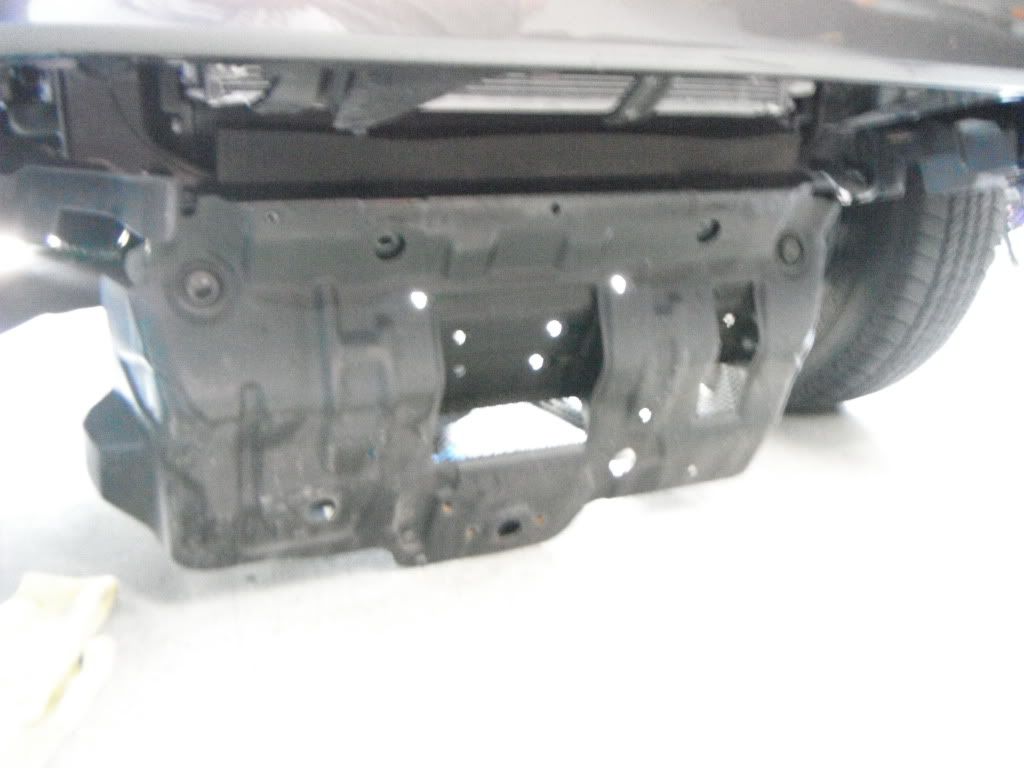
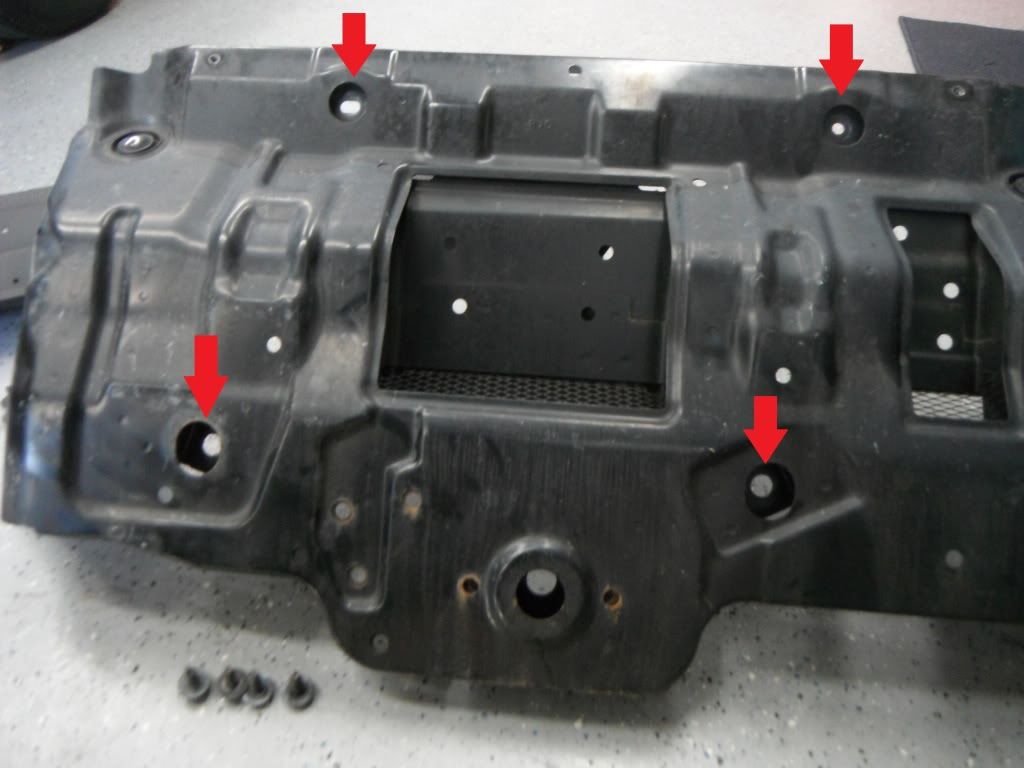
Removing the cover will reveal the 2 front skid bolts...

DSCF1268.jpg~original


Look towards the back to reveal the other 2 skid bolts...


DSCF1243.jpg~original


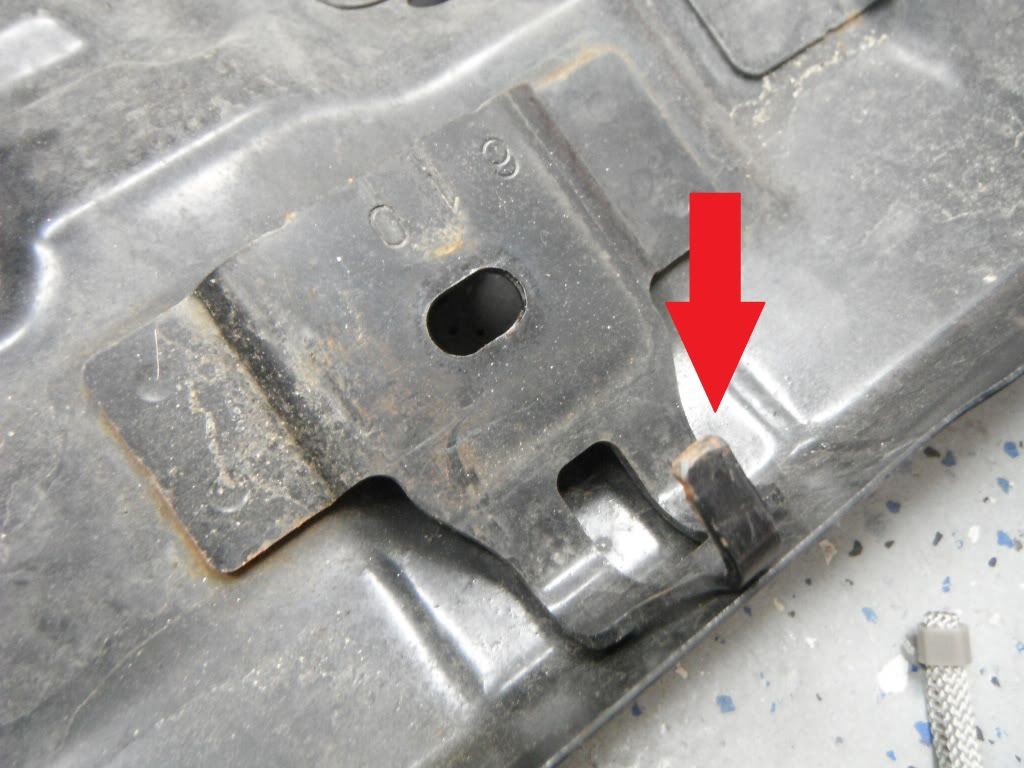
The skid bolts are 12mm. The skid plate is hinged from the front. Remove the front bolts first, then the back. When removing the last back bolt, hold up on the skid so it doesn't bang you on the head! The front "hinges" are a royal PITA to unhook the first time around, unless the truck is on a lift. Just keep wiggling it until it comes loose.


DSCF1269.jpg~original


IF you plan on doing this again, do yourself a HUGE favor and grind the end of the clips off to look like this. You will love me for this suggestion, trust me.

DSCF1273.jpg~original


One more pic of the bolt locations!

DSCF1274.jpg~original


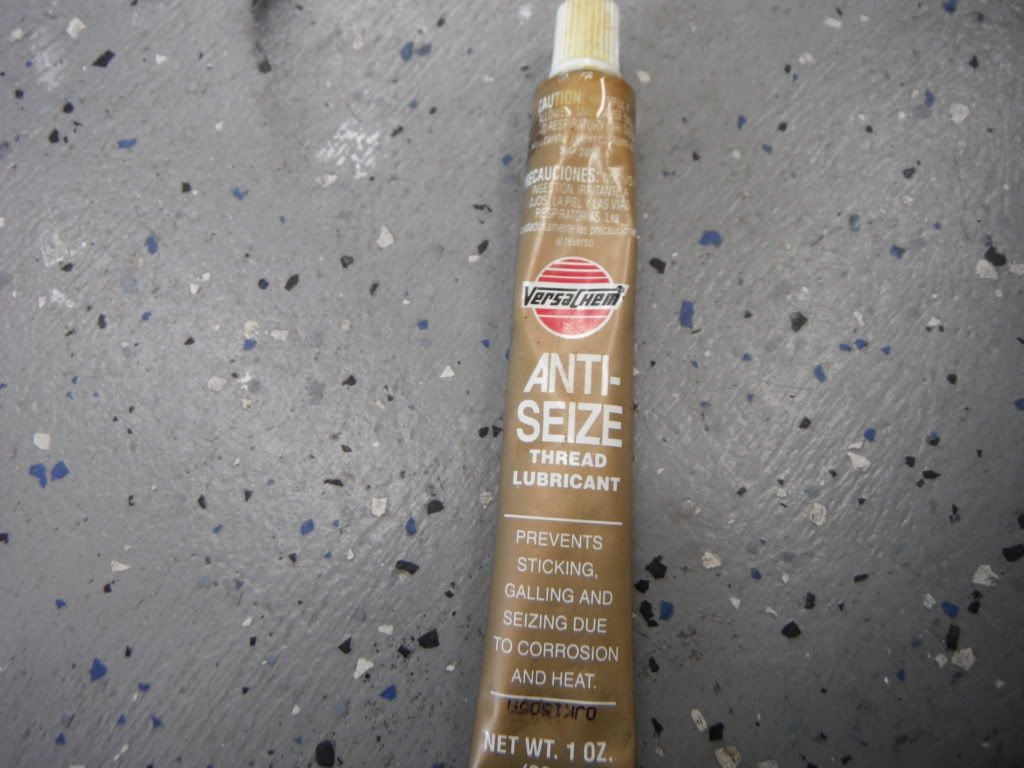
Do yourself another favor- ESPECIALLY YOU OFFROADER'S. Coat the threads of all the bolts you removed (except the drain plug!) with some anti-sieze. No rusted bolts- ever.


DSCF1259.jpg~original


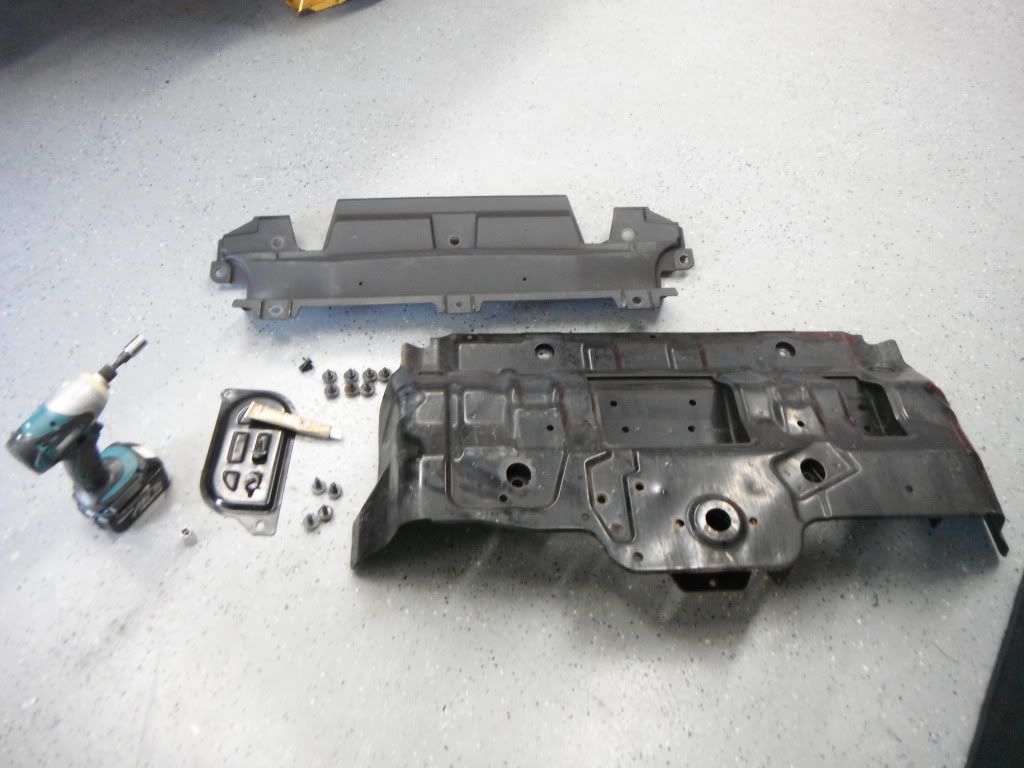
Everything is off- ready for the filter removal.

DSCF1275.jpg~original


By now your oil has pretty much drained out, right? Put your new washer back onto the drain plug and tighten it up (spec is 30 ft-lb). Make sure it's snug. Before you put that cover back on, get in there with a flashlight and a rag and wipe away any oil that splashed onto stuff. How can you spot a leak if you already have a mess?

When it looks nice and pretty, put the cover back on. Tip- when putting this cover, the skid, and the plastic cover back on- start all the bolts into every hole by hand and then tighten them up (21 ft-lb for the cover and skid). That way you will be sure all the holes line-up, and you won't cross-thread anything.


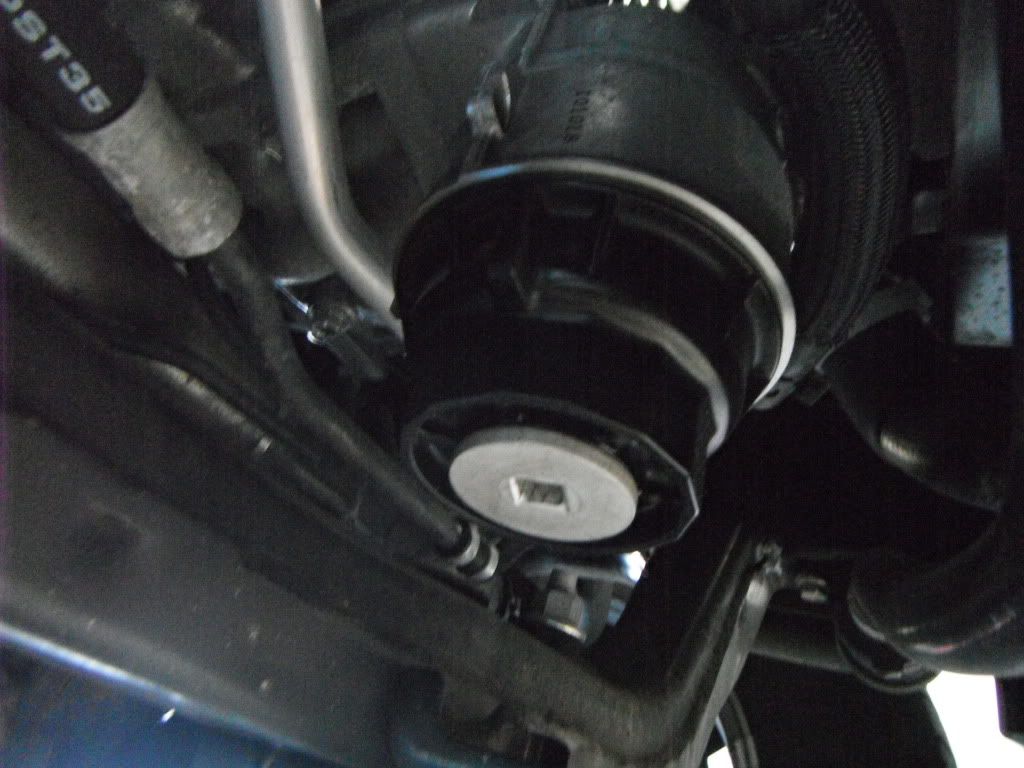
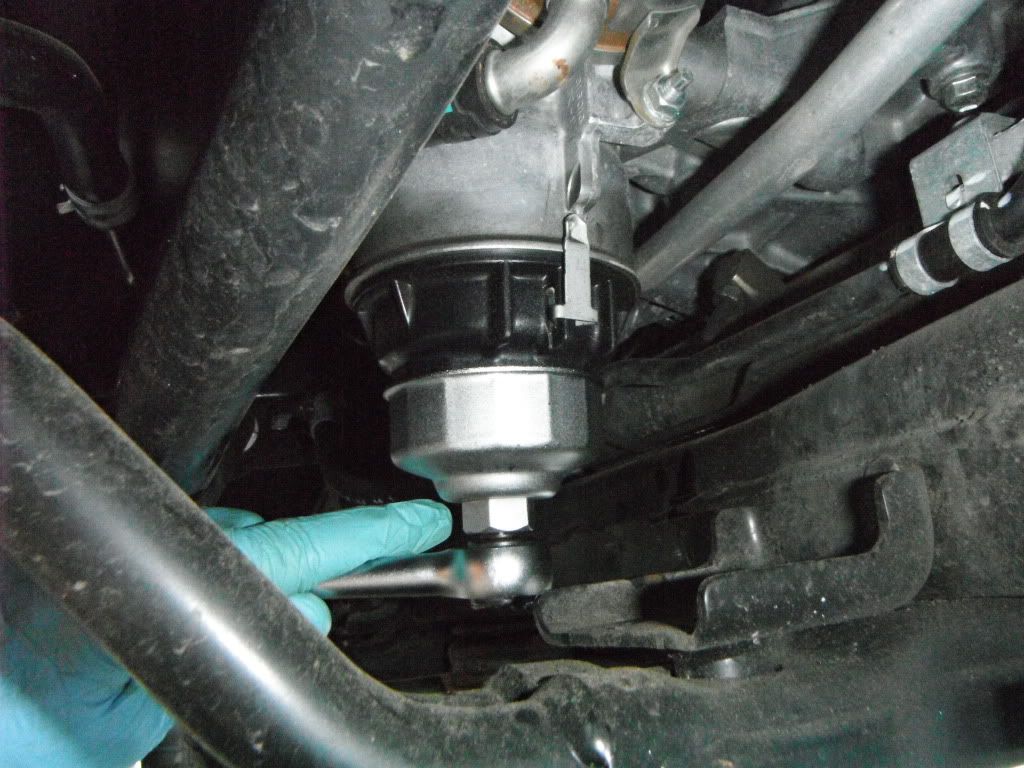
Back to the filter- Move your drain pan into position under the filter housing. THIS is the filter housing...


DSCF1278.jpg~original


DSCF1276.jpg~original


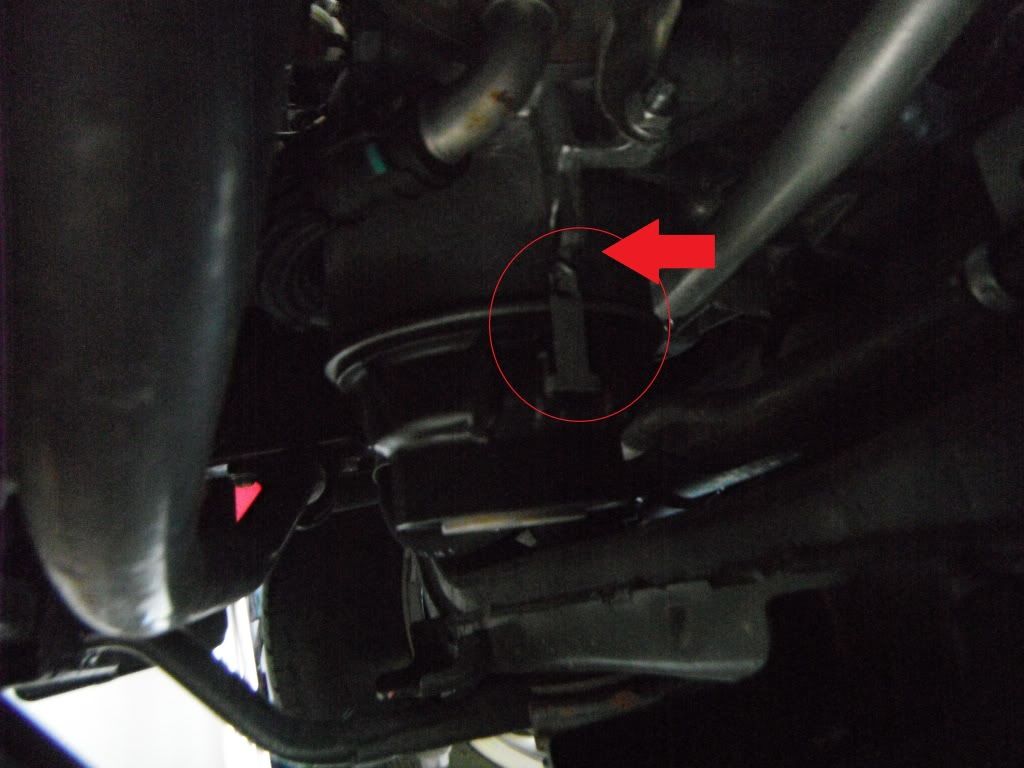
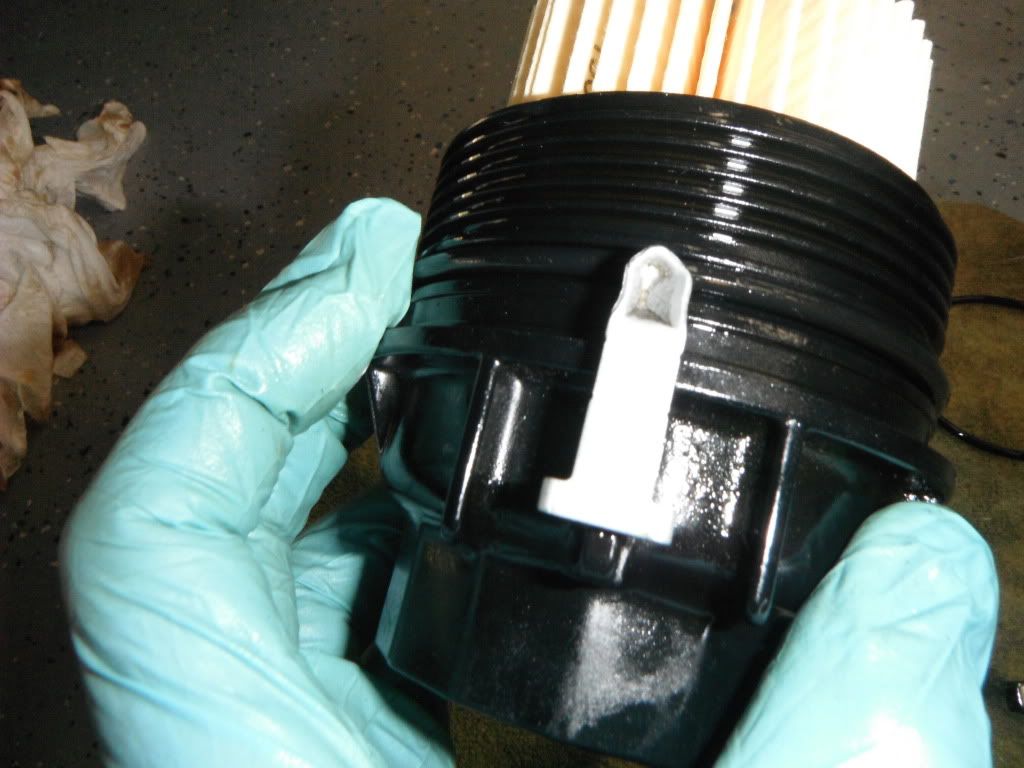
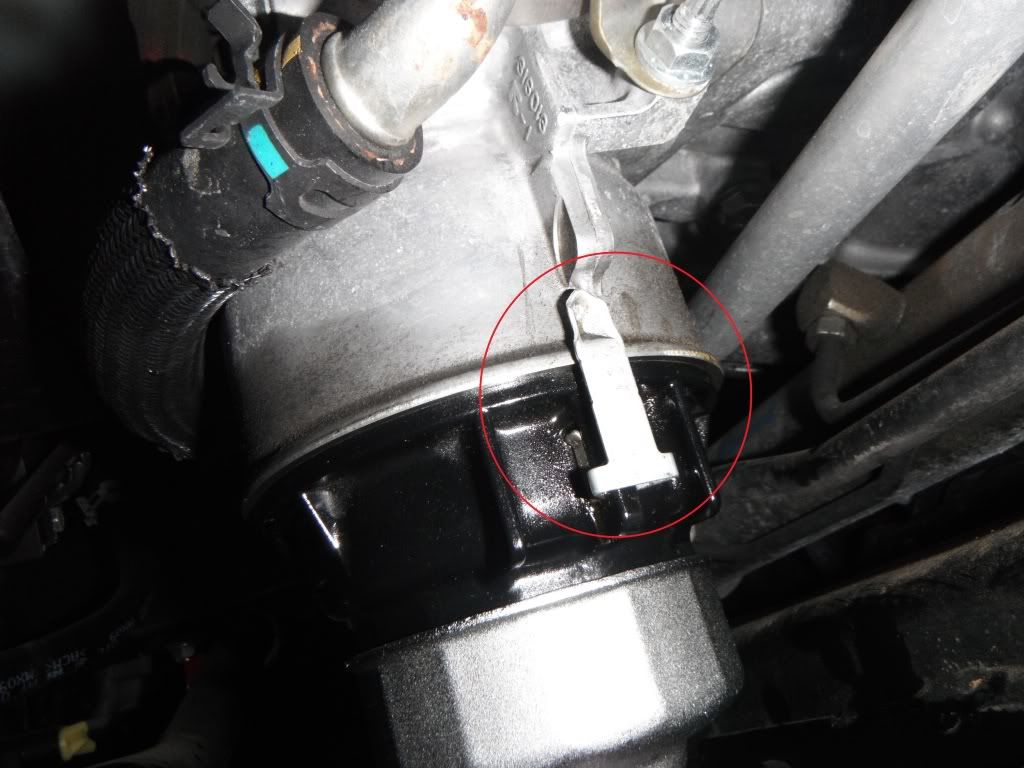
Pay attention to the location of this metal indicator tab! It should be in the same location after we re-install the housing.


DSCF1277.jpg~original


Using your ratchet and 3/8" extension, remove the metal filter plug. A small amount of oil will drip out.


DSCF1279.jpg~original


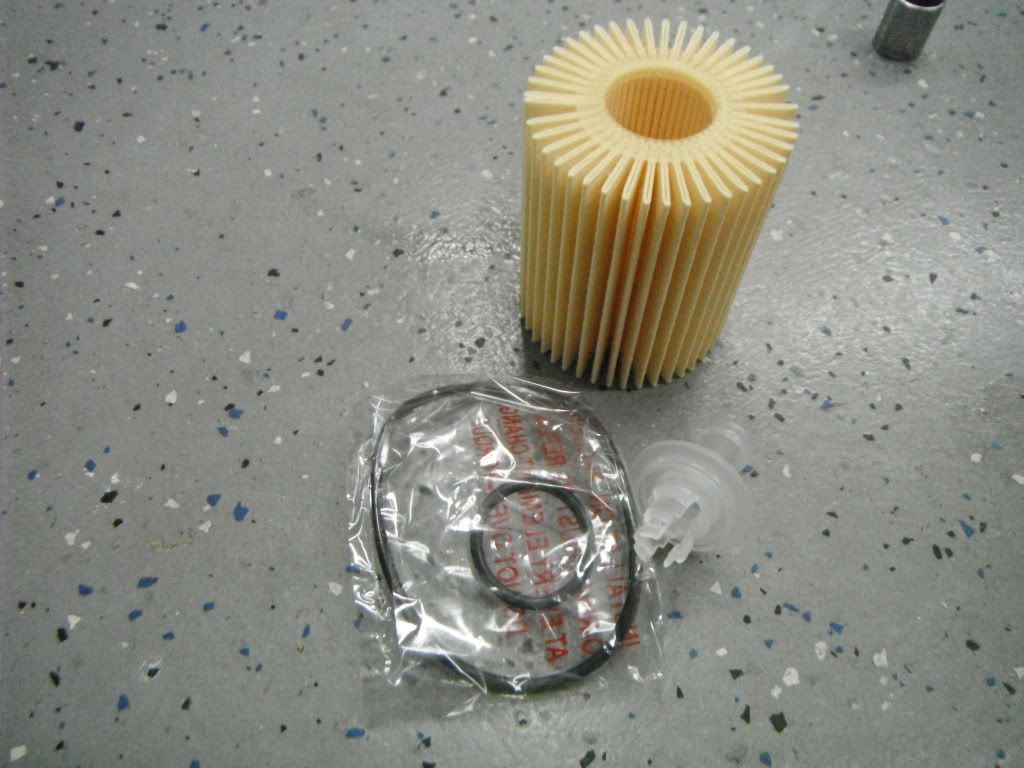
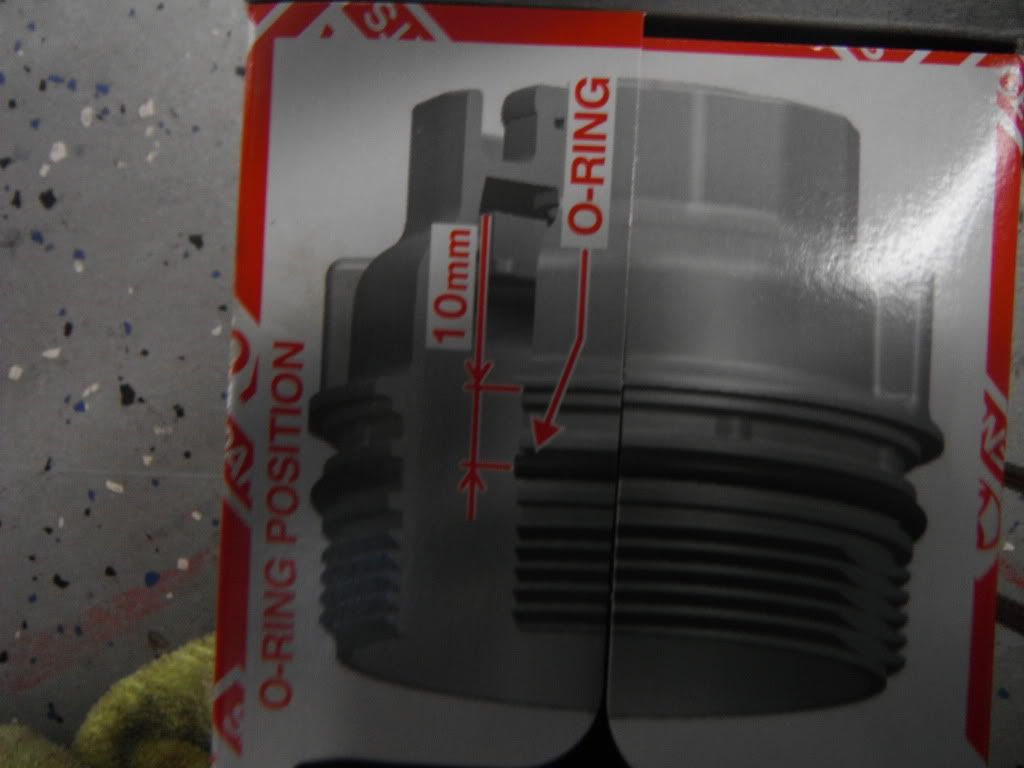
Open up your filter box and look at what's inside. There are important instructions on the box, and inside the lid for you to reference.

The kit comes with 2 new O-rings, a drain tool, and the filter itself.


DSCF1282.jpg~original


DSCF1281.jpg~original


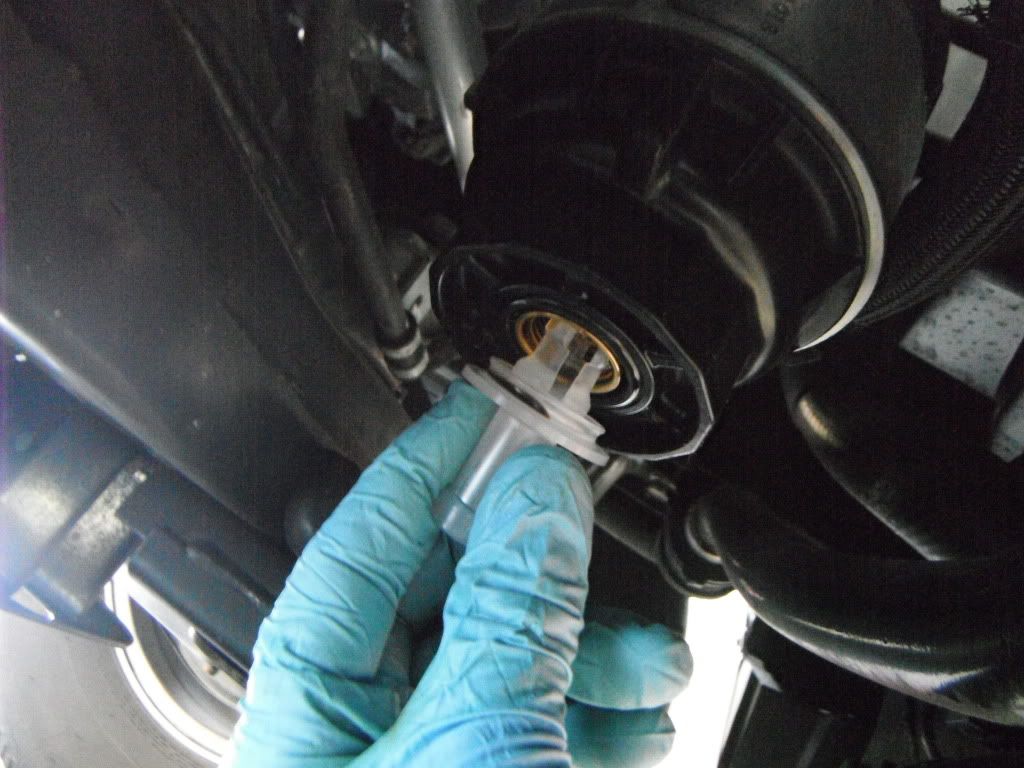
Locate the plastic drain tool and plug it into the base of the filter. Once again, HOT OIL will immediately drain out, so be ready!


DSCF1284.jpg~original


DSCF1286.jpg~original


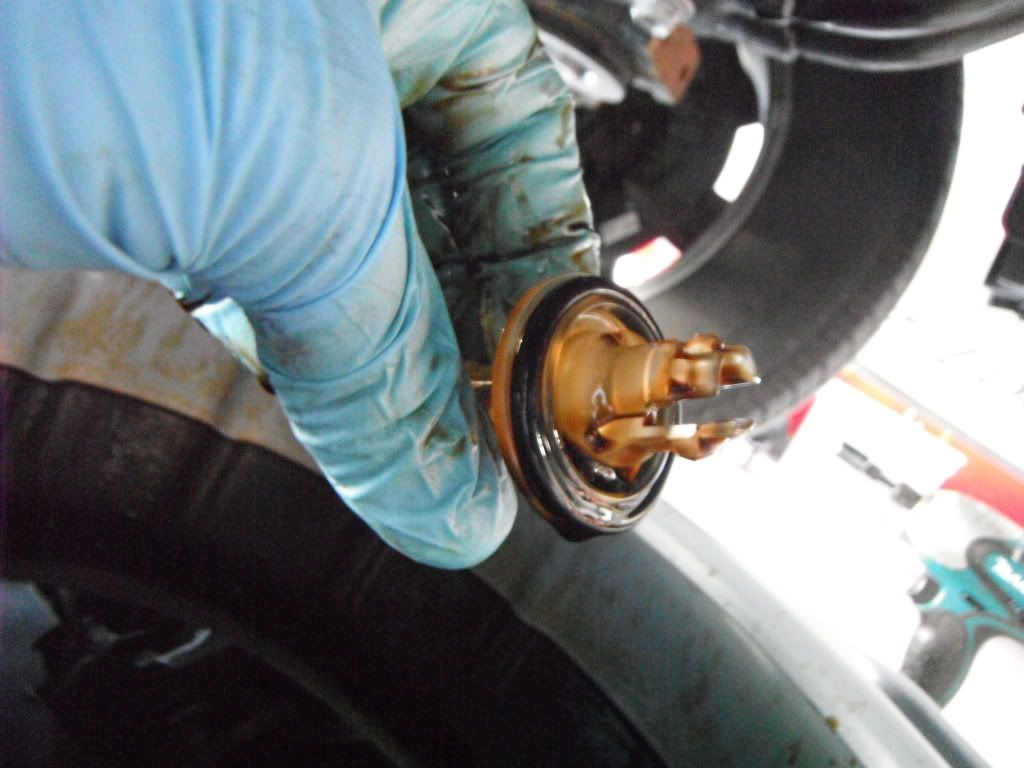
Once the oil has stopped dripping, push the plug to the side to pull it off. This part is neat- toyota designed the plug to pull the old O-ring off with it! Kinda cool the way they did that. Both of these parts are trash. It's Ok, throw them away.

DSCF1289.jpg~original


Thanks to the joy of the cartridge filter, we are still not done here...


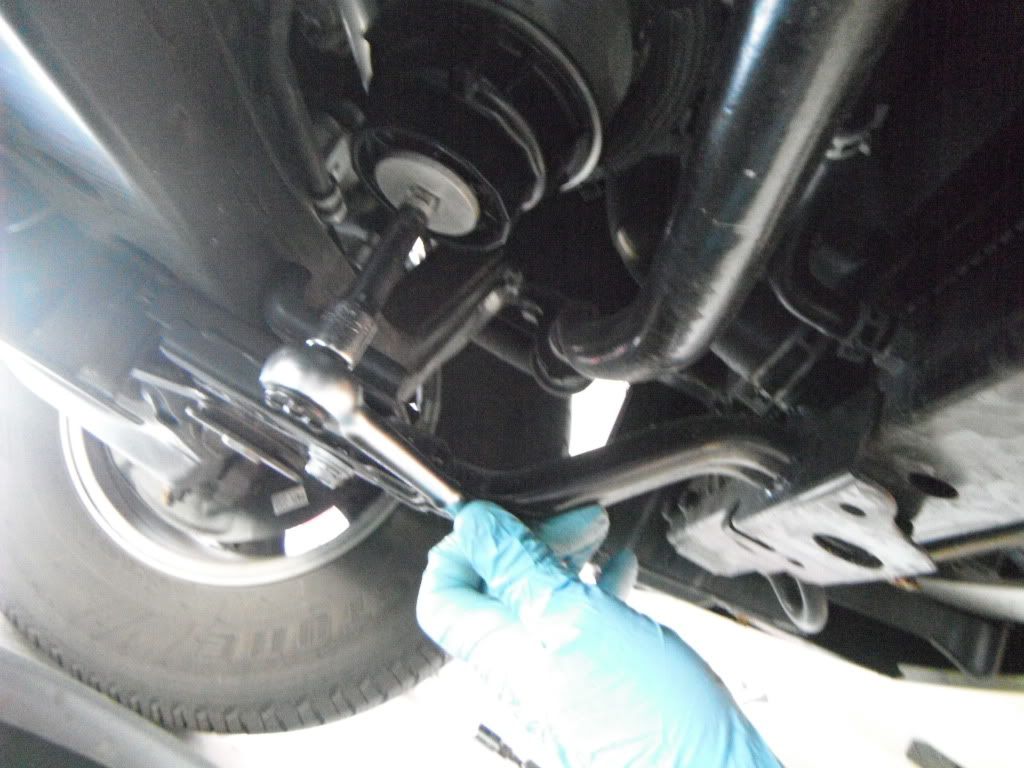
Using your ratchet and 64mm filter wrench (make sure your ratchet is in "reverse!"), remove the filter housing. It will be tight, and stay tight until it's almost all the way off.


DSCF1293.jpg~original


DSCF1294.jpg~original


DSCF1295.jpg~original


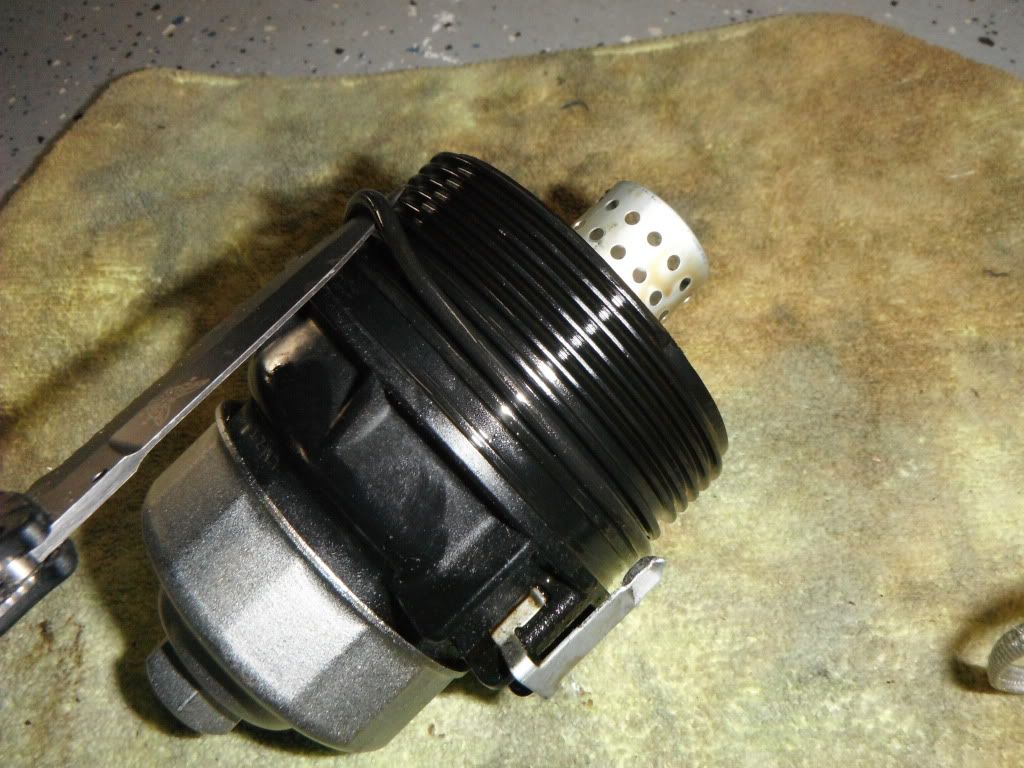
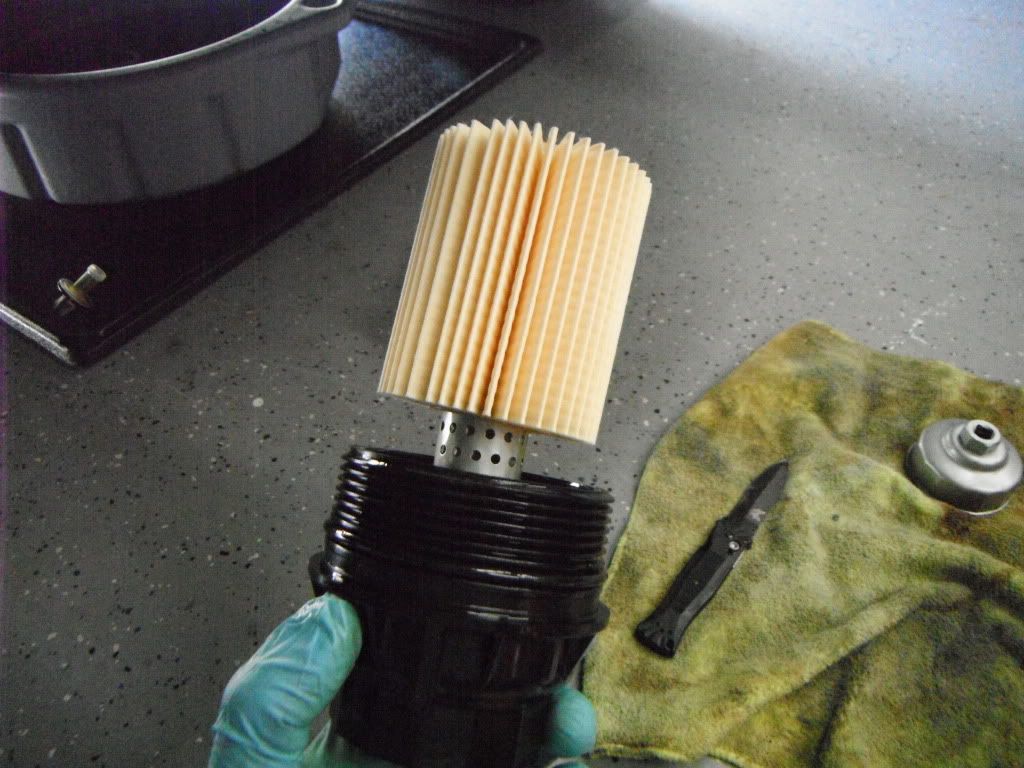
Remove the old filter, and toss it. You also need to remove the old O-ring on the housing and throw it away. I used the knife to more easily show the O-ring. Do not damage the plastic housing(!)- you can remove the O-ring by hand easily.

DSCF1296.jpg~original


CONTINUED
 
Last edited:
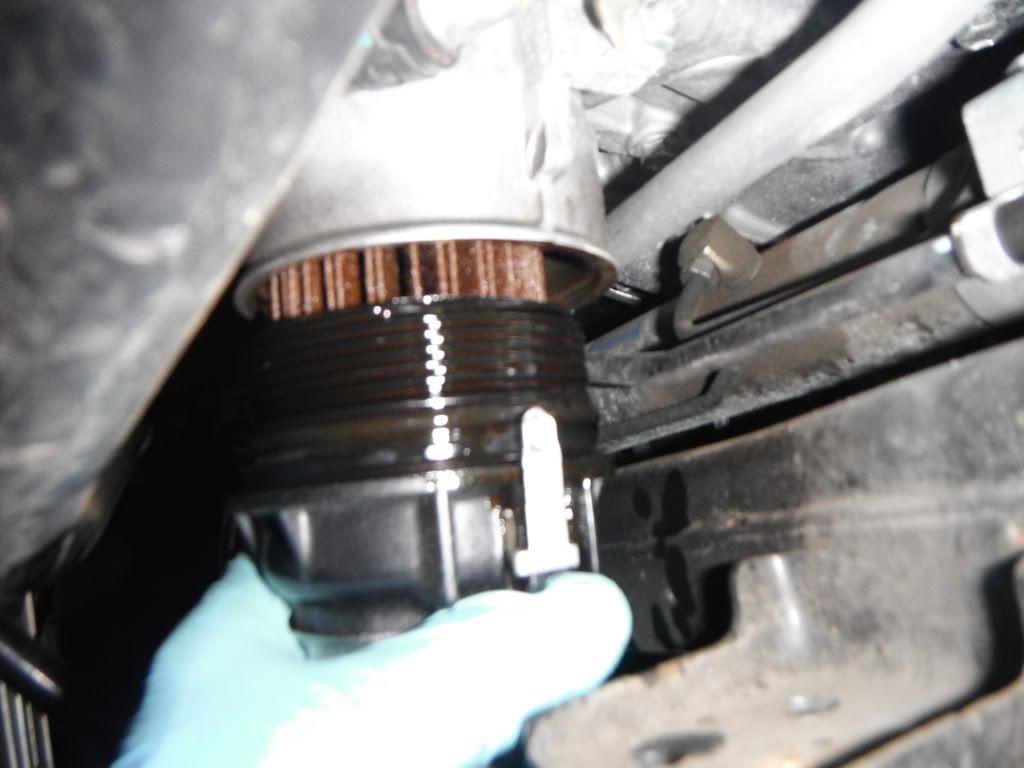
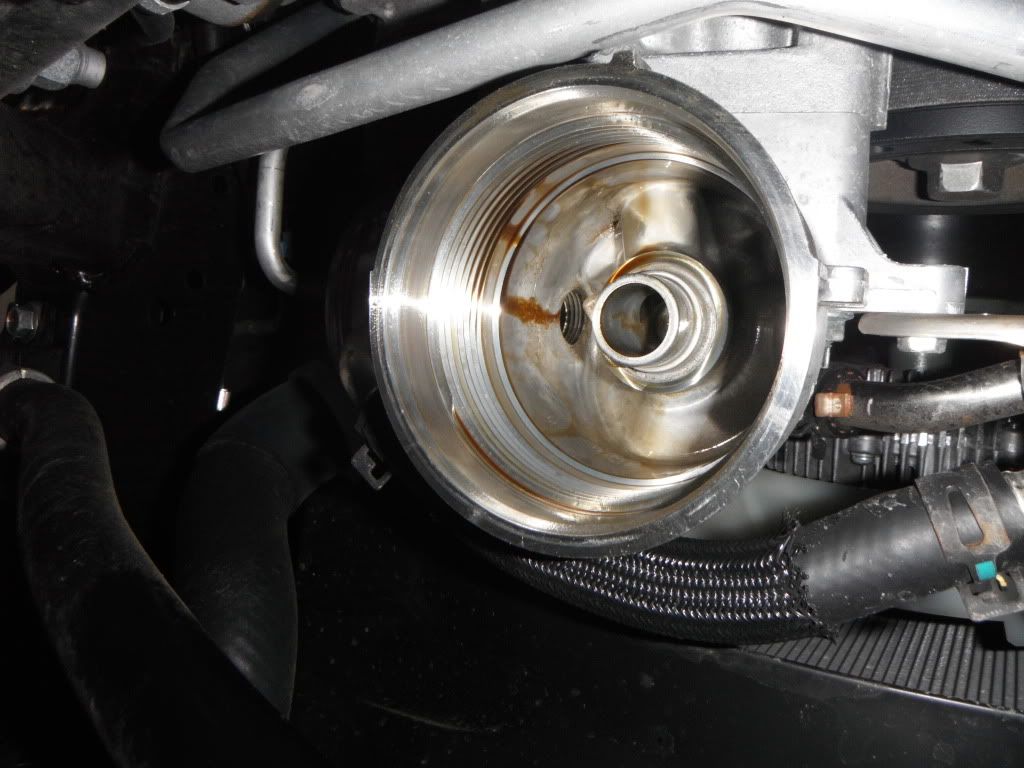
Clean inside your plastic filter housing, and the grooves where both O-rings were located. Clean inside the metal housing located on the engine as well. Be careful! Use something that is lint-free and make sure you don't leave anything in there that doesn't belong.

DSCF1299.jpg~original


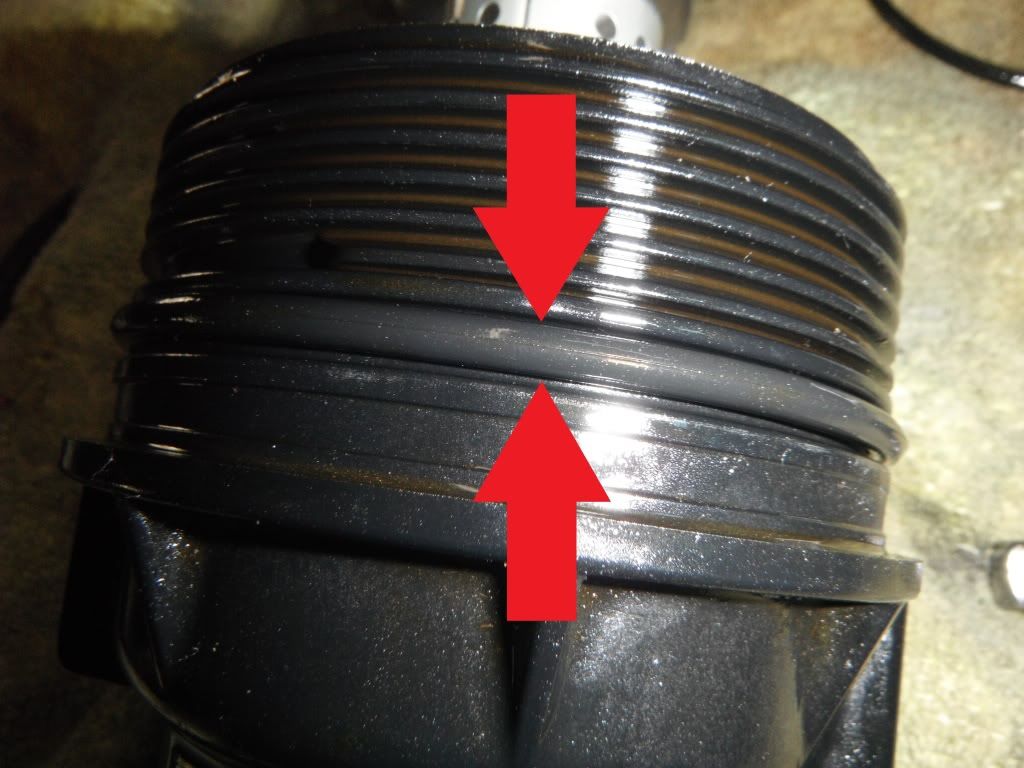
Locate the NEW big O-ring from the filter kit, and coat it with some fresh oil. Install it onto the plastic housing HERE.


DSCF1297.jpg~original


MAKE SURE IT IS SEATED HERE!

DSCF1298.jpg~original


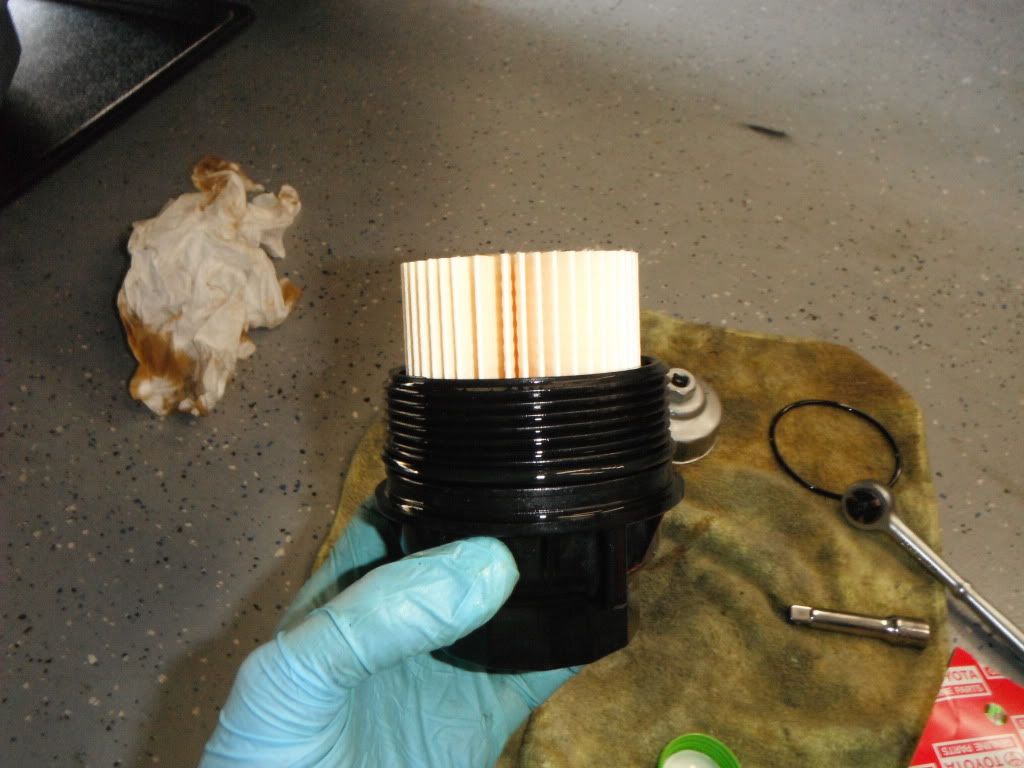
Locate your new filter and install it into the housing. There is no top or bottom to the filter.

DSCF1300.jpg~original


DSCF1301.jpg~original


DSCF1302.jpg~original


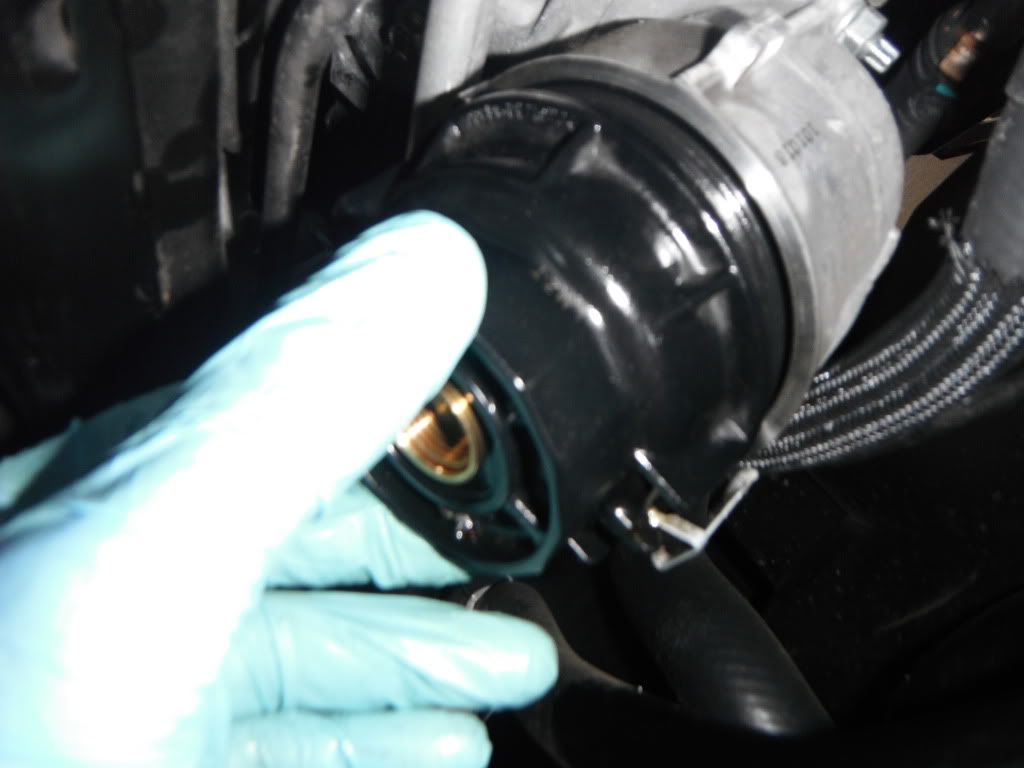
Reinstall the assembly.

DSCF1303.jpg~original


Once the housing is seated against the metal portion, keep tightening until the metal indicator tab is back in it's original location (spec is 18 ft-lb). Like this:


DSCF1305.jpg~original


Locate the NEW small O-ring from your filter kit and apply some fresh oil. Make sure the grove it seats into is clean, and press it into place. Install the metal drain plug and re-tighten until snug (Spec is 10 ft-lb) Do NOT tighten too much, so as to turn the plastic housing!)


DSCF1306.jpg~original


DSCF1308.jpg~original


DSCF1309.jpg~original


NOW, you are finally done with the filter. Clean up any spilled oil from the surrounding parts, and the filter housing. Double check your work!

Wait- don't put those skids back on just yet- we want to check for leaks first...


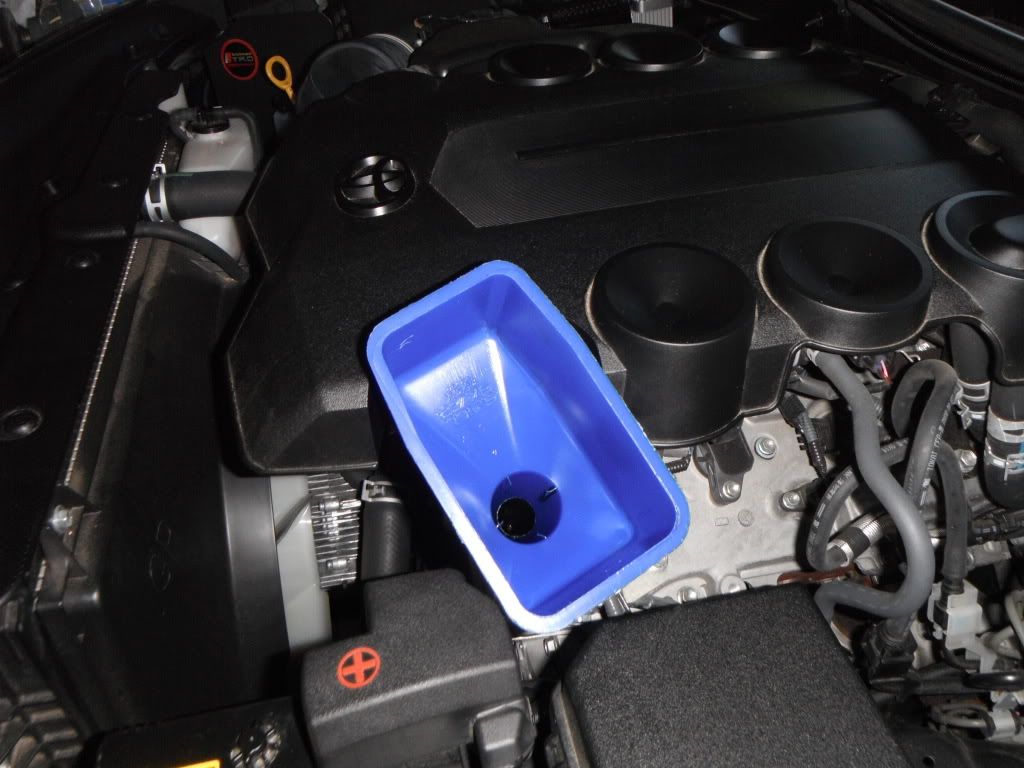
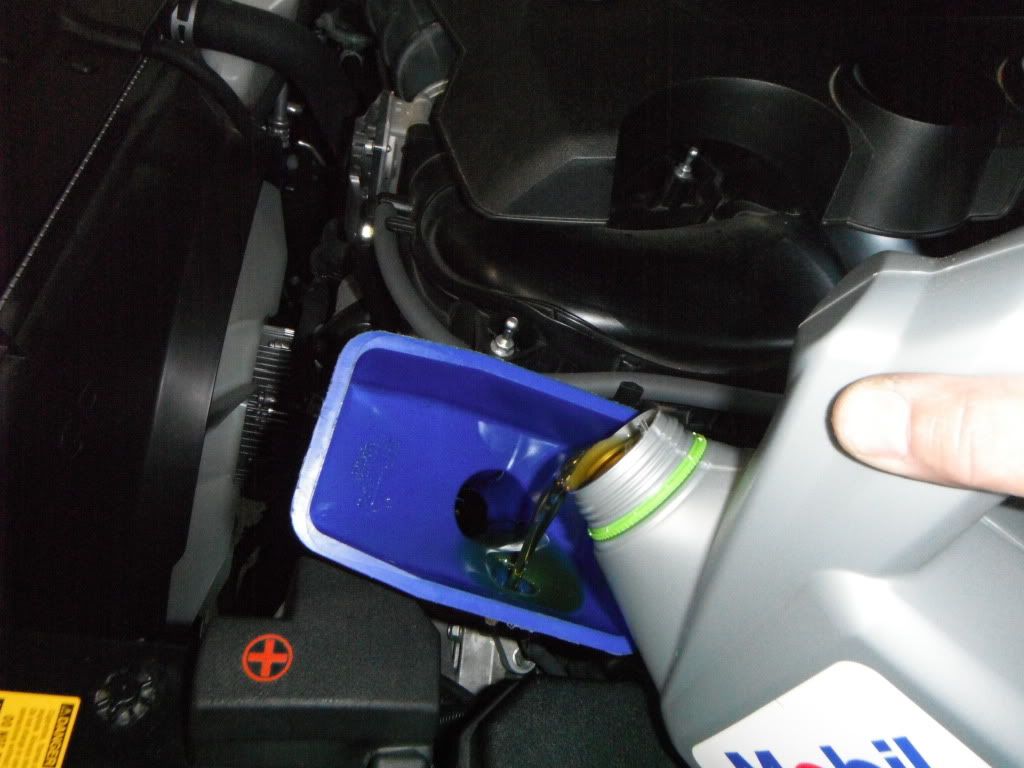
Fill it up with 6.6 quarts of fresh 0W-20 oil. Do NOT overfill! Pour in 6.5 quarts, and top off after you have started the truck and checked the level with the dipstick...


DSCF1311.jpg~original


DSCF1312.jpg~original


Look underneath for some leaks...No leaks, right?


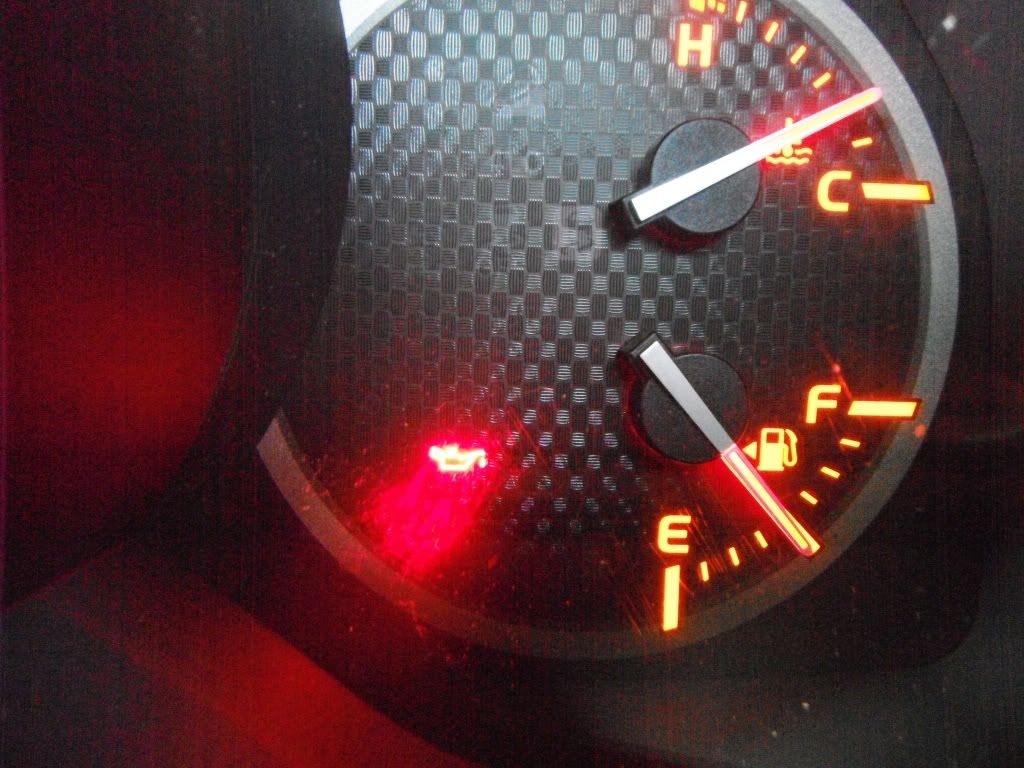
Get inside and start the truck. The "Oil" idiot light should briefly illuminate and then turn off. If it doesn't turn off,

SHUTDOWN THE ENGINE, and check to see what you screwed up....

DSCF1314.jpg~original


Check for leaks again. If there are no leaks go ahead and reinstall the skidplate (21 ft-lb) and the plastic cover. Remember- start all the screws and then tighten them.


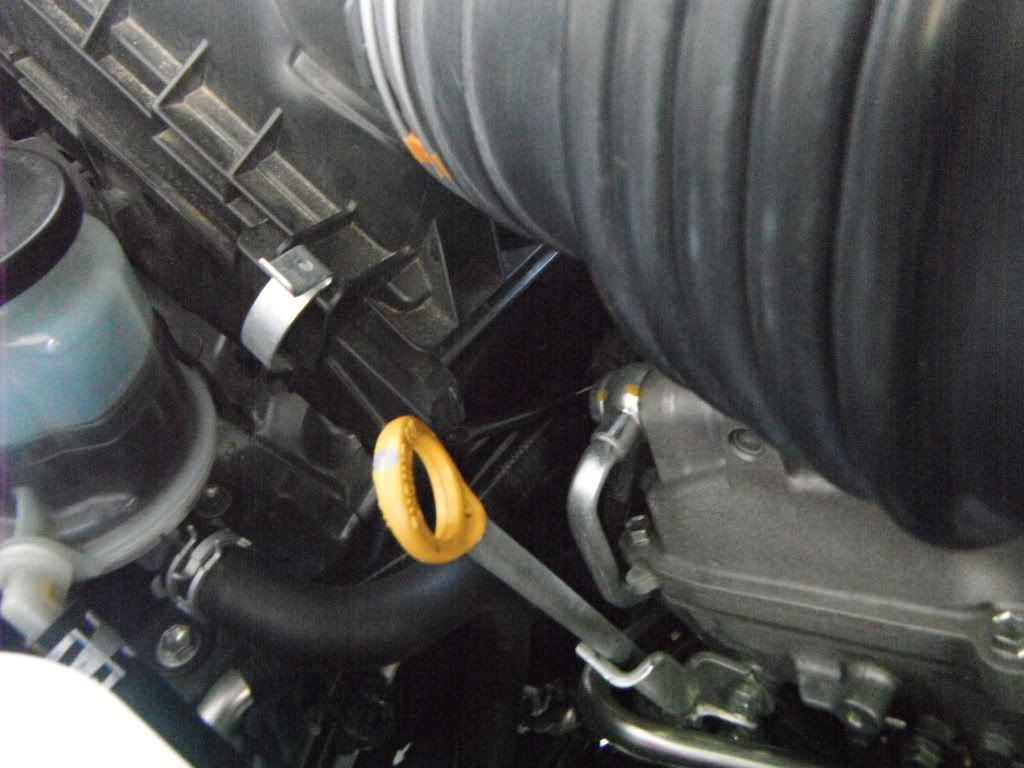
Make sure the truck is on level ground and check the oil level on the dipstick(engine OFF). Pull out the dipstick and wipe it off. Re-insert it into the tube until it's fully seated and wait a few seconds. Carefully pull the dipstick back out and read the level. It should be between the 2 indicator dots on the stick. The oil is very clear and hard to see, so this may take a few tries! Add oil as necessary. If you have added too much, you will need to remove some from the drain pan, so...don't add too much.


DSCF1315.jpg~original


DSCF1323.jpg~original


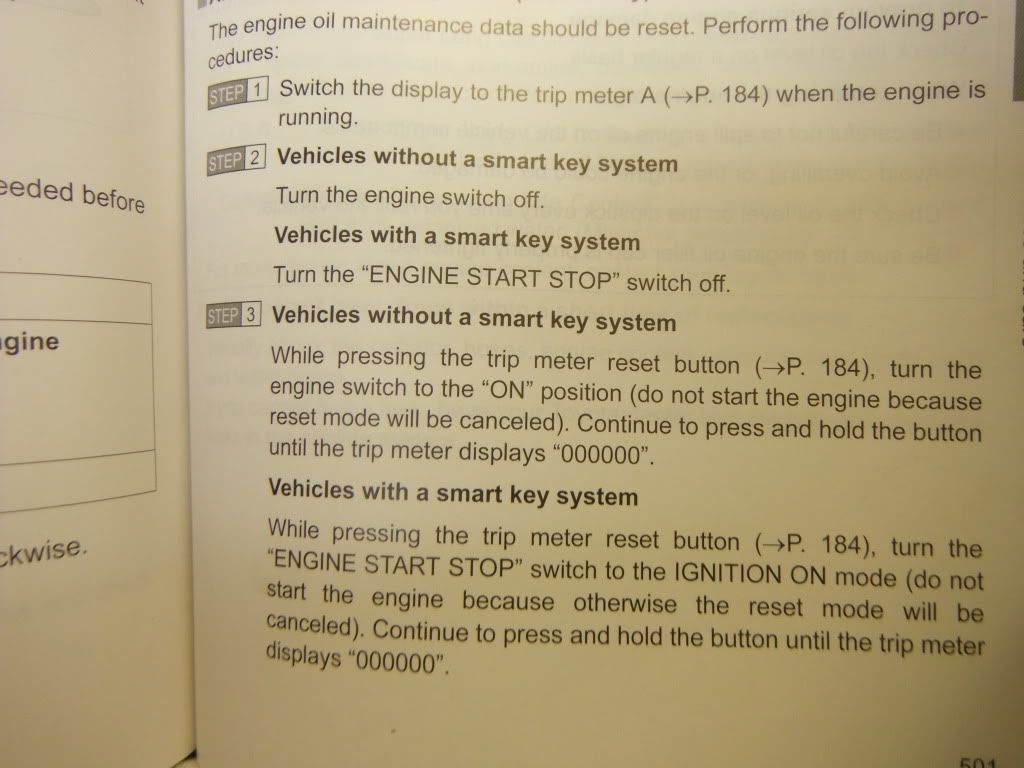
One more thing to do- Reset the oil-life indicator (maintenance minder).


Oh yeah- didn't I tell you to have your owner's manual handy?

Page 501, it details the procedure.


DSCF1238.jpg~original


This is what the reset looks like on the SR5...


DSCF1326.jpg~original


DSCF1328.jpg~original


Wasn't that fun? Changing your oil is actually a very satisfying (manly) thing to accomplish! I won't trust anyone else to do it.

Make sure you dispose of your used oil responsibly.


Have fun! (Whew! That was a long one. 58(!) pictures... I'm tired now... :) )
 
Last edited:
WOW
Great INFO
thanks for thread and the how to.
learned alot from it, MAINLY I know where the filter is hiding now.
Thanks again for great write up
 
Excellent thread. One of the best I've seen. Thank you for the considerable time and effort that you put into this.

But my God, my God. What the hell was the genius (idiot?) thinking who designed this oil change system. Nothing like needlessly complicating one of the most basic and essential maintenance requirements.
 
your photo skills have come a long way, Antman! :)

i would only add to also remove the oil fill cap to ease draining out all of the old oil.

nicely done. :bravo:
 

Great!

WOW
Great INFO
thanks for thread and the how to.
learned alot from it, MAINLY I know where the filter is hiding now.
Thanks again for great write up

No problem, glad it helped out.

Nothing like needlessly complicating one of the most basic and essential maintenance requirements.

My thoughts exactly...

i would only add to also remove the oil fill cap to ease draining out all of the old oil.

Oops! Forgot that- I'll edit that in. Thanks!
 
Borrowing from a popular ad, you made it so simple, even a Cave Man could do it! Thanks for the detailed photos and tutorial.
 
Great write up and pictures! However I'm a bit worried that such sensitive information is being posted so openly that even the Commies can view it. :cool:
 
Thank you very much. After reading through the horror stories of dealer screw ups, cost, and DIY frustration, I was starting to back away from a possible 5th gen move. There's nothing like a good, thorough write-up to clear things up. I agree that if you do it yourself, you know it was done right. I'll leave a note over on the 3rd gen board for anyone who might be doing pre-purchase research.
 
Just to add a few torque specs for bolts / filter housing:

Filter Drain Plug - 10 ft-lb
Oil Filter Cap (plastic housing) - 18 ft-lb
Skid plate bolts (x4) - 21 ft-lb
Engine under Cover Seal (x2) - 21 ft-lb
Oil Pan Drain Plug - 30 ft-lb

Nice write-up Antman, it takes a lot of time to put all of that together in a how-to.
 
Antman- Its one thing to change your oil but another to document it and be thinking how your going to portray it in a "how to write up". Excellent job, thank you for taking the time. :hatsoff:
 
Great write-up.

I have an 07 Tacoma with the remote filter right under the hood. Don't know why Toyota would move the location (even if they switch to a more environmental friendly canister...)

After looking at the write-up, it made me wonder, would there be any con to cutting a hole in the skid plate to get access to the filter? I'm sure if it is placed right not many rocks would be able to get through the skid to the filter. Maybe I'm wrong? Thoughts?
 
Excellent thread. One of the best I've seen. Thank you for the considerable time and effort that you put into this.

But my God, my God. What the hell was the genius (idiot?) thinking who designed this oil change system. Nothing like needlessly complicating one of the most basic and essential maintenance requirements.

Yeah, especially with the plenty of room in the engine compartment for a remote oil filter location. Seems like it could have been put up near the power steering reservoir.

I still think someone could engineer an aftermarket adapter to screw into the existing engine side of the canister and run braided pressure hoses up to a remote filter location. It could even run the oil though an additional cooler on the way.
 
this makes installing a lift look like a walk in the park!

my typical step-by-step:

drive to Toyota
give them my keys
walk around and judge the other 4Runner's on the lot, and possible owners
judge the modded up, overpriced vehicle in their showroom
pay for my vehicle
go home


note: when using this method, be sure to tell them NOT to wash your 4Runner, you'll just have to do it again anyway.

:cheers:
 
this makes installing a lift look like a walk in the park!

my typical step-by-step:

drive to Toyota
give them my keys
walk around and judge the other 4Runner's on the lot, and possible owners
judge the modded up, overpriced vehicle in their showroom
pay for my vehicle
go home


note: when using this method, be sure to tell them NOT to wash your 4Runner, you'll just have to do it again anyway.

:cheers:
My method exactly. I learned a long time ago that stuff that gets messed up by someone else can easily be undone with the right documentation and people working on it.
 

Members online

Forum statistics

Threads
278,311
Messages
3,554,082
Members
248,016
Latest member
Advally Service

Trending content

Back
Top