4Runner4Leon
Senior Member
I’m updating my ’97 to the ‘99+ floor console, roof console, and dash bezel, and decided to jot down some thoughts and notes before they escaped my brain.
I'm not going to plagiarize or repeat the many awesome posts on these topics on this and other forums, but I’ll cite them as references and will add some tidbits that I found missing and that will hopefully be useful to others.
I'll break this up into three sections - floor console, roof console (post 17), dash bezel.
Floor console
Here are some sources I found useful:
center console swap/cupholder mod - plug'n'play - Toyota 4Runner Forum - Largest 4Runner Forum
Swap Limited consoles '97 to '00 - Toyota 4Runner Forum - Largest 4Runner Forum
Cup Holder Mod - Center Console Upgrade - Toyota 4Runner Forum - Largest 4Runner Forum
1998 TR5 4Runner - Stupid Cupholders! - Toyota 4Runner Forum - Largest 4Runner Forum
99+ Center Console install thread - Toyota 4Runner Forum - Largest 4Runner Forum
http://www.toyota-4runner.org/3rd-gen-t4rs/153100-96-98-owners-rejoice-me.html
https://www.youtube.com/watch?v=JDRt4crVpvI
Now, on to my notes.
What parts to get - I got the console from a '99 donor. As one of the references above recommends, when you get the console, try to get the following parts from the same year donor. If you get all these parts, you won't have to do any redrilling of mounting holes or modifying of brackets that many of the references above did. Keep in mind that 99-00 brackets are different from 01-02, and there may be other differences year to year. So try to get all these parts from same year vehicle.
- console - try to get one that matches your vehicle, i.e. with or without rear heat. You can add the heat control cutout if you have rear heat but buy a console without it, but why do the extra work?
- rear mounting bracket – this really helps ensure that all the holes line up, and will help you avoid having to drill the floor, modify brackets, or trim the bottom of the console, like I saw in the YouTube video. There is no need for that if you use the brackets that come with the console. This thread describes this really well - center console swap/cupholder mod - plug'n'play - Toyota 4Runner Forum - Largest 4Runner Forum
- e-brake – people have made their ’97 e-brake work with the '99 console, but it requires either bending or drilling new holes. If you get the ‘99+ e-brake, it’ll bolt right up and point in the right direction.
- e-brake tub - this one is debatable in my mind. The newer e-brake tub positions the e-brake cable towards the passenger side by about 15 deg, and is located a bit closer to the passenger side, to shift the e-brake handle to the right and make room for the cupholders on the left. The problem is that the ‘99+ tub does not fit into the '97 floor cutout, so you have to widen the floor cutout by about 1/4". I hate cutting into nicely painted OEM metal. On the flipside, if you retain the older tub, there is no cutting or drilling, but the e-brake cable comes in straight instead of at an angle, and has to make a bit of a jog to line up with the e-brake handle. I don't think it's very much of a jog, and I think it would have been fine - but when I considered the choice of a one-time cutting operation vs. every-day strain on the angled cable, I decided to go with the enlarged cutout. But I think the other way would have been fine too.
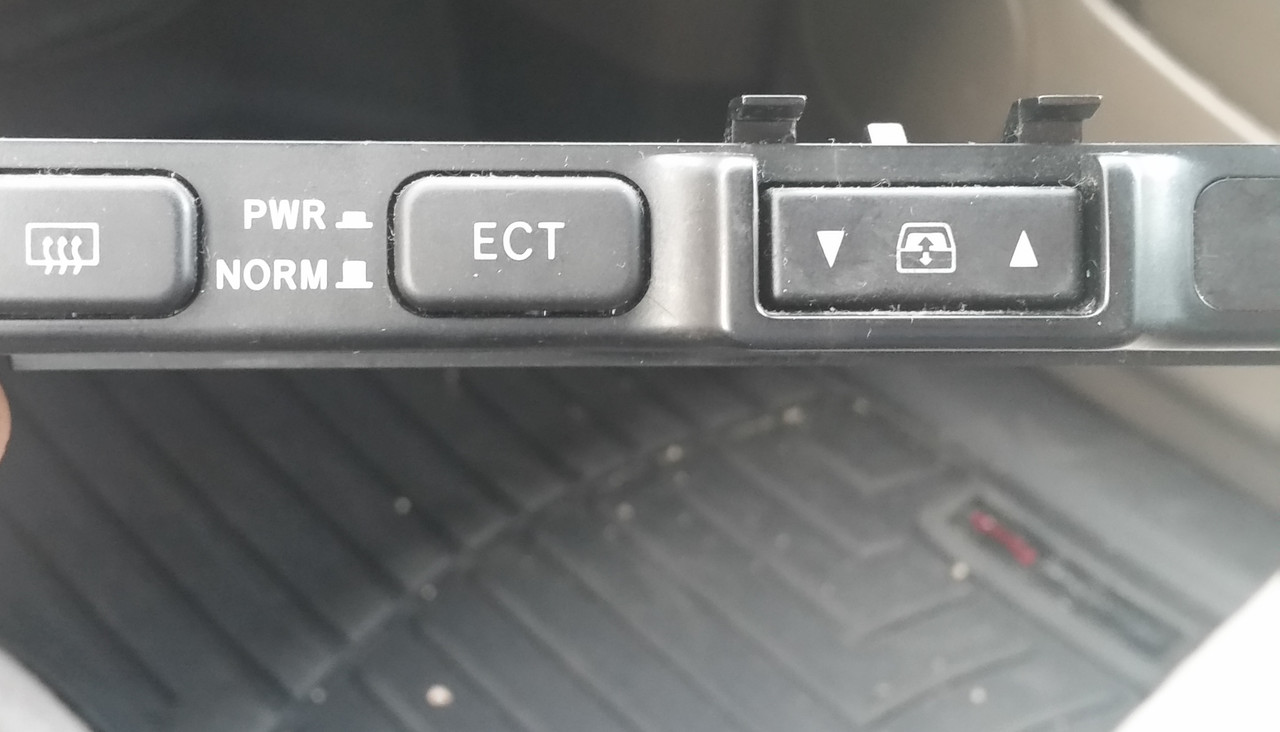
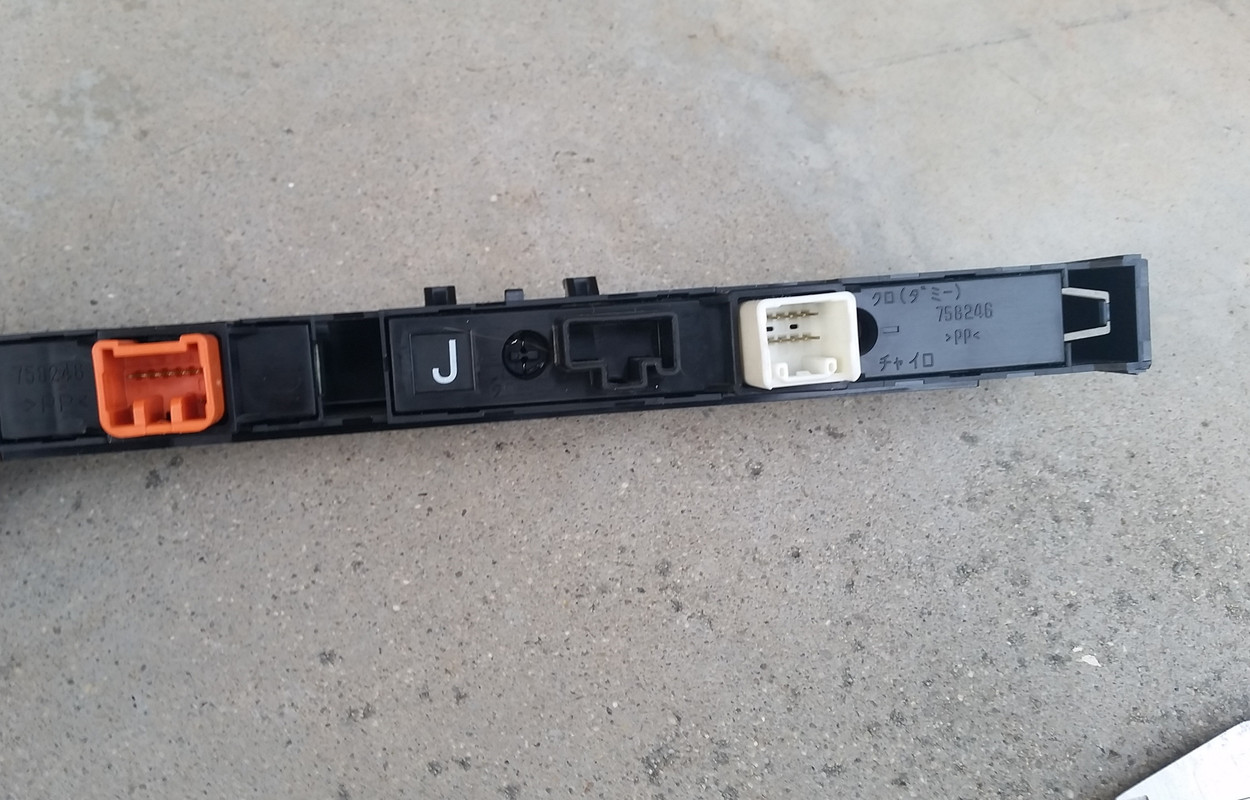
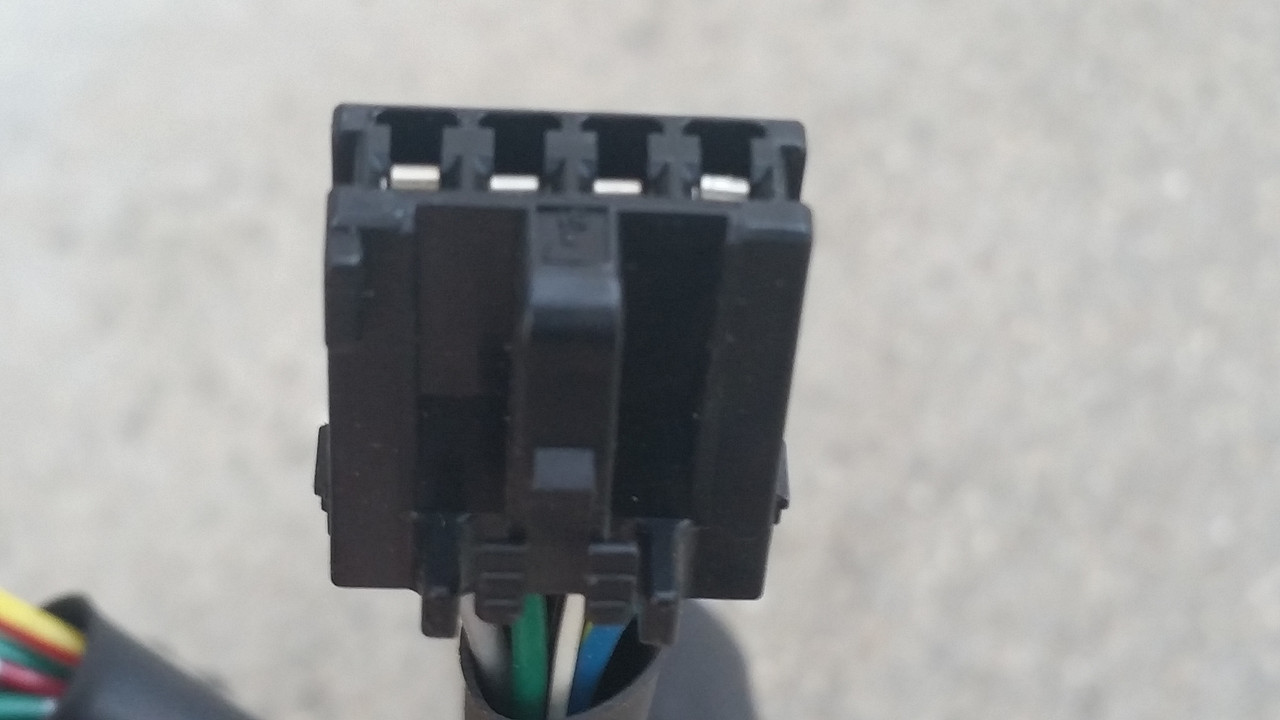
What to do with switches - As you know, the '97 console has three switches (ECT, rear window, and the security doo-hickey) that need to be relocated somewhere, since the '99+ models have these installed in the dash bezel. The references above have some excellent suggestions on where to relocate these items (either left side of dash, or other parts of the console), but I am planning to update the dash bezel to the '99, and use those switch locations. I haven't done that yet, so if I hit some roadblocks, I'll edit this post accordingly.
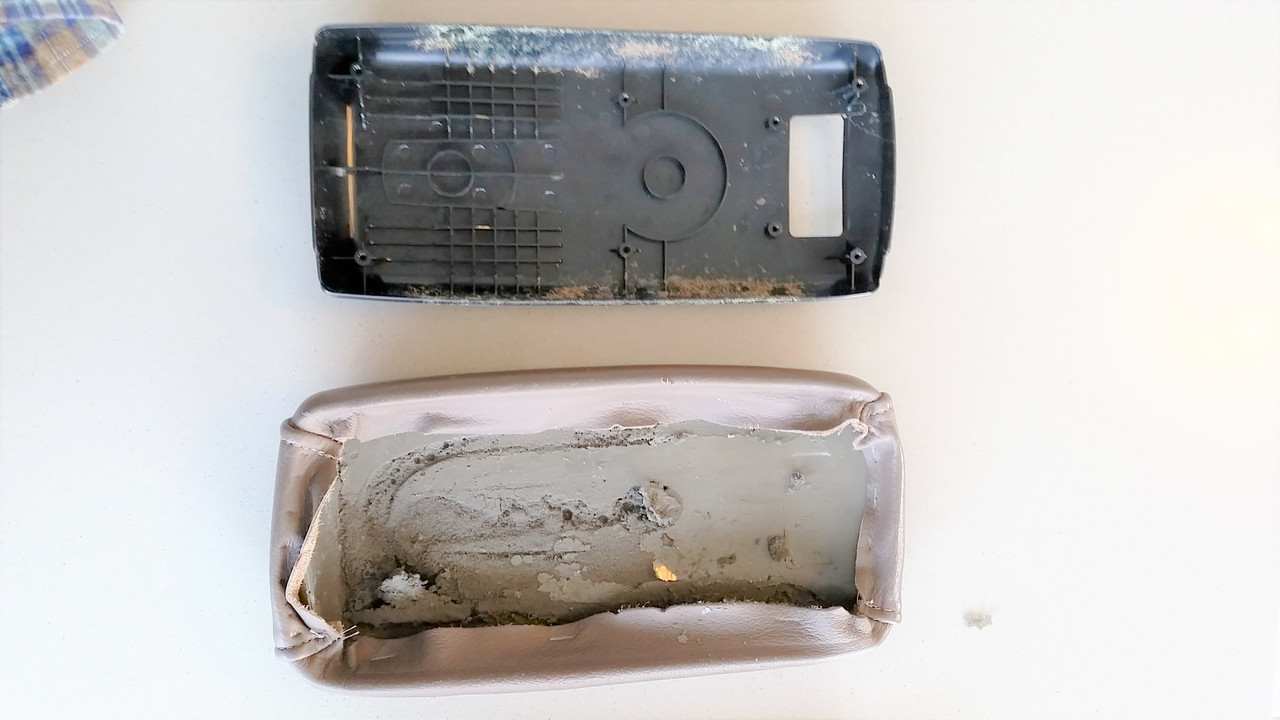
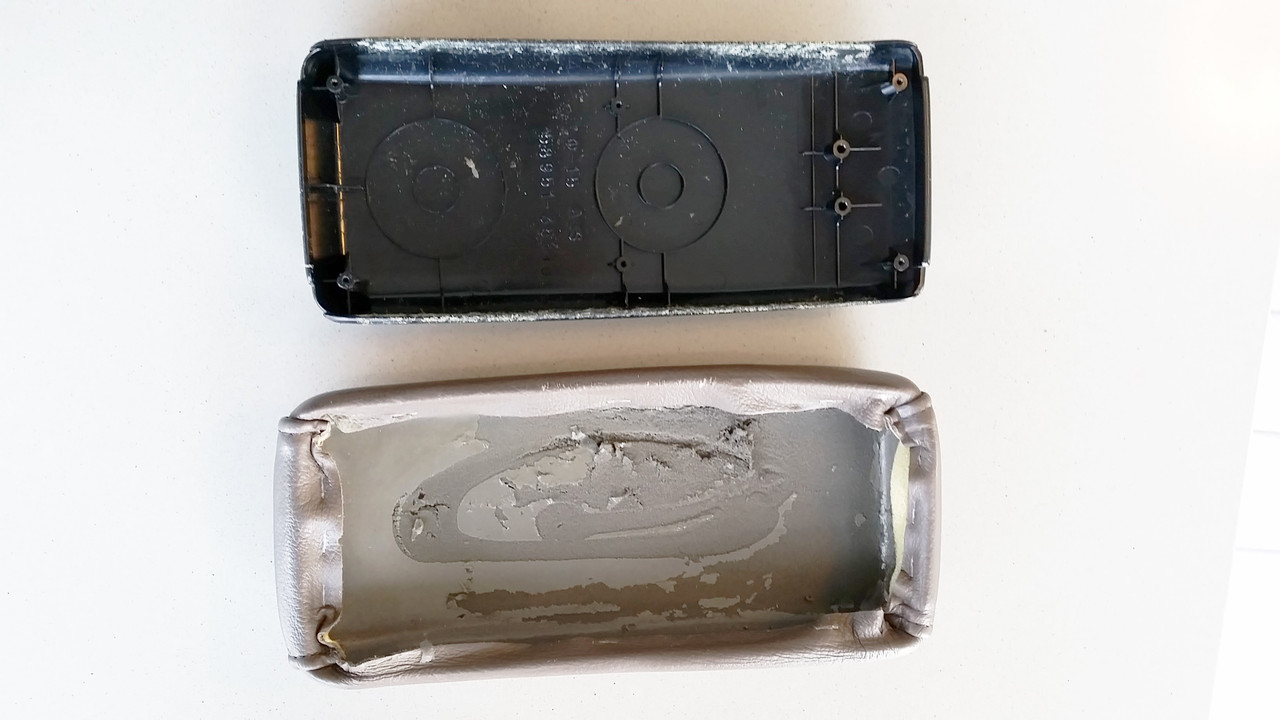
So here is how my console install went. My junkyard console looked like it spent a month out in the woods with a pack of hungry wolves slobering on it:
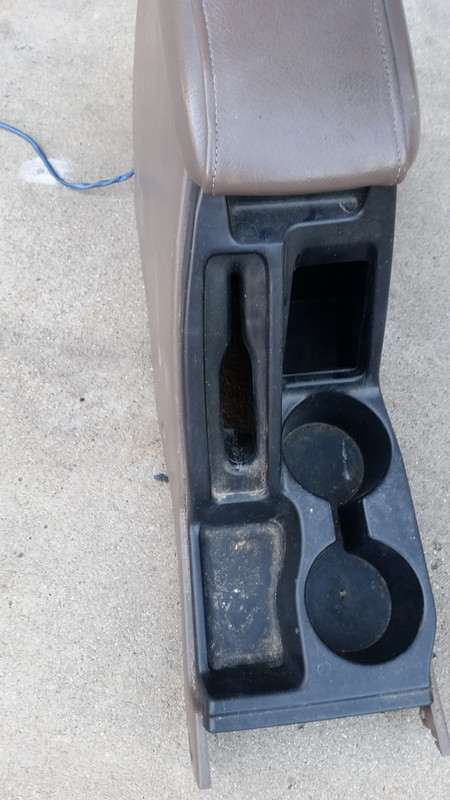
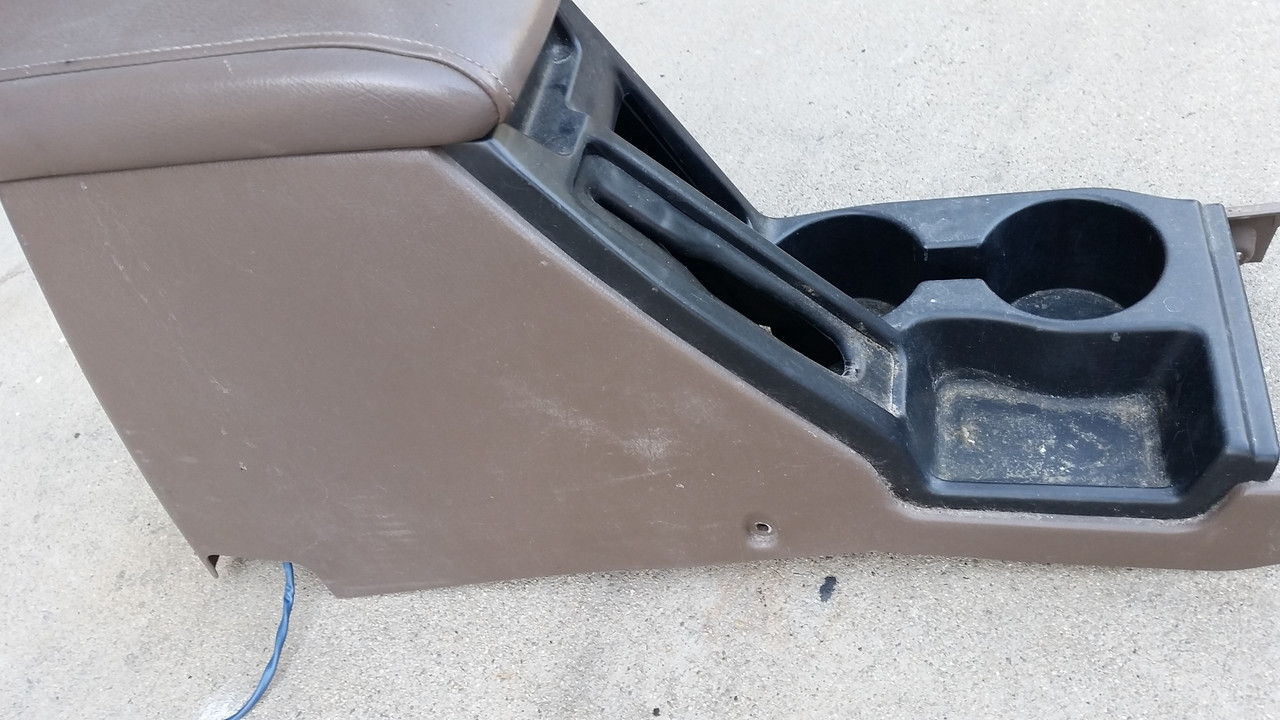
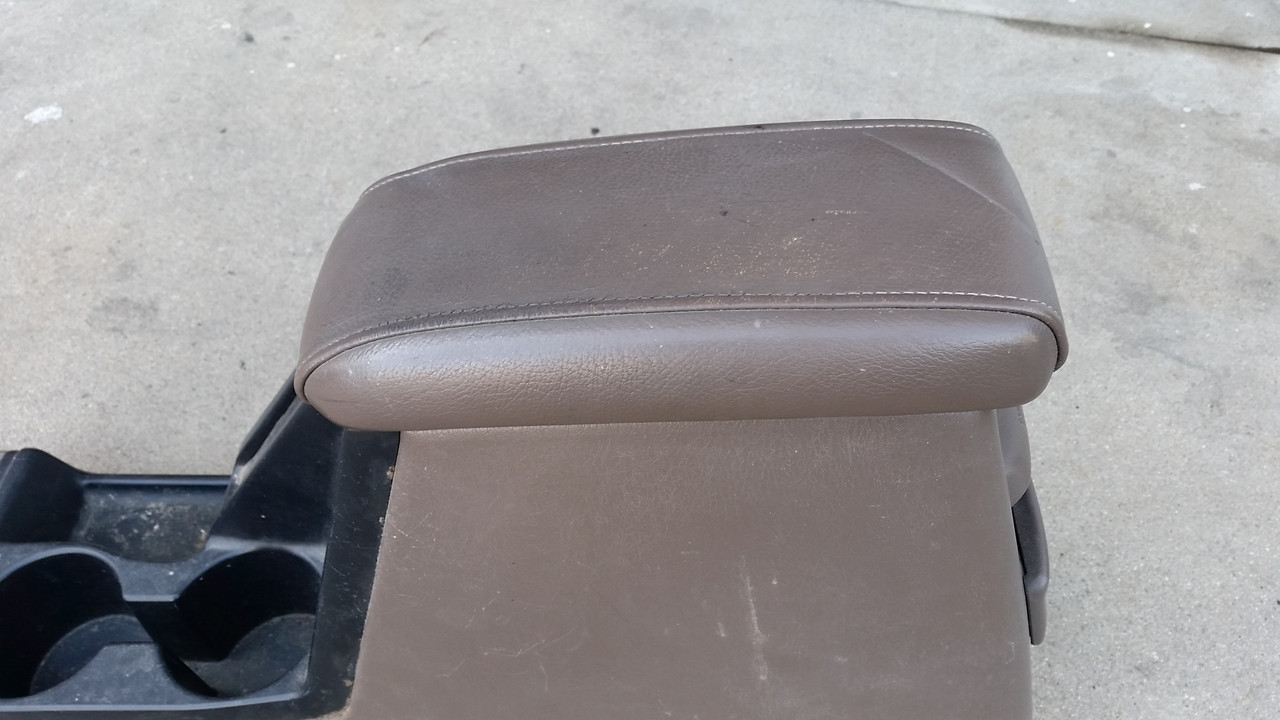
It didn’t help that the hinge on the lid was broken.
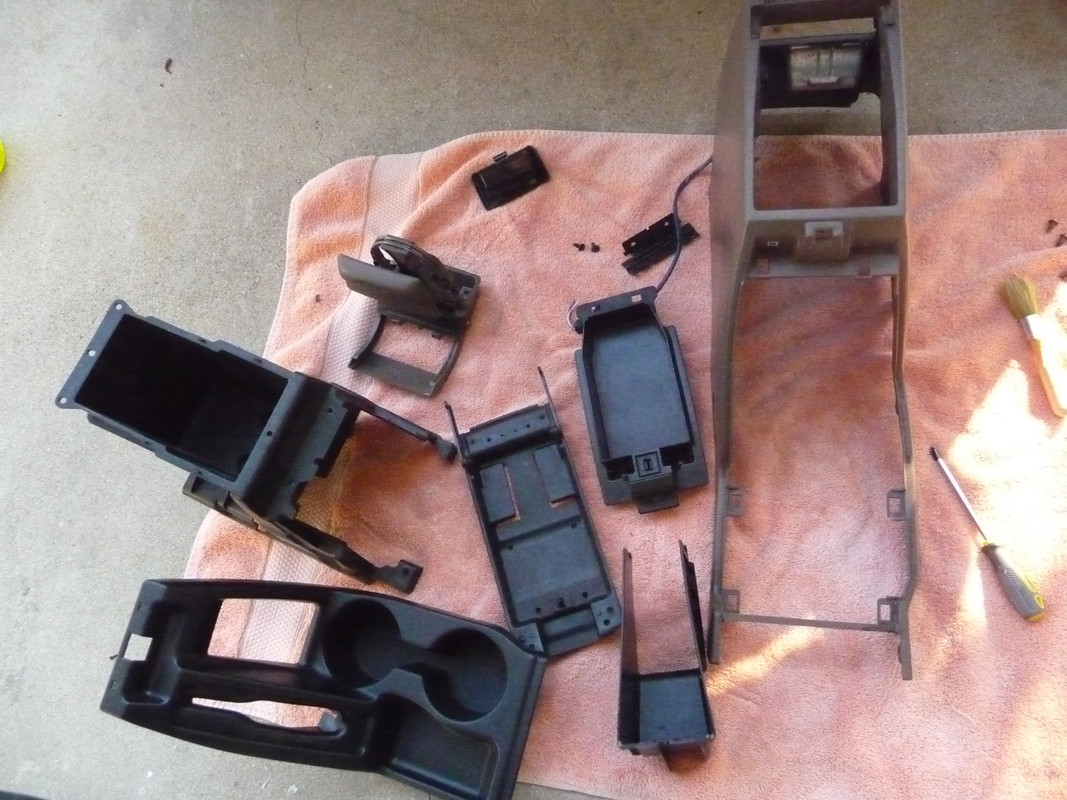
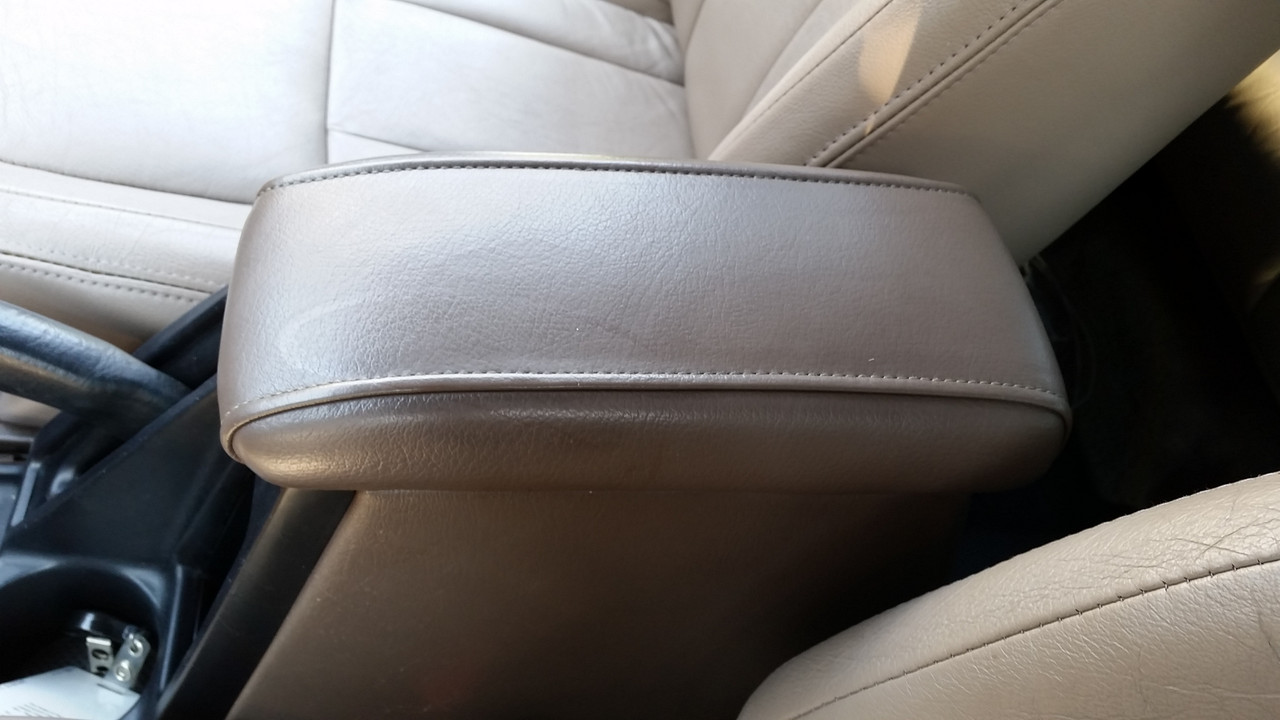
So first I disassembled the entire console, and cleaned all the parts. It cleaned up pretty nice actually:
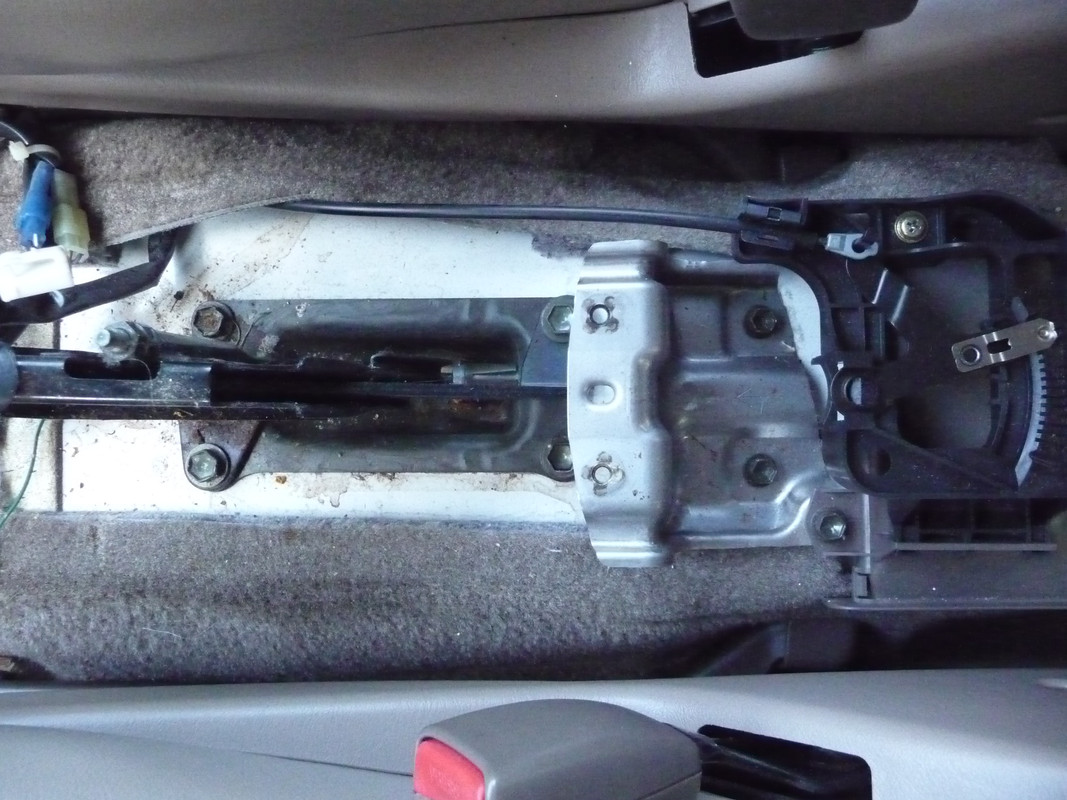
After removing my ’97 console, here is the view of the e-brake and the rear mounting bracket. You can see that the e-brake handle points straight forward:
An old trick to removing the e-brake cable clip is to use a deep socket, I used a 14mm as shown below. This disengages all three fingers and allows you to pull the old tub off the cable:
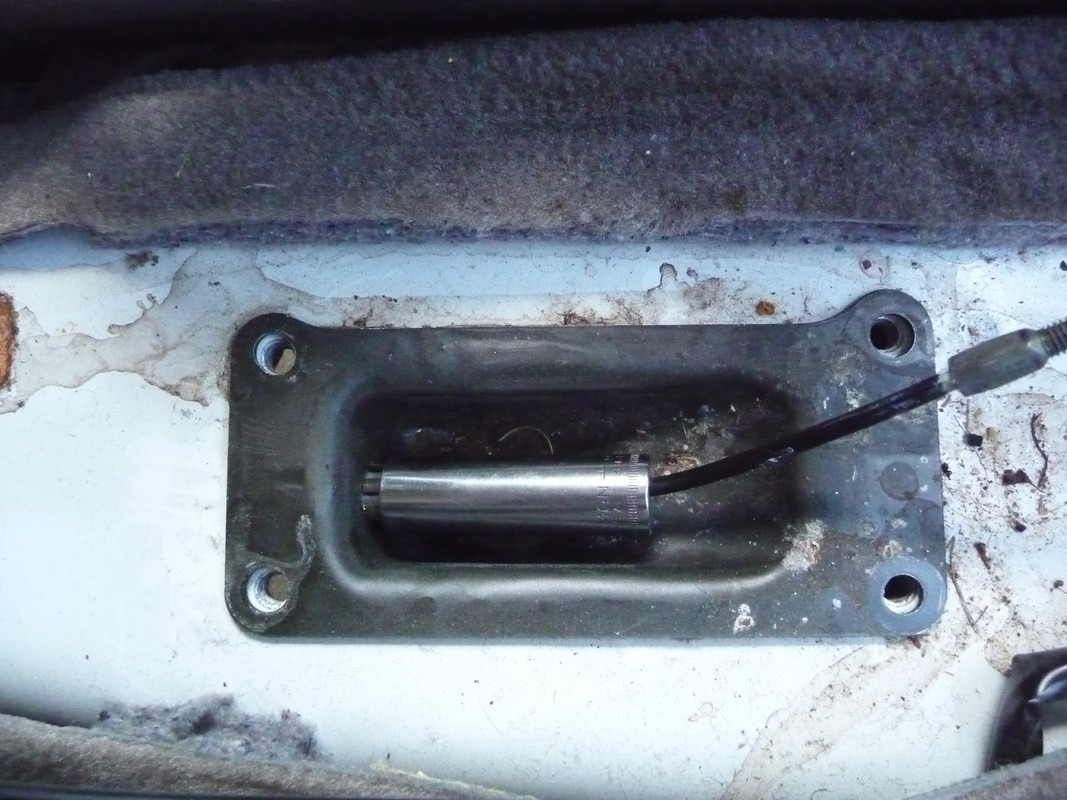
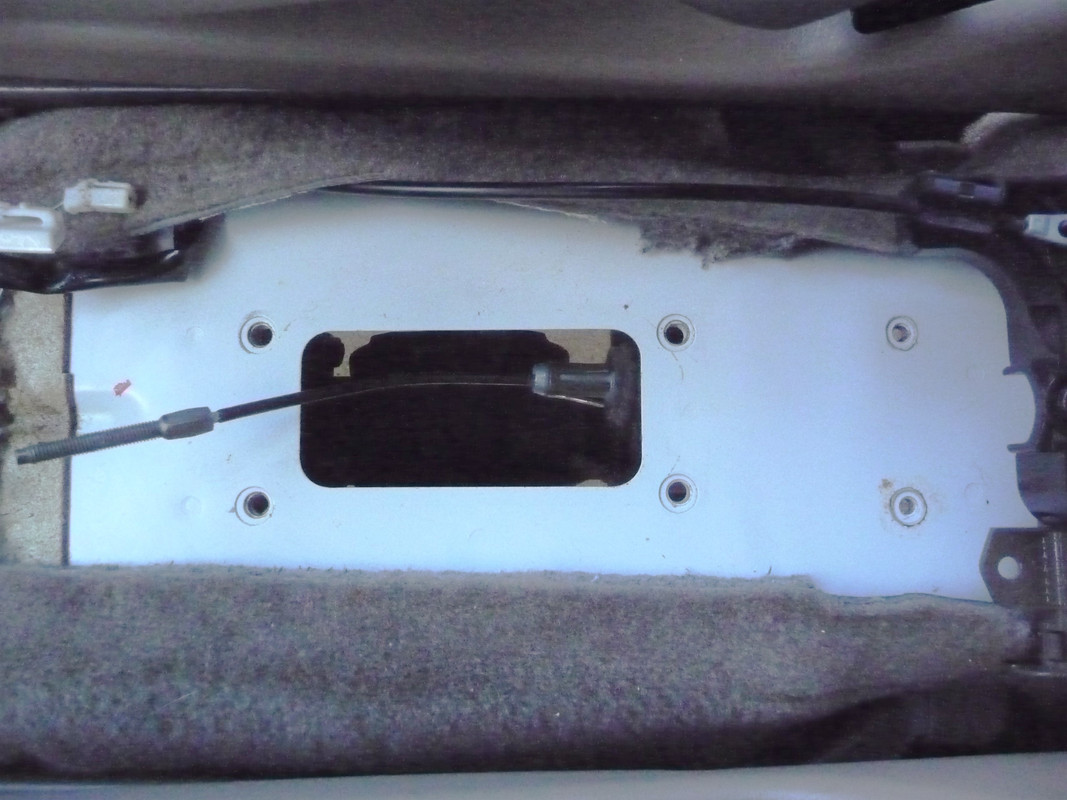
Of course I "had" to clean the floor of all the grime, grease, and spilled crap:
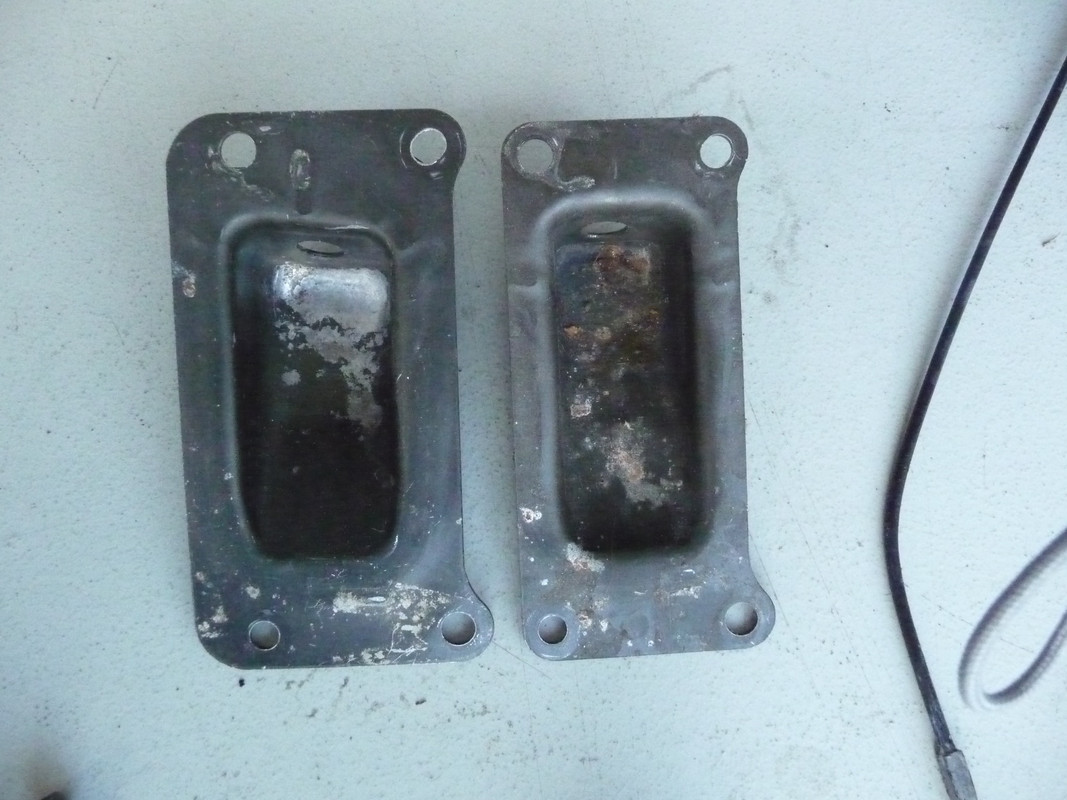
Here are the two tubs side by side. You can see the angle on the end where the cable enters the ‘99+ tub (left), vs. a flat one on the ’97.
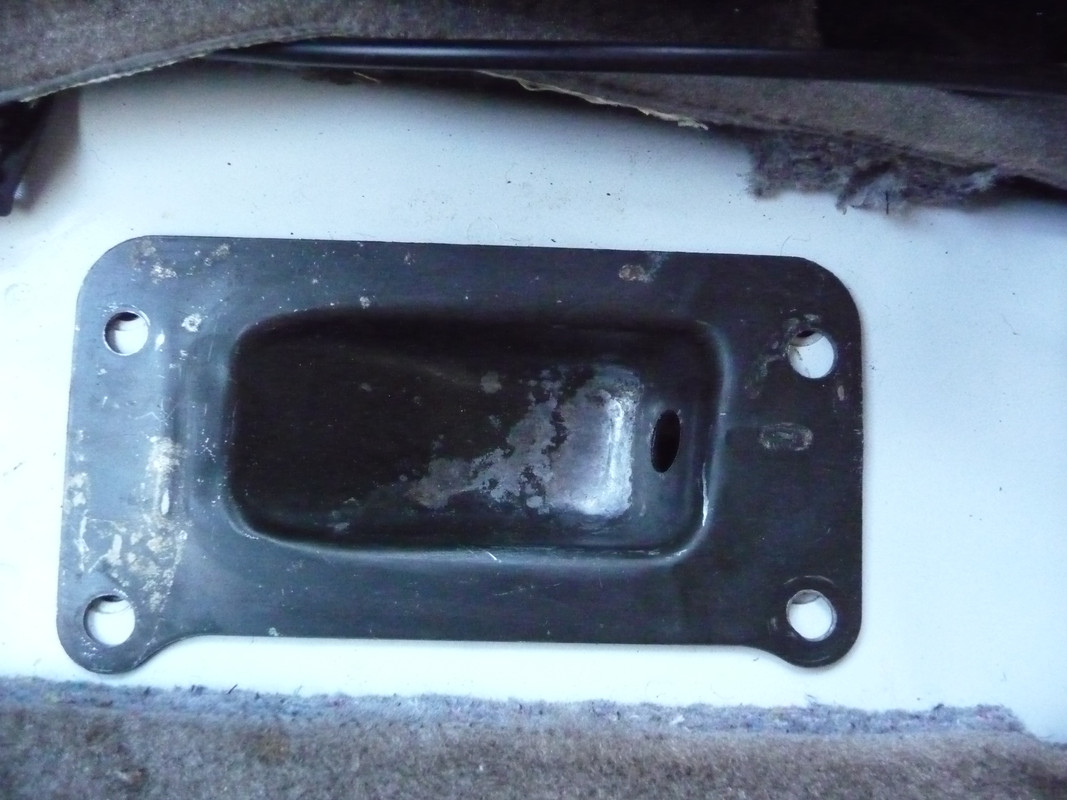
But you can see that when you put the ’99 tub in the ’97 opening, the holes don’t line up:
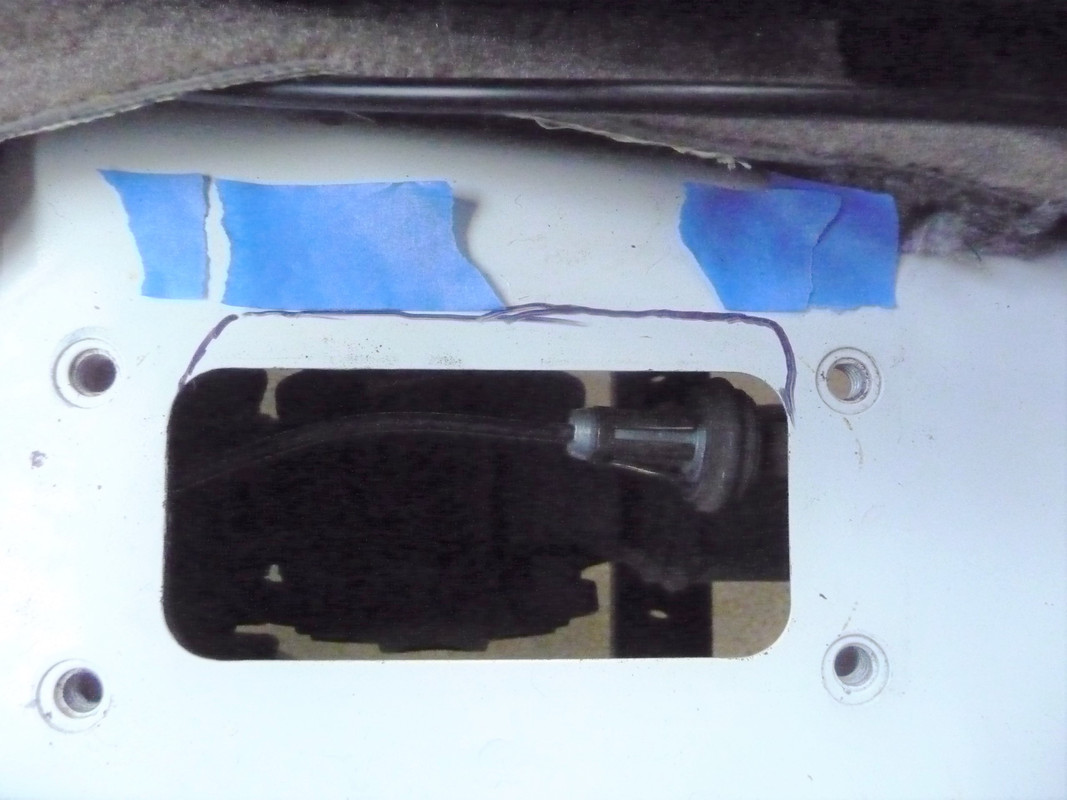
As I said above, you could reuse the ’97 tub. But I layed out the size of the larger opening that was needed and got out the angle grinder, as suggested by others:
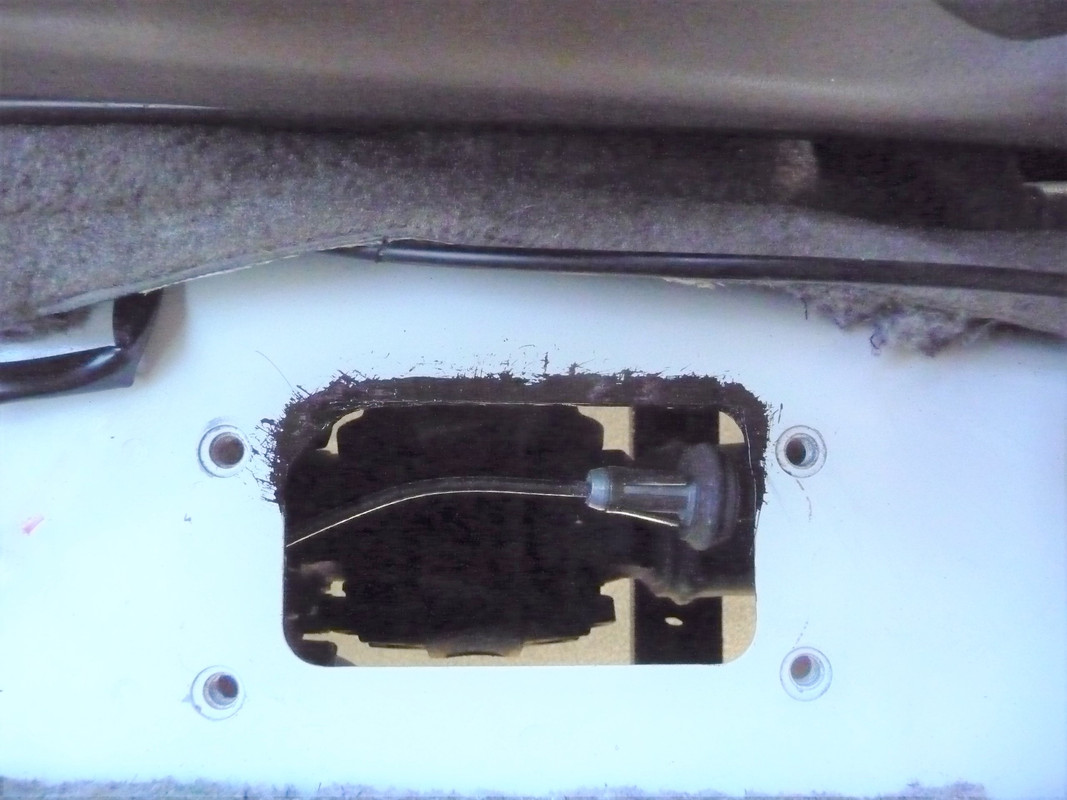
I hit the bare metal with some POR15, and was ready for tub installation:
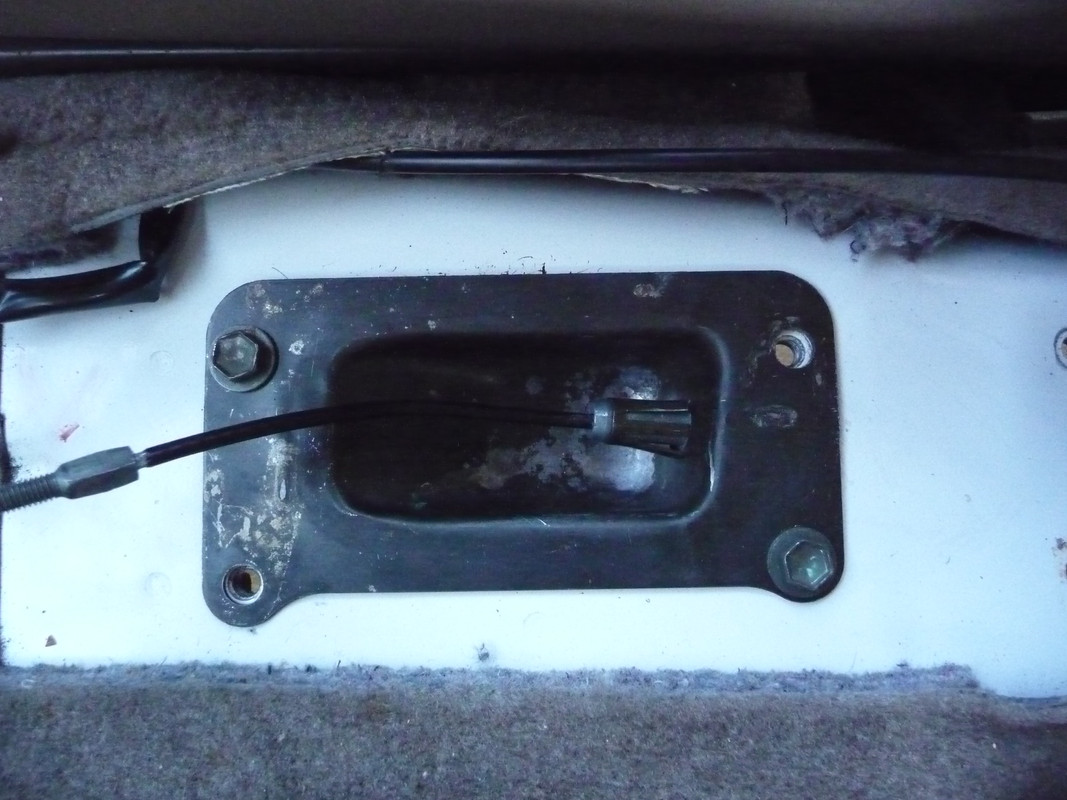
Here is the tub installed:
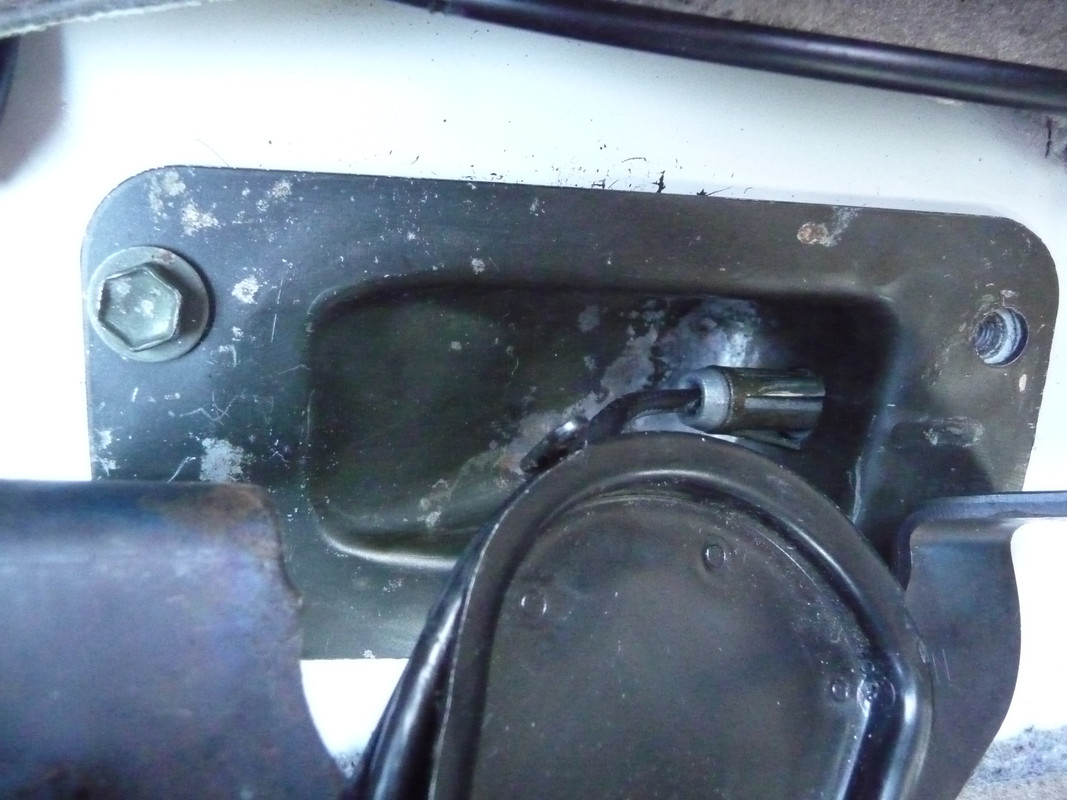
I wrapped the cable around the e-brake handle and pinched the tab back up to hold the cable in place:
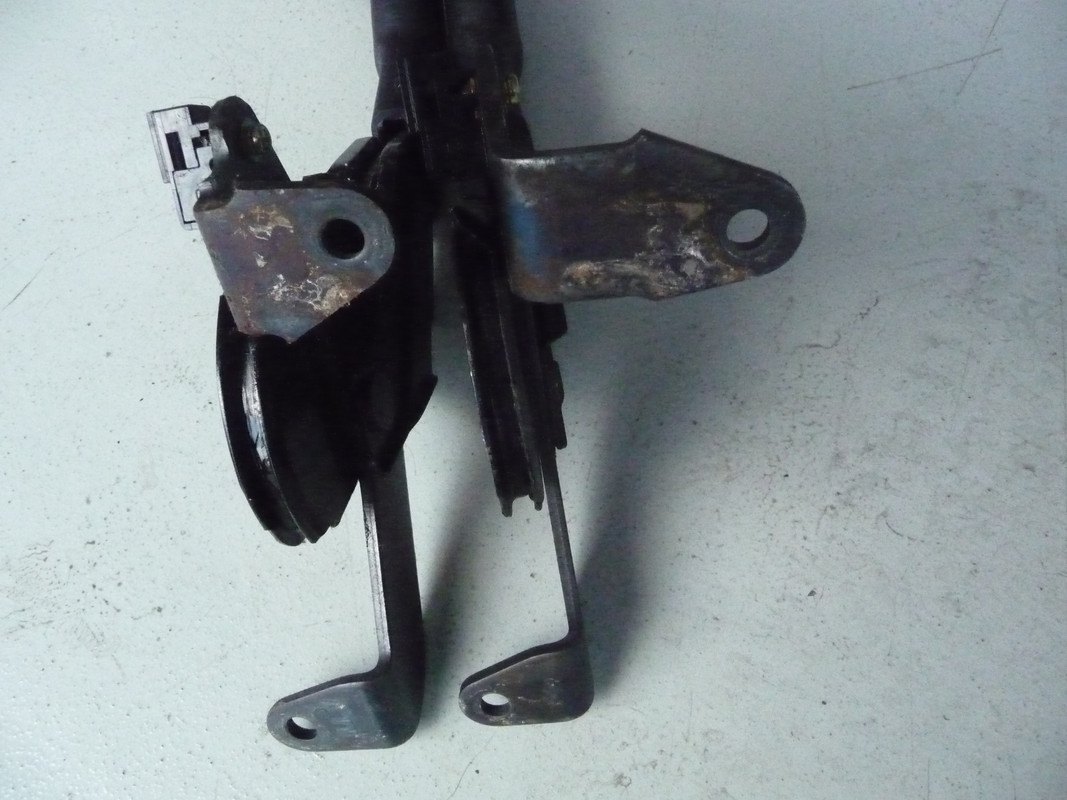
Here is the comparison of the two e-brake handles – using the ‘99+ (right side) points the handle correctly and saves you from having to drill holes in your floor.
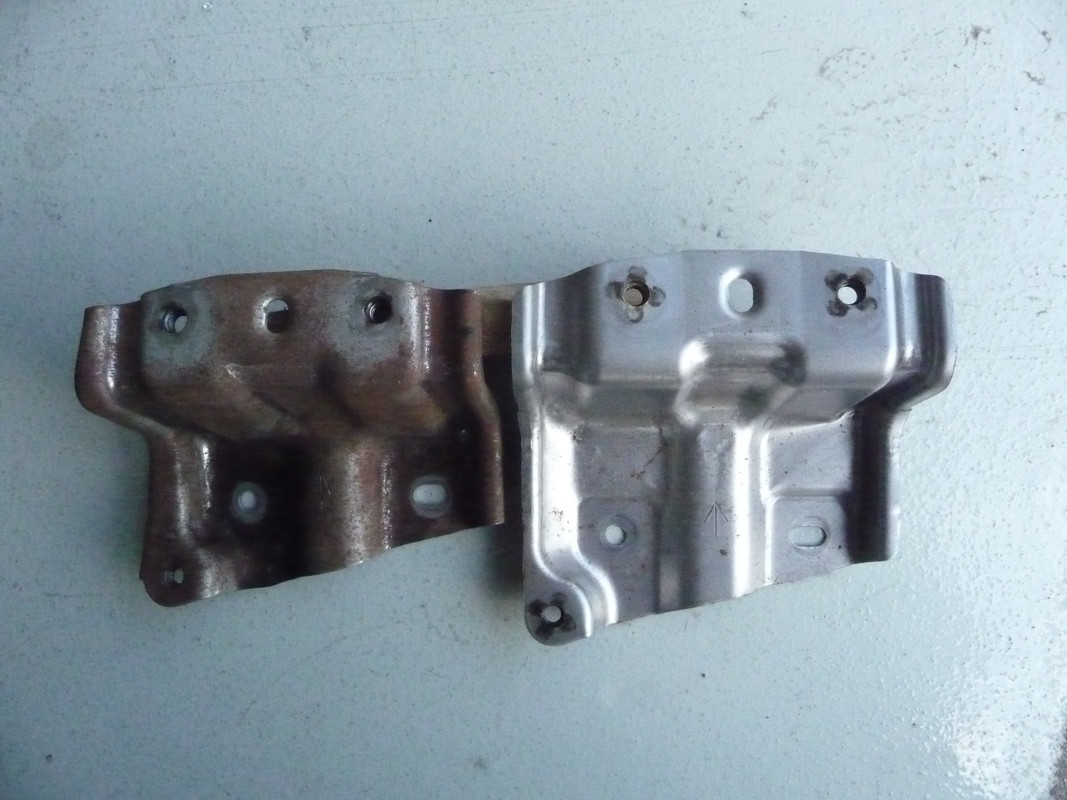
Here are the two rear mounting brackets side by side, ’99 on the left and ’97 on the right. Using the ’99 bracket makes all the holes line up perfectly. As stated earlier, get the bracket from the same model year as the console – ’99-00 is different from ’01-02.
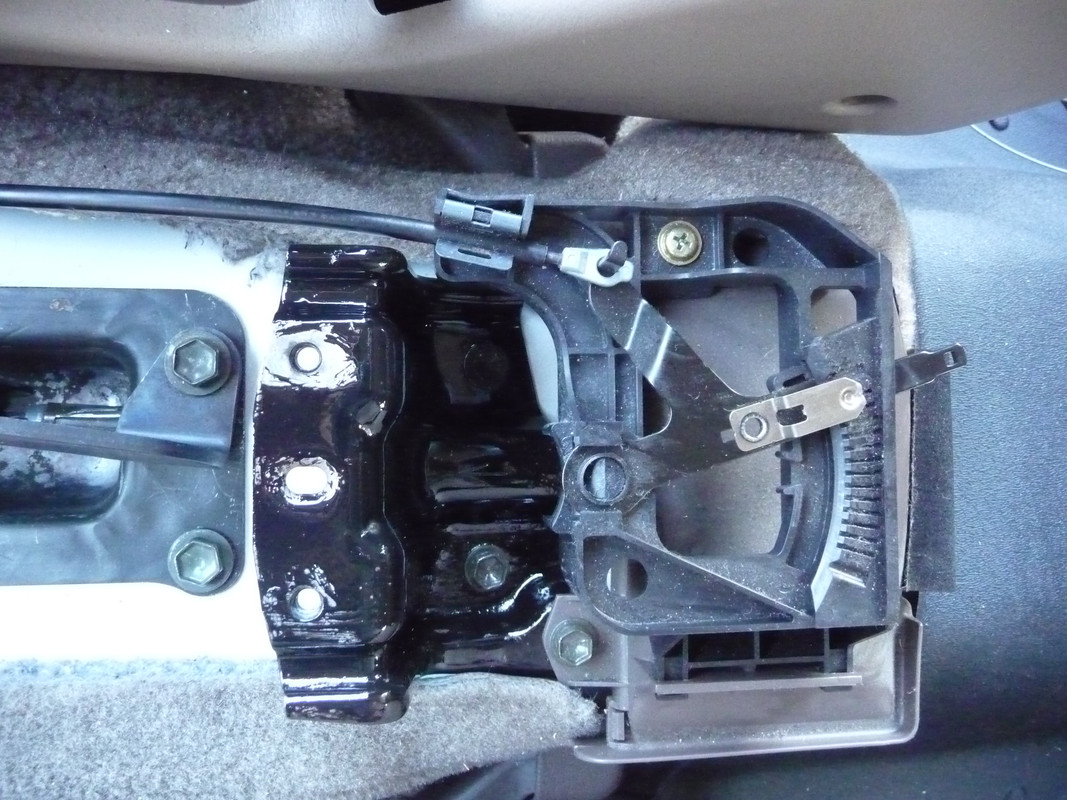
I hit the rusty bracket with some POR15, and bolted it in:
I'm not going to plagiarize or repeat the many awesome posts on these topics on this and other forums, but I’ll cite them as references and will add some tidbits that I found missing and that will hopefully be useful to others.
I'll break this up into three sections - floor console, roof console (post 17), dash bezel.
Floor console
Here are some sources I found useful:
center console swap/cupholder mod - plug'n'play - Toyota 4Runner Forum - Largest 4Runner Forum
Swap Limited consoles '97 to '00 - Toyota 4Runner Forum - Largest 4Runner Forum
Cup Holder Mod - Center Console Upgrade - Toyota 4Runner Forum - Largest 4Runner Forum
1998 TR5 4Runner - Stupid Cupholders! - Toyota 4Runner Forum - Largest 4Runner Forum
99+ Center Console install thread - Toyota 4Runner Forum - Largest 4Runner Forum
http://www.toyota-4runner.org/3rd-gen-t4rs/153100-96-98-owners-rejoice-me.html
https://www.youtube.com/watch?v=JDRt4crVpvI
Now, on to my notes.
What parts to get - I got the console from a '99 donor. As one of the references above recommends, when you get the console, try to get the following parts from the same year donor. If you get all these parts, you won't have to do any redrilling of mounting holes or modifying of brackets that many of the references above did. Keep in mind that 99-00 brackets are different from 01-02, and there may be other differences year to year. So try to get all these parts from same year vehicle.
- console - try to get one that matches your vehicle, i.e. with or without rear heat. You can add the heat control cutout if you have rear heat but buy a console without it, but why do the extra work?
- rear mounting bracket – this really helps ensure that all the holes line up, and will help you avoid having to drill the floor, modify brackets, or trim the bottom of the console, like I saw in the YouTube video. There is no need for that if you use the brackets that come with the console. This thread describes this really well - center console swap/cupholder mod - plug'n'play - Toyota 4Runner Forum - Largest 4Runner Forum
- e-brake – people have made their ’97 e-brake work with the '99 console, but it requires either bending or drilling new holes. If you get the ‘99+ e-brake, it’ll bolt right up and point in the right direction.
- e-brake tub - this one is debatable in my mind. The newer e-brake tub positions the e-brake cable towards the passenger side by about 15 deg, and is located a bit closer to the passenger side, to shift the e-brake handle to the right and make room for the cupholders on the left. The problem is that the ‘99+ tub does not fit into the '97 floor cutout, so you have to widen the floor cutout by about 1/4". I hate cutting into nicely painted OEM metal. On the flipside, if you retain the older tub, there is no cutting or drilling, but the e-brake cable comes in straight instead of at an angle, and has to make a bit of a jog to line up with the e-brake handle. I don't think it's very much of a jog, and I think it would have been fine - but when I considered the choice of a one-time cutting operation vs. every-day strain on the angled cable, I decided to go with the enlarged cutout. But I think the other way would have been fine too.
What to do with switches - As you know, the '97 console has three switches (ECT, rear window, and the security doo-hickey) that need to be relocated somewhere, since the '99+ models have these installed in the dash bezel. The references above have some excellent suggestions on where to relocate these items (either left side of dash, or other parts of the console), but I am planning to update the dash bezel to the '99, and use those switch locations. I haven't done that yet, so if I hit some roadblocks, I'll edit this post accordingly.
So here is how my console install went. My junkyard console looked like it spent a month out in the woods with a pack of hungry wolves slobering on it:
It didn’t help that the hinge on the lid was broken.
So first I disassembled the entire console, and cleaned all the parts. It cleaned up pretty nice actually:
After removing my ’97 console, here is the view of the e-brake and the rear mounting bracket. You can see that the e-brake handle points straight forward:
An old trick to removing the e-brake cable clip is to use a deep socket, I used a 14mm as shown below. This disengages all three fingers and allows you to pull the old tub off the cable:
Of course I "had" to clean the floor of all the grime, grease, and spilled crap:
Here are the two tubs side by side. You can see the angle on the end where the cable enters the ‘99+ tub (left), vs. a flat one on the ’97.
But you can see that when you put the ’99 tub in the ’97 opening, the holes don’t line up:
As I said above, you could reuse the ’97 tub. But I layed out the size of the larger opening that was needed and got out the angle grinder, as suggested by others:
I hit the bare metal with some POR15, and was ready for tub installation:
Here is the tub installed:
I wrapped the cable around the e-brake handle and pinched the tab back up to hold the cable in place:
Here is the comparison of the two e-brake handles – using the ‘99+ (right side) points the handle correctly and saves you from having to drill holes in your floor.
Here are the two rear mounting brackets side by side, ’99 on the left and ’97 on the right. Using the ’99 bracket makes all the holes line up perfectly. As stated earlier, get the bracket from the same model year as the console – ’99-00 is different from ’01-02.
I hit the rusty bracket with some POR15, and bolted it in:
Last edited:
 .
.