Cymon's Weekend Warrior and MFD Thread

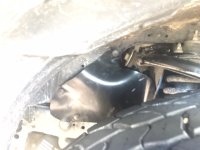
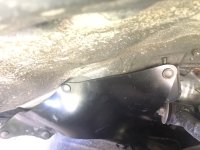
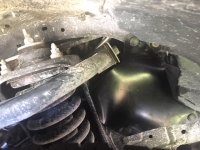
Rad Rubber Engine Splash Guard Install

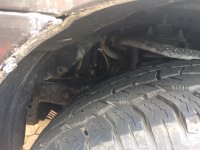
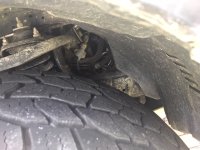
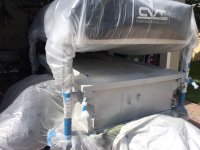
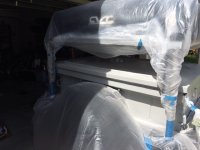
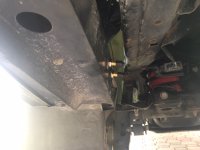
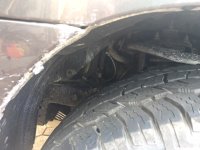
After returning from our last trip I noticed that my engine splash liners had completely disintegrated. I remember reading some posts and information about these in the past, and the company was actually at the Toyota's for Tots event I went to in the fall as they are based here in Florida. I remember them based on the foam play ball they were passing out that my son played with all day.

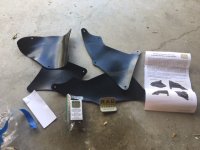
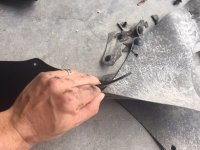
These are the same price as replacing with OEM and waaaaayyyyy better quality. Super easy to install with more robust fender liner tabs included (along with a few extra). These are definitely an upgrade and well worth the $ IMO.
 

Attachments

  • IMG_1416.JPG
    IMG_1416.JPG
    97.5 KB · Views: 1,037
  • IMG_1415.JPG
    IMG_1415.JPG
    102.2 KB · Views: 1,023
  • IMG_1417.JPG
    IMG_1417.JPG
    109.6 KB · Views: 1,040
  • IMG_1418.JPG
    IMG_1418.JPG
    111.6 KB · Views: 1,029
  • IMG_1419.JPG
    IMG_1419.JPG
    133.4 KB · Views: 1,021
  • IMG_1420.JPG
    IMG_1420.JPG
    77.7 KB · Views: 1,028
  • IMG_1422.JPG
    IMG_1422.JPG
    104.8 KB · Views: 1,029
  • IMG_1423.JPG
    IMG_1423.JPG
    127.7 KB · Views: 1,008
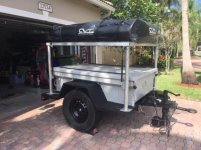
Great looking trailer! I'm so close to going that route but I need to build a fence at my house so I can store it back there. HOA would not like me leaving it out in the open.
Those splash liners are a great upgrade! Keep up the good work I have plenty to read and catch up in here!
 
Great looking trailer! I'm so close to going that route but I need to build a fence at my house so I can store it back there. HOA would not like me leaving it out in the open.

Those splash liners are a great upgrade! Keep up the good work I have plenty to read and catch up in here!

Thanks! It’s honestly been a great addition.

HOA’s are a PITA down here as well. We actually aren’t even allowed to have a trailer on our outside property, which is why I went the m416 route with RTT. If I didn’t need to store the trailer in the garage we likely would have gone off-road pop-up route (ie. Opus Off-Road or Black Series Campers).

:cheers:
 
DFG Fridge Slide Install Feb 2019

A little Catching UP......

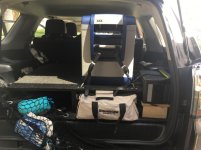
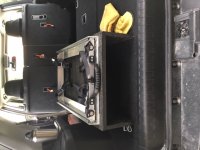
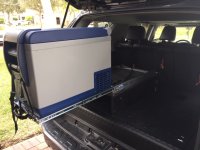
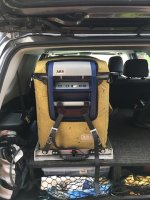
Dfg Fridge Slide installed...

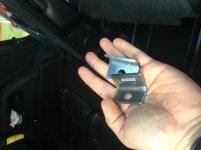
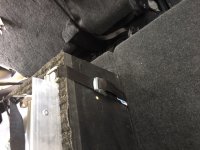
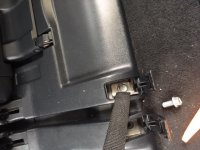
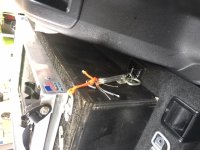
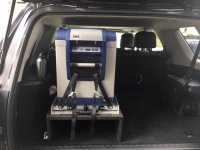
The tricky part was finding a place to tie down the back of my drawer boxes that still allows access and use to one side for when we travel with 6 people. Found the front bolt that attaches the 3rd Row seats to the floor. The attachment point is what Frontrunner uses for their GX460 rear storage units. Had a person at my wife’s job fabricate a stainless steel tie down that would bolt up. So now I have a completely modular unit. First pic is both sides when attached, before the fridge slide. I can also remove the slide easily to create a flat surface since it is not screwed into the wood but bolted using t-nuts leaving the area below the platform flush for our storage bins. The unit is completely modular so I can use either side of the 3rd Row when I want. The two sides get bolted together into a one life unit when I want the full storage in the back.
 

Attachments

  • Fridge slide 1.jpg
    Fridge slide 1.jpg
    120.7 KB · Views: 897
  • Fridge Slide 2.jpg
    Fridge Slide 2.jpg
    108.5 KB · Views: 898
  • Fridge Slide 3.jpg
    Fridge Slide 3.jpg
    135.3 KB · Views: 887
  • Fridge Slide 4.jpg
    Fridge Slide 4.jpg
    121.2 KB · Views: 886
  • Fridge Slide 5.jpg
    Fridge Slide 5.jpg
    106.5 KB · Views: 886
  • Fridge slide 6.jpg
    Fridge slide 6.jpg
    129.4 KB · Views: 881
  • Fridge Slide 7.jpg
    Fridge Slide 7.jpg
    89.4 KB · Views: 872
  • Fridge Slide 8.jpg
    Fridge Slide 8.jpg
    103.2 KB · Views: 884
Overlanding Disney Feb 2019

Still catching up this thread...

In February we went put to Disney for our Son's 4th Birthday and when making the reservations decided to camp at Fort Wilderness instead of stay at a hotel. First reason is that it saved a little $. Although it still averaged $75 a night for a campsite, that's way cheaper than the $150 a night cheapest hotel rooms. Plus Fort Wilderness is a extremely nice and convenient resort. My parents flew down from Maryland to camp with us, which was a nice bonus...I don't think they've been camping in about 20 years.

The campsites were exactly what you would expect from Disney...clean, fully hooked up and arranged perfectly. The bathrooms...well they were cleaner than most any hotel bathroom I've ever stayed in, with an attendant literally walking in and cleaning it every 15 minutes. The last thing was this is the one place in Florida where you can camp and there were absolutely no mosquitos (I don't even want to know how :lalala:)

If you want a different take on Disney, or get a family member out camping in the most controlled environment available, but also feeling like you're in the "wilderness" I highly recommend.
 

Attachments

  • IMG_1536.jpg
    IMG_1536.jpg
    99.8 KB · Views: 840
  • IMG_1537.jpg
    IMG_1537.jpg
    68.6 KB · Views: 783
Last edited:
ARB Fridge Wiring For Dummies

Up until now I've always had my ARB fridge plugged into either my Goal Zero Yeti 400 Lithium (for short one night at single place type of trips) or Goal Zero Yeti 1400 Lithium (for extended off-grid applications). The Goal Zero's would be plugged AC power outlet to charge while driving and the ARB fridge would be plugged into the Goal Zero's. When charging the Goal Zero input is about 65 watts, almost the exact same output needed to power the Fridge when the compressor is running. With no compressor running the Goal Zero's charge.

This has worked well, but now that I have the fridge slide and better cargo setup I want to use the fridge more, and although they are convenient, the Goal Zero setup is not as convenient as just throwing the fridge in the back whenever I want and just plugging it in.

Enter the ARB Wiring Kit. Ever since I needed a new battery and upgraded to a stock size deep cycle X2 battery from Batteries Plus I have been thinking about putting in a full-time outlet (which I was concerned about with the OEM battery). I went with this kit for the most plug and play method of wiring the fridge. Plus the socket has a screw in receptacle that keeps the 12v plug in place.

The wiring for this can be found all over this forum and the internet, but here it is anyway.

First I ran the wiring up through the firewall. I have found that after cutting off the nipple, it is actually easier to run it from the driver compartment side to the engine side attached to a thin plumbing snake.

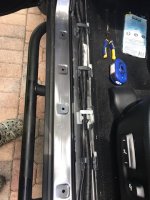
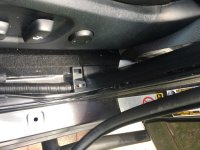
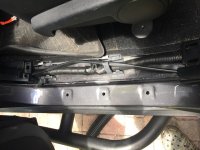
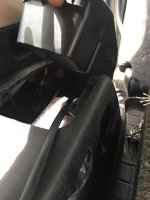
I then pulled all of the side trim (it just snaps out), including the portion of the b-pillar under the seatbelt to run the wire right next to the pre-existing electrical to the back of the vehicle.

I the pulled the back rear driver side wheel cover using trim removal tools and some brute force. I got all of the tabs to pop without breaking all of them, and I didn't break it all of the way off. I was able to fold it up as seen in the picture to keep the final screw secure. I fished a plumbing snake through the fender wheel well and down under where the rear seatbelts are located. This comes out right where I had fished through the ARB wiring from the front. Attached the wire to the snake and pulled it up and through.

(See Next Post for Conclusion)
 

Attachments

  • IMG_1814.jpg
    IMG_1814.jpg
    60.3 KB · Views: 767
  • IMG_1815.jpg
    IMG_1815.jpg
    100.5 KB · Views: 846
  • IMG_1816.jpg
    IMG_1816.jpg
    100.4 KB · Views: 855
  • IMG_1817.jpg
    IMG_1817.jpg
    42.5 KB · Views: 757
Last edited:
ARB Fridge Wiring For Dummies Continued.

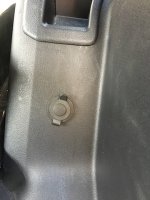
After running the wiring I had to decide where to drill the hole. I decided to drill and mount it flush (you have the option in the kit for flush mount or to use the receptacle it comes with) on the front vehicle side of the wheel well. I like this location because it is out of the way and I can easily access the plug with the fridge in the vehicle through the driver side rear door (right behind the seat). I also like that it keeps the wire of the fridge behind it with the fridge slide, and away from all of the other stuff I pack on trips.

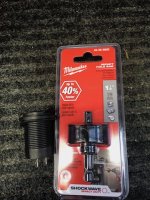
So I drilled a 1 1/18" (29mm) hole and ran the wiring through screw on part of the socket backing (attaching a string to it so it wouldn't fall into know-where's land in the wheel arch housing) and then through the hole I drilled.

A couple notes on attaching the wires to the socket. I didn't like the quick-connect terminals and insulators that it came with (I don't like to solder) so I went out and bought new insulated 1/4" quick connect insulators that were more easily crimped and didn't need to be soldered from my local auto parts store.

So once the wires were crimped and attached, all I had to do was screw the socket into the screw backing through the hole and complete.

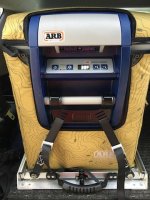
I also recently ordered a fridge cover to help insulate in this Florida heat. I didn't know if I liked the topographic desert color, but it was 15% off on Amazon (probably because no one else likes it) so that's what I got and it's kind of growing on me.

Summary:

Easy peasy plug and play. I have already noticed that I used the fridge more because it's as easy as throwing a cooler in the car. I have left it in the car for 2 full days and nights plugged in (just testing to see how long before my car wouldn't start) but the fridge didn't shut down and the 4runner still started. I will still bring one of my Goal Zeros depending on how long I'm out to charge other devices and power the camp lighting to our trailer/RTT/Canopy, and to power the fridge over night for extended periods. Overall I'm glad I did this because I love having the options and redundancy for power.

Beer of Choice for this Mod....Concrete Beach Brewery's Havana Lager from Wynwood in Miami.
 

Attachments

  • IMG_1818.jpg
    IMG_1818.jpg
    110 KB · Views: 769
  • IMG_1820.jpg
    IMG_1820.jpg
    54.4 KB · Views: 773
  • IMG_1821.jpg
    IMG_1821.jpg
    64.5 KB · Views: 766
  • IMG_1822.jpg
    IMG_1822.jpg
    63.1 KB · Views: 769
Last edited:
Trailer Update Extreme Off-Road Jockey Wheel

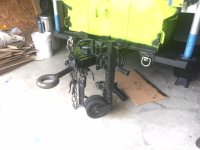
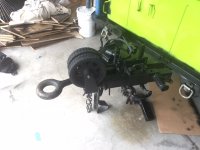
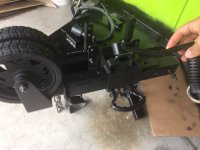
This is completely overkill for my trailer, but I was looking for a jockey wheel to help in moving the trailer around campsites, in and out of the garage and unhitching from the vehicle. The requirements were to be bolt on, be able to be used “off-road” aka off pavement, and work in tandem with the original pintel/Lunette/trailer leg.

Enter the Ark Power XO (Extreme Off-Road) 750 jockey wheel. Overbuilt is an understatement. I love that it has a magnetic removable jack handle, and its adjustability is phenomenal. If it holds up as advertised it will be worth the $ in the long run. I was about to pull the trigger on their newly released XO 350 or XO 500, both of which would be plenty for my needs. But I just received some Amazon Gift cards from my students for imparting critical thinking, problem solving and data/research based science knowledge on them this past school year...so why not go top of the line black edition...happy early Father’s Day to me!

Also repainting the fenders and doing some rust touch up on the body.
 

Attachments

  • D7562005-D670-45FF-BBEF-C3DB4FE1168F.jpeg
    D7562005-D670-45FF-BBEF-C3DB4FE1168F.jpeg
    97.8 KB · Views: 724
  • DC7EDD72-B9DD-4813-A4D5-8E8C35BFE88E.jpeg
    DC7EDD72-B9DD-4813-A4D5-8E8C35BFE88E.jpeg
    99.1 KB · Views: 716
  • 1AF4908E-E5B7-4C1F-B361-F017FFA72370.jpeg
    1AF4908E-E5B7-4C1F-B361-F017FFA72370.jpeg
    98.1 KB · Views: 728
just found your thread researching the Front Runner 3/4 rack and read through all 17 pages. great work, and keep the updates coming.
 
Summer Trip 2019 Part 1

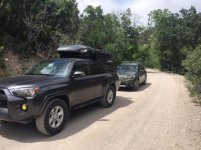
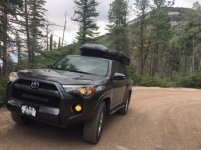
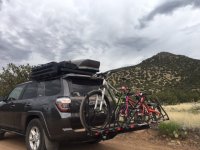
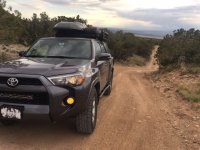
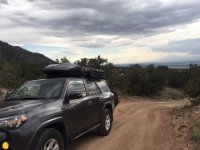
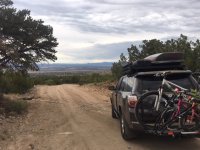
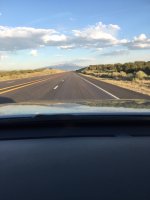
My Father qualified for the Senior Olympic Games being held in Albuquerque/Santa Fe, NM in June. We used this as an excuse for a cross country trip...driving from South Florida out to New Mexico and meeting my parents and staying out there for a week, then caravanning with them back to Maryland to hang out for a couple weeks before returning to the swamp.

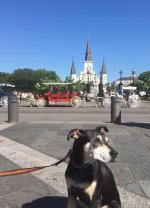
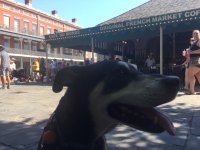
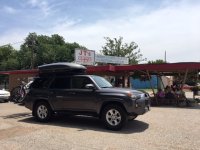
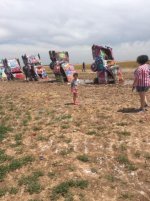
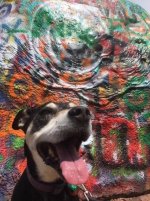
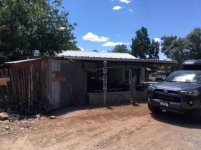
We took 3 days to drive out...we ended up making good time, so we were even able to make couple unplanned stops like a quick breakfast of beignets at Cafe du Mond in New Orleans and Graffiti Time at Cadillac Ranch. We also found an awesome little roadside BBQ Joint in Texas.
 

Attachments

  • IMG_1896.jpg
    IMG_1896.jpg
    109.1 KB · Views: 645
  • IMG_1898.JPG
    IMG_1898.JPG
    113.5 KB · Views: 657
  • IMG_1911.JPG
    IMG_1911.JPG
    122.4 KB · Views: 644
  • IMG_1913.jpg
    IMG_1913.jpg
    57.5 KB · Views: 625
  • IMG_1915.jpg
    IMG_1915.jpg
    75.6 KB · Views: 642
Summer Trip 2019 Part 2

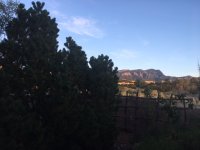
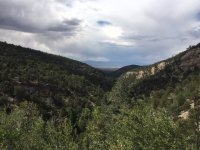
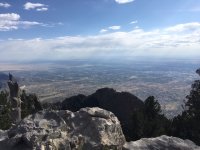
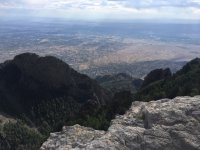
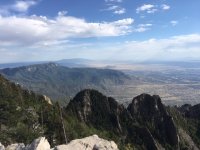
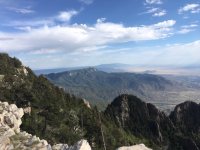
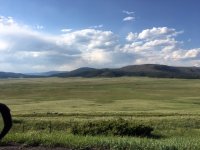
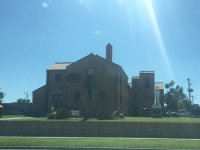
We stayed in a house in Placitas NM, with a fantastic view of Sandia Crest from our porch. Some pics exploring and hiking the Cibola National Forest and Sandra Crest.
 

Attachments

  • IMG_1927.JPG
    IMG_1927.JPG
    88.1 KB · Views: 656
  • IMG_1931.JPG
    IMG_1931.JPG
    57 KB · Views: 644
  • IMG_1936.JPG
    IMG_1936.JPG
    66.4 KB · Views: 731
  • IMG_1939.jpg
    IMG_1939.jpg
    54.8 KB · Views: 659
  • IMG_1940.jpg
    IMG_1940.jpg
    52.3 KB · Views: 636
  • IMG_1949.JPG
    IMG_1949.JPG
    133.4 KB · Views: 639
  • IMG_1962.jpg
    IMG_1962.jpg
    53 KB · Views: 653
Summer Trip Part 2 Cont'd

Sandia Crest Pics
 

Attachments

  • IMG_1977.JPG
    IMG_1977.JPG
    115.9 KB · Views: 625
  • IMG_1979.JPG
    IMG_1979.JPG
    123.8 KB · Views: 626
  • IMG_1980.JPG
    IMG_1980.JPG
    116.7 KB · Views: 632
  • IMG_1981.JPG
    IMG_1981.JPG
    121.3 KB · Views: 637
Summer Trip Part 3

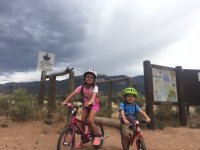
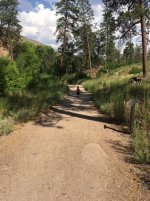
Found some time for Mountain Biking with the Kiddos.
 

Attachments

  • IMG_2008.JPG
    IMG_2008.JPG
    103.5 KB · Views: 651
  • IMG_2013.JPG
    IMG_2013.JPG
    116.8 KB · Views: 588
  • IMG_2015.JPG
    IMG_2015.JPG
    131.5 KB · Views: 582
  • IMG_2016.JPG
    IMG_2016.JPG
    109.9 KB · Views: 584
  • IMG_2018.JPG
    IMG_2018.JPG
    131.4 KB · Views: 585
Summer Trip 2019 Part 4

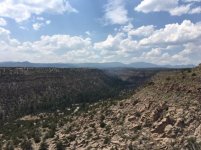
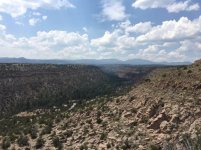
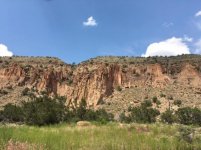
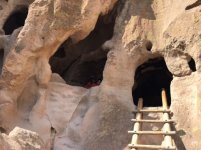
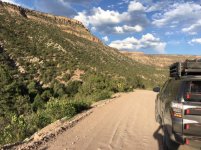
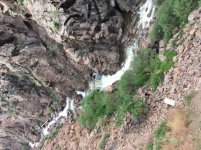
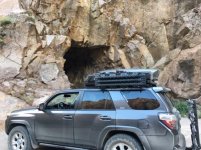
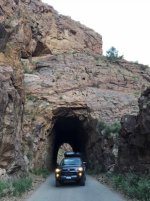
We then travelled up to Bandelier National Monument, Santa Fe National Forest, Valles Caldera National Preserve and the Gilman Tunnels.
 

Attachments

  • IMG_2022.jpg
    IMG_2022.jpg
    54.1 KB · Views: 605
  • IMG_2023.jpg
    IMG_2023.jpg
    56.2 KB · Views: 573
  • IMG_2029.jpg
    IMG_2029.jpg
    51.3 KB · Views: 584
  • IMG_2038.jpg
    IMG_2038.jpg
    48.5 KB · Views: 573
  • IMG_2050.JPG
    IMG_2050.JPG
    114.4 KB · Views: 579
  • IMG_2054.jpg
    IMG_2054.jpg
    64.1 KB · Views: 578
  • IMG_2061.jpg
    IMG_2061.jpg
    74.9 KB · Views: 566
  • IMG_2044.jpg
    IMG_2044.jpg
    67.9 KB · Views: 580
Summer 2019 Trip Part 4 Continued

The Gilman Tunnels
 

Attachments

  • IMG_2063.jpg
    IMG_2063.jpg
    62.8 KB · Views: 568
  • IMG_2067.jpg
    IMG_2067.jpg
    55.3 KB · Views: 567
  • IMG_2070.JPG
    IMG_2070.JPG
    107 KB · Views: 579
  • IMG_2072.JPG
    IMG_2072.JPG
    104.9 KB · Views: 573
  • IMG_2074.JPG
    IMG_2074.JPG
    73.9 KB · Views: 569
Summer Trip 2019 Part 5

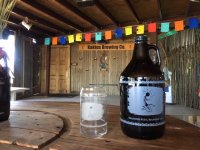
Stopped by Kaktus Brewing just outside Albuquerque before heading back east. Growlers fit perfect in the ARB :cheers:

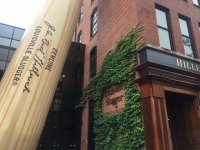
On the way back we drove through Dodge City, Kansas to check out Boot Hill and the Louisville Slugger Bat Factory/Museum in Louisville (this was like going to Disney World for my son).

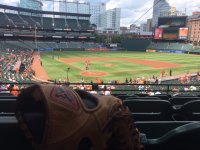
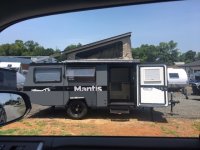
Once we got to Maryland we got to check out some O's games (my parents are still season ticket holders), eat some crabs and even check out a possible future travel option.


Overall this was an awesome trip, it was nice to be able to spend time outside all summer, unlike here in Florida where its so damn hot 24hours a day the only way to be outside is in the pool.


Total Trip time: 26 Days

Total Trip Mileage: 6,486 miles
 

Attachments

  • IMG_2086.JPG
    IMG_2086.JPG
    129.8 KB · Views: 722
  • IMG_2087.jpg
    IMG_2087.jpg
    49.4 KB · Views: 716
  • IMG_2097.JPG
    IMG_2097.JPG
    73.1 KB · Views: 719
  • IMG_2128.JPG
    IMG_2128.JPG
    136.1 KB · Views: 725
  • IMG_2135.JPG
    IMG_2135.JPG
    54.4 KB · Views: 716
  • IMG_2160.JPG
    IMG_2160.JPG
    130.5 KB · Views: 709
  • IMG_2186.JPG
    IMG_2186.JPG
    111.4 KB · Views: 712
Summer 2019 Updates

Finished up a couple of back-burner projects.

1) Repainted the trailer...we tried to match the neon-jeep green but couldn't so we went with stone grey instead. I'm glad we did, it looks much better.

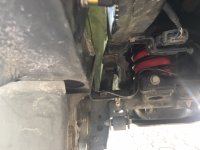
2) If you've followed this thread at all you know that we don't travel light, and on the stock suspension, especially with the trailer hooked up the truck needed a little help so I installed a set of airlift airbags. So far the ride hasn't changed much when at the minimum 5 psi. We'll be taking a trip with the trailer soon, so we'll see how much better the towing is.
 

Attachments

  • IMG_2191.JPG
    IMG_2191.JPG
    110.3 KB · Views: 693
  • IMG_2192.JPG
    IMG_2192.JPG
    93.9 KB · Views: 672
  • IMG_2199.jpg
    IMG_2199.jpg
    50.1 KB · Views: 674
  • IMG_2228.JPG
    IMG_2228.JPG
    83.1 KB · Views: 681
  • IMG_2229.JPG
    IMG_2229.JPG
    87.9 KB · Views: 683
Changes

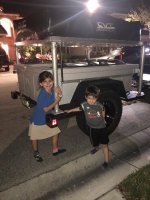
So after months of deliberation we sold the trailer. It’s going to a good home and just wasn’t working out the way I wanted in our current situation(Living in a Swamp). I knew it wasn’t right for us when we drove to New Mexico on our trip this past summer and didn’t bring it. We camped in Florida with it this summer, but it’s just too damn hot. We built it up exactly as I had envisioned it, but wrong place and wrong time for our living situation. My daughter was distraught, clinging to it as the buyers (a retired veteran and his daughter drove away). I promised her adventures are still in the works and Daddy has “plans”.

On to the next stage and adventure....
 

Attachments

  • D5345EA2-614A-4186-8259-46BDA85542F2.jpg
    D5345EA2-614A-4186-8259-46BDA85542F2.jpg
    132.3 KB · Views: 645
Last edited:
Changes Part 2

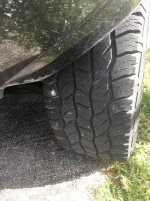
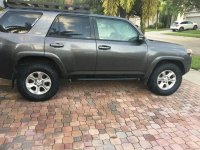
After 45k miles one of my Cooper AT3’s 275 LRC fell victim to a screw. It was over just close enough to the side where the patch and plug wasn’t holding air (slow leak). I was hoping to get another 15k out of them, but it wasn’t worth it to replace one tire for a year. It was down to the Cooper’s and Falken’s when I last bought tires. Since the Falken’s were relatively new at that point I went with the trusted Coopers. I put the 265 LRE on my trailer when I swapped the axle and really liked them, so decided to change flavors.

265 70r 17 SL

So far with about 50 miles on them I’m impressed. I didn’t realize how loud the Cooper’s were getting until the swap. These are really quiet! Handling seems good and wet weather traction has been just as good as the Cooper’s so far. I also always had a tough time balancing and would get a the 4runner shimmy between 55mph and 60mph. The Falken’s balanced perfectly the first time and no more shimmy. I used to know when I was getting close to the speed limit and out of habit I keep waiting for the wheel to shake but nothing so far.

Fingers crossed but these are looking like a good choice so far and hopefully will get a little more on the mpg side with the downsize and 5lbs per tire weight savings.
 

Attachments

  • 085D5B14-6017-4FB1-A71F-FCA1147852C0.jpg
    085D5B14-6017-4FB1-A71F-FCA1147852C0.jpg
    140 KB · Views: 600
  • 55347623-DC21-4A78-8AD6-FB366478299B.jpg
    55347623-DC21-4A78-8AD6-FB366478299B.jpg
    139 KB · Views: 607

Members online

Forum statistics

Threads
278,309
Messages
3,554,075
Members
248,016
Latest member
Advally Service

Trending content

Back
Top