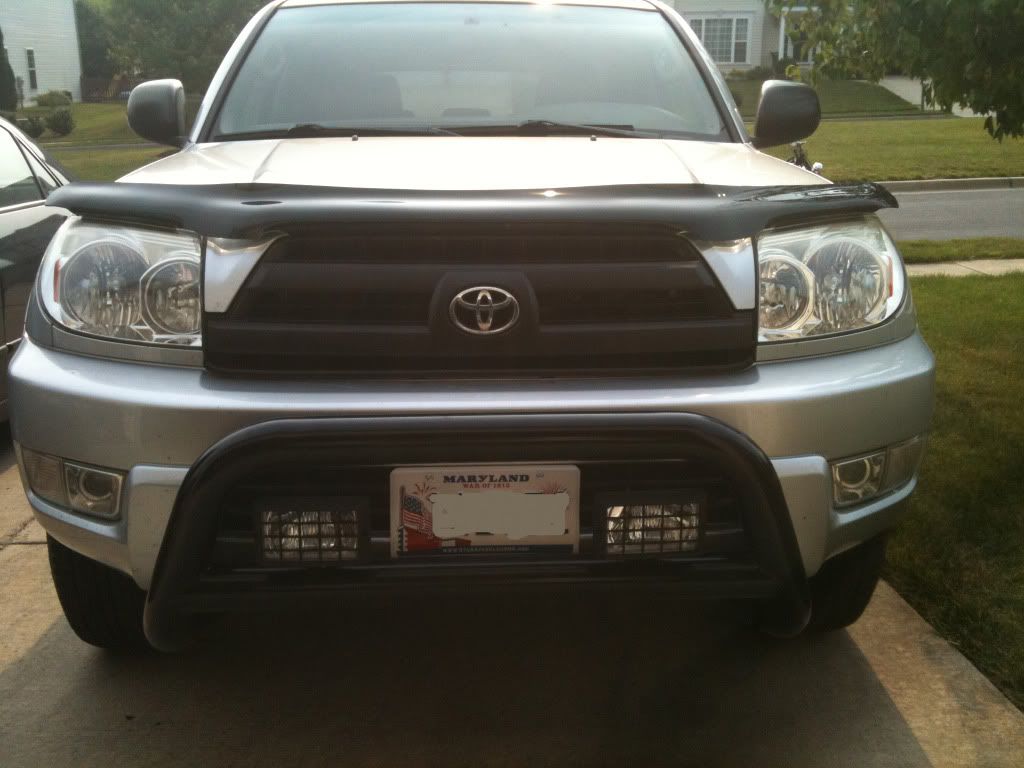
05 4runner Silver SR5 V6 4x4 Build (lots of pics)
Well with the encouragement of another member here (Trevloc), I've decided to start posting pictures of the 4runner I just got 2 weeks ago and the mods that I've done. I'll also use this thread to post future mods that I decide to do to this beast.
I got this 4runner a couple weeks ago, bone stock, and here's what I've done so far:
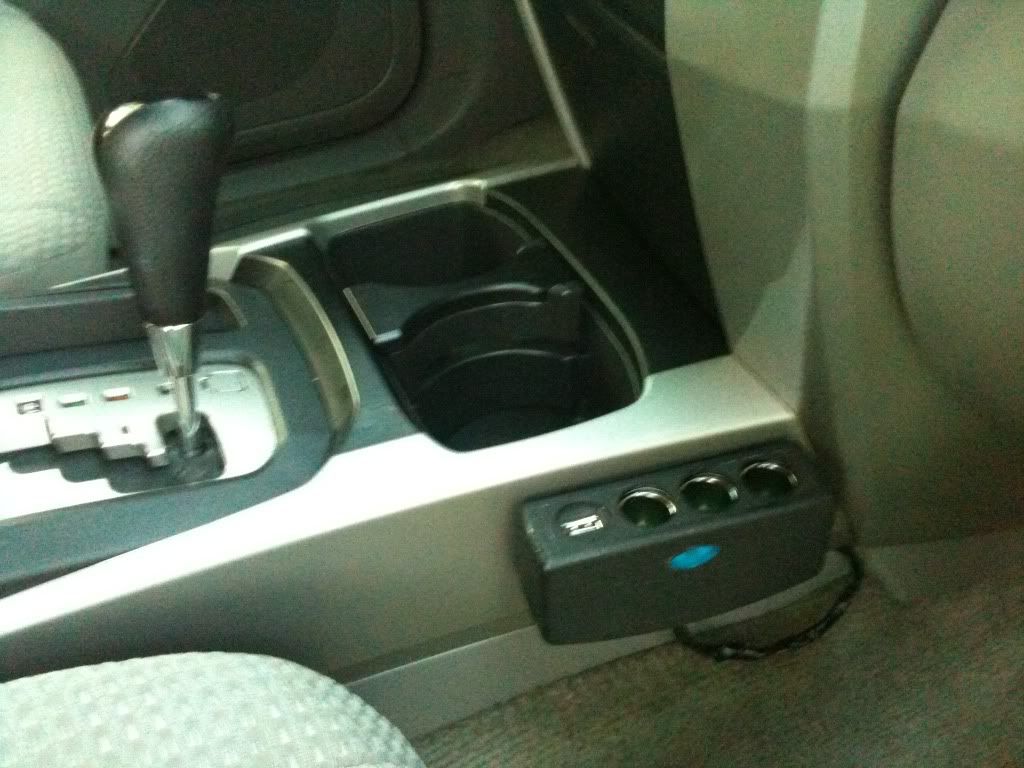
First thing was the addition of 12v outlets and a usb outlet. I got this adapter from Auto Zone and it was white, so I painted it black. It also came as a plug-in adapter. I cut off the plug and wired it into the same wires going into the original outlet beside of the shifter, to utilize the fuse already covering that outlet.
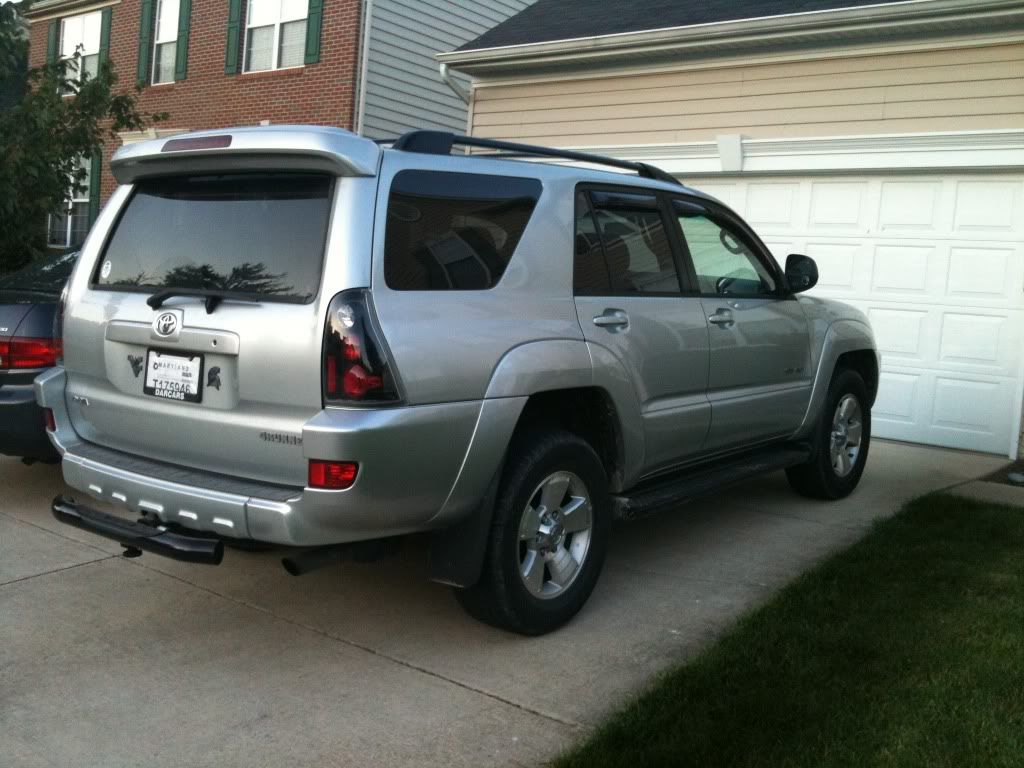
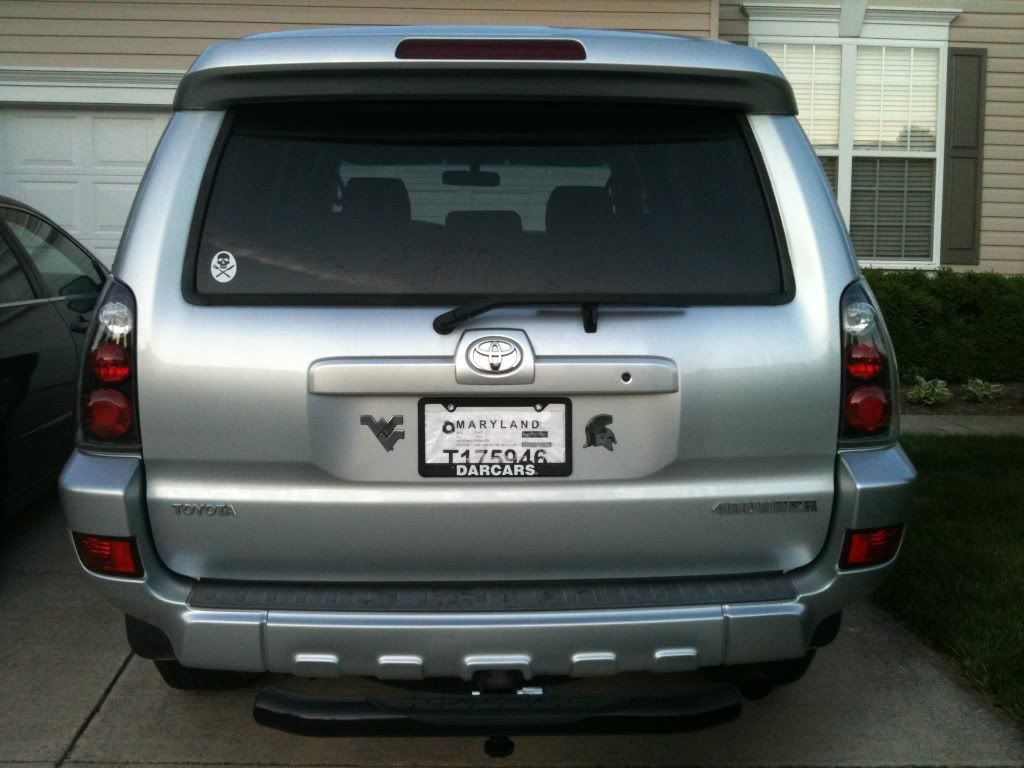
The next order of business was to install the new black-housed taillights that I ordered off of ebay. Really a great and easy pair of taillights to install. In this picture, you can also see the Go Rhino hitch step that I installed yesterday.
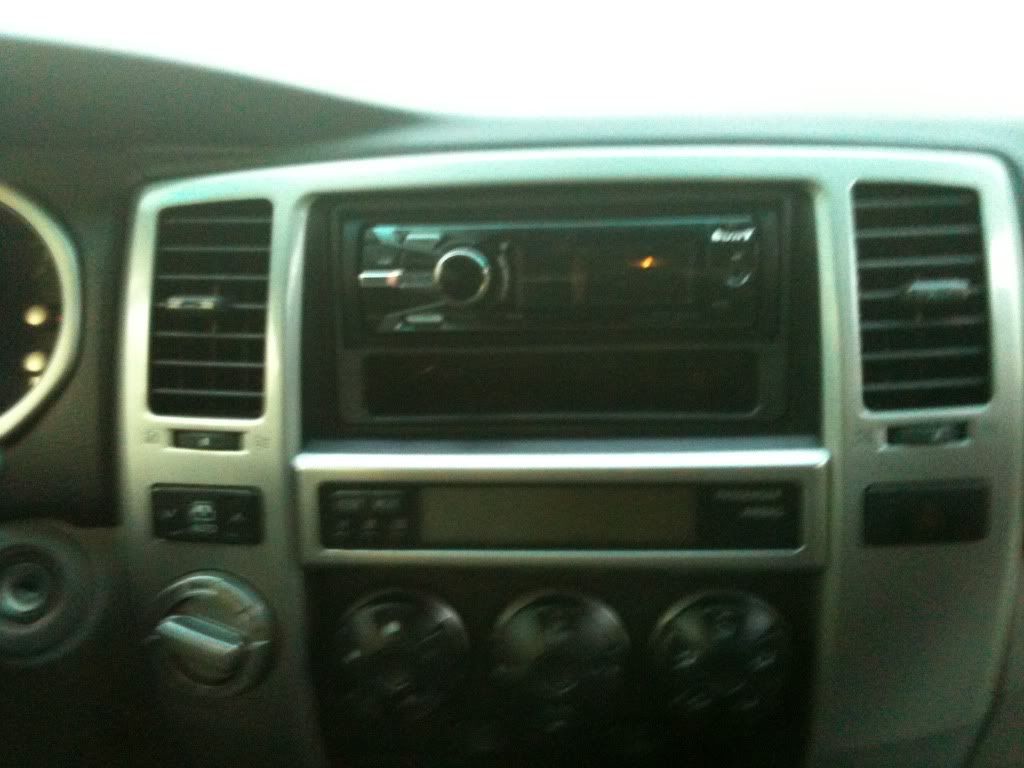
Well, after I installed the taillights on Wednesday, my head unit had also come so I went ahead and installed that. I had the non-JBL system, so it was really a no-brainer to install aftermarket stereo parts. It's just the standard mounting kit that came from Crutchfield, and it's housing a Sony DSX-S100 digital media receiver. This thing doesn't have a cd player, but it has an aux input on both the front and back, and a usb port inside the faceplate with a tuckaway spot for an ipod or flash drive. You can store your media player behind the faceplate and have full controls from the faceplate. This unit also has a surprising amount of flexibility when it comes to an audio setup (especially in the way of HPF and LPF, and sub volume control). It's got blue led lights that don't really match with the rest of the dash, but it's whatever. While I was installing the head unit, I also decided to take care of the 2 burnt out A/C control bulbs (and was able to score free replacements from the dealer).
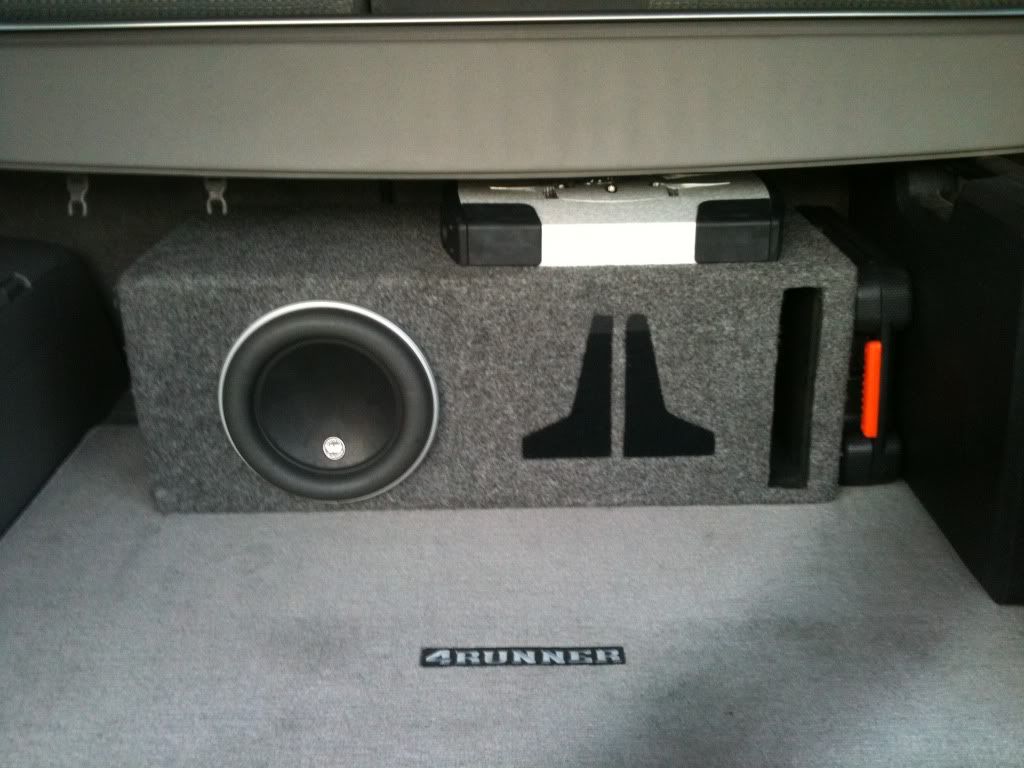
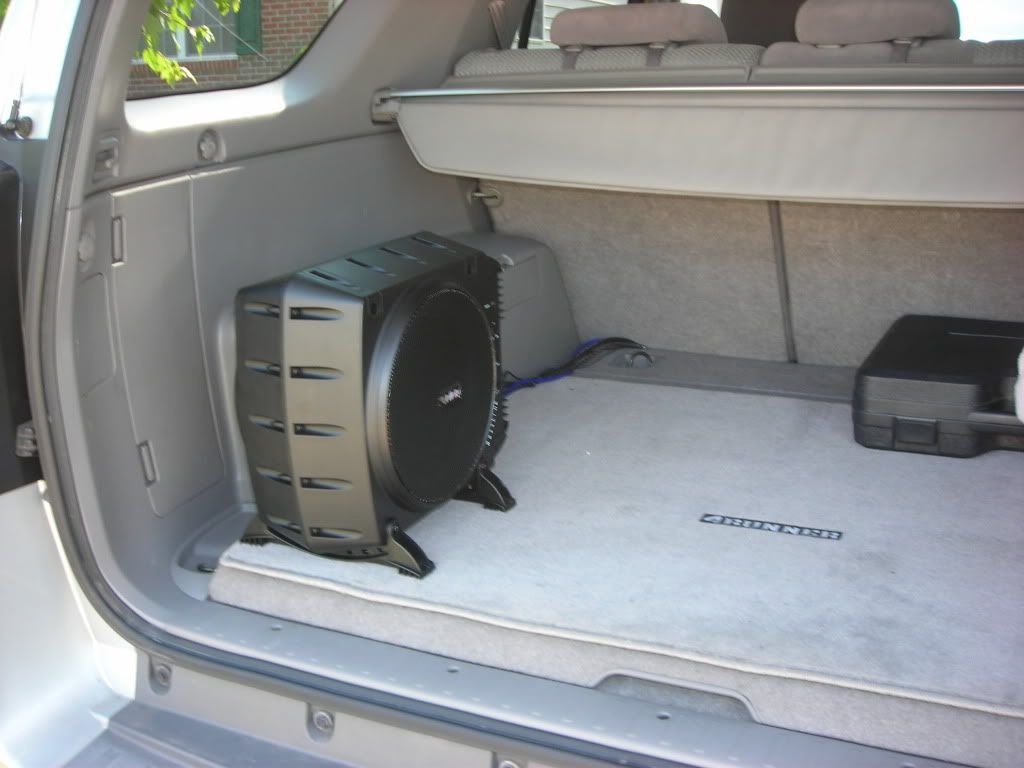
I had this 8w7 below installed for a few days, but sold it (transferred over from my old car, looking for something smaller). I'm looking to replace it with a smaller powered setup (like the Infinity Basslink or something of the sort) - for greater hide-ability for when I move up to East Lansing, MI this fall.
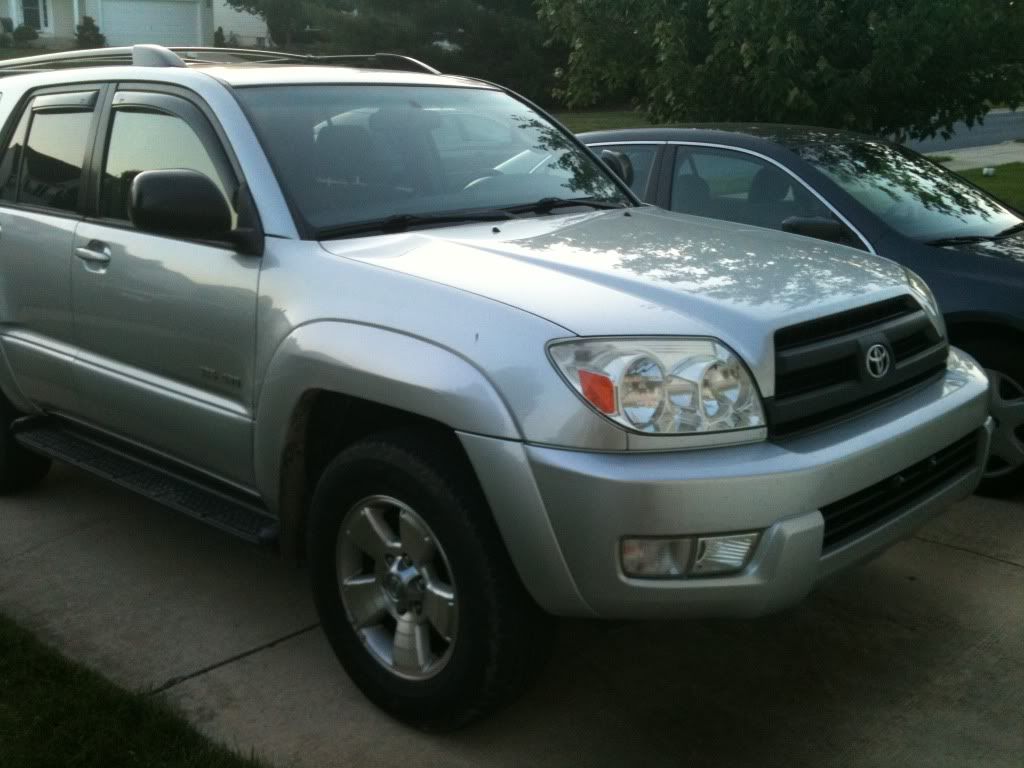
This morning, just a couple hours before my younger sister's high school graduation, I got antsy again and decided to paint my chrome grille black after looking at Trevloc's pics. It was super easy to do and I think it turned out awesome!
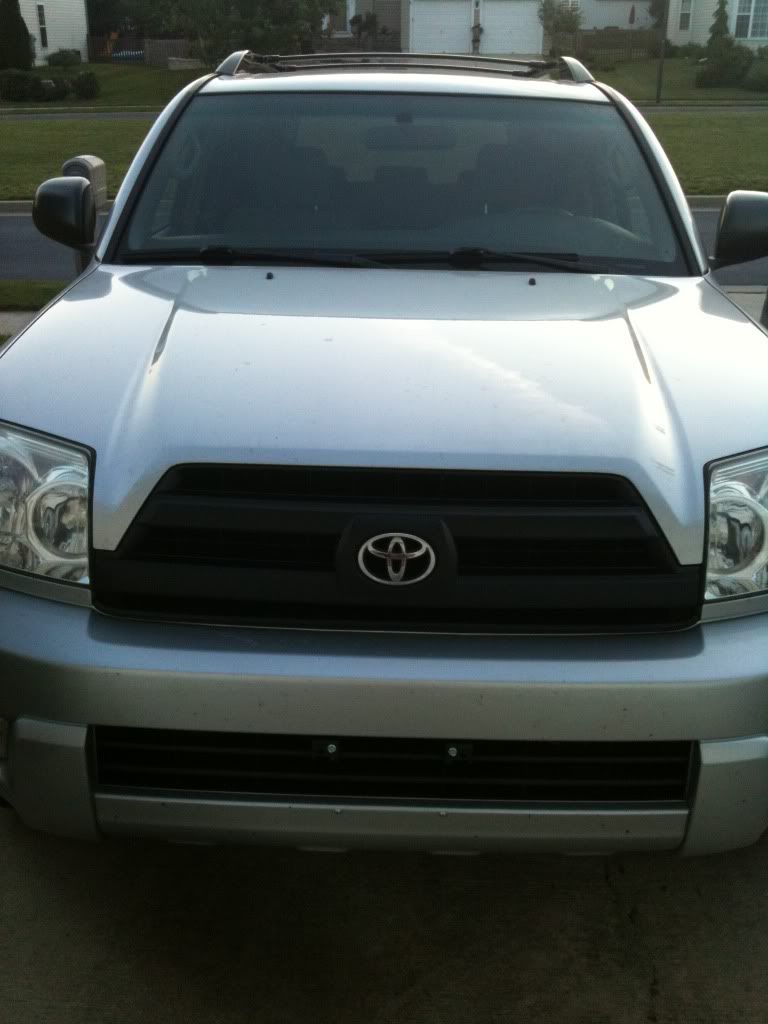
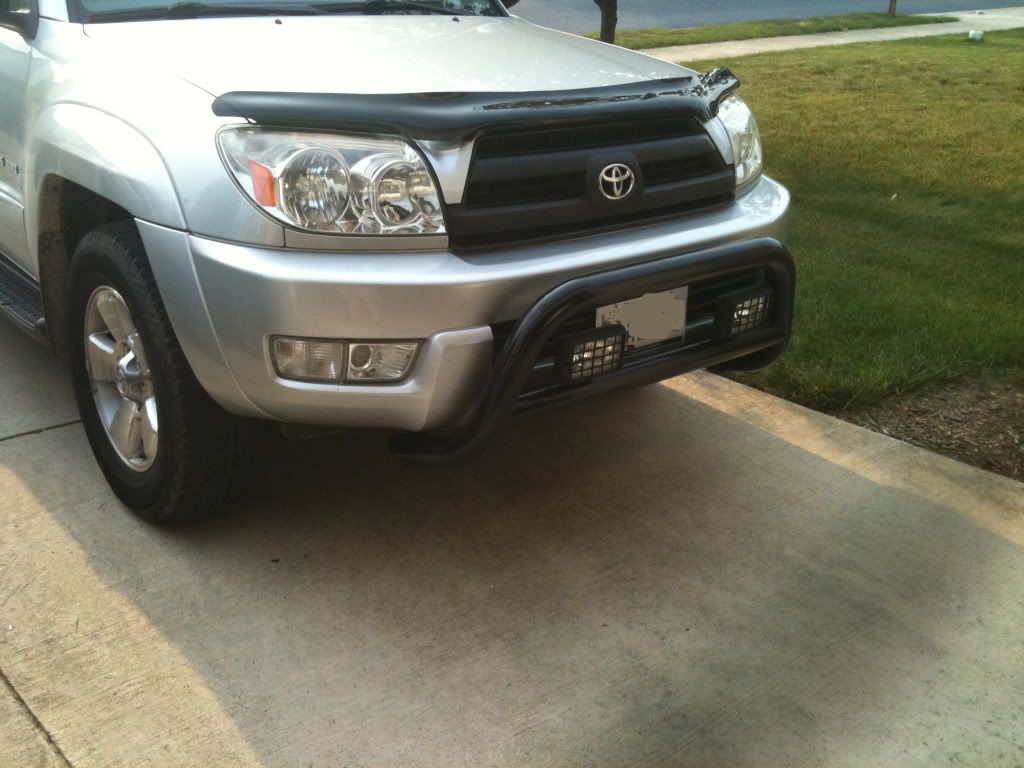
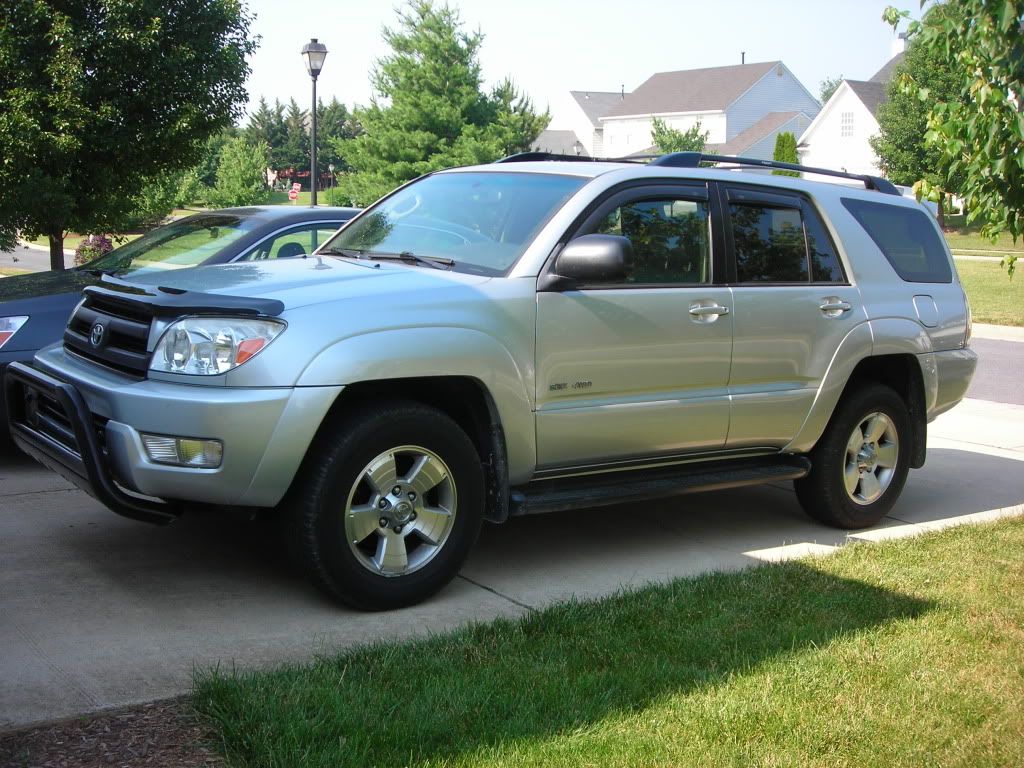
So that's all that I've done to the 4runner thus far, but I have a couple other things planned. I've got a Steelcraft black bull bar on the way, along with a bugflector for the hood. I'm also looking to put a decent pair of driving lights on my bull bar. I'm also contemplating painting my door handles black, plasti-dipping my lettered emblems, and painting the rear hatch button trim piece black. I want to black out my headlight housings as well (would like to buy or trade for a pair of these too). I'd also like to do an FJ spring/shock swap to get a little lift going, along with maybe some 1/4" spacers on the front.
Thanks for looking and feel free to share your rides with me, and any ideas you may have for me! I'm always open to suggestions, and am willing to offer up my judgment/advice on your ride if you'd like. Like I've said earlier, if you want to know more about anything I've done, feel free to ask! I can take more pics and do more detailed write-ups for you. I'll be posting more periodically with updates, write-ups, and pics.
Well with the encouragement of another member here (Trevloc), I've decided to start posting pictures of the 4runner I just got 2 weeks ago and the mods that I've done. I'll also use this thread to post future mods that I decide to do to this beast.
I got this 4runner a couple weeks ago, bone stock, and here's what I've done so far:
First thing was the addition of 12v outlets and a usb outlet. I got this adapter from Auto Zone and it was white, so I painted it black. It also came as a plug-in adapter. I cut off the plug and wired it into the same wires going into the original outlet beside of the shifter, to utilize the fuse already covering that outlet.
The next order of business was to install the new black-housed taillights that I ordered off of ebay. Really a great and easy pair of taillights to install. In this picture, you can also see the Go Rhino hitch step that I installed yesterday.
Well, after I installed the taillights on Wednesday, my head unit had also come so I went ahead and installed that. I had the non-JBL system, so it was really a no-brainer to install aftermarket stereo parts. It's just the standard mounting kit that came from Crutchfield, and it's housing a Sony DSX-S100 digital media receiver. This thing doesn't have a cd player, but it has an aux input on both the front and back, and a usb port inside the faceplate with a tuckaway spot for an ipod or flash drive. You can store your media player behind the faceplate and have full controls from the faceplate. This unit also has a surprising amount of flexibility when it comes to an audio setup (especially in the way of HPF and LPF, and sub volume control). It's got blue led lights that don't really match with the rest of the dash, but it's whatever. While I was installing the head unit, I also decided to take care of the 2 burnt out A/C control bulbs (and was able to score free replacements from the dealer).
I had this 8w7 below installed for a few days, but sold it (transferred over from my old car, looking for something smaller). I'm looking to replace it with a smaller powered setup (like the Infinity Basslink or something of the sort) - for greater hide-ability for when I move up to East Lansing, MI this fall.
This morning, just a couple hours before my younger sister's high school graduation, I got antsy again and decided to paint my chrome grille black after looking at Trevloc's pics. It was super easy to do and I think it turned out awesome!
So that's all that I've done to the 4runner thus far, but I have a couple other things planned. I've got a Steelcraft black bull bar on the way, along with a bugflector for the hood. I'm also looking to put a decent pair of driving lights on my bull bar. I'm also contemplating painting my door handles black, plasti-dipping my lettered emblems, and painting the rear hatch button trim piece black. I want to black out my headlight housings as well (would like to buy or trade for a pair of these too). I'd also like to do an FJ spring/shock swap to get a little lift going, along with maybe some 1/4" spacers on the front.
Thanks for looking and feel free to share your rides with me, and any ideas you may have for me! I'm always open to suggestions, and am willing to offer up my judgment/advice on your ride if you'd like. Like I've said earlier, if you want to know more about anything I've done, feel free to ask! I can take more pics and do more detailed write-ups for you. I'll be posting more periodically with updates, write-ups, and pics.
Last edited:


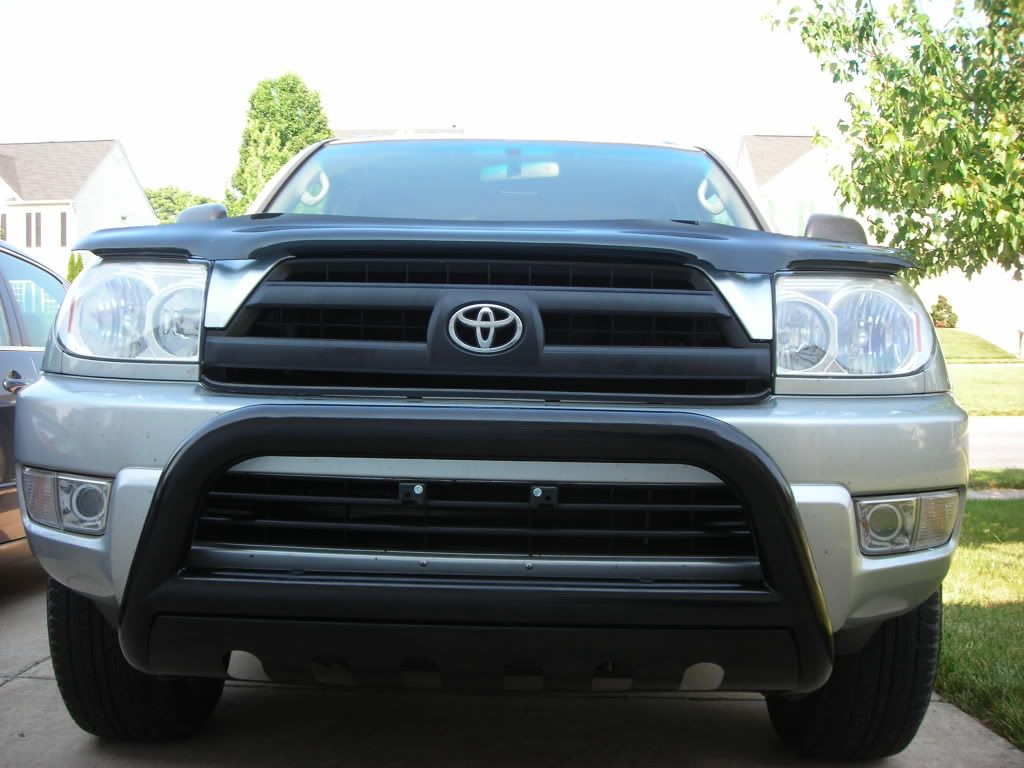
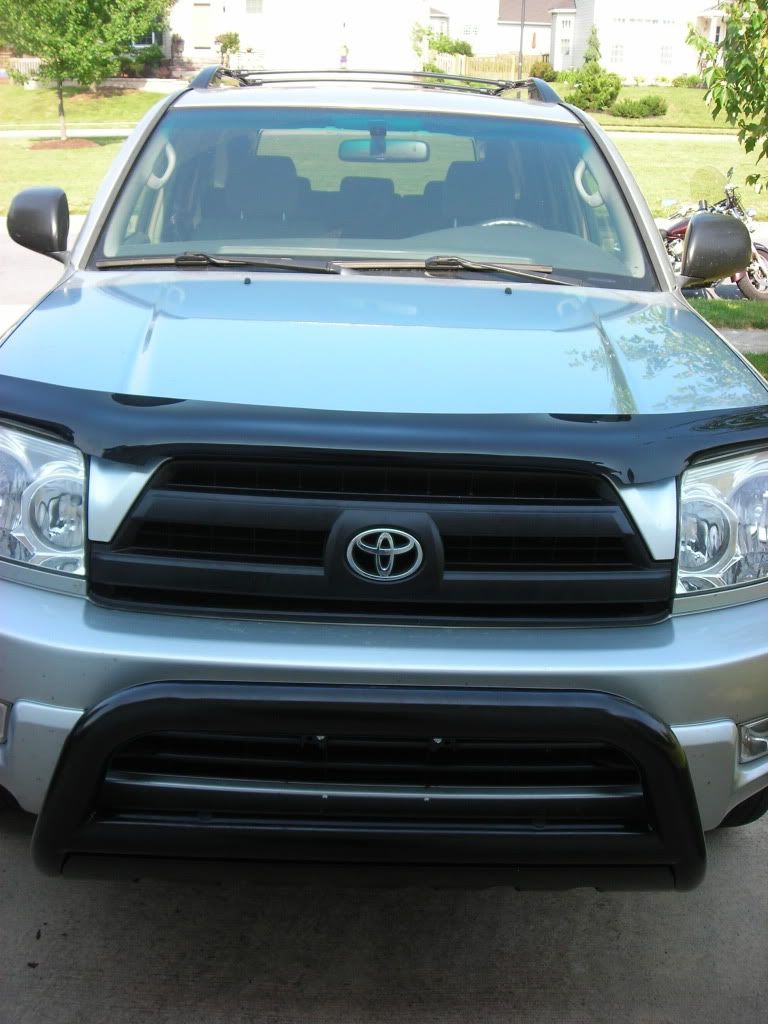
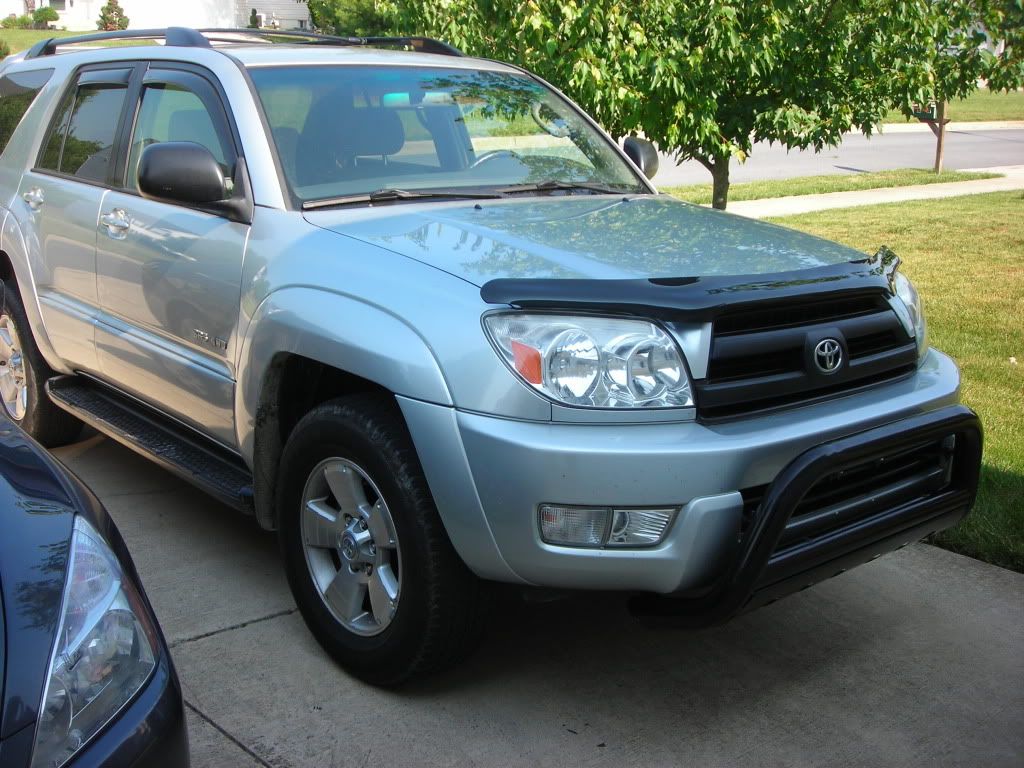

 It was sad to have to turn it down. I balked b/c I would be doing the install myself and don't wanna screw up anything this soon after getting the t4r. Also don't want to pay for an alignment right now. I may just wait until I need new tires (which will probably be this fall), and then do the susp, 265/70s, and an alignment all at once.