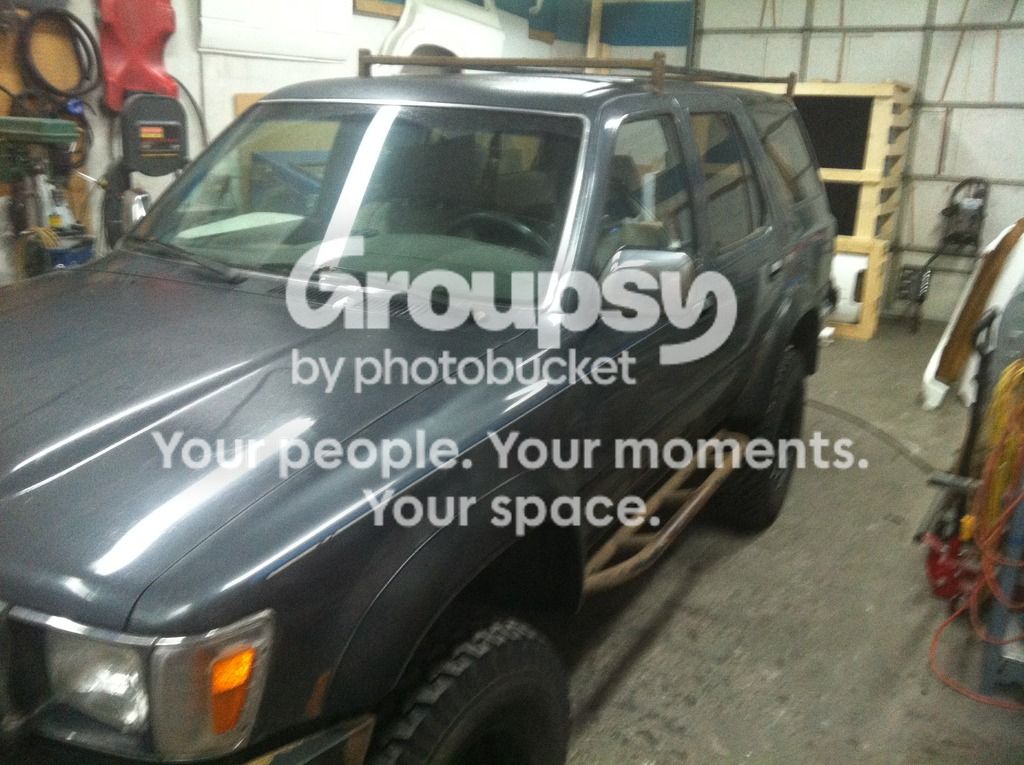
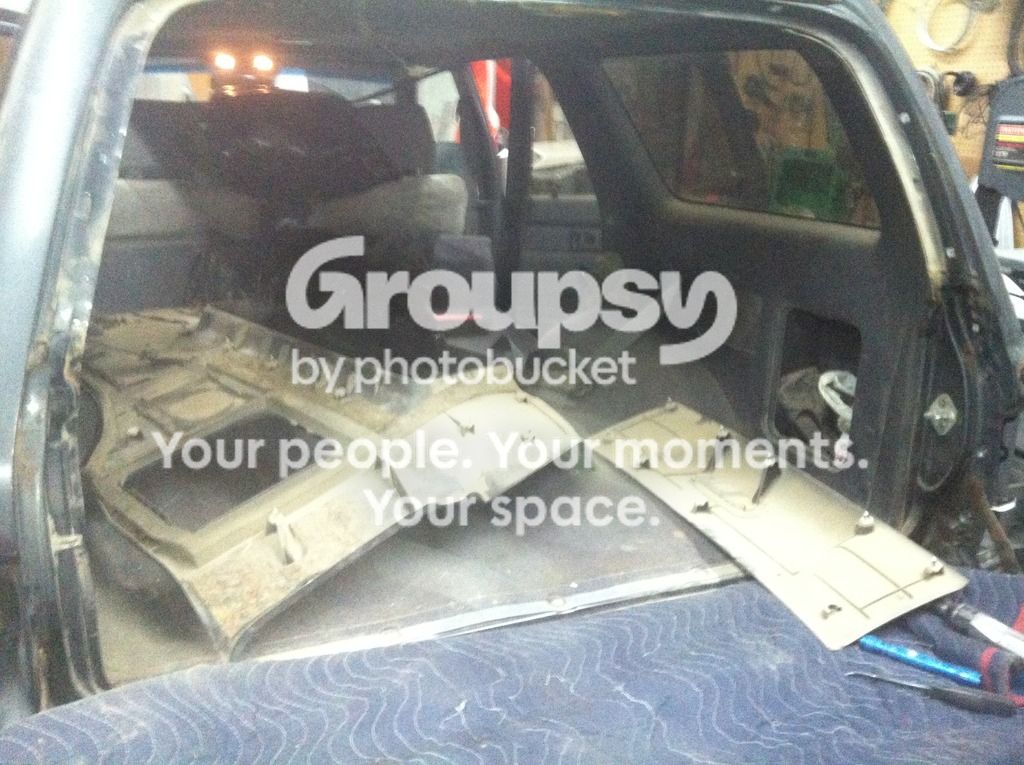
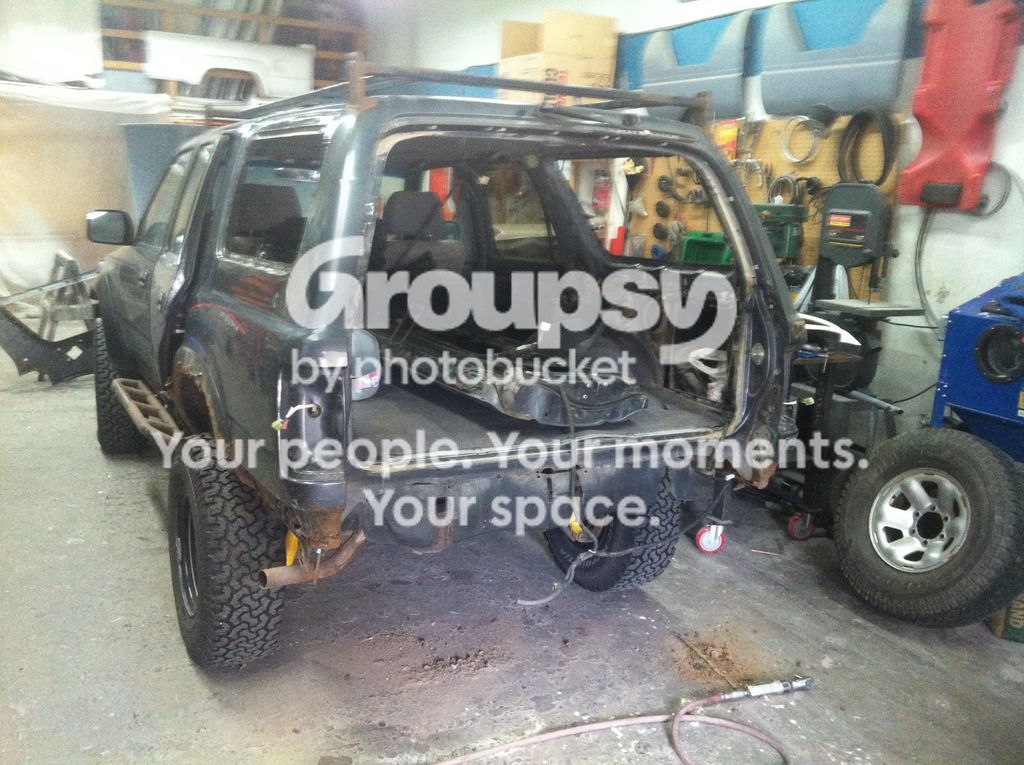
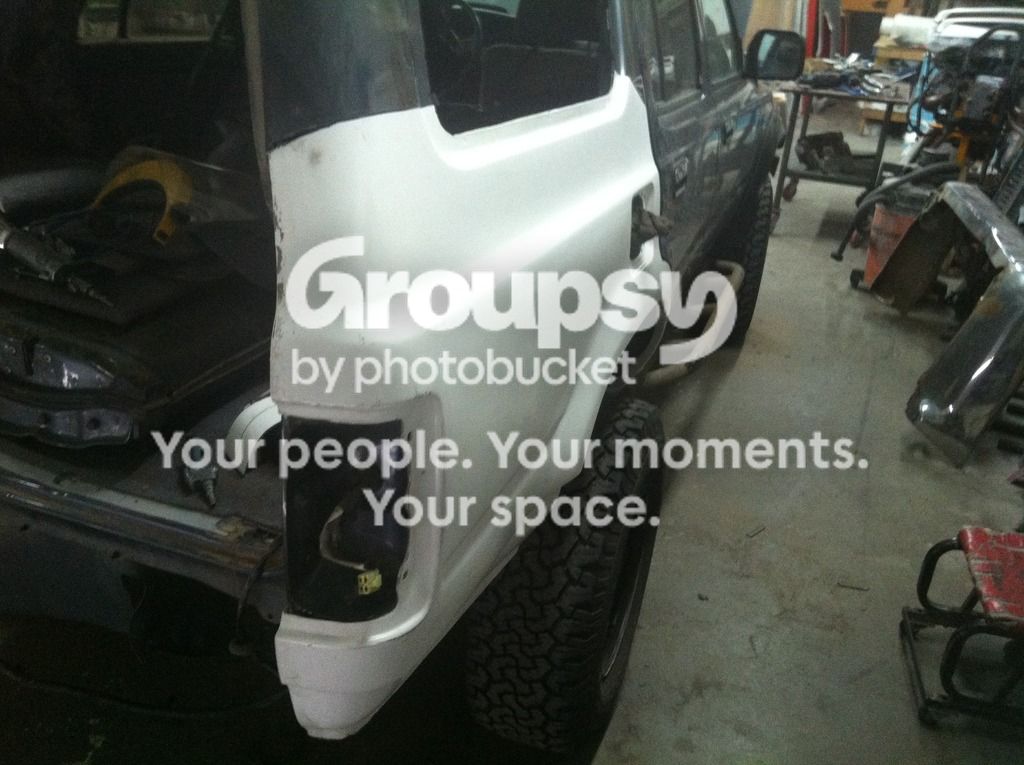
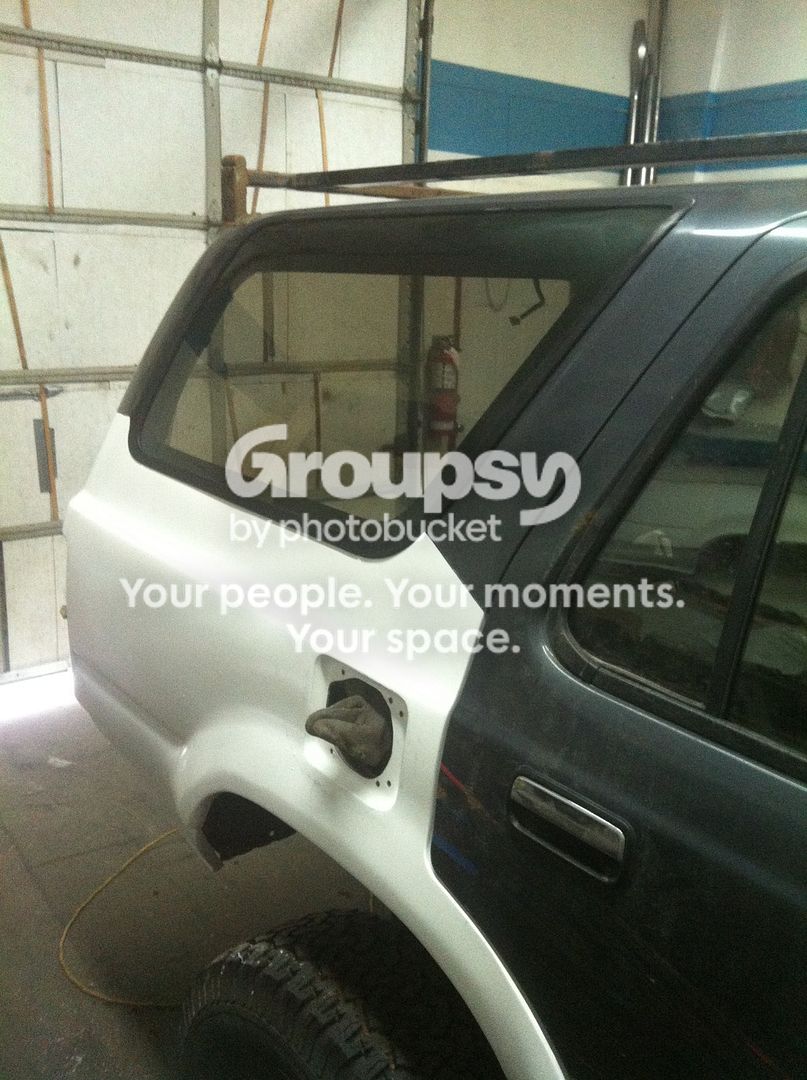
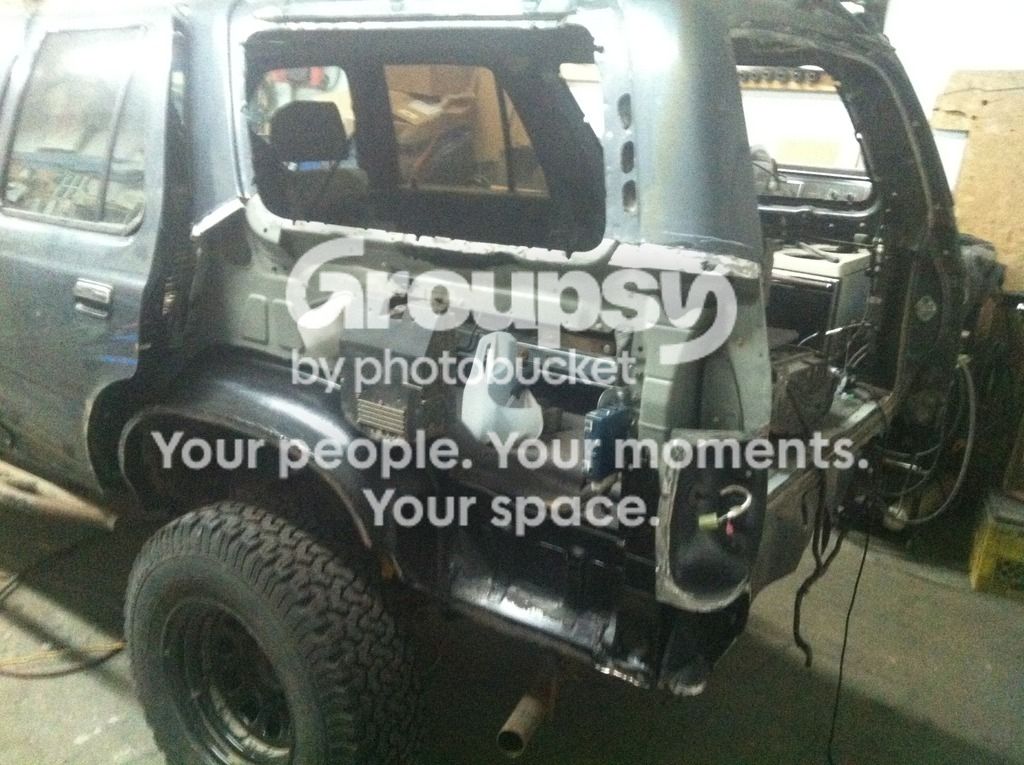
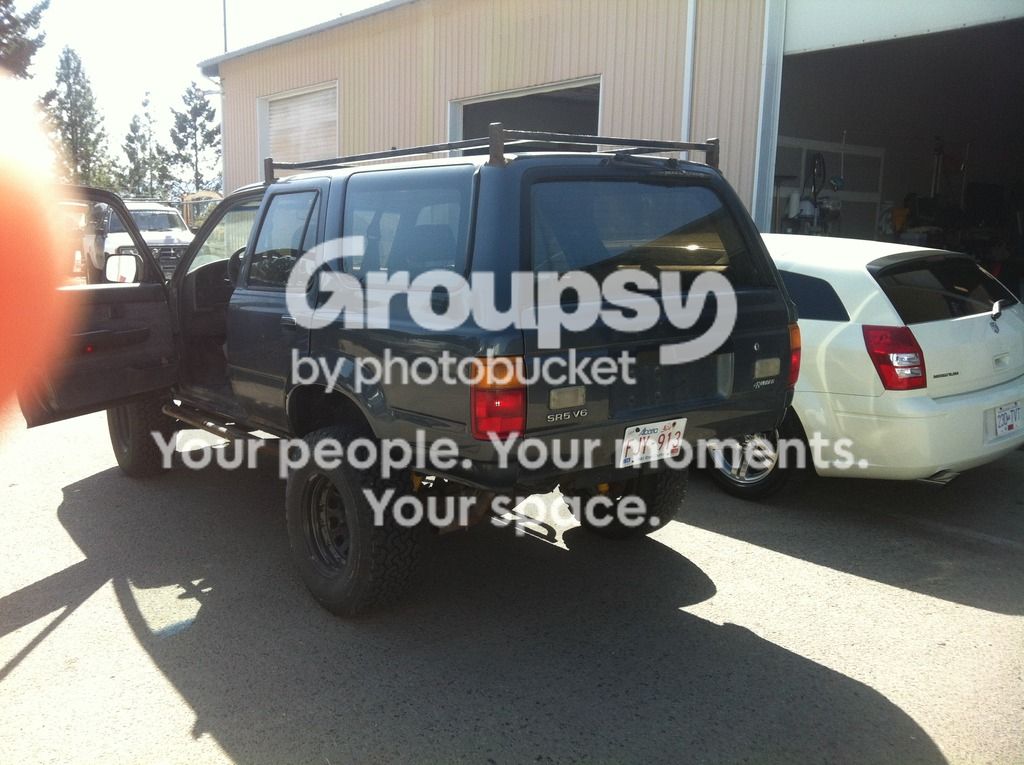
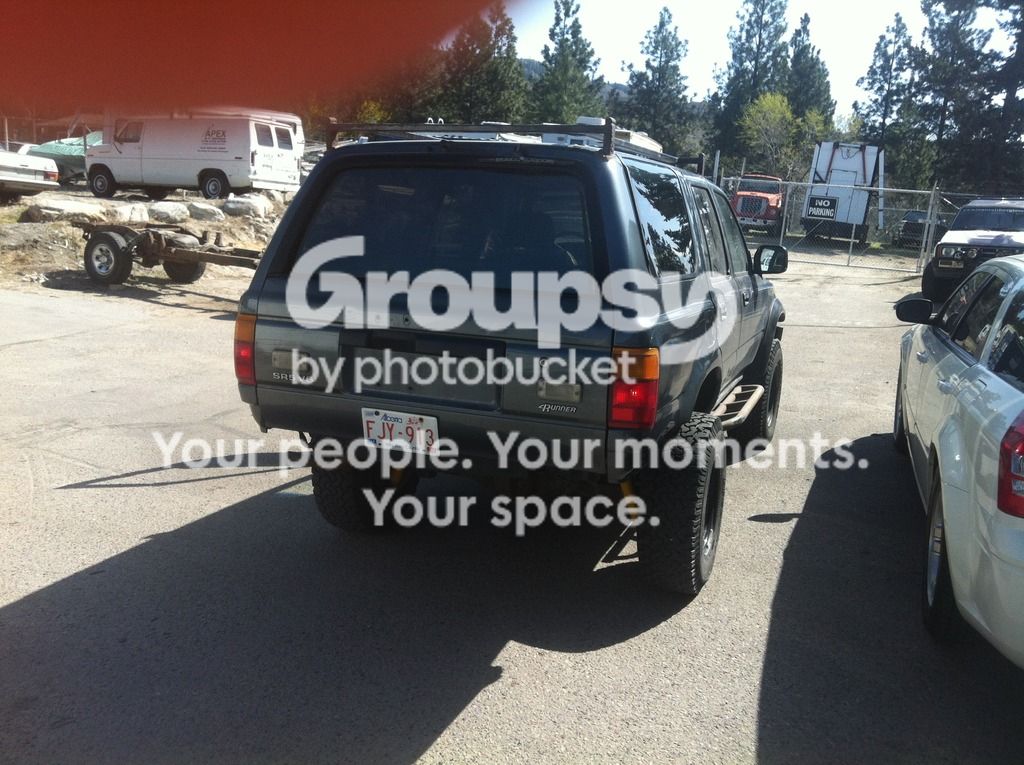
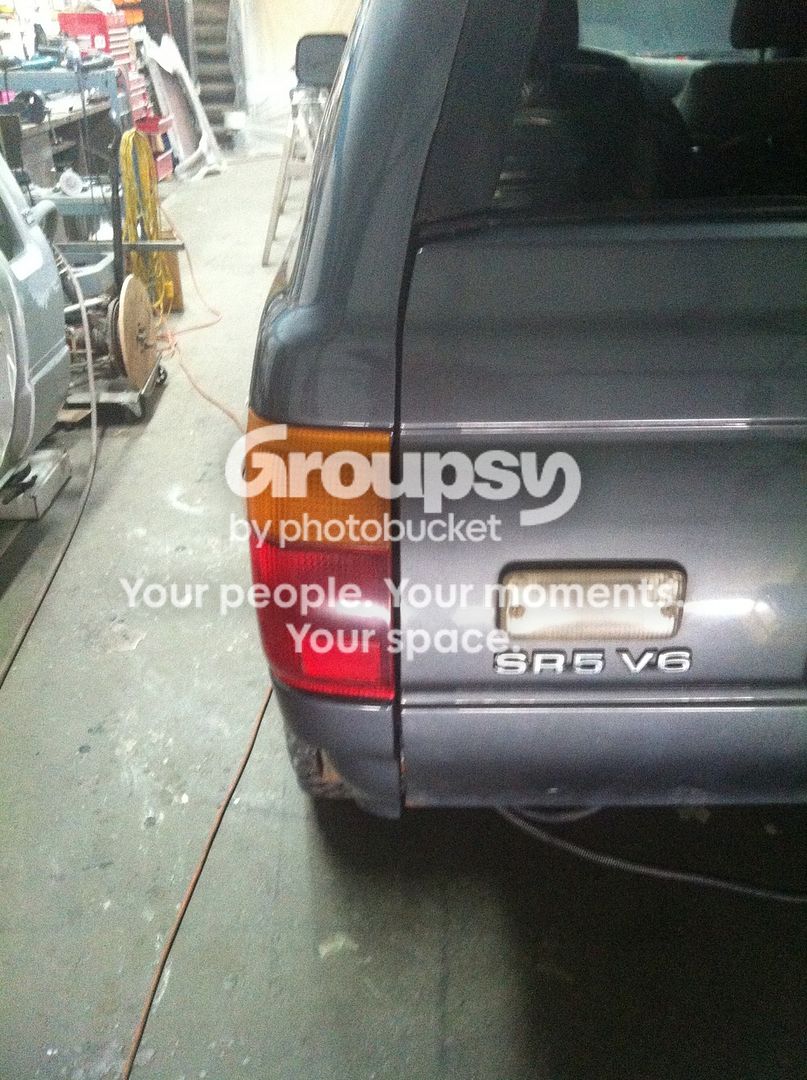
time for some test fitting
take your time .. this will take some time .. I'm about 3 hours total fitting and removing , a little trim here and there , off and on about 10 times , but you want to do this to fit them correctly
and now I'm happy with the fit ... time to fit the window
and happy with this ... I can now move on the the rust repair
ok so now we have a great fit .. time to fix the rust
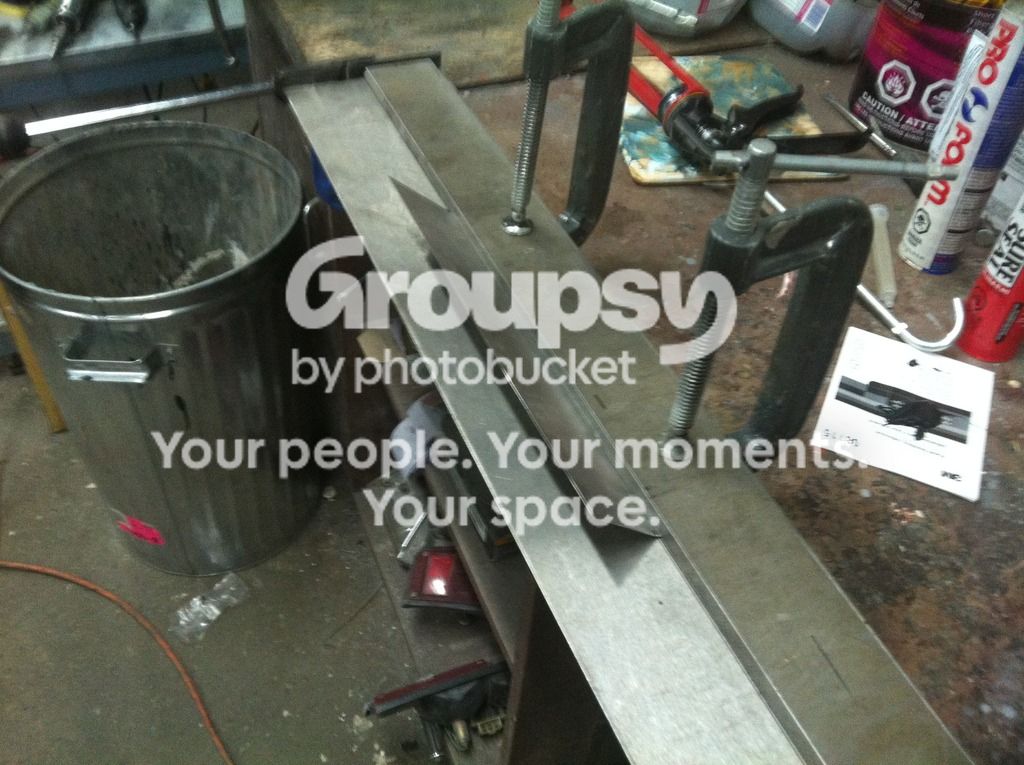
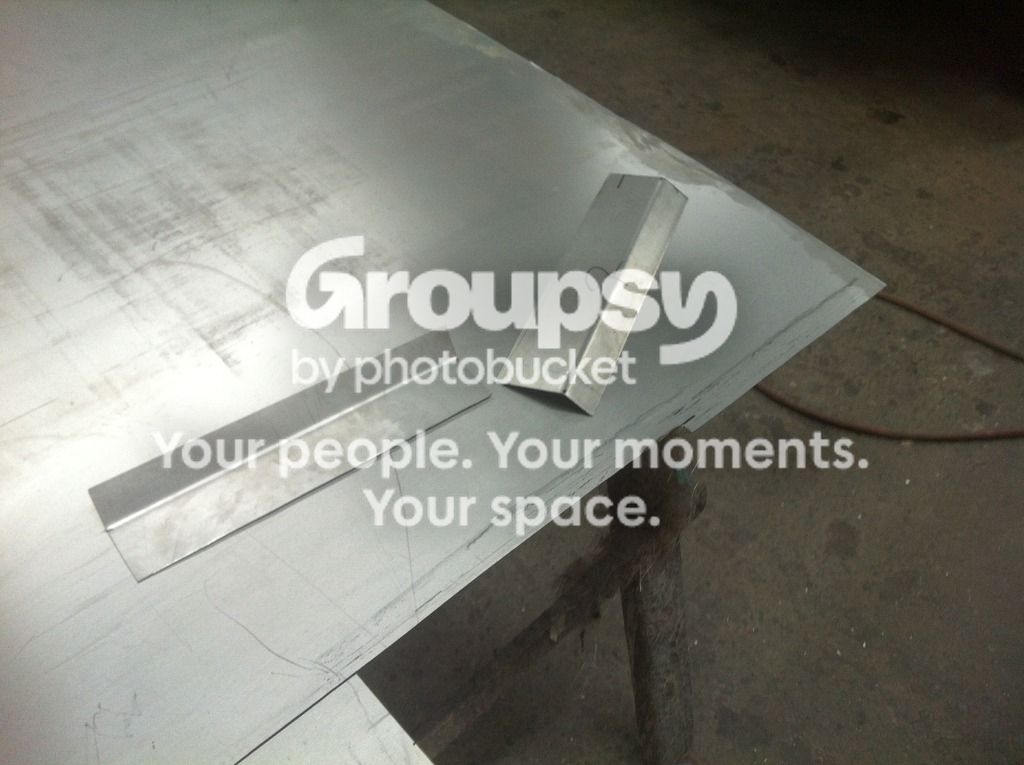
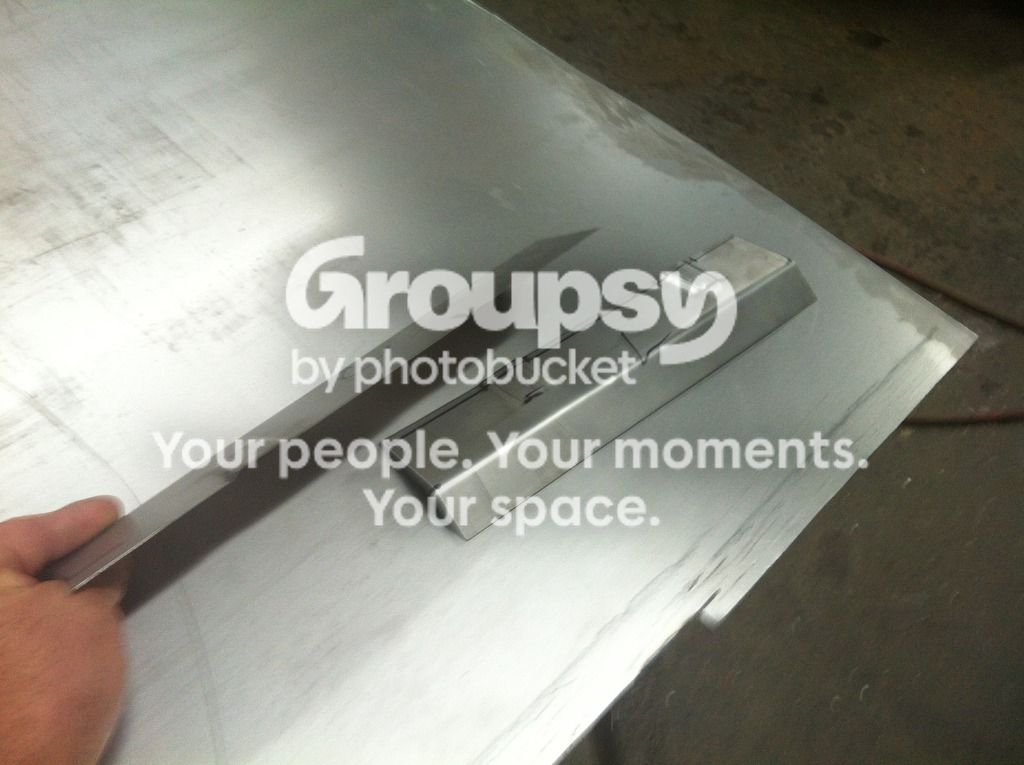
first I took a couple of measurements of the piece I would need to cut out . then got my sheet metal , drew the lines , and cut it out .. jig saw works great for these small pieces .
Then with the mini bender , you can put an edge on it .. a piece of 2X4 it counter edge will work as well
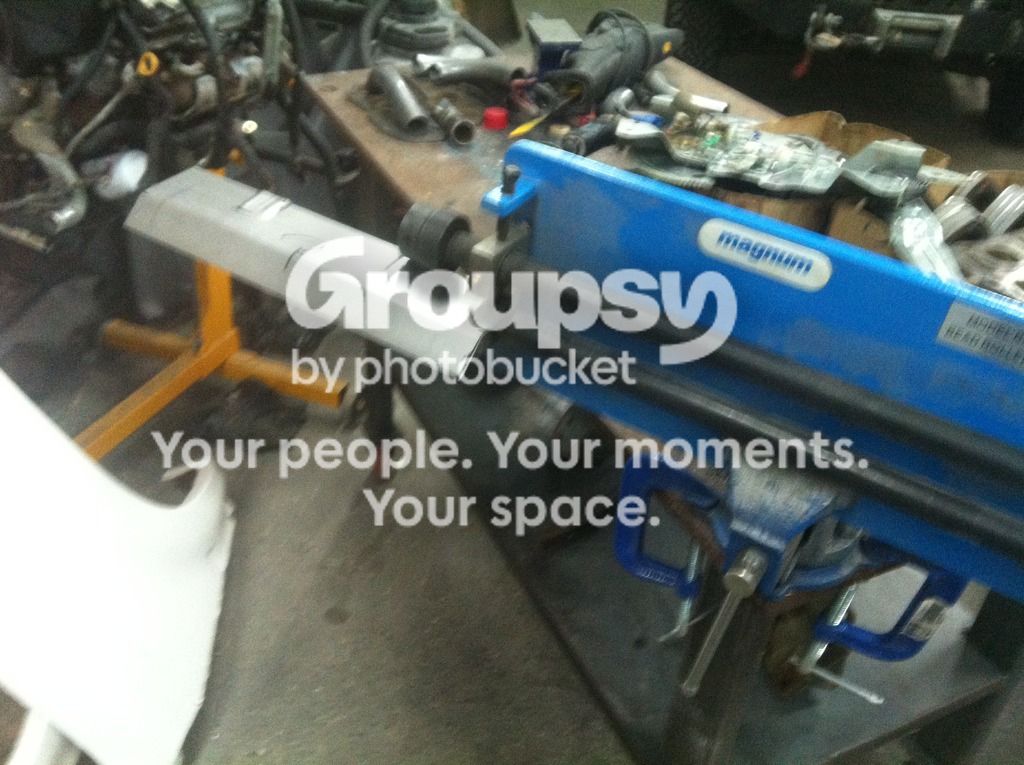
and although no one will ever see it , I used my bead roller to put the factory type "dimples" in the metal
and now , I can take these pieces , and use them as my template for cutting the rust out
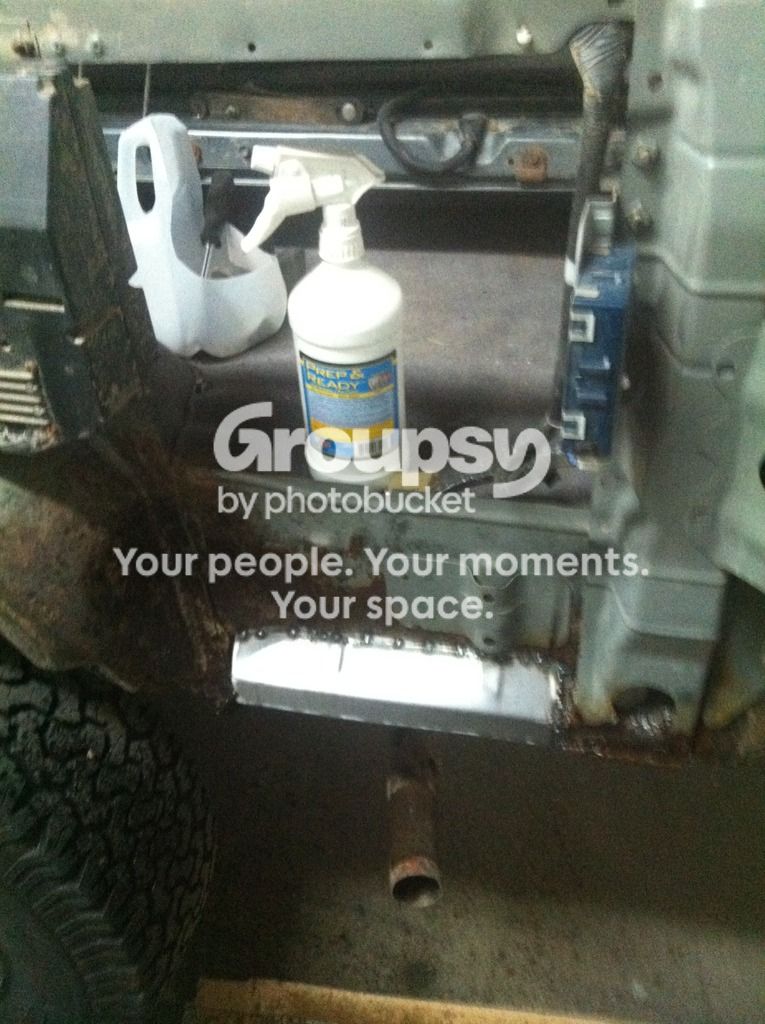
and now tacked in place I can now prep for the POR15 treatment
POR15 done .. to cure overnight
also .. got the "glue tabs " done to cure overnight as well
so with the long weekend over , and everything cured , time to make the sides permanent .
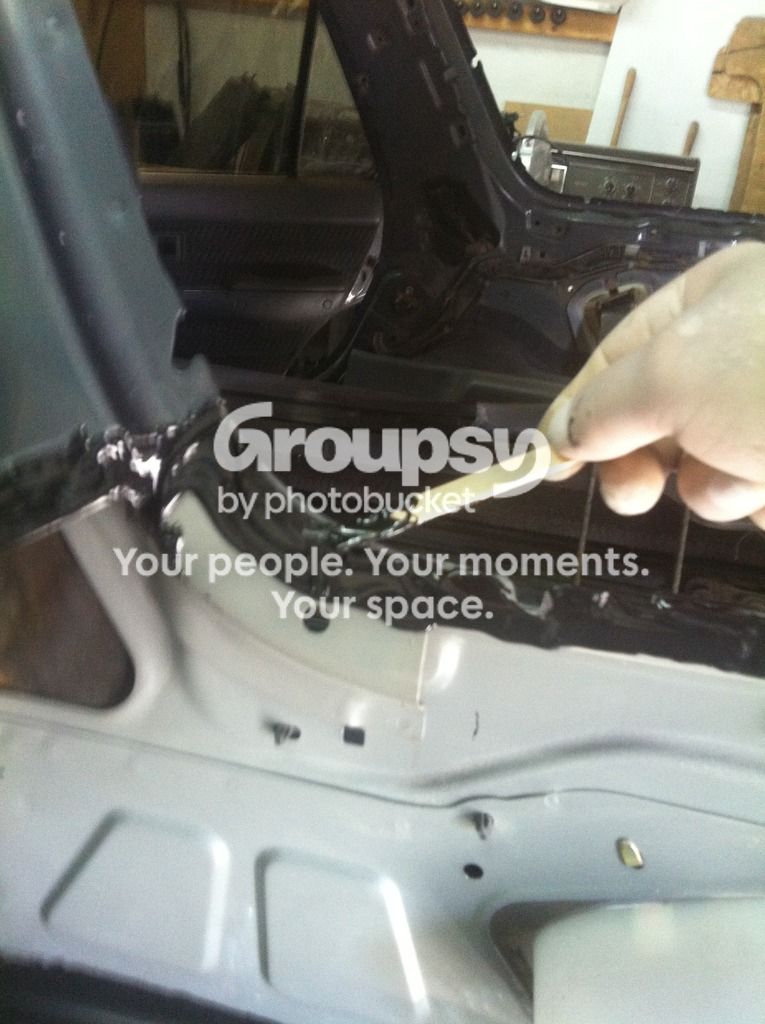
We use in our shop , and recommend 3M panel bonder #08115 . not cheep , but in my opinion , it is the best + it is the only product that offers a lifetime warrantee
be very liberal with it .. I use a popsicle stick to spread it out , and make sure I cover all bare metal
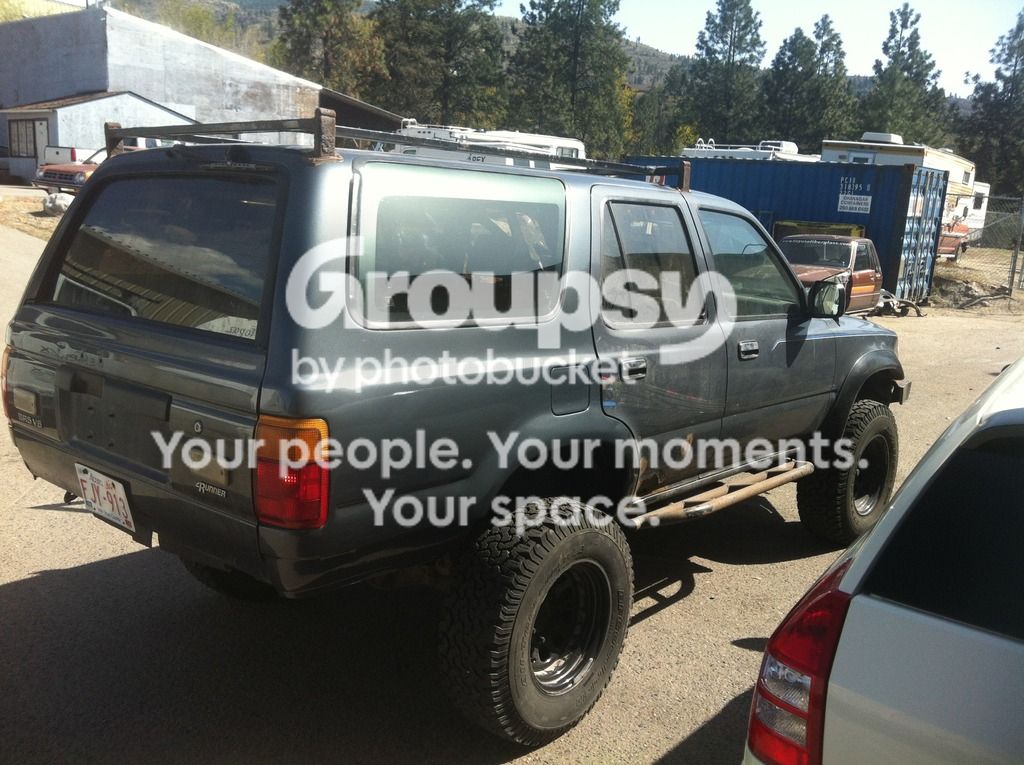
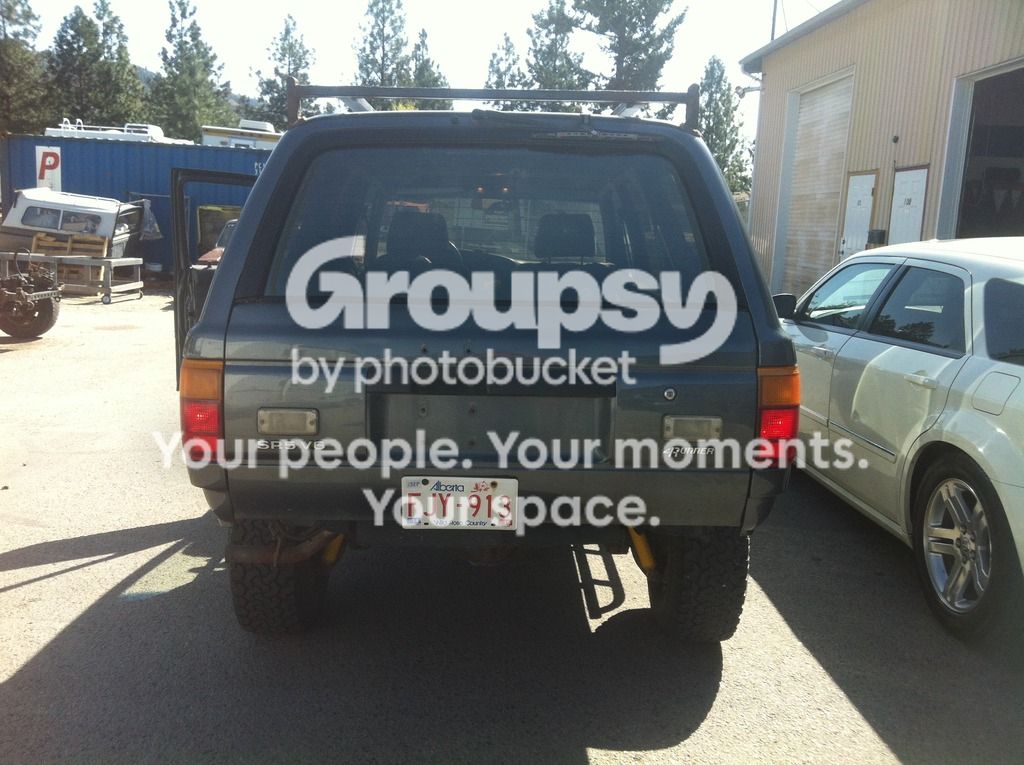
all done , Customer has picked up , paid , and even booked an appointment for next year , for more stuff .. maybe even a 3.4L engine swap ...
enjoy the pics
I don't ... and I have been asked this now a couple of times . It's really up to you !! , as I mentioned earlier in this post , FITTING takes some time . this is 1 perfect example . when YOU buy the panel from us , it is "raw" .. YOU need to fit it ..
so as for the rocker area , I take a barrel dremal tool and "thin" this area to mimic the thickness of the original metal , that way , I have a PERFECT fit
We're currently working on some youtube install vids , so it is coming ..
Just curious about how you handled the thickness difference between steel and fiberglass. I've done some extensive work way back when and like the idea of the rust proof option you offer.
Just curious about how you handled the thickness difference between steel and fiberglass. I've done some extensive work way back when and like the idea of the rust proof option you offer.
so as for the rocker area , I take a barrel dremal tool and "thin" this area to mimic the thickness of the original metal , that way , I have a PERFECT fit
We're currently working on some youtube install vids , so it is coming ..
.
The areas where it is important to have the same thickness to mimic the steel panel , the fiberglass is "thinned" ..
there are only a few places you need to do this though , but again as above , it does take time
Thanks
we have a customer in our shop now from CO ... he has chosen to go with every piece of fiberglass we offer for his first gen 4Runner + the hi clearance version at that ! .. so watch for my posts on that