TedStriker
New member
After owning a '99 SR5 and putting over 250K miles on it, the opportunity came up to buy a 2011 SR5 4x4 from my father in law. It was completely stock, and very well maintained. The only option on it that I was not particularly fond of were the 3rd row seats: as you all know, they are pretty useless for anyone over 3ft tall, and they eat up some cargo room in the trunk.
(Side note, there will soon be a set of 3rd row seats, complete with trim, all hardware, and seatbelts for sale in the San Diego Area).
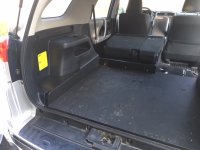
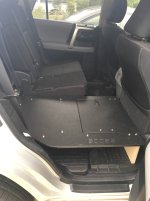
After looking at some options, I went with the 3rd row seat delete from Goose Gear: they make some great looking drawer systems, and although a little pricy, are high quality. I contemplated making my own (since some of you will look at it and say, 'it's just a piece of plywood') but I liked the modularity of the system, the heavy duty coating, and the mounting points that make it a flexible platform.
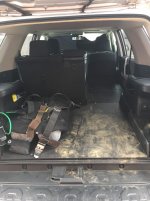
I mainly use the T4R for my DD and to haul dive gear around to different dive sites--I needed something that can stand up to dragging tanks in and out, and also that was more water tight as salt water does tend to drip when putting wet gear back in the cargo area.
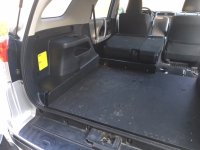
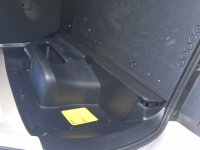
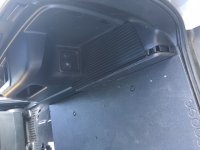
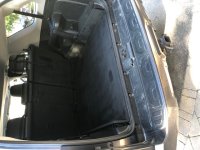
Pics are below, along with some 'modifications' I made to the original goose gear system.
1) Rear seats come out really easily. Very intuitive and self explanatory.
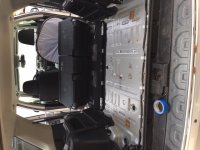
2) after the seats were out, I sprayed all the bare metal with truck bed liner. Not really required, but I wanted an extra layer of rust prevention since water may drip back there with all the dive gear.
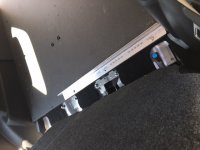
3) The goose gear plate mounts into the existing spots where the seat hardware went. I had to chase the threads, but that was about it.
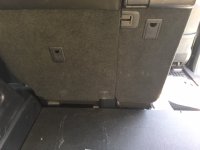
4) I removed the 40% side (passenger side) seat as well, as I will be adding a extension to that part of the platform. (not yet installed)
(Side note, there will soon be a set of 3rd row seats, complete with trim, all hardware, and seatbelts for sale in the San Diego Area).
After looking at some options, I went with the 3rd row seat delete from Goose Gear: they make some great looking drawer systems, and although a little pricy, are high quality. I contemplated making my own (since some of you will look at it and say, 'it's just a piece of plywood') but I liked the modularity of the system, the heavy duty coating, and the mounting points that make it a flexible platform.
I mainly use the T4R for my DD and to haul dive gear around to different dive sites--I needed something that can stand up to dragging tanks in and out, and also that was more water tight as salt water does tend to drip when putting wet gear back in the cargo area.
Pics are below, along with some 'modifications' I made to the original goose gear system.
1) Rear seats come out really easily. Very intuitive and self explanatory.
2) after the seats were out, I sprayed all the bare metal with truck bed liner. Not really required, but I wanted an extra layer of rust prevention since water may drip back there with all the dive gear.
3) The goose gear plate mounts into the existing spots where the seat hardware went. I had to chase the threads, but that was about it.
4) I removed the 40% side (passenger side) seat as well, as I will be adding a extension to that part of the platform. (not yet installed)