GYoter
New member
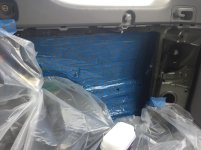
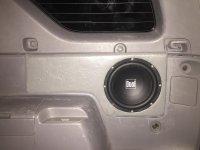
Here is my custom sub box build thread. I like the sleekness of the JL stealthbox but refuse to overpay for it, especially since I already have the sub and you can't just buy the enclosure.
I got the idea from someone on here that built a similar box but I never got the dimensions so I decided to just kind of wing it. I figure since I had 2 sheets of 3' x 4', 3/4" MDF left over from building my workbench in my new house I can't go wrong.
NONE of these are by any means precise dimensions, but its what I tried. I dont know how it will work out.
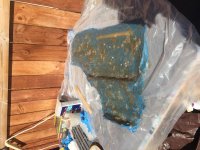
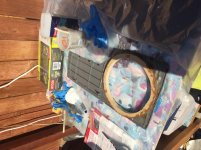
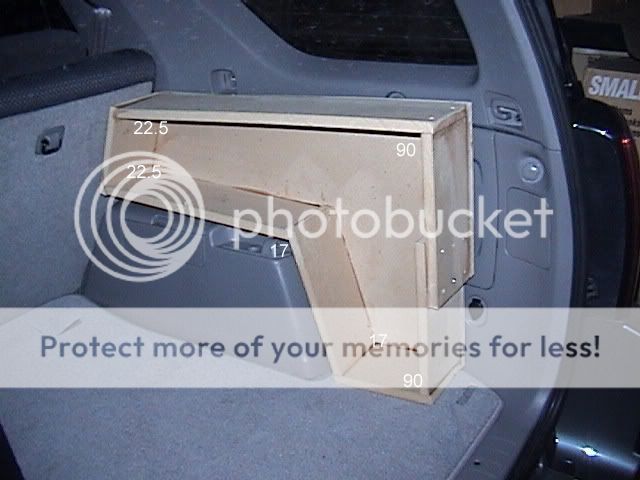
I decided the entire width would be about 7" wide. So I started by cutting a few strips to be 5 1/2" wide. See pic for lengths.

I just cut one piece after another and test fitted them. Some of the angles didnt end up being how I had intended, but I think it will work out ok.
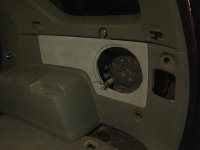
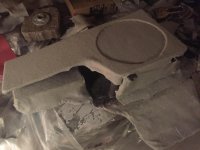
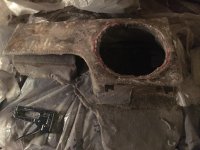
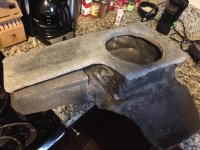
Here's a pic of the old box I am attempting to upgrade from, mostly to save useable space for other junk:

I honestly have no idea what the interior volume of the new (attempted) box will be. Hopefully it will sound good. This is as far as I got today, I will continue working on it tuesday and post what else I have finished.
Also, here is some pics of how I mounted my amp under the front passenger seat. I would say it took me 5-6 hours. I was in no rush and had the day off. Because of how the 4th gen runners have the rear foot vent I decided to mount the amp on some 2x2 wood to make room for air to flow underneath. Due to limited wood on hand I actually used one piece of 2x2 on one side and 2 pieces of 1x2 on the other side.

a closer look

I ran 4 gauge wire to the amp because I plan to add another amp for the aftermarket speakers I will add someday. Never hurts to plan ahead. Here's how I ran the power cable for now. I mounted the amp fuse to the top of the fuse box. Just seemed like an easy place to put it.

Heres where I ran it into the car.

Here's the inside of where it came into the car.

Here's (roughly) the route where I ran the power cable:

I ran the cable down the center console and out the other side under the carpet to under the passenger seat. It was a PITA to get all the wires(4ga power, 4ga ground, turn on lead, interconnect) under the plastic and carpet and wasnt in the mood to take pics of that tho.
Anyhow, I will post tomorrow about how the rest of the new box build goes.
I got the idea from someone on here that built a similar box but I never got the dimensions so I decided to just kind of wing it. I figure since I had 2 sheets of 3' x 4', 3/4" MDF left over from building my workbench in my new house I can't go wrong.
NONE of these are by any means precise dimensions, but its what I tried. I dont know how it will work out.
I decided the entire width would be about 7" wide. So I started by cutting a few strips to be 5 1/2" wide. See pic for lengths.
I just cut one piece after another and test fitted them. Some of the angles didnt end up being how I had intended, but I think it will work out ok.
Here's a pic of the old box I am attempting to upgrade from, mostly to save useable space for other junk:
I honestly have no idea what the interior volume of the new (attempted) box will be. Hopefully it will sound good. This is as far as I got today, I will continue working on it tuesday and post what else I have finished.
Also, here is some pics of how I mounted my amp under the front passenger seat. I would say it took me 5-6 hours. I was in no rush and had the day off. Because of how the 4th gen runners have the rear foot vent I decided to mount the amp on some 2x2 wood to make room for air to flow underneath. Due to limited wood on hand I actually used one piece of 2x2 on one side and 2 pieces of 1x2 on the other side.
a closer look
I ran 4 gauge wire to the amp because I plan to add another amp for the aftermarket speakers I will add someday. Never hurts to plan ahead. Here's how I ran the power cable for now. I mounted the amp fuse to the top of the fuse box. Just seemed like an easy place to put it.
Heres where I ran it into the car.
Here's the inside of where it came into the car.
Here's (roughly) the route where I ran the power cable:
I ran the cable down the center console and out the other side under the carpet to under the passenger seat. It was a PITA to get all the wires(4ga power, 4ga ground, turn on lead, interconnect) under the plastic and carpet and wasnt in the mood to take pics of that tho.
Anyhow, I will post tomorrow about how the rest of the new box build goes.
Last edited: