5th Gen T4R Picture Gallery

I think some of it has to do with using Tapatalk. I've gone and looked at mine and went whoops! When you upload straight from a phone, you have a bit less control. But then reversed, when you use Tapatalk to view the threads, everything fits until you click on it to enlarge.

oh well I guess. I don't use taptalk. I ignore the website request to use that on my phone but I 95% of the time I just a desktop to view the website.

but then again the php code for this website is a tad bit old so that might add fuel to the fire in regards to php code and taptalk not playing nice with each other.
 
New to T4Rs but not Toyota

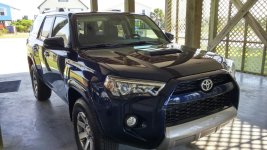
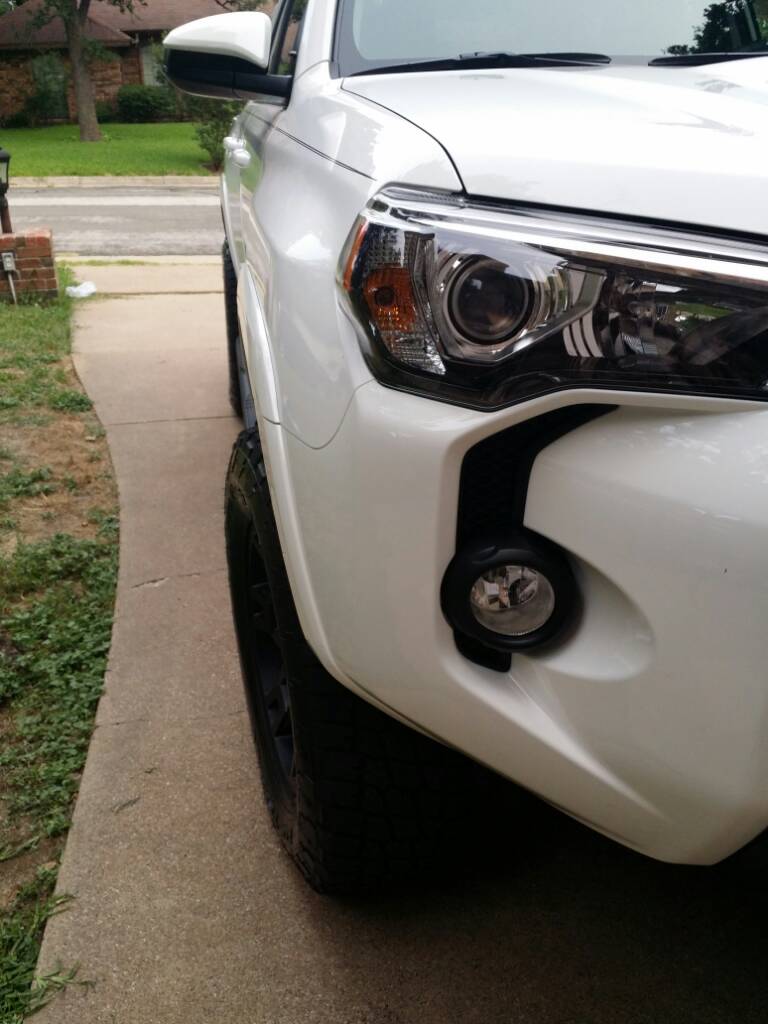
Got the new trail premium yesterday, keeping it stock for now but I'm sure there will be a few tweaks in the near future.

First Day 1.jpg
[/ATTACH]
 

Attachments

  • First Day 1.jpg
    First Day 1.jpg
    142.6 KB · Views: 4,270
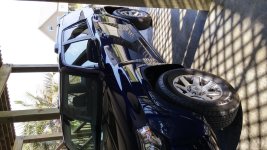
  • First day 2.jpg
    First day 2.jpg
    142.6 KB · Views: 4,112
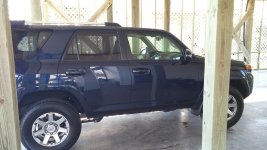
  • first day 3.jpg
    first day 3.jpg
    137.6 KB · Views: 4,261
My new 4R!

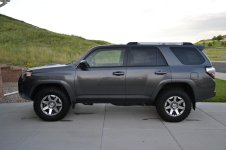
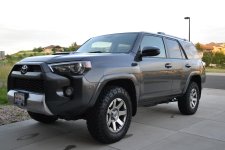
Just picked up my new 4runner, a 2014 Trail edition Magnetic grey.
I sold my 3rd gen last year and bought a 14 Grand Cherokee and regretted it ever since. Time to get back in the 4Runner game!

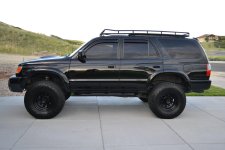
My 3rd gen

DSC_0092.jpg

My new baby

DSC_0284.jpg

DSC_0285.jpg

Immediate plans are TRD wheels, Gobi rack and TRD Pro grill.
 

Attachments

  • DSC_0092.jpg
    DSC_0092.jpg
    128.5 KB · Views: 4,607
  • DSC_0284.jpg
    DSC_0284.jpg
    127.4 KB · Views: 3,813
  • DSC_0285.jpg
    DSC_0285.jpg
    128.2 KB · Views: 6,032
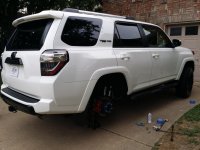
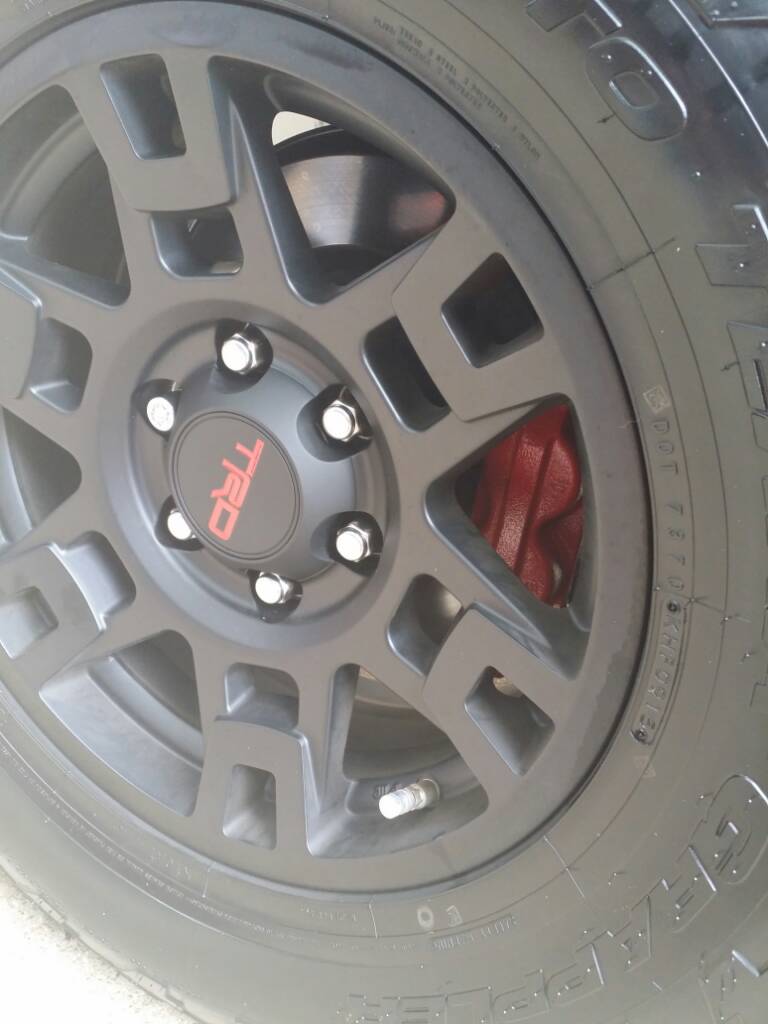
Painted red calipers, added Spidertrax Spacers, and blacked out the emblems. Busy day! uploadfromtaptalk1435974763002.jpg
a94f2c3c37491a0ae4523b6a7ac7db3b.jpg
370d6448e896f023f6b7e11b2c4ccf8f.jpg
 

Attachments

  • uploadfromtaptalk1435974763002.jpg
    uploadfromtaptalk1435974763002.jpg
    132.1 KB · Views: 4,006
11403137_10153500217867853_2397179193336683002_n.jpg


XPEL Ultimate clear bra installed on the whole front end! Bumper, headlights, fog lights, hood scoop, fenders, fender flairs & side mirrors. It looks amazing great work by clear-pro.com!

He was even nice enough to do the part behind the door handles for free!
 
Last edited:
11403137_10153500217867853_2397179193336683002_n.jpg


XPEL Ultimate clear bra installed on the whole front end! Bumper, headlights, fog lights, hood scoop, fenders, fender flairs & side mirrors. It looks amazing great work by clear-pro.com!

He was even nice enough to do the part behind the door handles for free!
That's a great idea. I've been looking at doing it myself. Did you go to California location (Nm, just realized you're in SoCal)? If you don't mind sharing, what was the price range? No prices on their website.
Thank you -
 
Last edited:
our runner having fun at the obstacle course @ Hollister Hills SVRA 7.2.2015
 

Attachments

  • image.jpg
    image.jpg
    140.6 KB · Views: 2,990
Last edited:
That's a great idea. I've been looking at doing it myself. Did you go to California location (Nm, just realized you're in SoCal)? If you don't mind sharing, what was the price range? No prices on their website.
Thank you -

Given the amount of labor and the fact that he's mobile the pricing wasn't bad. All up it was $1700. I wanted to get this done before our big road trip anyways to prevent even more rock chips (i found a few already and wishing I did this sooner!)
 
Given the amount of labor and the fact that he's mobile the pricing wasn't bad. All up it was $1700. I wanted to get this done before our big road trip anyways to prevent even more rock chips (i found a few already and wishing I did this sooner!)
I've had my 4R 1.5 weeks and have already found a chip. Doh!

The price isn't too bad considering the future prevention. Especially trail cruising. Thanks for sharing. I will definitely be looking into this.
 
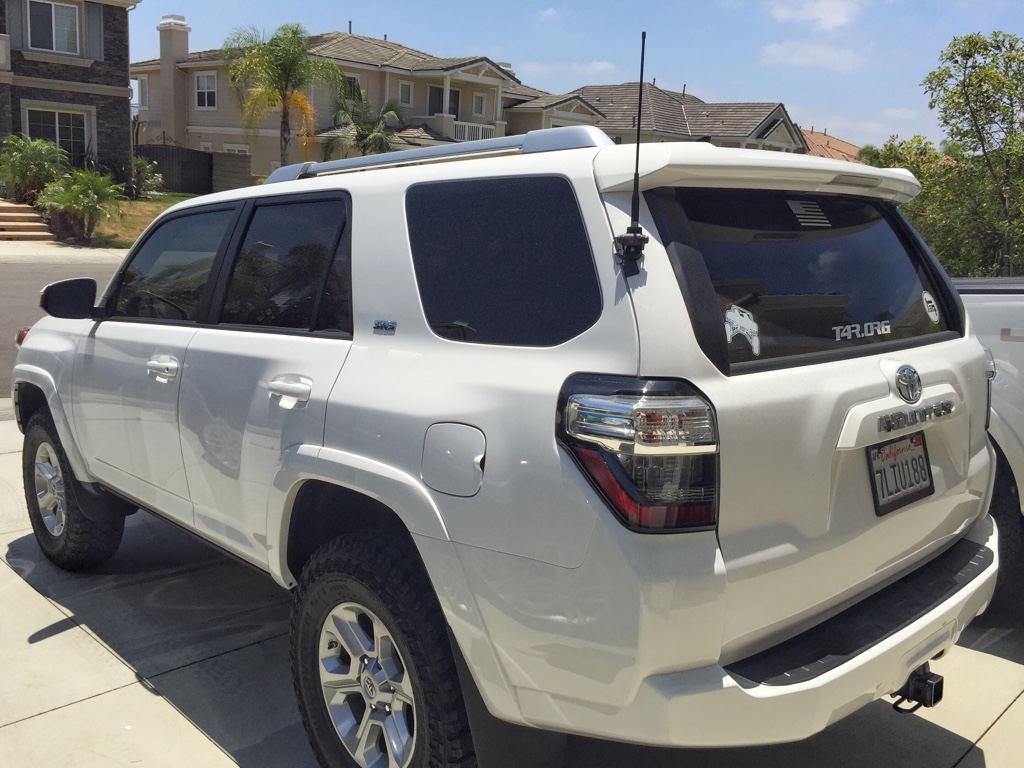
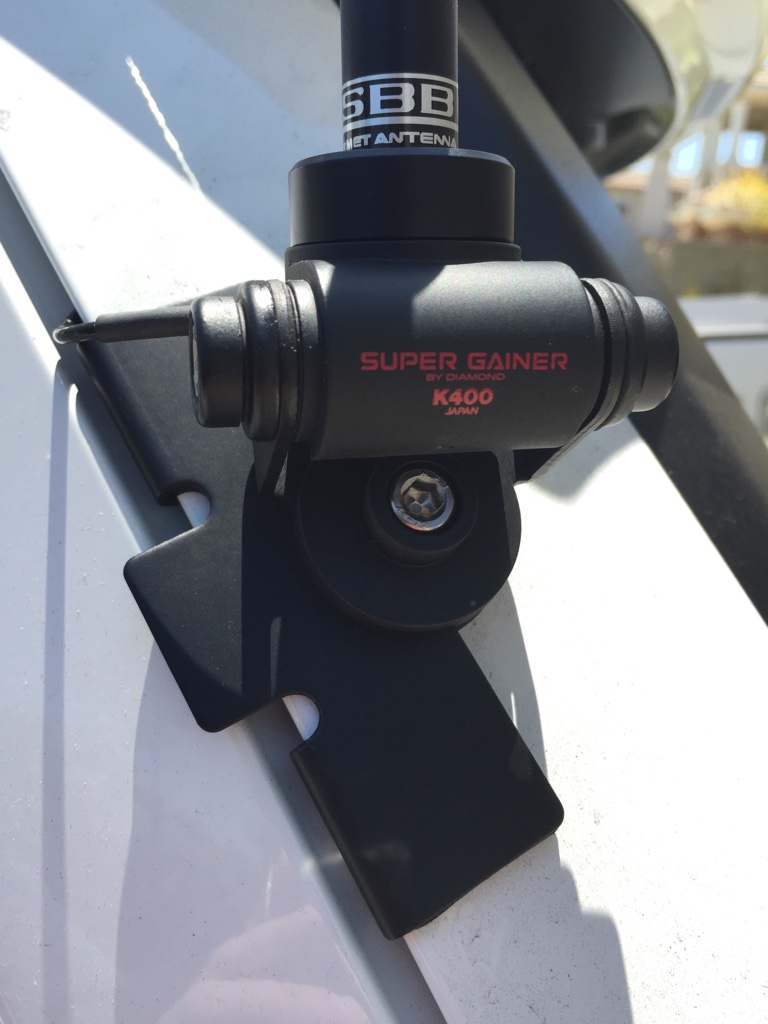
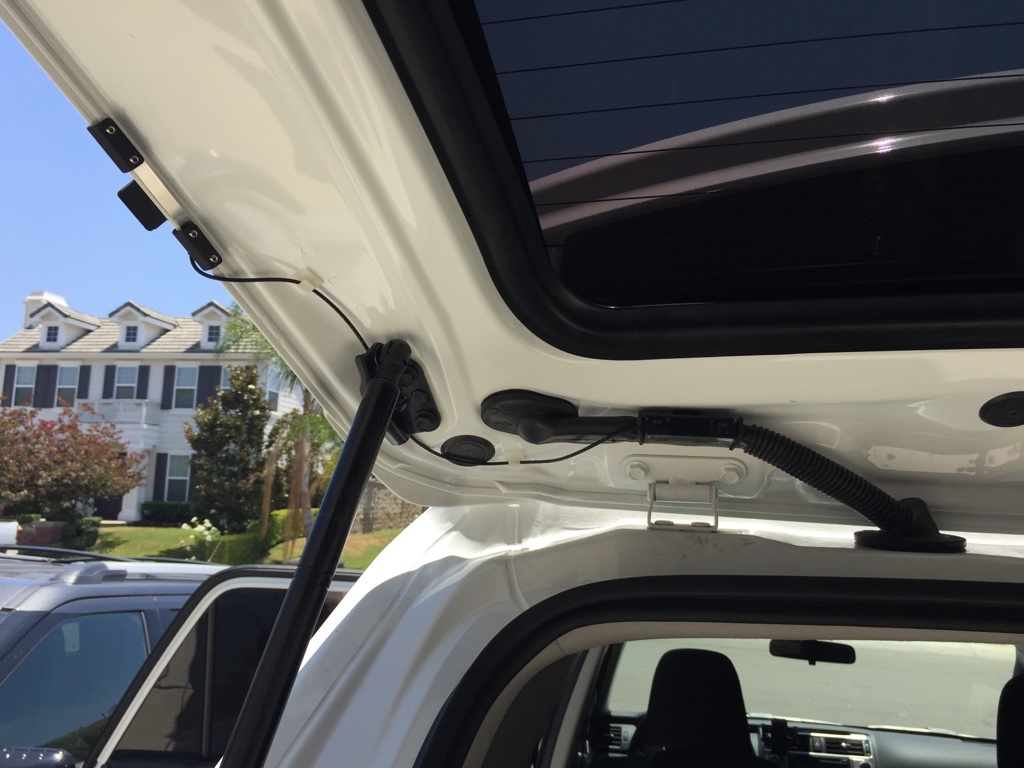
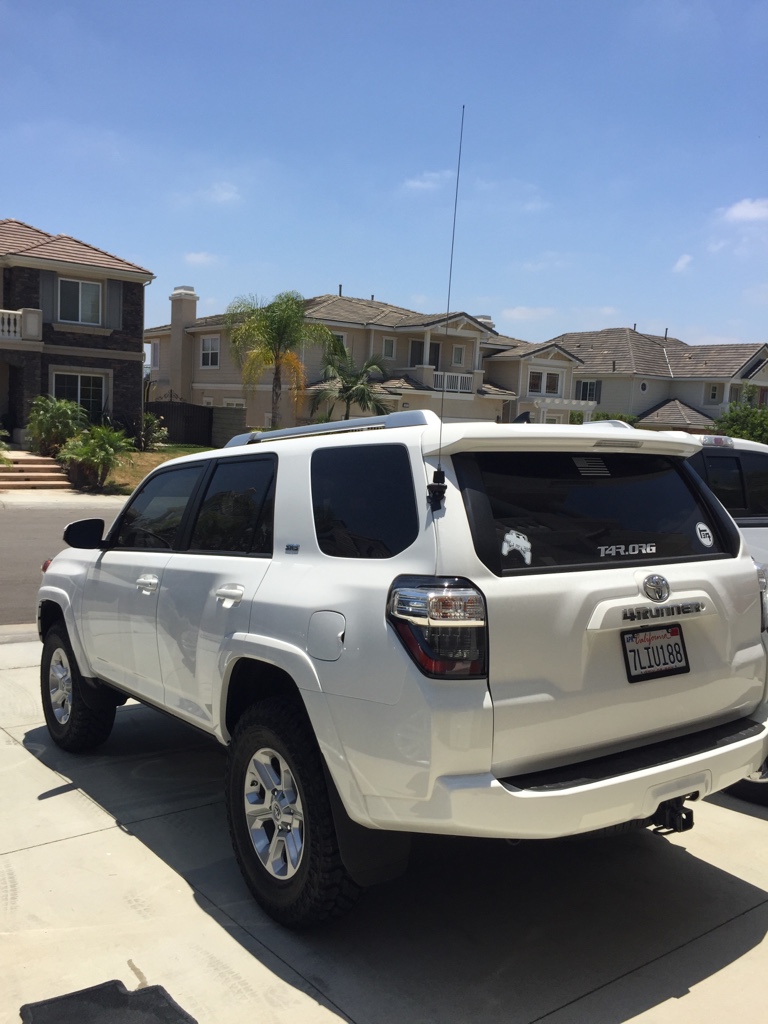
Finally went and installed my antenna mount and fished the wire through the body panels to get to the center console. Still haven't tested it out because I need to run wires to the battery and hope that my old ICOM radio still works haha. I've been asked before, so I'll post that this is for a HAM set up.

Black Diamond K400CNMO Mount with Comet SBB1 flexible antenna for every day driving. Then I have my old long antenna for when I go to the trails.

**Working on getting my tech license, so another reason why it's not fully plugged in.

546e3bc8e0ecde1665a7ec1ef0a0b65a.jpg


ed8b8981e63bab802502edef000c1106.jpg


f2e907326d602f4804e292149783de22.jpg


9592a9d5a7d70720176c988d3b793888.jpg
 
Finally went and installed my antenna mount and fished the wire through the body panels to get to the center console. Still haven't tested it out because I need to run wires to the battery and hope that my old ICOM radio still works haha. I've been asked before, so I'll post that this is for a HAM set up.

Black Diamond K400CNMO Mount with Comet SBB1 flexible antenna for every day driving. Then I have my old long antenna for when I go to the trails.

**Working on getting my tech license, so another reason why it's not fully plugged in.

546e3bc8e0ecde1665a7ec1ef0a0b65a.jpg


ed8b8981e63bab802502edef000c1106.jpg


f2e907326d602f4804e292149783de22.jpg


9592a9d5a7d70720176c988d3b793888.jpg
Thank you for sharing! Did you have to drop the headliner for the wire install?
 
Thank you for sharing! Did you have to drop the headliner for the wire install?


I pulled down the headliner at the back at the door seal, just enough to see where the hatch wires were and grabbed the connector with my fingers. I did not remove it though. Once I had it fished through that couple of inches, I ran some bailing wire(coat hanger works too) over the headline(closer to the side trim) down to the jack compartment, then did a sawing back and forth deal to work the wire up higher through the headliner. Just slowly used the wire to find good holes and pulled the antenna through. It goes to the side, down the (D?) pillar, through the Jack storage, into my now new rear tire storage(Antmans brute force method), pulled the back seat recliner handle cover out for the next part, then down to the bottom floor trim at the door(pulls off easily). I then popped the drive seat bracket covers off(rear brackets) and fished it under the carpet from the door trim. It's currently poked through the right rear driver seat bracket hole. Once I run the wire to the batter and tear my center console apart, I'll route it the last few inches.
 
I pulled down the headliner at the back at the door seal, just enough to see where the hatch wires were and grabbed the connector with my fingers. I did not remove it though. Once I had it fished through that couple of inches, I ran some bailing wire(coat hanger works too) over the headline(closer to the side trim) down to the jack compartment, then did a sawing back and forth deal to work the wire up higher through the headliner. Just slowly used the wire to find good holes and pulled the antenna through. It goes to the side, down the (D?) pillar, through the Jack storage, into my now new rear tire storage(Antmans brute force method), pulled the back seat recliner handle cover out for the next part, then down to the bottom floor trim at the door(pulls off easily). I then popped the drive seat bracket covers off(rear brackets) and fished it under the carpet from the door trim. It's currently poked through the right rear driver seat bracket hole. Once I run the wire to the batter and tear my center console apart, I'll route it the last few inches.
Awesome. Thank you! I did the install with my Fj but no headliner routing was required. This looks a little more complex. Looks fun. [emoji2]
Thanks...
 
It was actually a lot easier than I thought it would be. Just go slow and use the coat hanger. I was very happy that I didn't have to pull the headliner! Haha
 

Members online

No members online now.

Forum statistics

Threads
278,316
Messages
3,554,114
Members
248,016
Latest member
Advally Service

Trending content

Back
Top